So, we tried out our first game from the Battle Missions book today - a Blitzkreig between Grots and
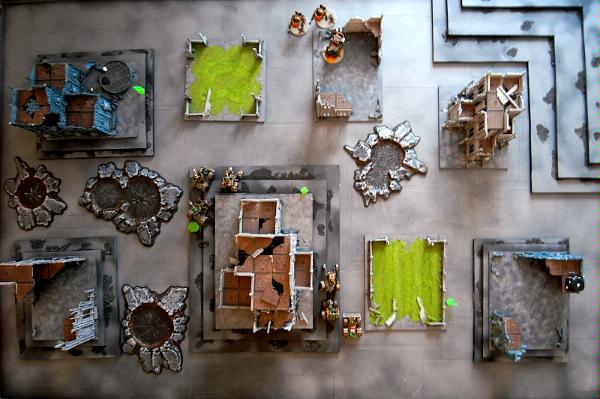
IG. We realised afterwards that we should have chosen our forces AFTER selecting the mission, to make them a bit more suited. The Blitzkrieg mission favours fast attack. All fast attack units start on the board, and everything else is placed in reserve. Otherwise it's table quarters and objectives.
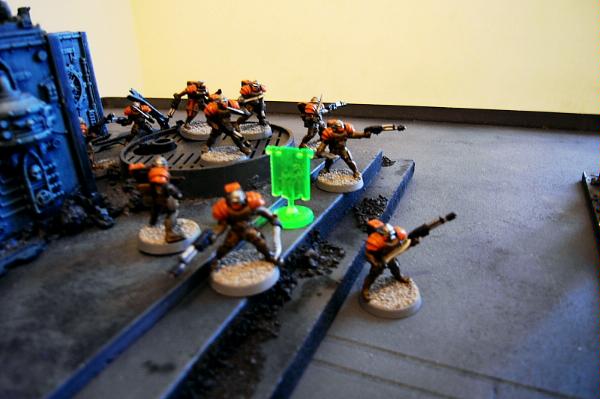
ArbitorIan's 117th Drade Suicide Legion - 1000pts
IG
* Primaris Psyker
* Primaris Psyker
* Psychic Battle Squad
* Psychic Battle Squad
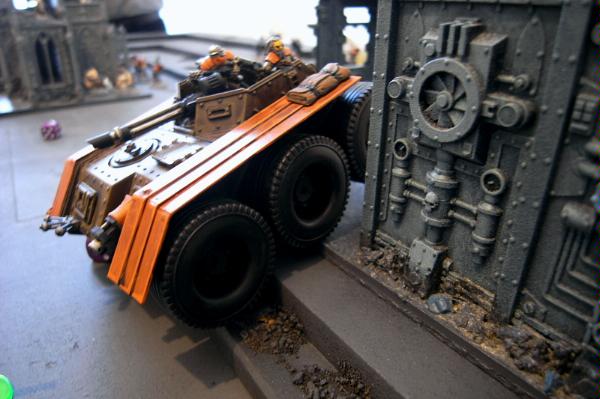
* Veteran Squad (3 Meltaguns) in a Chimera
* Veteran Squad (2 Flamers, 1 Heavy Flamer) in a Chimera
* Veteran Squad (3 Grenade Launchers, 1 Autocannon)
* Penal Legion Squad
* 3 Scout Sentinels (Lascannons)
Panic's Grots - 1000pts Orks
* Big Grotmek (
KFF)
* 3 Megagrots
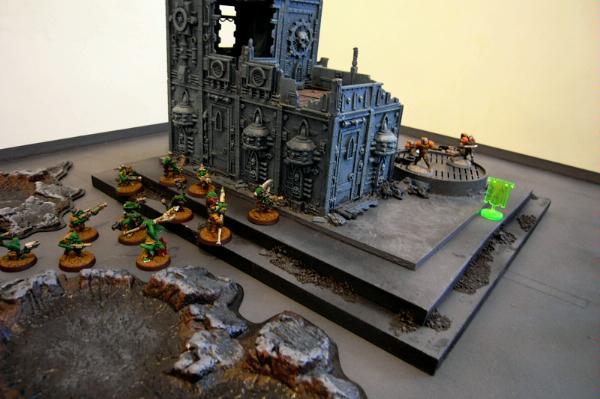
* 21 Grots
* 12 Grots
* 12 Grots
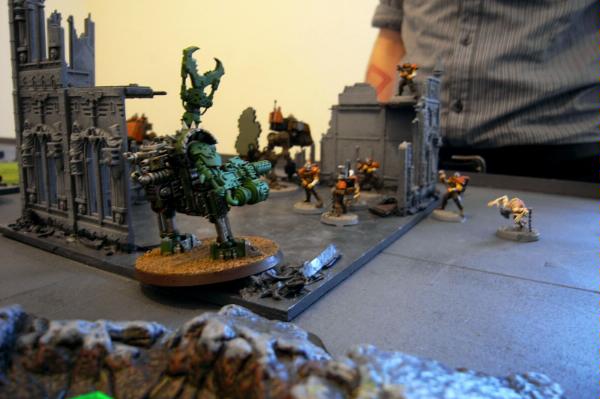
* 3 Killa Kanz
* 3 Killa Kanz
* 3 Killa Kanz
* 3 Buggies
* 3 Buggies
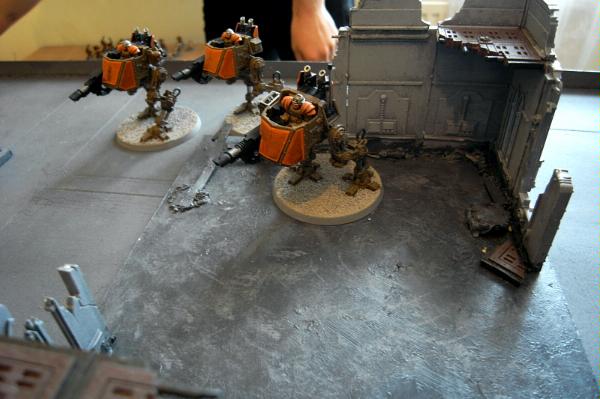
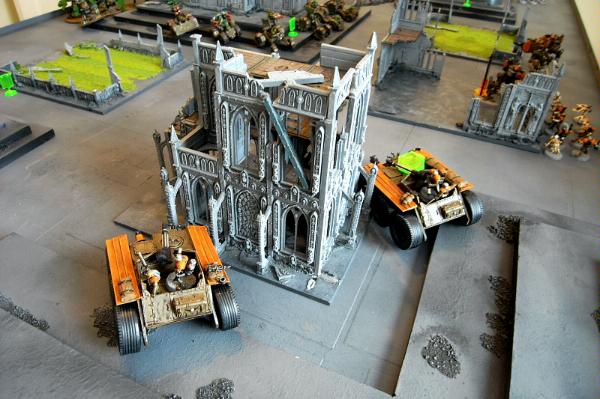
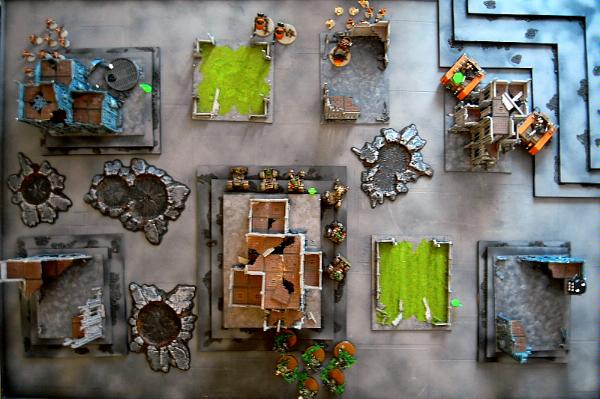
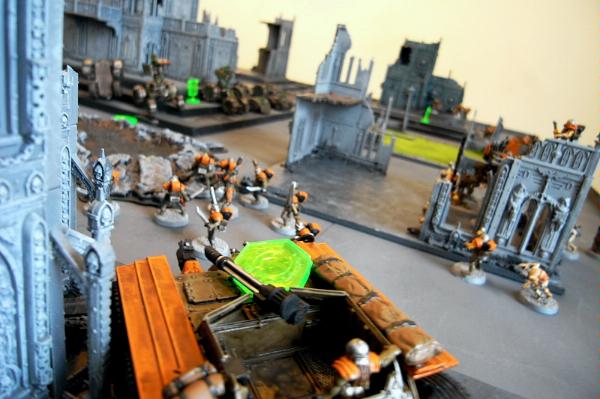
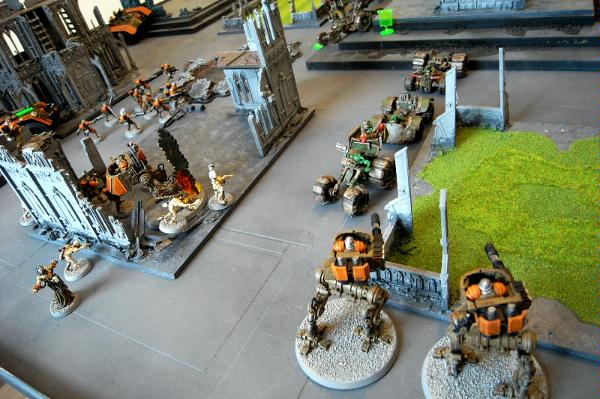
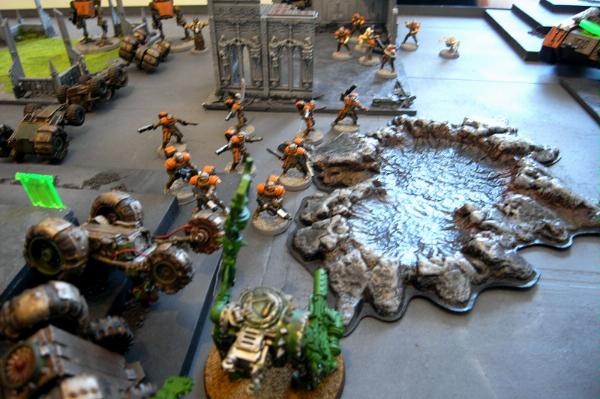
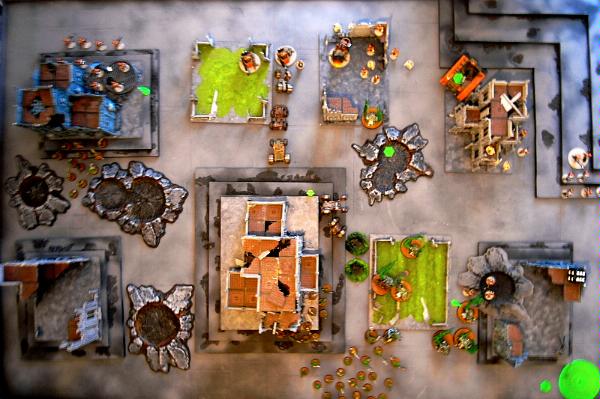
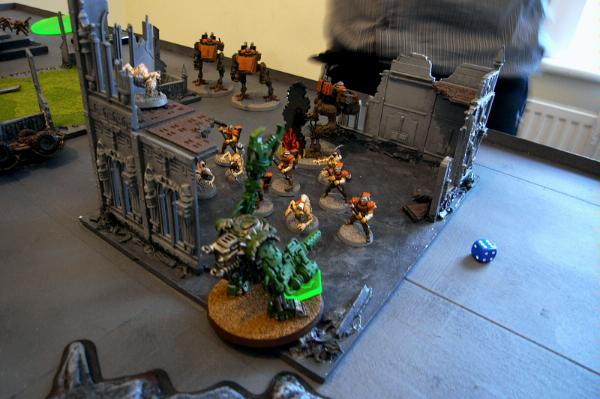
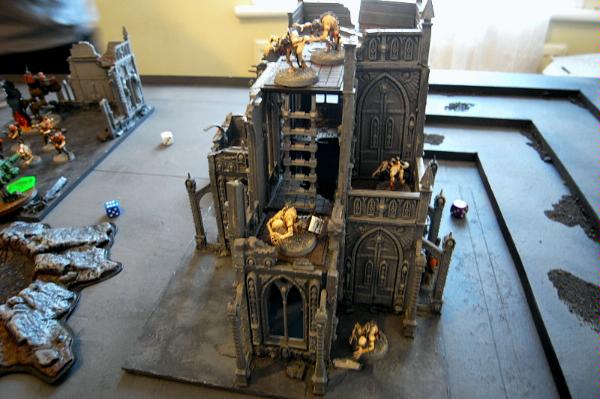
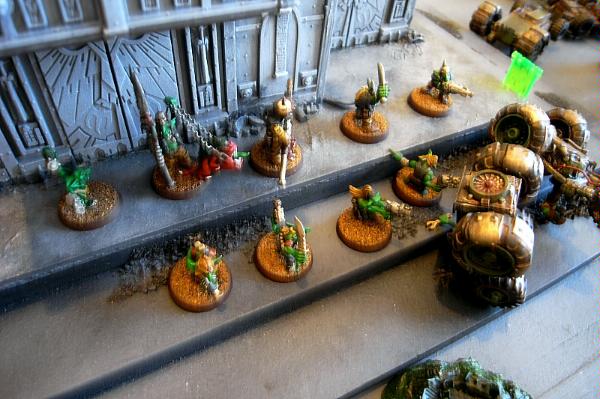
The ork army set up first in this mission, and they grabbed the central area, hiding around the big building. The Scout Sentinels then deployed in cover to the north. The grots prepare for their first turn of firing However,
IG steal the initiative and open fire first. They stun a few things, but the return fire from the Grots destroys one Sentinel.
In the second turn, the Veterans and one
PBS and Primaris turn up, as do the first two squads of Kans. The
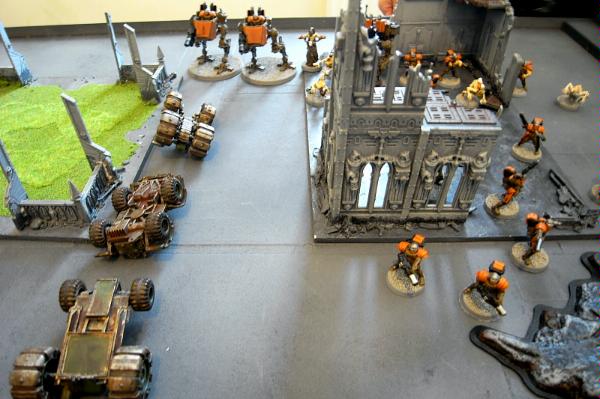
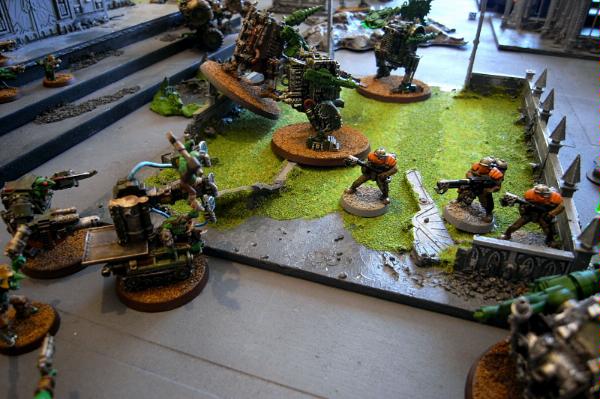
IG concentrate fire on the Buggies still and manage to destroy some weapons, but fire from the Buggies kills the Primaris and immobilises a Chimera and the Meltavets inside have to get out and walk.
The next
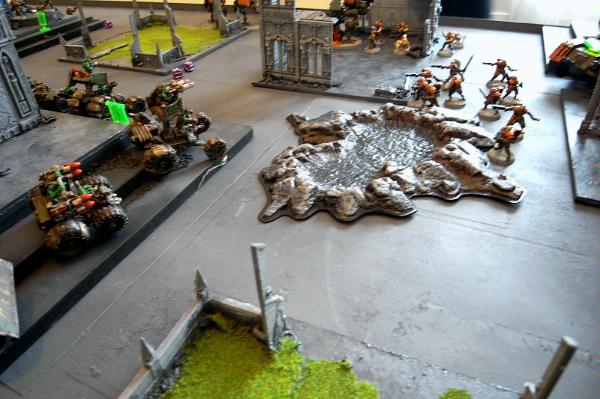
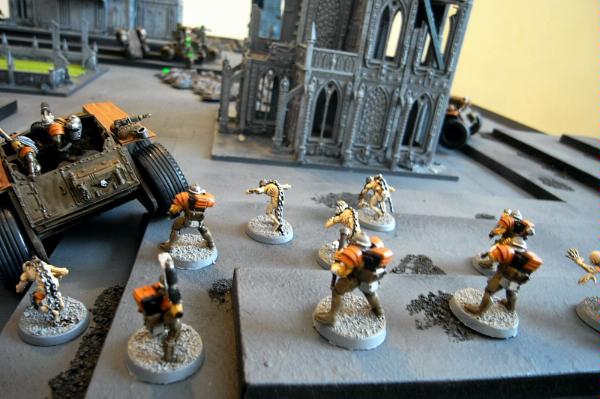
PBS and another Primaris turn up and the Meltavets advance firing. Massed
IG fire has an effect on the buggies, almost wiping them out, but it's not enough!
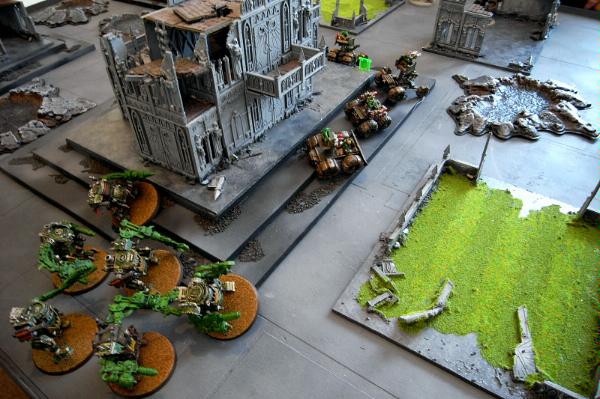
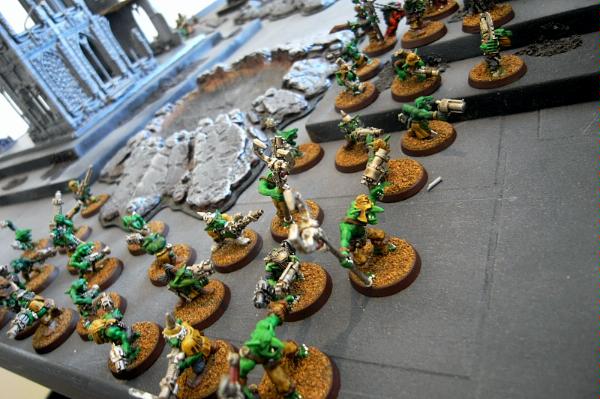
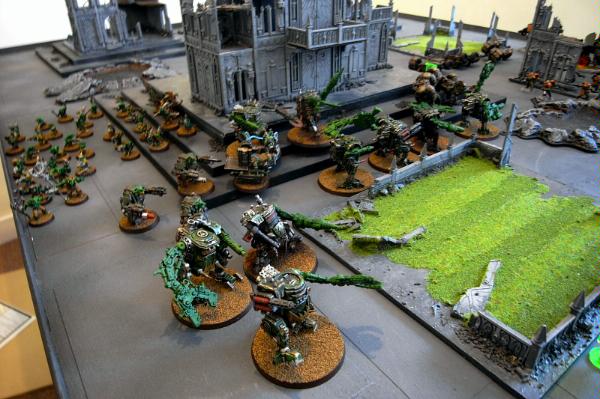
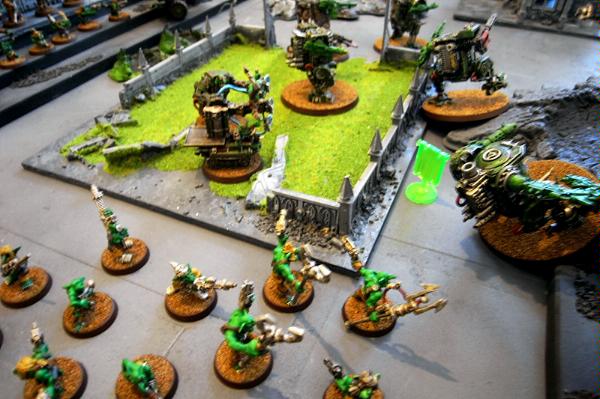
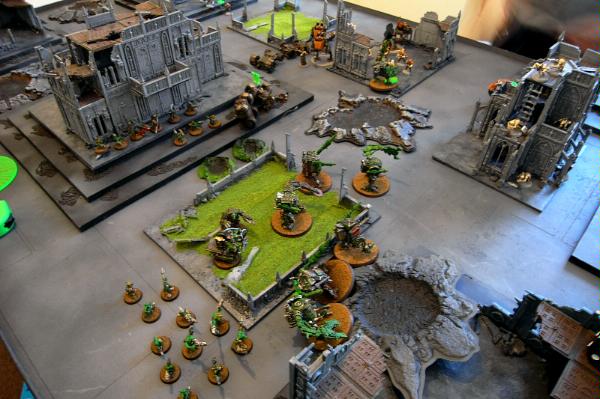
In the ork turn, grots start arriving and moving towards objectives, while the Kan wall continues to advance without casualties.
Around turn four, the
IG firing line finally manage to take out all the buggies and eliminate the possibility of last minute objective grabs. Our second Primaris psyker does particularly well, taking out most of a nearby squadron.
However now all the grots are on the board and the green tide has made massive advances, despite a well targeted bout of combines
PBS fire making the Mek and Megagrots flee. They rally, and the Kans move in range to do some damage in turn five.
Turn five starts with some objective grabbing from the
IG Flamer squad in their Chimera.
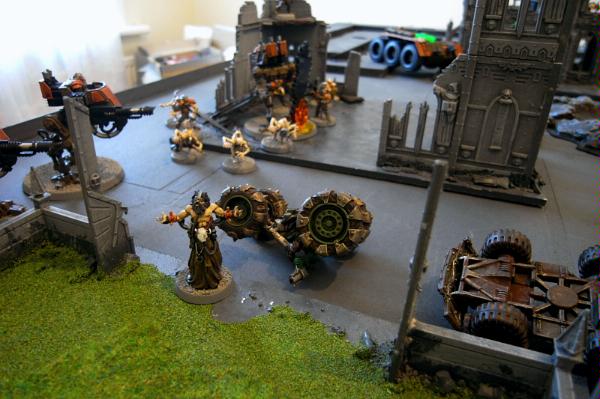
The Meltavets then move into the nearest Kan unit, destroying two with fire, before charging to blow up the final one with Krak Grenades. However, they all miss, and the Kan wins the combat, advancing into the Veterans and wiping them out! The Kan advances towards the
PBS in the rubble.
In the ork turn, the Grots on the left still can't seem to roll high enough to contest their objective, but some more Kans assault the Flamervets' Chimera, blowing it up and killing all but three vets. At the end of the fifth turn,
IG sitll hold two objectives and orks none, but we roll and score another turn...
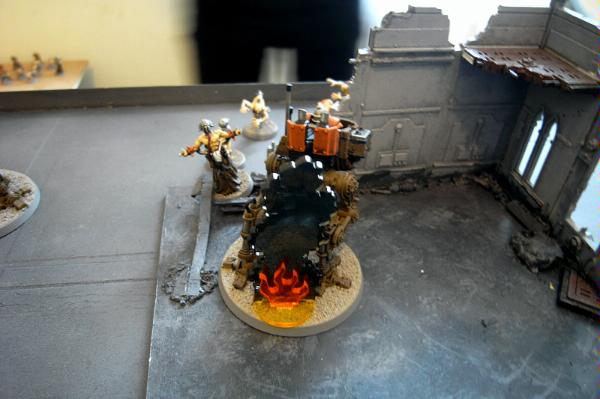
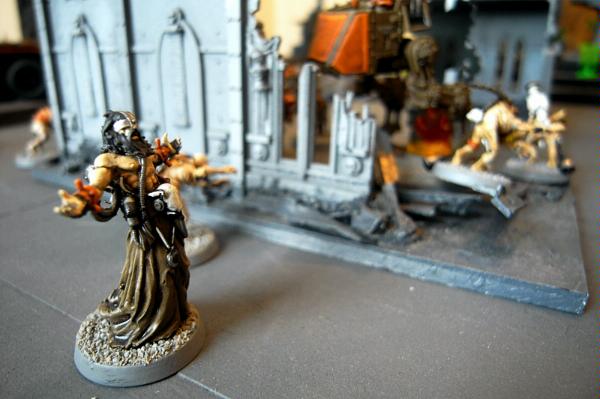
In Guard turn six, everything concentrates fire on the Grots, the last three flamers making a last stand before being cut down next turn. However, the
KFF protects and the Grot Squads simply won't flee. On the left however, a combines
PBS and Primaris shooting/Weaken Resolve attack wipes out the Grots looking to contest the Legionnaires' objective.
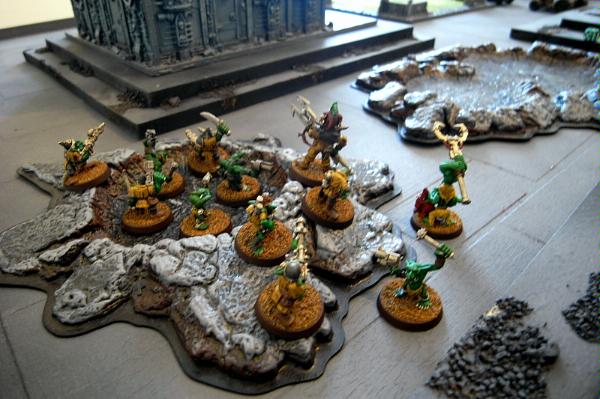
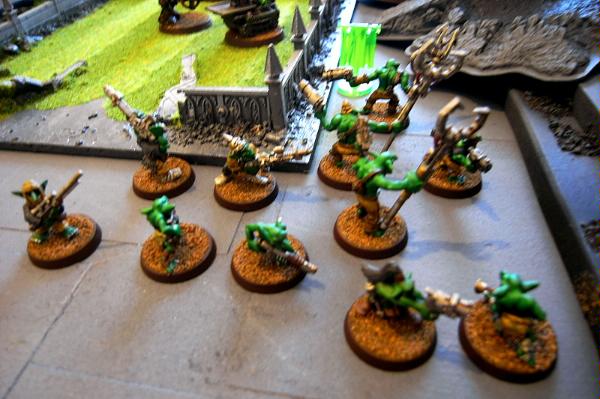
The two Grots squads, despite heavy fire from the
PBS and
IG elements, then advance onto two of the objectives at the end of turn six. Another round of
IG shooting is ineffective, except to keep at bay the dangerous last Kan.
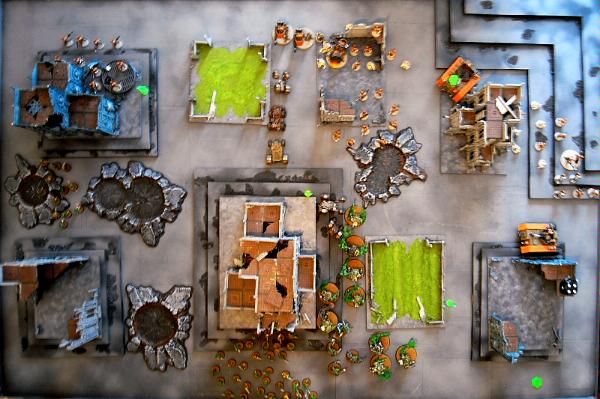
And at the end of the game, the Grots hold two of the objective and the Legionnaires have one. The tables turned in the last two turns of the game and Grots win!


 We had a turn 6 game turn around as well