Arakasi's Dark Angelz (Orks) vs Imperial Monkey's Dark Angels - Game 1 - 750pts (pic heavy!)
Game 2 is over here
ORKS - DA DARK ANGELZ
[
HQ] Morgrim "Da Lion" Grimork (Da Warboss): Mega Armour (Power Klaw, Twin Linked Shoota, Stikkbombs), Cybork Body (110pts)
[
HQ] Skarag Mekslag (Da Big Mek): Burna, Kustom Force Field, Mek's Tools (105pts)
[
EL] 5 Kommandos including Nob: Power Klaw (85pts)
[TR] Da Warboss' Taktikal Boyz - 10 Shootas including Nob: Power Klaw, Slugga, Bosspole in a Trukk: Big Shoota, Boarding Plank, Red Paint Job, Reinforced Ram (150pts)
[TR] Skarag's Taktikal Boyz - 11 Shootas including Nob: Power Klaw, Slugga, Bosspole in a Trukk: Big Shoota, Boarding Plank, Red Paint Job, Reinforced Ram (156pts)
[
FA] Rav'nwing I - Deffkopta with Twin Linked Rocket Launchas and Buzzsaw (70pts)
[
FA] Rav'nwing II - Deffkopta with Twin Linked Rocket Launchas and Buzzsaw (70pts)
TOTAL: 746pts
DARK ANGELS SPACE MARINES
[
HQ] Company Master w/ power sword
[
EL] Dreadnaught w/ Assault cannon,
DCCW, Heavy Flamer
[TR] Tactical Squad (10) w/ Plasma gun, plasma cannon
[TR] Tactical Squad (10) w/ Flamer, Missile Launcher and Sargent with a power weapon- combat squadded
[
HS] Devastator Squad (5) w/ Missile Launcher, Heavy Bolter and Plasma Cannon
TOTAL: 765pts
MISSION: Annihilation
DEPLOYMENT: Pitched Battle
PRELUDE
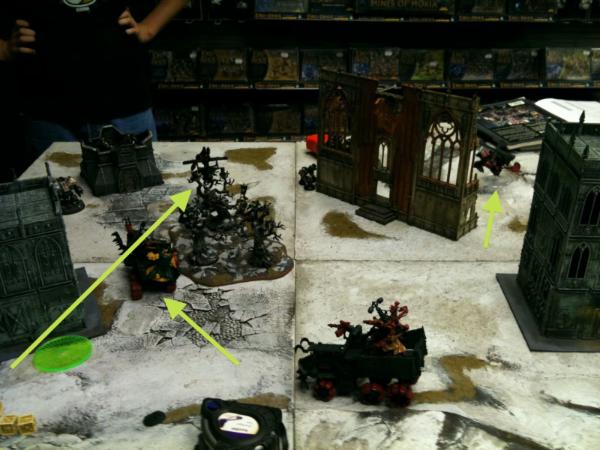
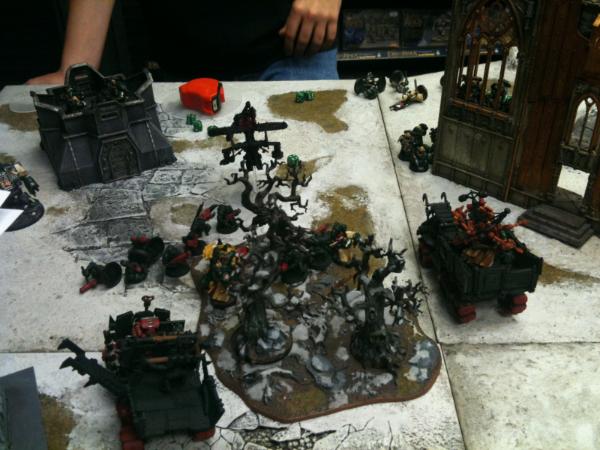
Orks get first turn and set up first. Trukks in the middle, Deffkoptas to the sides. Kommandos outflank.
Taktikal assessment - Going first means setting up centrally to make sure nothing is too far away! This seems to be my standard setup in these cases. The Kommandos outflanked as I doubted I would be able to get them any closer infiltrating, and as a small unit, they are an easy Kill Point.
Space Marines setup across the board -Dreadnought far left, Devastator squad in fortification to the left, Chapter Master and Flamer Combat Squad in the middle, Tactical Squad behind/in ruin to the right and Missile Launcher Combat Squad on the far right.
DA tactical thoughts - The Devastators should take out at least one trukk, the company master and his combat squad retinue will advance and attempt to mop up that squad. The other combat squad will take out their deffkopta and provide fire support for the rest of the army. The dreadnaught will then bolster my lines.
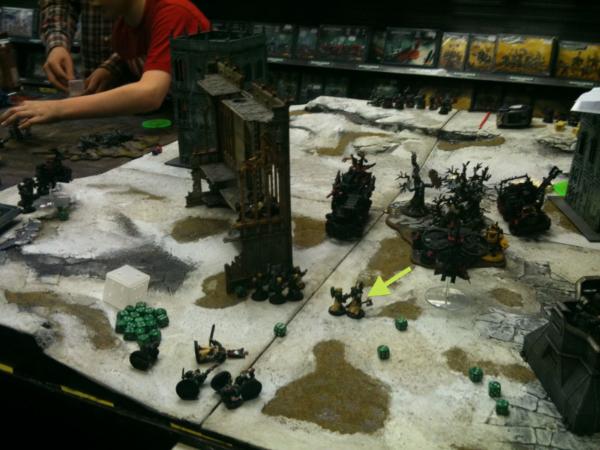
Deffkoptas scout move towards the combat squads, but can't move far enough to get Turbo Boost cover save :( Left one hides behind the near building on the left.
Taktikal assessment - Biggest concern is the Dreadnought with Heavy Flamer and AV12. I have four Power Klaws, though I'd prefer not to use Morgrim's (for fear of premature instant death!) - except perhaps through a Boarding Plank. Also, the Dreadnought is a threat to the Deffkoptas, and therefore I don't want to scout move within charge range.
Space Marines steel the initiative!
 Taktikal Note - Imperial Monkey rolled for seize before I had a chance to make Scout moves. I probably would have - and should have - made a more aggressive move with the left Deffkopta, though I don't think it would have mattered...
TURN 1
Taktikal Note - Imperial Monkey rolled for seize before I had a chance to make Scout moves. I probably would have - and should have - made a more aggressive move with the left Deffkopta, though I don't think it would have mattered...
TURN 1
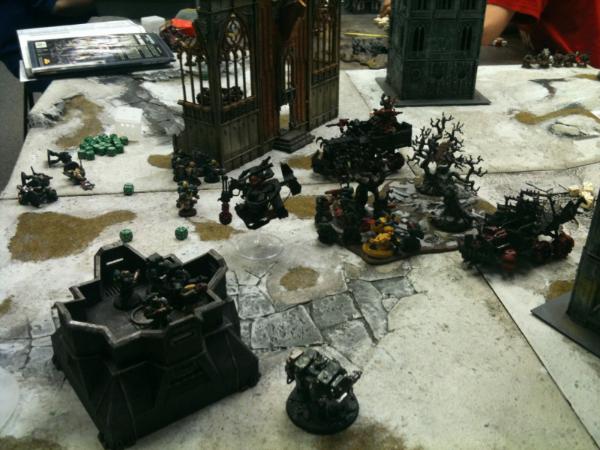
Dreadnought and Company Master Combat Squad move forward. Company Master Combat Squad runs into the forest in the middle. Pot shots are taken at Trukks and right Deffkopta, but either miss, fail to wound/penetrate or are saved by
KFF. Warboss Trukk loses Big Shoota to a glancing hit that makes it through.
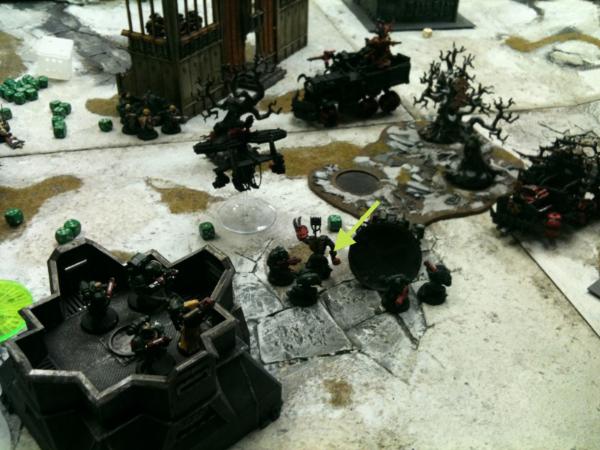
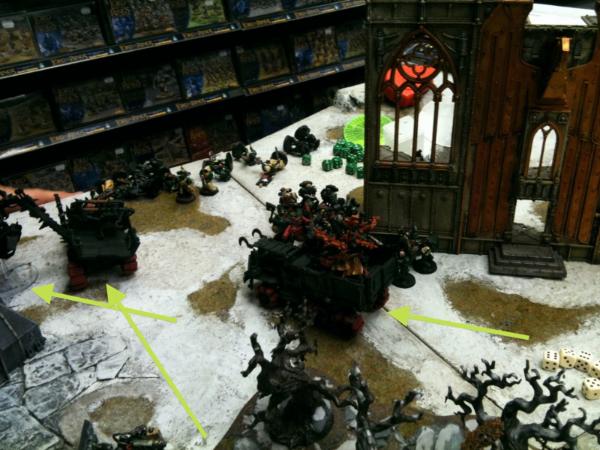
Left Deffkopta Turboboosts centrally, behind the Company Master Combat Squad and forest. Warboss Trukk moves forwards and unloads in front of the Company Master Combat Squad, ready to assault.
Right Deffkopta moves up to shoot (misses) and assault the far right Combat Squad.
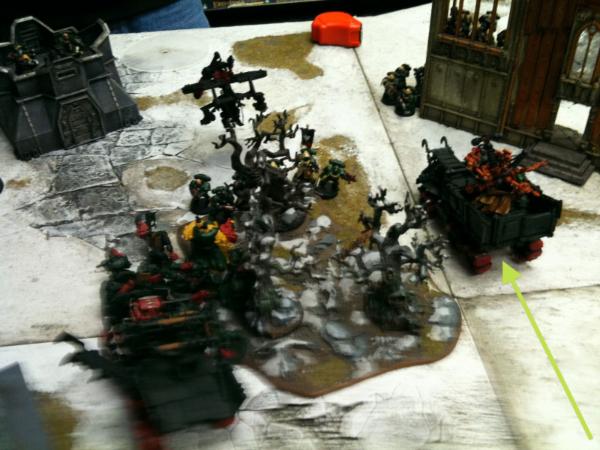
Big Mek Trukk moves flat out towards the large central Tactical squad.
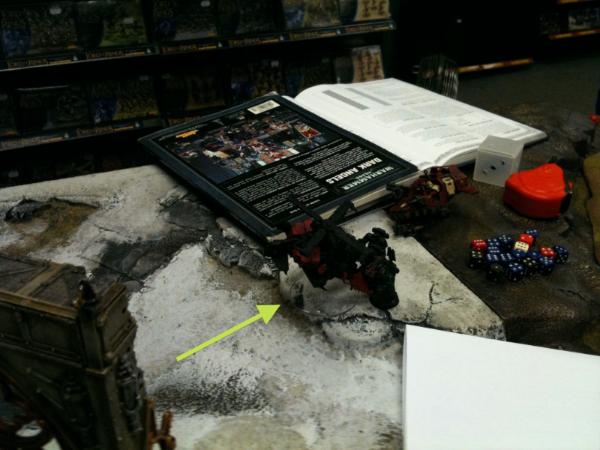
Side view...
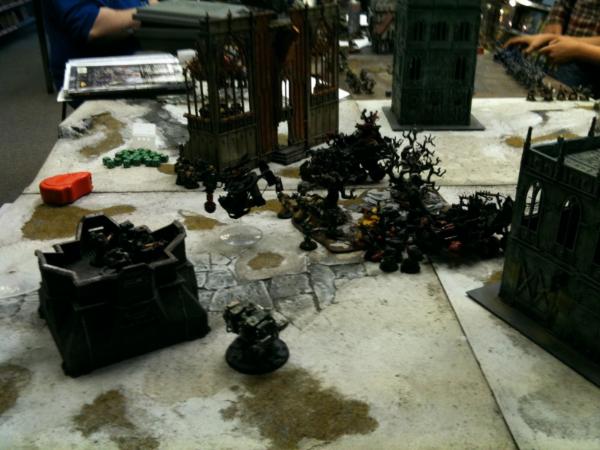
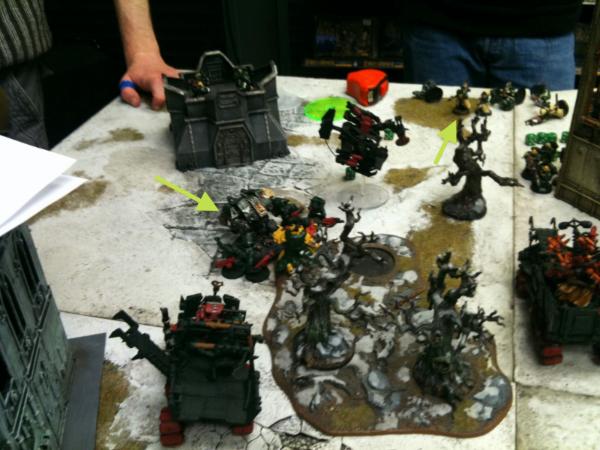
Assault sees a Marine dead in the Combat Squad. Chapter Master targets the Warboss, but fails to get past his Cybork body. A few boyz are lost before the Warboss singles out the Chapter Master for instant death, and the Nob puts the hurt on three of the Combat Squad.
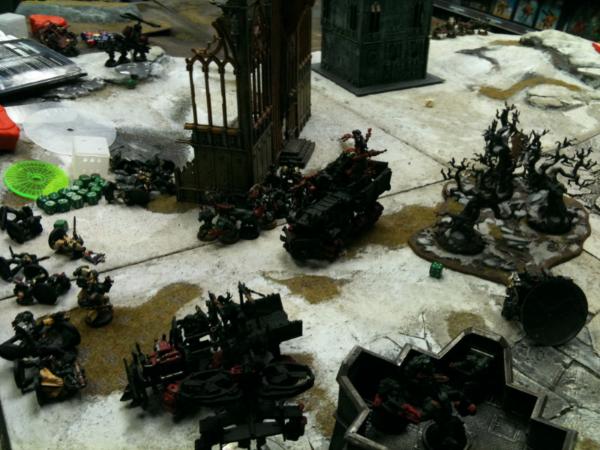
Two Company Master Combat Squad Marines retreat,
...while the Orks consolidate in the forest, the Warboss tempting the Dreadnought to assault into cover.
Taktikal Assessment - Always happy to see Space Marines advance, especially when it gives me a turn 1 charge! The KFF starts off in good form, which is always nice. As always, I target the ICs first - I find they can be rather annoying later if left unchecked... I've deliberately left the Warboss in a position to goad the Dreadnought to assault. I'll probably lose him, but assaulting through cover he will at least have a good chance at revenge - and that Dread is the only item of concern left on the field...
ORKS: 2
KP, DARK ANGELS: 0
KP
TURN 2
Company Master Combat Squad (minus Company Master!) falls back further due to the central Deffkopta. Dreadnought moves up towards the Warboss and fires Assault Cannon and Heavy Flamer into da boyz, killing three before assaulting them. Devastator Squad does a wound to the central Deffkopta with a Heavy Bolter, before the Plasma Cannon overheats, taking the Marine with it. Fire from the Tactical Squad shakes the Big Mek's Trukk (again, only one glancing hit got through the
KFF)
In assault, the Dreadnought manages to kill the Warboss, but as it assaulted through cover, the Warboss took it down with him, wrecking it.
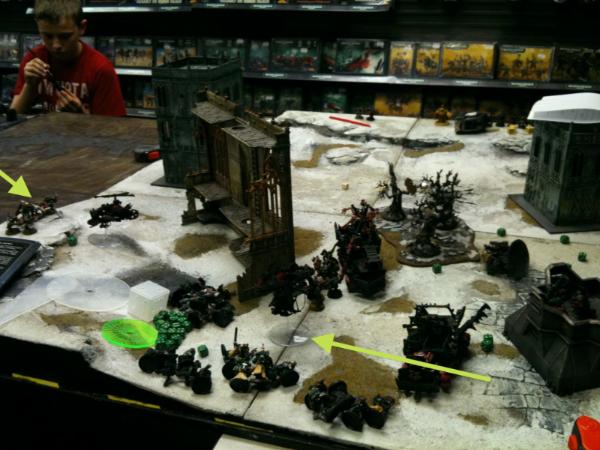
Da boyz consolidate towards the left Devastator Squad in the fortification. Meanwhile, on the right, the Deffkopta and Marines fail to damage each other, and the Deffkopta fails to Hit and Run.
Central Deffkopta moves left behind the Devastators in the fortification, misses with Rokkits and assaults alongside the remnants of the Warboss' mob - wiping the Devastators Squad and consolidating in the fortification. Right Deffkopta trades a wound with a dead Marine, drawing the combat. Da Warboss' Trukk moves flat out through the forest and Dreadnought wreckage to escort the remnants of the Company Master Combat Squad off the field. Da Big Mek's Trukk rolls forward, and all except da Big Mek disembark, fire at and assault the large central Tactical squad, winning combat.
The Space Marines consider retreating, but are unable to as the Orks press home the attack and another falls to fearless wounds.
Taktikal Assessment - In hindsight I think Imperial Monkey missed an opportunity to fire on the Deffkopta here with the falling back Company Master Combat Squad. Not sure the Flamer would have been in range, but the Bolter should have been. The Dreadnought took the bait, though I lost my Warboss in doing so. Its pretty much cleanup now...
ORKS: 4
KP, DARK ANGELS: 1
KP
TURN 3
The Company Master Combat Squad (minus Company Master!) leaves the field, unable to Rally with a Trukk nearby. Locked in assault, the Deffkopta and remnants of the right Combat Squad fail to damage each other - however the Deffkopta does manage to hit and run. Da Big Mek's boyz finish of the Tactical squad.
The Kommandos show up behind the last Marines on the far right. The left Deffkopta moves centrally, while da Big Mek's Trukk moves to take a shot at the last Marines. It and both Deffkoptas fail to hit/wound before the right Deffkopta and Kommandos assault the last Marines. The Marines valiantly attempt to take out da Deffkopta before being brought down by da Kommando Nob.
ORKS: 6
KP, DARK ANGELS: 1
KP
VICTORY: ORKS - ANNIHILATION!
AFTERMATH - ORKS
Not really a lot to be said. Poor Imperial Monkey did suffer from some extremely poor dice rolls and the
KFF was on fire when it needed to be. Also - the smaller board size (4'x4') was never going to help the Dark Angels. Still, advancing into Orks is never a good idea and played directly into my hands - after he seized the initiative! Unsurprisingly, a rematch was requested in order to make a better showing. To be continued!
 AFTERMATH - DARK ANGELS
The Ork Angels will be on any army in an instant and in assault very quickly. Without sounding like I have been blaming the loss on my luck, I have never rolled so badly in a game before! I look forward to a rematch now.
Game 2 is over here


 Imperial Knights: The Avengers Initiative
 Da Dark Angelz
 Arakasi vs Infinity

