Da Dark Angelz vs El Quixo, 1000pts
DA DARK ANGELZ
[
HQ] Morgrim "Da Lion" Grimork (Da Warboss): Mega Armour (Power Klaw, Twin Linked Shoota, Stikkbombs), Cybork Body (110pts)
[
HQ] Skarag Mekslag (Da Big Mek): Burna, Kustom Force Field, Mek's Tools (105pts)
[TR] Grimskab Badwort (Da Painboy): 'Urty Syringe, Dok's Tools, Cybork Body and Da Inna Circul (5 Nobz): 2 Power Klaws, Big Choppa, 2 Choppas, 4 Sluggas, Twin Linked Shoota, 5 'Eavy Armour, Bosspole, Cybork Bodies in a Trukk: Big Shoota, Boarding Plank, Red Paint Job, Reinforced Ram (320pts)
[TR] Da Warboss' Taktikal Boyz - 10 Shootas including Big Shoota and Nob: Power Klaw, Slugga, Bosspole in a Trukk: Big Shoota, Boarding Plank, Red Paint Job, Reinforced Ram (155pts)
[TR] Skarag's Taktikal Boyz - 11 Shootas including Rokkit Launcha and Nob: Power Klaw, Slugga, Bosspole in a Trukk: Big Shoota, Boarding Plank, Red Paint Job, Reinforced Ram (166pts)
[
FA] Rav'nwing I - Deffkopta with Twin Linked Rocket Launchas and Buzzsaw (70pts)
[
FA] Rav'nwing II - Deffkopta with Twin Linked Rocket Launchas and Buzzsaw (70pts)
TOTAL: 996pts
EL QUIXO
[
HQ]
El Quixo (Commander Shas'
el): Flamer, Twin Linked Missile Pod
[
HQ] Commander Shas'
el: Flamer, Twin Linked Missile Pod
[
EL] Crisis Battlesuit: Flamers, Twin Linked Missile Pods
[
EL] Crisis Battlesuit: Flamers, Twin Linked Missile Pods
[TR] 8 Fire Warriors with Pulse Rifles
[TR] 20 Kroot
[TR] 20 Kroot
[??] 8 Gun Drones
[
HS] Ionhead Gunship
[
HS] Ionhead Gunship
MISSION: Annihilation
DEPLOYMENT: Pitched Battle
PRELUDE
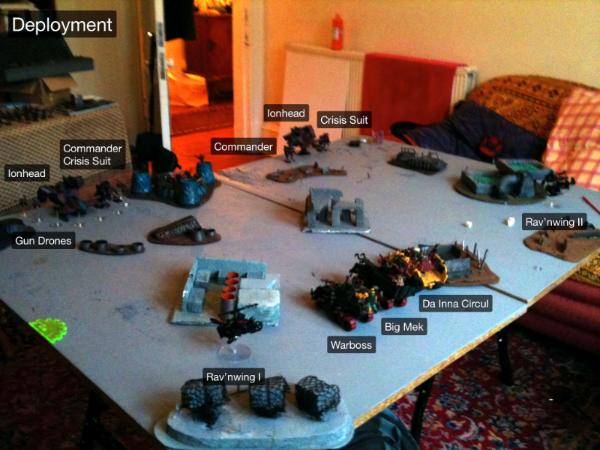
Tau win the roll off and choose to deploy and go first, splitting their forces across the board - slightly more heavily on the left (Gun Drones and Fire Warriors) whilst two large units of Kroot infiltrated. Morgrimm lines up his Trukks slightly left of centre, the main Tau force in his sights, whilst the Deffkoptas protect each side.
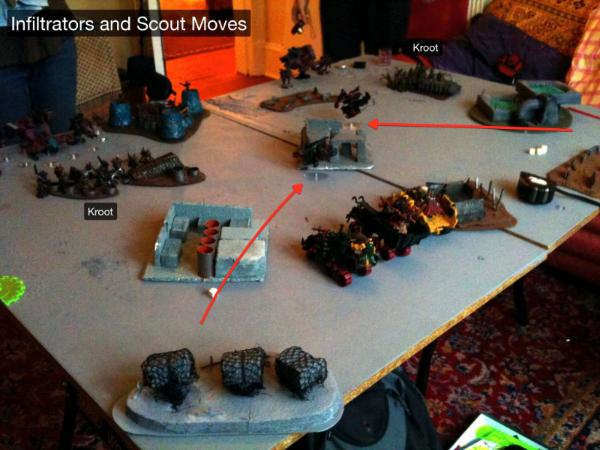
The two units of Kroot infiltrate in front of the two Tau forces in a cunning move to restrict the Deffkopta scout moves somewhat.
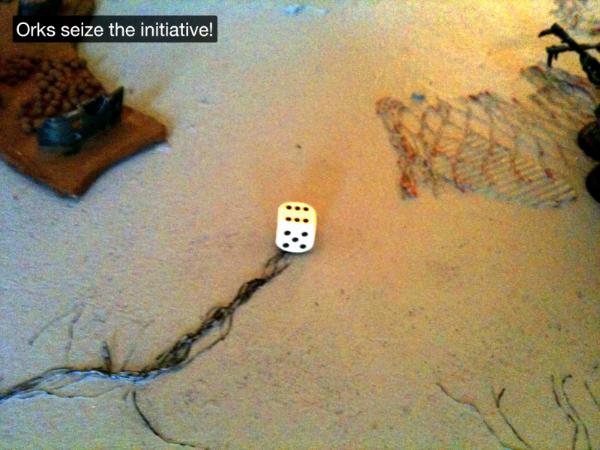
Morgrimm seizes the initiative!
TURN 1

The infiltrating Kroot are too tempting a target and Morgrimm moves to assault them with his boyz. The left Deffkopta, unable to engage any non kamikaze targets, turbo boosts to the left whilst the right Deffkopta heads towards the unprotected Ionhead. The remaining two Trukks flat out ahead.
House Rulez: Whilst generally you aren't allowed to pre-measure anything, you are given specific permission to pre-measure movement. We discovered this is a conundrum with a Deffkopta which can turbo-boost 24" and move and assault 18". I started by seeing if I could turbo-boost into the top left corner, and when discovering I couldn't, wanted to change to a normal move - but this could also conceivably allow me to pre-measure my assault range. We decided I would need to declare my movement type first before pre-measuring my movement, and as I had already checked the turbo-boost range, a turbo-boost was what I did.

The right Deffkopta manages to immobilise and weapon destroy the right Ionhead in assault, whilst Morgrim and his boyz are lucky to clean up the Kroot for the loss of four boyz…
Taktikal Note: The Kroot were unlucky - 40 attacks should have cleared out seven to eight boyz, which would have reduced the return attacks and most likely ended up with them winning combat. Morgrimm would have been safer tank shocking them, along with the Big Mek Trukk if they held. The left Deffkopta could then have turbo boosted into a position to ensure they ran off the table.
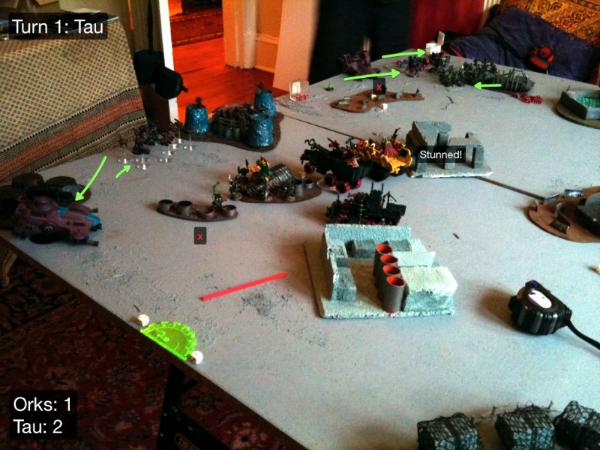
The Tau respond, first targeting the Deffkoptas and destroying both, before taking pot shots at the Trukks.
KFF was in fine form again, though a stunned result did get through on the Nobz Trukk.
Taktikal Note. At one point, the left Deffkopta was wounded and "pinned". I later realised turbo boosting (jet)bikes can not be pinned. Thankfully, it did not occur to me to try to get a 2++ on the final wound  DA
DA DARK ANGELZ: 1
KP,
EL QUIXO: 2
KP
TURN 2
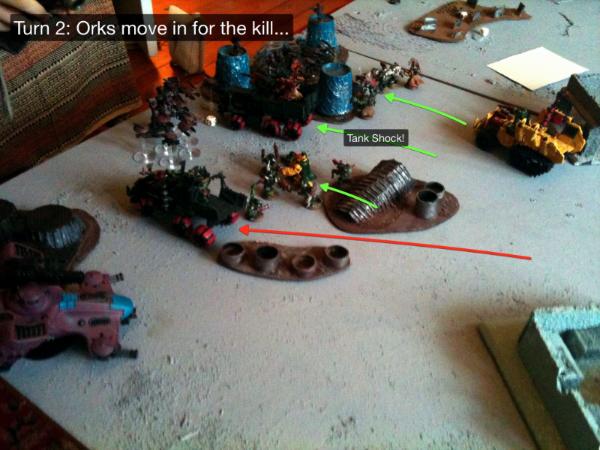
Morgrimm orders an all out attack! Skarag's Trukk first tank shocks the Gun Drones, hoping to send them off the board and opening up the Commander and Crisis Suit to assault - but the Gun Drones hold. After some deliberation, Skarag decides he and his boyz are safer staying in the Trukk - there are enough boyz on the board to clear everything else. Da Nobz disembark and move towards the Fire Warriors whilst Morgrimm moves towards the Gun Drones. Morgrim's Trukk moves flat out to block
LOS from the Ionhead.
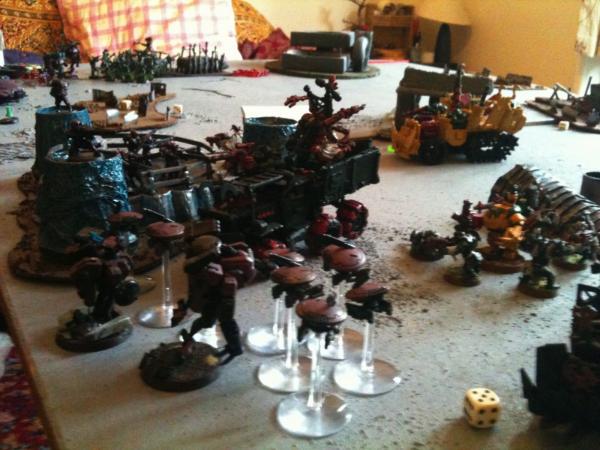
Morgrimm calls the Waaagh! and the Gun Drones and Fire Warriors are swept away in assault.
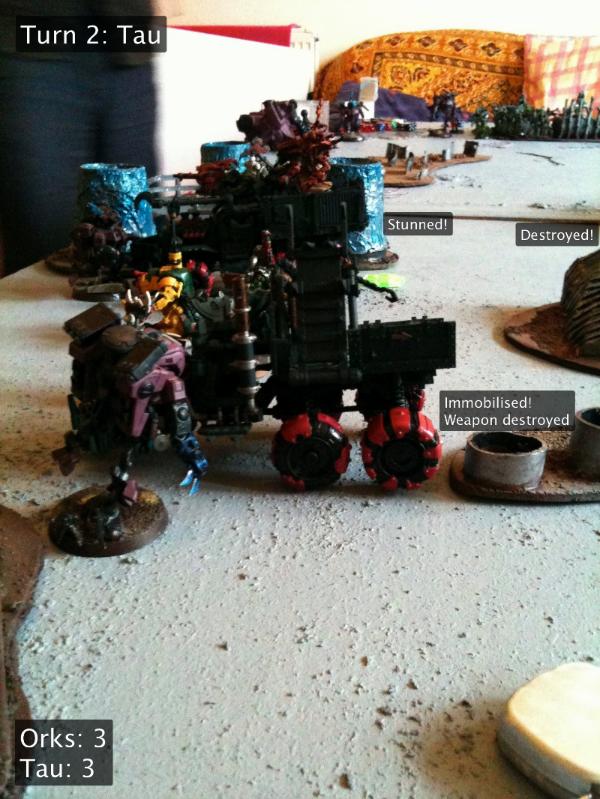
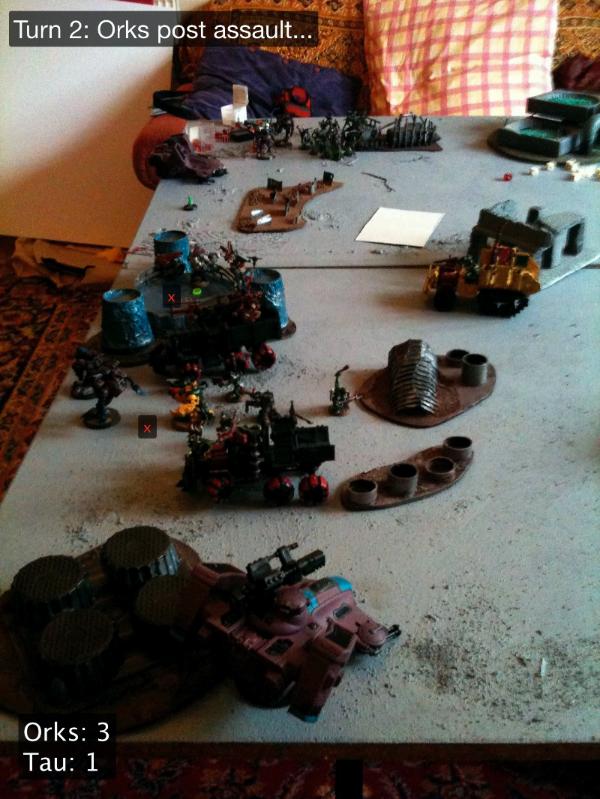
The Tau concentrate on the Ork mobility, immobilising and weapon destroying Morgrimm's Trukk and stunning Skarag's, as well as destroying da Nobz' ride. However, their Commander and Crisis Suit are badly positioned for a counter assault...
DA DARK ANGELZ: 3
KP,
EL QUIXO: 3
KP
TURN 3
Morgrimm splits off from his boyz to tackle the Crisis Suit to the right, whilst his boyz head to the left to deal with the Commander. Skarag disembarks, leaves his unit, joins Morgrim's boyz and prepares to fix their immobilised Trukk. Skarag's Boyz disembark their stunned Trukk and move towards the tricksy Ionhead, planning to pummel it with their Rokkit Launcha. Da Nobz start the long slog towards the remaining Tau to the right.
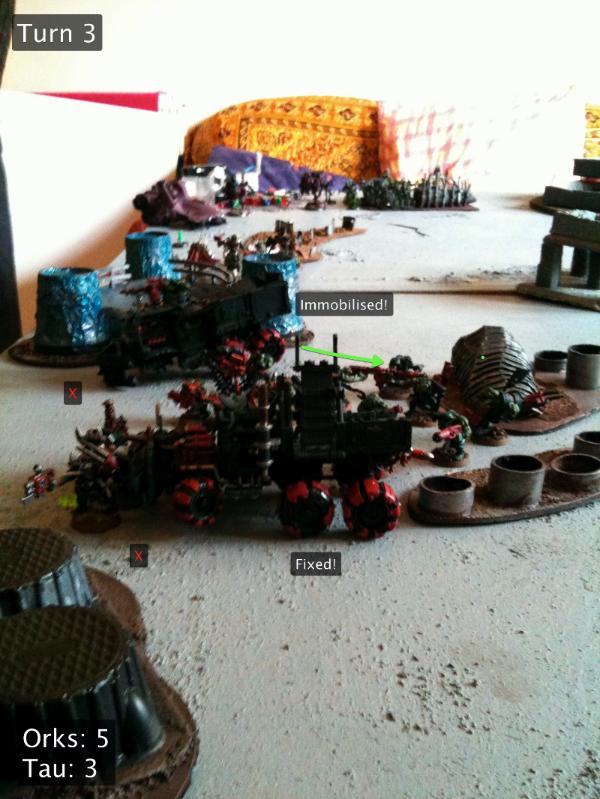
In assault, both the Commander and Crisis Suit succumb to Power Klaws, leaving only the Ionhead on this side of the battlefield. In return, the far side Commander immobilises Skarag's abandoned Trukk...
DA DARK ANGELZ: 5
KP,
EL QUIXO: 3
KP
TURN 4
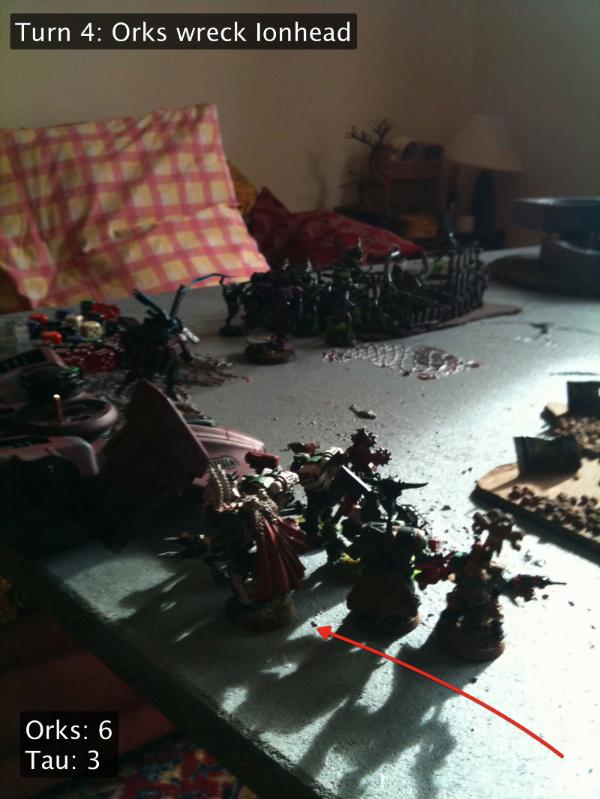
Da Nobz continue towards the right, making it into assault with the immobilised Ionhead and wrecking it.
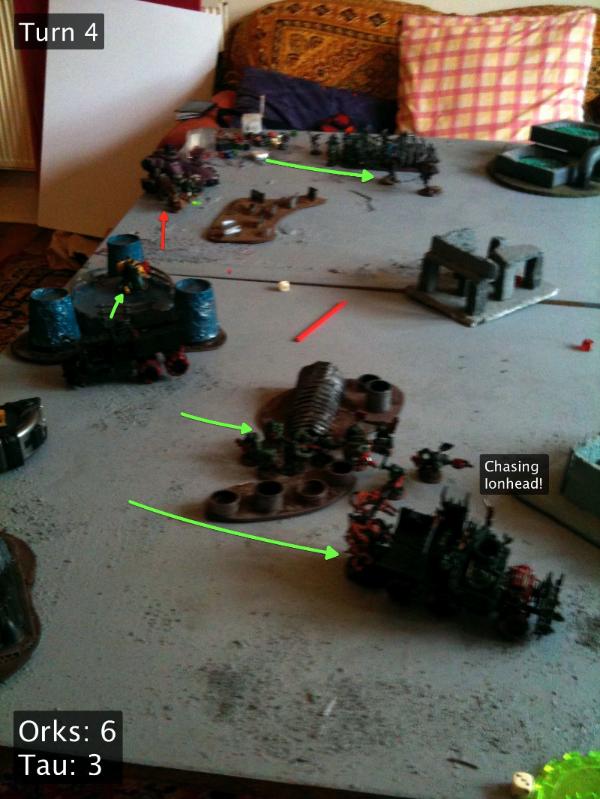
Skarag joins Morgrimm's boyz in their Trukk and chase after the last Ionhead, his boyz performing similarly on foot, Rokkit Laucha firing wildly.

Morgrimm himself runs as fast as his Mega-armour will carry him, hoping somehow to get back into the fight after Skarag's Trukk was immobilised...
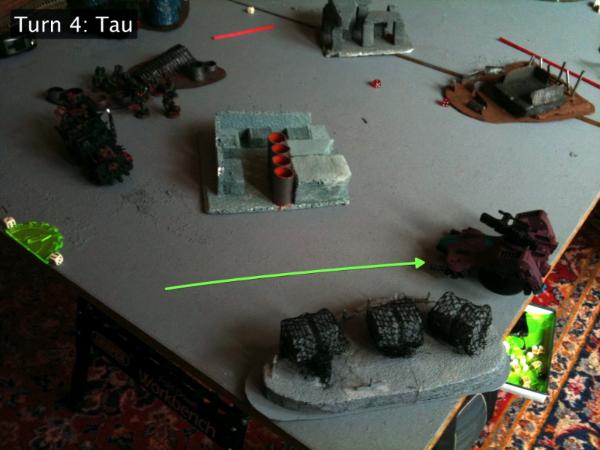
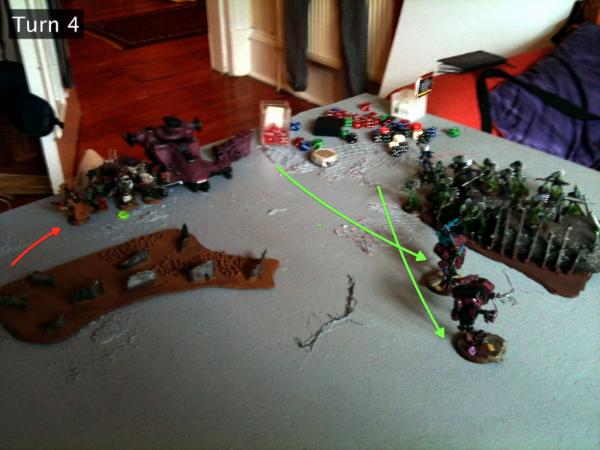
The remains of the Tau force continue to dance just outside of range, frustrating da boyz no end...
DA DARK ANGELZ: 6
KP,
EL QUIXO: 3
KP
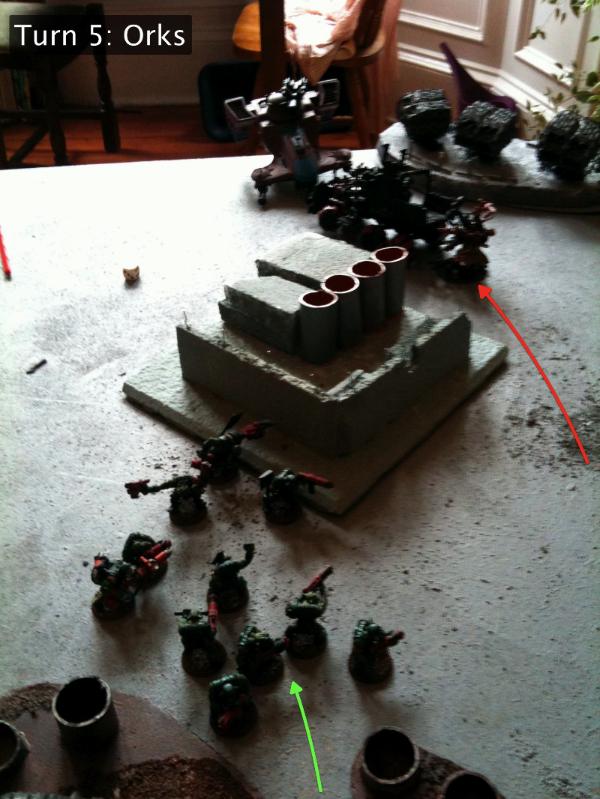
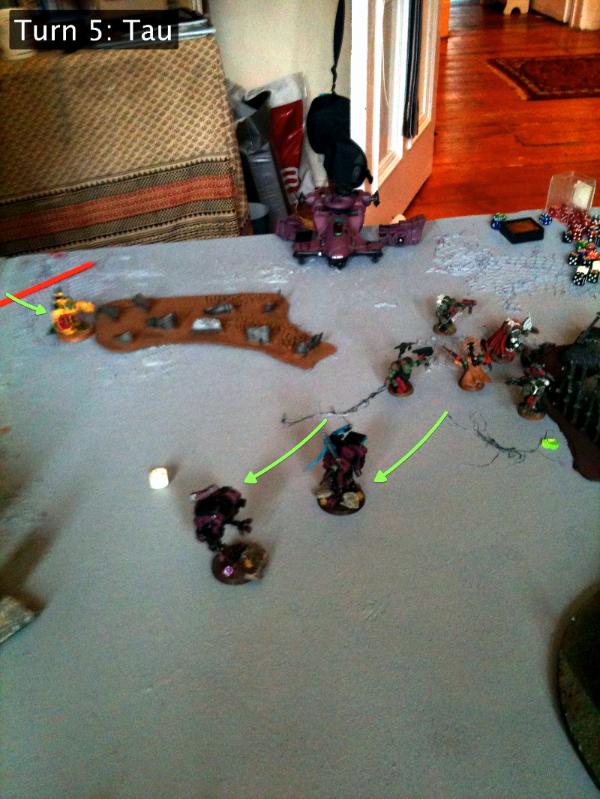
TURN 5
On da left, Skarag moves flat out towards the Ionhead, ensuring it won't be able to escape a boarding plank next turn, while his boyz on foot actually made a perfect Rokkit Launcha penetrating hit - if it hadn't been at an obscure angle and hit the intervening building instead...

Meanwhile, on the right, the Kroot were just a little too close - allowing the Nobz to assault right in...
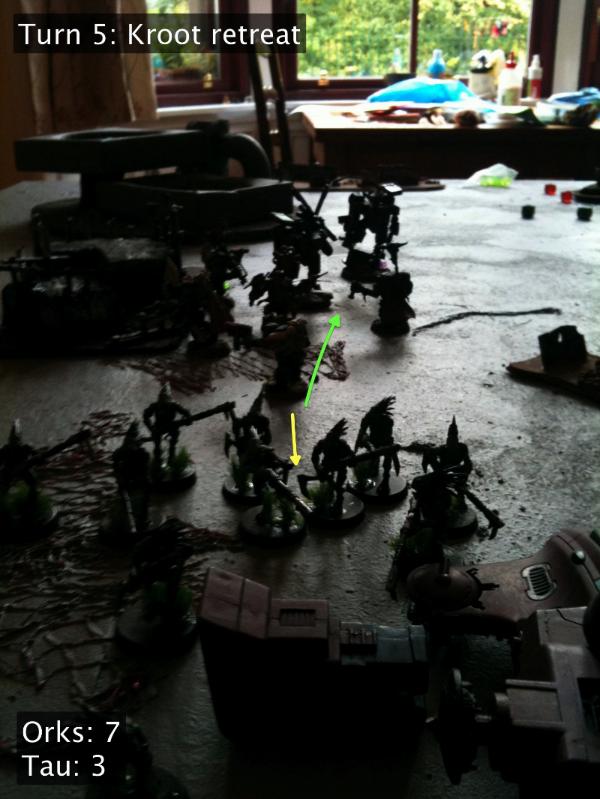
With predictable results...
Too close to the victorious Nobz, da Kroot fled da field, whilst the tricksy suits danced away again...
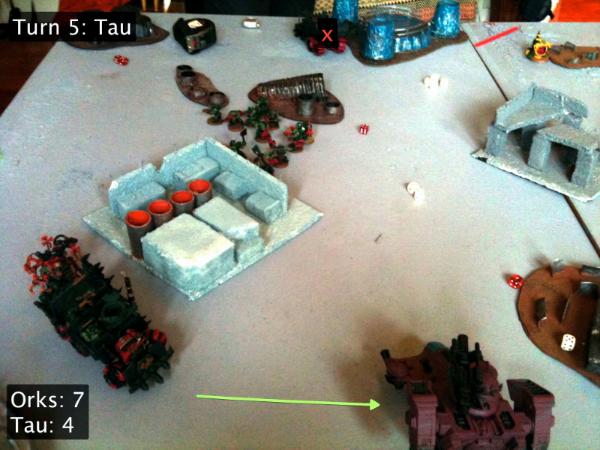
...and so does the Ionhead. The Tau do manage to wreck Skarag's immobilised Trukk (good thing he's not on it anymore!)
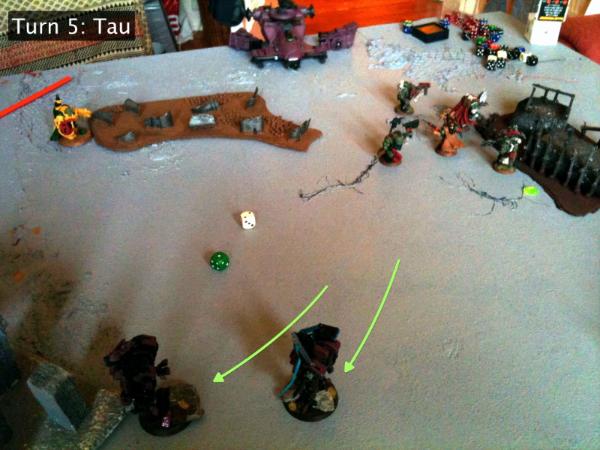
And the suits move out of Nobz assault range...
DA DARK ANGELZ: 7
KP,
EL QUIXO: 4
KP
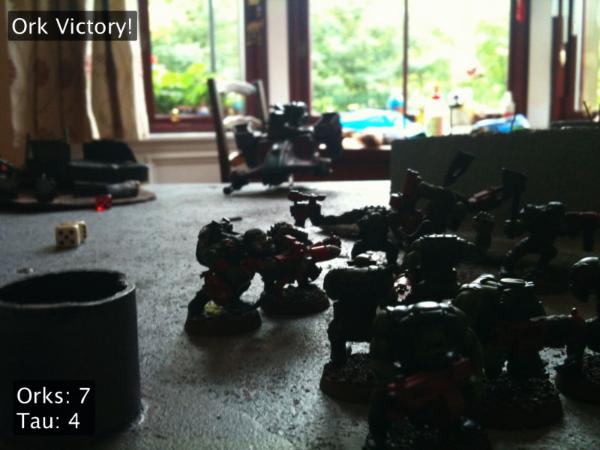 VICTORY: DA
 DARK ANGELZ
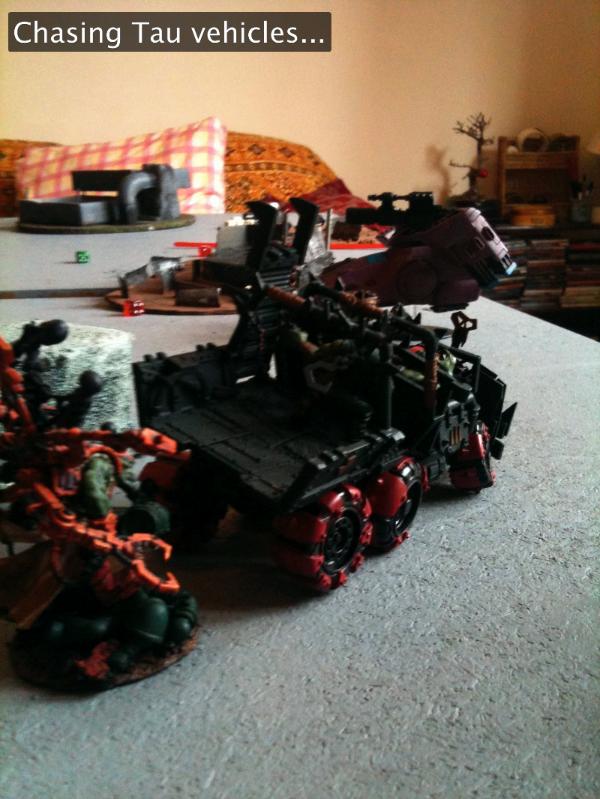
Skarag chasing an Ionhead...
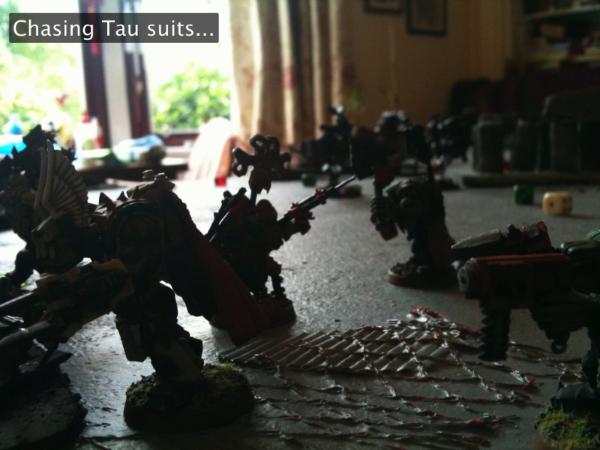
Nobz chasing Tau suits...
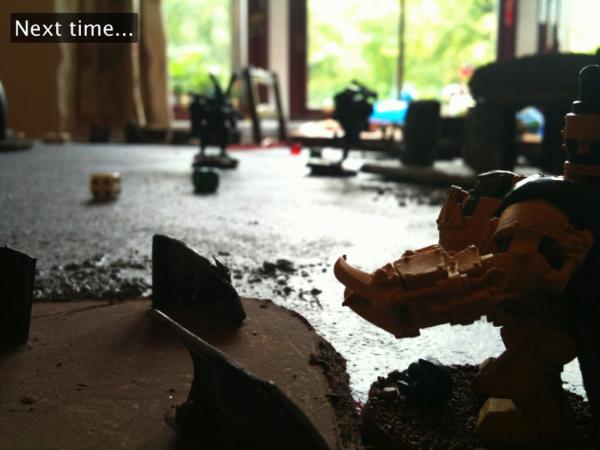
Morgrimm considers how to pin down those tricksy Tau next time...
AFTERMATH - DA DARK ANGELZ
We played this back at the start of October, so my memory is a bit rusty - but it was an excellent, challenging and somewhat frustrating game. I believe
El Quixo's goal was to remove my mobility, which, while taking longer than expected due to my usual flukey
KFF rolls, eventually panned out. That and the spread out deployment left me chasing the last remnants of the Tau to little effect. For once,
El Quixo managed to win the roll to take first turn, making it somewhat comical that I then went ahead and seized the initiative!
The assault against the Kroot was, in hindsight, ill-advised and extremely lucky on my part. I feel I should have tank shocked them two or three times. This may have set things up so I could do the same to the Gun Drones, Commander and Crisis Suit the following turn - possibly allowing a multiple assault on whatever was still left.
Report Card:
Morgrim "Da Lion" Grimork (Da Warboss): Killed some Kroot and a Crisis Suit, but was effectively grounded after that. B
Skarag Mekslag (Da Big Mek):
KFF worked overtime against multiple Missile Pods, as well as un-immobilising Morgrimm's Trukk. A
Grimskab Badwort (Da Painboy) and Da Inna Circul (5 Nobz) in a Trukk: Claimed Fire Warriors and the right Ionhead and Kroot. Made it across the board, though not through as much firepower as I was expecting (Tau was still concentrating on my Trukks). A
Da Warboss' Taktikal Boyz in a Trukk: Killed the left Kroot and the Tau Commander. A
Skarag's Taktikal Boyz in a Trukk: Chased an Ionhead. C
Rav'nwing I: Diverted fire from Trukks. C
Rav'nwing II: Diverted fire from Trukks. Immobilised right Ionhead. C+
Hope you enjoyed! Let me know anything that you think might make these reports better!


 Imperial Knights: The Avengers Initiative
 Da Dark Angelz
 Arakasi vs Infinity


 Nor for that matter your Ravenwing. They gave me fits.