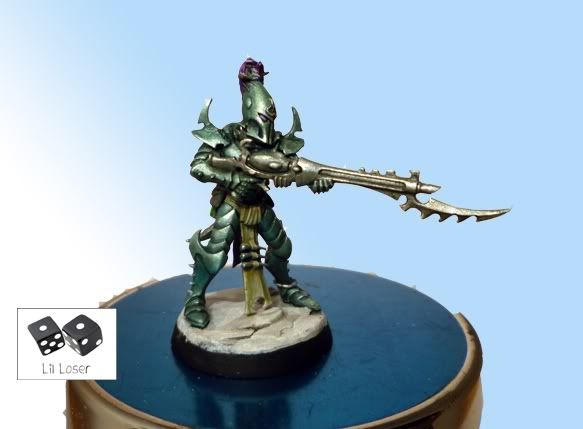
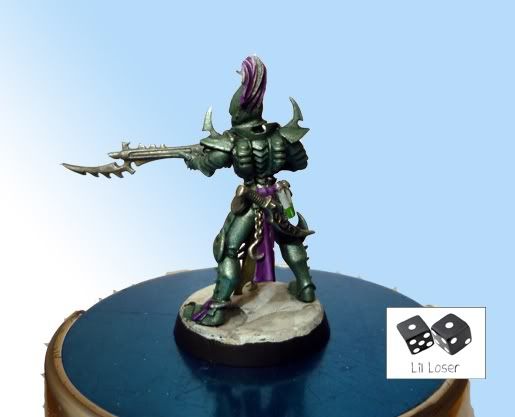
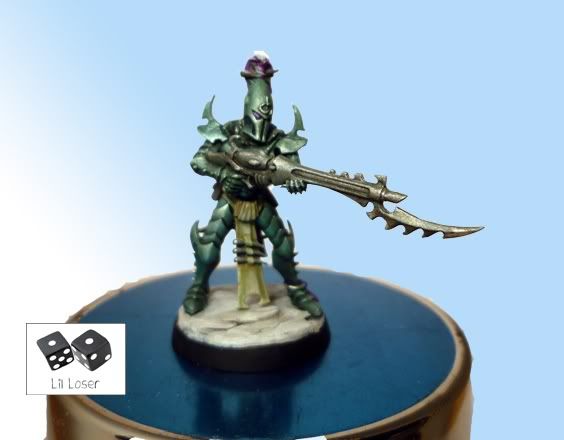
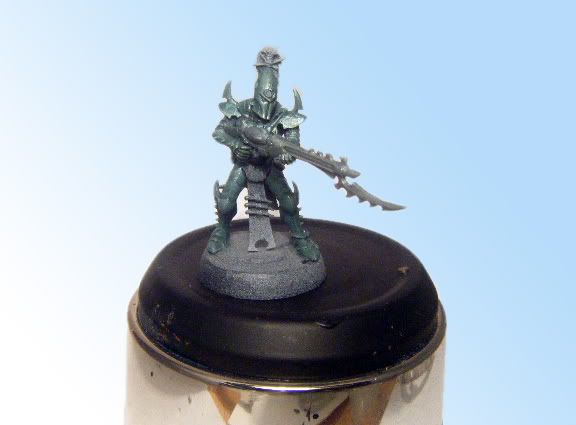
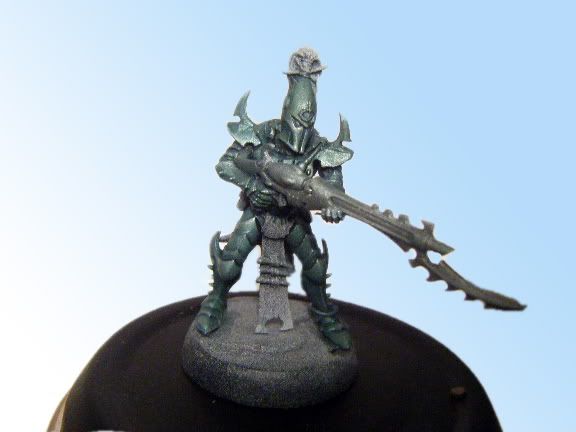
Quick recipie on how I created the TMM armour of my Dark Eldar warriors, enjoy!
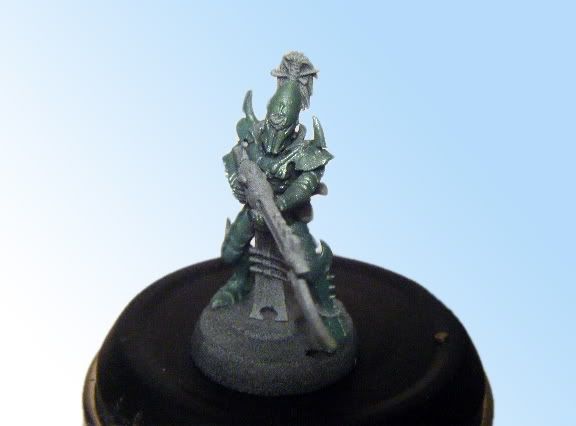
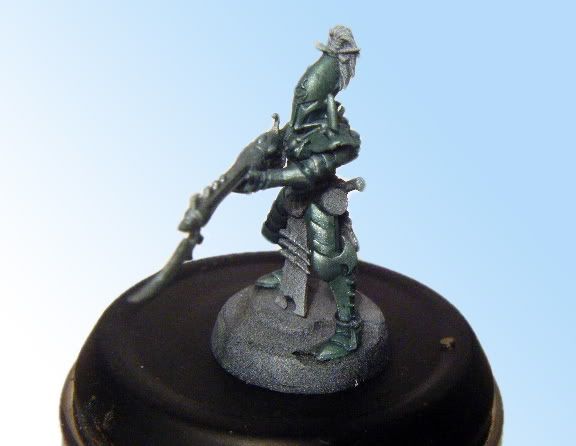
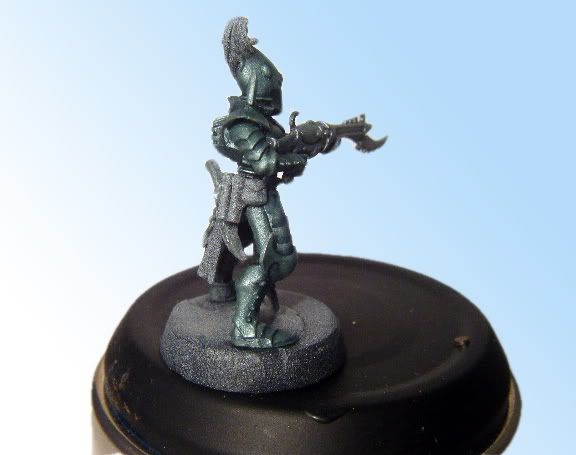
Stage 1: Basecoat
Basecoat black and dust white (dusting is a technique where you spray the model with white primer at a 45 degree angle on top of a black basecoat: I will cover this in a future tutorial).
Method: VMC Light Turquoise, Citadel Dark Angels Green, VMC Oily Steel (60:10:40)
Make sure this coat is even and consistent.
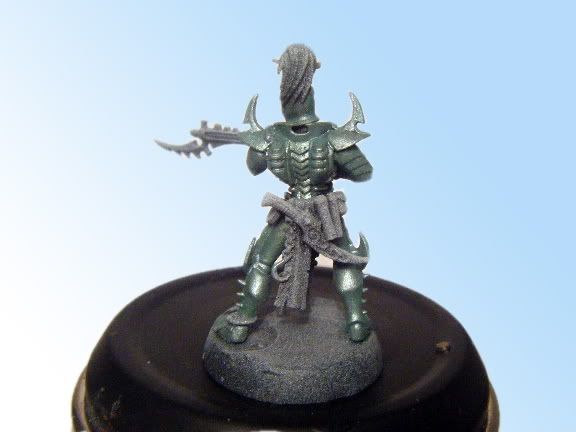
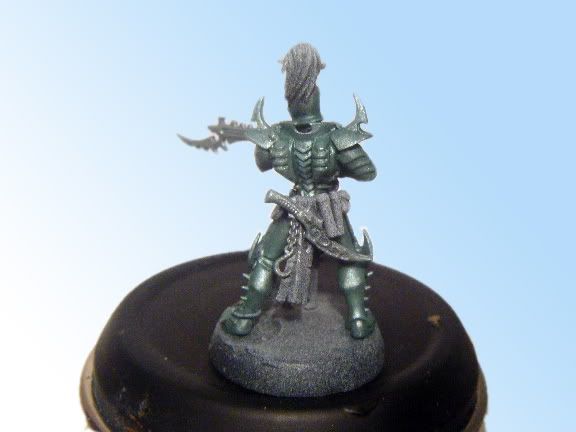
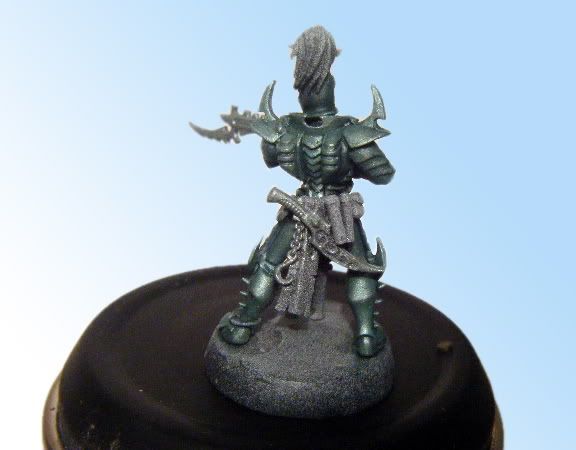
Stage 2: 1st highlight
Highlight all armour plates with mixture given above but with a touch more oily steel, leaving the recess between the plates. This enforces the silver pigment, and the recesses will become more pronounced when we start to shade him.

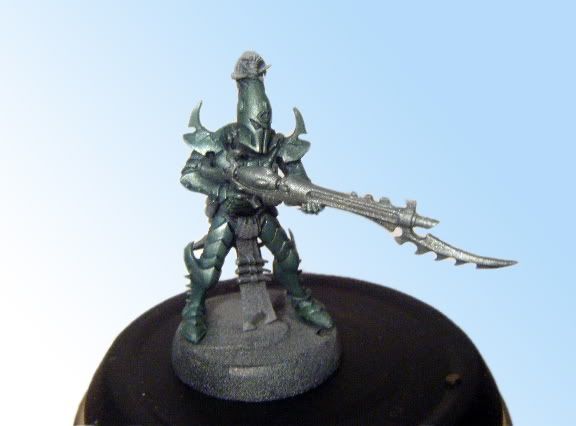
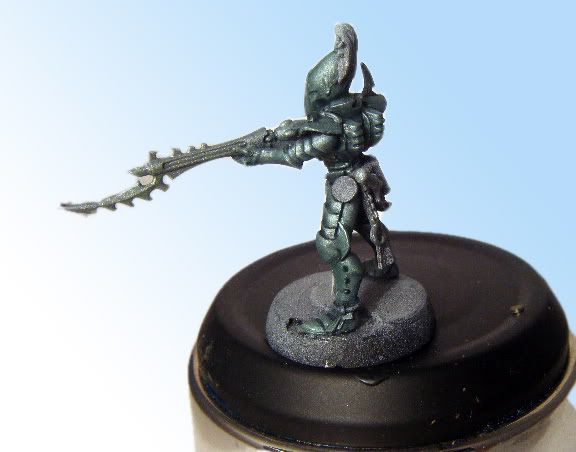
Stage 3: Glaze
Wash entire model with:
Citadel Asrumen Blue, Citadel Dark Angels Green, Citadel Black Ink (80:15:5).
I added VMC Glaze Medium to help break up the Dark Angels Green, but Thrakka green would work just as well. I only used it because I had some green left over from the last stage. Don't use too much black as this would really make the model look dull.
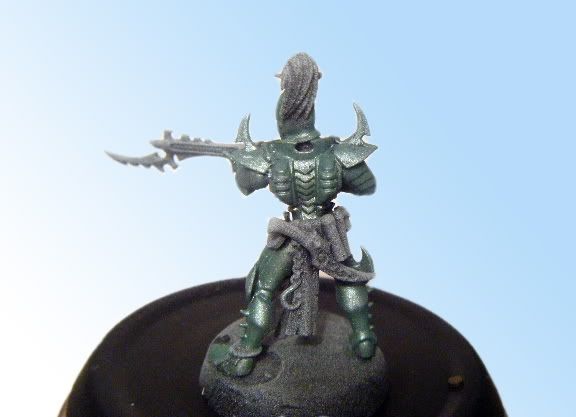
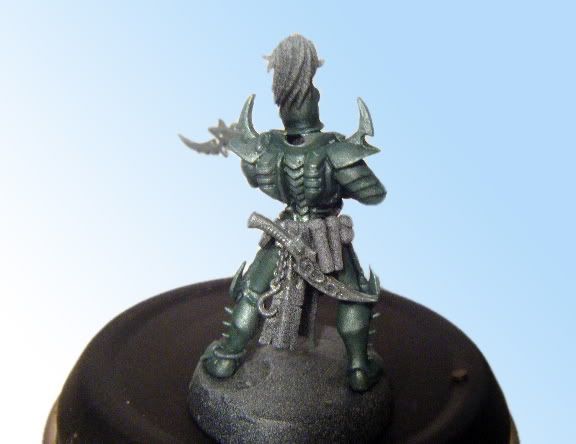
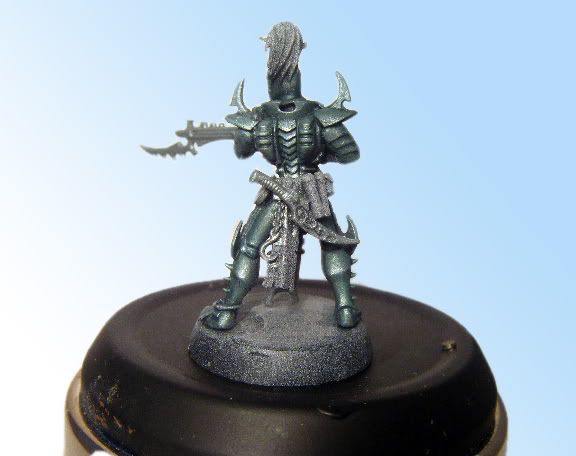
Stage 4: Final Highlight.
Add Citadel Mithril silver to the first mixture of:
Method: VMC Light Turquoise, Citadel Dark Angels Green, VMC Oily Steel (60:10:40)
and start highlighting the plates as you would a normal model. Introduce more mithril silver until you are highlighting with pure mithril silver.
NO MORE HIGHLIGHTS!
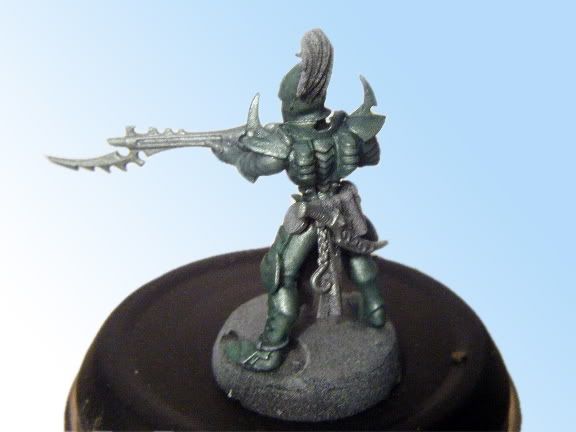
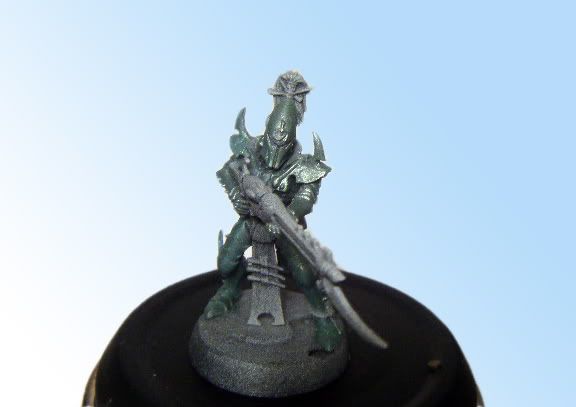
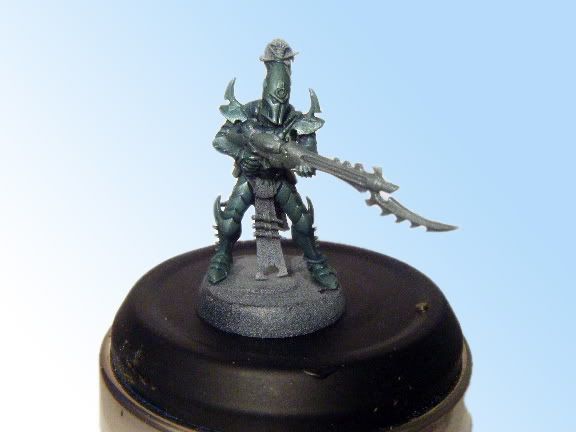
Stage 5: Shading.
I wash the armour 4-5 times with:
Citadel Asrumen Blue and Citadel Tharkka Green (80:20) or with pure Asrumen blue of Thrakka green.
Be selective with the area's you choose to shade, do not blindly wash the entire model. Start shading the model from the recess' of the armour and 'dragging' the wash with your brush to the extreme edges of the armour.
Do not shade the extreme edges and after a few shades, you will see that your model is taking shape.
\
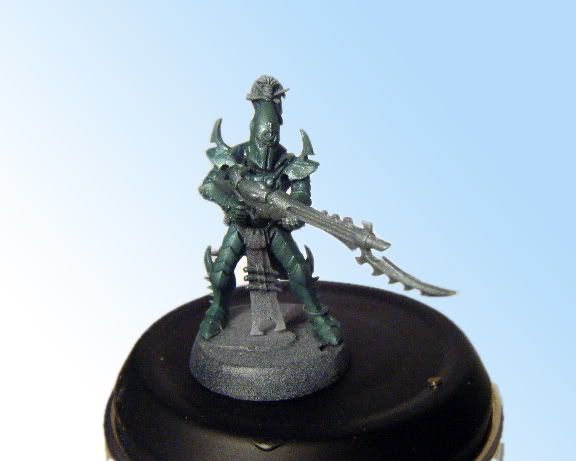
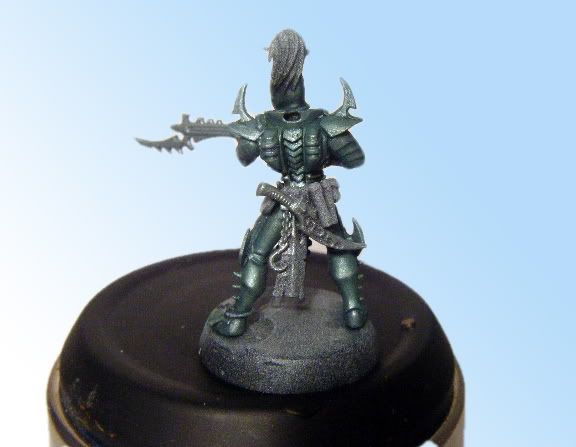
Stage 6: Black Lining.
I found that I could not get a satisfying contrast between the armour plates using blue and green washes alone. So, for the very deepest recess', I used black ink mixed with the above washes, then an extreme shadow of pure black ink to separate the armour plates.

And that's how I did it.
Give it a whirl, try different colours and experiment. If you have found this useful, or better yet tried this out on your own model, please get in touch. I'd love to hear your thoughts and see your pictures.
All the best,
LilLoser


 Knights of Titan 500 points Primary
  Warp Angels 750 points Primary
  The Eternal Crusade XXXX points Primary