Part 2 of the Quick, Easy and Effective Terrian series.
Other parts:
- Quick, Easy and Effective Terrain- Part 1: Rock Formations
- Quick, Easy and Effective Terrain- Part 3 Quick and Simple hills
Quick, Easy and Effective Terrian- Part 2: Boulders and Hills
This is more of a tip than a step by step Tut. I only figured that I’d take pics when I was Half way through, but it’s easy enough to follow.
It’s a great way to add height to your battlefield for basically free.
Materials List
- Water proof Base material (something like
MDF will do)
(+1 to hindsight I used cardboard and it got soggy)
- Toilet Paper/Tissue
- PVA/White Glue
- Water
-Basing Sand.
-An old paintbrush for applying PVA Glue.
-Paints and Brushes.
Method
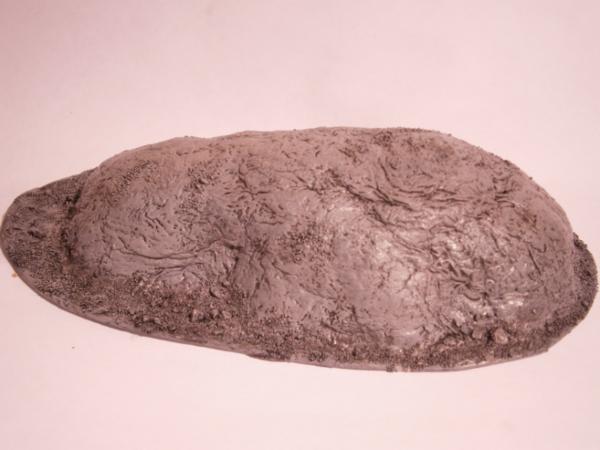
Basically when you’ve cut out the shape of the base you want, dip the Toilet paper in a 1:10 mix of PVA and Water. Take all the excess moisture off the sheets and then add layers like you’d do with Paper Mache. Use basically the same method found
here...
Once you've done that don't get Impatient like me and put it under a heat lamp....
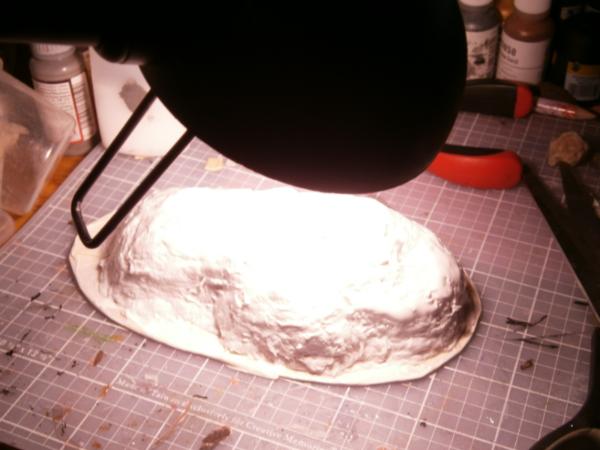
Sure it's fast. But it's not good when it starts cooking...
Needless to say there was a small fire on my painting table...
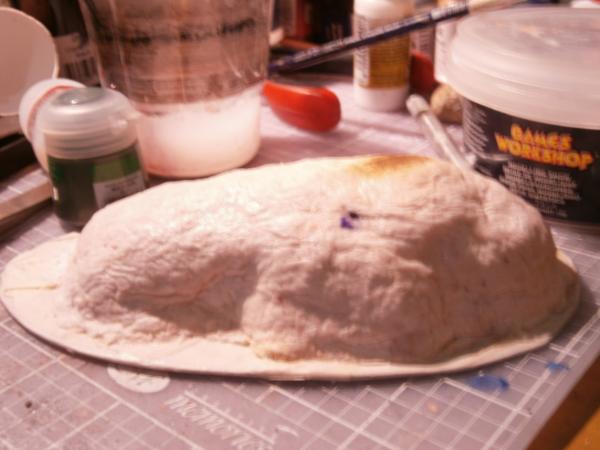
Now you can hit it with some basing sand...
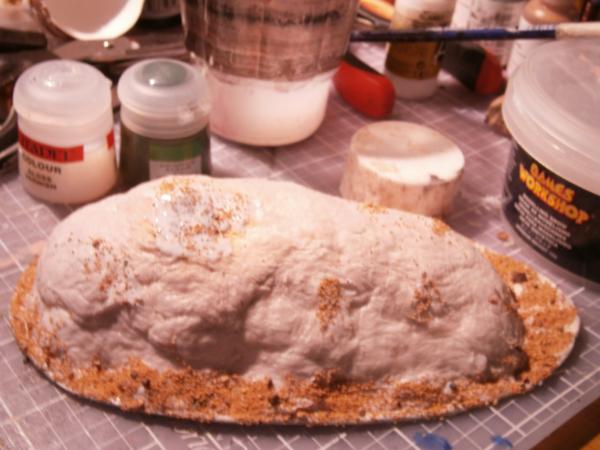
And then you're all ready to paint!
I was using Uluru (or as you forigeners call it Ayers Rock) as my inspiration, but the red brown mixture i'd mixed up in my airbrush clogged...MANY TIMES!!!!


In the end I rage quitted and dry brushed it a simple grey.
The bottom line is DON'T USE CITADEL FOUNDATION PAINTS IN AN AIRBRUSH!!!!!
I would like to make a giant Uluru terrain piece sometime in the future...Watch this space...Maybe..
You even get a nice rock texture if you're using cheap rough sandpaper like toilet paper...
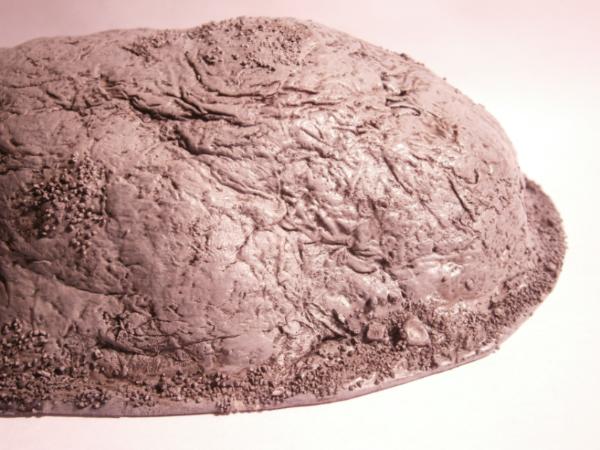
This method is also good for other little things, like these rubble piles....

I hope someone found my mad ramblings helpful.
Until next time,
FP!

Oh and it's my 2222nd post!


 "Whilst we stand, we fight. Whilst we fight, we prevail. Nothing shall stay our wrath"
  Guilliman and the Ultramarines are like Manchester United, everyone hates them because they are so awesome!