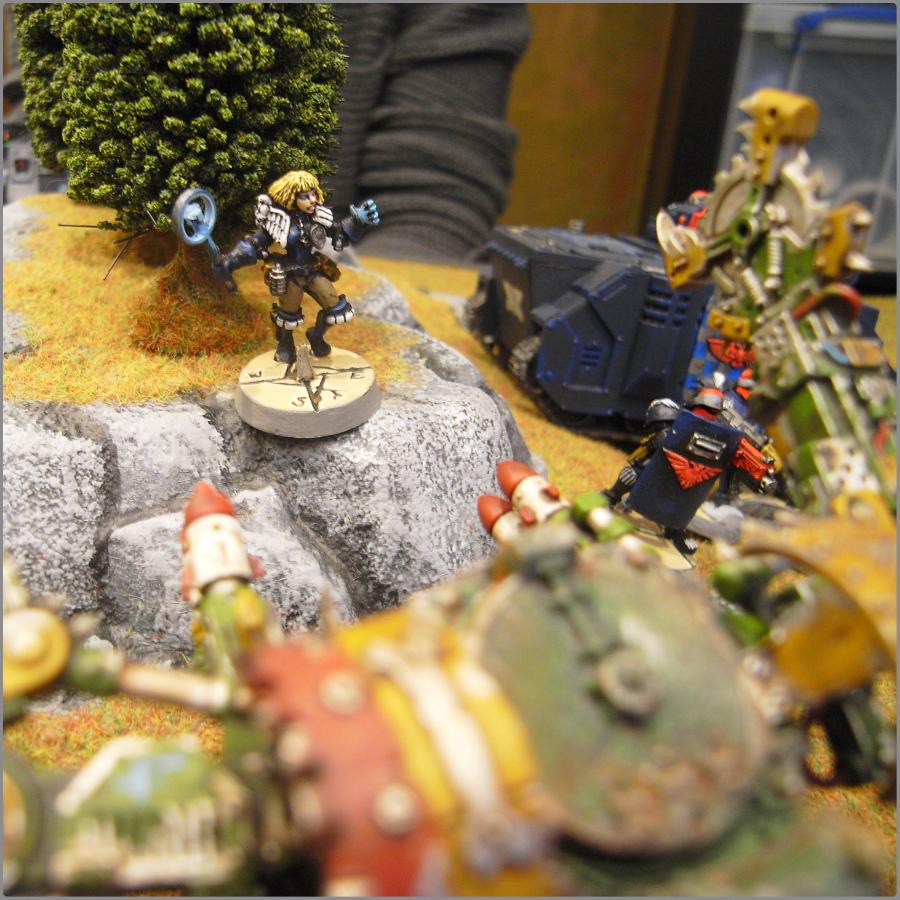
THE FINAL BATTLE - well, at least for a while. After two defeats for the Grots, Panic decided to change around the army list bit and went and made a ton more Rokkits. Both of us have tweaked our lists, and so you join us for round three, where the Arbites have managed to reclaim the city and now fight a fresh wave of Grots in the open ground beyond the walls.
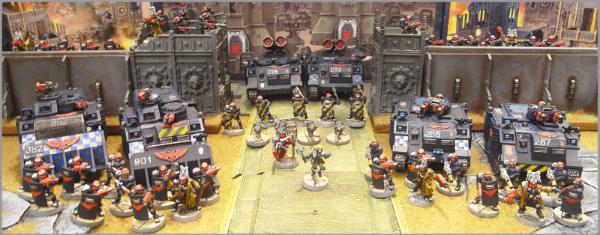
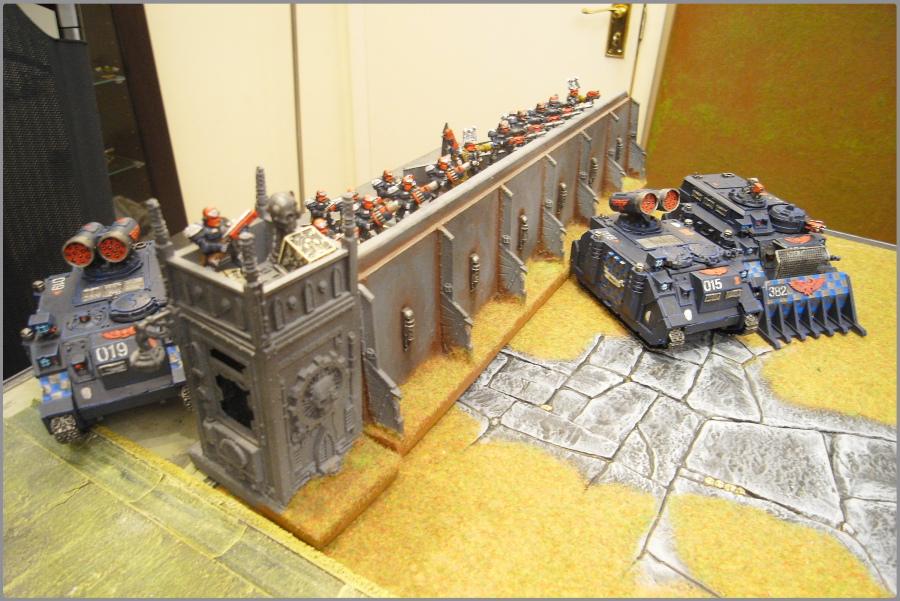
ArbitorIan's Adeptus Arbites (Sisters of Battle & Imperial Guard, 1500pts)
* Judge Jacobus
* Suppression Team [Battle Conclave of 5 Crusaders & 4
DCA]
* Combat Team [10 Battle Sisters, 2 flamers] in a Repressor
* Combat Team [10 Battle Sisters, 1 stormbolter, proctor with power maul] in a Repressor
* Dominion Team [5 Dominions, 2 meltaguns] in an Immolator [
TL multimelta]
* Dominion Team [5 Dominions, 2 meltaguns] in an Immolator [
TL multimelta]
* Retribution Team [5 Retributors, 4 hvy bolters]
* Exorcist
* Exorcist
* Psy-marshall [Primaris Psyker]
* Patrol Team [10 Veterans, grenadiers, 3 grenade launchers]
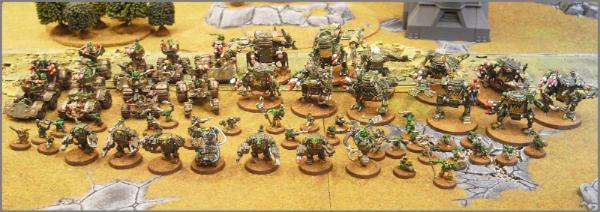
Panic's Grot Kan Wall (Orks, 1500pts)
* Big grotmek [eavy armour, cybork body,
KFF]
* Big grotmek [eavy armour, cybork body,
KFF]
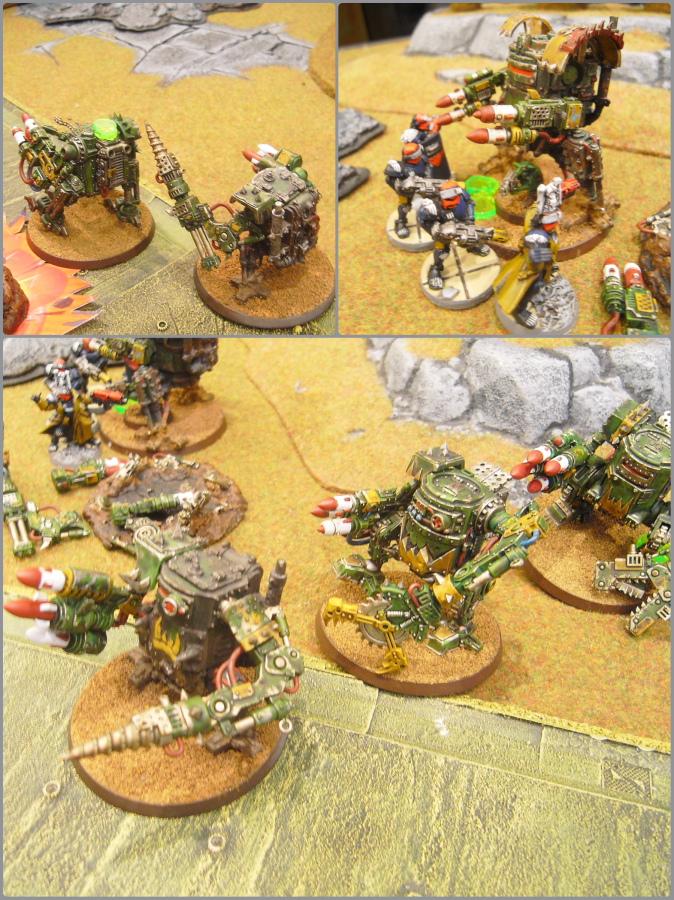
* 5 Mega Armoured Grotz [1 rokkit, 1 scorcha]
* Dreff Dredd [2 rokkits]
* Dreff Dredd [2 rokkits]
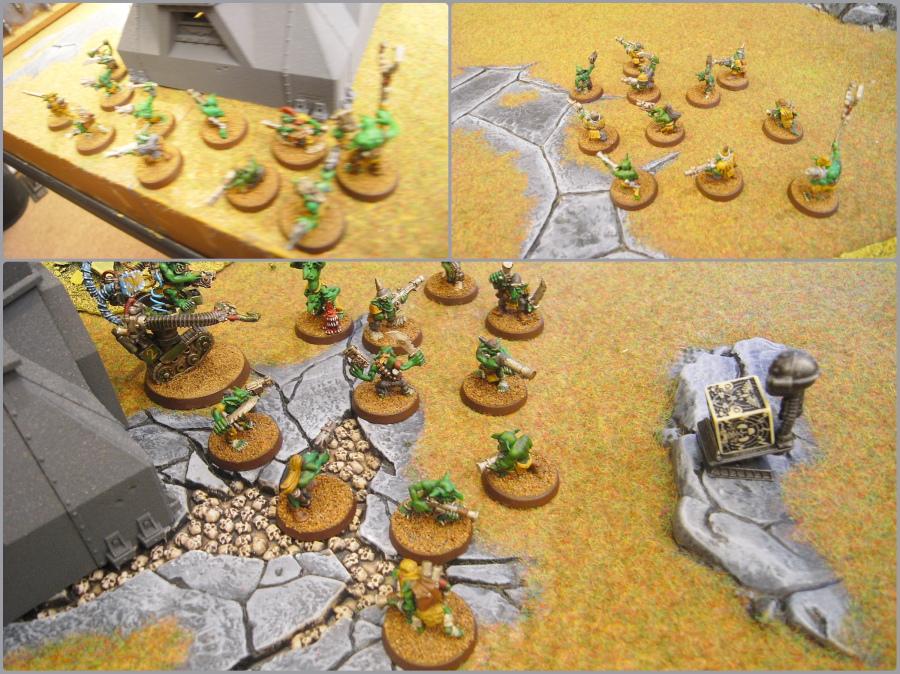
* 10 grots (1 herder)
* 10 grots (1 herder)
* 10 grots (1 herder)
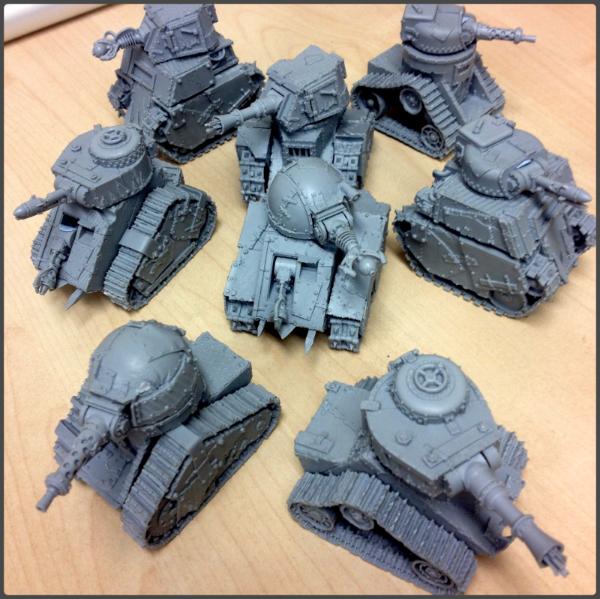
* 3 Buggies [
TL rokkits]
* 3 Buggies [
TL rokkits]
* 3 Buggies [
TL rokkits]
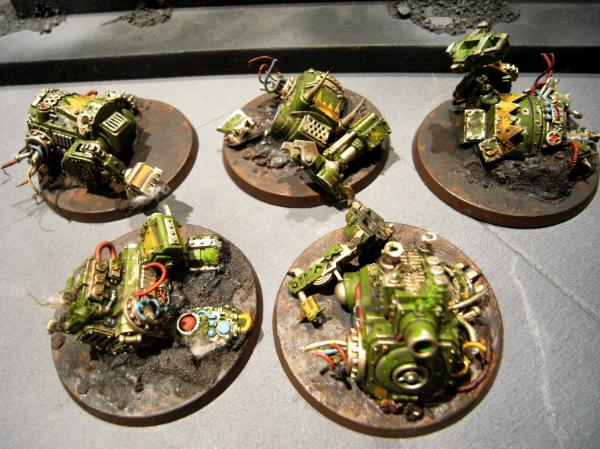
* 3 Killa Kans [rokkits]
* 3 Killa Kans [rokkits]
* 3 Killa Kans [rokkits]
Pre-game
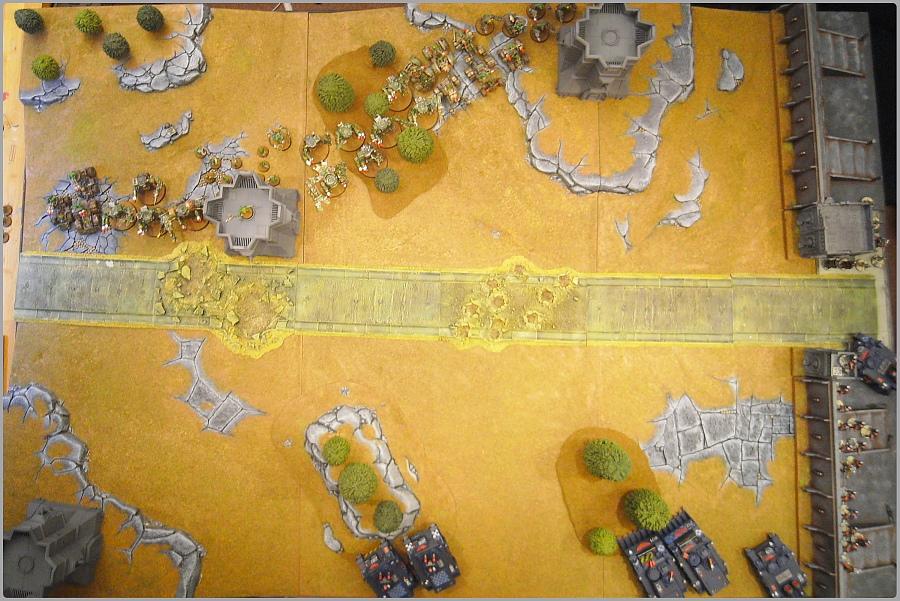
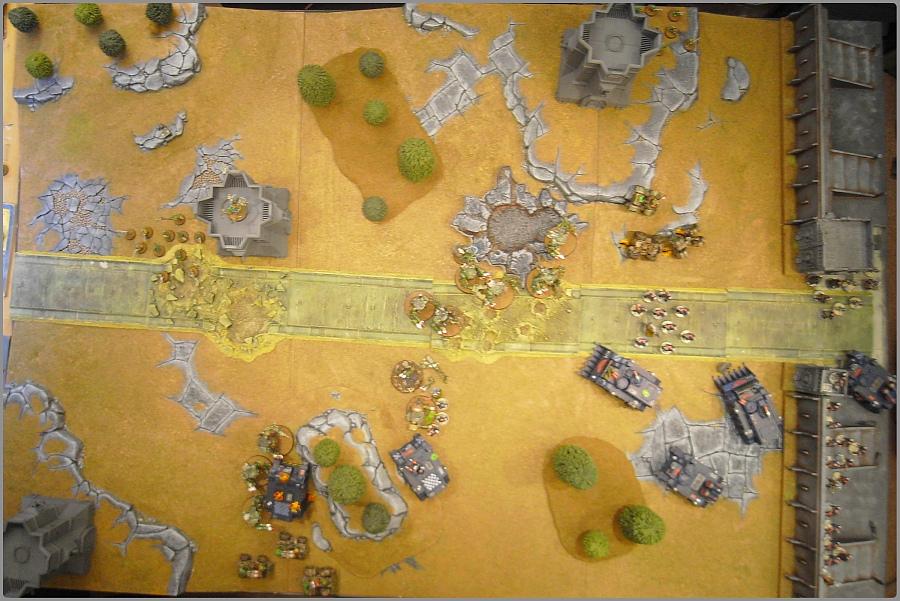
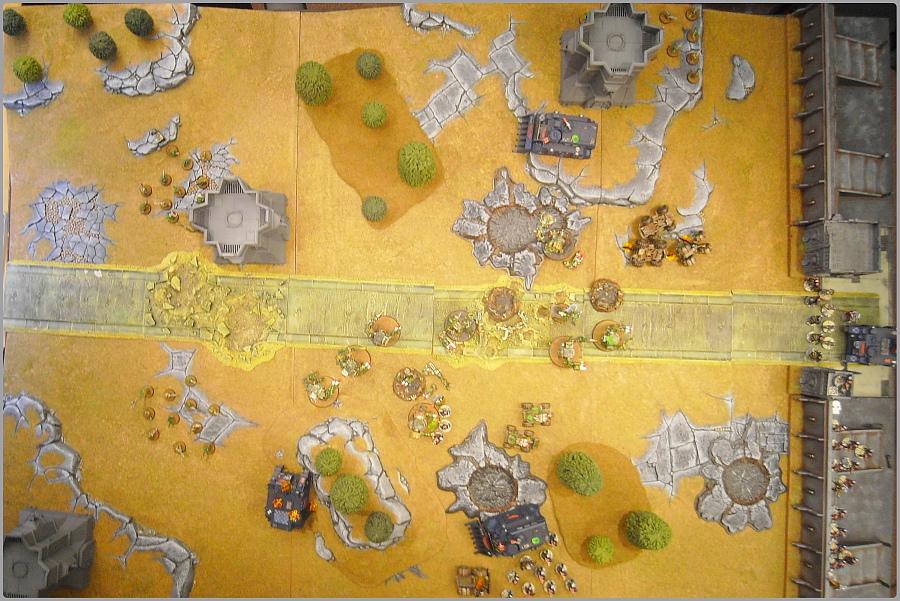
We rolled The Emperor's Will with Vanguard Strike deployment, the Arbites winning the roll to deploy and choosing (for narrative purposes) the bottom right corner with the walls. Warlord traits were actually useful this time, the grotmek could re-roll reserves while Jacobus allowed his army to move through ruins. The Psy-Marshall then chose pyromancy, coming up with two powers whose names I've now forgotten because it was a week ago, but definitely had the potential to blow people up.
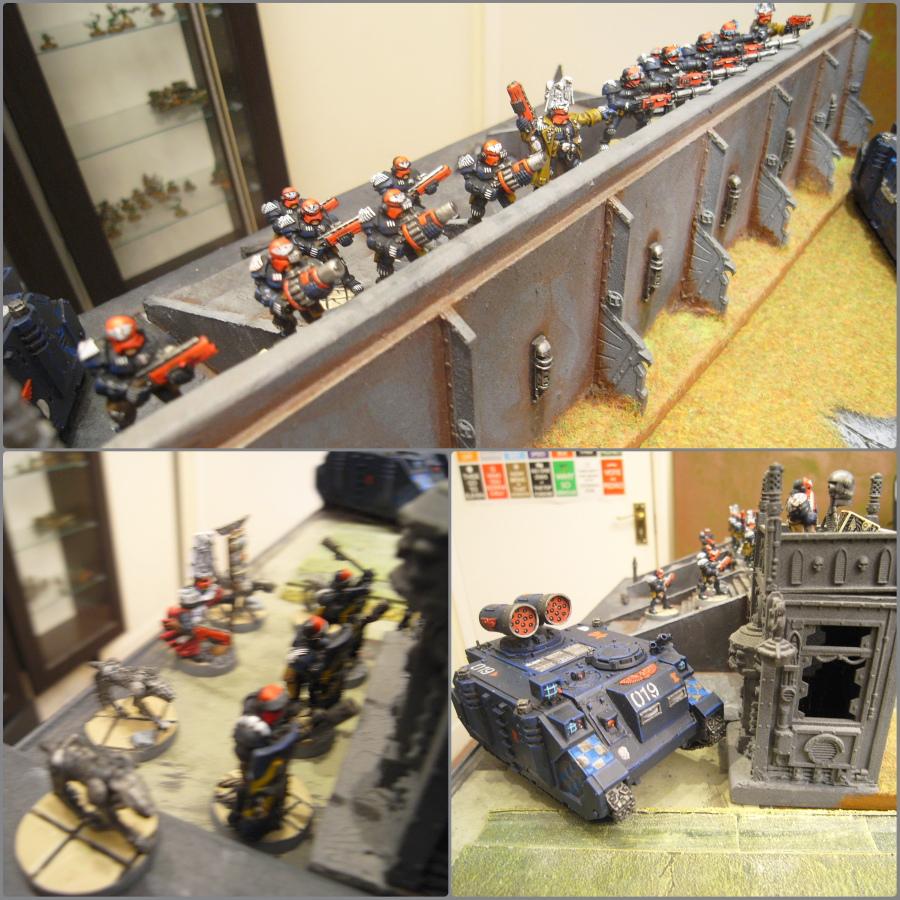
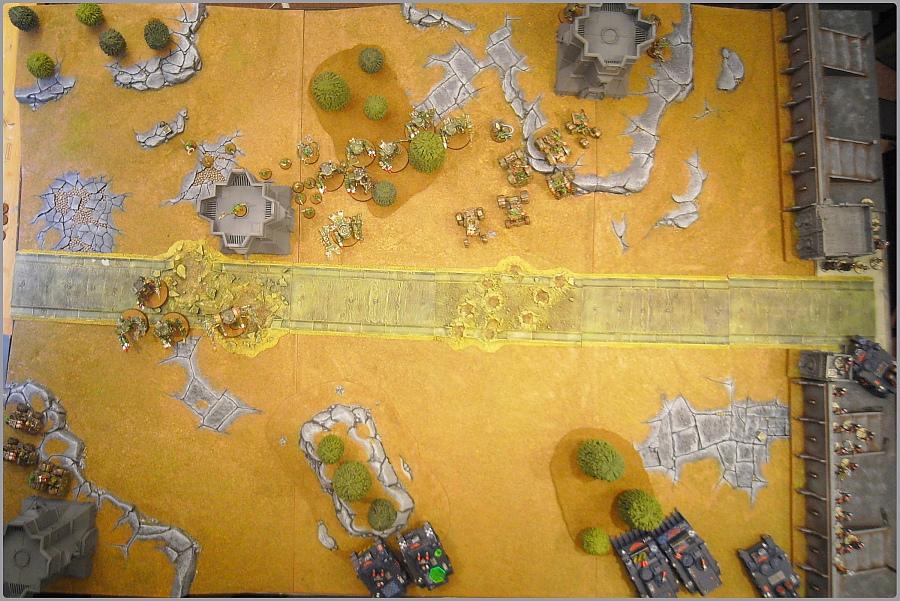
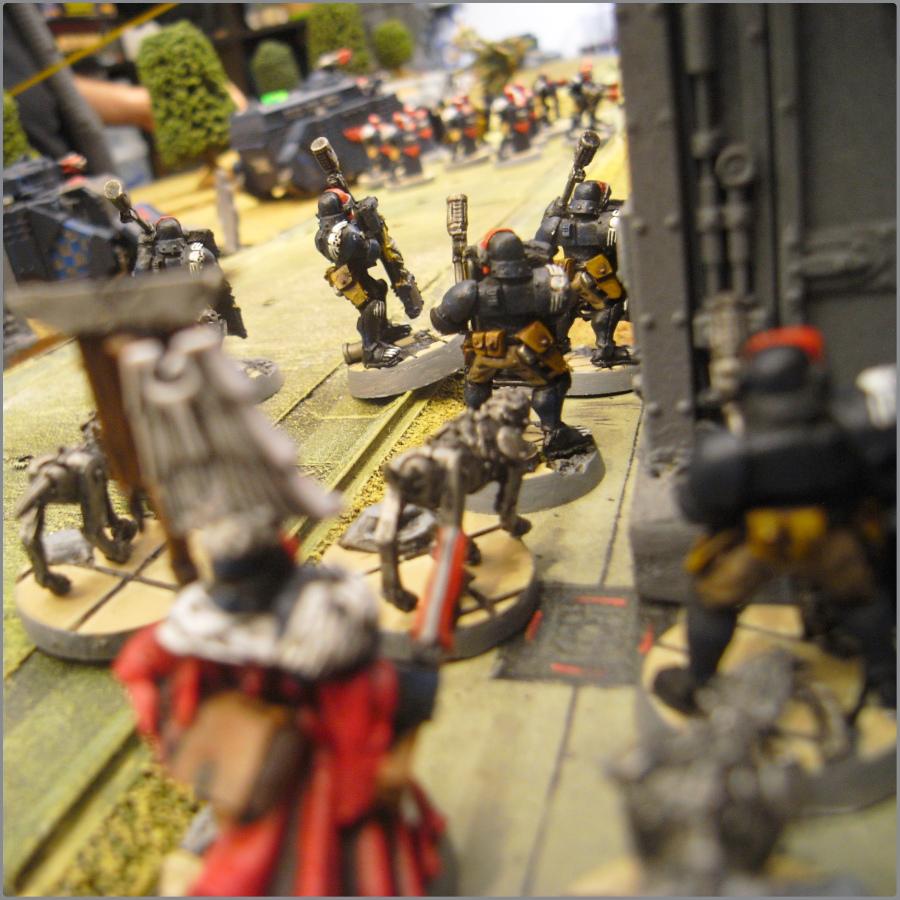
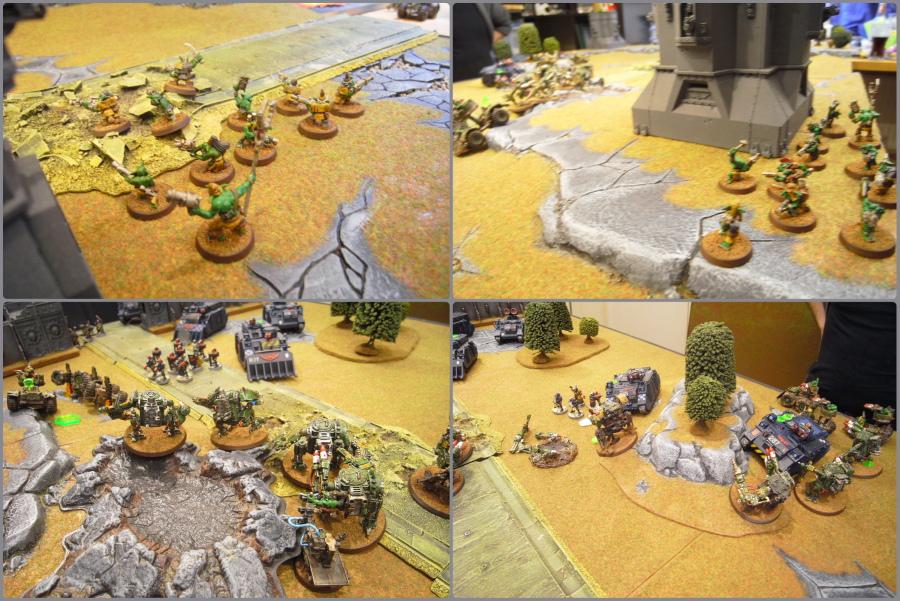
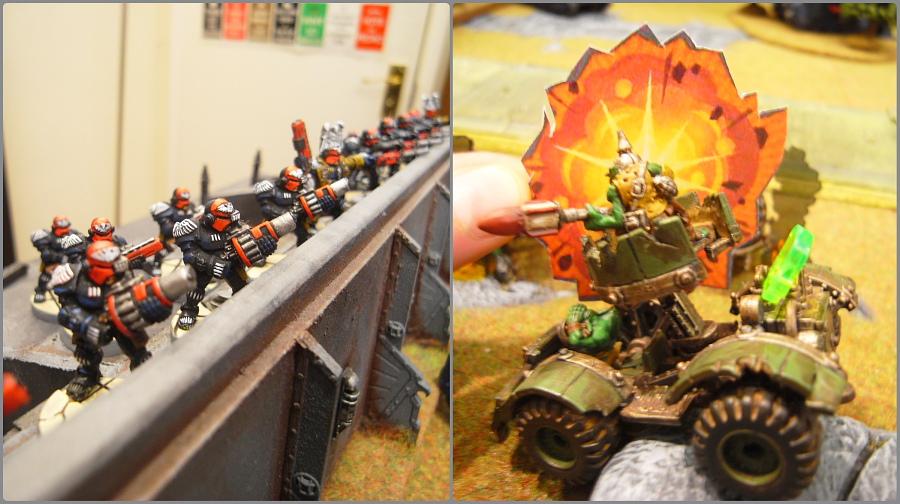
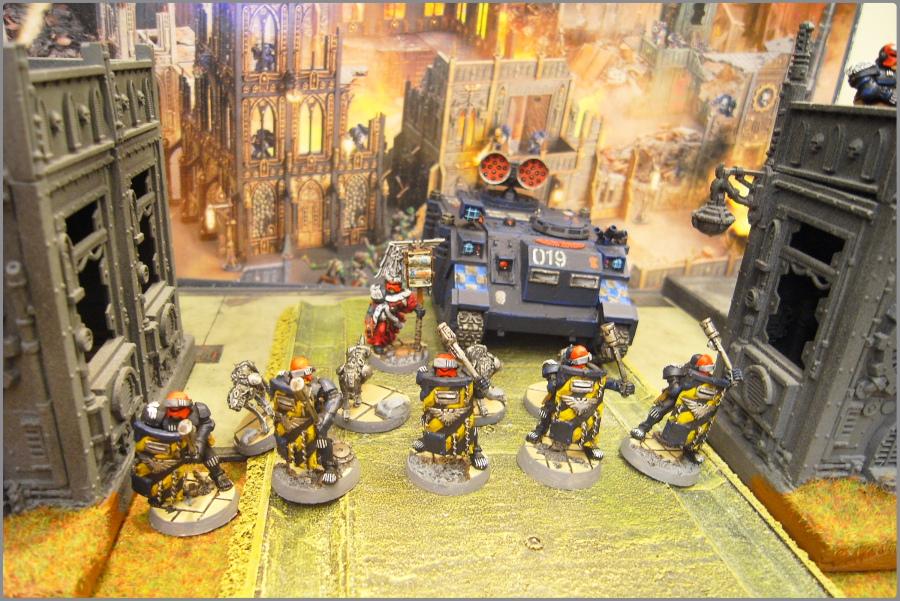
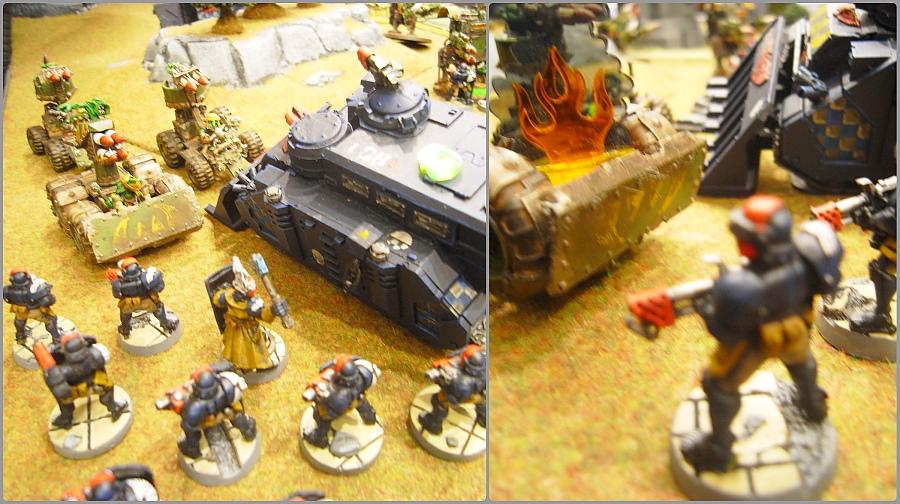
The Arbites deployed first, the Patrol Team on the wall, and Jacobus and his Suppression Team waiting behind it to counterassault.
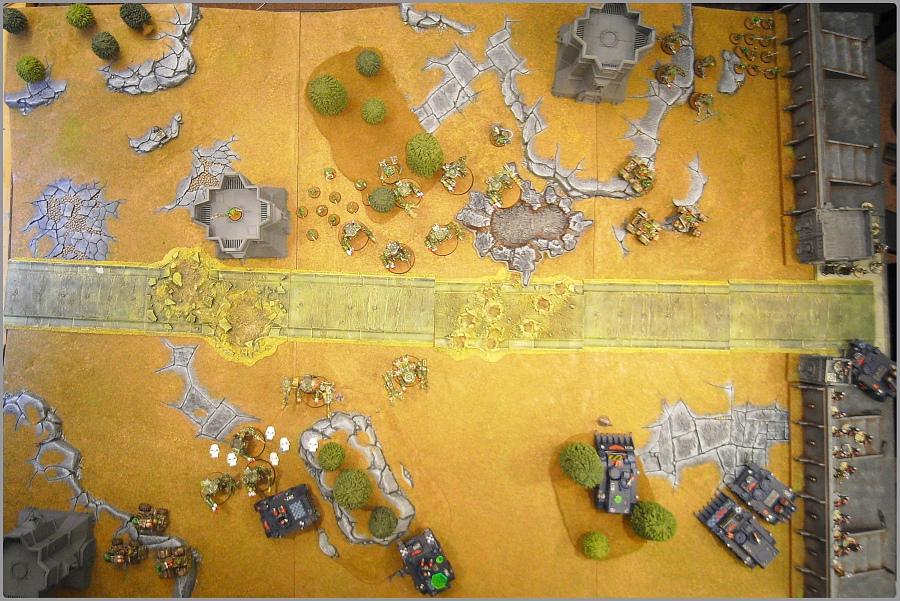
The rest of the forces deployed in front of the wall in their transports, with the two Immolators in an advanced position, hiding between a small hill and MY FACE.
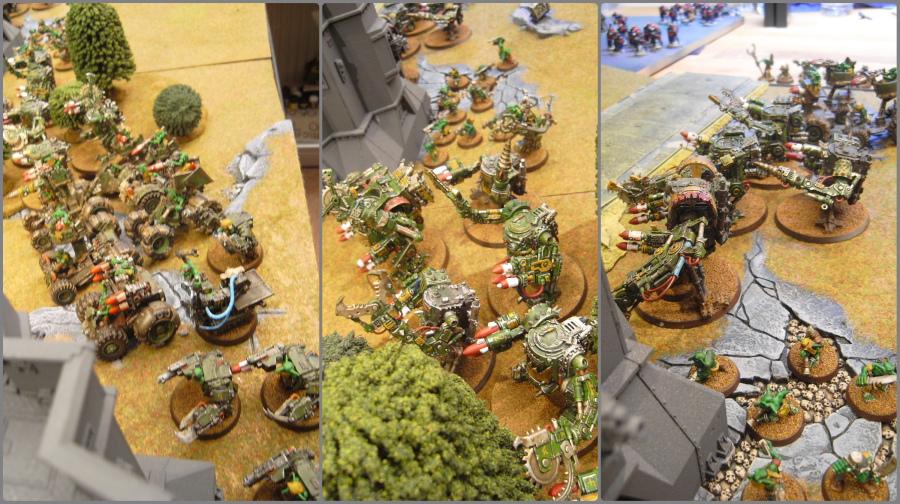
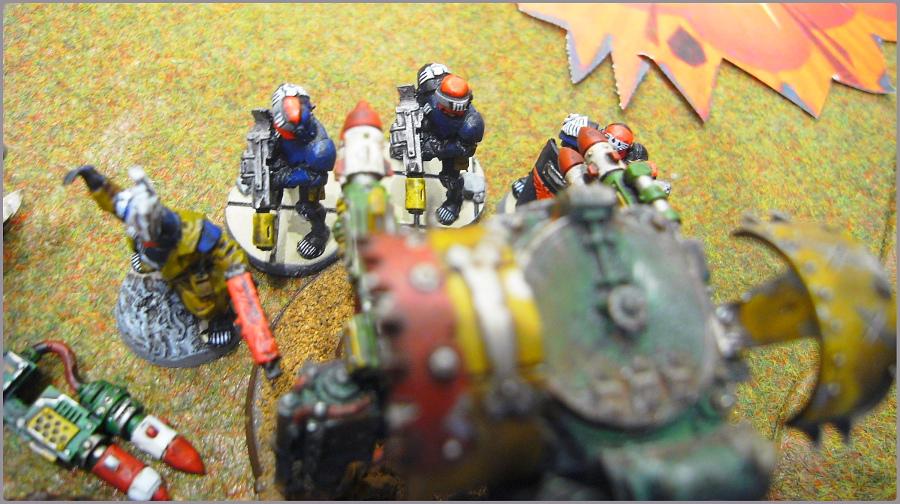
Grots, of course, deploy in a great big line as far forward as possible.
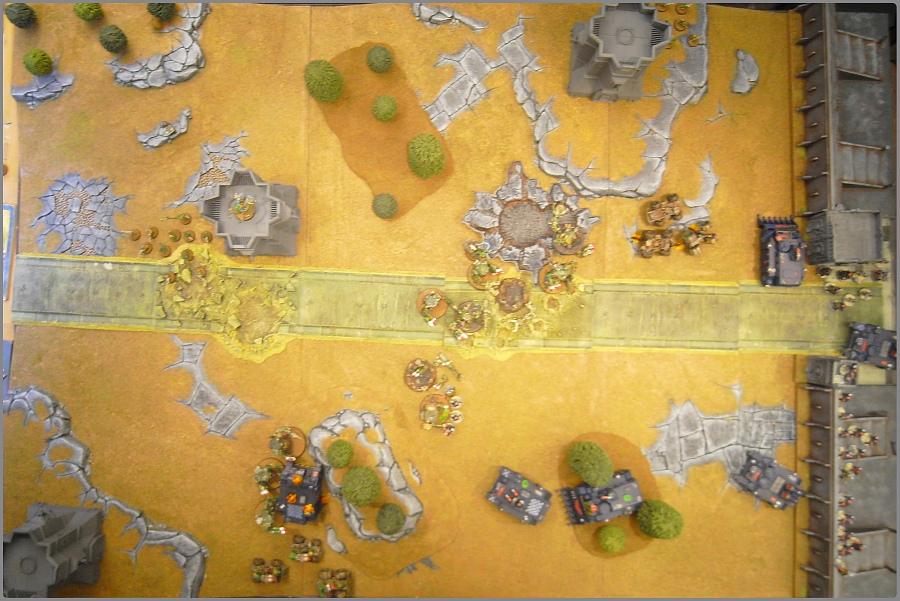
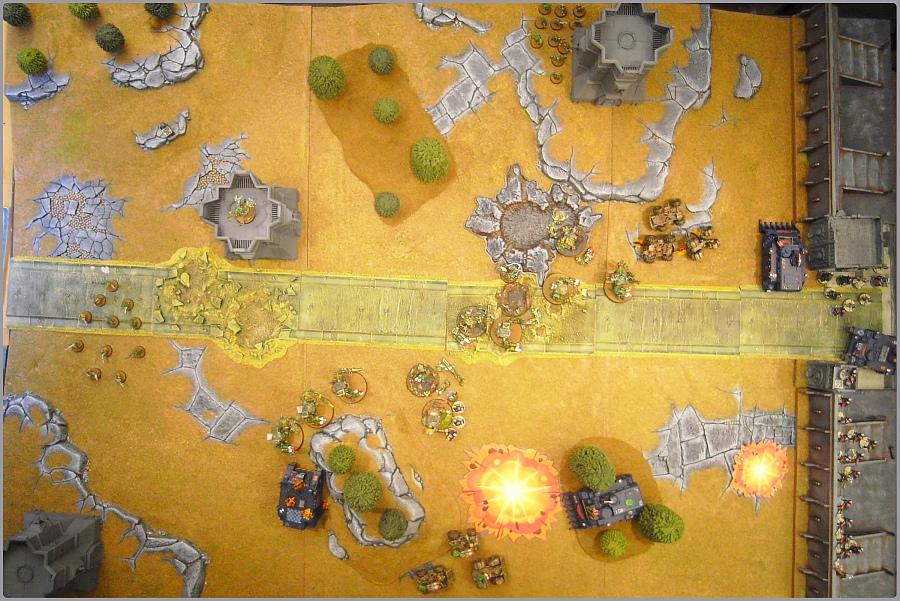
The two armies lined up for battle, with their objectives revealed - the Grot objective in the back of their deployment is a targetting array, and the Patrol Team hold a grab-wave generator.
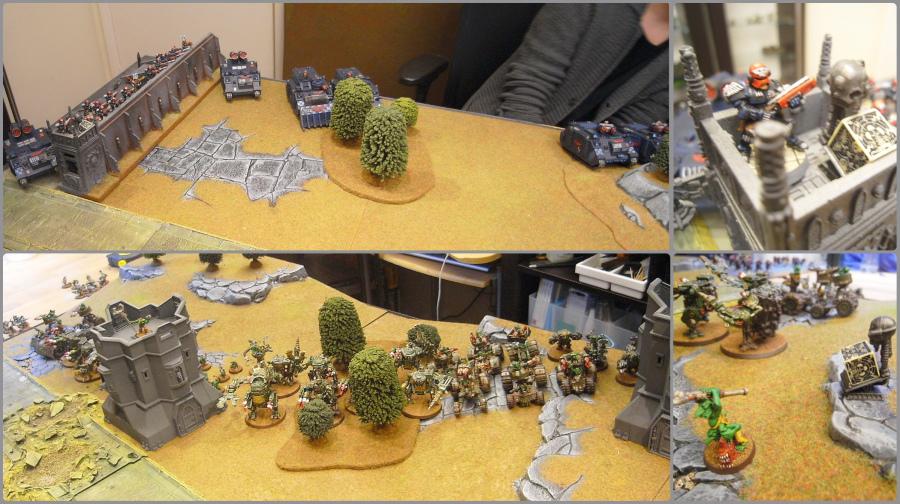
And the end of deployment.
 Grots Turn 1
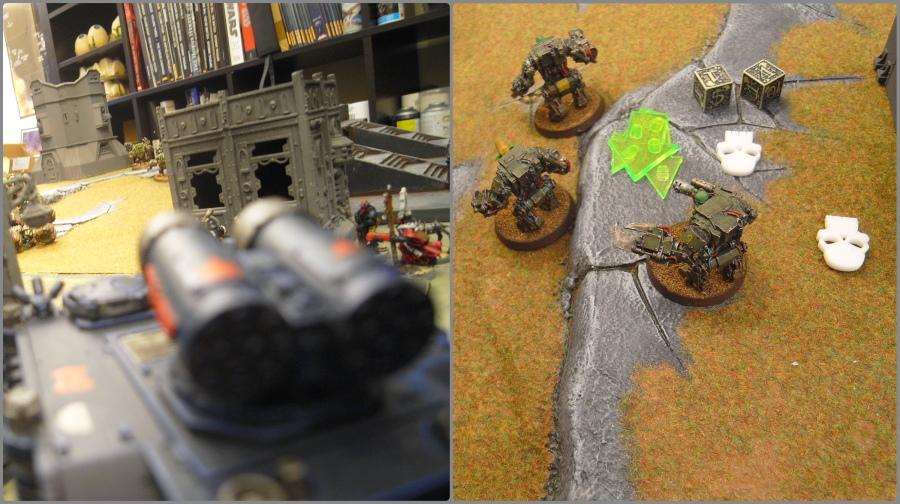
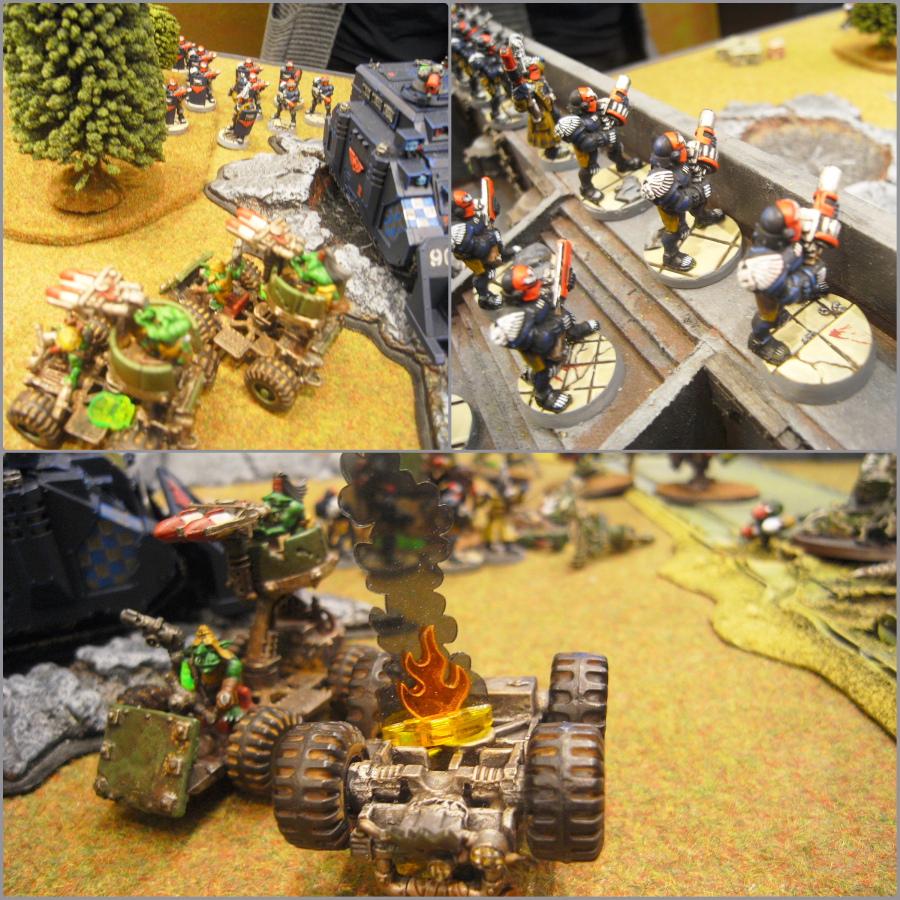
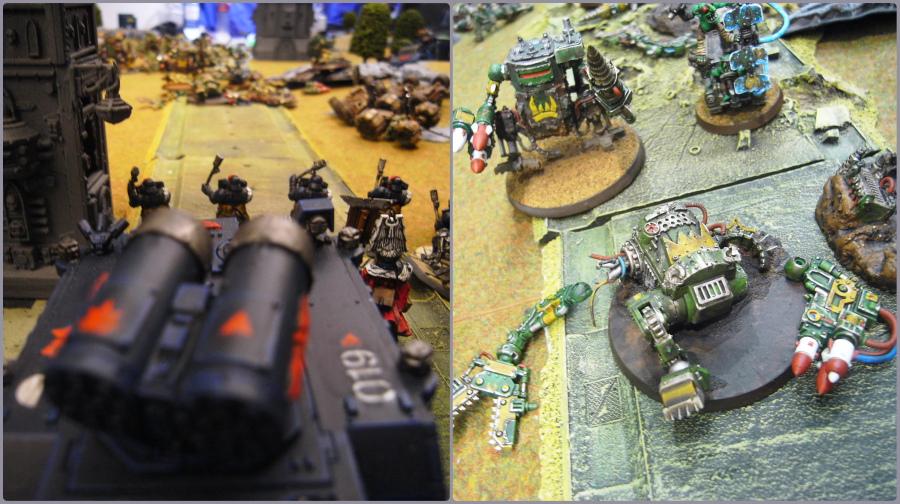
So, the Grots get first turn and in grotty tradition, run forward as fast as possible. Only the buggies hit with their rokkits, and manage to shake one of the closest Immolators, while the Megagrotz decide to be sneaky and advance around the topmost bastion.
The grots run forward!
 Arbites Turn 1
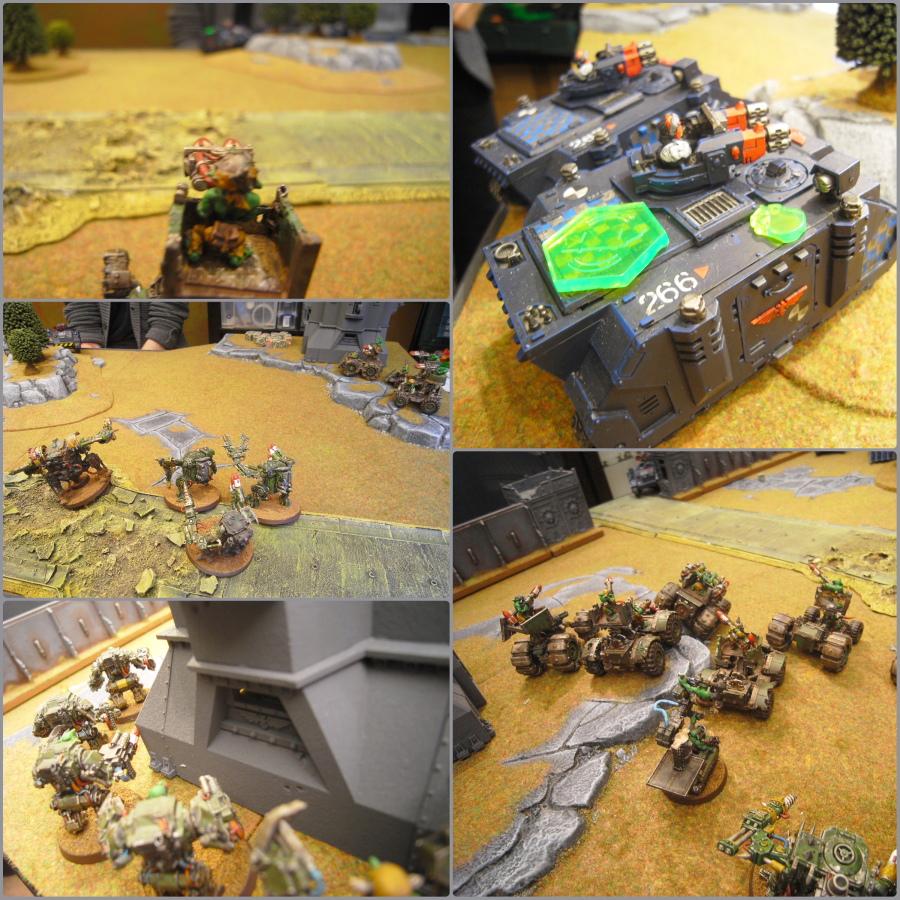
The Arbites line stays put, only the unshaken Immolator actually moving to deposit it's Dominion Team and the Psy-Marshall in front of a Deff Dredd.
And the line opens fire, but shooting is desultory. The combined Arbites line manages to destroy the lead Buggy squad, but nothing else, getting themselves a First Blood point.

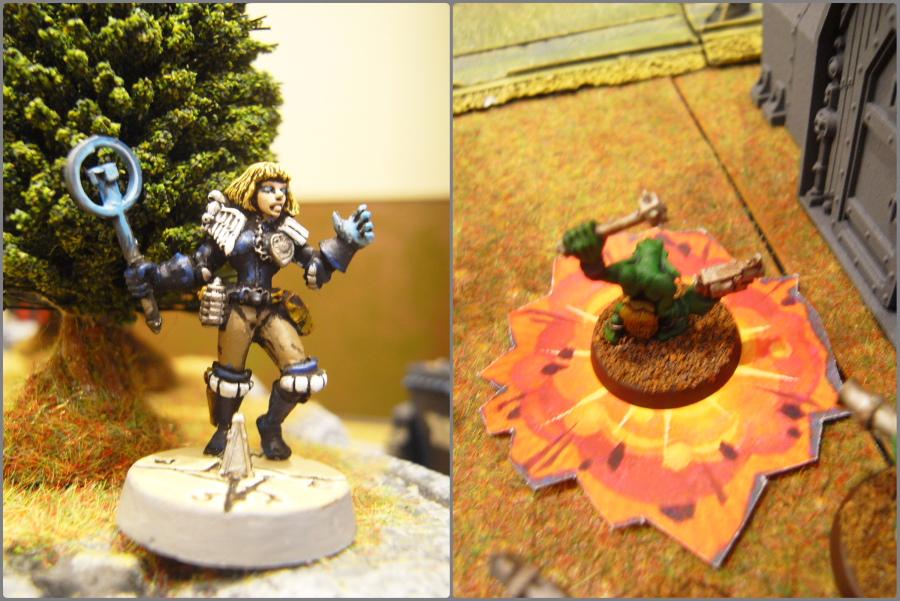
The Psy-Marshall attempts to set a whole squad on fire with her spontaneous combustion power, but only kills the closest grot.
And the Dominion squad and Immolators miss with all their shots, and the Deff Dred is able to advance unscathed. One of the Repressors plows through the woods, popping smoke as it goes.
 Grots Turn 2
The Grot line advances again, the forward buggies glancing the lead Repressor through the smoke, and a Kan squadron charging the exposed Dominions, wiping them out.

The Dred nearby goes for the psyker, killing her in the first round of combat!
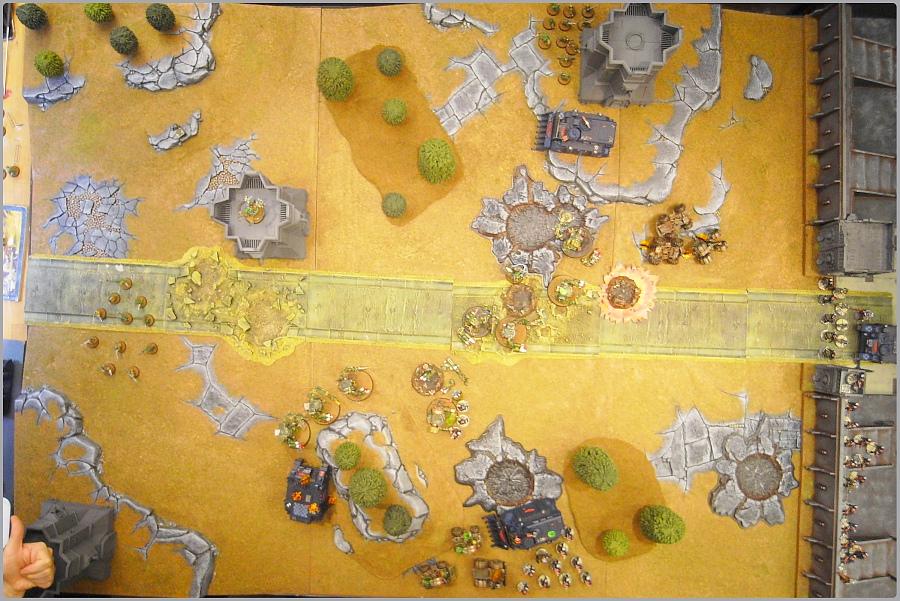
And at the end of the second turn, the Grots have made gains on the bottom left, and are still advancing on the top right.
 Arbites Turn 2
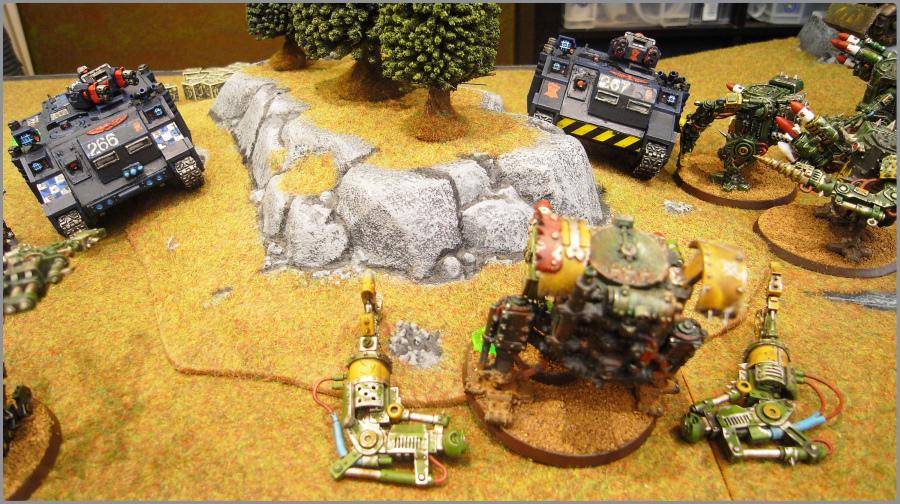
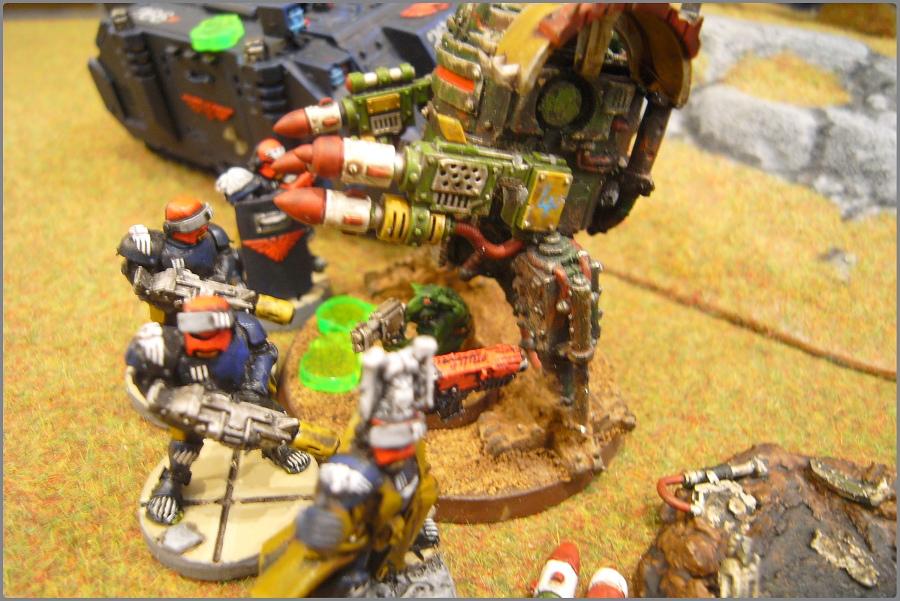
The second Dominion Team disembark from the Immolator and explode the nearby Deff Dred with Meltaguns!
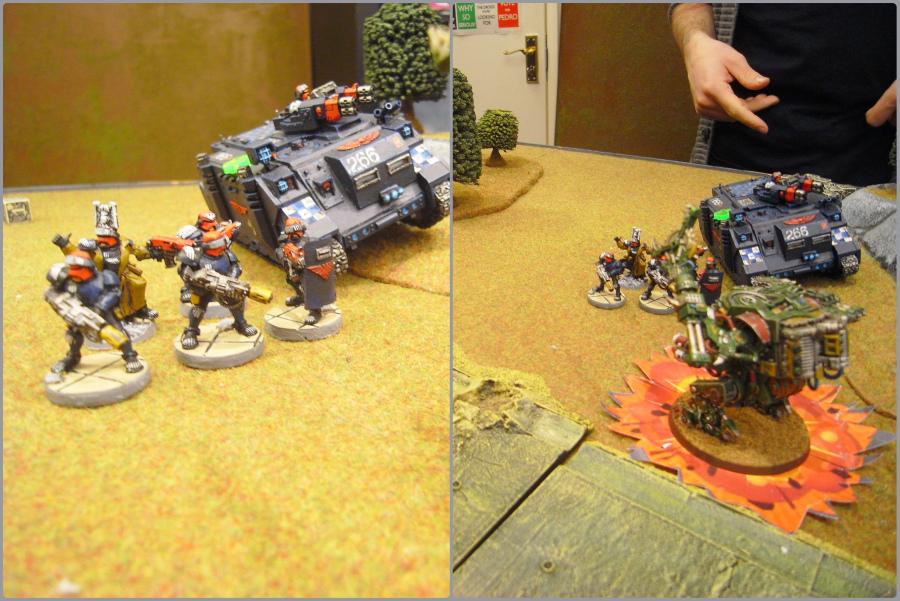
The combined firepower of the Arbites explodes another two buggies, and glances the third as a Combat Team disembark from a Repressor to bathe them in cleansing flame.
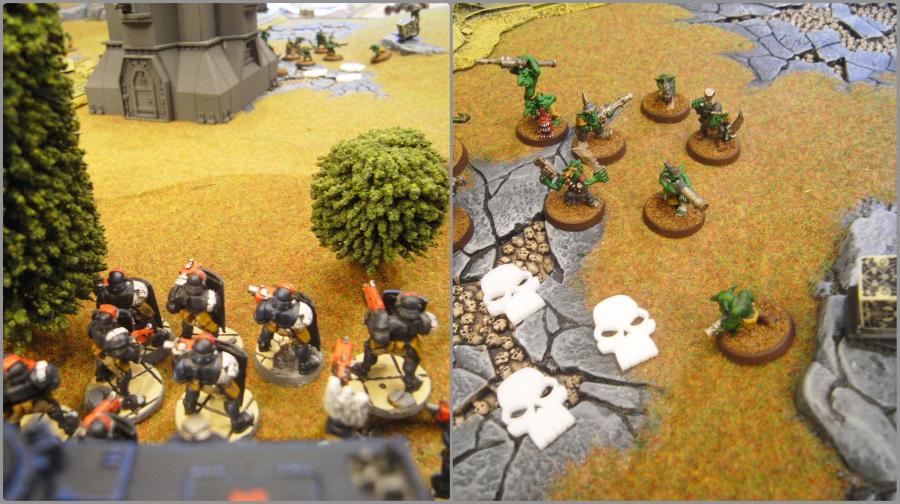
Anticipating a charge by the Megagrotz, Jacobus and the Suppression Team start to advance behind the walls.
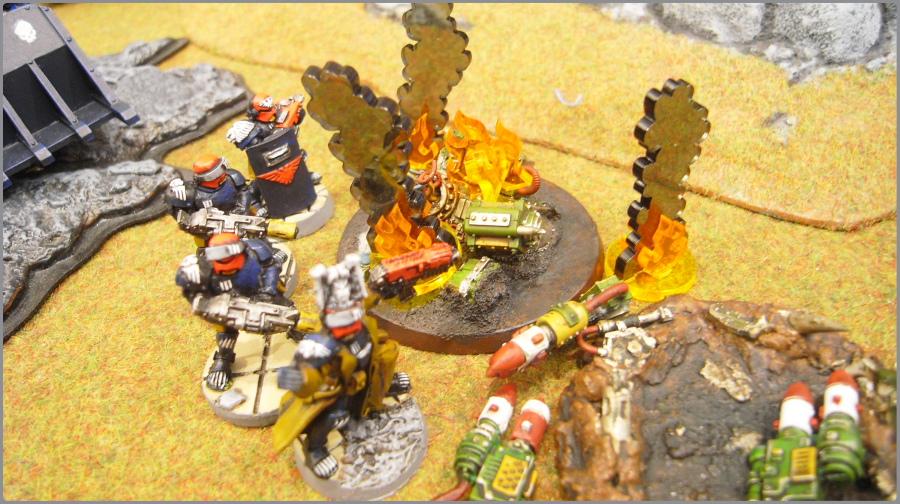
But then, the Exorcist behind the walls fires at the Megagrotz, killing two and forcing them to flee off the board!
And while both of the Immolators fire at the remaining Deff Dred, they just keep blowing off arms!
So the Arbites line has spread a bit, as they try to stop the Grot outriders breaking through.
 Grots Turn 3
The reserved Grot Herdz appear on the table, making a run for some objectives, as the Kans advance, finally making it through the wreckage of all those Buggies!
The Deff Dred is still far from 'armless (arf!) and proceeds to try and hit the Dominion Team over the head with it's rokkits. The result is a draw.
And the Kans on the bottom left destroy the closest Immolator with their snappy clawz.
Once out of all that wreckage, the Grot line is zooming forward!
 Arbites Turn 3
The Arbites open with the grenade launchers on the walls, blowing up the last of the forward Buggy squadron.
And everything else goes for the Kans, destroying the front unit but leaving the back unit unscathed.

And the armless Dred still has problems hitting the Dominions. It's fast enough to avoid getting krak grenades, though, so the combat is another draw. The second Repressor starts it's advance up the field, turbo boosting as much as it can.
 Grots Turn 4
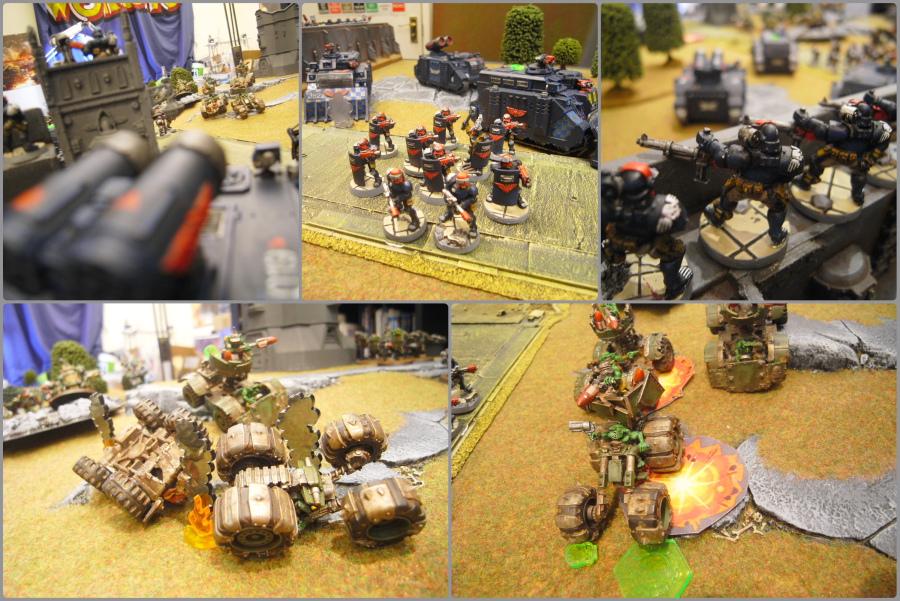
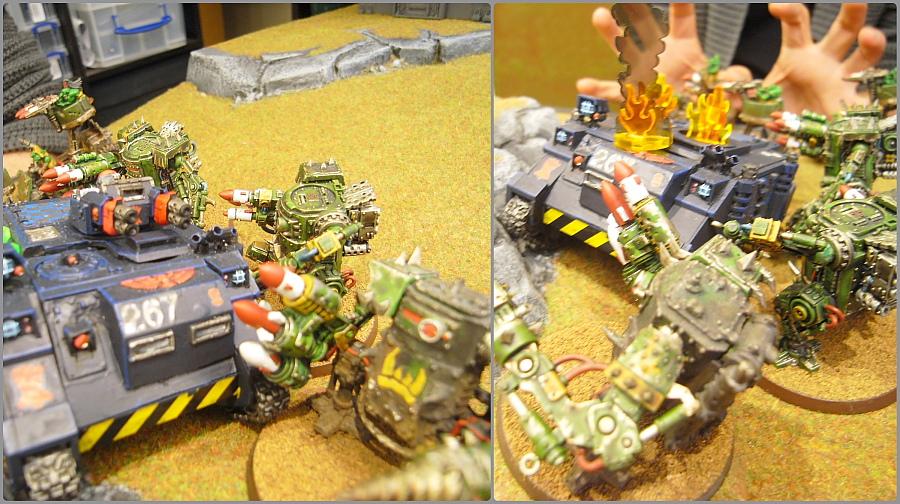
The Grot turn gets off to an explosive start as the advancing Kans blow up the closest Exorcist!
And the last Buggy squadron does the same to the second Immolator.
The Dredd still has no luck, though, and the Dominion combat is a draw.
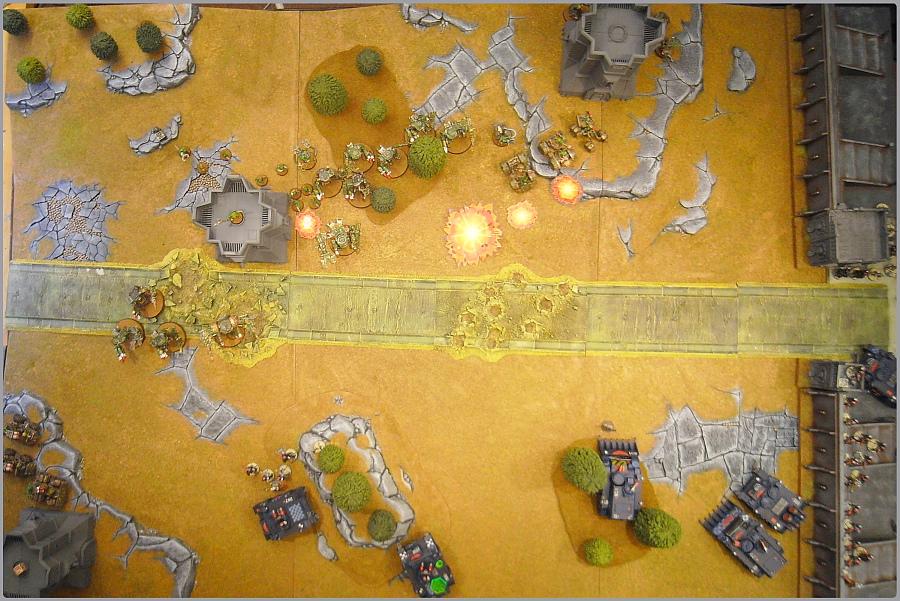
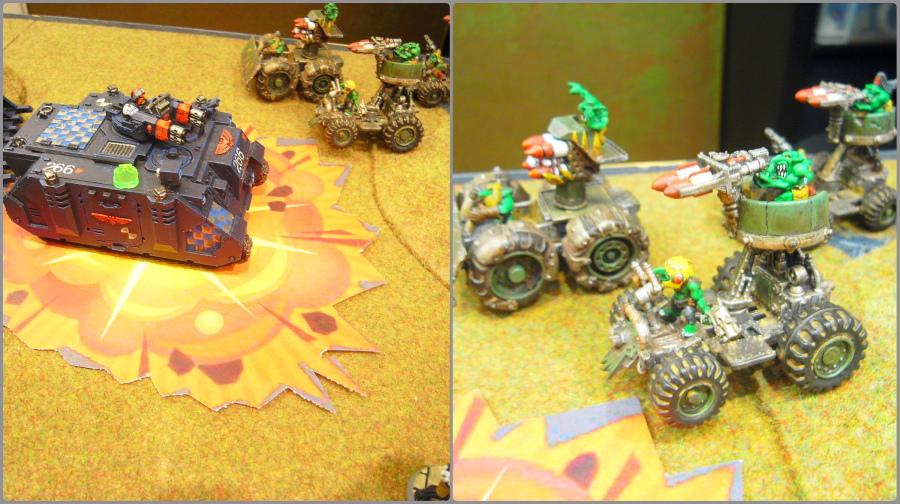
And at the end of the turn, LOOK
AT OUR MASSIVE EXPLOSION MARKERS!
 Arbites Turn 4
In a completely realistic shot, Jacobus and his Team decide to block the gates with their shields.
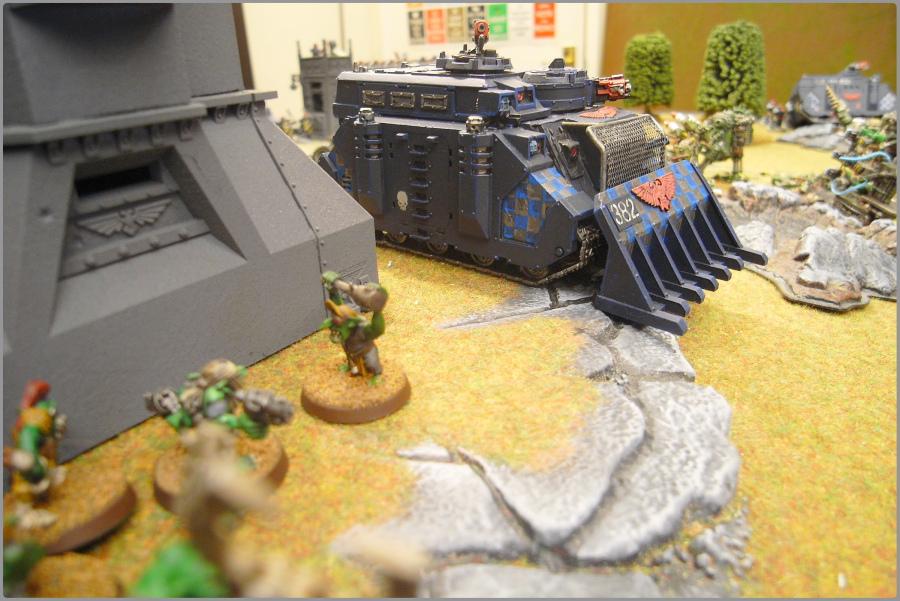
Meanwhile, one of the Repressors makes a run past a Grot Herd to get into the opposing deployment zone.
The flamer Combat Team disembark from the Repressor and attack the last buggies, flaming one and glancing another.
And the Exorcist targets the Kans, exploding one.
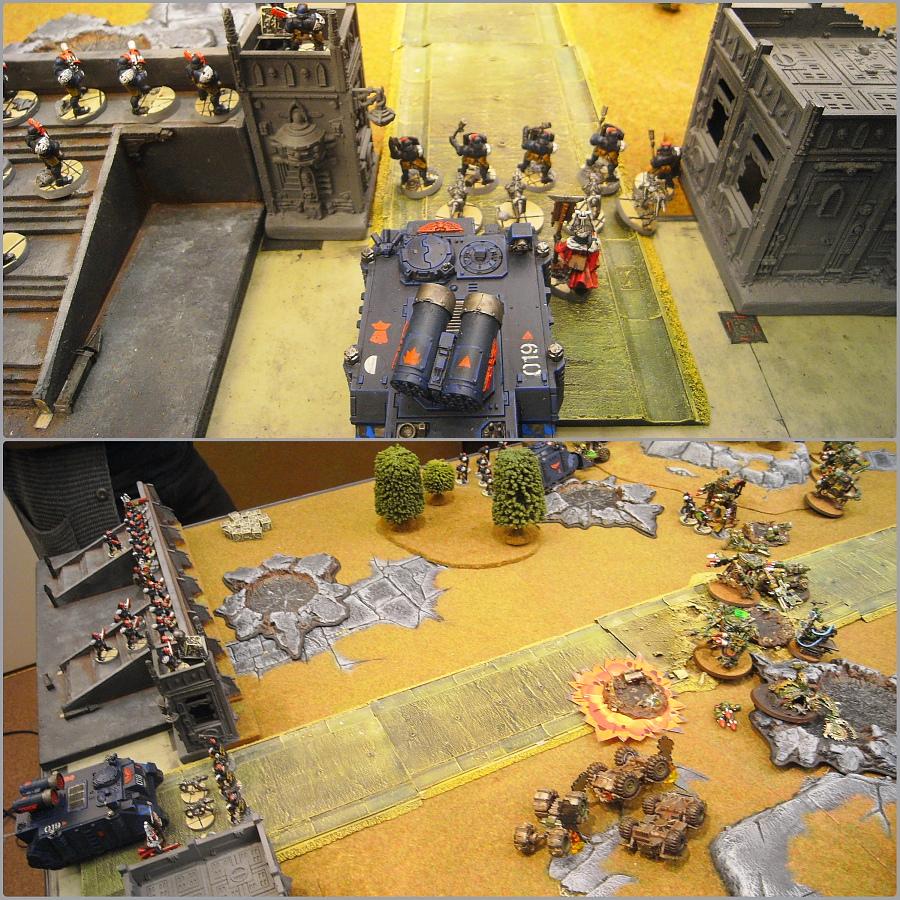
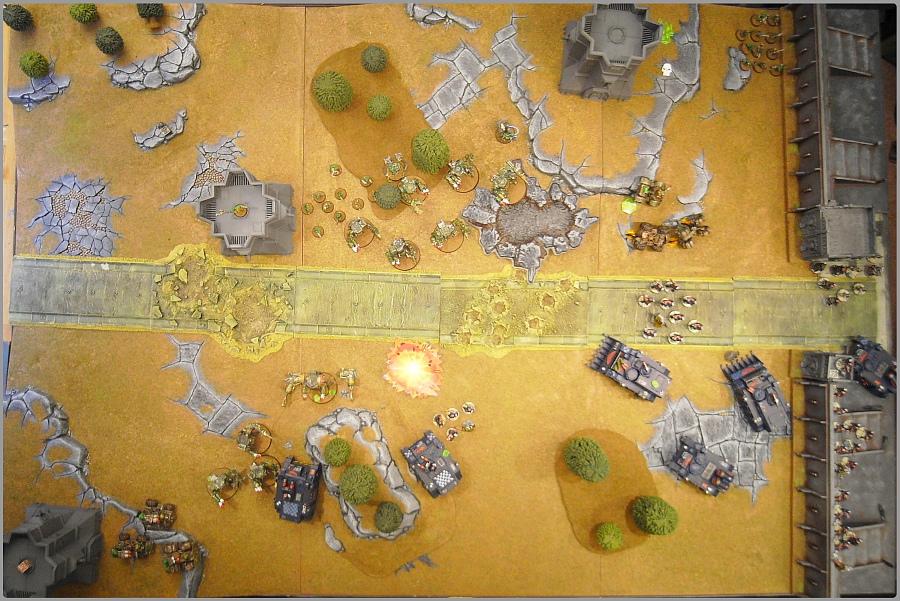
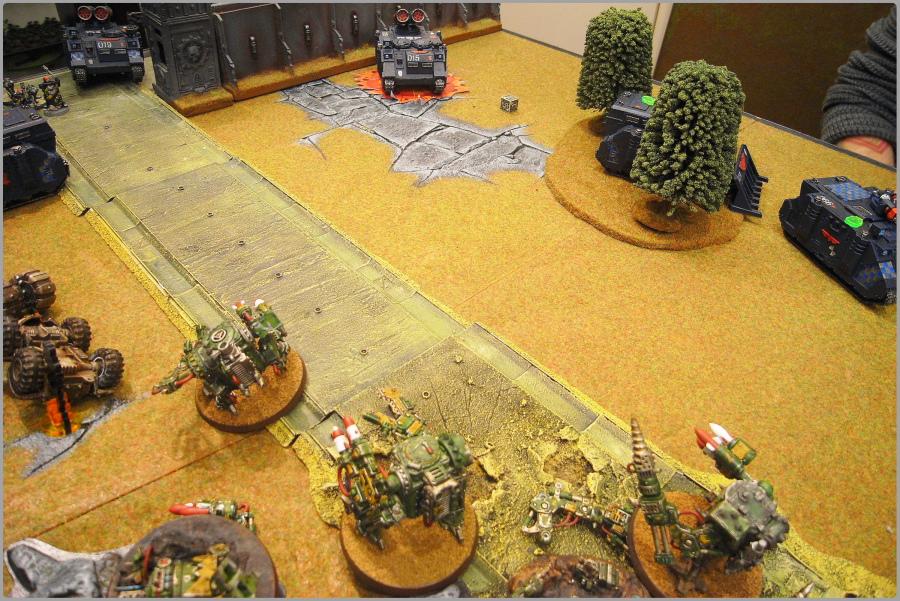
There's quite a lot of wreckage now. See if you can spot the still-operational vehicles...
 Grots Turn 5
The Grot Herdz disembark their building and converge on their objective.
And the Kans, in open ground now, make a run for the walls, but the Dred still can't stomp the pesky Dominions.
The Buggies at the bottom zoom around the Repressor, but fail to hit anything with their rokkits.
 Arbites Turn 5
The outriding Repressor at the top zooms forward to deposit a Combat Team in the Grot deployment zone.

And combined Arbites fire destroys another Buggy.
The recently deployed Combat Team open fire on the objective-holding Grots, but can't break them.
The Exorcist destroys another Kan.
And finally, the Dominions manage to get a krak grenade in and wreck the armless Dred.
And we roll for another turn, but fail and the game ends on turn 5!

Arbites - 5 (Objective, First Blood, Linebreaker)
Grots - 3 (Objective)
Victory to the Arbites again, but not as massive a one as the last two games - they Grots are getting better…..


 Mechanicus
 Ravenwing
 Deathwing

 Cratfworld Alaitoc (
 Order of the Red Mantle (
 Grand (little) Army of Chaos, now painting! (


 Brothers of Sanguinor
 Purifiers
 Bad Wolves


 /
/


 I beg to dream and differ from these hollow lies


 VS
VS 
