Well, no one saw this coming, but I have some updates for this project.
I have a much more important project I am working on, but in between working on that I've been taking little bits of this to work with me now and then over the last few months. I should tell you now I took some of these pictures with my cell phone so some of them are of dubious quality.
First, I unpacked the top deck to get started up, and was unhappy with what I had.
The Alumilite resin that I made the tracks for was also used to make the gun barrels. As it turns out, that was a pretty big mistake. There was some pretty bad
sag over time.
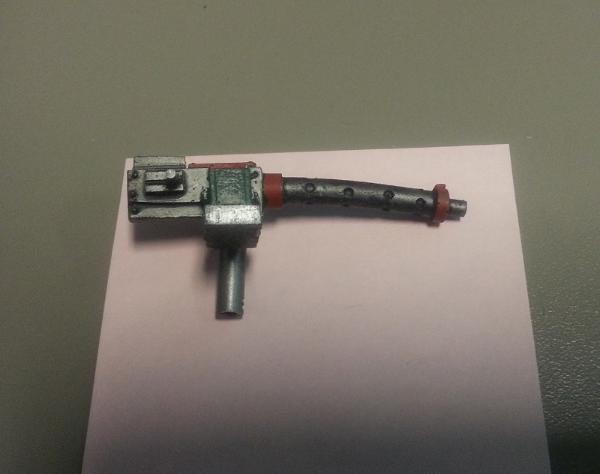
I had to recast the barrels with my reliable Tap Plastics resin.
Secondly, I looked at the Kustom Battlewagon rules and realized that - this is going to sound pretty stupid as far in as this project has gone - that this is
not a legal build. I have one really big gun, and then 4 counts-as big shootas. The Kustom Battlewagon needs 3 big gunz, which are swappable for type... I need two more bug gunz. So, i used some
Kromlech turrets I bought forever ago and came up with a twin-linked rokkit launcha and, why not, a Zzap gun.
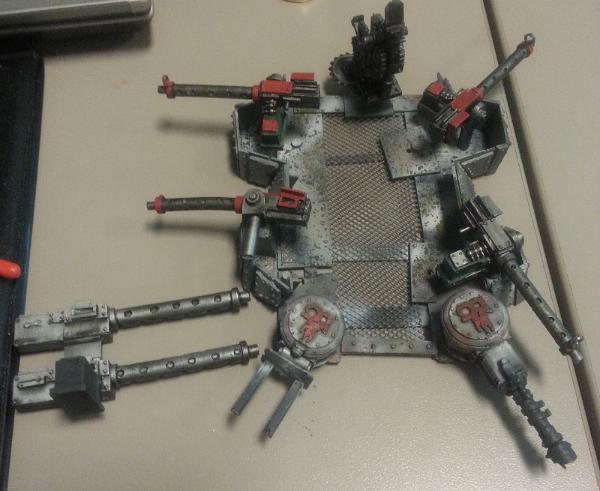
That has really hit home for me that there have been some problems with this top deck pretty much from the beginning. It's super crowded on top - I can only fit the boyz on there if each specific one is arranged in a specific way. Adding these 2 new turrets is a super tight fit.
I decided to bit the bullet and create a new top deck. This time, though, I would do something that is very un-Ouze like - I would create a plan and do it right.
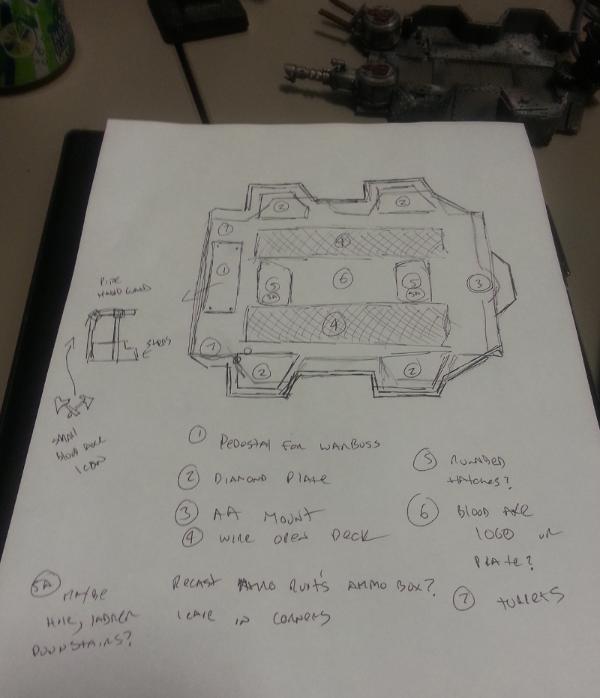
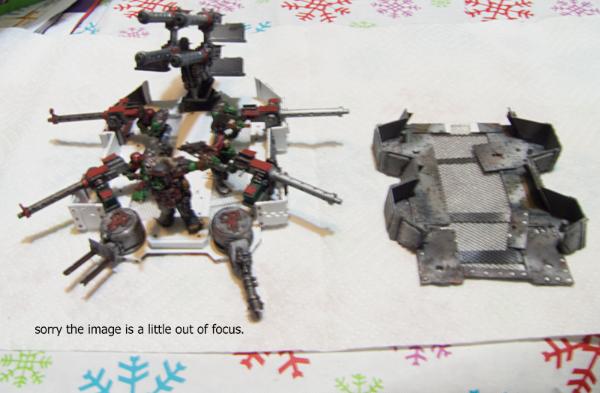
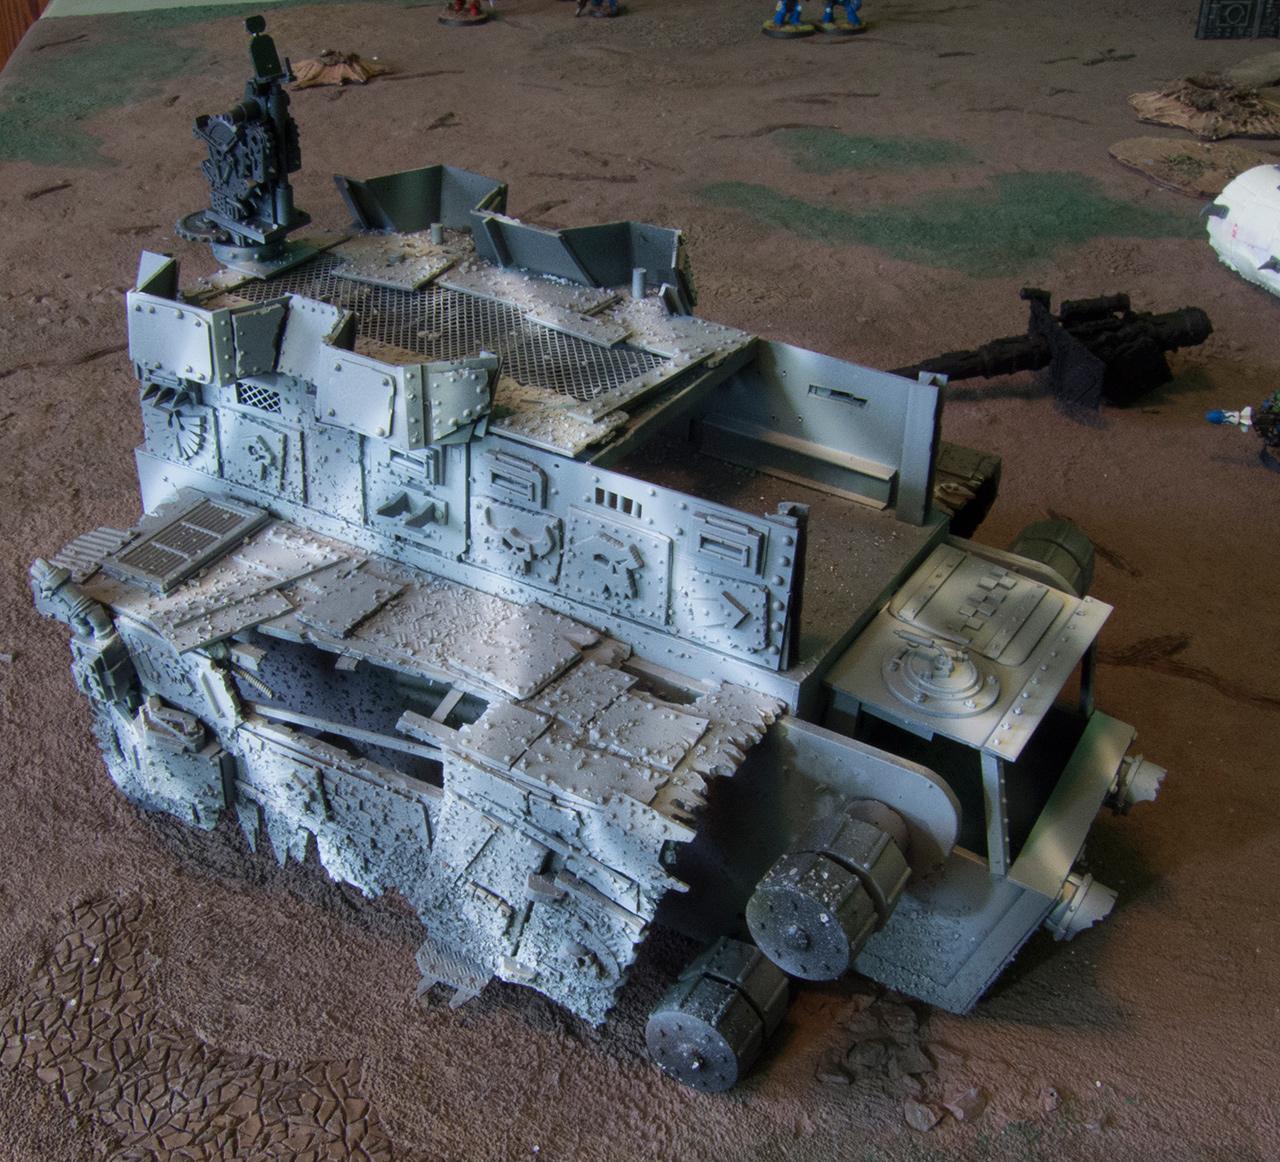
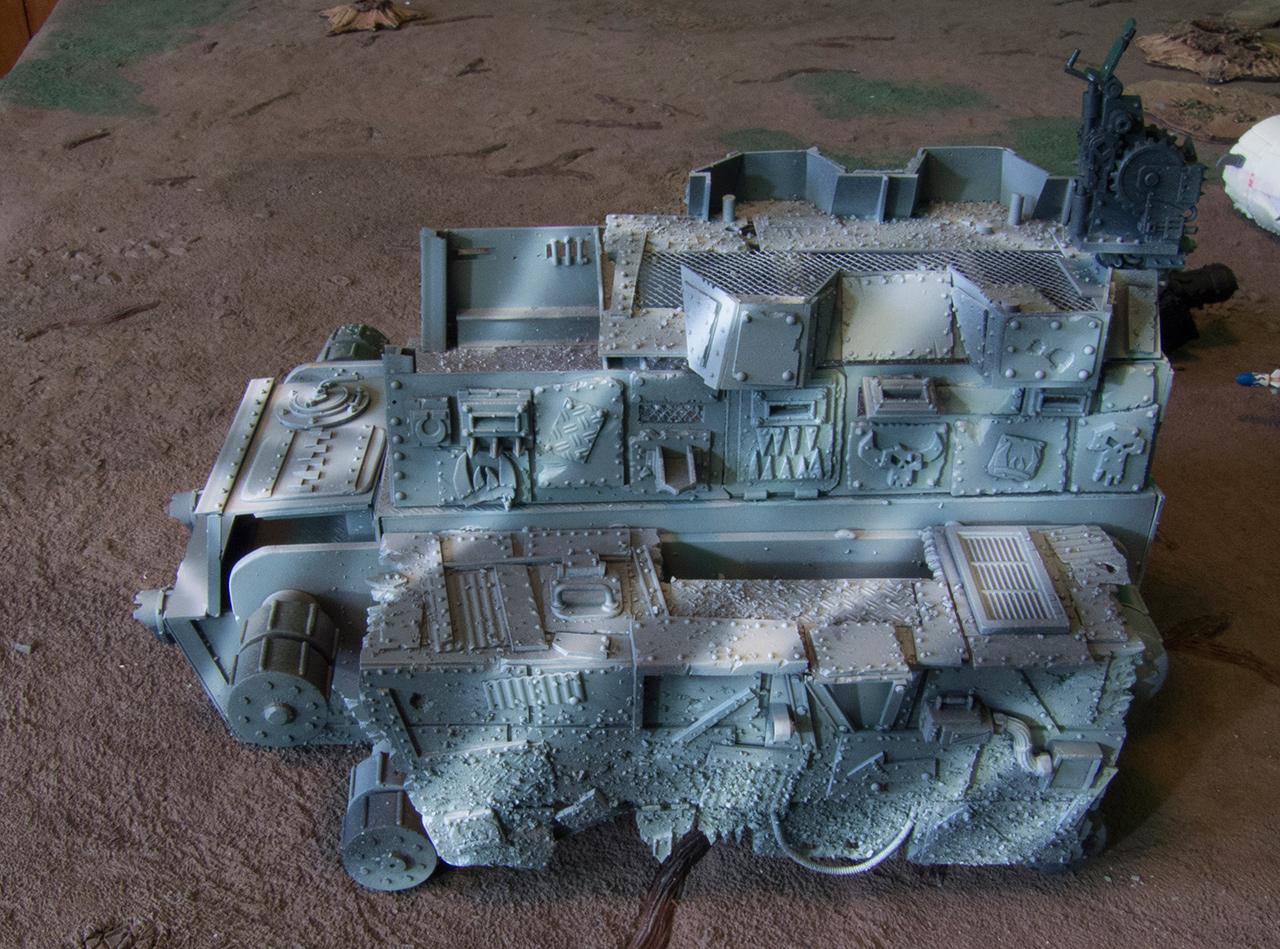
I knocked up a rough draft. I also straighted the walls so that they were no longer sloping; such a design would mean every round that hit them had a pretty solid chance of riccocheting up into an Ork Gunner's chin. It seems unlikely any Mek would build such rubbish. The rough draft:
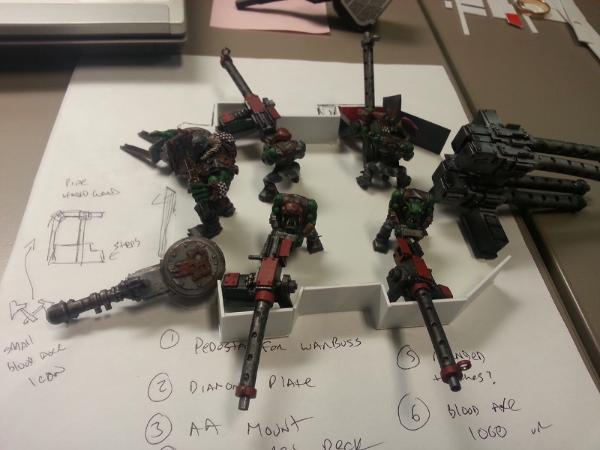
Here's a size reference. As you can see, evem though the new deck is only a little bit larger, the better placement and shape of the walls means I can now fit everything much more comfortably. I managed to hew pretty close to the plans.

Looking at the guns really made me realize that the ammunition in the bigger guns wasn't ideal. I decided to make some better ones.
I made one cartridge, cast it a few times, and then made a belt. Repeat. Once again I was, as you can see, hobbled by a poor choice I made earlier - the size of the ammo boxes dictated the length of the rounds - quite short. They look sort of like stubby little .45 ACP rounds instead of the nice, long A-10 rounds I wanted (front row, vs back row)
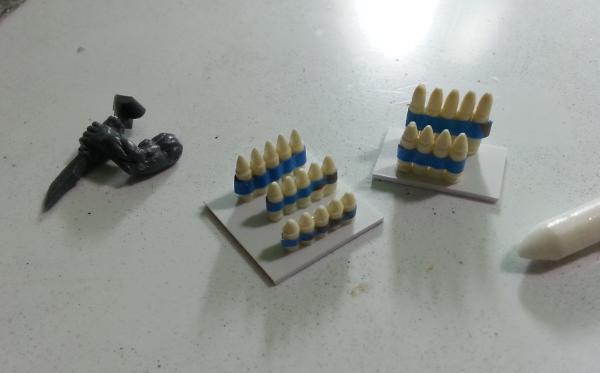
but at this point they will have to do because I'd have to redo the ammo boxes, the ammo entry point, and maybe the gun bodies over again. Too much, small short rounds it will be. I wound up using the longer rounds in the ammo boxes, and I am sure they will come in handy for some future project as well.
I also started doing the electrical work when I had time at home. Unfortunately I didn't get very many pictures of this but really, all you'd see is the underside with some blue wires running here and there.

I added a rail running down the length of the second level of the vehicle. That worked pretty well and I embedded some lights into it. The problem that created is that once the lights were on, it was pretty clear that there was nothing on the second deck. No big deal. I'll just make some stowage to fit in there.
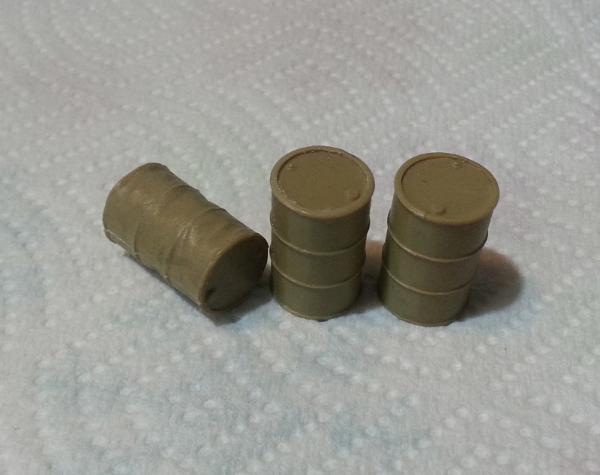
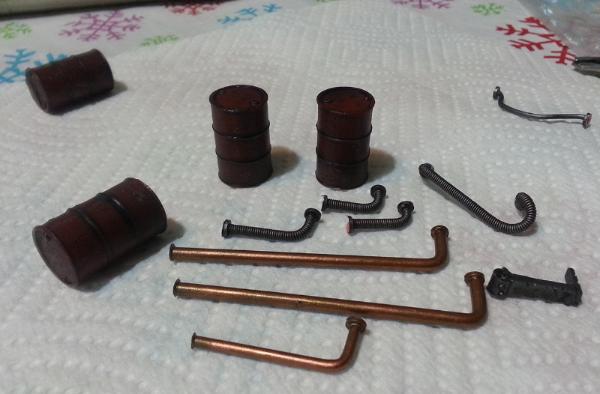
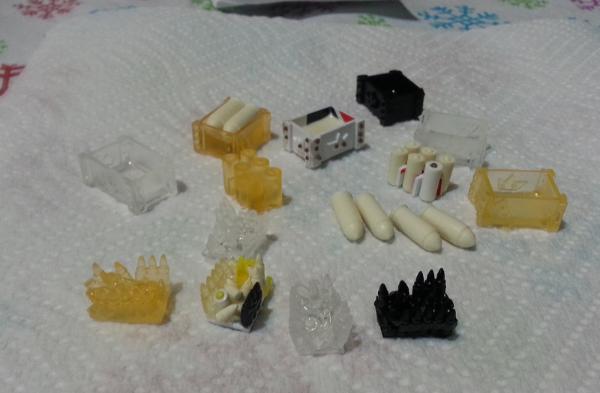
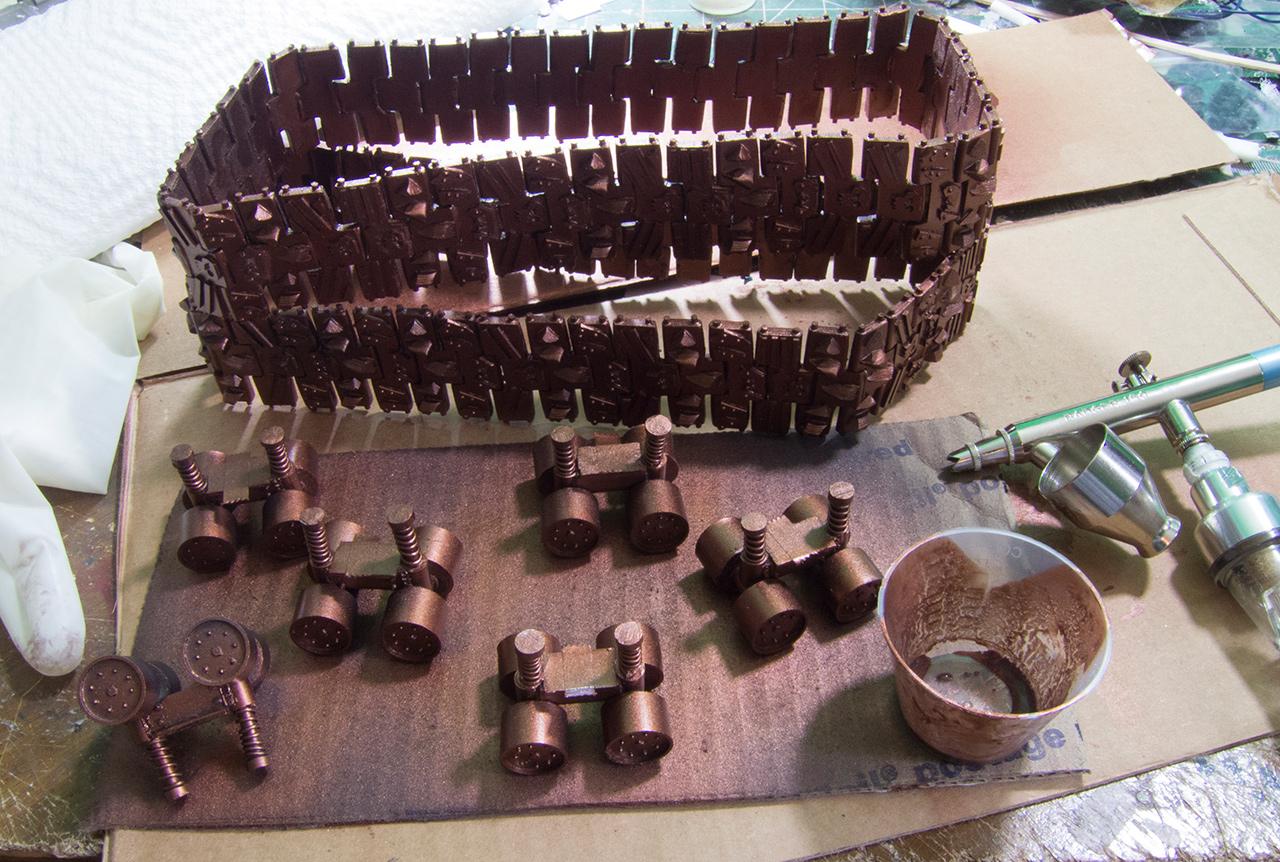
First, some barrels and hoses. The barrels are
1/48 Tamiya. The hoses are just recast guitar wire that I bent in hot water, I have a hard time shaping guitar wire normally.
I also made some modular ammunition boxes. You can see the original in styrene with brown Tychy rivets in the center back, there. After making the box I made a model and recast it. I also made 3 different types of inserts: a pile of ammo (center), 2 large shells, and a 6 pack of standing shell rears. The larger shells I made by turning a resin rod on a dremel tool and using the edge of a hobby knife to shape in as a kind of half-ass lathe; it didn't work really well but they look very good
on one side and you only need to see one side. The primer rear end I did by filling a styrene tube, filling it with resin, then drilling a little indent in one end and filling that with a procreate ball to make a little primer.
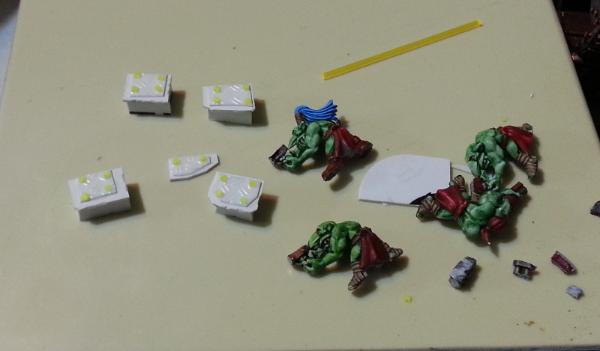
I decided to add Grot gunners to be counted in the rules as Grot Sponsons. To do this, I just went with regular grots who were holding pistols in a "gunner" position, and cut off the pistols. I also had to make little stepstools for them since they were a little too short to reach the portholes I had cut in the sides of the walls.
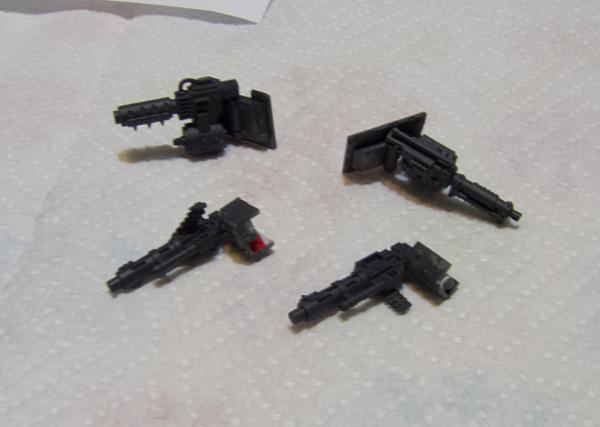
I used various Big shoota type guns to make the sponsons. They swivel from side to side.
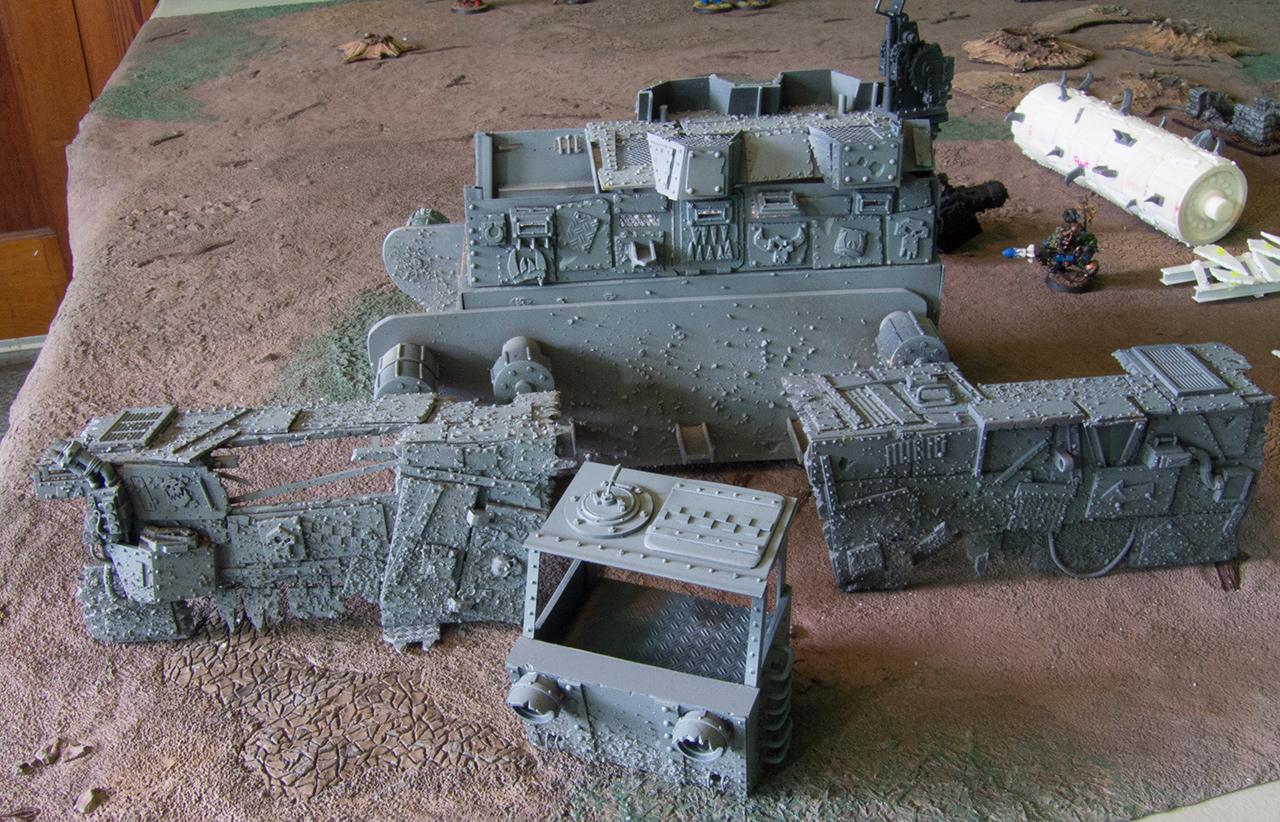
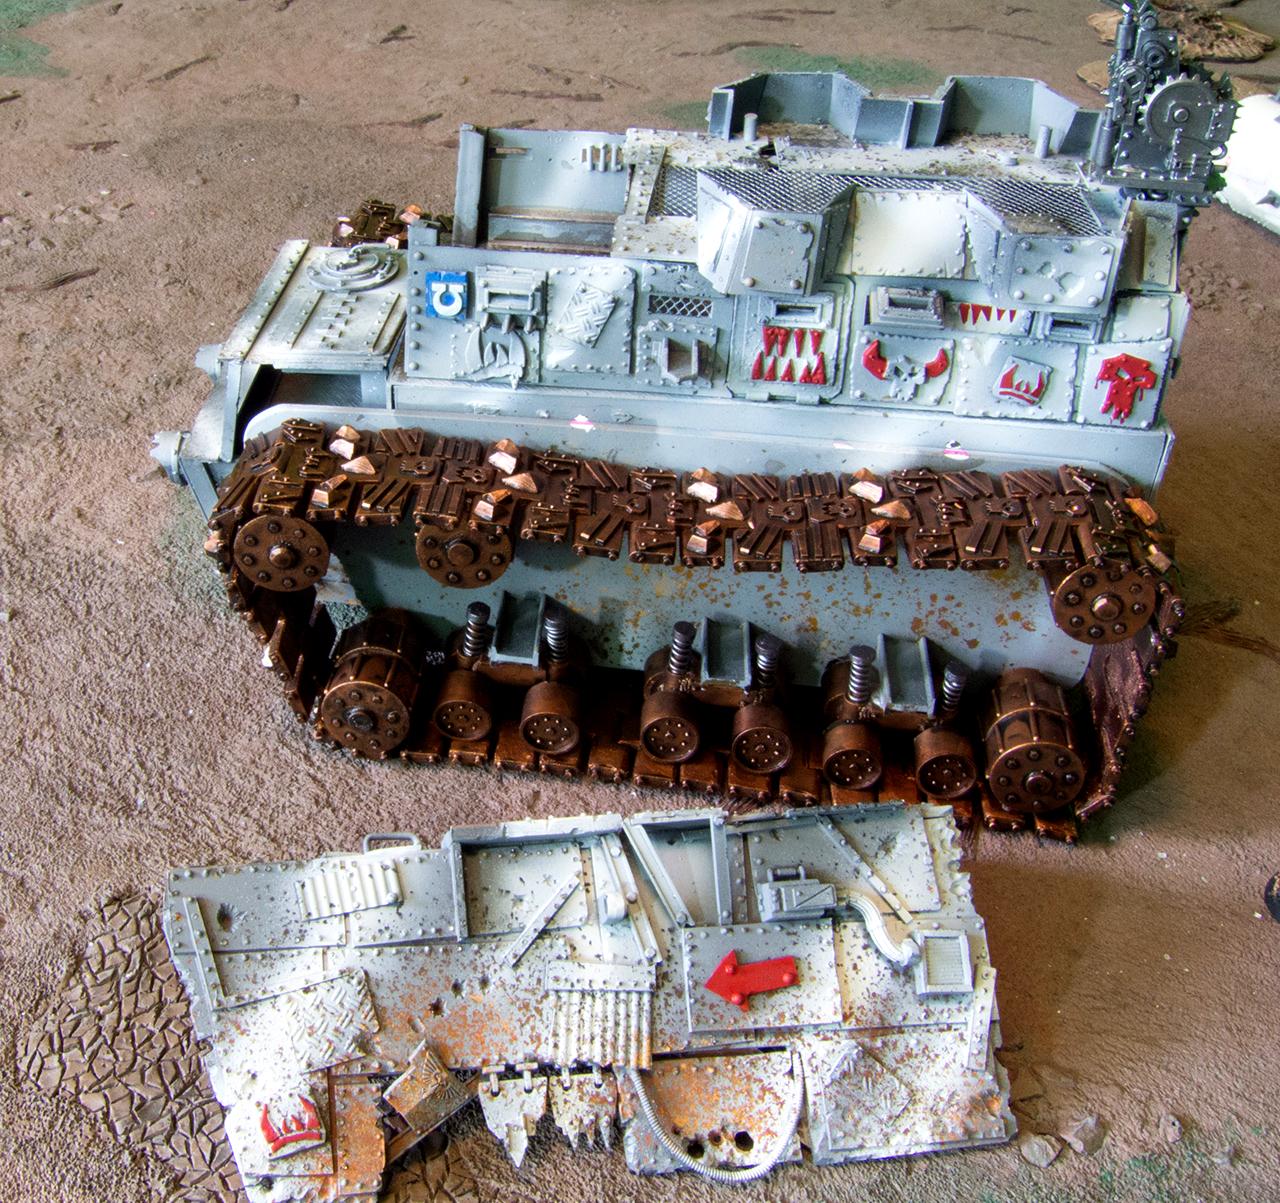
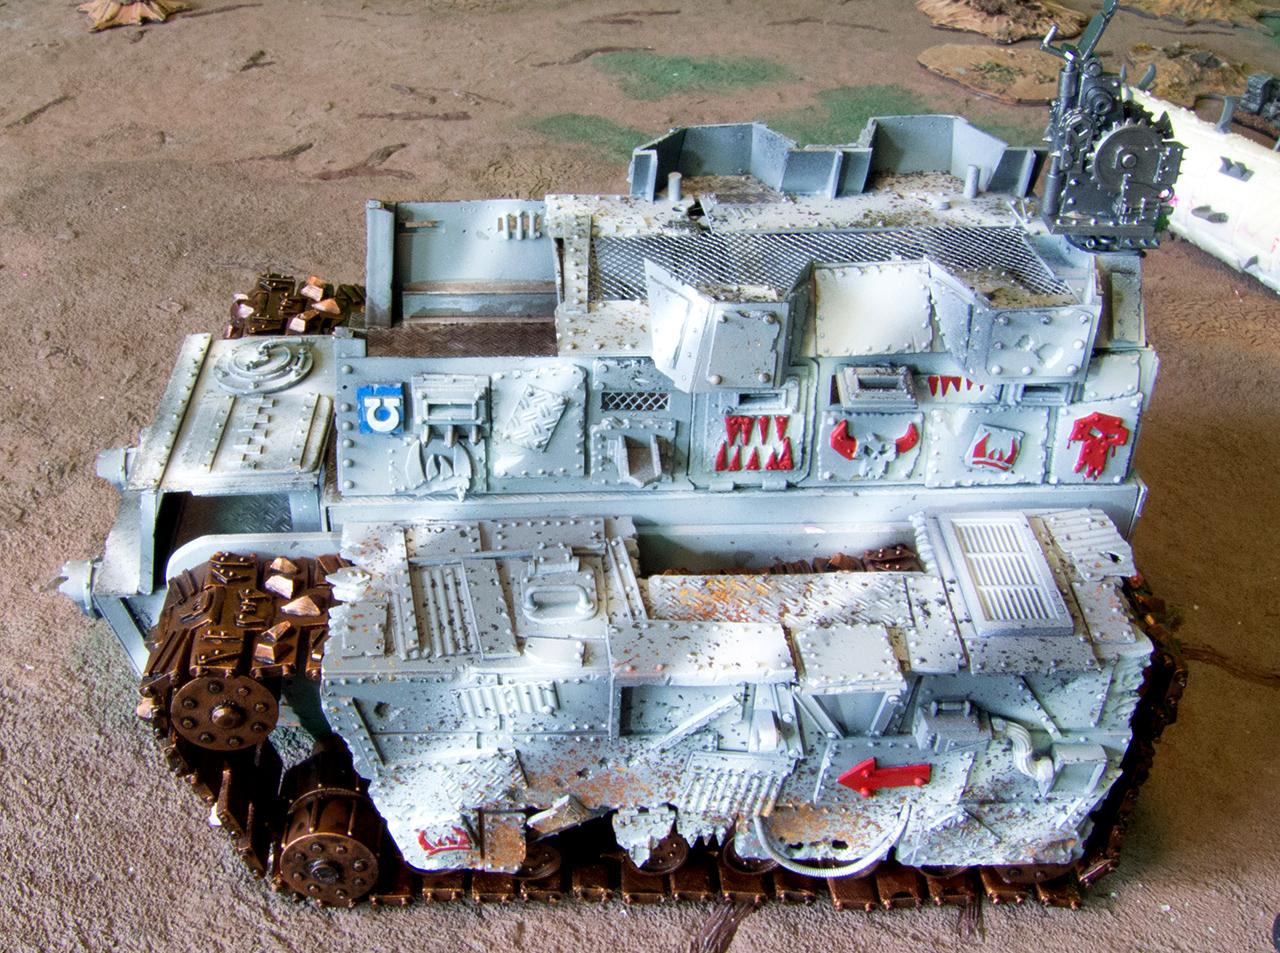
Test fit it all together.
I also finished off the grot flakk gunner. It's from (I think) that newish Ork flyer kit. The grot has no feet normally, for whatever reason, so I also made him some feet.
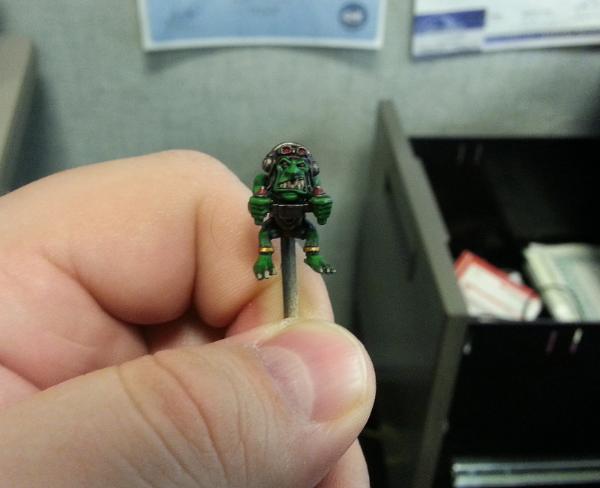
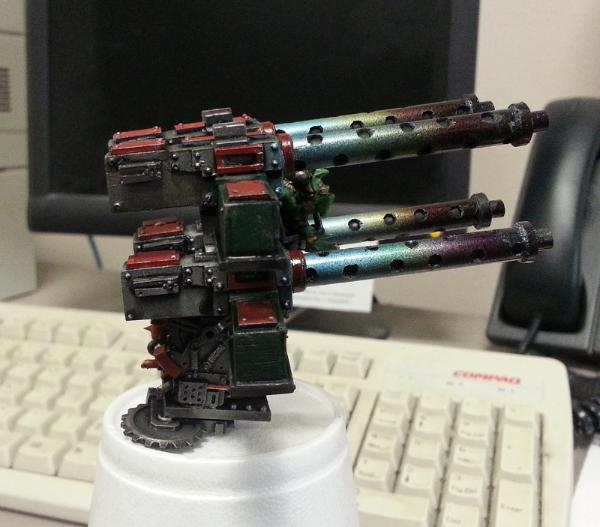
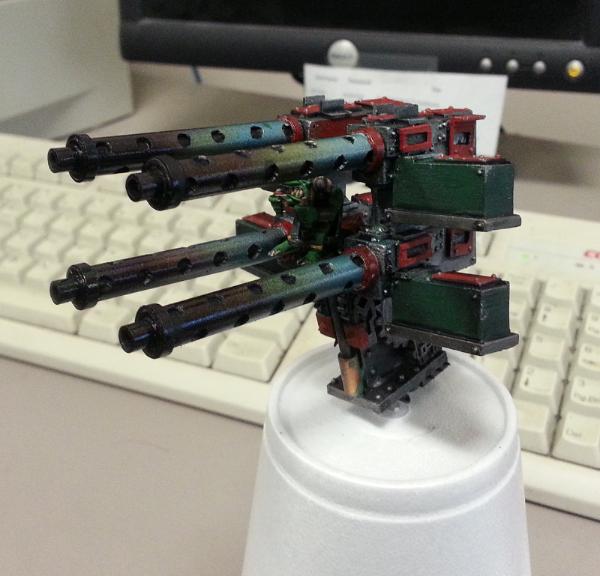
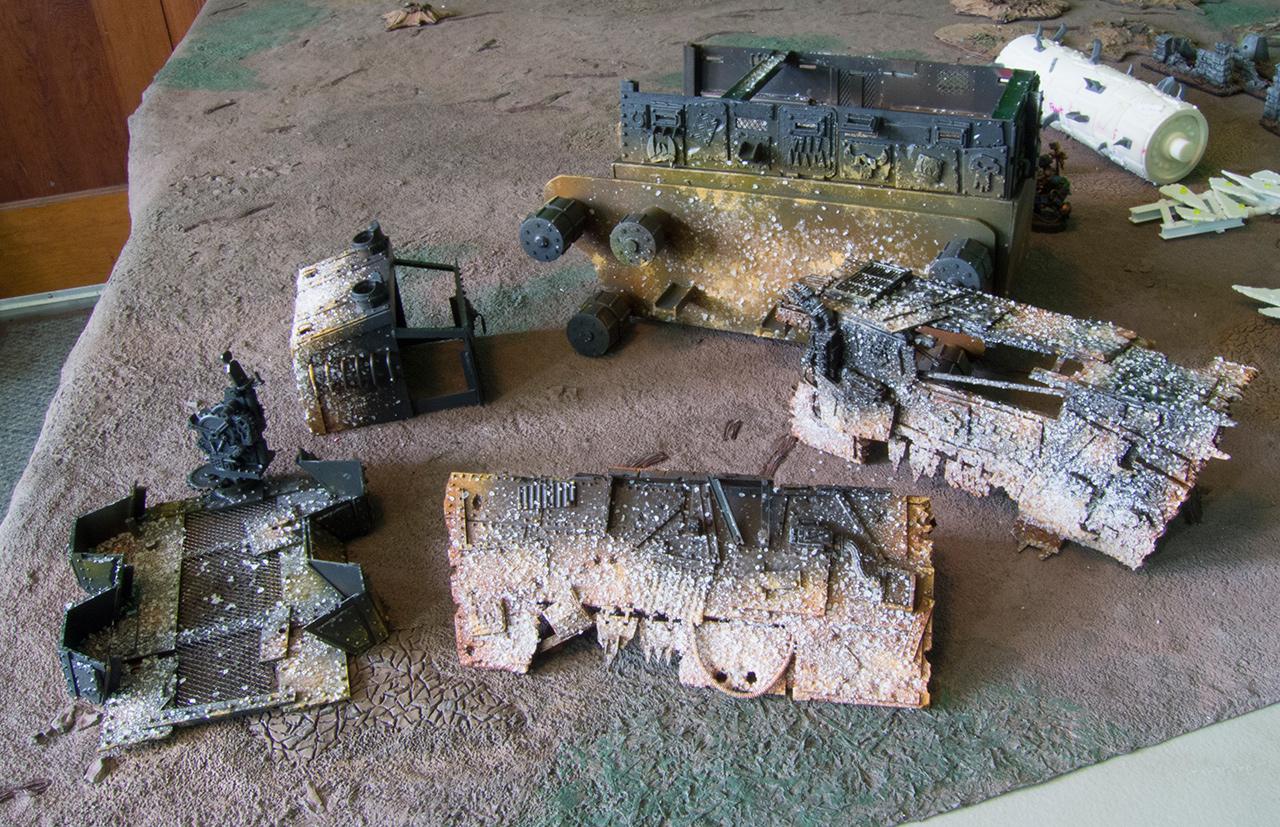
I also finished the flakk gun and did the same burn effect I did on
my Sicaran tank. You'll probably see that effect on most of the larger guns I do from now on because it looks good and is readily achievable with even my poor airbrushing skills.

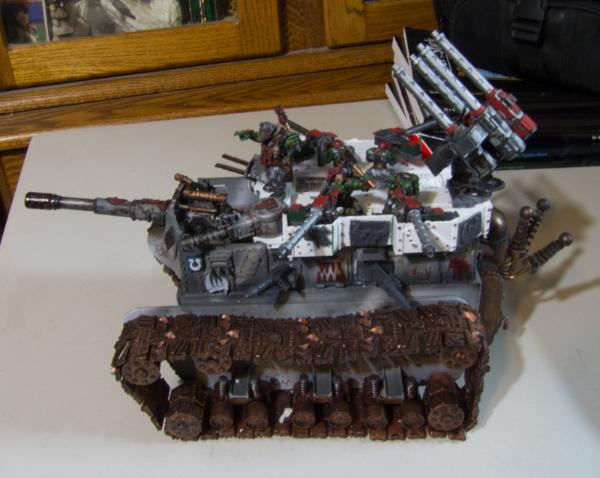
At this point I removed everything from the deck and painted it. At this point it's done, the next series of pictures will be of the finished and painted vehicle. I'm resizing the pictures in photoshop now and want to have them up later tonight.
I actually finished this project!


 Successful Trades: 2


 ');javascript:emoticon('
 ');javascript:emoticon('
 ');
'); 
