Here's my process for customizing an
AOBR terminator to increase the variation of possible poses by separating the upper torso from the lower torso/legs.
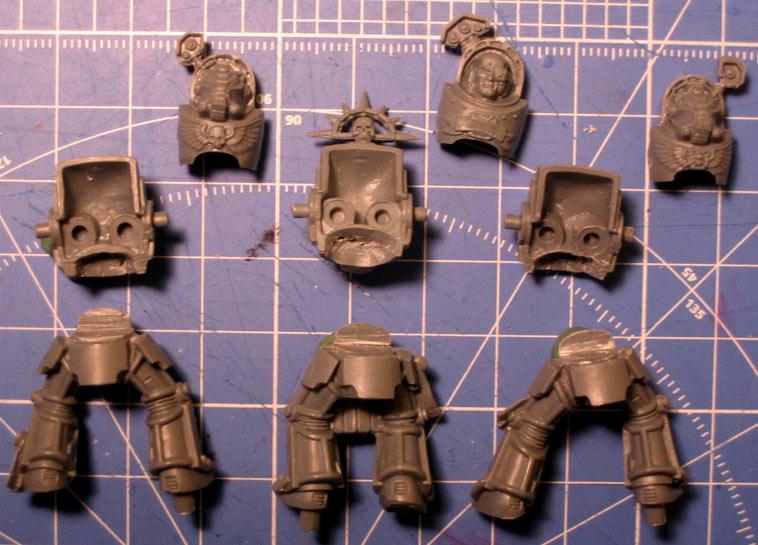
I picked up 10 more
AOBR terminators for my Exorcist Chapter recently. When you have that many of them standing together, the static poses become really noticeable. I figured that adding a torso twist would help increase my choices for posing and help make them look less static.
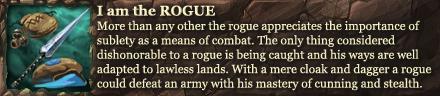
So I proceeded to saw the torsos apart. I recommend using a finer modeling saw than the usual hacksaws used for cutting up metal figures. I use a Tamiya mini razor saw and Hasegawa etching saws for more precise and delicate cuts.

Please be very careful with your safety when handling sharp tools. Don't slice your thumb from being careless like me :(
First cut downwards on the abdomen bulge from the front, then across the waistline from the back to separate the upper torso from the lower torso and legs. Complete the separation with the use of a knife.
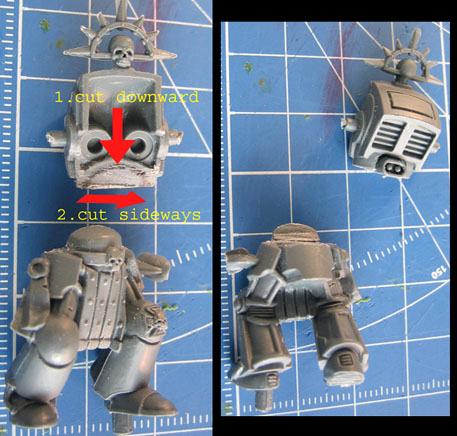
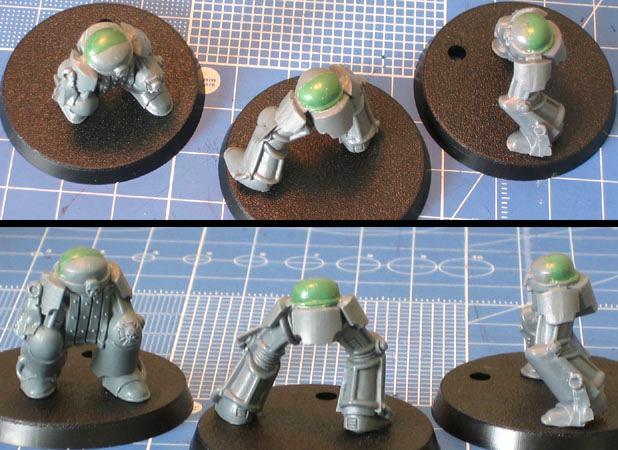
Draw a rough guideline for the area to remove on the upper torso.
I use a vise drill and make holes along the perimeter of the guideline to make it easier to hollow out.

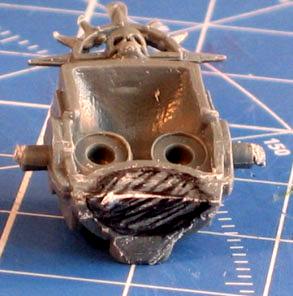
Periodically dry fit the parts to check that it fits properly with each of the torso parts throughout the following steps .
Use a knife to cut and scrape out the excess material until you get the desired size and shape to fit the socket/ bulge on the lower torso.
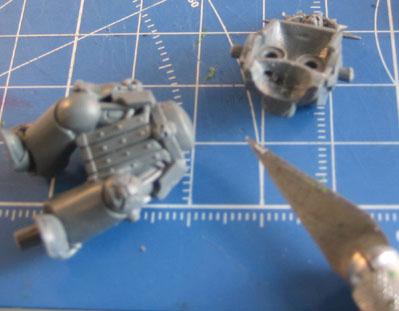
Use green stuff or other epoxy putty to build up the other half of the abdomen bulge/socket on the lower torso.
Viola, now we have
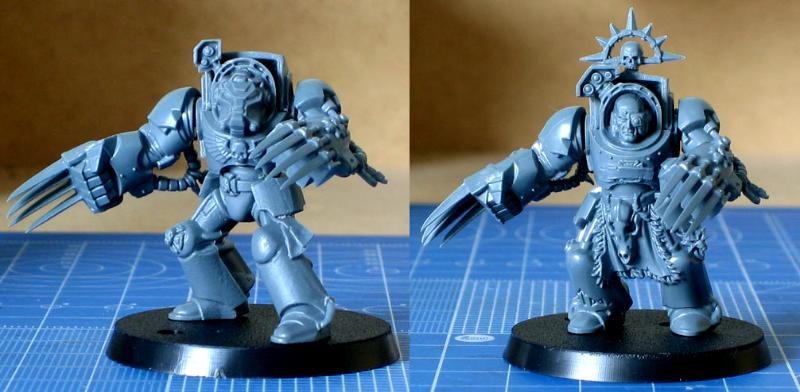
AOBR terminators that can be posed more dynamically instead of the original limited static pose, as well as being able to mix and match upper torsos and legs for more variation.
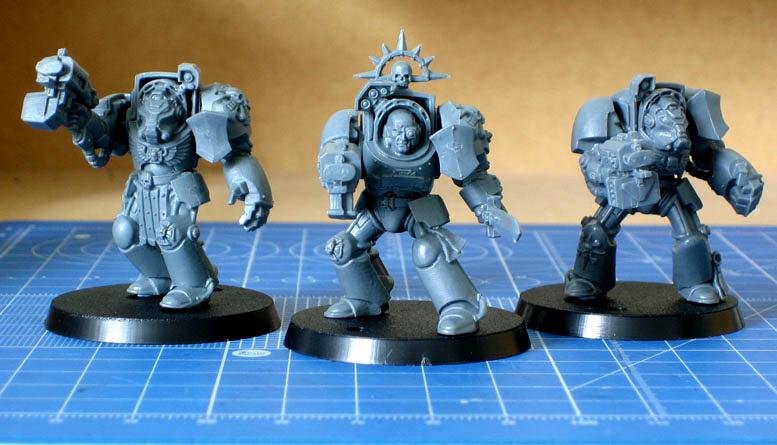
As an added bonus, it is now fully compatible with the regular plastic terminators sets, allowing you to mix and match their legs and torsos.
If you cut off the shoulder posts, you can even use the arms from the regular plastic terminators.


 2000pts
 5000 pts
 1 squad
 "
"


 Order of the Sable Heart
 Grave Knights
 House Rouen