Heya guys n girls, hope you all find something out of this guide if you spend the time to read it, be you a novice or veteran at painting!
All C&C&C welcome! After all it's what allows us to grow as painters knowing where to improve

Here is my step by step (apologies if i have a million steps!!!) walk through on painting a table top Orc!!!

at least i hope you agree with me that it is table top quality!!
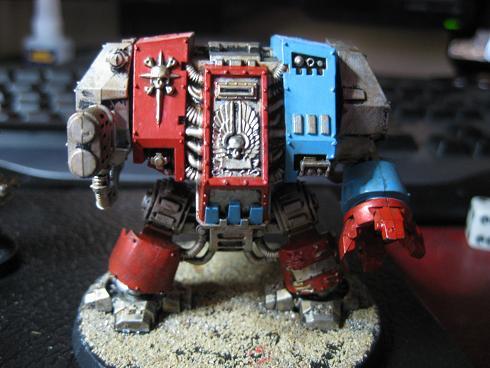
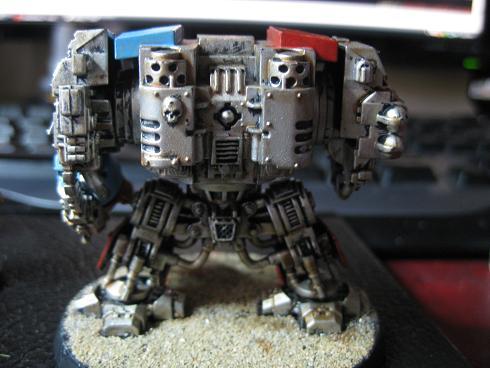
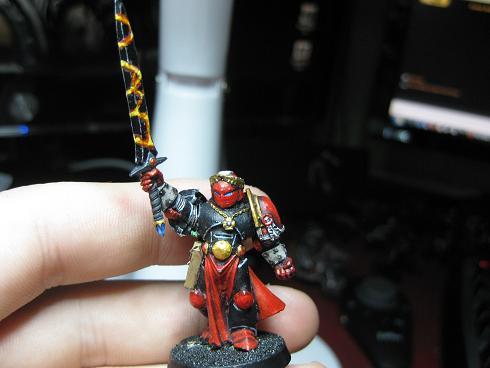
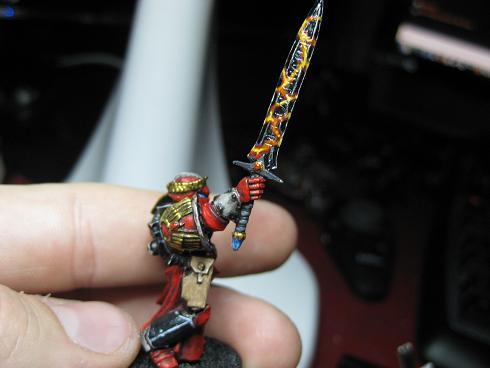
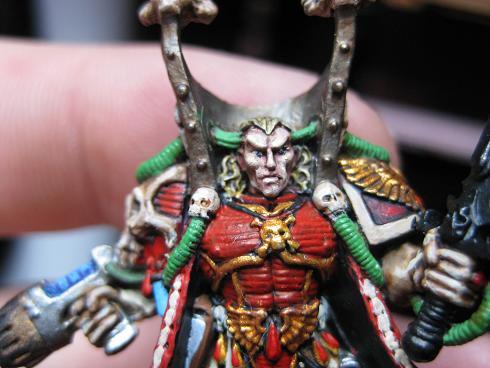
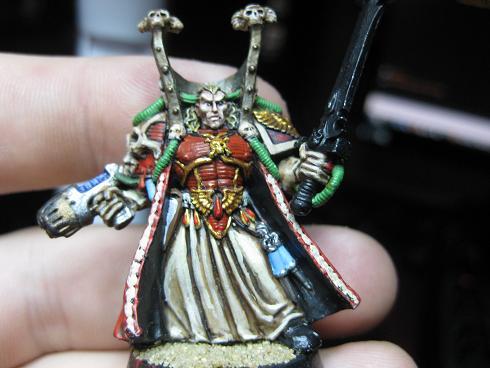
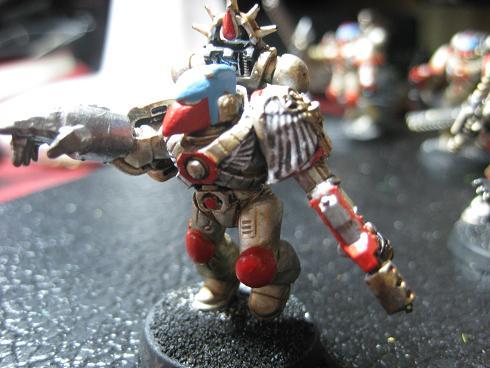
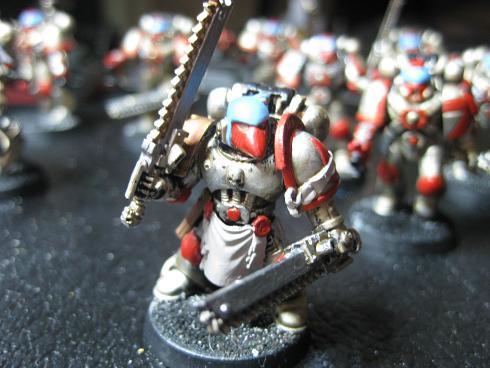
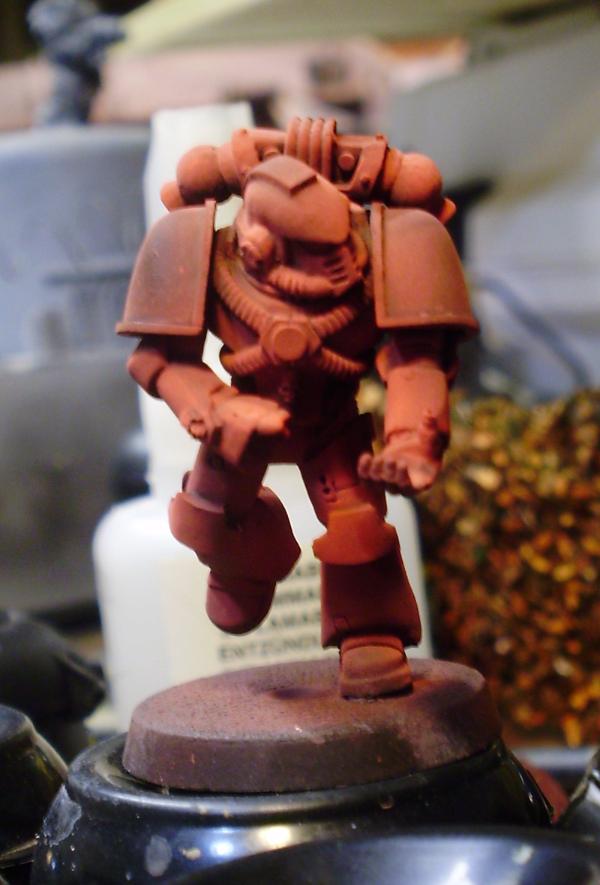
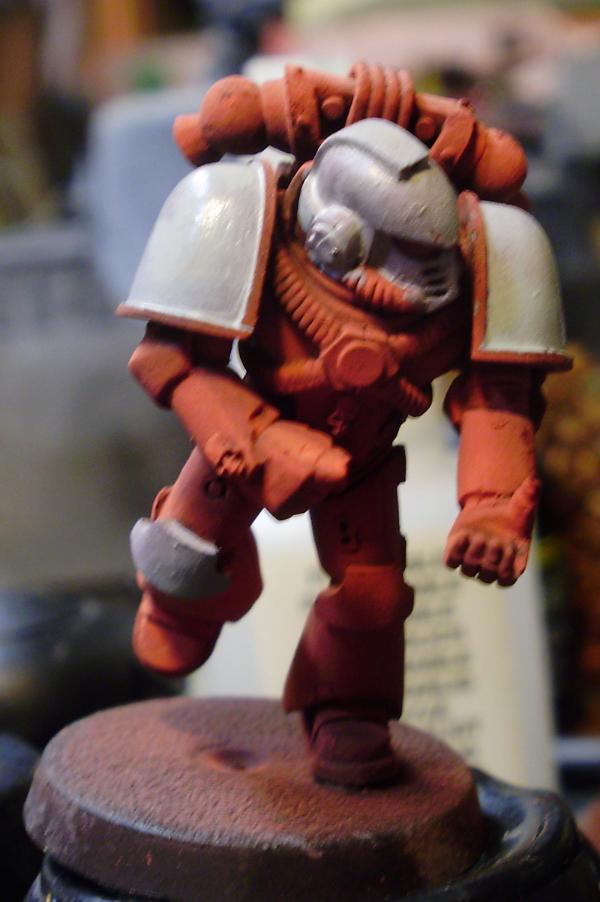
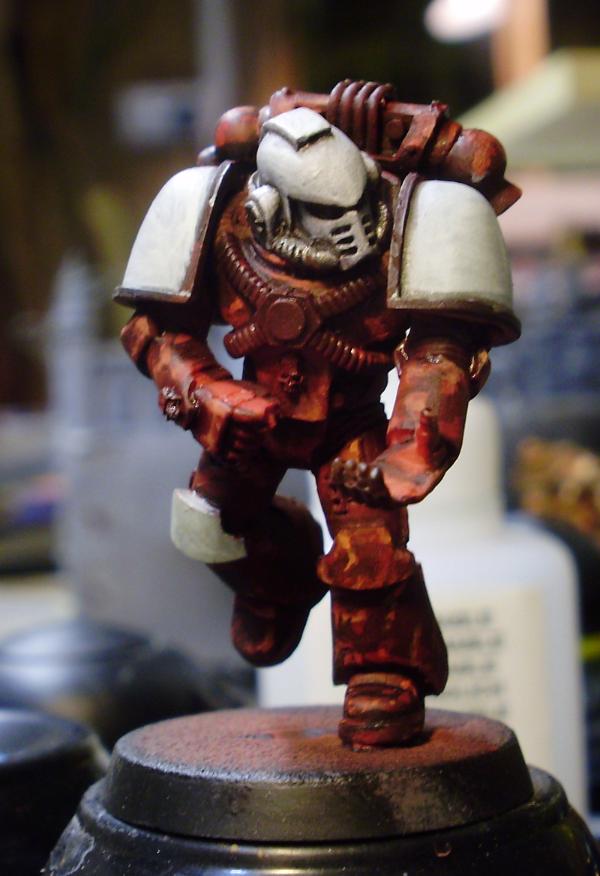
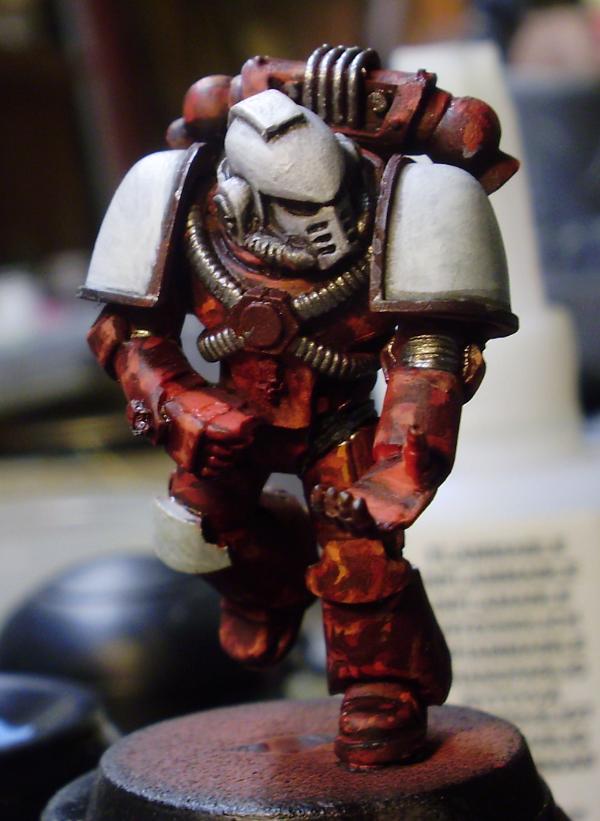
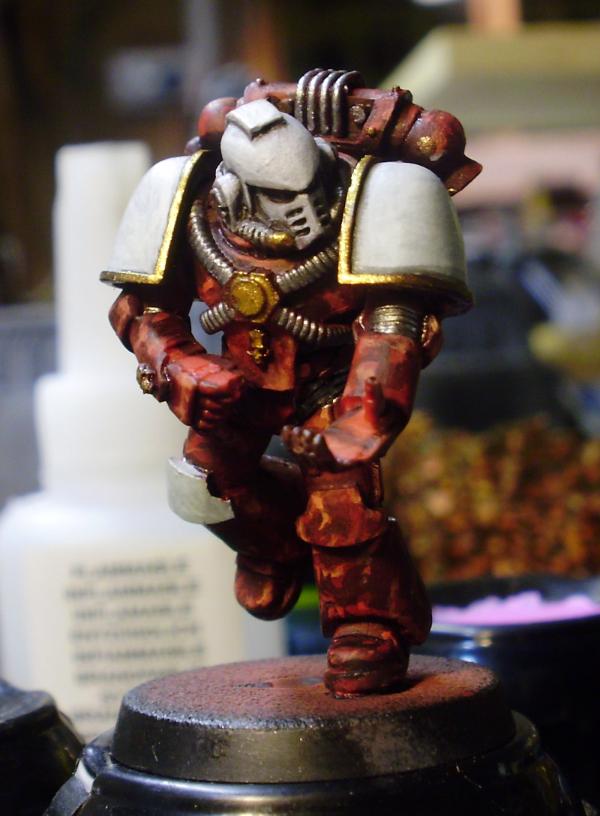
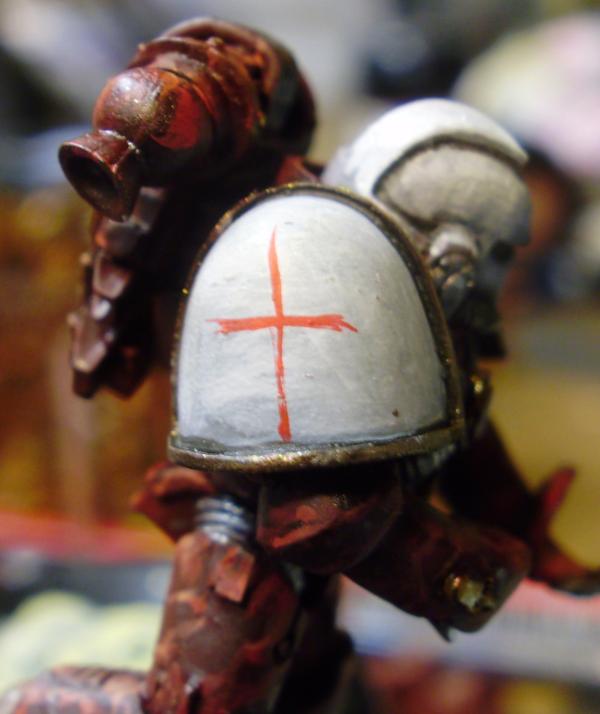
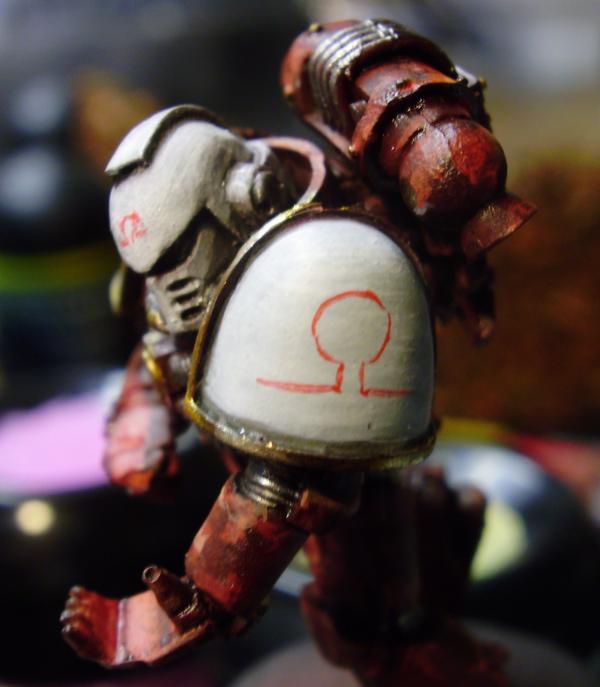
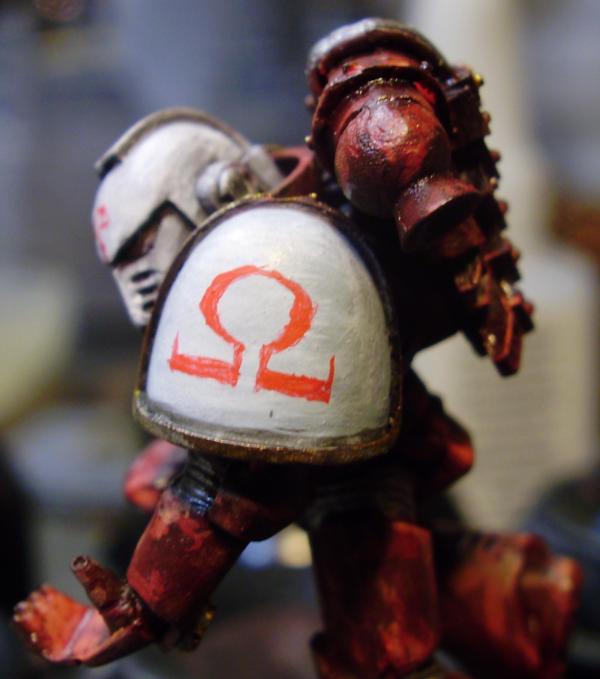
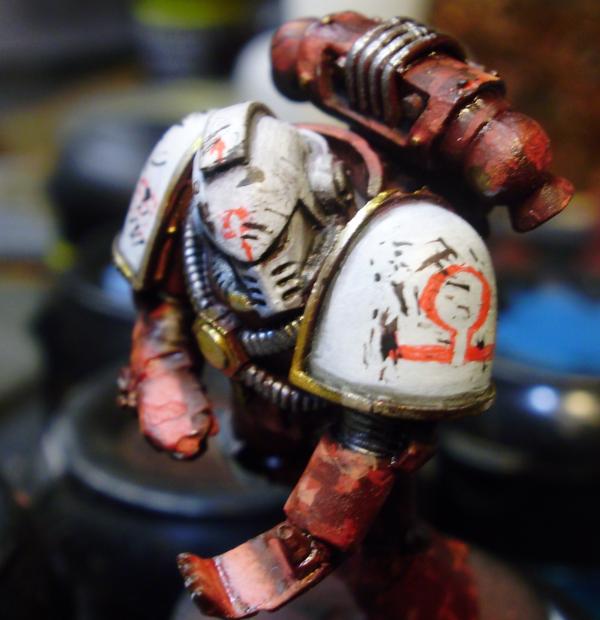
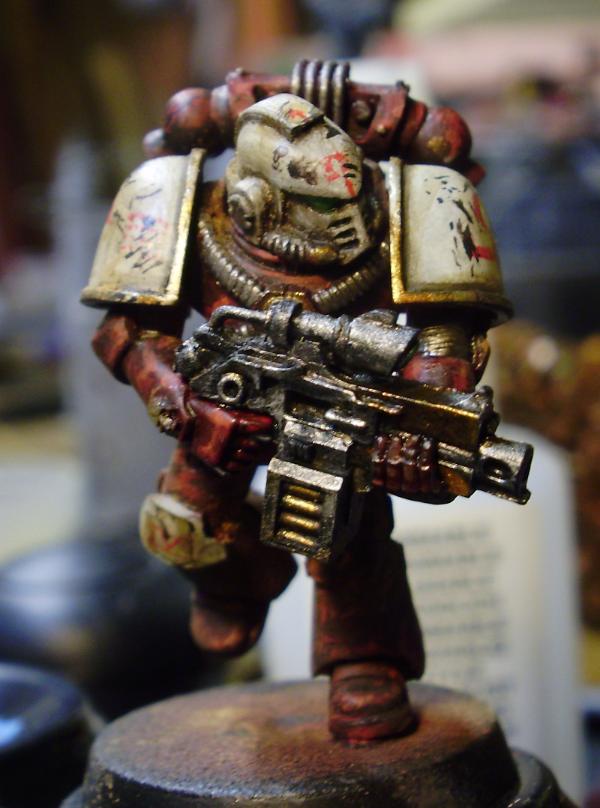
On a quick side note before i get started here, i dont actually paint Orcs as my army, my army is currently being planned out with a colour scheme for my own successor chapter of the Blood Angels.
OK!!! LETS BEGIN

=========================================================
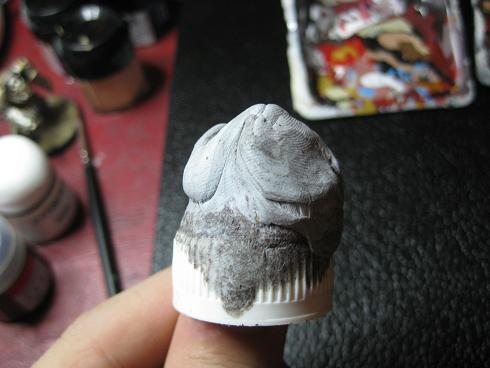
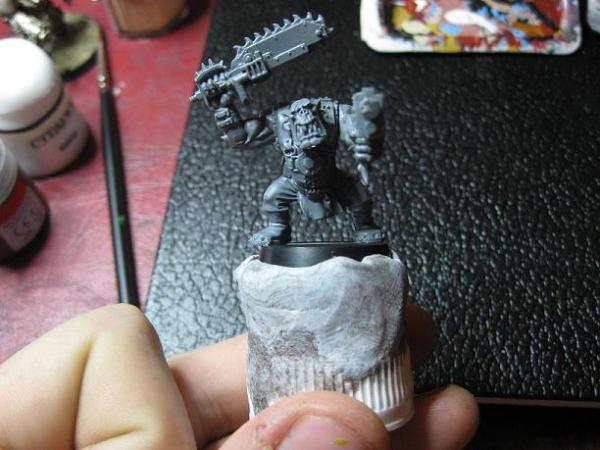
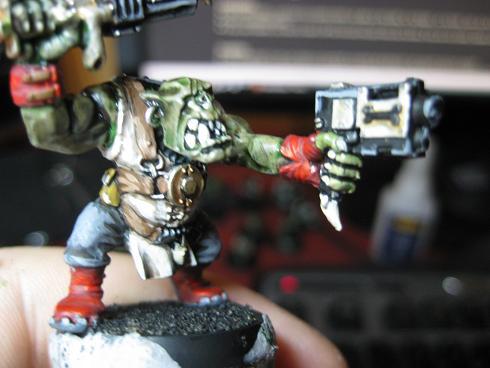
When i paint a single model rather then batch paint, i find i normally have the model mounted on an old soft drink lid or a paint pot.
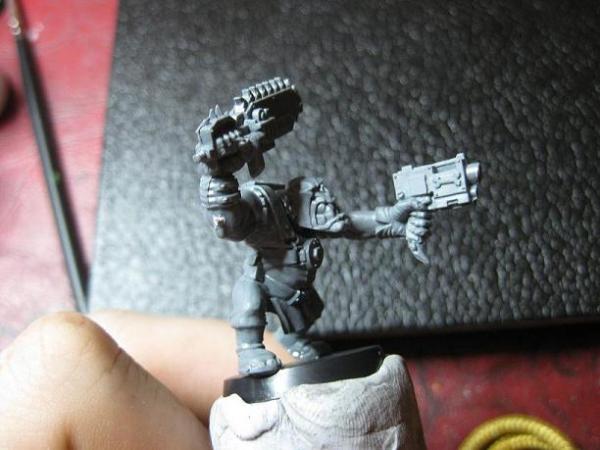
This is the orc that we will be working with

Get your miniature and try to remove all of its mold lines you can get a blade / file to, this will help you apply the paint easily onto the model and will remove the shading from washes pooling around these thin lines on the model where there is supposed to be no shade or highlight!
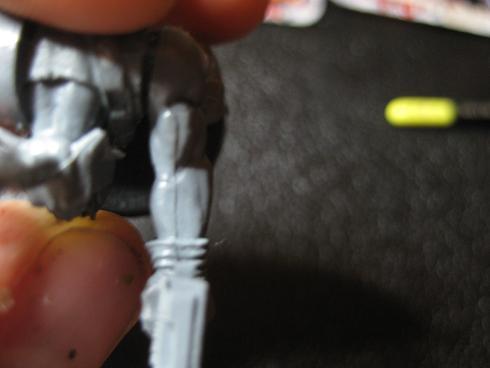
orc with mold lines!
our orc with none!
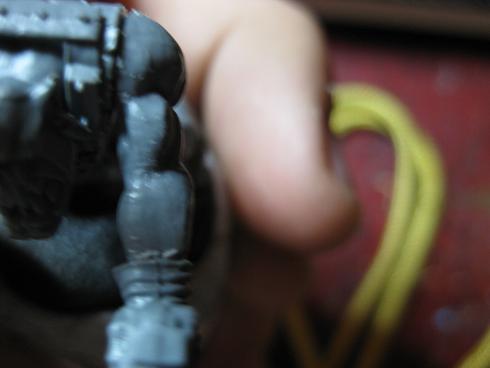
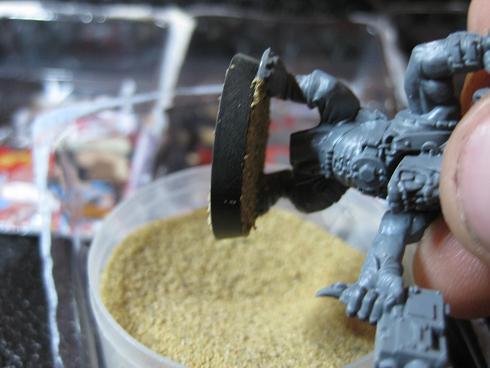
Ok so now the mold lines are off the arms, the shoulders, the legs and the inner thigh lets base our model!
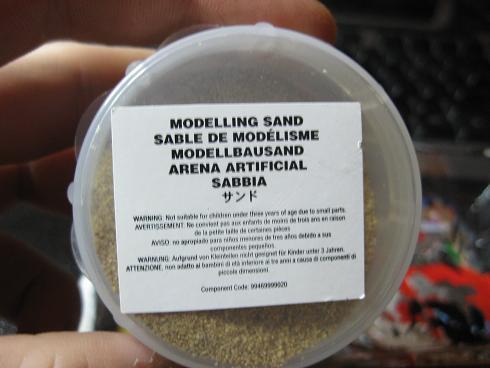
Using the sand i have from the tool kit from
GW
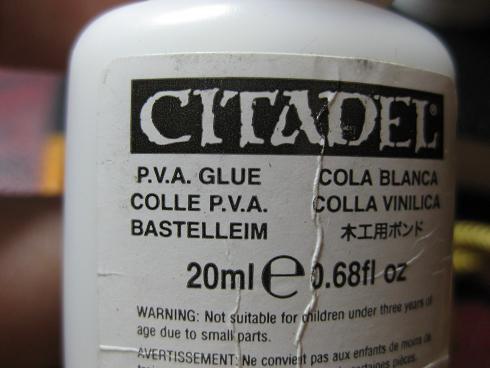
also the PVA glue, any glue is fine
Now you don't have to water your glue down but i like to because i feel it allows me to apply it where i want with more ease.
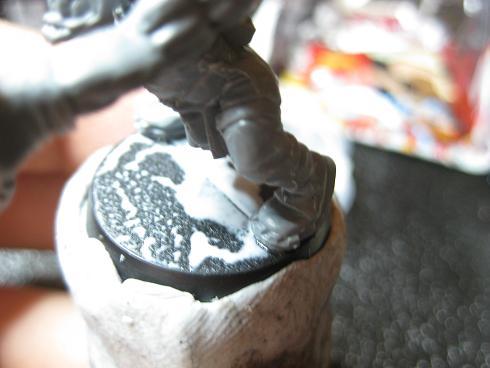
Next dump the base in the sand tub!!

Now to prevent a mess turn it on its side and tap the excess sand back into the tub.
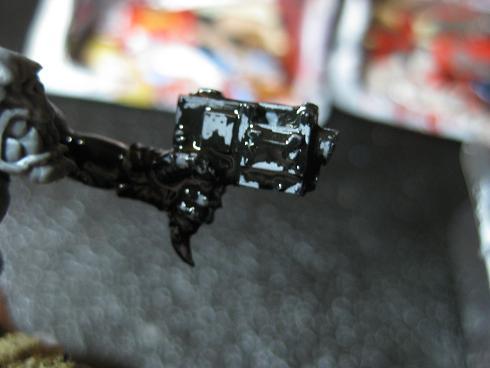
LETS UNDERCOAT OUR MODEL!!!!!
You can use either paint from the pot or use a spray can for the undercoat, i would spray the model however it is late and i dont want to go outside at 3am
it will be fine for demonstration purposes to pot paint this.
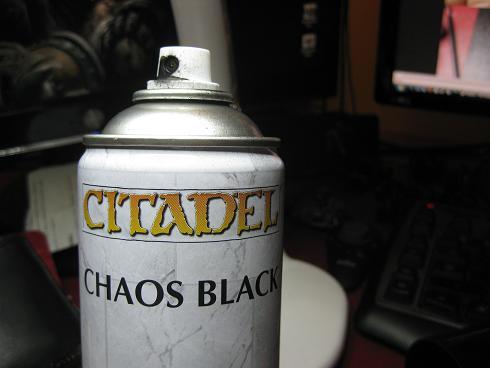
Invest in one of these cans
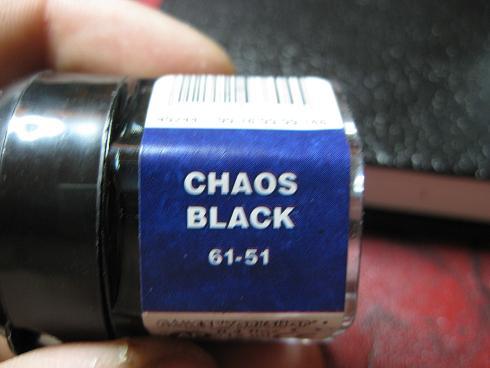
Just using Chaos Black from
GW, all of my paints are
GW.

The Basecoat
GW brush, again all my brushes are from
GW.
When i undercoat i thin the paint down a fair amount more then i normally do with water, dont make the paint too thin or else it wont coat the model!!!
You will know if it's too thin because it will look like this...
As you can see, the paint isn't sticking to the model where applied, the water in the paint is making it pool to the side and pulling the paint into clumps rather then a consistent surface.
After base coating your model and painting the sand too it will look something like this!
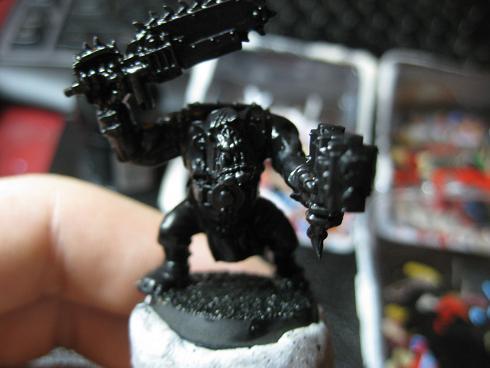
Front on.
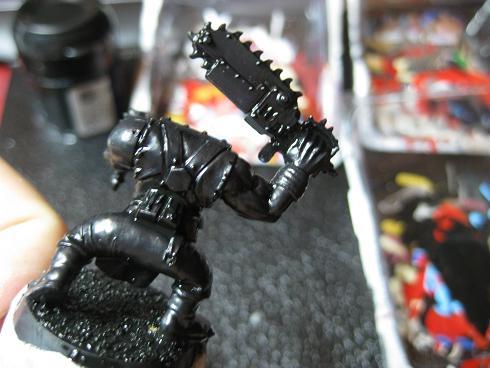
Rear view.
Alrightio! Now we are going to do the base coat of the skin!
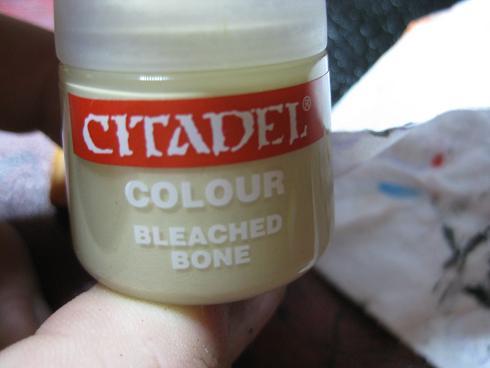
Using bleached bone just over all of the skin areas of the model, dont need to be too precise as its only the first colour and we can fix up anything else along the way or just paint over it with the other bases.
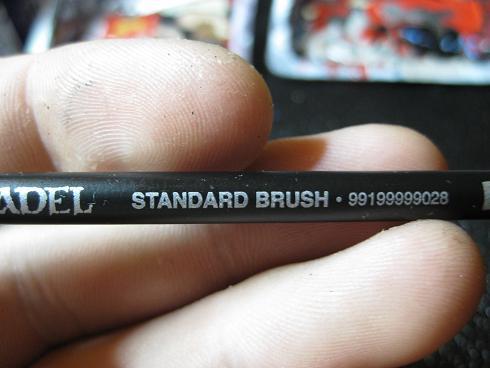
now using just the standard brush from
GW
There we have it, our orc's flesh has its base done
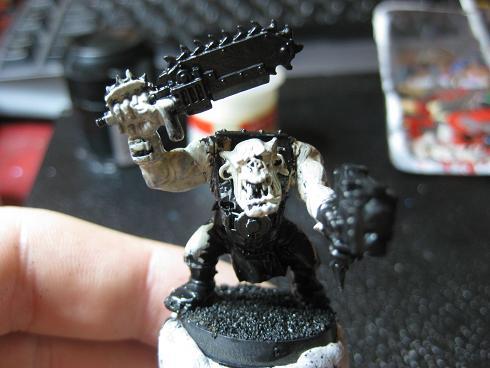

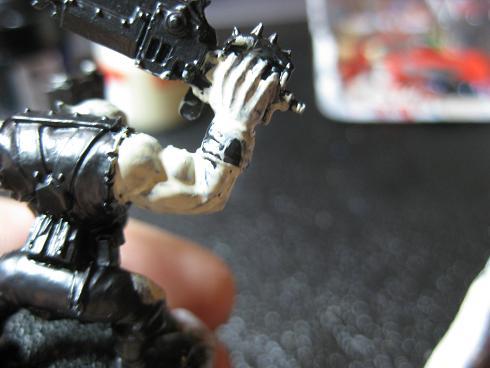
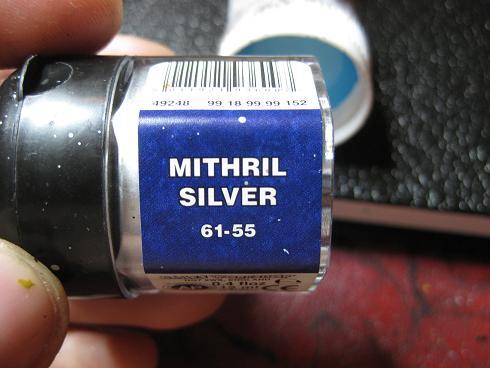
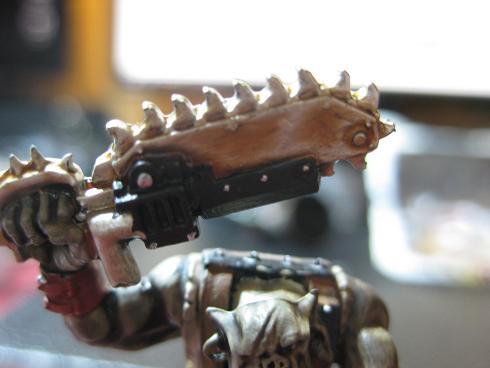
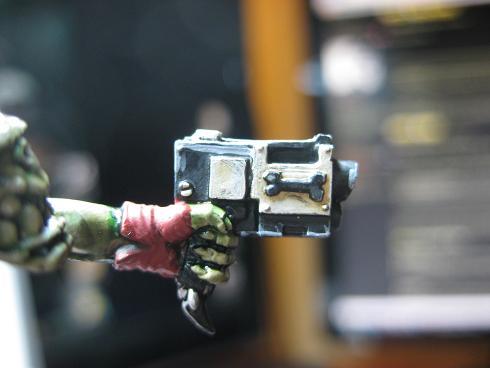
Lets grab our Mithril Silver and apply it to all the areas we want to have metallic.
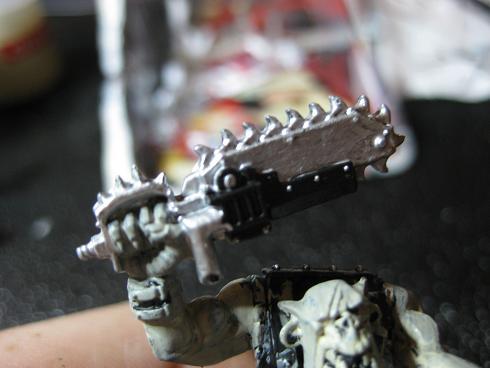
I decided to leave some black areas of the swords casing
I only painted a few of the casings of the pistol
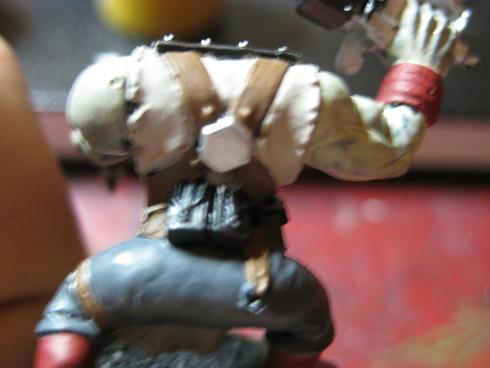
Now we are going to paint the shirt of our model, we will be using Dheneb Stone for this step.
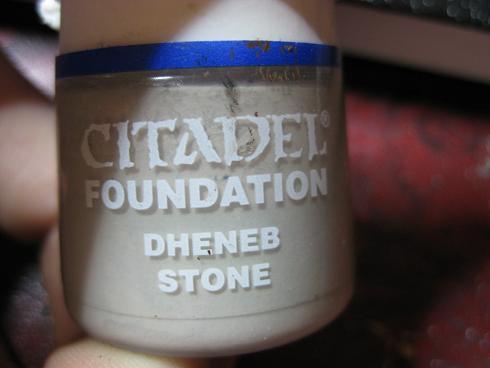
Still using a standard brush for this, you can always switch to a size that you feel more comfortable with
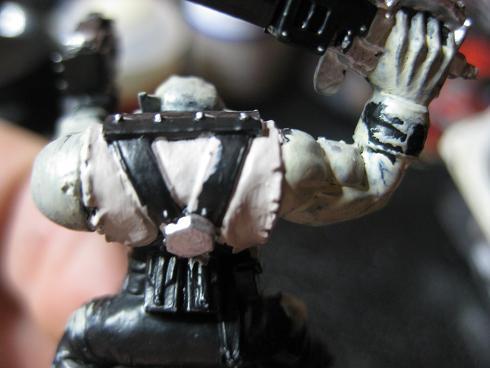
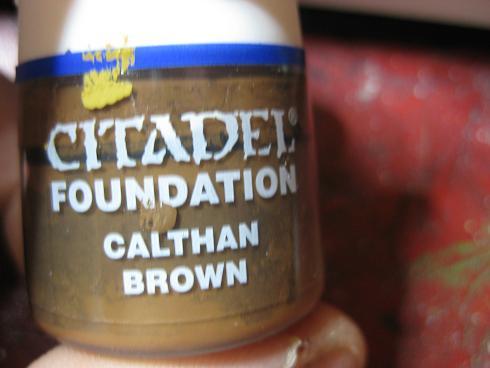
The straps and belts on the model are all going to be painted Calthan Brown.
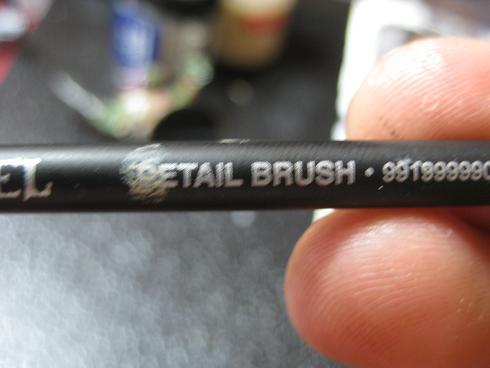
There are some small areas with the belt that you will need to use a finer brush, either the detail
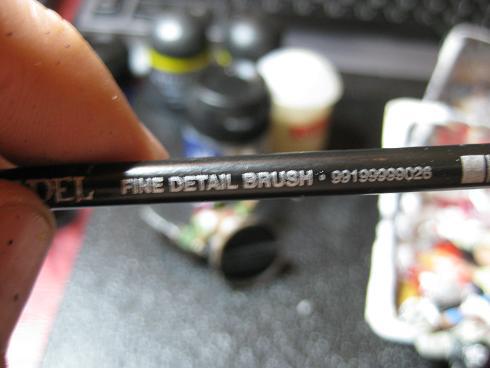
or the fine detail brush.
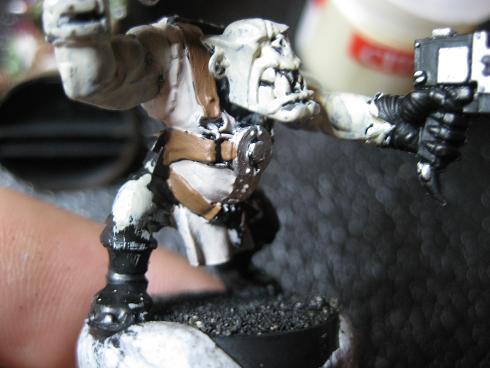

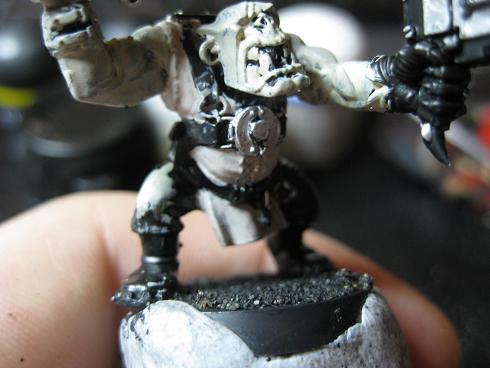
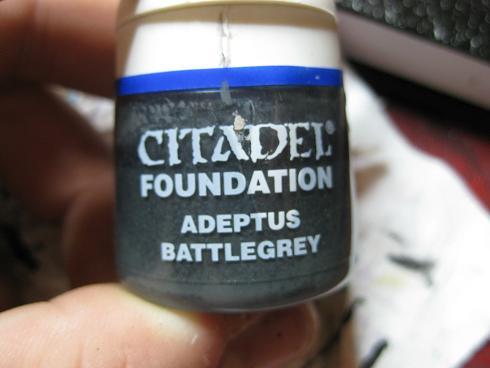
Once the belts and straps have been painted we are going to paint the pants next, using Adeptus Battlegrey
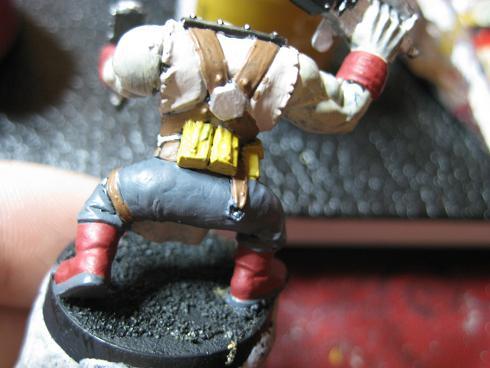
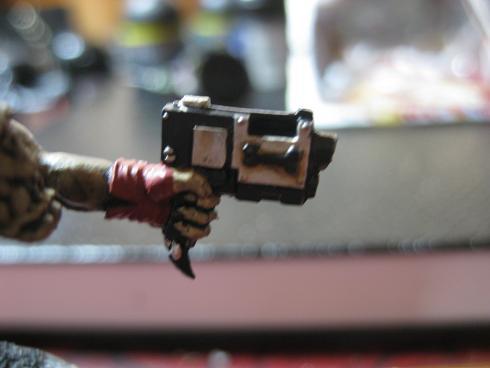
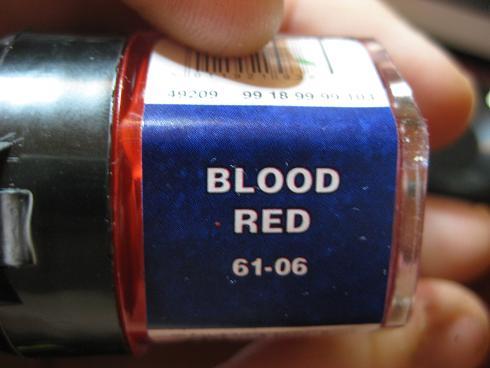
Now we are going to paint our models boots, wristband and glove on the left hand. We will be basing this with Mechrite red, my pot however has no sticker on it anymore.
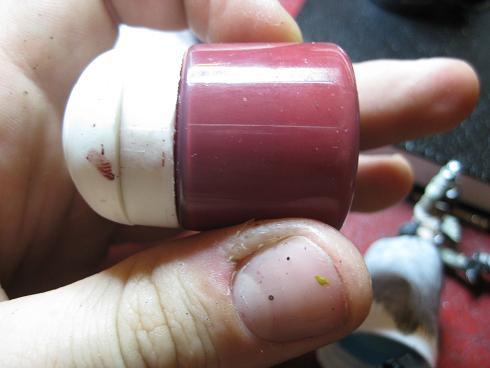
Mechrite Red
Boots
Glove
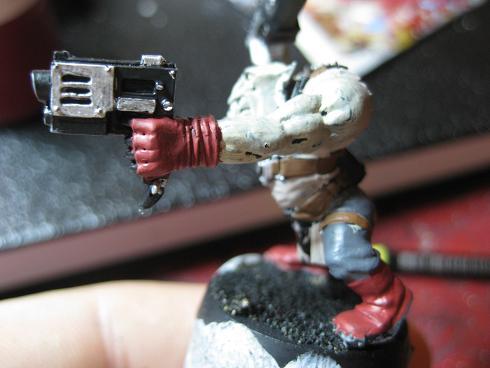
Wristband
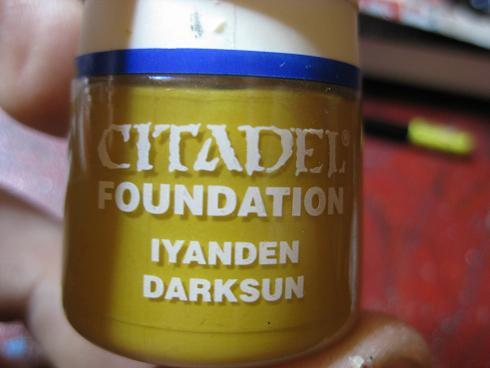
Alright, now lets paint those little pouches on this fella! Grab Iyanden Darksun and this is the base colour
Ok, now lets start applying some washes since we have our base colours all applied to our lovely miniature
Lets start with the first wash, Devlan Mud. If your new to painting you will soon learn that Devlan Mud other washes are a god send! They make painting table top quality a lot less of a pain then going through stage by stage of dark recesses to highlighting around them.
THIS ISN'T
TO SAY THAT WASHES = YOU NEVER HAVE
TO PAINT!!!!!!!
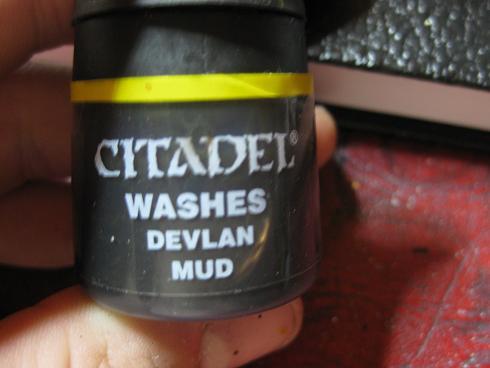
Devlan Mud
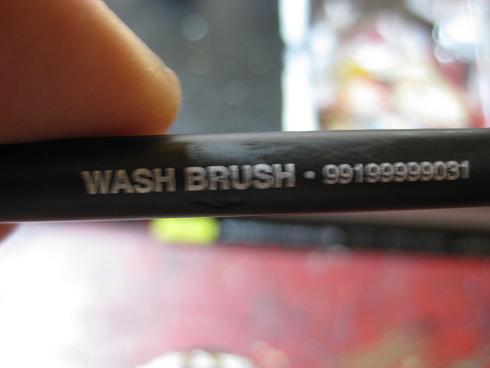
Now we will be using the Wash Brush for this, some people are unsure why to use the wash brush opposed to any other brushes. The wash brush can hold a lot of the wash it self inside the bristles, this is great because it allows your brush more time on the miniature rather then in the pot!
Ok so apply Devlan Mud to the flesh of our model, apply it thick and spread it around into the recesses, this will start to 'muddy' our flesh on the orc.
Also apply to all of the straps and the pants aswell!

Apply Devlan Mud to the shirt as well, this will darken it up.
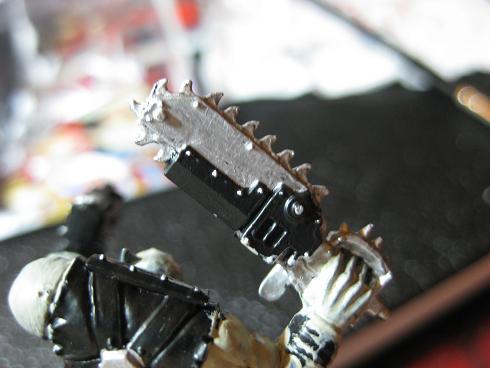
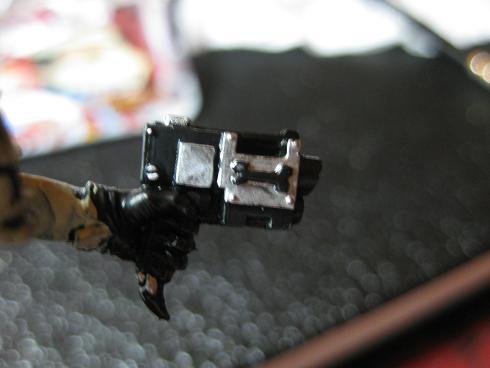
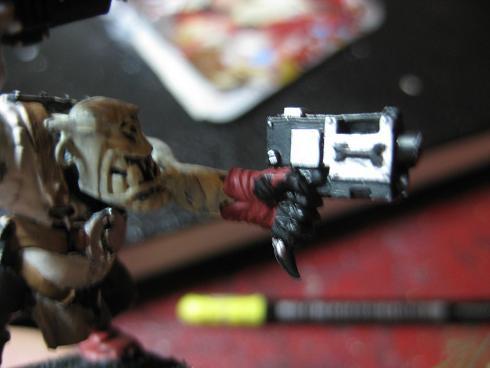
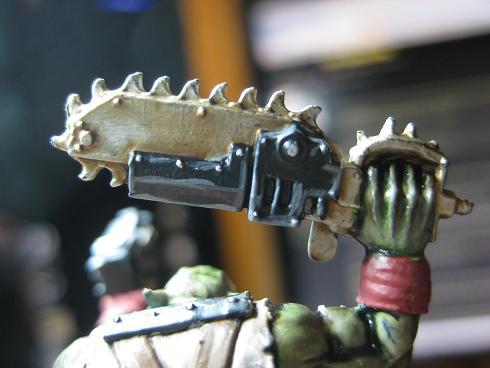
Now apply another wash, Gryphonne Sepia. This wash will be applied to most of our metallic areas we covered earlier.
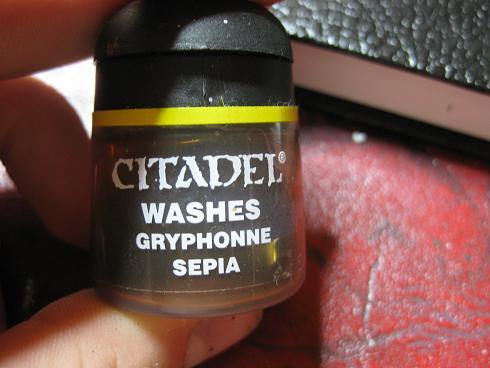
This gives the effect that the sword is rusted and tarnished
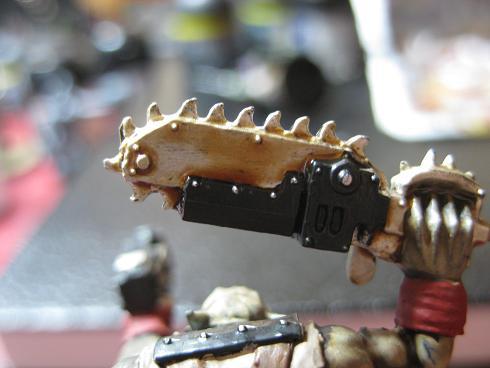
The gun has some tarnished areas around the welding and fixtures
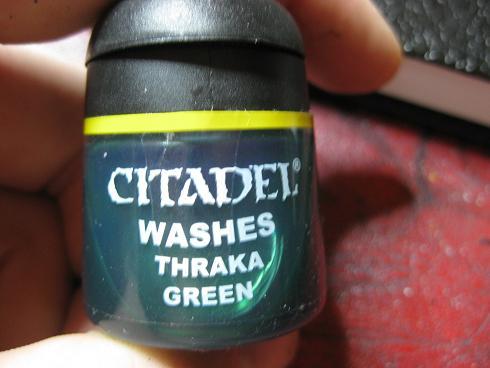
Now apply the wash Thraka Green the all of the skin on our model!!!
After wash paint more Dheneb Stone onto the shirt, around the middle and raised areas. Try to stay away from where the wash has formed pools of shadow in the recesses or curves.
The cloth and shirt also have some further highlights of Bleached Bone and a few areas have Pure Skull White too.
In a few of these pictures the straps have also had some highlights done to them, with straight calthan and some calthan mixed with bleaced bone.
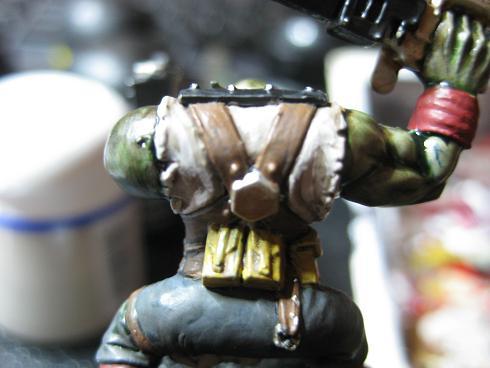
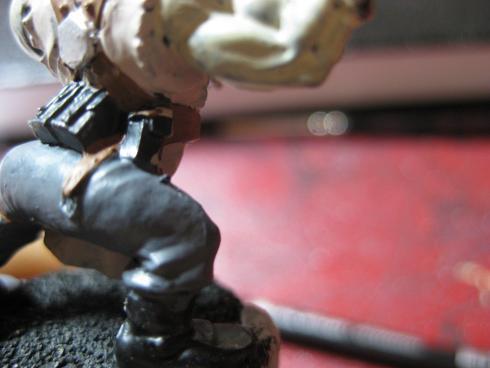
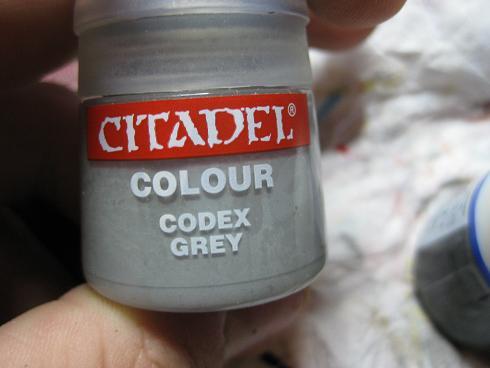
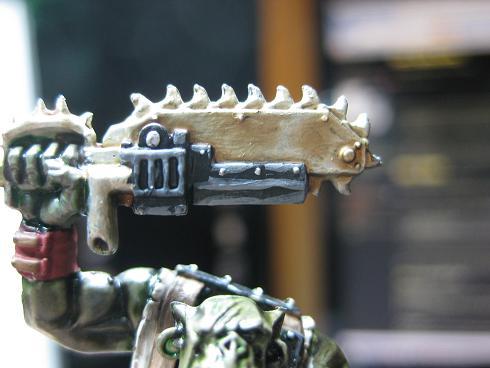
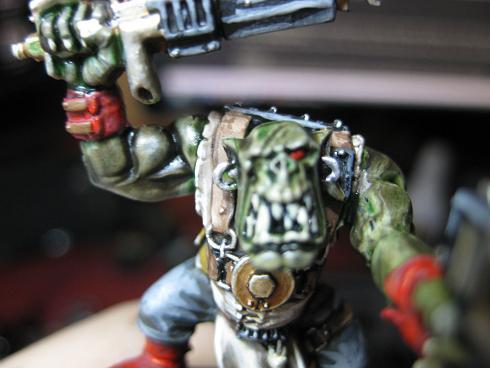
Lets do the pants highlighting! grab your adeptus battlegrey and paint around and away from all of the recesses, next get Codex grey and highlight all of the raised kinks in the pants.
With the two greys also do highlights on those areas left black on the sword and the pistol.
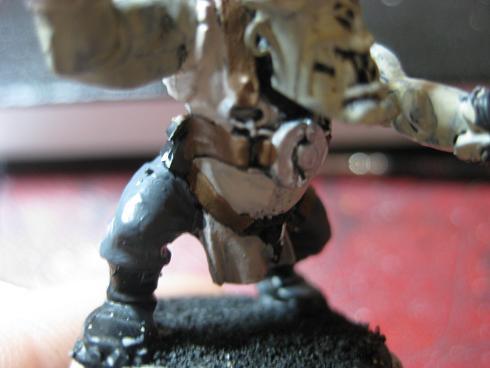
pants are codex grey highlighted and sword has line lights.
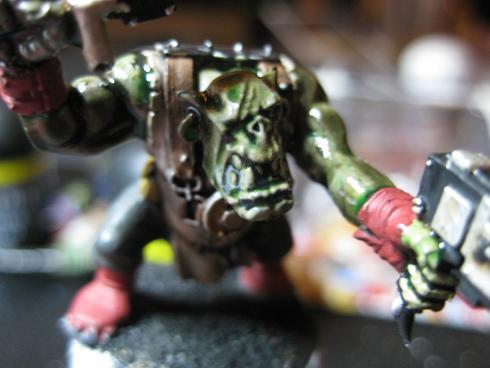
Lets paint our characters eye, he only has a single eye due to his scars across the face. I will be using blood red as well as a fine detail brush.
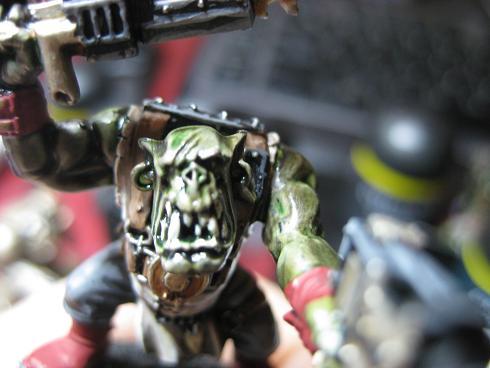
Before
After
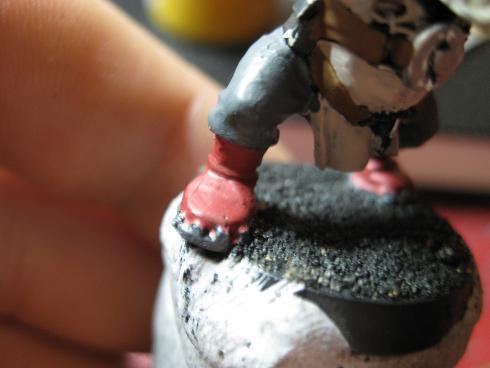
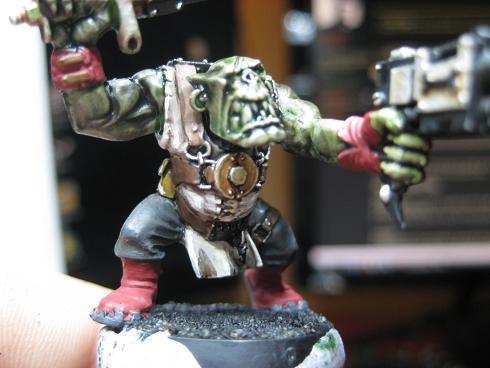
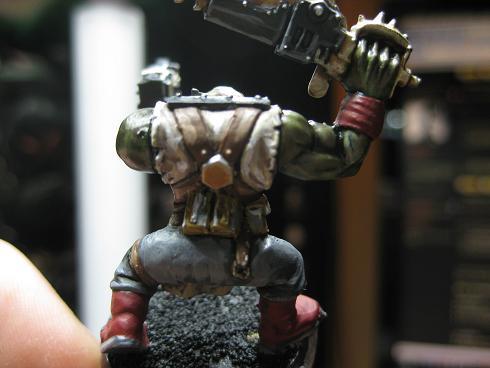
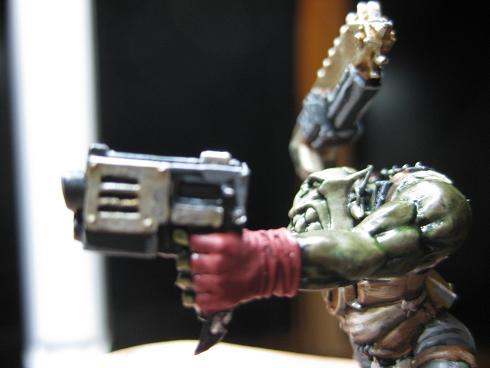
How about we lighten up those red items of clothing of his, using blood red paint around the recesses, we are not using a wash here.

WERE ALMOST DONE!!!!!
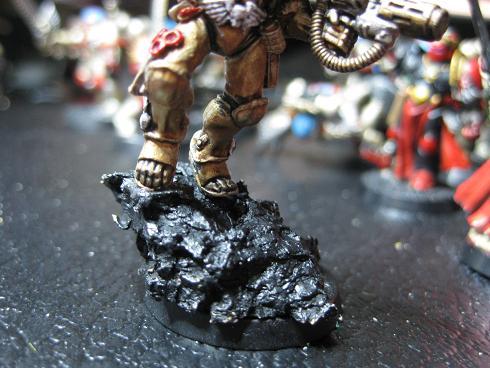
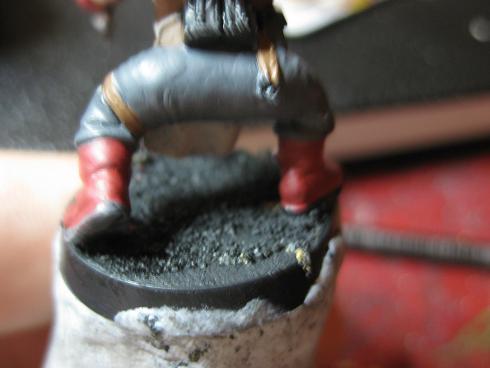
Unfourtuantly i got too carried away in drybrushing the sand on the base that i was unable to take shots during the stages, however the layers of the drybrush are adept battlegrey, iyanden darksun, iyanden mixed with calthan.
Then i have used some PVA and glued a small rock of cork from a cork tile (maybe this could be a good thing to do a tutorial on next...) and glued some static grass on and around it.
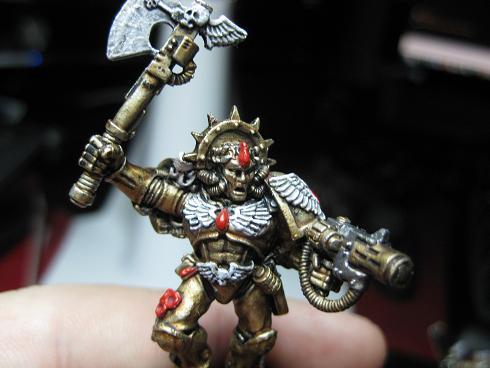
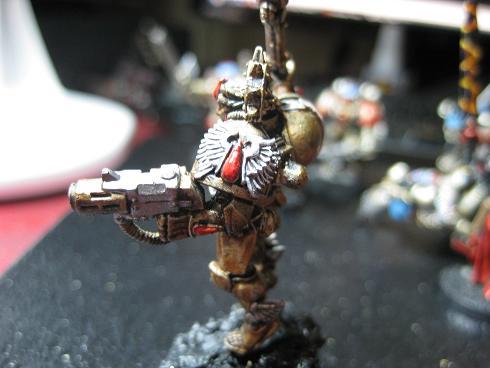
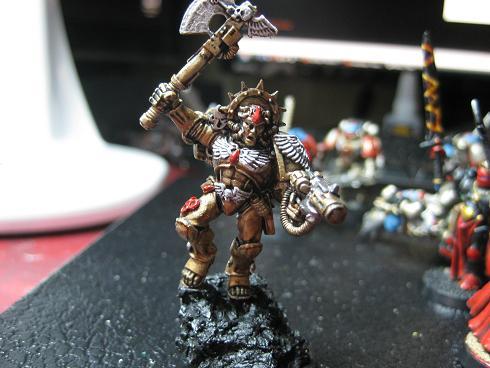
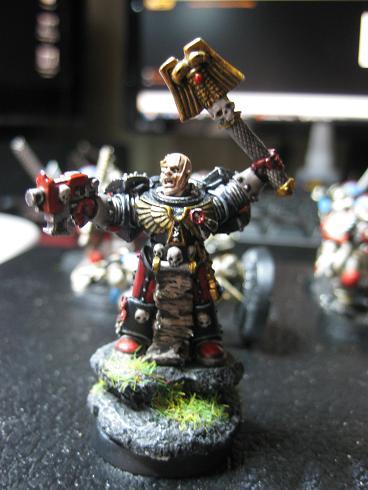
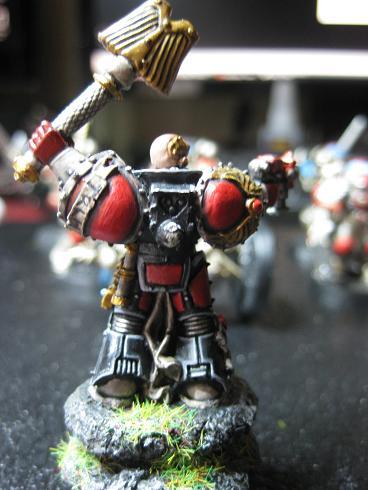
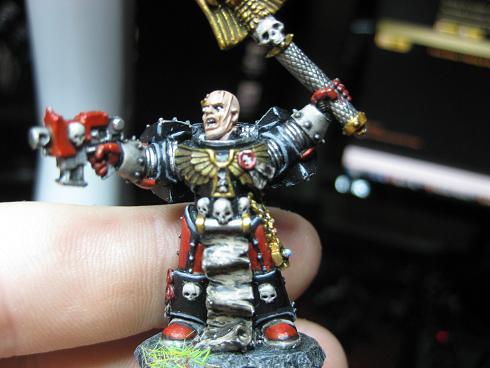
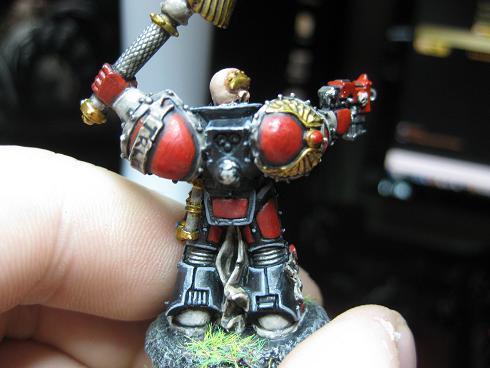
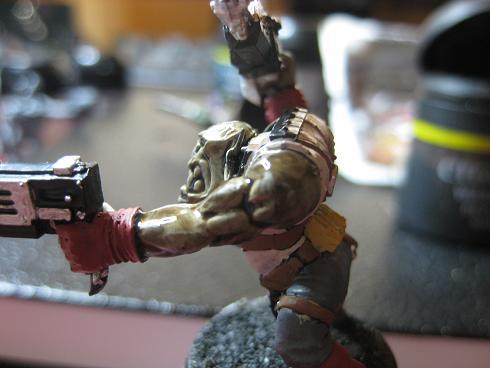
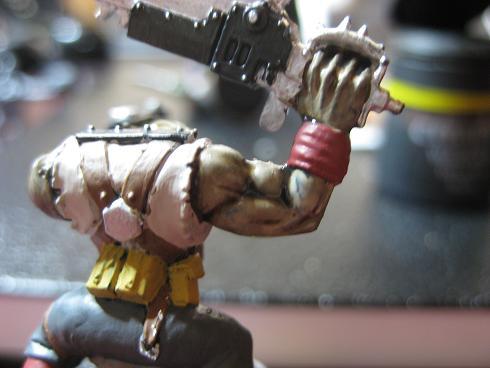
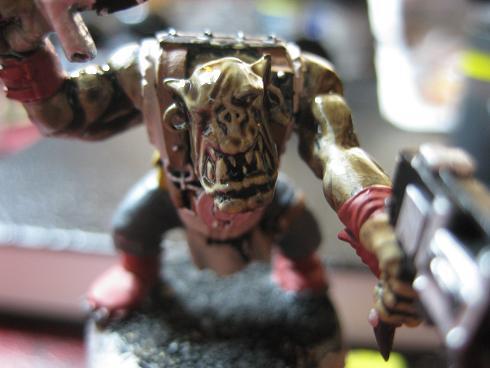
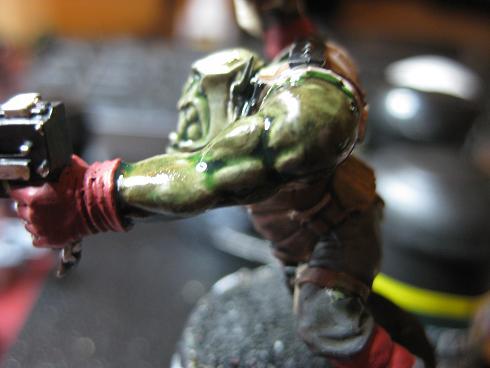
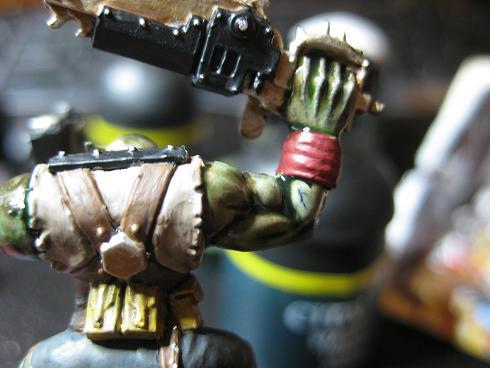
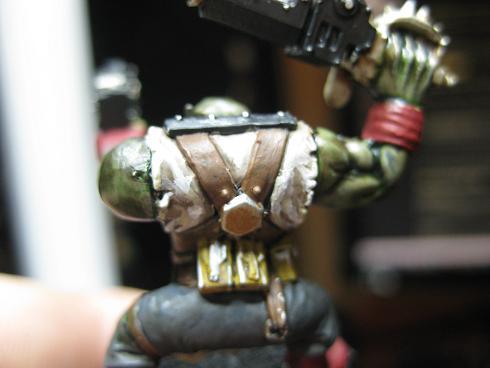
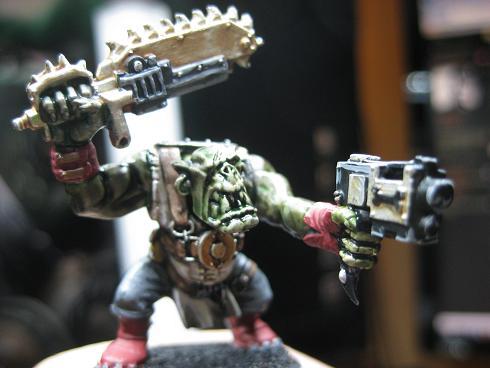
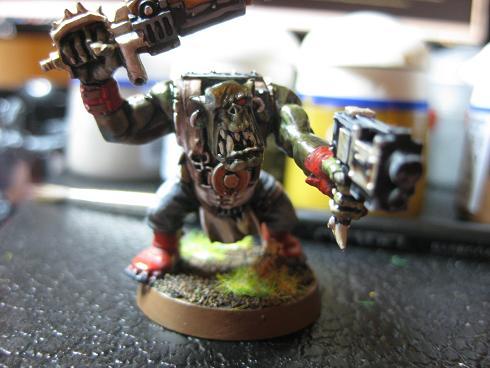
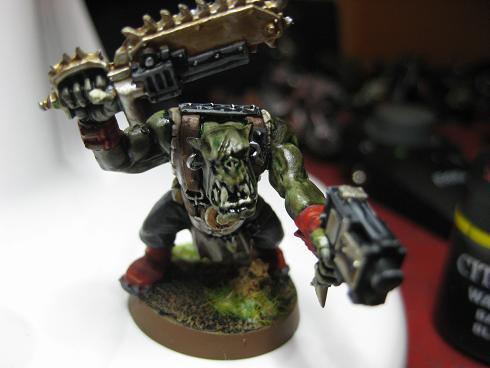
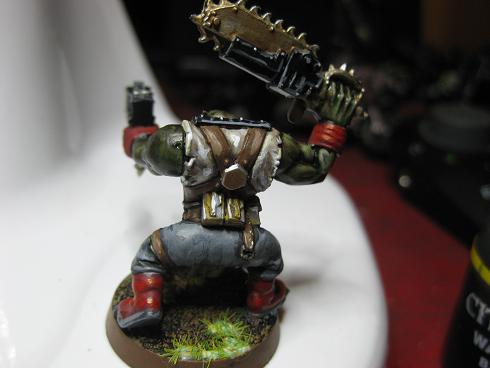
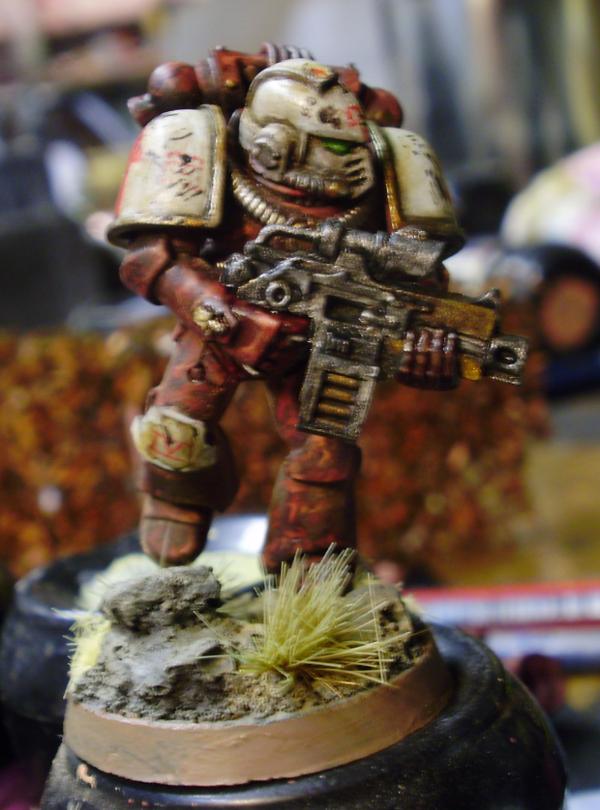
HERE ARE THE FINAL PICTURES OF OUR TABLE TOP QUALITY ORC!!!!!
===============================================
This whole tutorial took me one night in total, painting took longer then usual due to taking shoots in between stages.
I really hope that you guys enjoyed this as much as i found it an amazing and creative experience for myself, this is my first how to paint tutorial and i hope you all and found it had some useful information in it
I know there are a lot of pictures but i feel it helps a lot more then trying to explain typing out huge paragraphs about whats going on! Must be why i like picture books instead of novels
Also all feedback is welcome and wanted!!
Any suggestions on what i should possibly do next? if anything
Brother Tobias.


 range:blood:mechrite 3:2:1:1

 THE EMPEROR PROTECTS
 5000+ pts
 1000+ pts