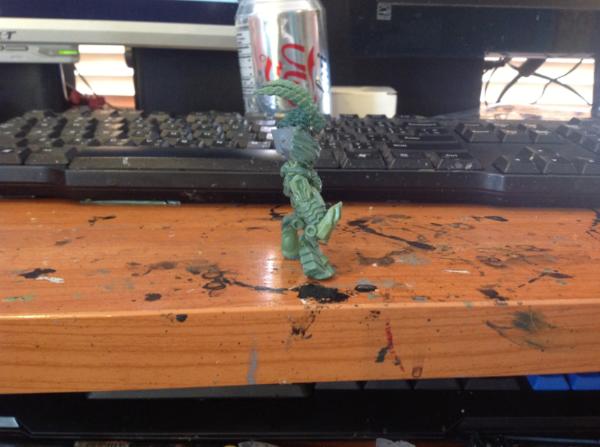
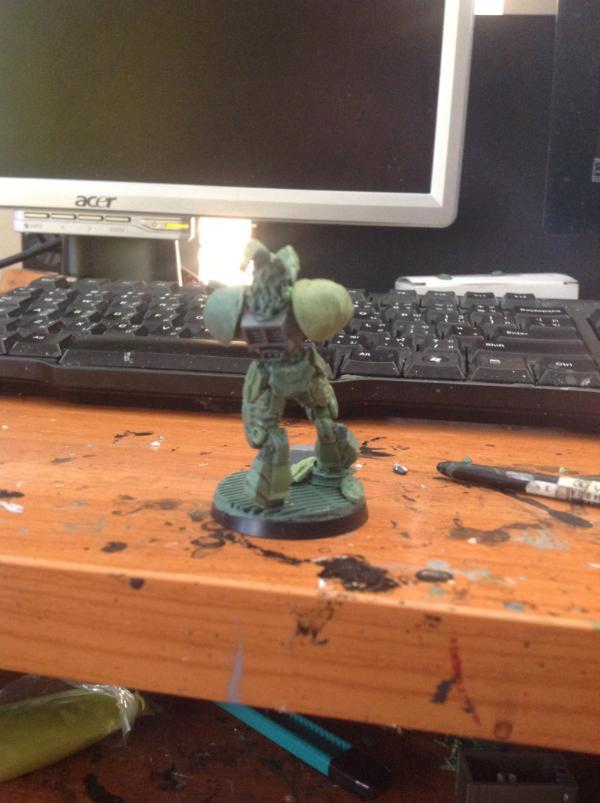
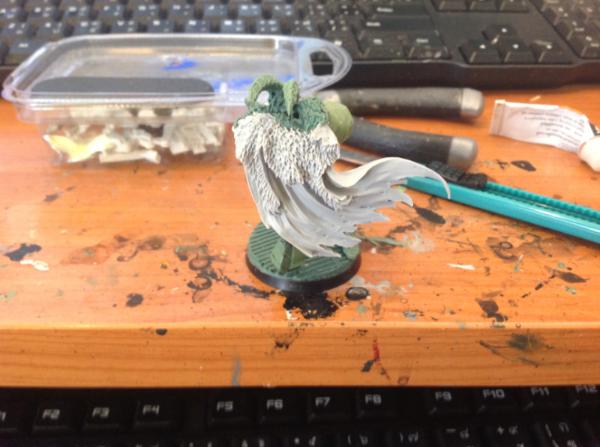
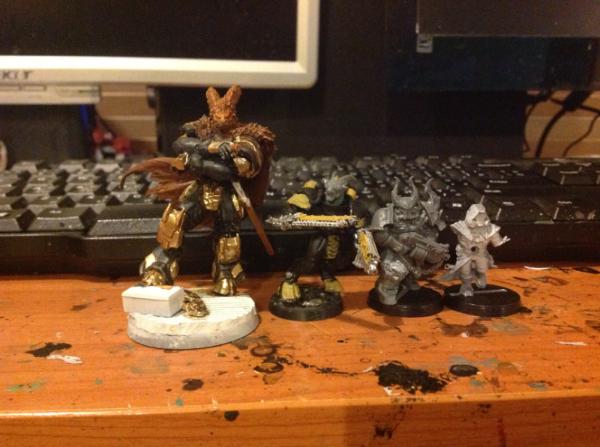
Thanks for all the comment on the pay master they are really helpful, and is giving loads of idea on other things to do with it. please keep them coming!!!!

 HAZZER wrote:
Just wow dude.
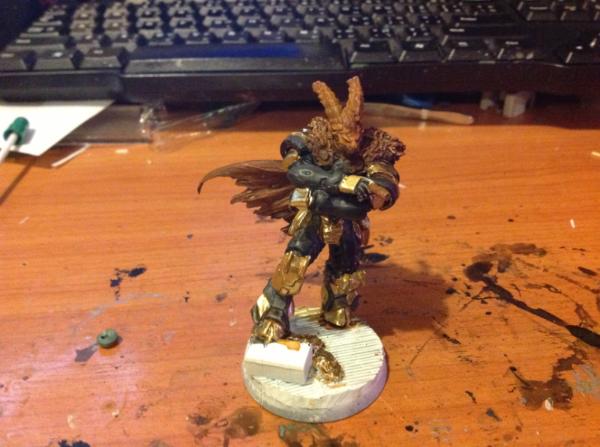
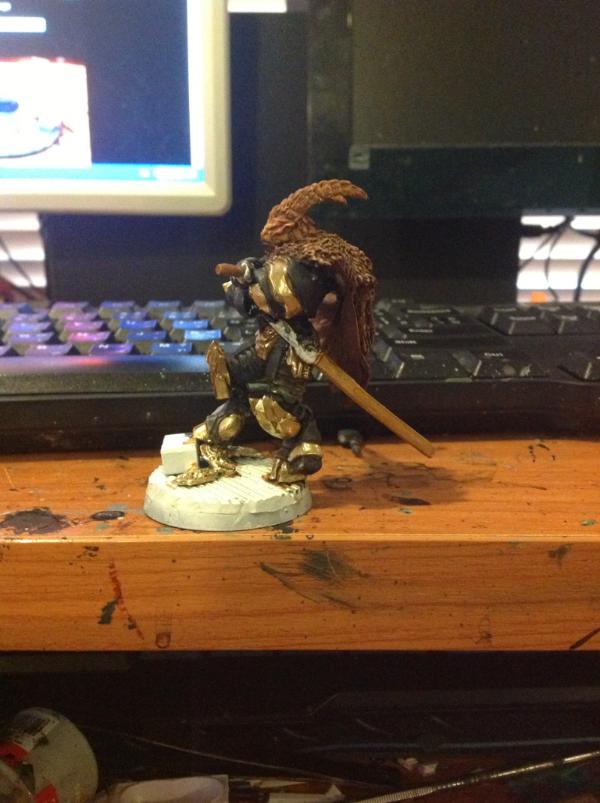
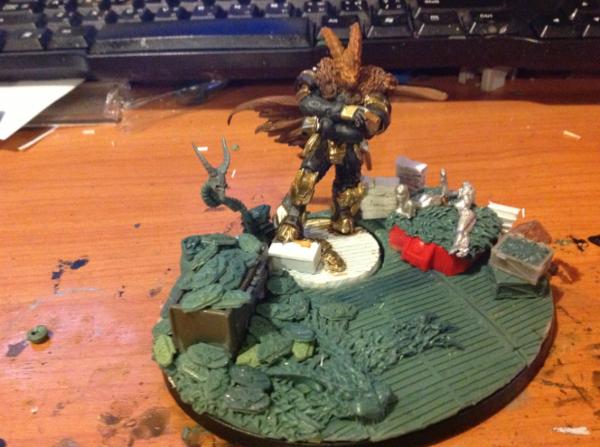
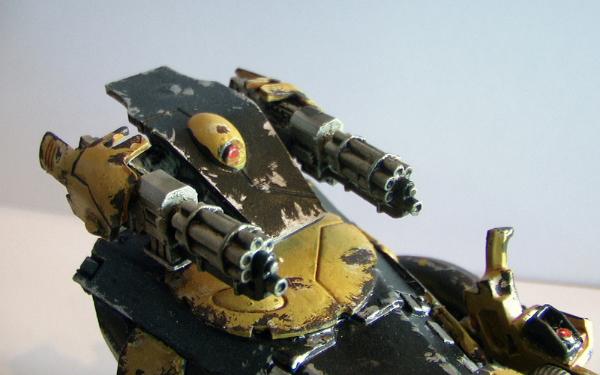
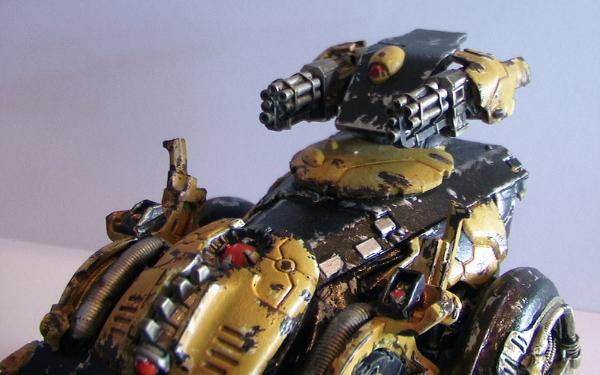
Tbh I'd keep the gold as it shows off his "statius" and possably add yellow stripes or somthing. So you were saying about some sought of body guards and stuff they could have the same coulored stripes as well to show that only the best get them. This could make it the spot coulor as well.
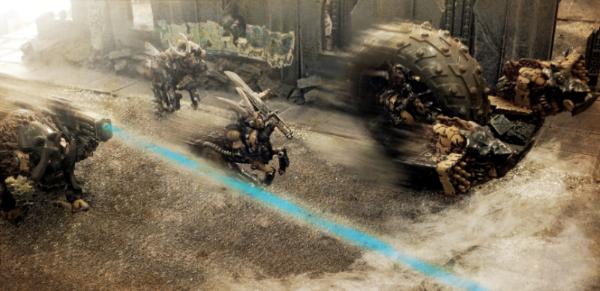
On anouther note, what progarams do you use to make the
GW style pics with lasers flying and the such? (like your
LR pic).
Hope that all makes sence.
HAZZER.
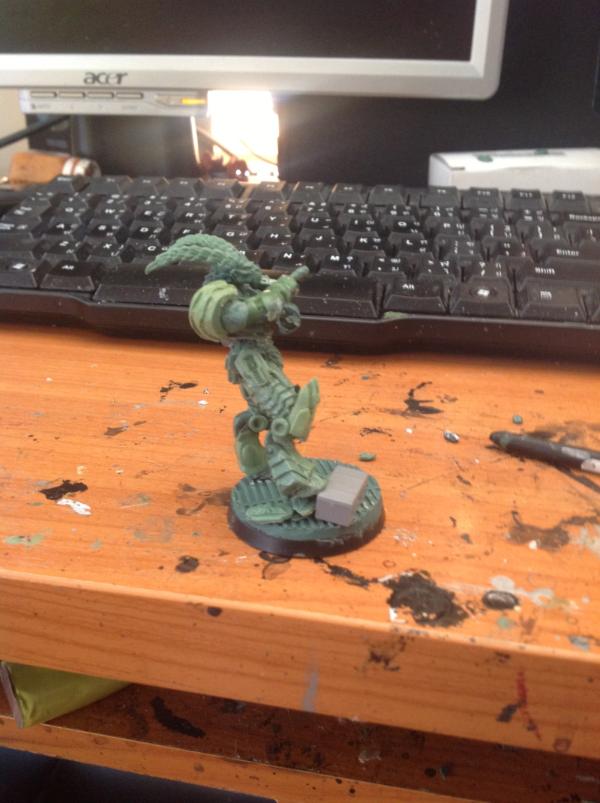
Also to empises your sculping work-
I used the all mighty photoshop for that....
Here's a little tutorial for what it's worth. I’ll try to go over more or less what I do from start to finish with the “realistic” photo….
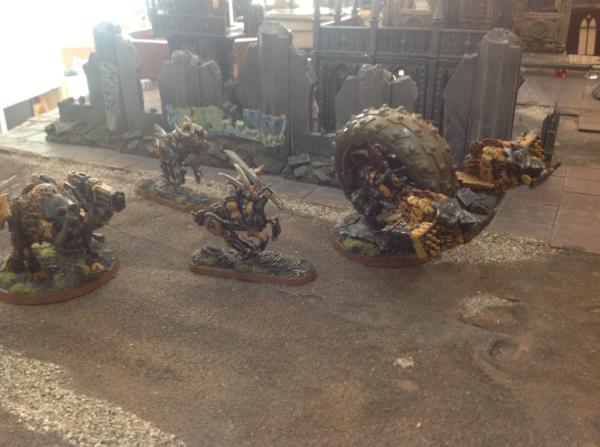
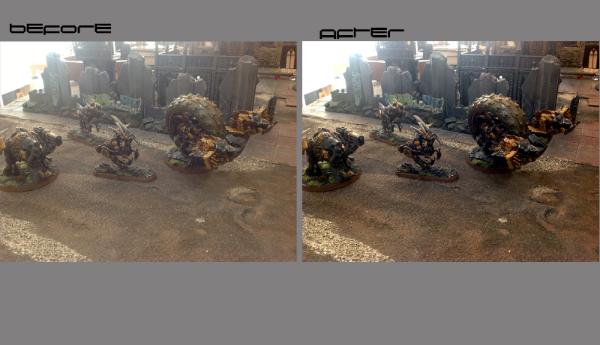
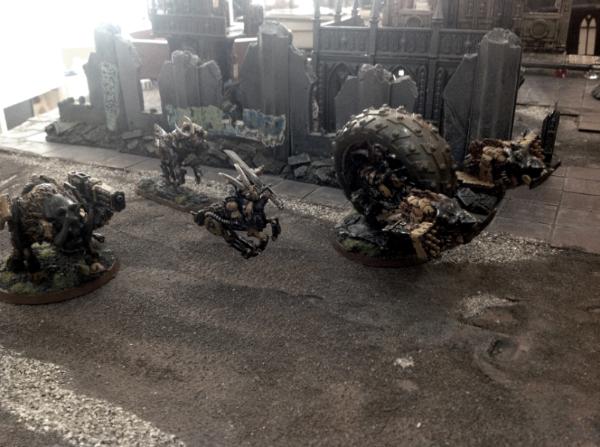
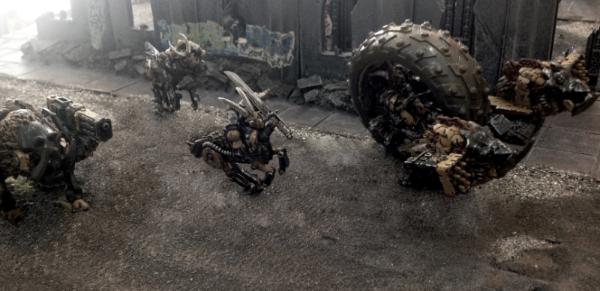
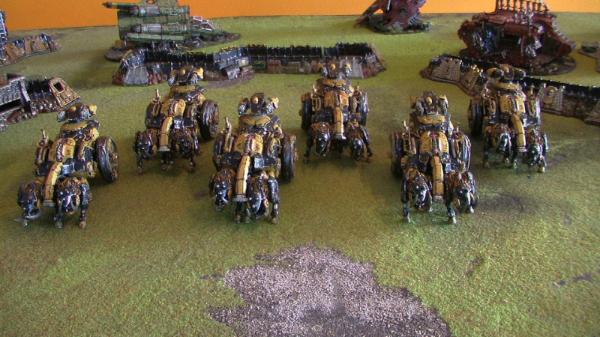
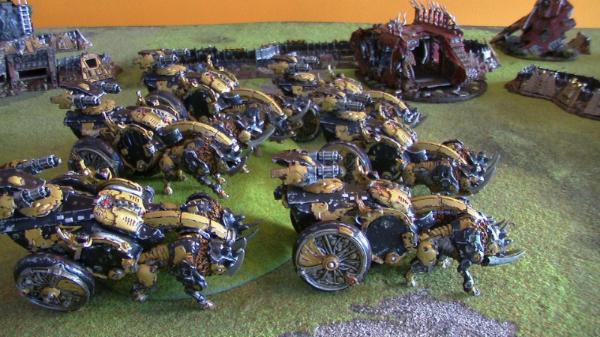
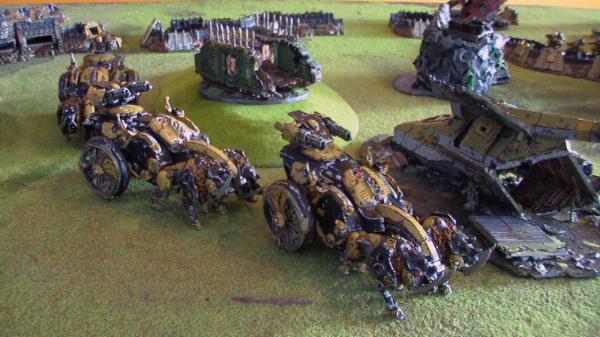
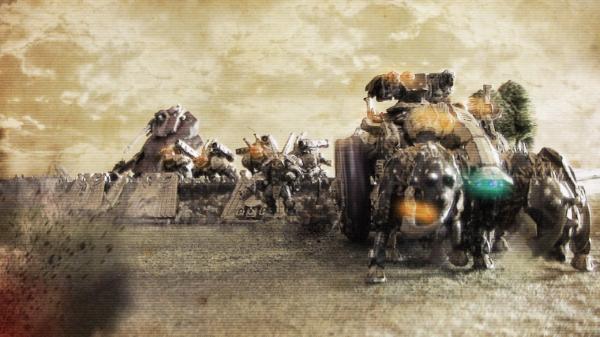
So this-
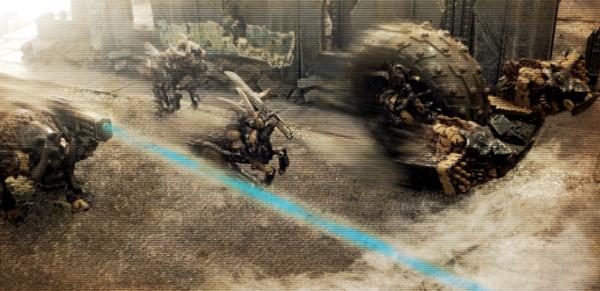
From this-
Note: I’m a Bill Gates user so the hot keys might change if you are using a Steve Jobs.
After you have loaded up you photo in photoshop- select all (
ctrl+A), Edit> copy, Edit> paste. So you will have another layer. I do this just incase I messed it up too much and I need to go back to the original…. Or just save it as another file… or both….
Then to make minor adjustments to the levels and color (color- depends on how good or bad the photo is…). I let photoshop do it for me simply click-
Image > adjustments > auto level (
ctrl + shift + L)
Then
Image > adjustments > auto color (
ctrl + shift + B)
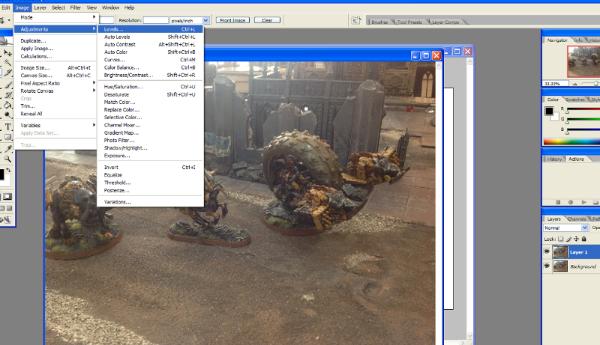
Now you can adjust brightness and contrast by going to- Image > adjustments > brightness and contrast.
There’s no right and wrong with this- just do it until it looks right
Now, no matter how none colorful you paint your miniatures- for some reason it still always seems too colorful for the sort of
40k gritty look… so what I do is I go to - Image > adjustments > hue saturation (
ctrl +U).
Then slide the saturation bar WAY down.
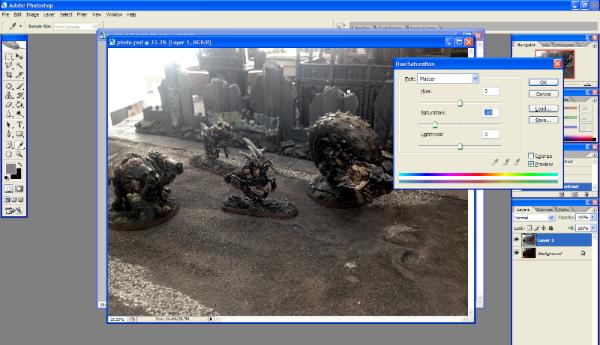
Now that we have the over feel
Let get into the details.
First I get rid of any of the bases that the models have. There are a couple of ways of doing this the two I usually use are-
Click on the polygon Lasso tool (L) then trace around the feet and base.
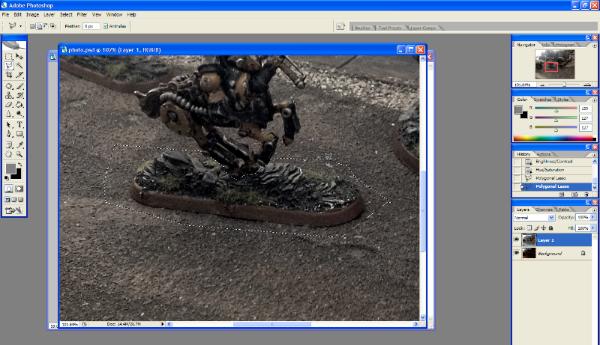
You can try to be neat but it’s not really all that important
Then click on any of the selection tool (lasso, marquee, or wand), move the selection on to a bit of the ground that does not have a base on it.
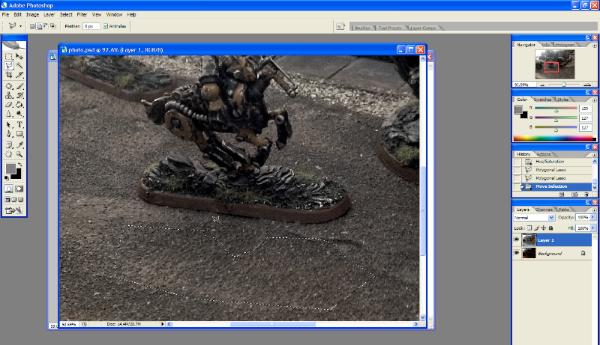
Now select the move tool (V), Hold ALT on the key board then drag the selection back to where it was originally.
Once you let go, deselect it (
ctrl+D) and you should have a baseless (ish) miniature…
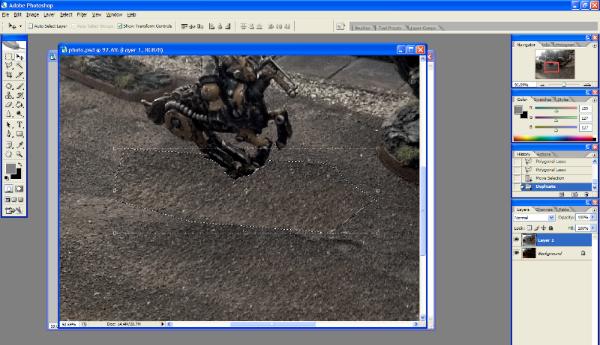
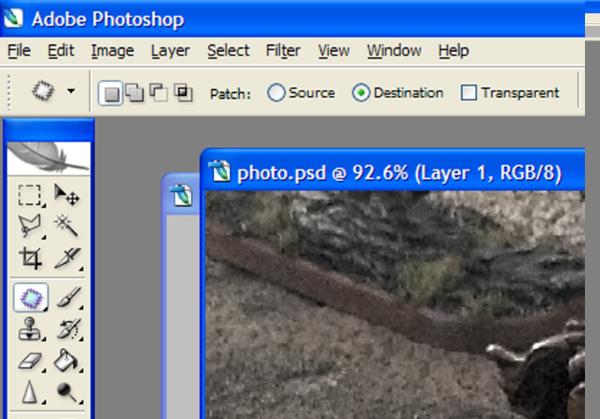
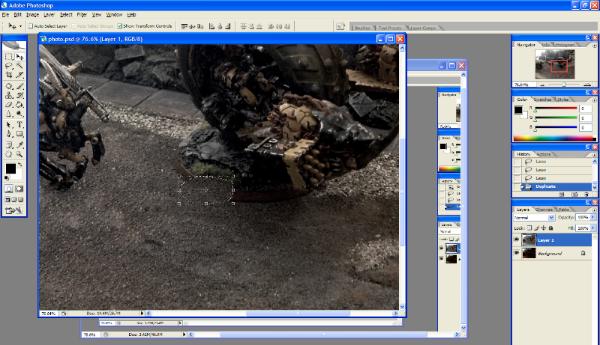
To get rid of the edges bit so it dosen’t look like we just edit and pasted it. we will be using the patch tool (J).
Make sure the patch tool is set to new selection and destination.
Now some where on the ground click and drag the tool selection a part of the image.
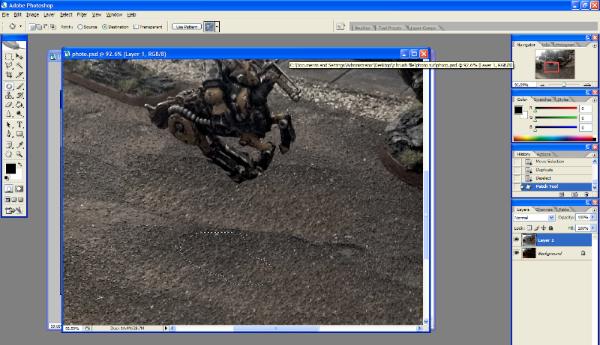
Still on the patch tool click and drag the selection onto the bits that looks out of place and continue doing so until it’s all covered.
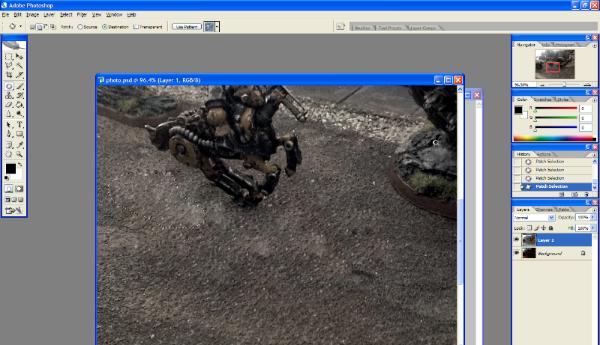
The other way ( just incase there is not enough ground to select (other models in the way etc….)
Is this-
Start off by selecting a “good” part of the ground with the lasso-

Select the move tool, hold ALT, then drag the selection on to the parts of the base.
Let go, and then continue doing this until all the parts that you want covered are covered.

Now to use the “patch tool” as before to blend every thing in.
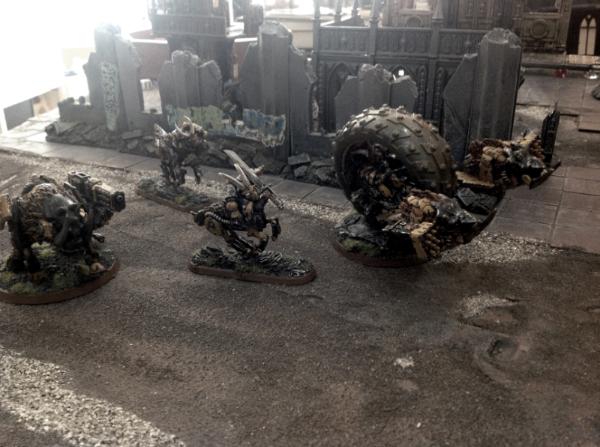
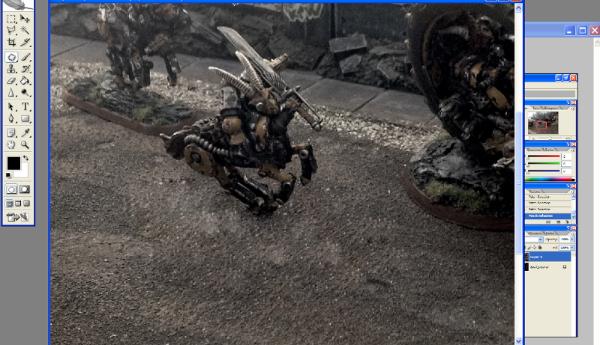
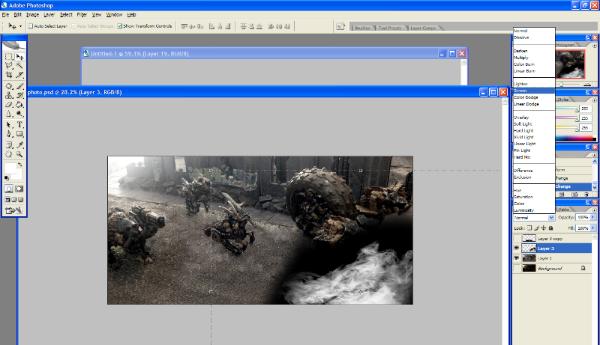
Once all the bases are all out we can move on to the fun part. Oh I cropped out some of the part of the image just to make it more pleasing to me….
FX!!!!!!!!
There are soooooooooooo many thing you can do with photoshop fx wise its amazing… I’ll just go thru 3 things for now and the rest you can just experiment and have fun with your self.
Smoke.
First go to google or yahoo and find a good smoke picture (one that suites the situation…) and preferably with a black back ground.
In this case I just want it for the foreground so I pick one, copy and paste it into the our picture in photo shop.
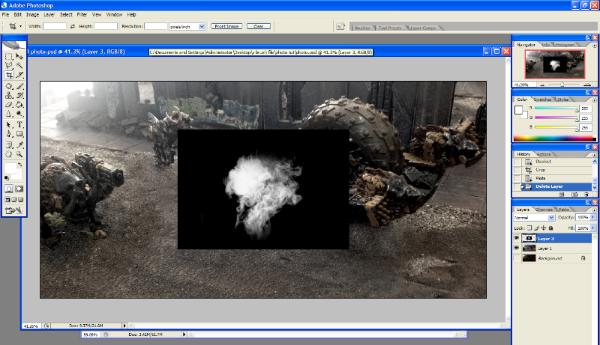
Using the eraser tool ( soft round brush) get rid of all the hard edges.
Now move and resize it to where you want it using the move tool.
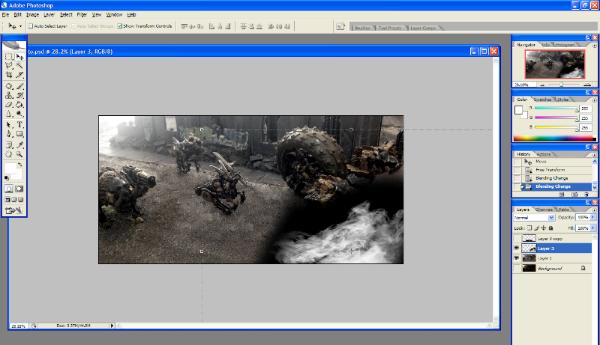
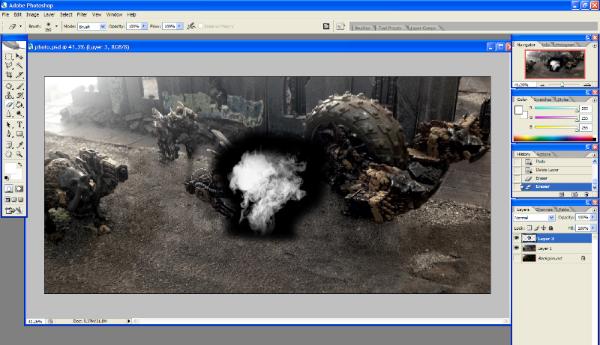
Once you have done that- go to your “layer window”, and top left of that there should be a blending mode for that layer ( right now it should be set as normal). Click on that and select “screen”.
Now you should get this.
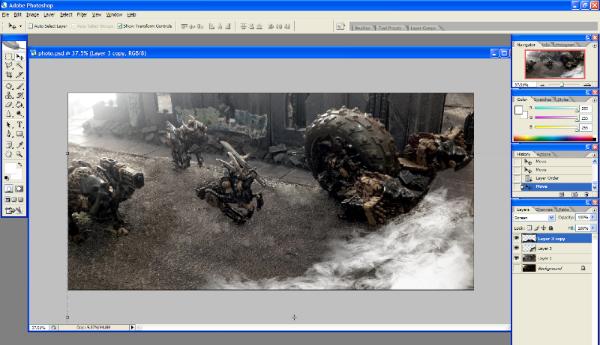
If you want the smoke to be lighter or more see thru just slide the opacity on that smoke layer down (next to the blending mode in the layer window).
You can do the same thing for gun and other type of smoke- just find the right smoke picture and place it on the guns.
SHOOTY STUFF!!!
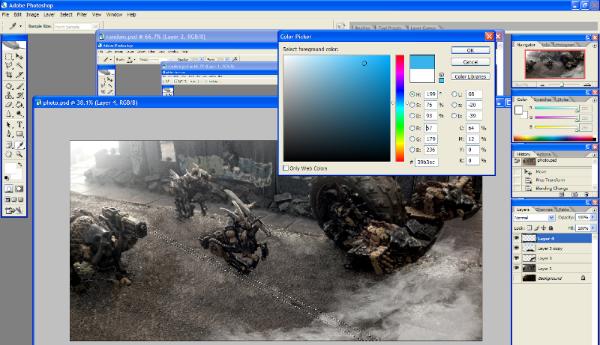
Using the polygon lasso tool- select the path of the bullet or the laser that is coming out of the gun.
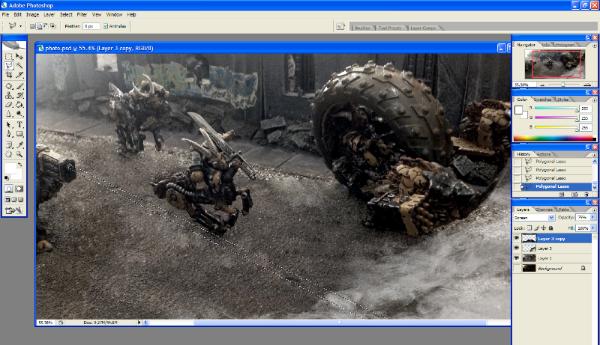
Click – Select > feather or select > modify > feather (depending on which version of photo shop you have. And feather it around 7 pixels then click OK.
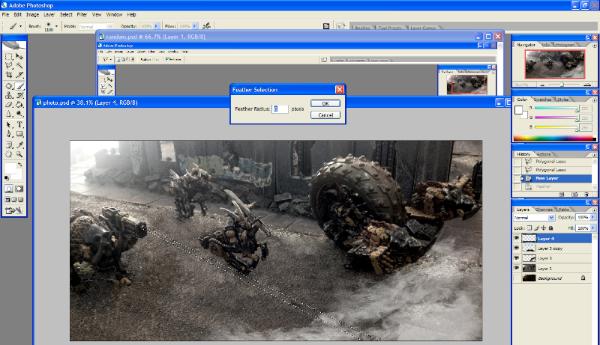
Now hit
ctrl+shift+N or Layer> new> layer and hit OK
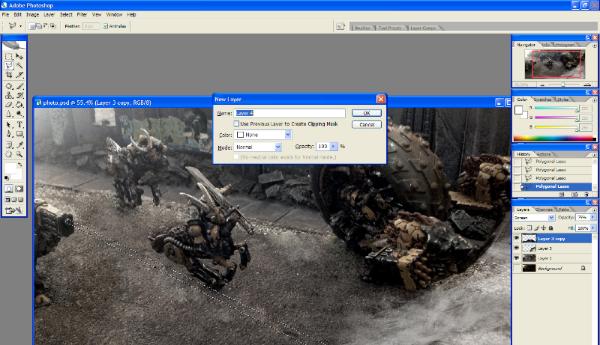
Using the brush tool color in the selected area with the color you want the laser to be.
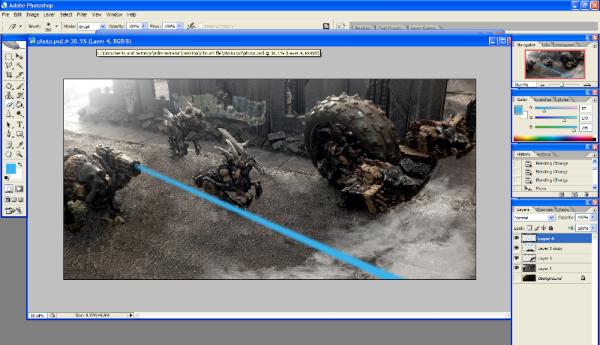
Then use the eraser tool to erase some parts of the beam so that it’s not so straight.
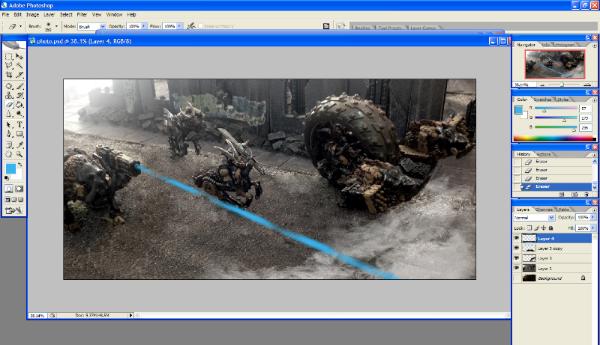
Now go to Layer > layer style> outer glow
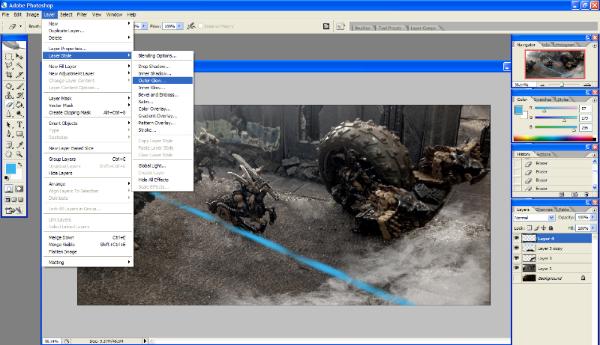
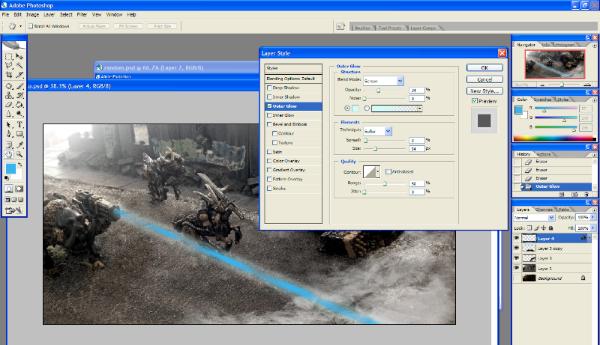
From here you can play around with the color of glow, the size and the opacity of the glow… up to you really how much or how little you want.
I do the exact same thing for lights on buildings and glow of eyes.
Motion!!!!
First go to the layer where you have the main picture then use the lasso tool to select the back of the model and part of the back ground. Don’t have to be neat at all!
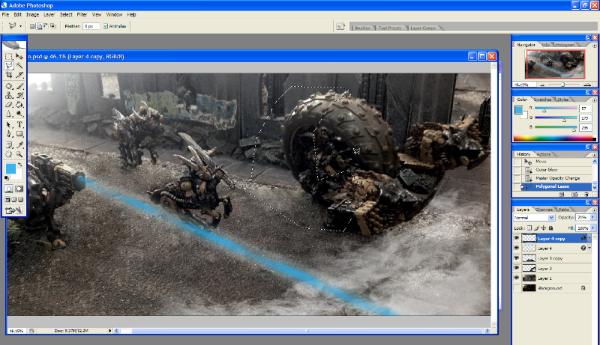
Now copy and paste it. Now go to Filter > blur > motion blur. Then turn the circly thing to the direction that you want. And set the distance…. Distance isn’t really all that important just the direction really…
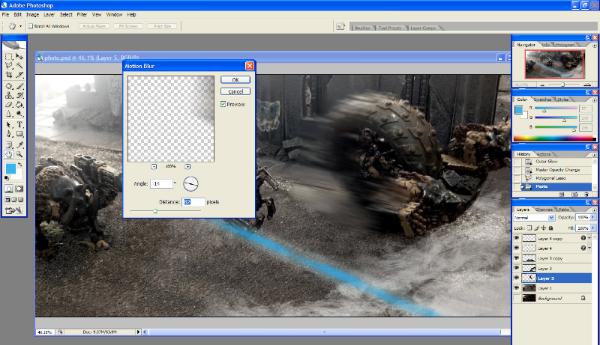
Using the eraser tool erase some of the front part so that the main parts of the models that you want to be showing clearly shows. And also turn the opacity down to around 80 or less depending on how you want it.

Finishing touches
You really don’t have to do this part at all but I just prefer to do it. Personally I feel it adds a certain grittiness to the whole image and also hides imperfections.
Again go to google or yahoo and type in “old paper”. Take any one of them then copy and paste it on top of all the layers in photoshop.
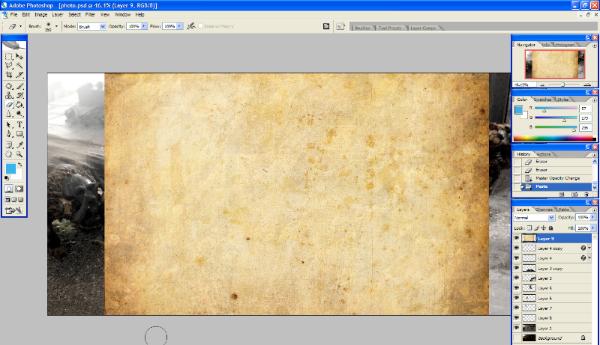
Resize the paper image to cover the whole picture then go to the layer blending tool in the layer window then change from normal to overlay.
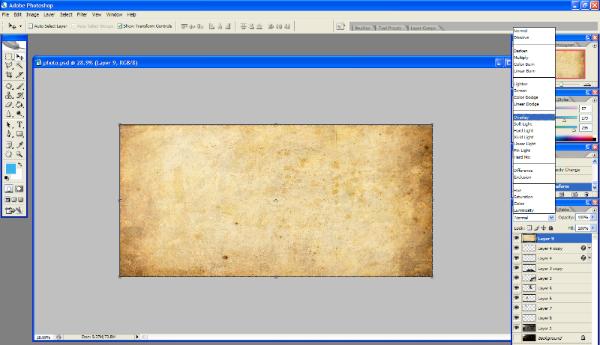
After you have done that turn down the opacity – go with what looks right to you.
Now go back to google and type in “screen lines”. copy a picture that looks something like this-

And paste it into photo shop over the old paper layer. Then I do the exactly the same thing as I did with the old paper thing-(resize, overlay, opacity (very low on this opacity)).
Now you should end up wit something like this-
Done!!!!!
Hope all that is useful to some one…..


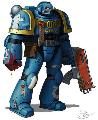
 Henry David Thoreau
  Grey Knights - 8,000
 Imperial Guard - 2,000
 Plague Marines - 2,000 +


 Evolve, overcome, consume.
