Third game of 6th, and we're continuing to pit my bright yellow Tau against the varied colourful armies in Panic's collection. This time they're up against the bright green Necrons with a proper test of the flyer rules. We redid our 'dead' markers to look more like the old
WD ones, so that should help, and we're keeping with the 'player turn' format since that seemed to be popular. As always, pics by Panic and words by me. Here goes...
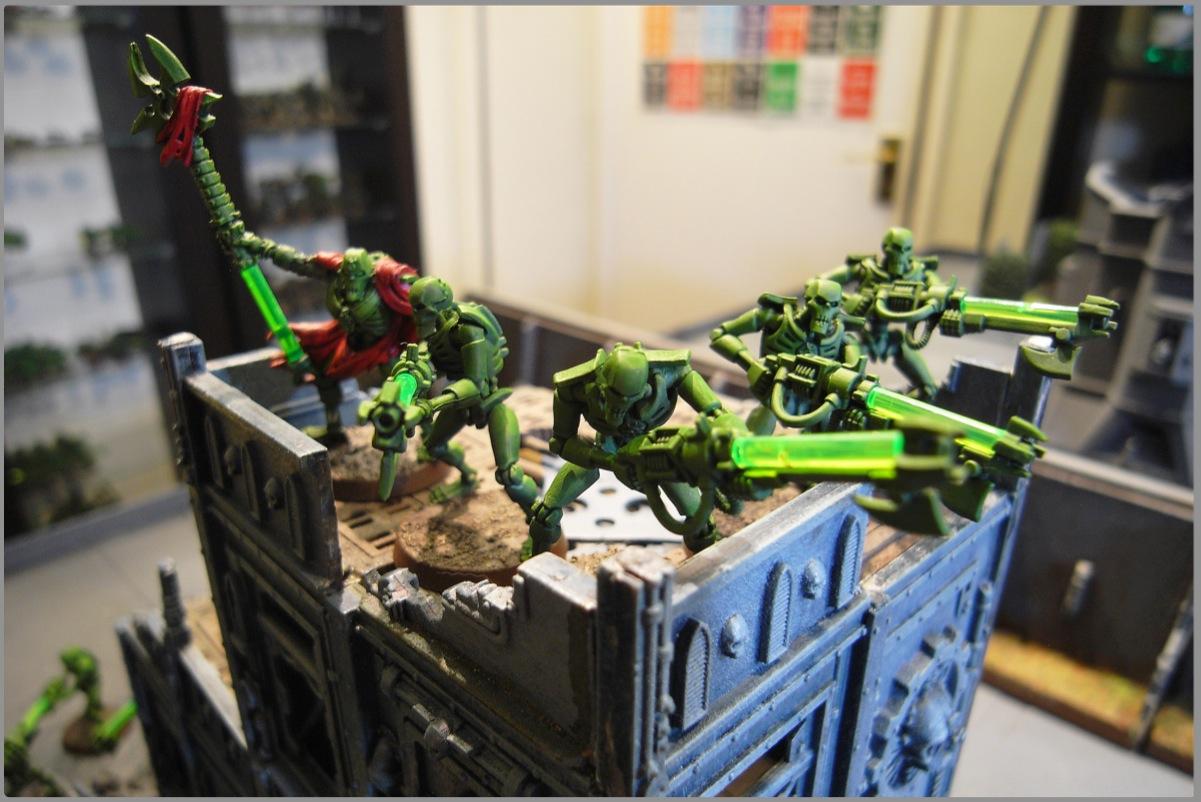
Panic's Greencrons - 1500pts - http://www.dakkadakka.com/dakkaforum/posts/list/453308.page 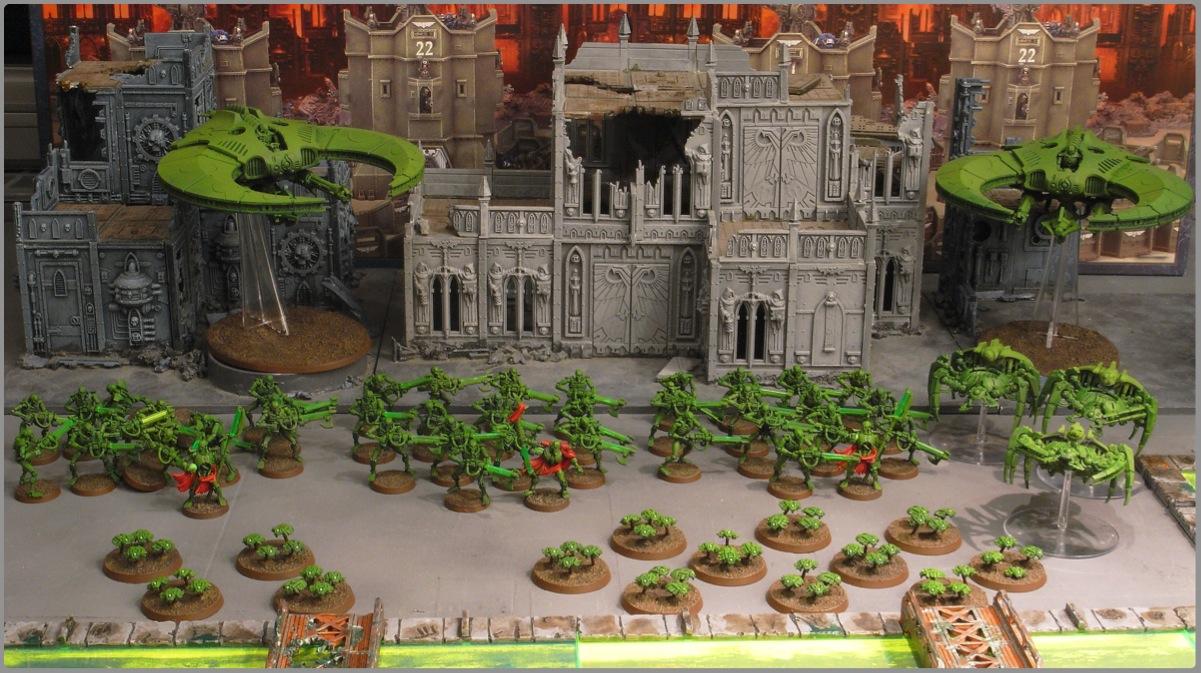
* Overlord with Warscythe, Resurrection Orb
* 2 Lords with Warscythe, Resurrection Orb
* 13 Necron Warriors
* 13 Necron Warriors
* 13 Necron Warriors
* Doom Scythe
* Doom Scythe
* 3 Canoptek Spyders
* 4 Scarab Swarms
* 10 Scarab Swarms
ArbitorIan's Yellow Tau - 1500pts - http://www.dakkadakka.com/dakkaforum/posts/list/291790.page 
* XV8 Shas'
el (
BC, PR,
MT, HWDC, 2 Gun Drones, Failsafe Detonator)
* 2 XV8 Crisis Bodyguard (
BC, PR,
MT, 1 HWDC, 1 Gun Drone)
* 2 XV8 Crisis Suits (TLMP, 1
BSF, 1
DC, 1 Gun Drone)
* 2 XV9 Hazard Suits (2 Fusion Cascades, 1
TL, 1
DC, 2 Gun Drones)
* 2 Remora Drones
* 8 Fire Warriors (Shas'la w/ Markerlight, HWDC, 1 Gun Drone)
* 8 Fire Warriors (Shas'la w/ Markerlight, HWDC, 1 Gun Drone)
* 3 XV88 Broadsides (
SMS, 1
BSF, 1
TL, 1
DC, 2 Gun Drones)
* Hammerhead (Railgun, Burst Cannons,
MT,
DP)
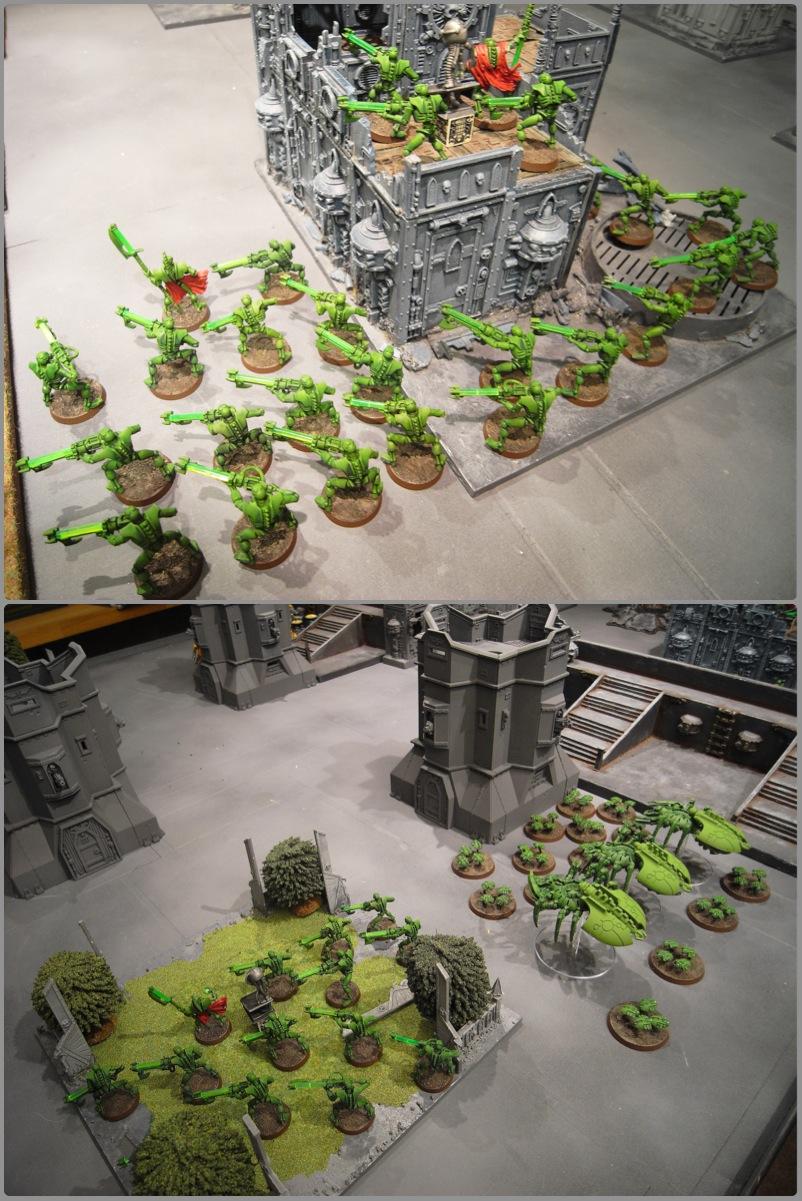
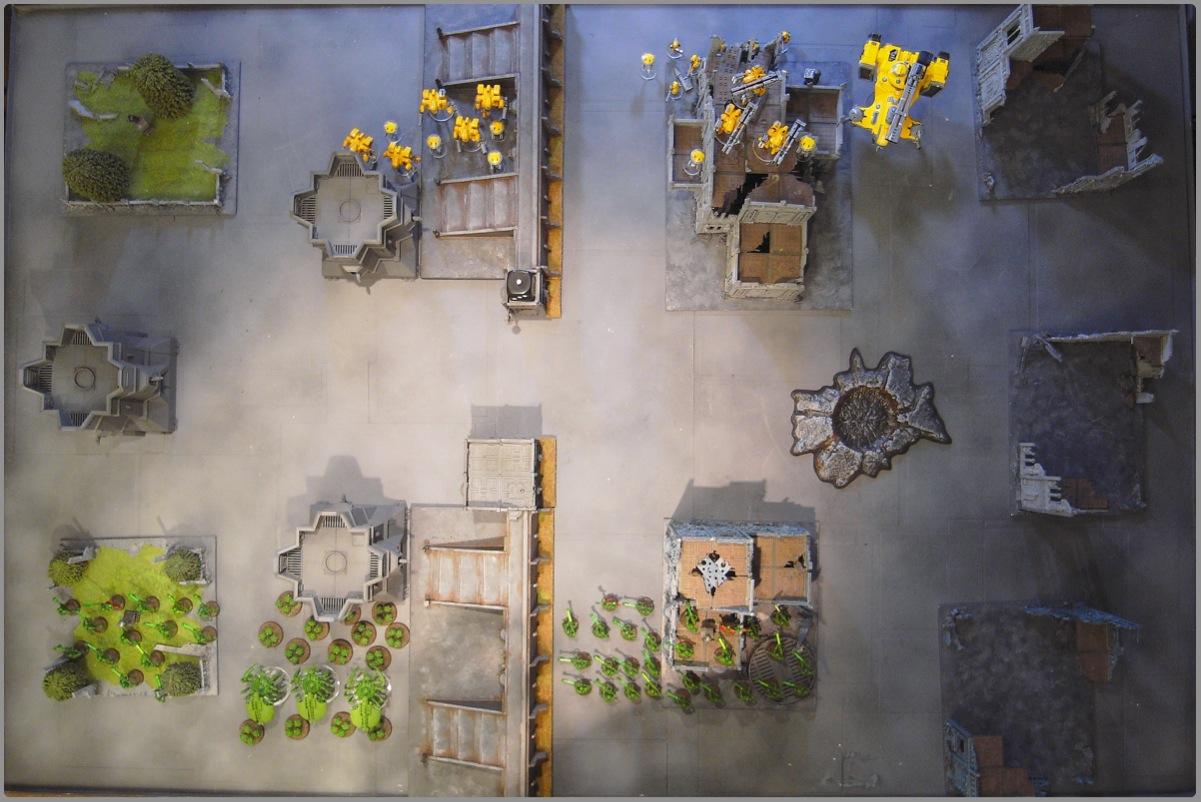
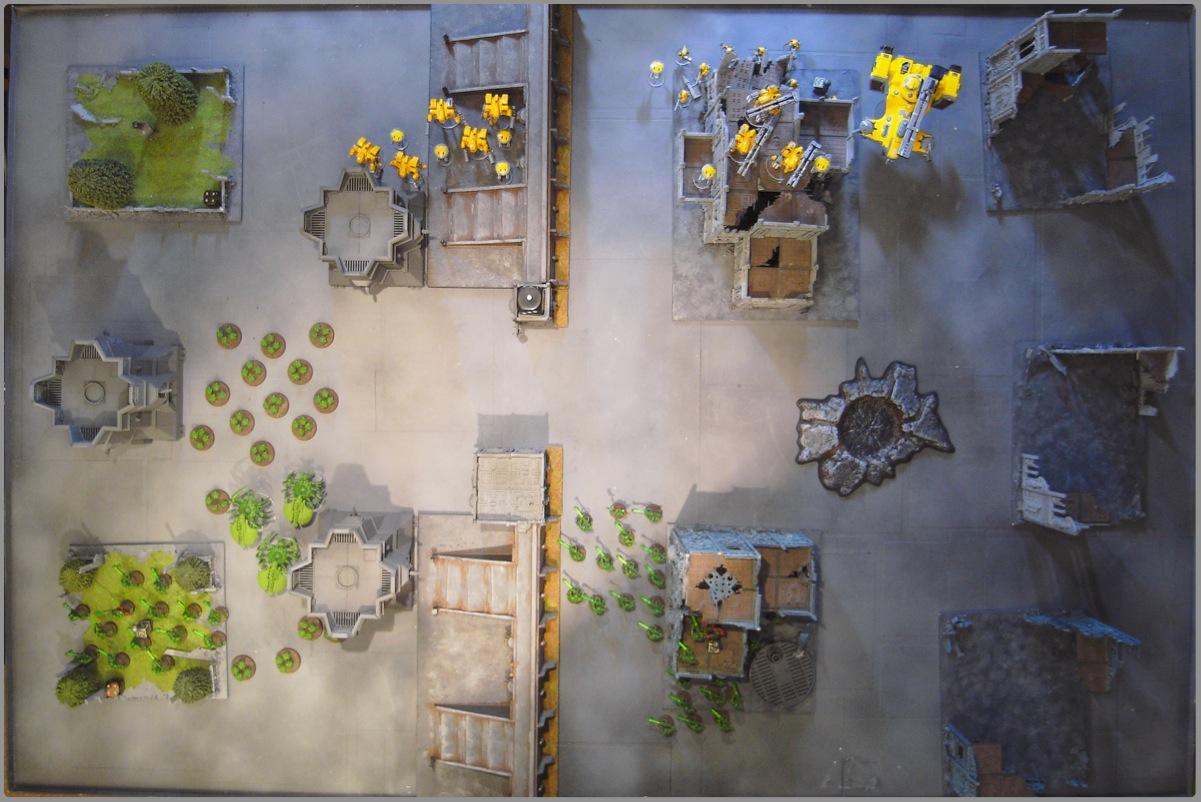
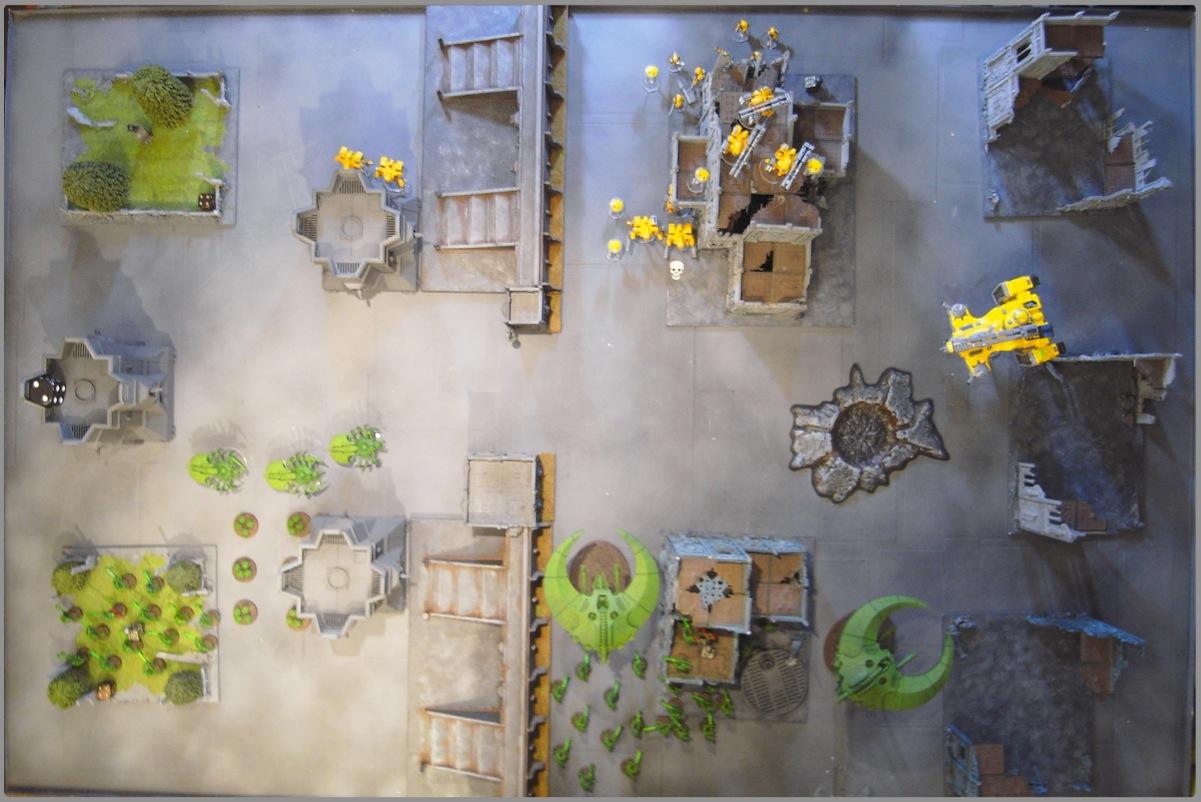
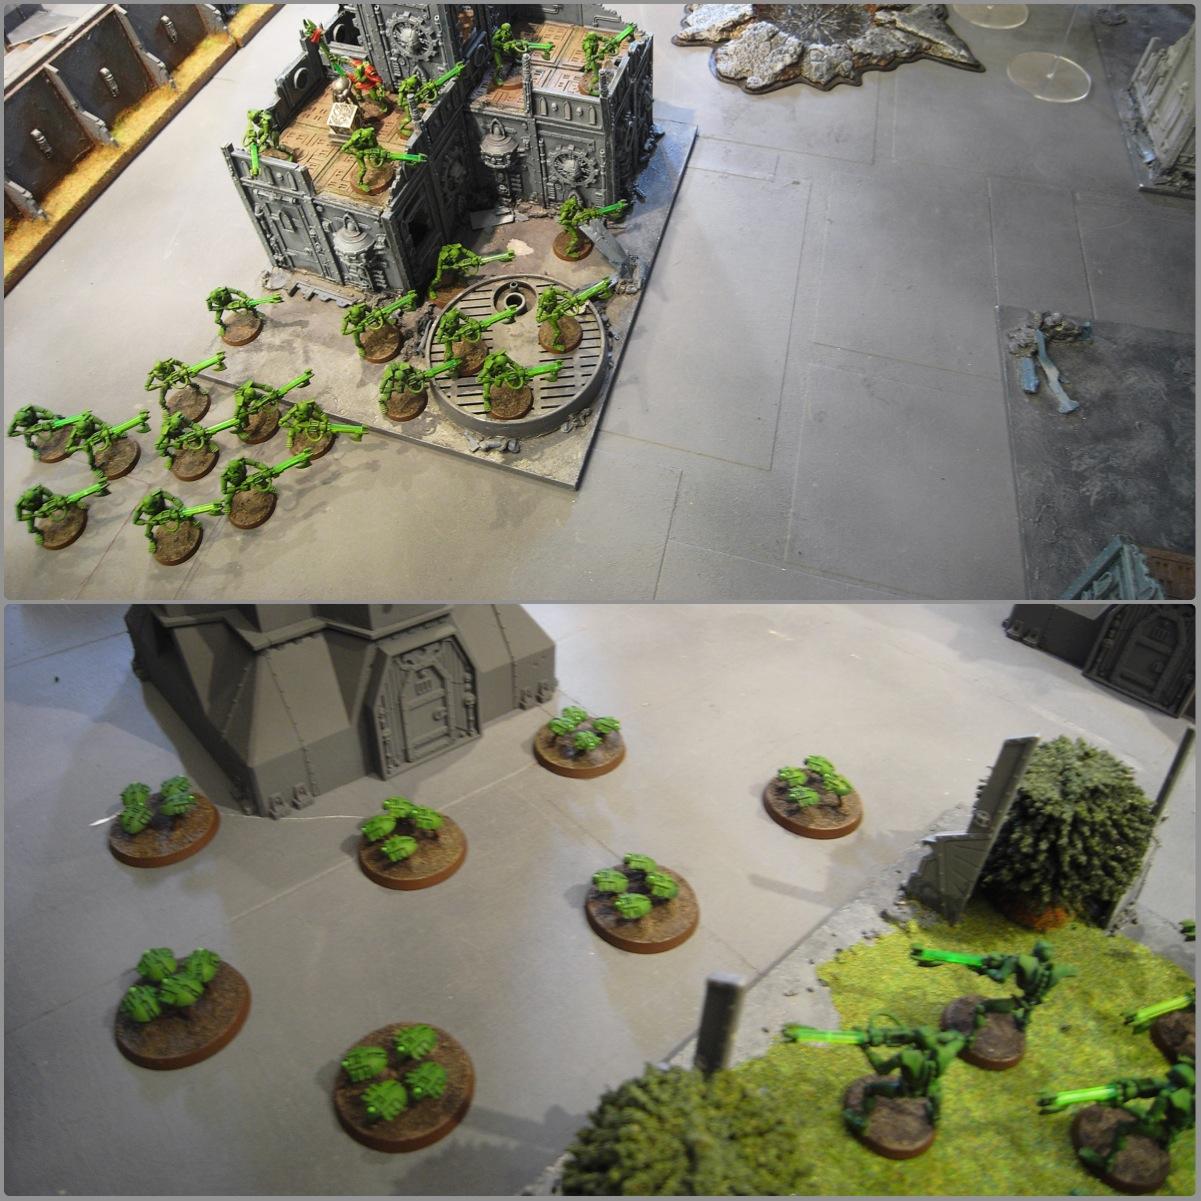
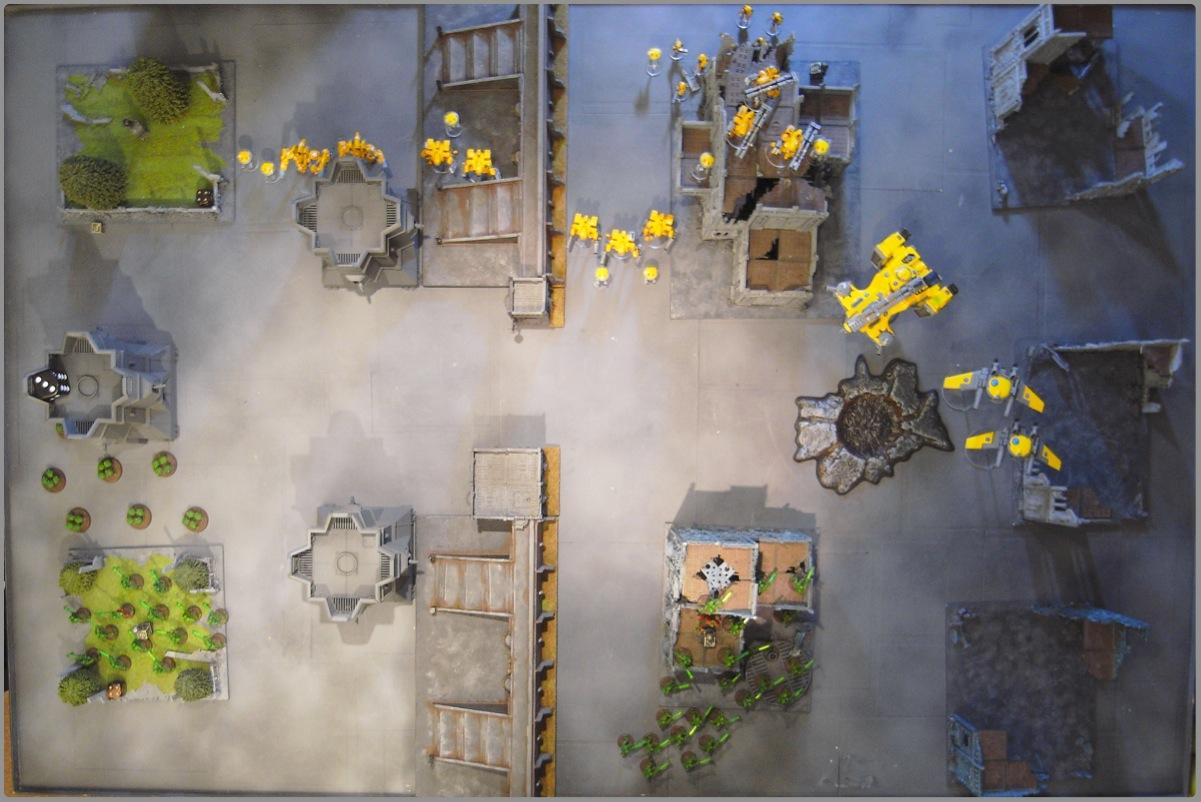
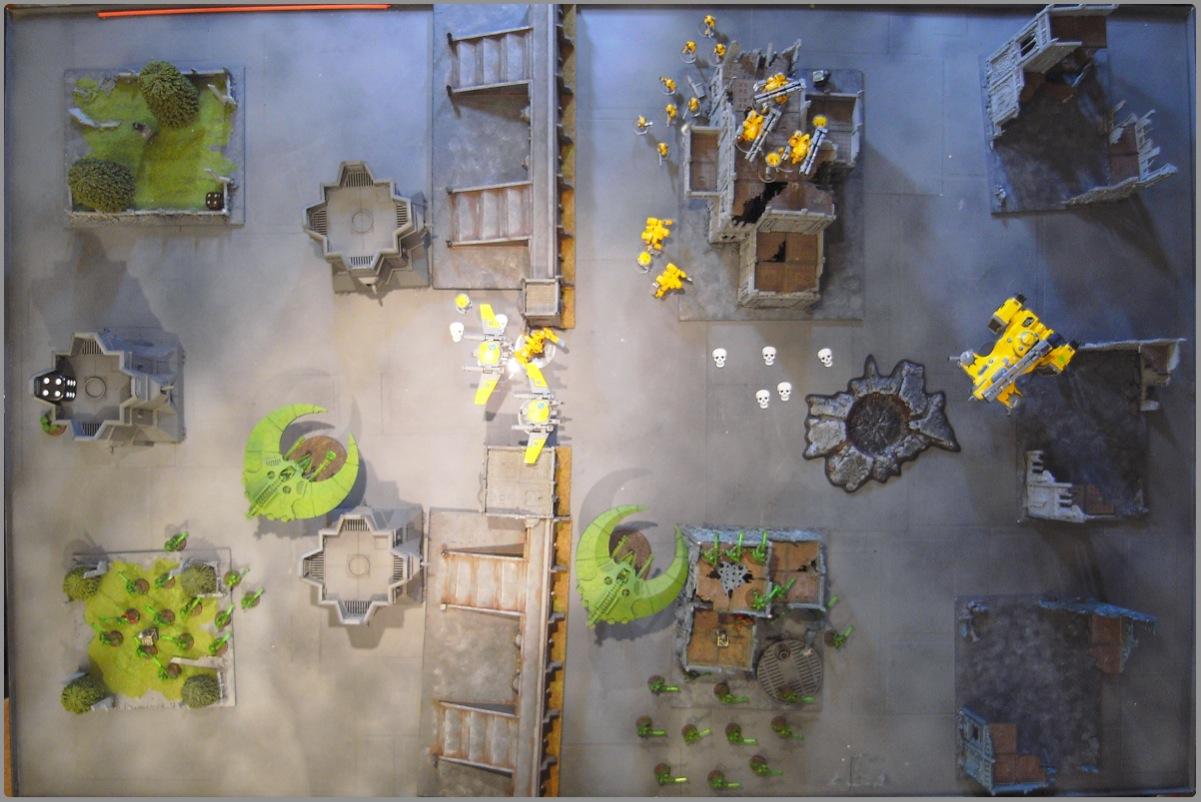
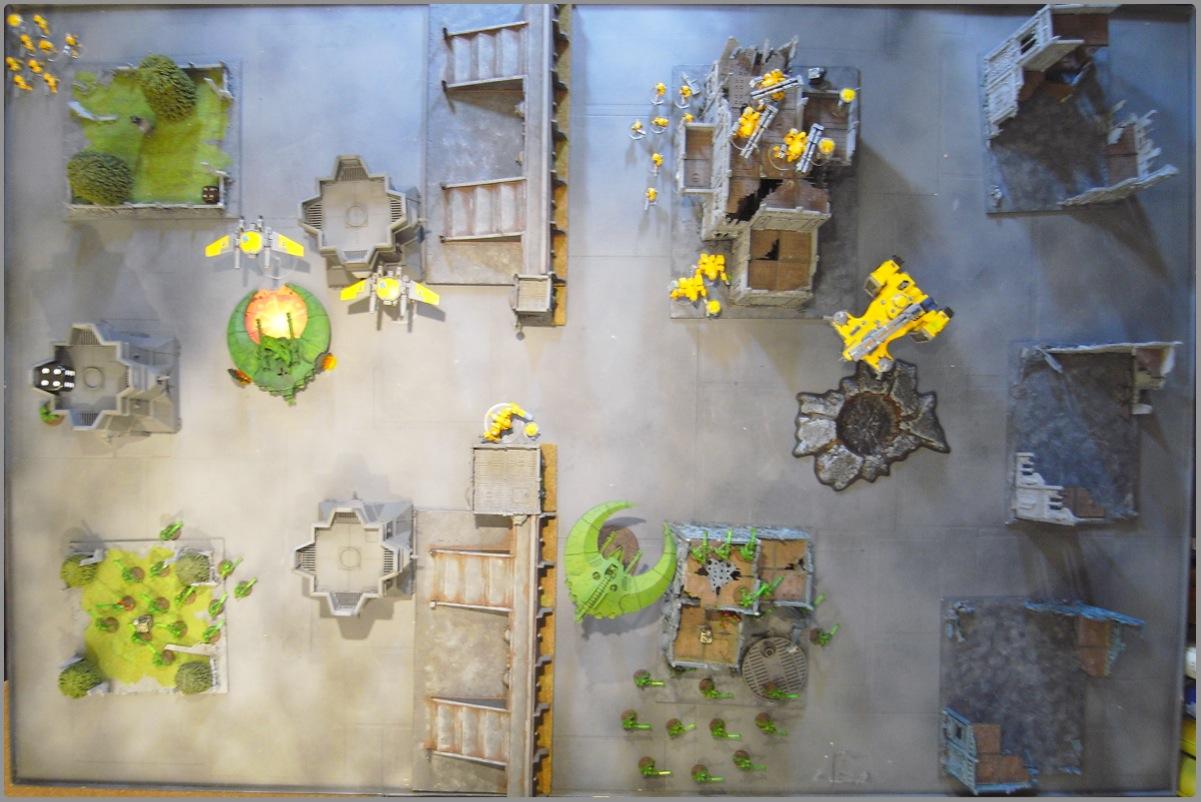
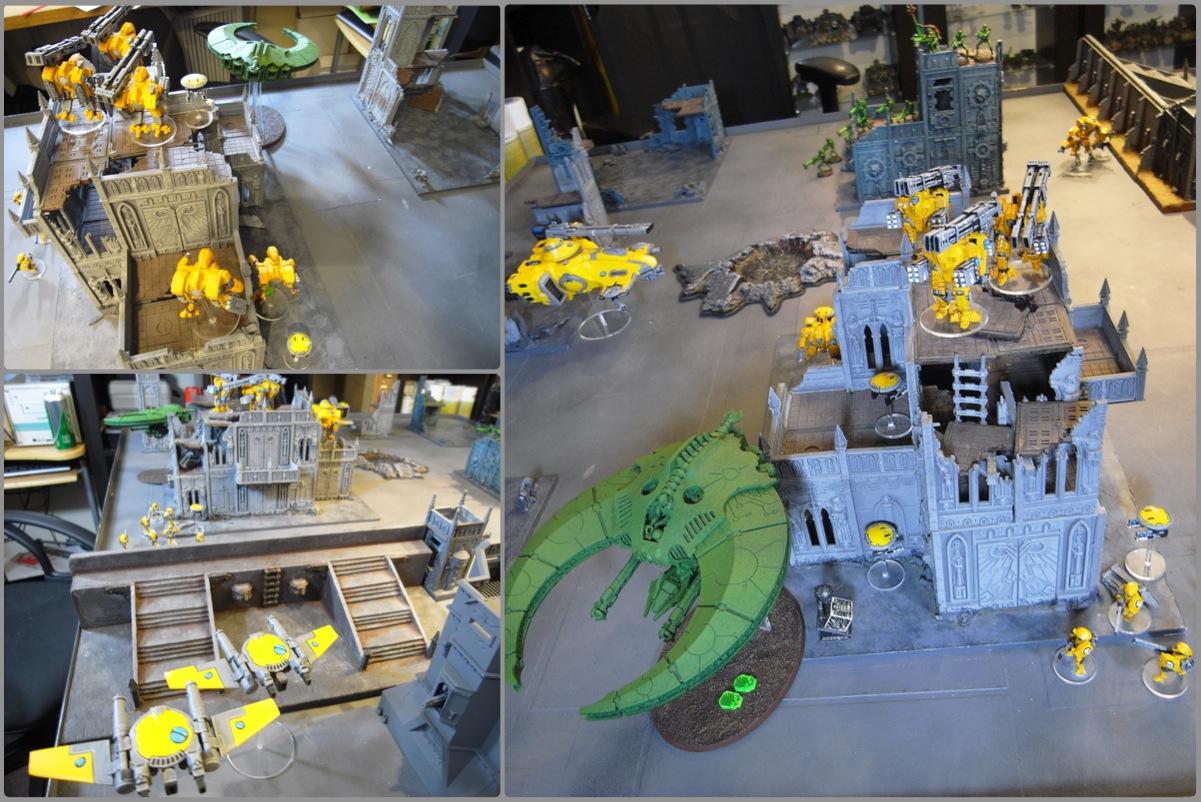
Pre-game We rolled Dawn of War deployment on Big Guns Never Tire, meaning that our heavy support choices would be scoring. Two objectives were deployed on each side, in roughly similar positions - both gardens and opposite ruins. The Necrons won the roll and deployed two squads of warriors in the ruins, led by the Overlord and a Lord. The last squad of Warriors, led by a Lord, was deployed on the garden objective, with the Scarabs and Spiders in cover behind a bastion. The Doom Scythes started in reserve.
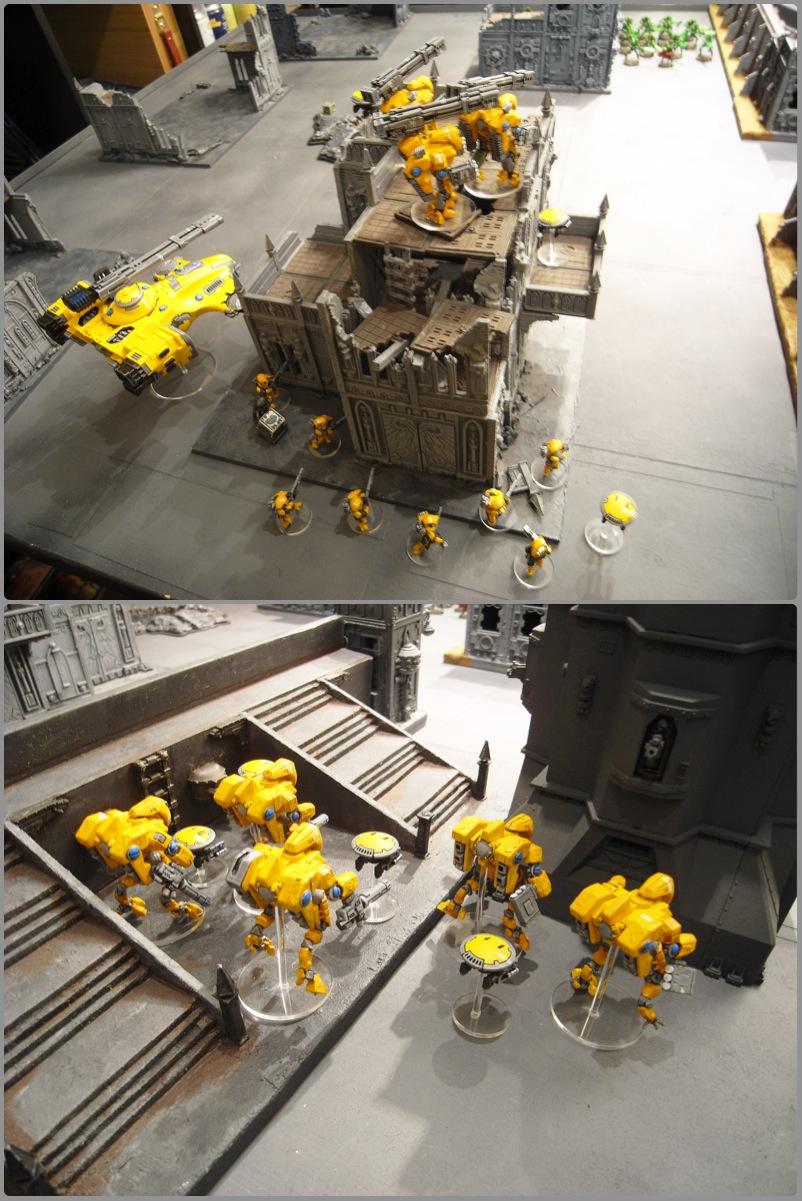
Tau deployed roughly opposite - one squad of Fire Warriors holding the ruins objective with the Broadsides and Hammerhead in support, and the two squads of Crisis suits behind the opposite bastion. The second Fire Warrior squad, XV9s and Remoras were in reserve.
So, lines up roughly opposite each other and ready for the advance. Necrons win the roll for first turn.
 Necron Turn 1
 The start of the turn goes well, the Necrons discovering that both gardens will be ironbark (3+ cover save) and that their objectives are a scatterfield in the garden (giving that squad a 2+ cover save!!) and a skyfire nexus in the ruins. They sound the general advance.
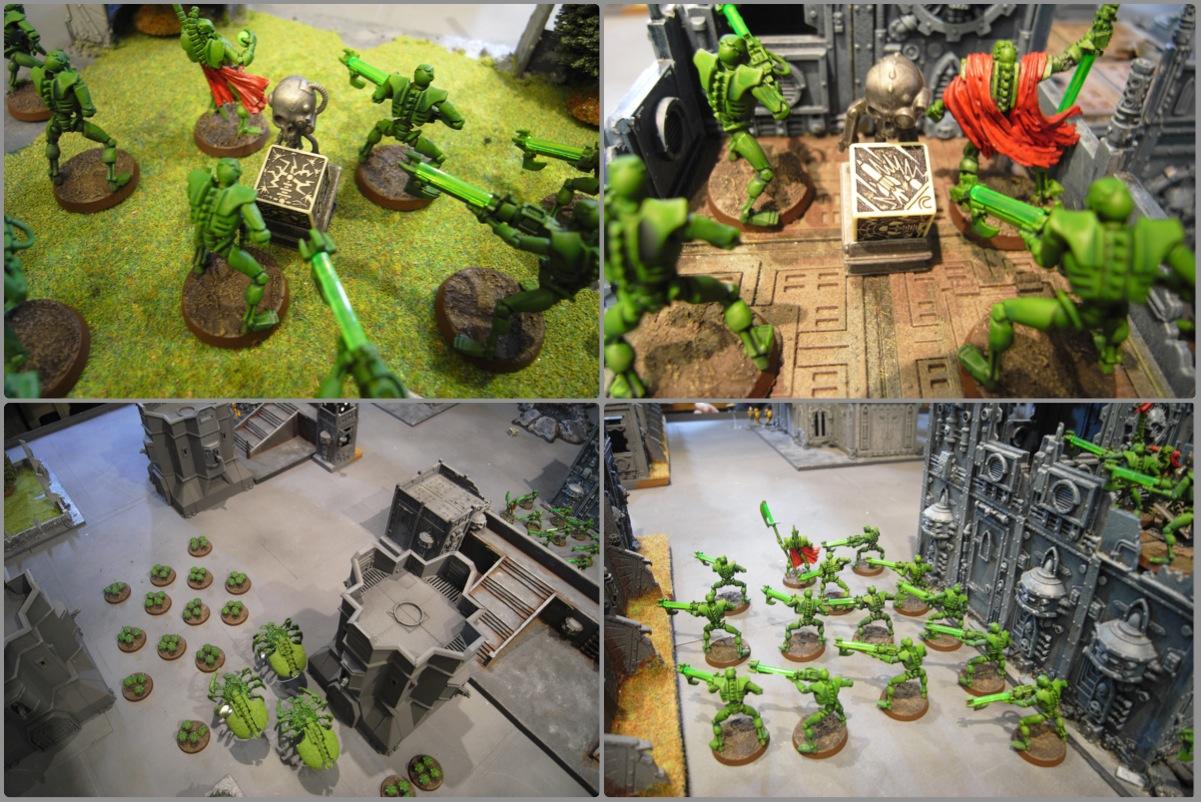
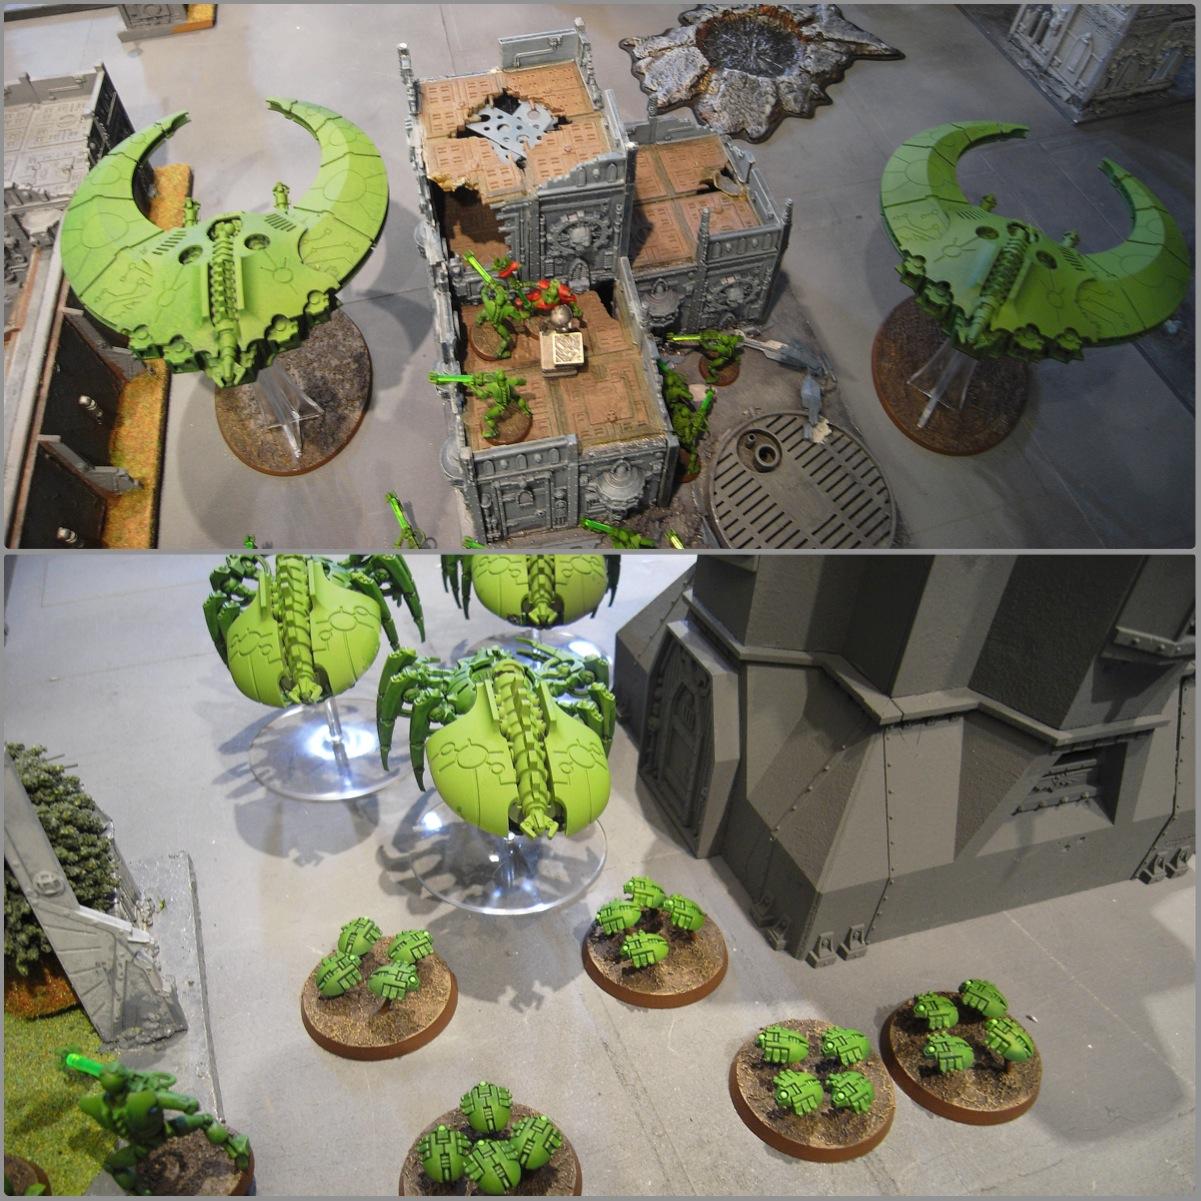
One Warrior squad and the Scarabs and Spiders move as far forward as they can, a few Warriors shooting at the Broadsides but to no effect.
 Tau Turn 1
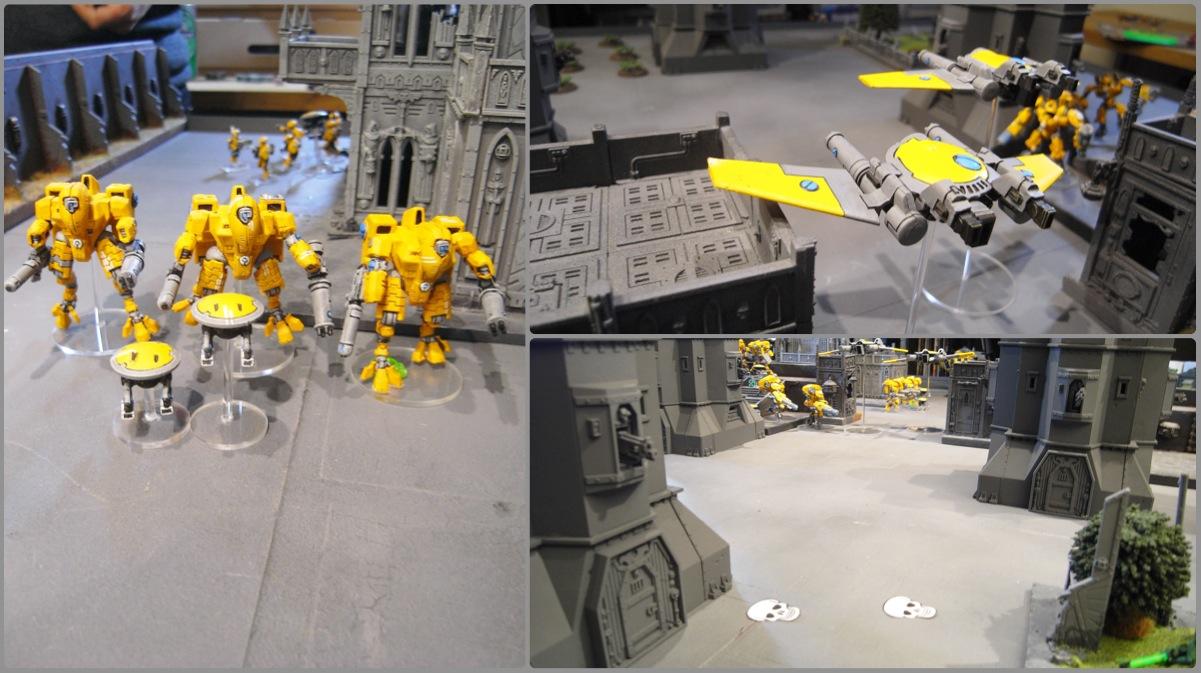
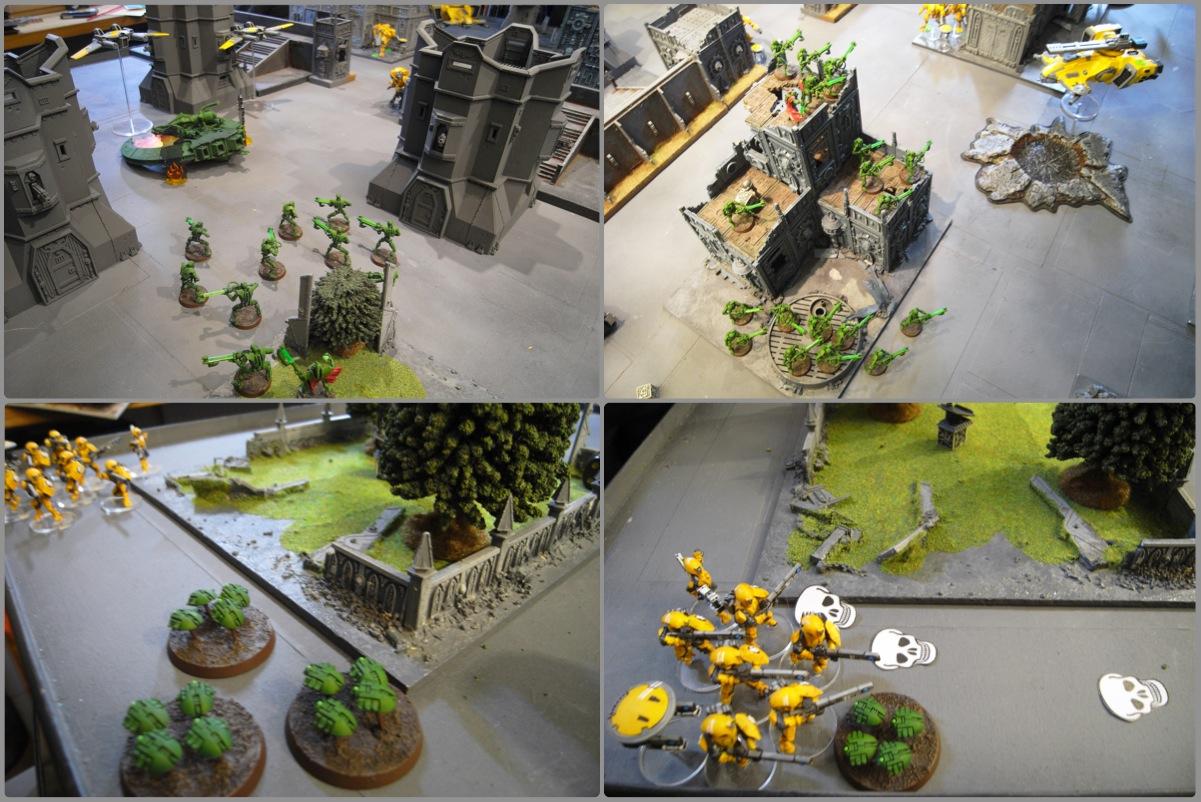
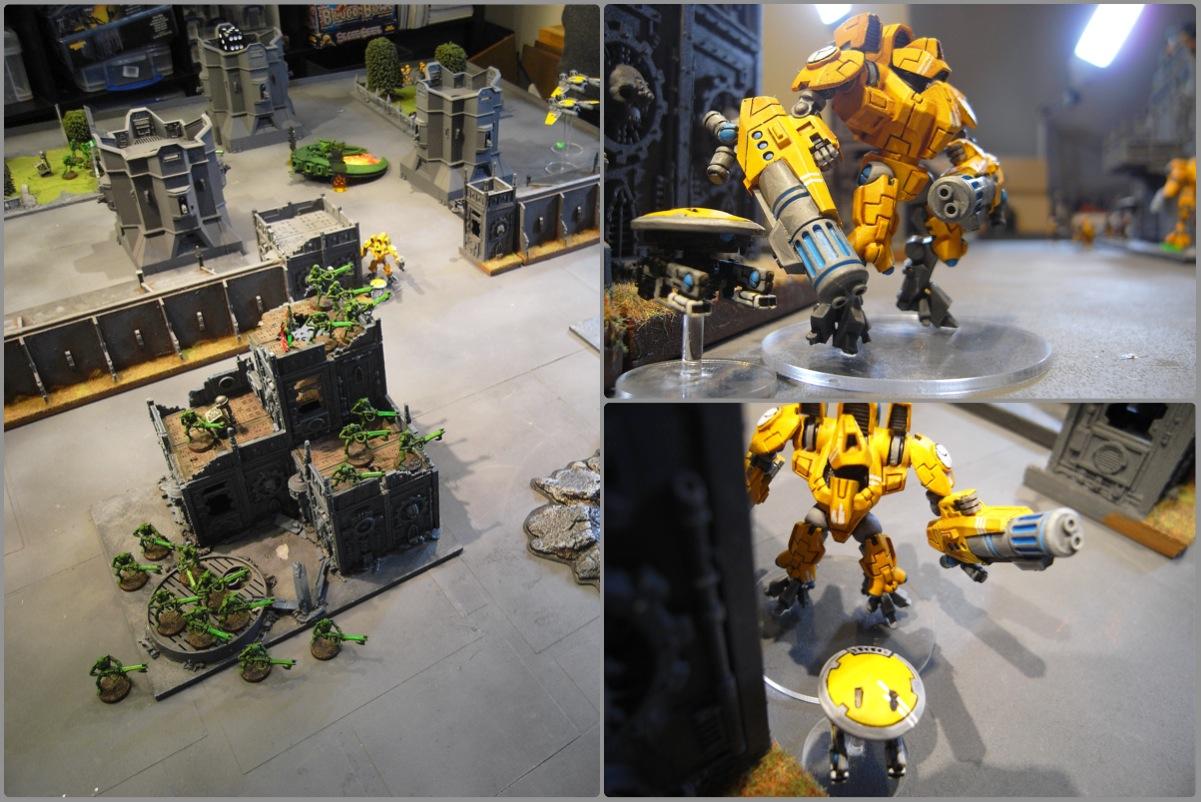
 The Tau aren't as lucky with their one held objective, which turns out to be sabotaged - the Fire Warriors move 2.5" away so they can't be caught by it. The Hammerhead then moves out to get a clear shot at the Scarabs, taking out six bases, and the Crisis teams pop out and finish off the rest of the big squad. The Broadsides then fire their
SMS against the advancing Warrior squad, killing three and the Lord, and the rest then fall back, meaning that all four downed models are lost.
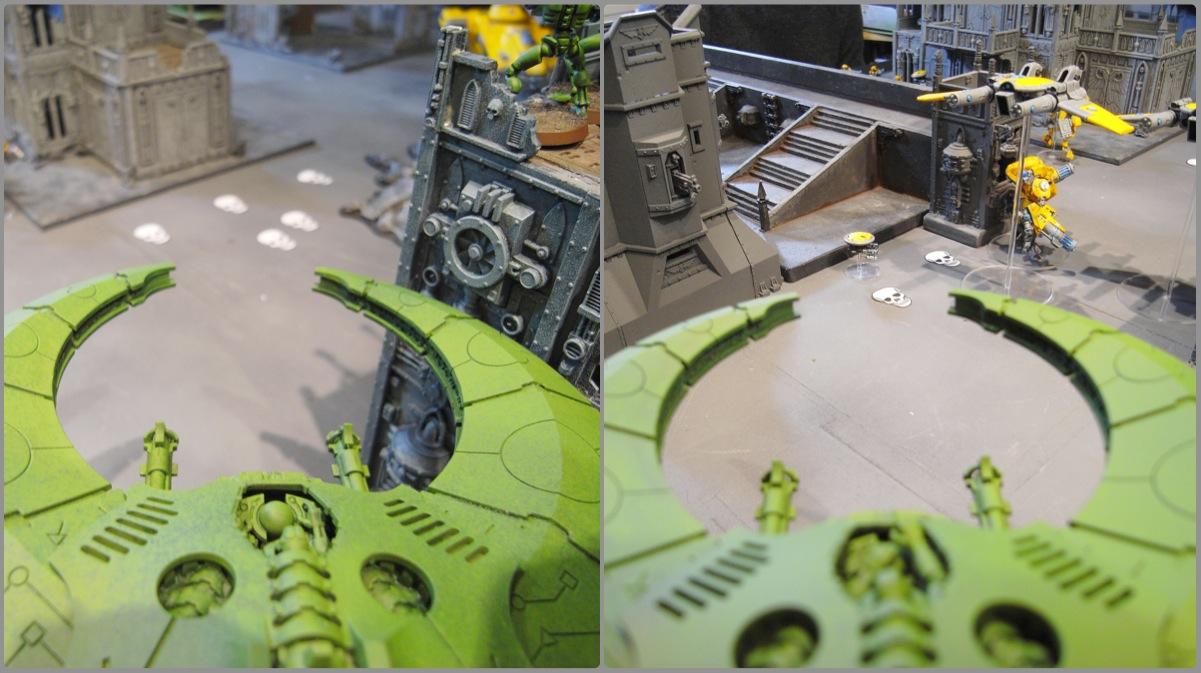
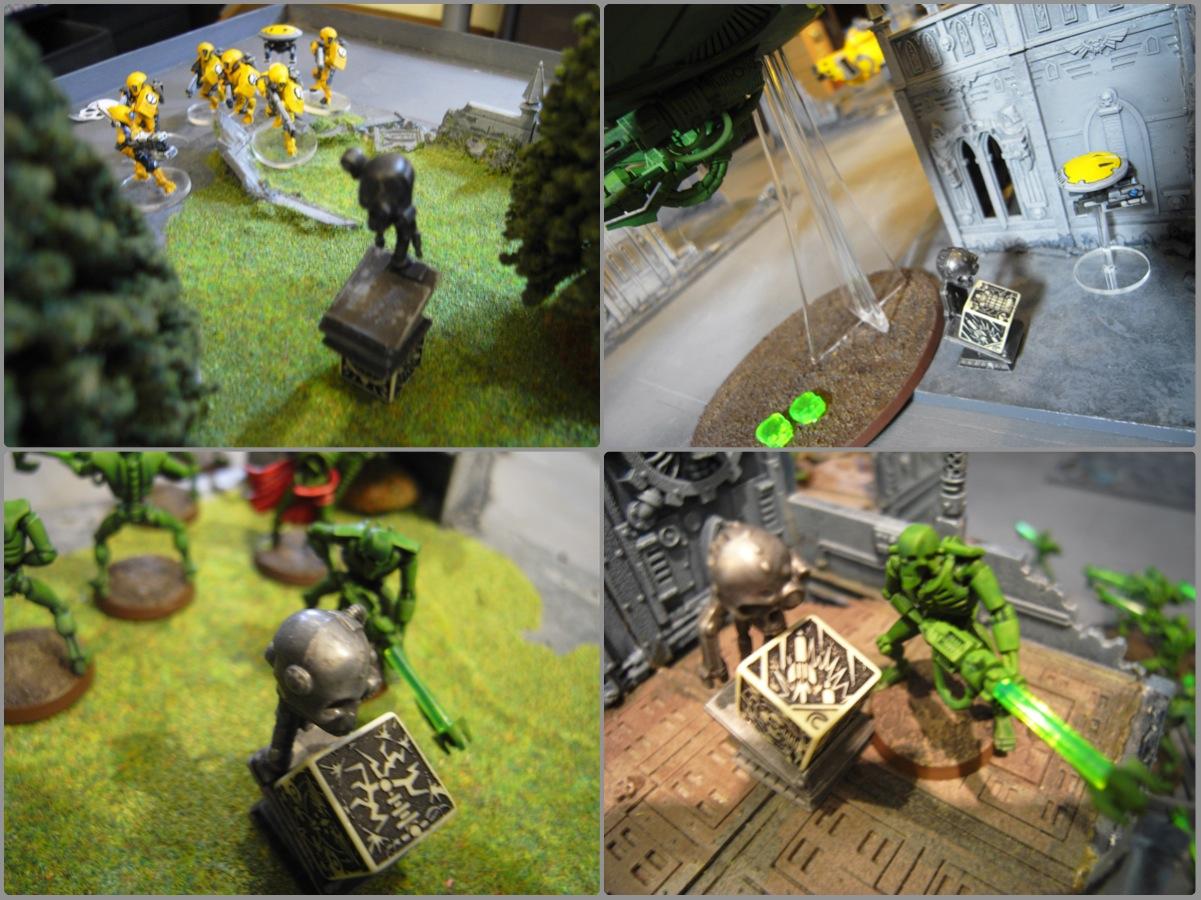
The Crisis teams then thrust into cover, the commander's squad losing one wound to difficult terrain as it crosses the wall. (LOOK
AT OUR COOL NEW SKULL MARKERS!)
 Necron Turn 2
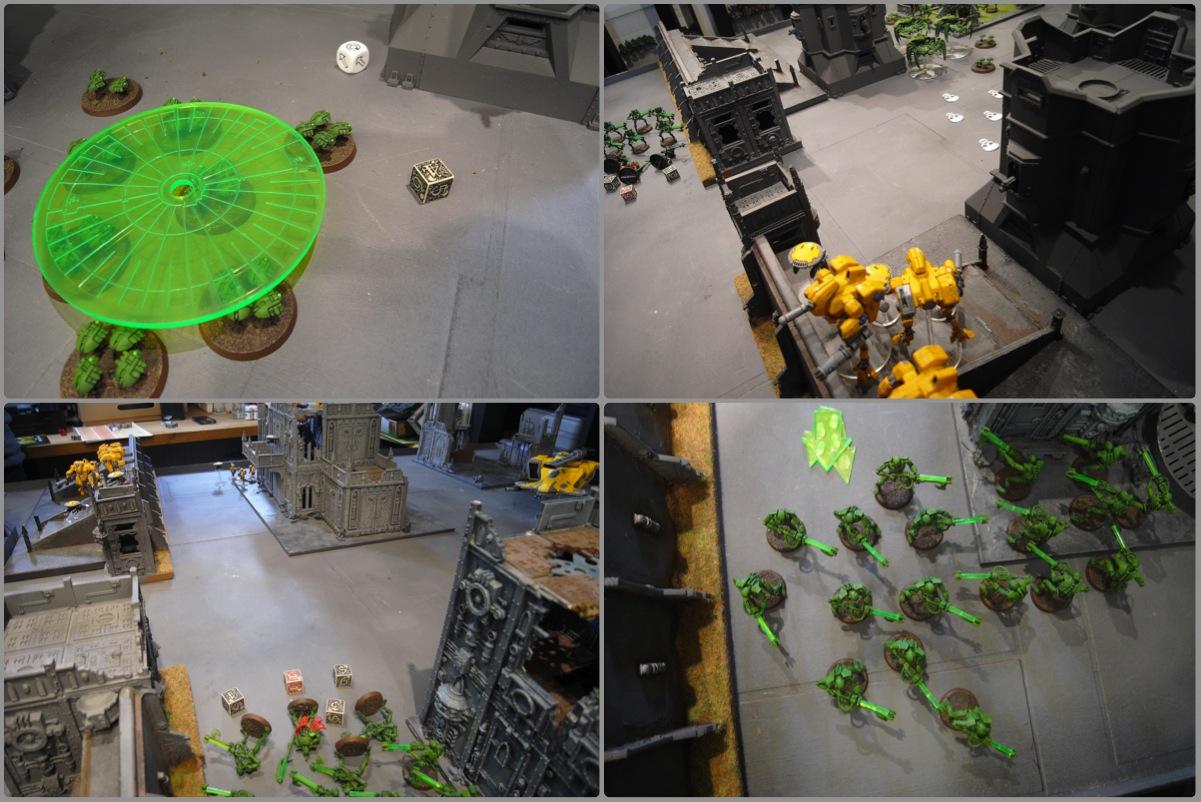
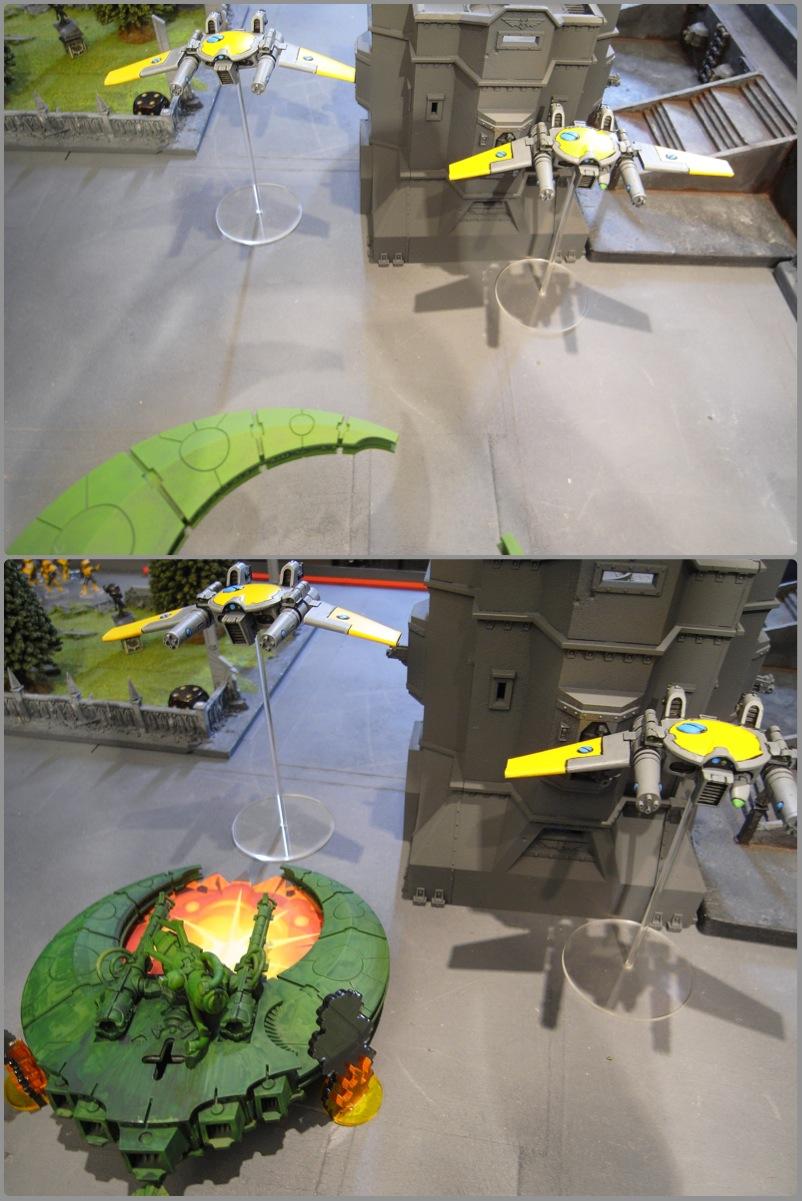
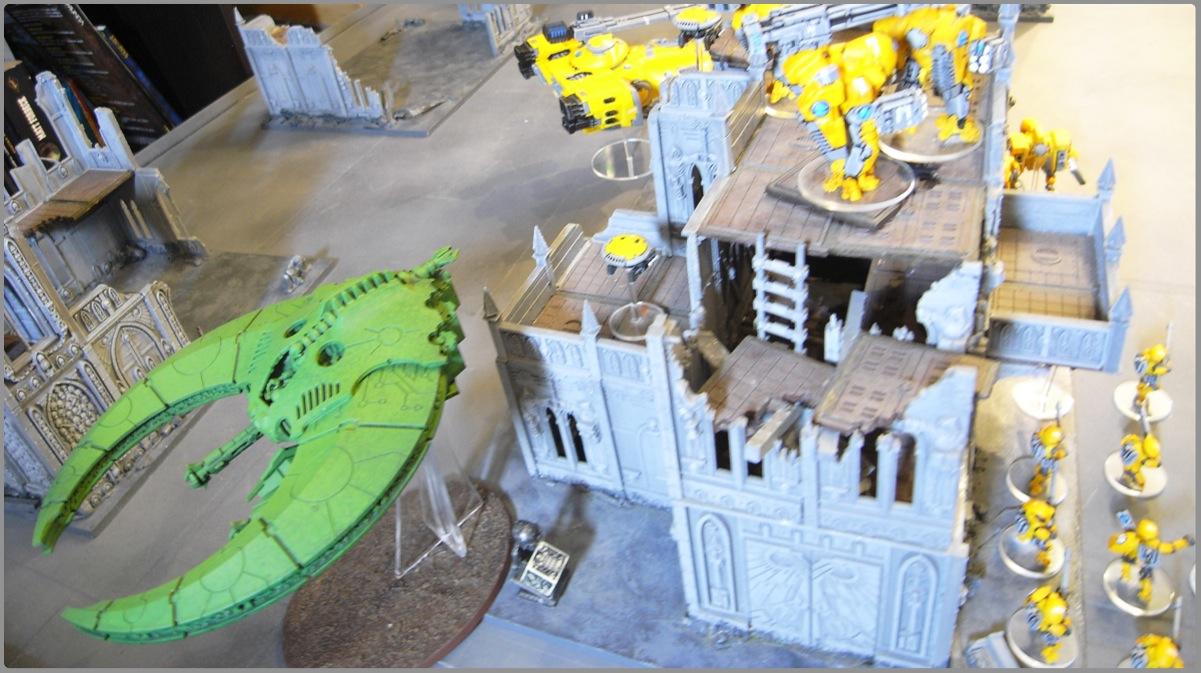
 Both of the Doom Scythes turn up, and are angled with a view to the next few turns, as the Spyders and Scarabs move forward, three new Scarab babies being spawned. The falling back Warrior squad regroup.
However, Doom Scythe shooting doesn't go as well, the Hammerhead making all it's cover saves bar a glance and the commander's unit - target of the central Scythe, making all it's cover saves except a single drone.
 Tau Turn 2
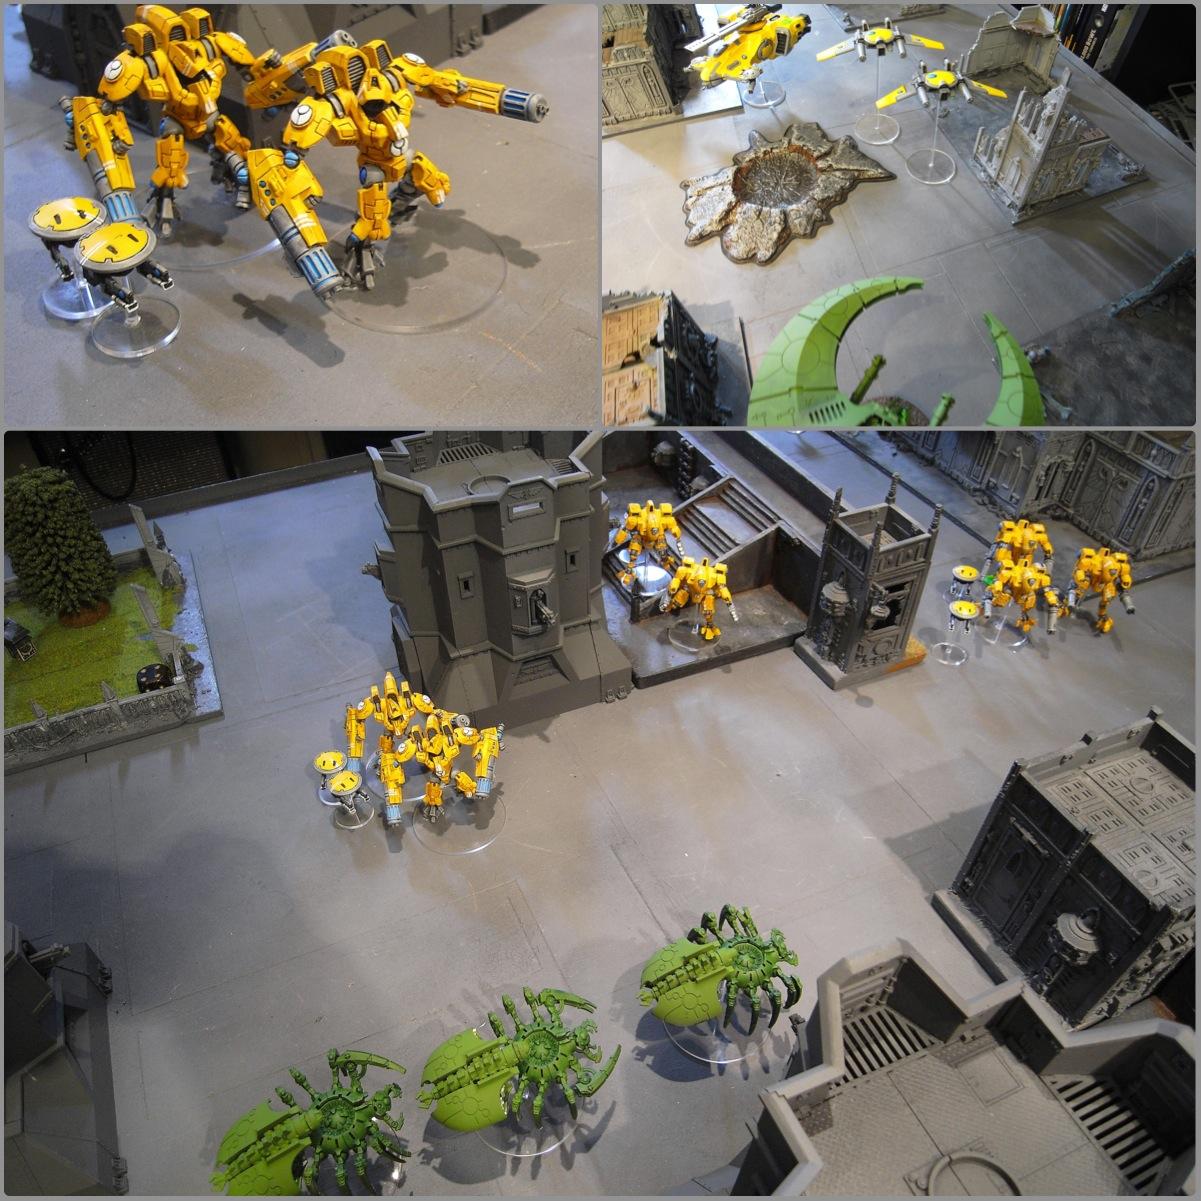
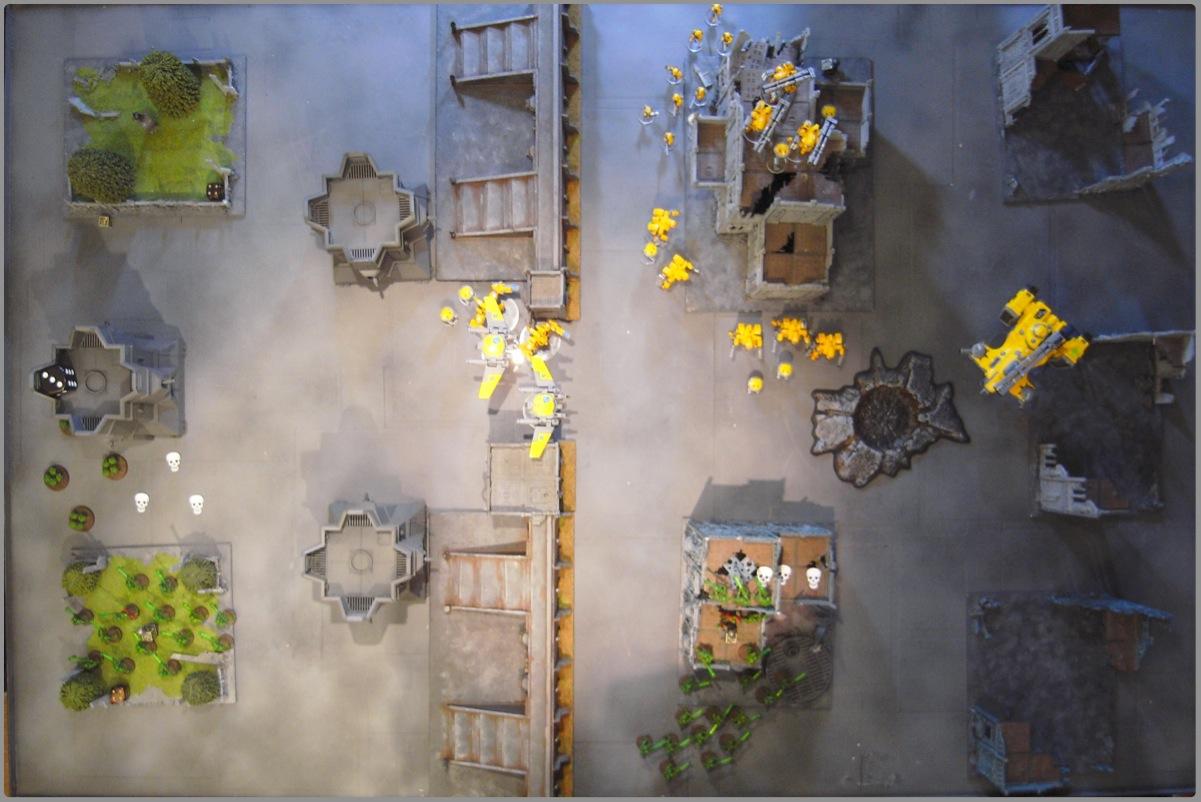
 Both the XV9s and the Remoras arrive from reserve, the Remoras targetting the right-side Scythe and causing two glances with seekers and burst cannon - the Scythe has to Evade to avoid further glances. The XV9s and both groups of Crisis suits bounce forward to attack the Spiders, massed firepower taking out all three.
The Broadsides on the building target the central Scythe, which has to Evade as well to avoid a single penetrating hit.
 Necron Turn 3
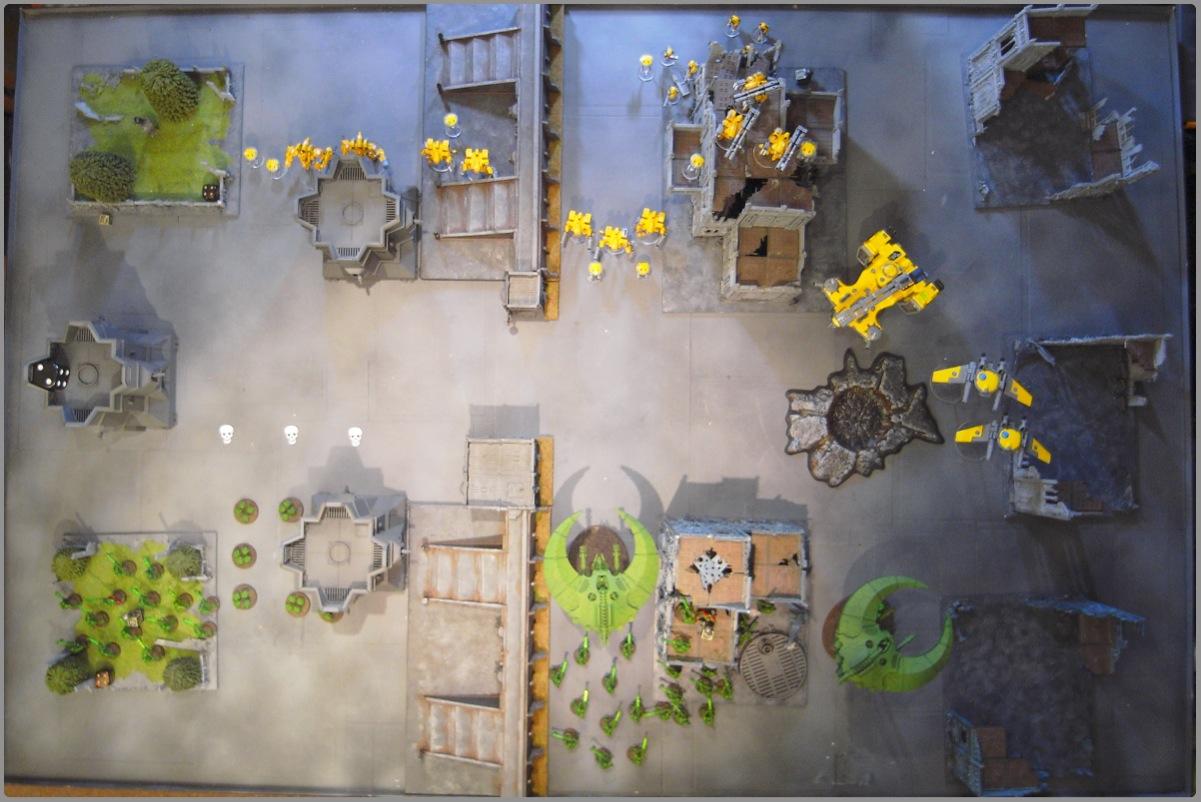
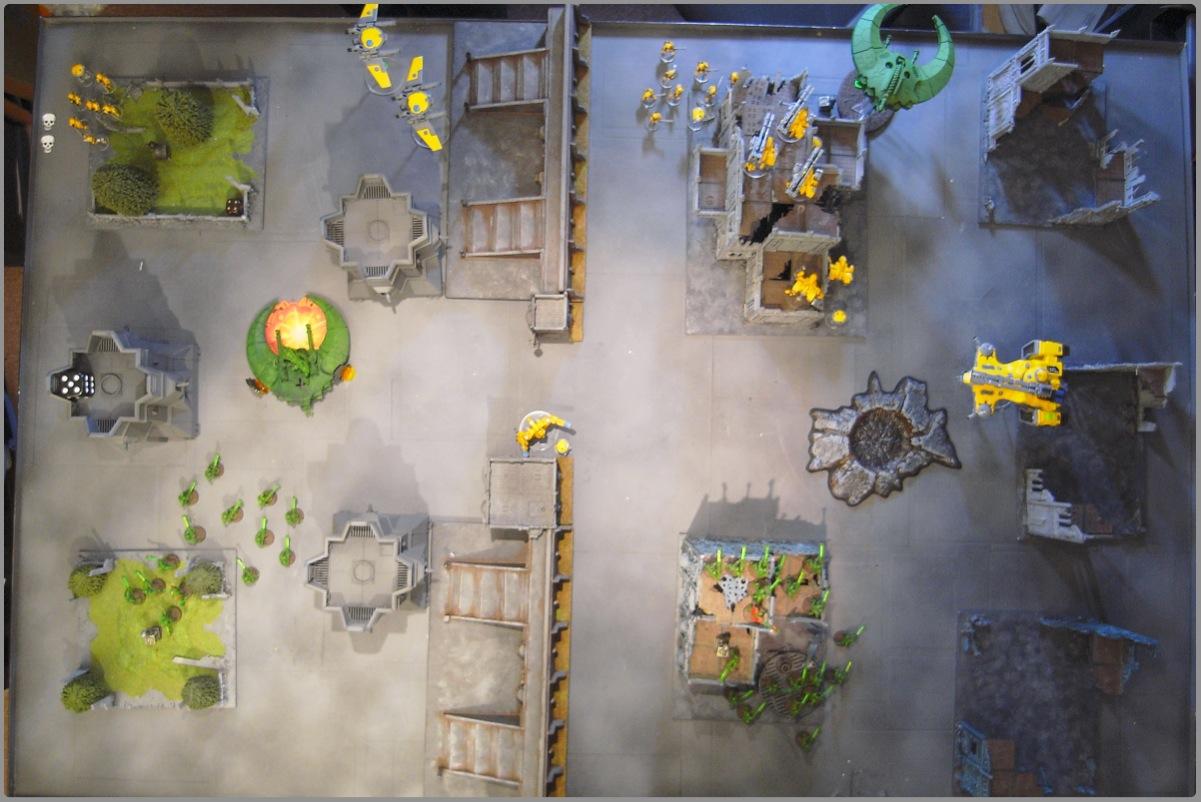
 The two Scythes, realising there is little they can do this turn, zoom into ongoing reserves. The Warriors line up to fire at the Remoras, and the Scarabs advance behind the leftmost bastion.
However, Remora fire is unsuccessful, even with the skyfire nexus, and the drones save both glances with their shrouding stealthfields.
 Tau Turn 3
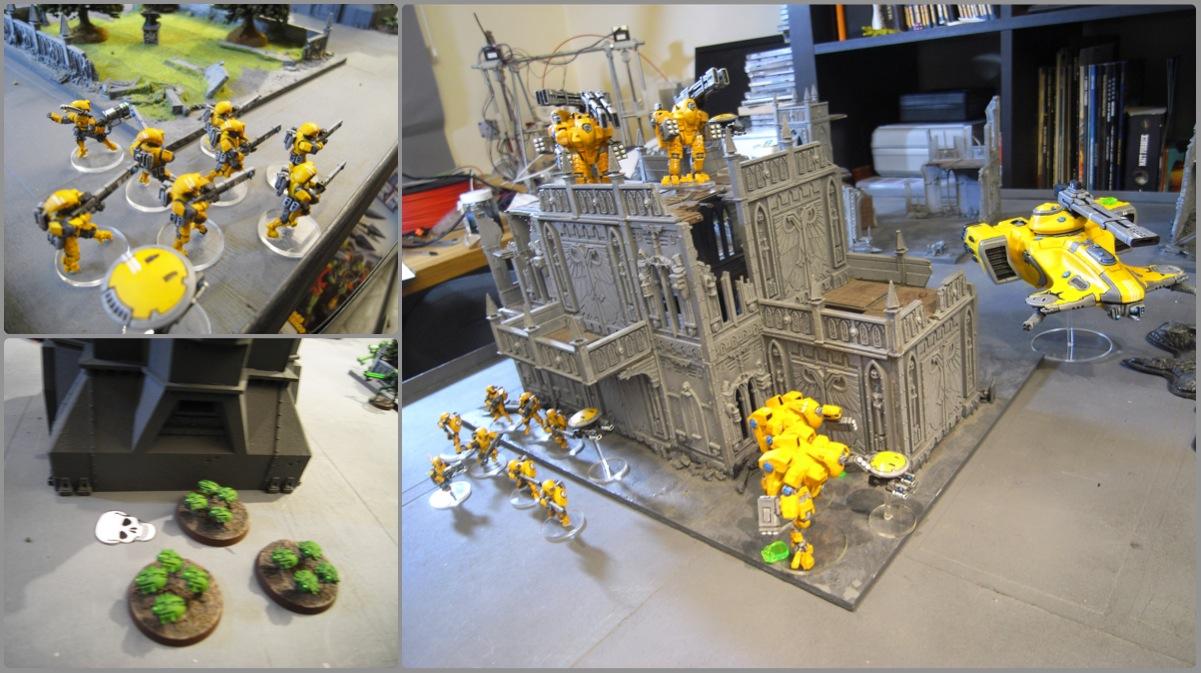
 The Crisis suits make a push forwards as the XV9s rush to catch up. The Remoras wheel around and target the remaining scarabs, killing three bases.
The Suits and Hammerhead target the Warrior squads visible in the ruins, but only down three after
WBB rolls.
 Necron Turn 4
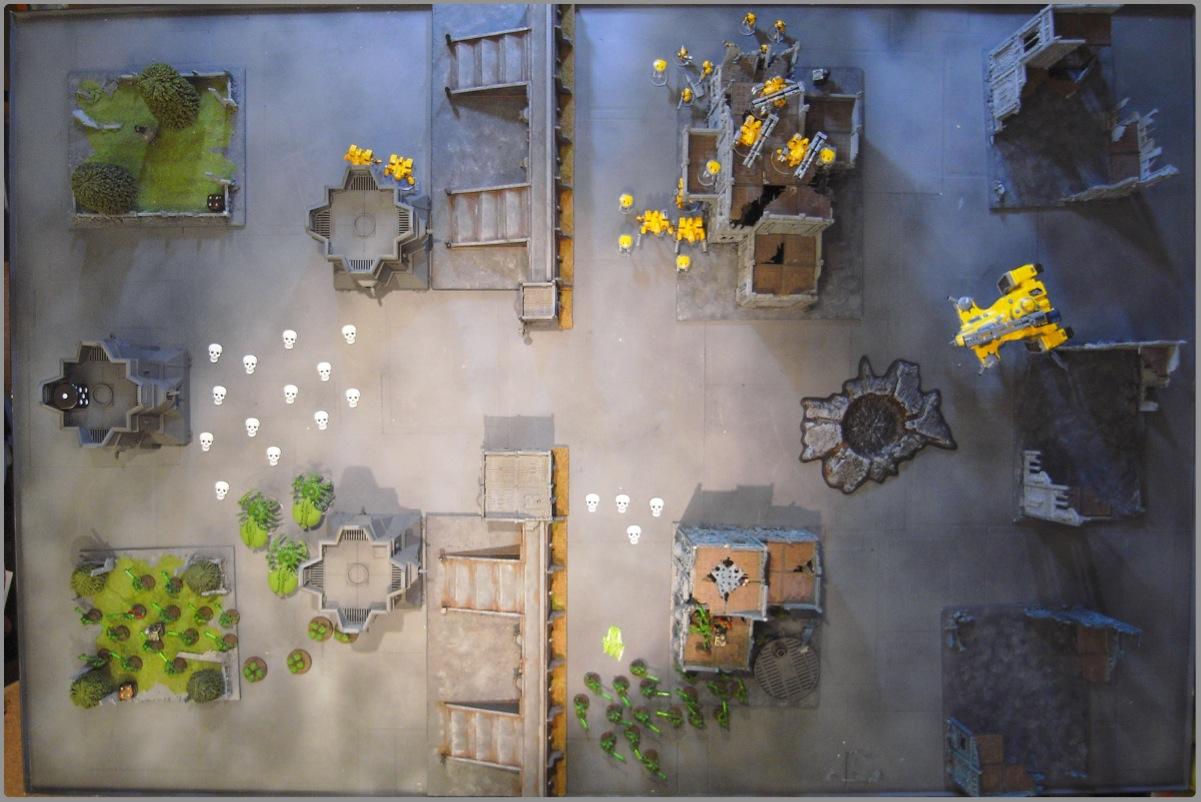
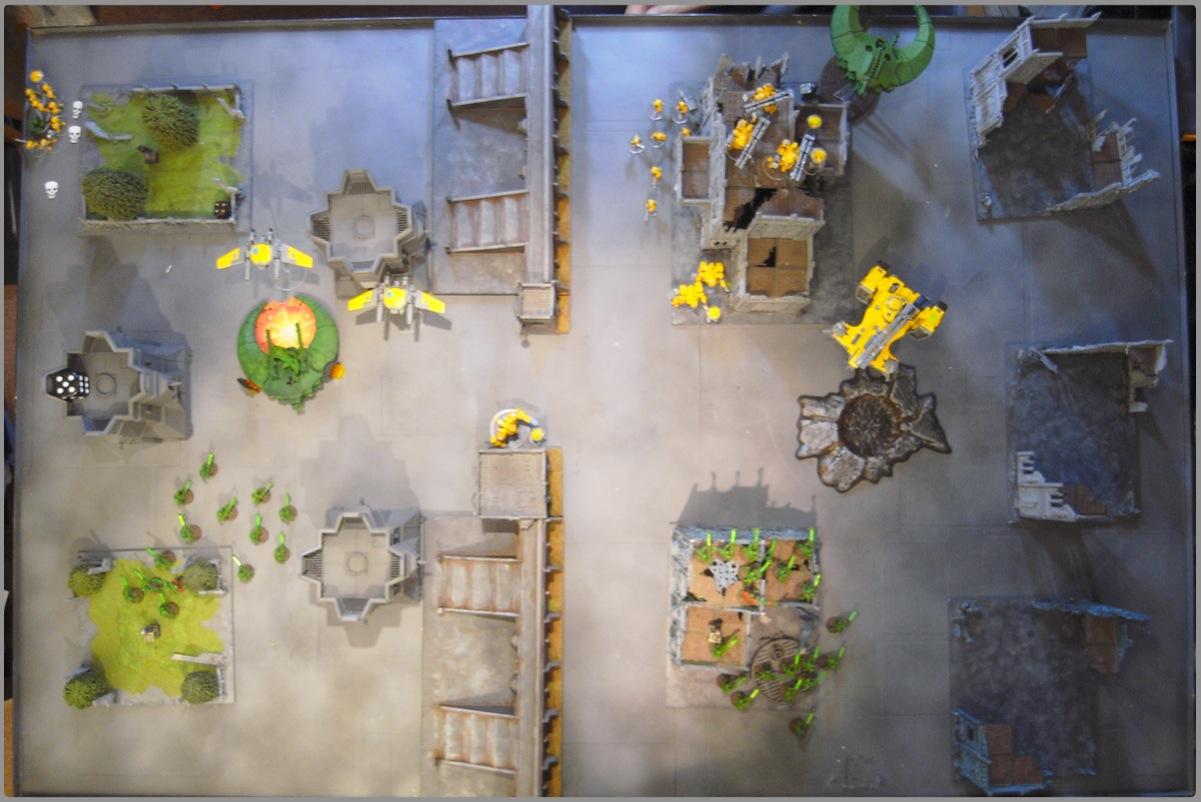
 The Doom Scythes reenter the board and their shooting is much more effective - one taking out a Hazard suit and a drone, and the other killing the whole of the commander's unit.
The Scarabs advance round the back of the bastion, moving to deny the last unclaimed objective.
Tau Turn 4
The Remoras switch to Hover mode, and target the nearest Scythe, removing the last
HP and wrecking it right in front of them.
The last squad of Fire Warriors arrive from reserve, and target the last few Scarabs, destroying one base, while the rest of the army target the last Scythe.
Alas, all they manage to do is force it to Evade even more.
 Necron Turn 5
 The remaining Scythe moves to hold the Tau objective (the mission makes it scoring)
And the Scarabs charge the newly-arrived Fire Warrior unit, killing one but losing one base to overwatch and one in the combat.
And the tables turn - the Tau must destroy the Scythe and the Scarabs (and get a good enough consolidation to get the last objective) if they want a turn 5 win.
 Tau Turn 5
 However, shooting goes incredibly badly - and no hits are scored on the Scythe despite the entire army firing on it. The broadside drones move to score it anyway. The Fire Warriors dispatch the last Scarab, but don't roll high enough to contest the objective.
The remaining XV9 had been sprinting forward to get the linebreaker point, but on realising that there is no way the Tau can win this turn, he thrusts back into cover.
The Tau hope for a turn six, but it's not to be, and the game ends with a solid win for the Necrons!
Necrons 7 (two objectives, slay the warlord)
Tau 6 (one objective, first blood, 2
HS units destroyed)
Yay Necrons!


 4000+
4000+
 6000+ Order. Unity. Obedience.
 Thousand Sons 4000+
 Renegade Guardsmen

