Hey folks!
This weekend I drove 8 hours down to Florida to play in the semi-final round of 'Ard Boyz. While there were closer venues, I'm moving to Jacksonville FL for my job, and thought I would check it out!
The semi-finals were held at SunCoast Comics in Jacksonville; I showed up Friday night to practice and ended up helping set up Friday night and Saturday morning instead and getting to meet some cool folks. I'm not used to weather in FL, and while the store had air conditioning to fend off the 102 degree weather, with the air constantly on, it probably didn't get below 90 degrees inside with all the people and the doors constantly opening and closing as people moved around. By the time I left, I had salt-stains on my shirt from sweat drying and resoaking my shirt!
I finally got the official
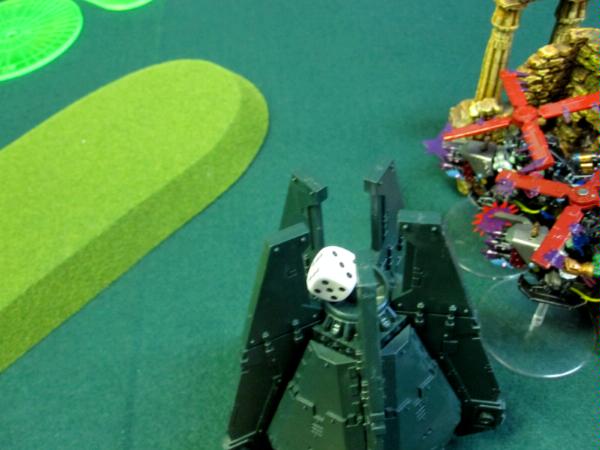
GW Deffrollas and replaced my PVC pipe deffrollas with them. I kept them in the upright position all three games; there are debates about the deffrolla's positioning, counting as hull, shooting from it, being impassable terrain....so I just keep it raised. No requirements about where it is, only that it is represented and paid for in points and it solves all potential rules arguments.
You can find my other battle reports for 'Ard Boyz semi-finals here:
Mission Two
Mission Three
The scenarios for 'Ard Boyz can be found here:
'Ard Boyz Missions.
My army for 'Ard Boyz:
The Pink Waaaugh!
HQ1: Ghazghkull Thraka
HQ2: Big Mek +
KFF + Powerklaw
Troop1: 9x Diversified Nobs with Cybork Bodies; Dedicated Battlewagon+Deffrolla+Boarding Plank+Big Shoota+Grabbin' Klaw+Grot Riggers
-Painboy
-Bosspole
-Waaaugh! Banner + Ammo Runt
-Powerklaw
-Powerklaw + Kombi-Rokkit
-Powerklaw + Kombi-Rokkit + Ammo Runt
-Big Choppa
Big Choppa + Kombi Rokkit + Ammo Runt
Troop2: 11x Boyz + Nob/Powerklaw in trukk + Boarding Plank + Reinforced Ram
Troop3: 19 Boyz + Nob/Powerklaw
Troop4: 19 Boyz + Nob/Powerklaw
Troop5: 19 Gretchin + Runtherder
Elite1: 15x Burnas
Elite2: 5x Lootas
Elite3: 5x Lootas
Fast Attack1: 2x Deffkoptas, both with twin-linked rokkits and buzzsaws
Fast Attack2: 1x Deffkopta + twin-linked rokkit + buzzsaw
Fast Attack3: 3x Warbuggies with twin-linked rokkits
Heavy1: Battlewagon with Deffrolla, Boarding Plank, Big Shoota, Grabbin' Klaw, Armor Plates, Grot Riggers
Heavy2: Battlewagon with Deffrolla, Boarding Plank, Big Shoota, Grabbin' Klaw, Armor Plates, Grot Riggers
Heavy3: Battlewagon with Deffrolla, Boarding Plank, Big Shoota, Grabbin' Klaw, Armor Plates, Grot Riggers
--------------------------------------------------------------------------------------------------------------------------------------------------------------------------------------------
Carlos Arce's Space Marines:
HQ: Vulkan He'stan
Troop1: 10x Tactical Marines with Sergeant+Powersword, 1x flamer, 1x multimelta + Drop Pod with Deathwind Missile launcher
Troop2: 10x Tactical Marines with Sergeant+Powersword, 1x flamer, 1x multimelta + Drop Pod with Deathwind Missile launcher
Troop3: 10x Tactical Marines with Sergeant+Powersword, 1x flamer, 1x multimelta + Drop Pod with Deathwind Missile launcher
Troop4: 10x Tactical Marines with Sergeant+Powersword, 1x flamer, 1x multimelta + Drop Pod with Deathwind Missile launcher
Troop5: 10x Tactical Marines with Sergeant+Powersword, 1x flamer, 1x multimelta + Drop Pod with Deathwind Missile launcher
Elite1: 10x Sternguard, 10x combi-meltas with Sergeant+Powersword + Drop Pod with Deathwind Missile Launcher
Elite2: 10x Sternguard, 10x combi-meltas with Sergeant+Powersword + Drop Pod with Deathwind Missile Launcher
Elite3: 10x Sternguard, 5x combi-meltas, 5x combi-flamers with Sergeant+Powersword + Drop Pod with Deathwind Missile Launcher
Pre-Game Tactical Assessment: I hate drop pod armies. There's nothing to go charge, and all I can do is get hit by an alpha-strike, then react.
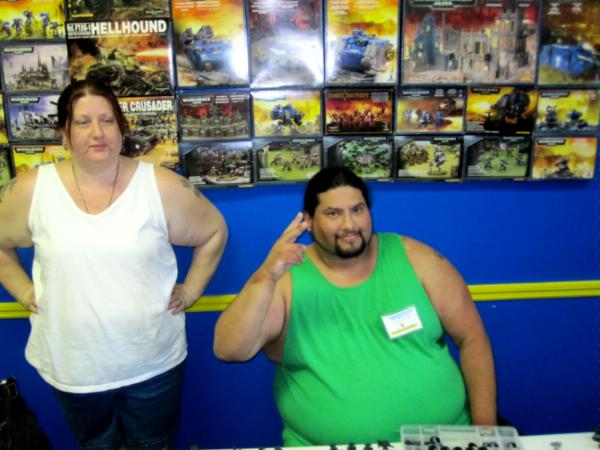
We roll for deployment and my opponent wins. He chooses to make me go first. Carlos said that he reads my reports on Dakka and was surprised and honored to get to play against me; he called his wife over and was like, "You know those battle reports I read with all the pictures? This is the guy who writes them!" Its nice to be appreciated!

Here's a smiling Carlos!
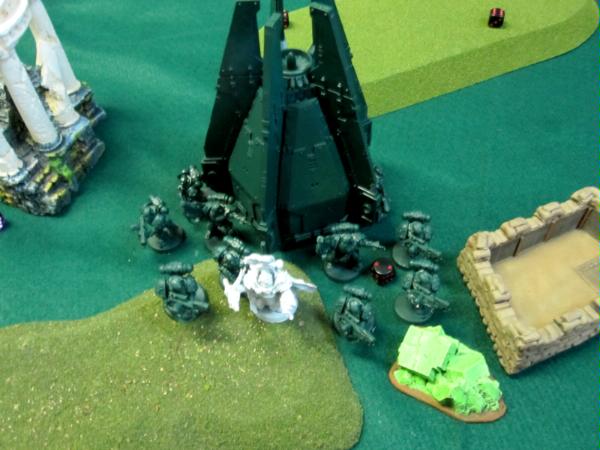
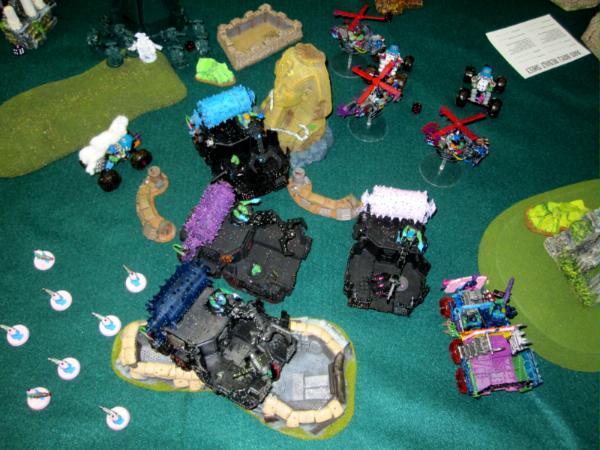
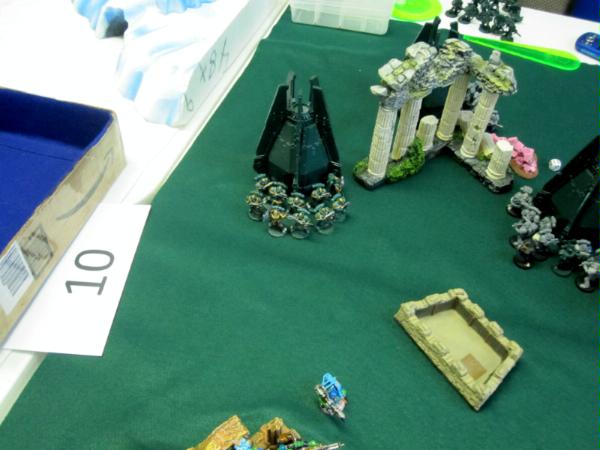
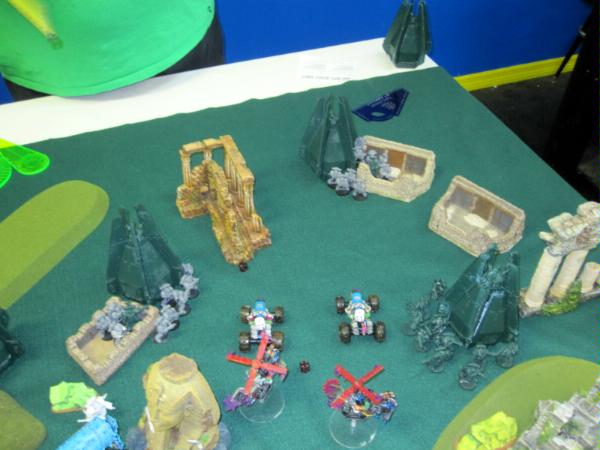
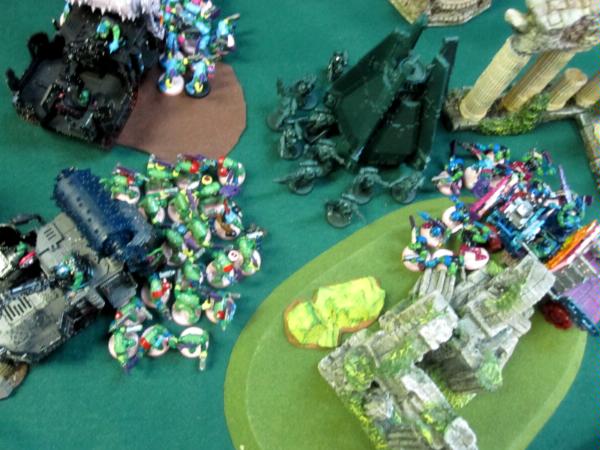
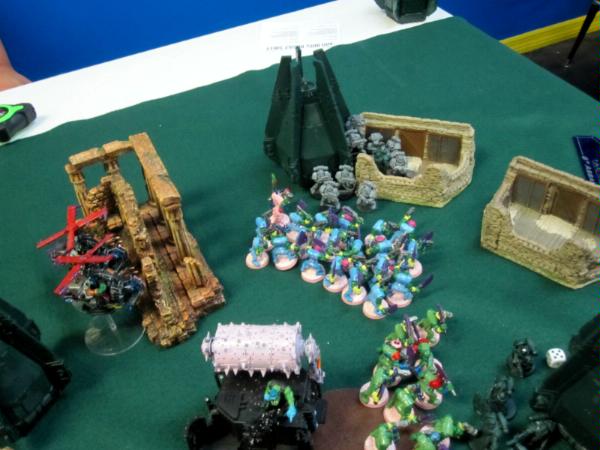
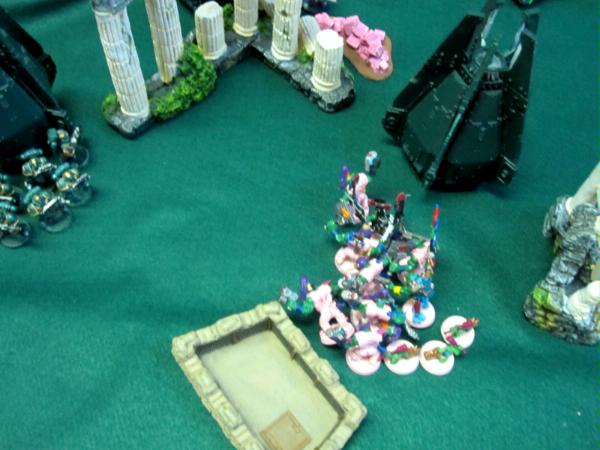
Ork Deployment: I set up on the table to try positioning myself to go take objectives while denying my flanks to drop pods. Hopefully you can see the three objectives (the crystal looking rock things; center board, and center in the neutral deployment zones.
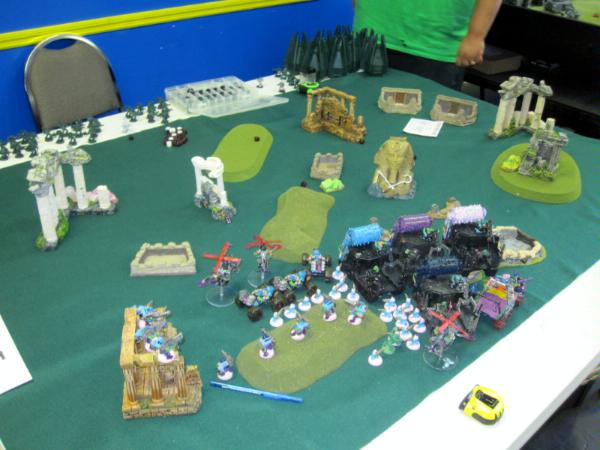
Here's an overhead shot of my deployment:

Ork Turn One:
With nothing on the table, I shift right and move into the best position that I can. My deffkoptas turbo-boost up the field and join with my rokkit buggies to screen my battlewagons. Even if a drop pod drops next to them, they won't be able to get 6" double-tap into my battlewagons which is what I'm after. My gretchin spread out to deny space to deep strike. Its about the best I could think of - I'd be interested if anyone would do it differently.
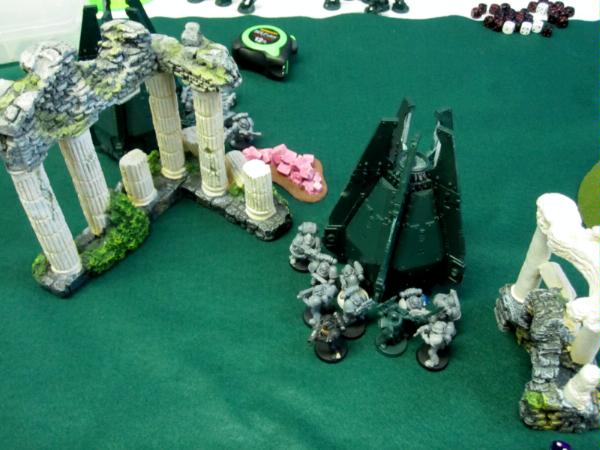
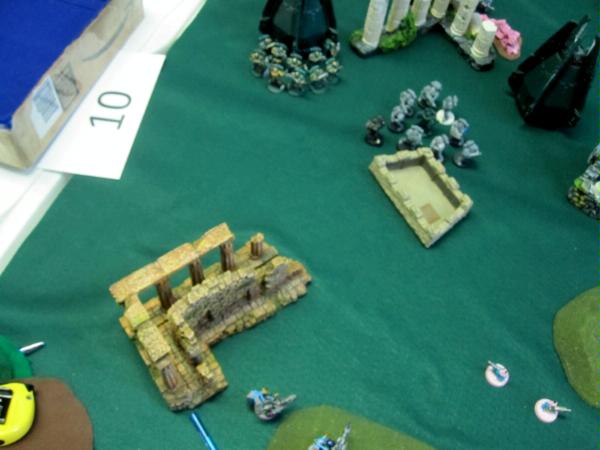
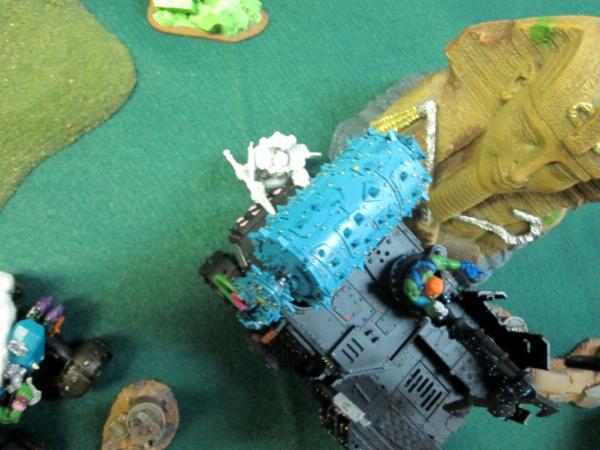
Here's a closer look at my battlewagons.
Space Marine Turn One:
Drop Pod time! My opponent has a ridiculous scatter dice - for all his drop pods, I think he didn't land on target with ONE. Seriously great rolling. Vulkan drops down with a unit of Sternguard onto the middle objective.
Troop squad drops onto the objective I'm nowhere by.

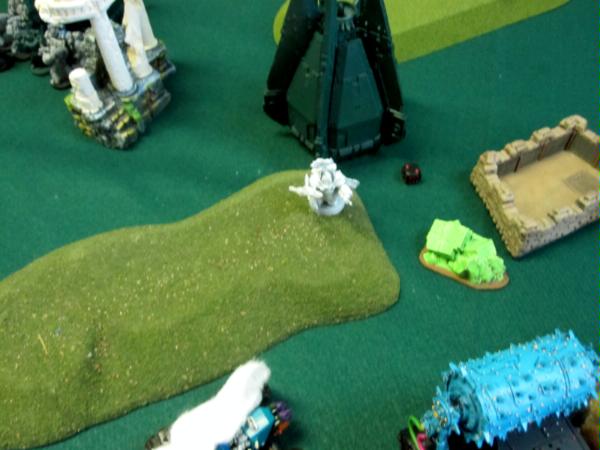
Second troop choice drops down by the first objective - this was the one that scattered I think. It was up by my Lootas, but scattered back.
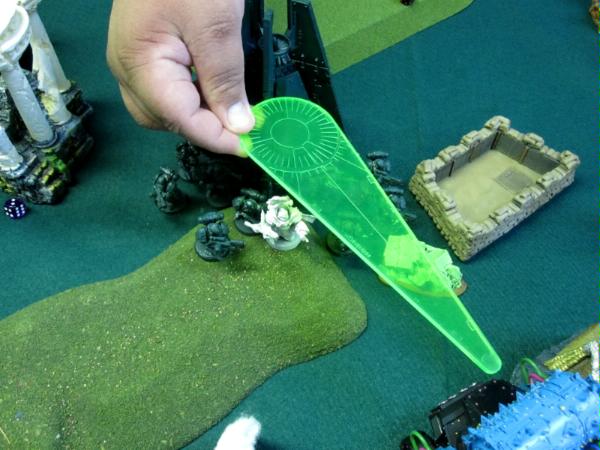
His other Sternguard tries to drop next to my deffkoptas and lands on Target - uh-oh! While you can't scatter into a unit and mishap, you can voluntarily start in a mishap, and land on target. They go back into reserves.
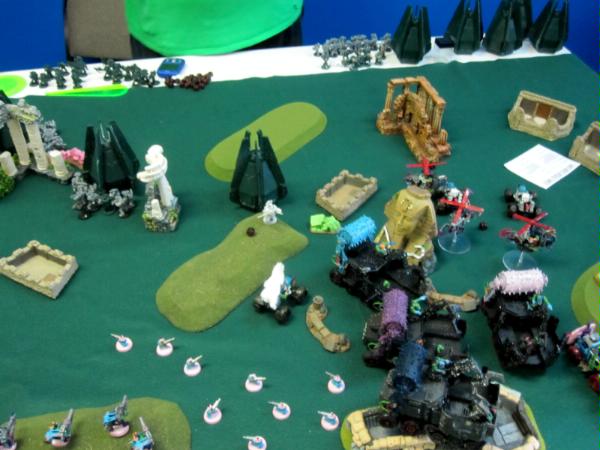
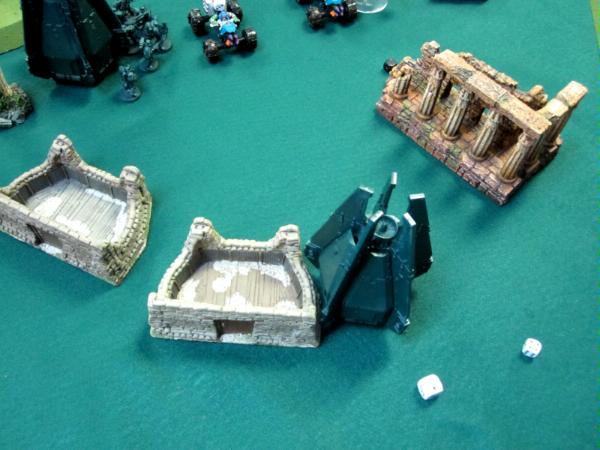
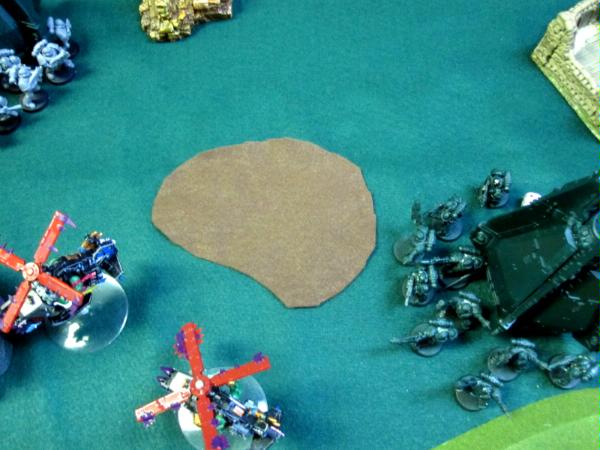
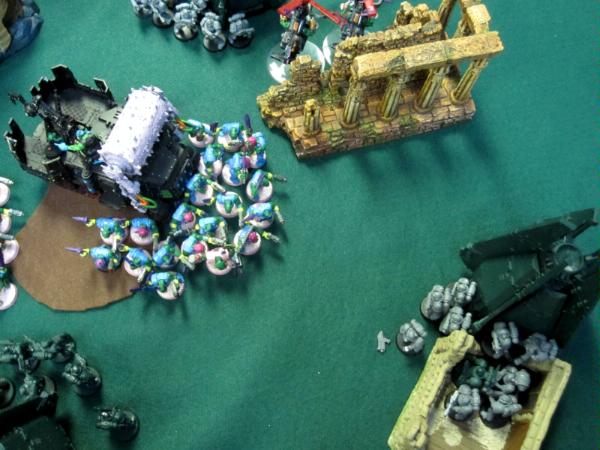
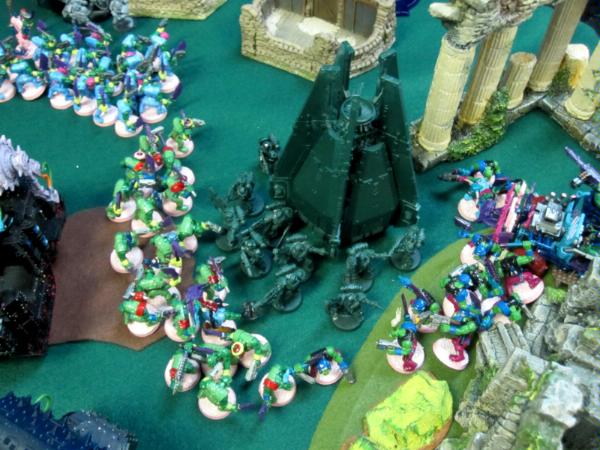
Here's an overhead picture of the battlefield after he's deep-struck:

Shooting! Vulkan's squad fires at the Warbuggies! He gets six hits, which turn into two penetrates and 4 glances. I faill all cover saves! One is wrecked from both pens, and the other two are both shaken. His other drop pods are out of range/ holding objectives, and he ends his turn.
Ork Turn2:
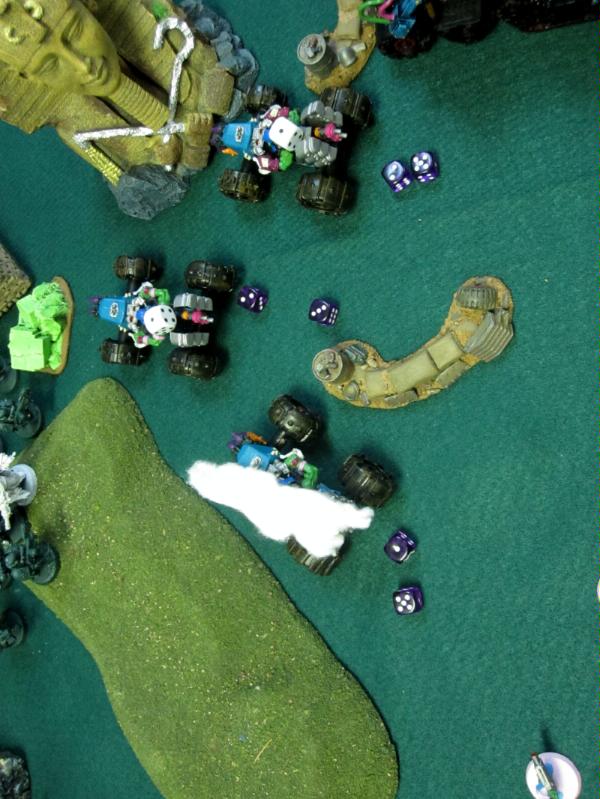
My two shaken warbuggies peel out and go continue their screening work against potential drop podding. Can't shoot anyway.
The rest of my formation shifts around a bit - Ghazghkull's wagon moves 6" up towards Vulkan, but I don't do any major movements since I'm still trying to protect myself against the drop pods.
Onto shooting - I completely forget to get Ghazghkull out of his wagon! I meant to have him go threaten Vulkan and friends. The burnas take a look out of the wagon:
15 burnas later, the sternguard have decided to sit this fight out. Vulkan remains and untouched.
My Lootas fail at life and my turn ends.
Space Marine Turn 2: Carlos rolls for reserves and gets...four of five drop pods on a 4+!
I have trouble telling sternguard from tactical squad, but one of them attempts to drop right next to one of my Loota squads to flame it and scatters backwards. Ah, he scattered two pods out of 8, not 1 out of 8.

Next drop pod comes down in the corner so he can deploy his marines in cover.
He's dropping in all around my screen trying to get access to my battlewagons!
The second marine squad on "his" objective moves up towards my Lootas.
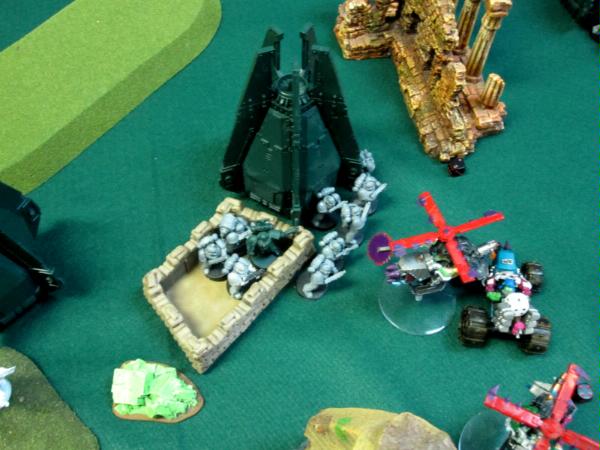
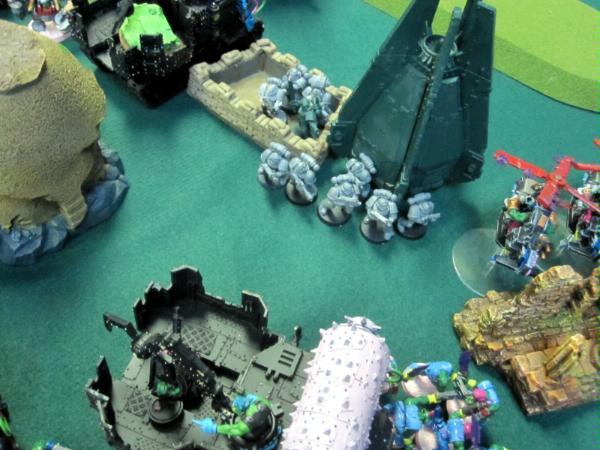
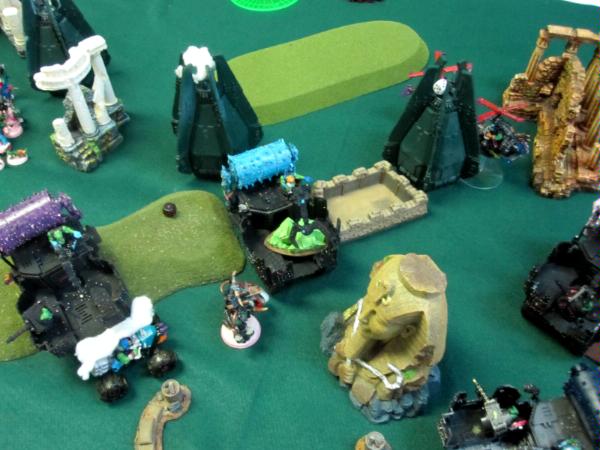
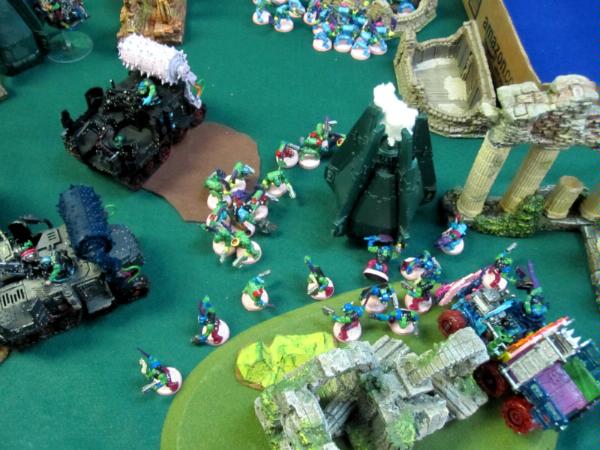
Here's an overhead shot of the three drop pods that came in around my line.
Five combi-meltas from his squad of 10 Sternguard open up on my buggies. Boom.
He also shot some bolters at my Lootas and I lost a unit. A melta or two may have also been leveraged against my lone deffkopta, killing it too. At the end of turn two, between my
KFF and regular cover saves, I've failed 14 of 16 cover saves. Fortunately....those saves were taken on non-essential units!
Vulkan assaults into Ghazghkull's battlewagon; 4+ to hit, 4+ to glance...and whiffs!
With all but one of his drop pods in play, I finally have something to attack!
Ghazghkull's battlewagon tank shocks through Vulkan who escapes unscathed and a grand total of about 5" up to the drop pod. 4 Deffrolla hits later, it is wrecked!
Ork Turn Three!
My battlewagons and boyz move into assault reach of his drop-podded marines and my opponent makes a belated comment that he should have combat squad-ed them.
The boyz in blue disembark and prepare to go find out which is scarier: 10 space marines or 20 Ork boyz!
My two surviving deffkoptas move up threateningly to one of the drop pods!
On the other side of the field, my nobs disembark. Ghazghkull declares a Waaaugh! and they fleet towards another tactical squad.
My Deffkoptas rokkit the drop pod and force a weapon destroyed! No more deathwind missile launcher!
My blue boyz fleet over towards their tactical squad!
My other boyz and the battlewagon fleet towards their own unit, with one of the powerklaws lining up to assault the drop pod. STR5
AP- with that large blast, but I'm afraid of getting stuck out of cover so I'm going to try killing it.
Why is it that wherever my burnas go, stuff disappears?
They take down the tactical squad to their right and I enter assaults. Ghazghkull goes and introduces himself to Vulkan. Being the dick that he is, Vulkan starts a fight and Ghazghkull is forced to abandon diplomatic efforts and pulp him.
My nobs wipe out the tactical squad they assaulted with no casualties and prepare to consolidate. They're my highest point unit and I don't want them sitting out in the open.
In the back corner, I lost 6-7 boyz, but the other 13-14 from the first squad and 12 from the second are enough to pulp the tactical squad. The other 20 boyz finish off their unit! The powerklaw assaulted into both the drop pod and the tactical marines; they're dead when we get to I1 and he swings at the pod and explodes it!
That's the end of my turn! I killed a couple of drop pods, Vulkan, three tactical squads and a sternguard squad. Carlos is crippled, but determined to take what he can get. We're running short on time in the game, so pictures get scarce.
Space Marine Turn Three:
His last drop pod comes in, and everything remaining...three squads, one of which has 10 combi-meltas all open up on the Nobs. I go to ground for a 3+ cover save (I'm in area terrain). I lose 4/9 nobs and take several wounds on the remainder, but the nobs are alive!
Ork Turn Four:
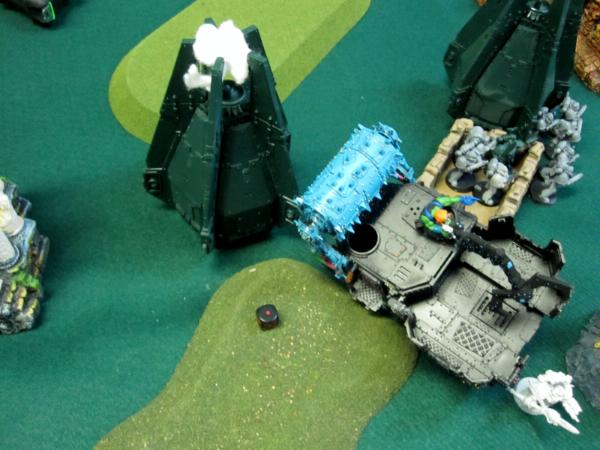
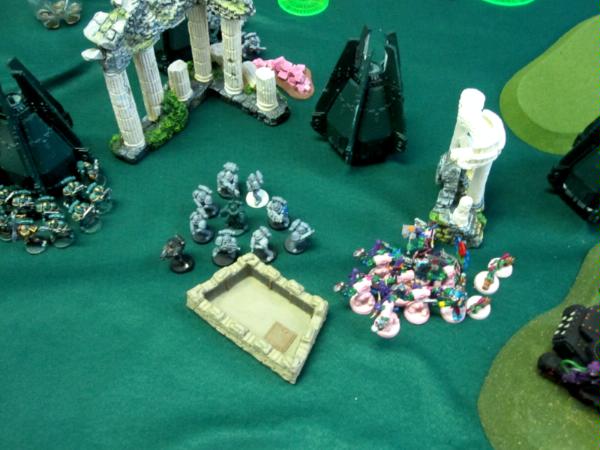
I re-embark where possible and cruise into his drop pods where I can. Two wreck. Note the position of the battlewagon with the blue rolla (burnas). They're on a roll this game!

Space Marine Turn Four:
With his combi-meltas spent, he's focusing on my nobs again - I don't go to ground, but still manage to save almost all wounds; no more nobs die.
Ork Turn Five:
Ghazghkull jumps out of the wagon he had commandeered and prepares to kick ass! The nobs aren't gone-to-ground anymore and prepare to assault his other squad. The burna wagon moves up 6" and annihilates a THIRD squad! We skip the rolling this time, we've been through it twice now and he just picks up his models. The wagon next to them (full of boyz) had disembarked, and run a couple inches up to grab the third objective.

My Lootas take down the last drop pod (jerks finally did something this game) and the game ends with my opponent tabled on the top of turn 5. I own all three objectives for the massacre, my nobs are alive, I have a scoring unit in his deployment zone, I killed his highest scoring unit, and I own the central objective (with gretchin).
24 point massacre and I'm on to game two!
------------------------------------------------------------------
Post Game Analysis: I talked to Carlos afterwards - he's got a list that I rightfully fear. I thought his biggest mistake was target priorities - he never really shot at my battlewagons. He came back with the fact that my battlewagons were never really in melta range for anything of his, which is what I was trying to do. I started in the middle, moved up and assaulted the right side of the table, then came back through the middle and assaulted the left - if I hadn't had the mobility that I did, I couldn't have done it.
Stay tuned for round two!


 , heck I have one friend outside of NJ, and that is because he moved out of NJ... (I do have a different view of friend then most though)


 1850!
1850! 
 For the Emperor!


 2000
2000 


 Renegades -
