So, after the last game (
http://www.dakkadakka.com/dakkaforum/posts/list/499311.page), we tried a rematch with the same forces. Sure, the Arbites won when they had to go for a Relic, but would they be able to hold the whole city. After clearing the Grots from the centre of the city, they have to race to reinforce the walls before the main Grot force invades! Woohoo!
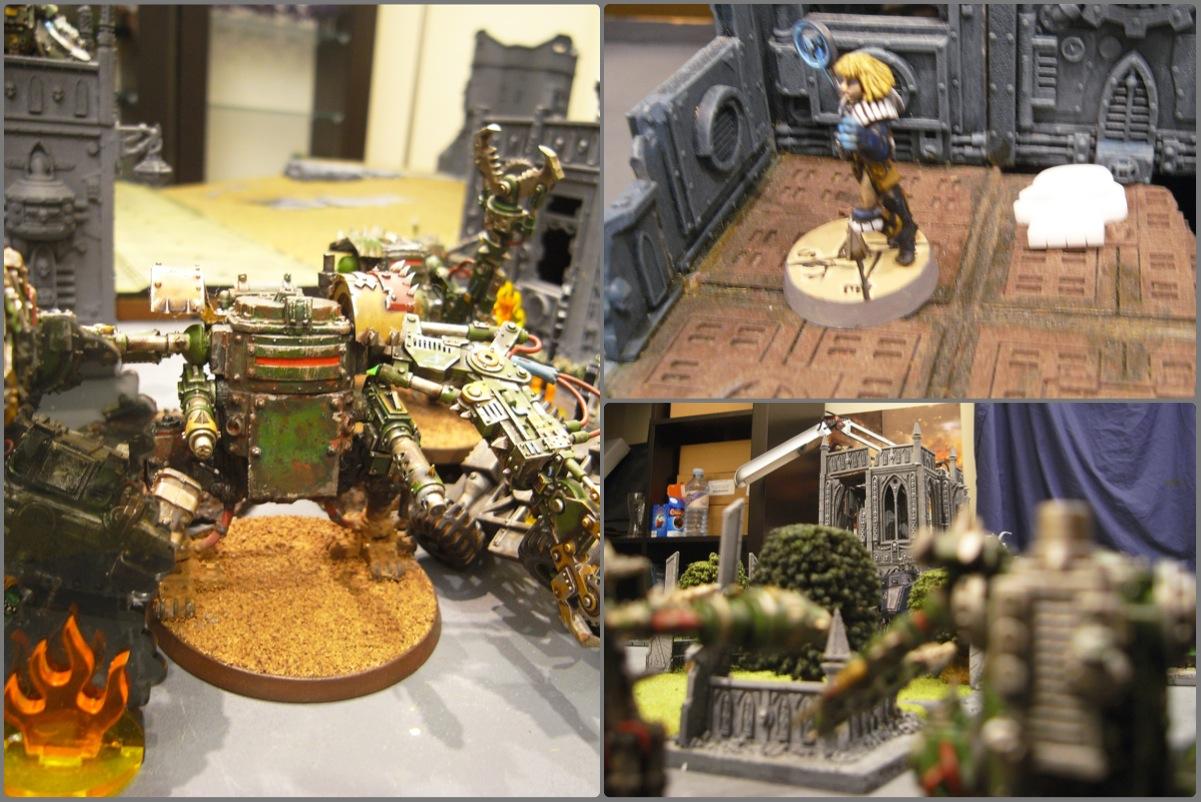
Panic's Grot Kan Wall [Orks, 1500pts]
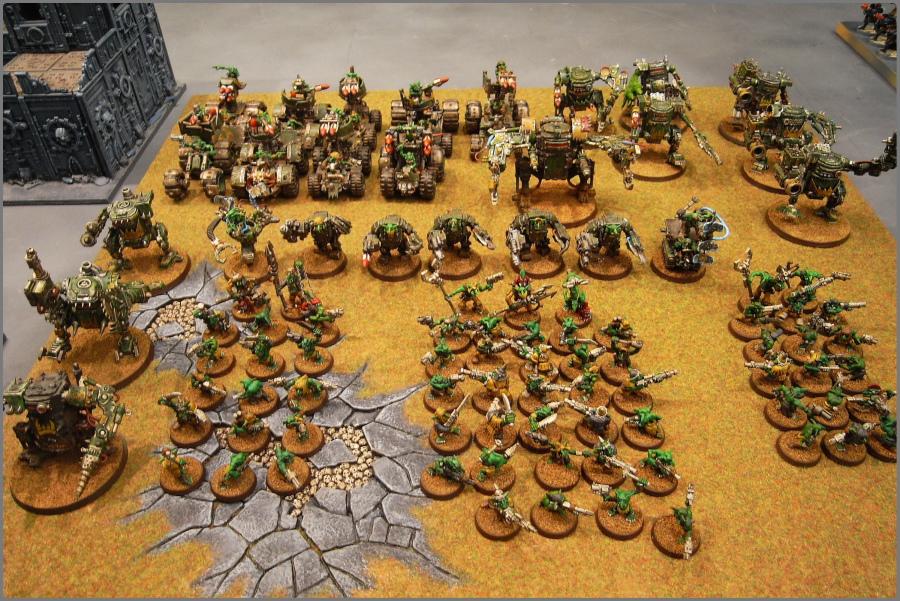
* Big grotmek [eavy armour, cybork body,
KFF]
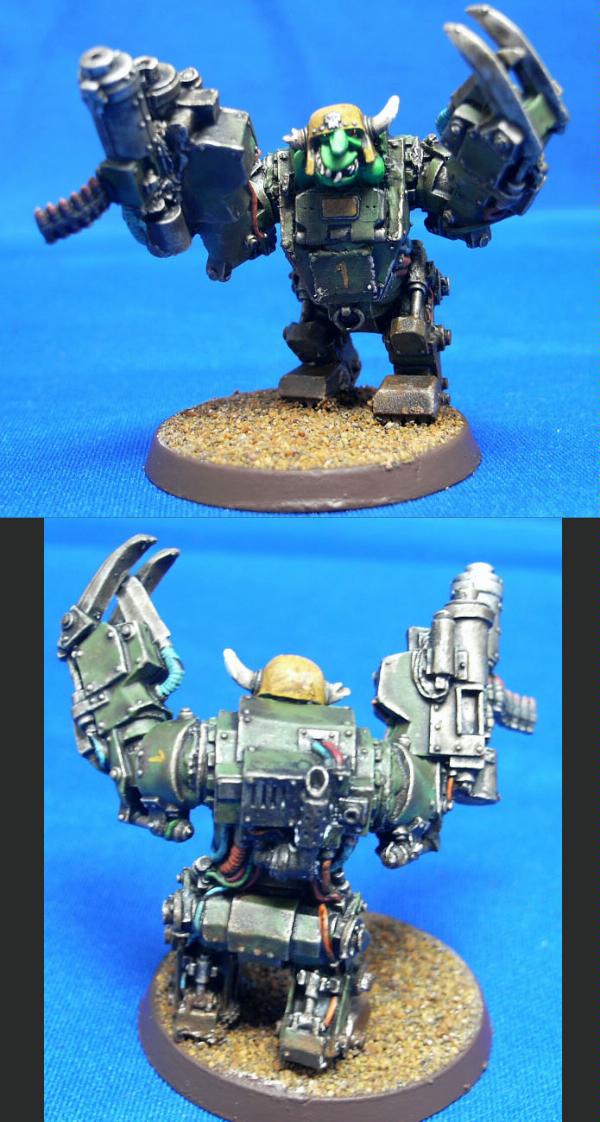
* Big mek [power klaw, eavy armour, cybork body,
KFF]
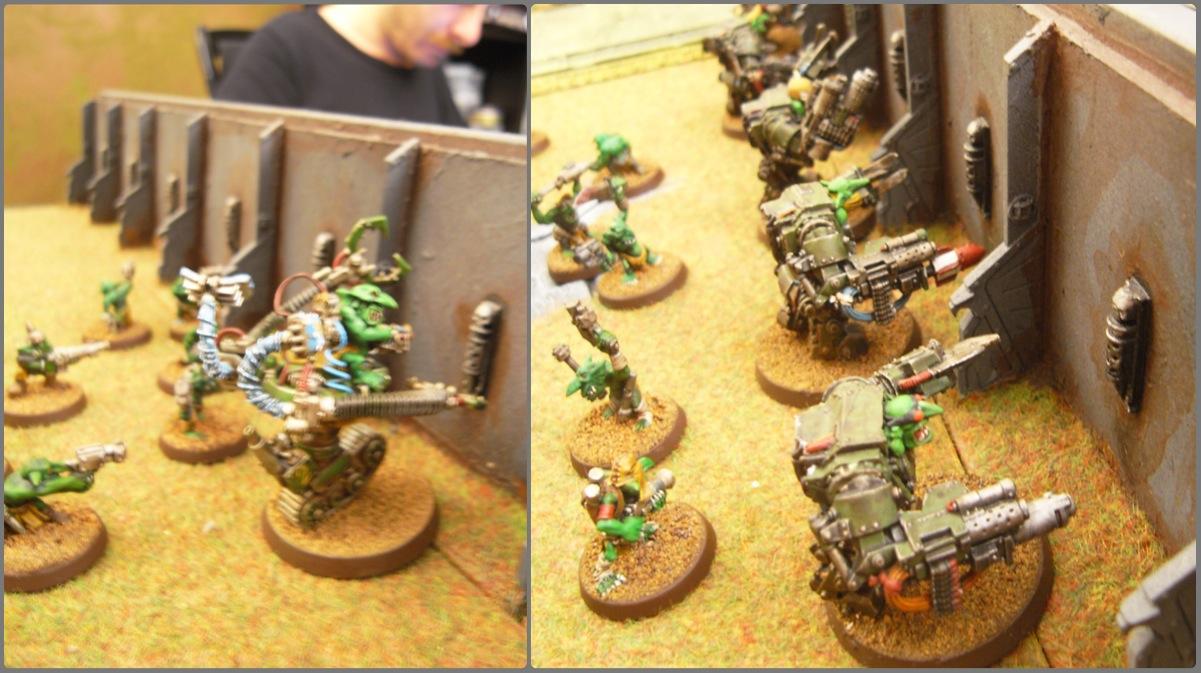
* 5 Mega Armoured Grotz [1 rokkit, 1 scorcha]
* Dreff Dredd [2 big shootas]
* 28 grots [3 herders, 1 prodstick, 2 grabstick]
* 15 grots {2 herders, 1 prodstick, 1 grabstick]
* 15 grots {2 herders, 1 prodstick, 1 grabstick]
* 3 Buggies [
TL rokkits]
* 3 Buggies [
TL rokkits]
* 3 Buggies [
TL rokkits]
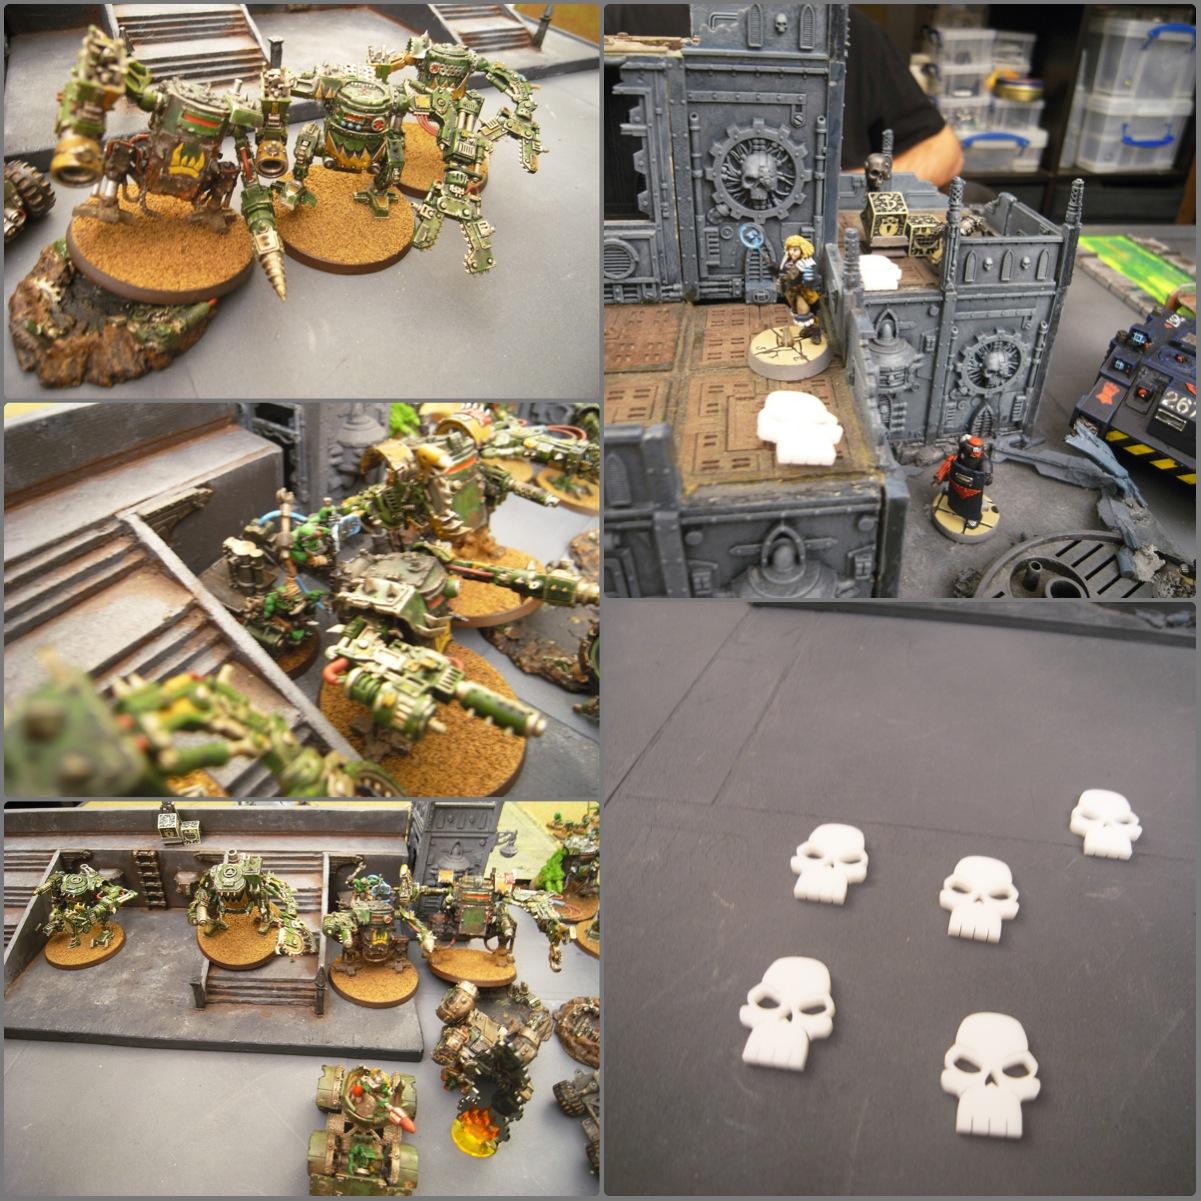
* 3 Killa Kans [big shootas]
* 3 Killa Kans [rokkits]
* 3 Killa Kans [grotzookas]
ArbitorIan's Adeptus Arbites [Sisters of Battle & Imperial Guard, 1500pts]
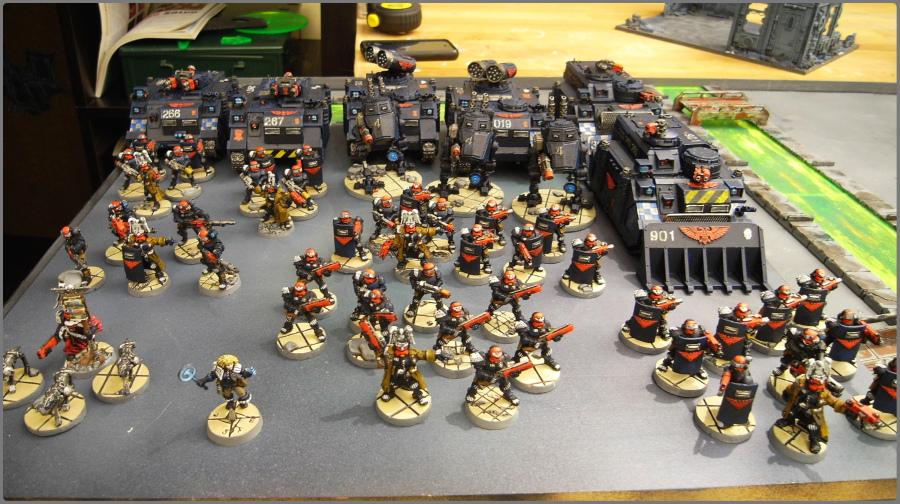
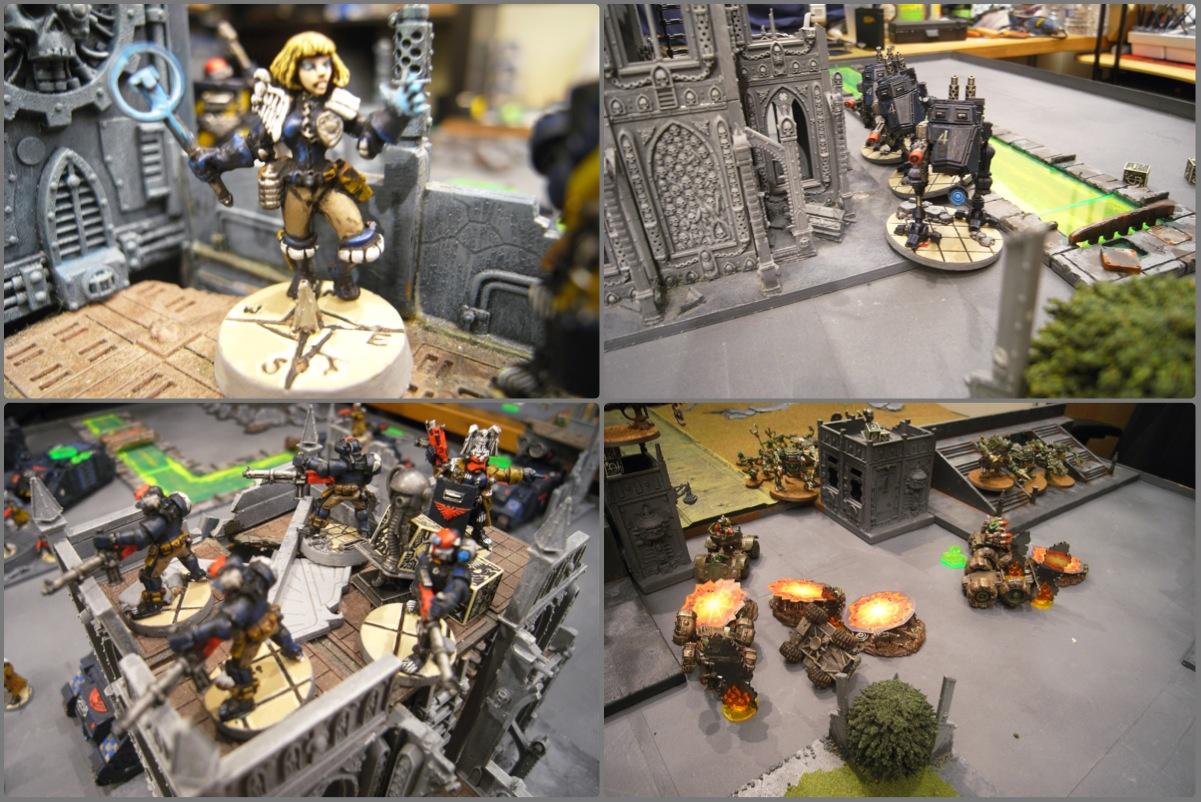
* Judge Jacobus
* Cyberhound Team [Battle Conclave of 3
DCA]
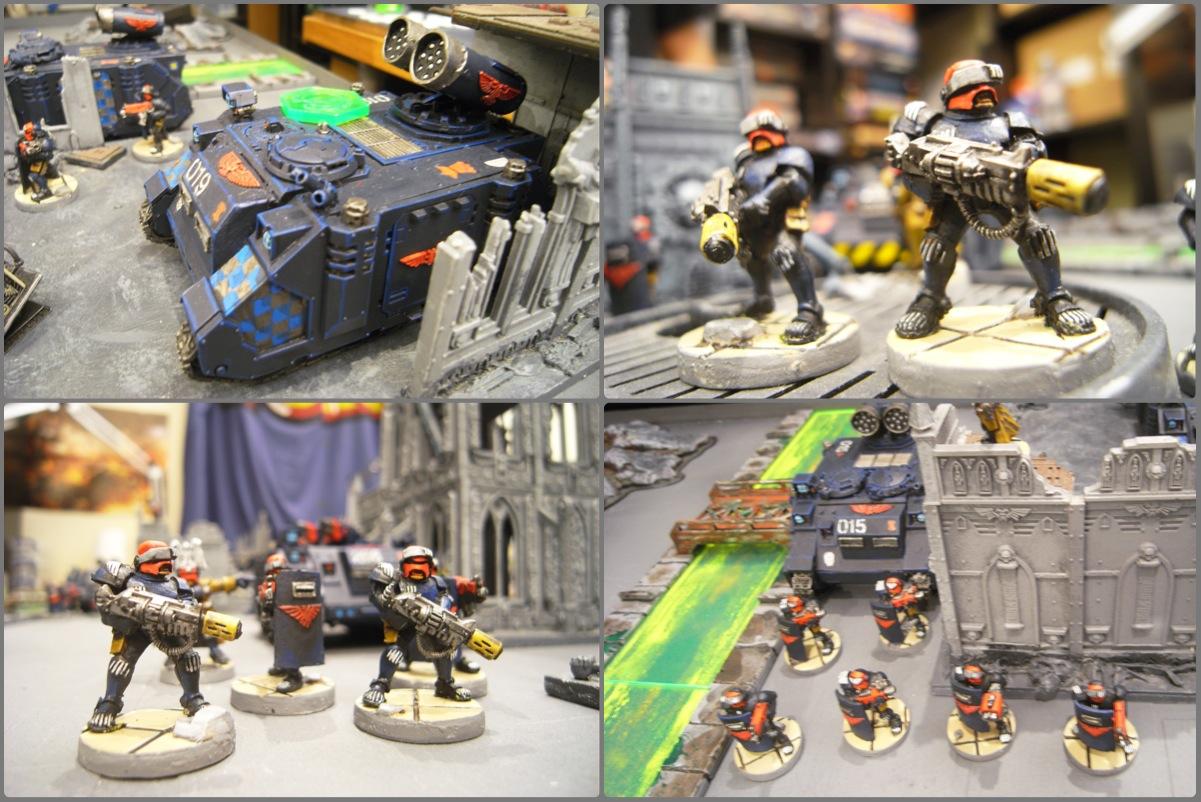
* Combat Team [10 Battle Sisters, 2 flamers] in a Repressor
* Combat Team [10 Battle Sisters, 1 multimelta] in a Repressor
* Dominion Team [5 Dominions, 2 meltaguns] in an Immolator [
TL multimelta]
* Dominion Team [5 Dominions, 2 meltaguns] in an Immolator [
TL multimelta]
* Retribution Team [5 Retributors, 4 hvy bolters]
* Exorcist
* Exorcist
* Psy-marshall [Primaris Psyker]
* Patrol Team [10 Veterans, grenadiers, 2 plasmaguns]
* 3 Sentinels [multilasers]
Pre-game
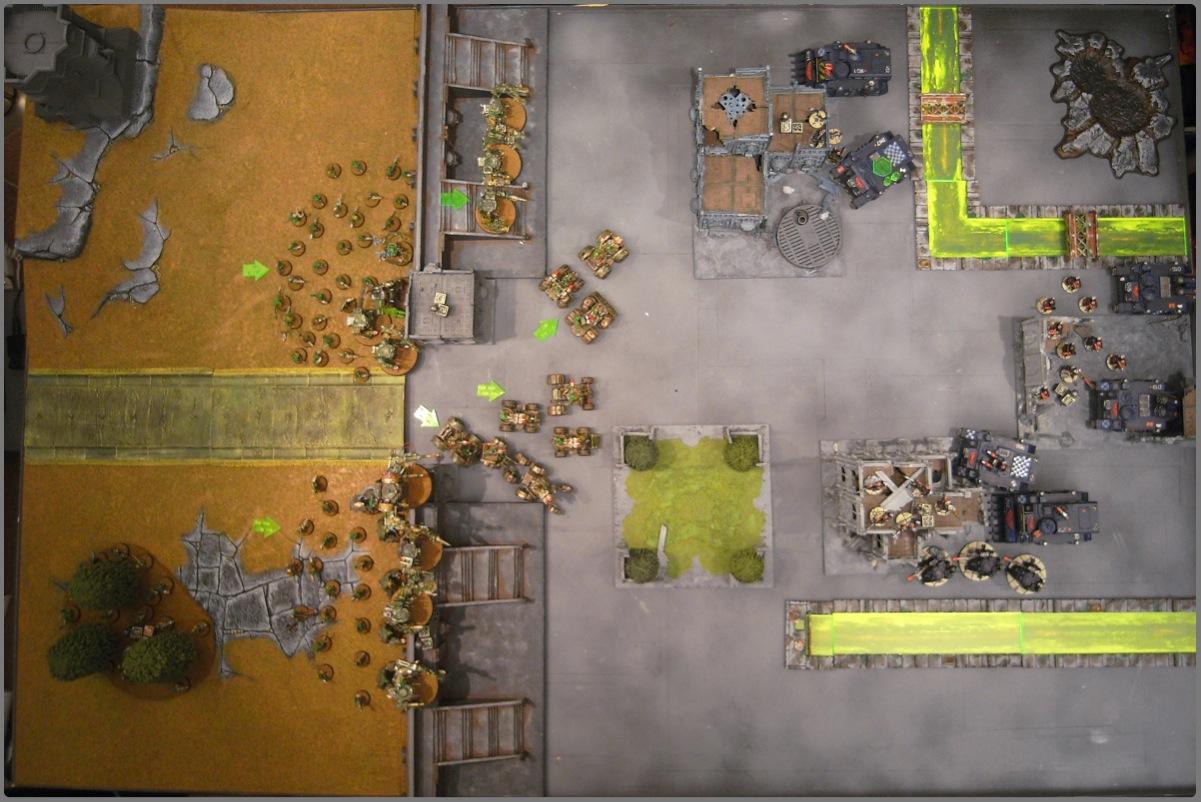
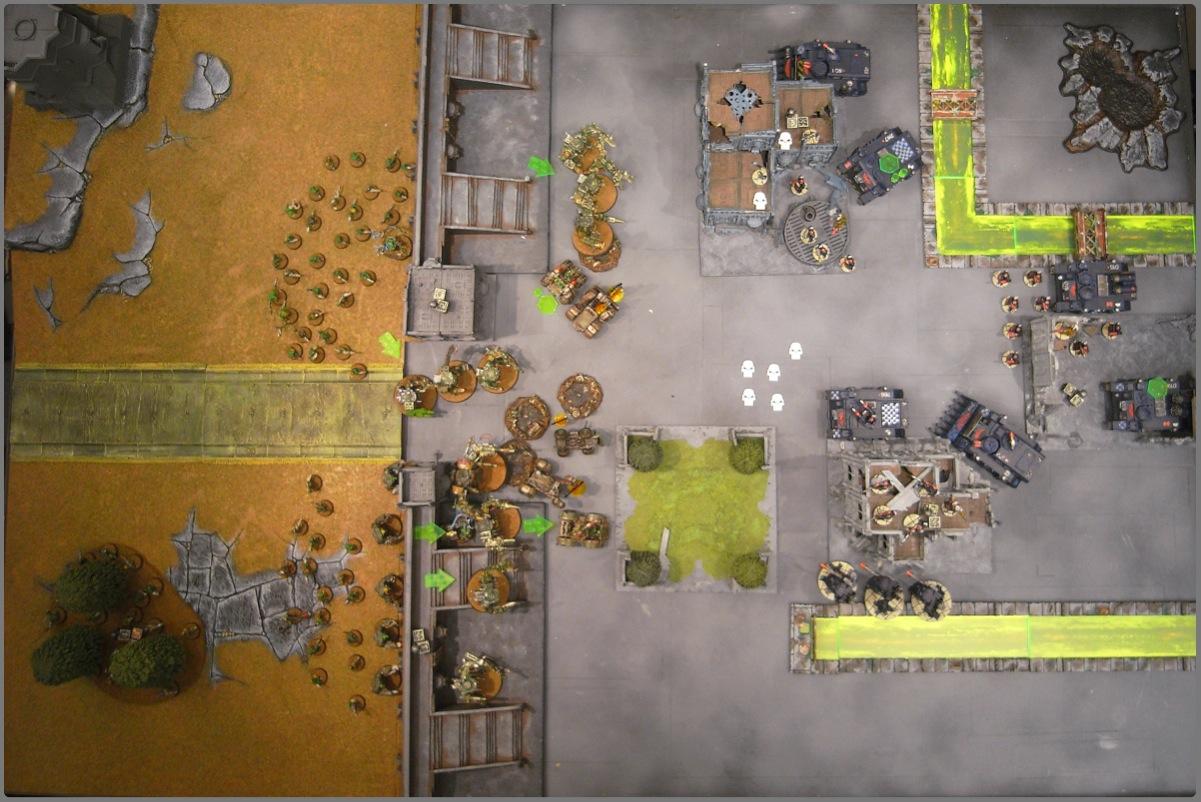
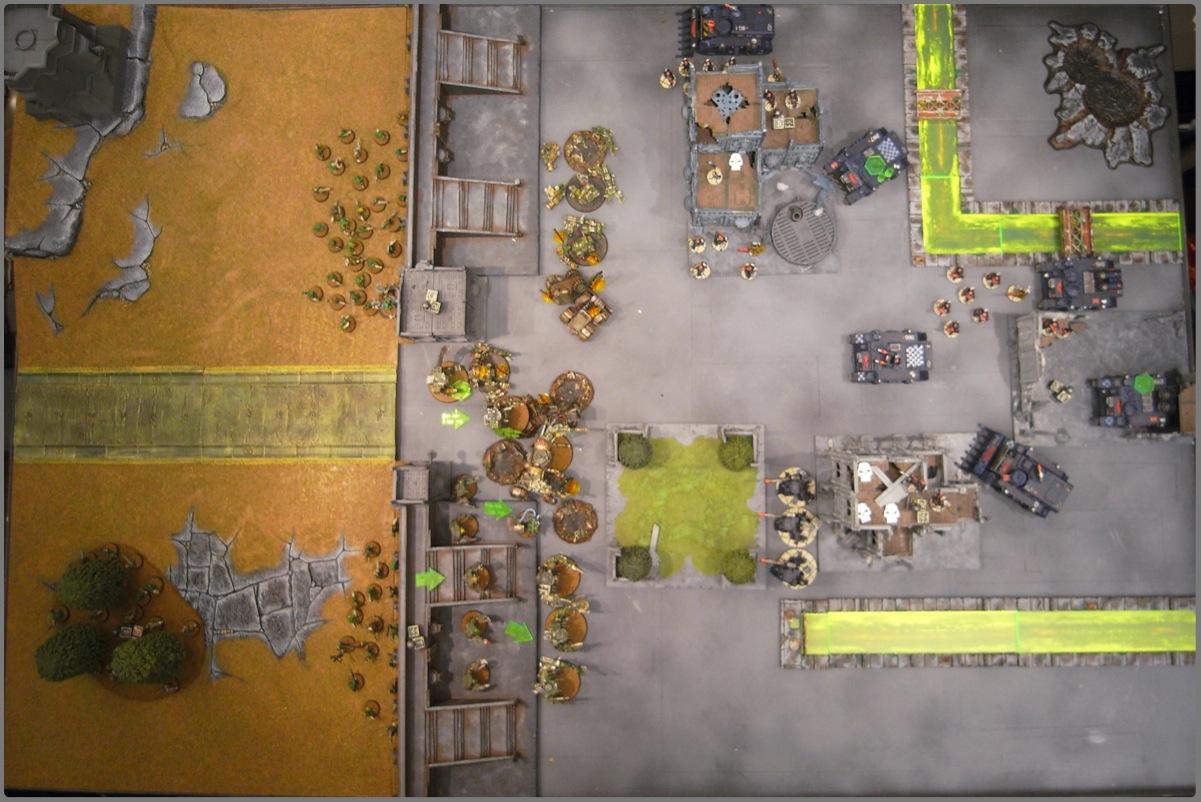
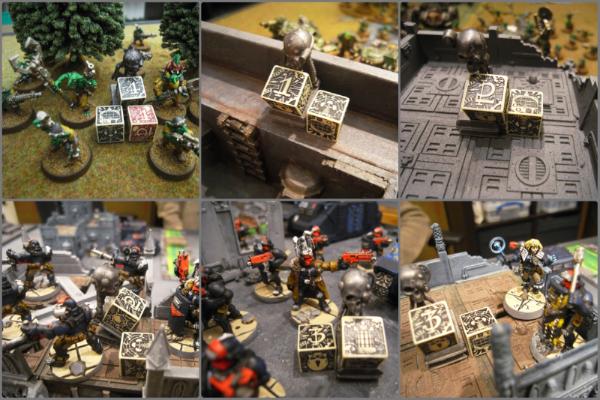
So, we're playing The Scouring, with Hammer & Anvil deployment. Grots win the roll for deployment and decide to have the grass section of the board. Arbites then win the roll and choose to go second. Both Warlord traits prove pretty useless, and the Psy-Marshall sticks with the codex powers. The Grots, as expected, deploy in a wide line behind the wall, with the buggies in the middle and the Grot Mobs ready to hold the wall objective.

Arbites then deploy at the back, two Exorcists in the middle, and the two prongs of one Immolator and one Repressor in cover, ready to zoom forwards.
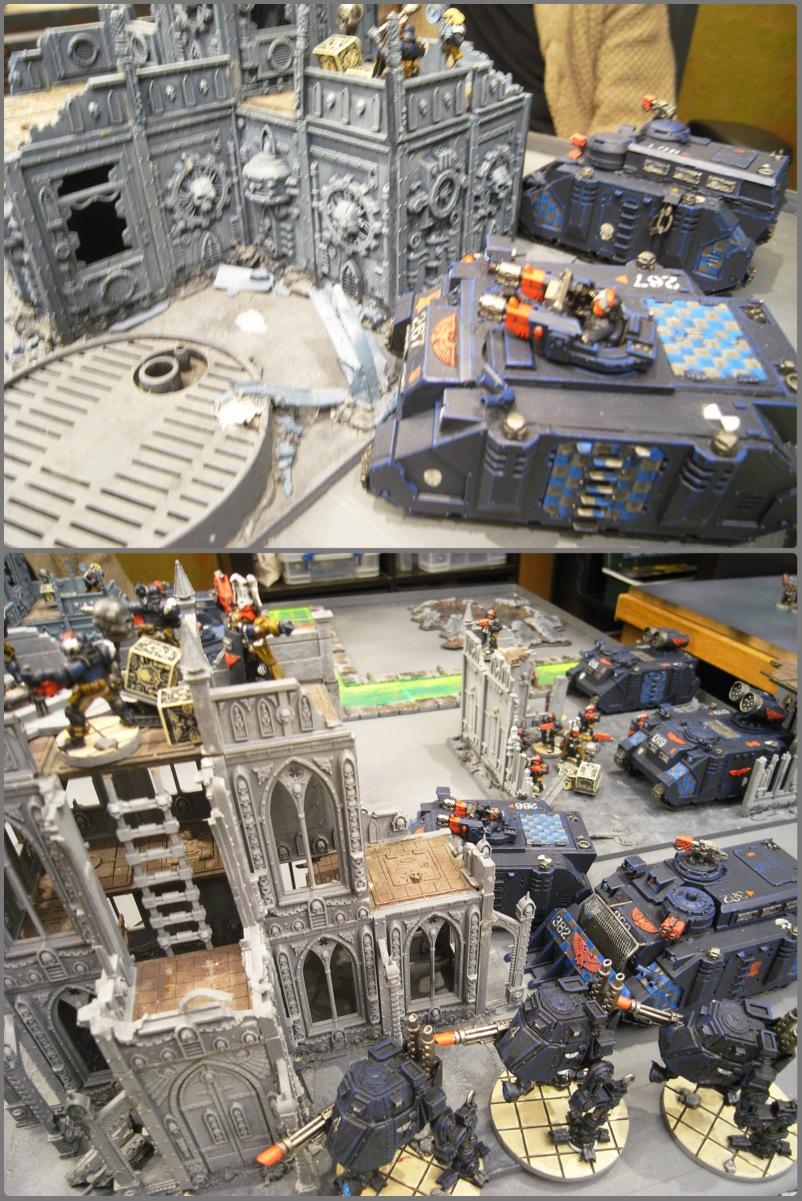
And here's the setup. The battle lines are pretty clear..

Finally, the objectives are revealed. The Grots already hold the 4-pointer at the back of the field, with the Arbites' home objective worth 3 points. The rest are scattered across central buildings and walls.
 Grot Turn 1
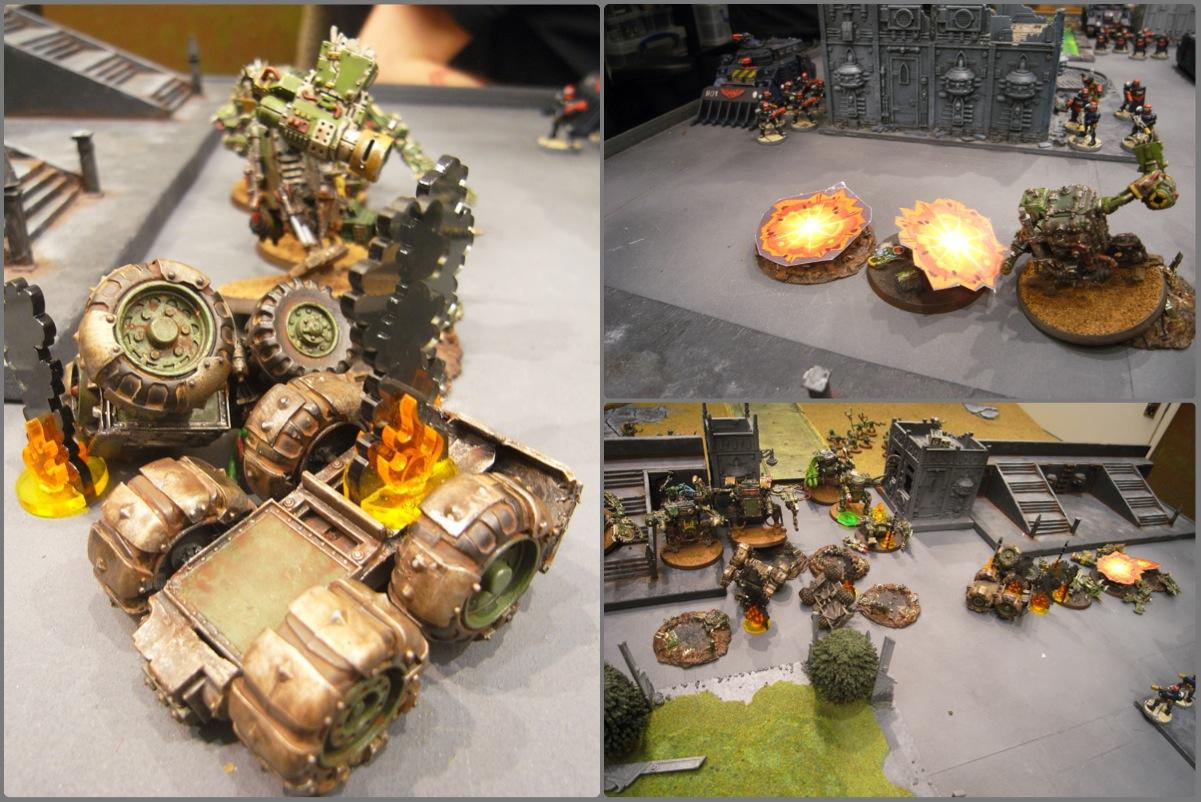
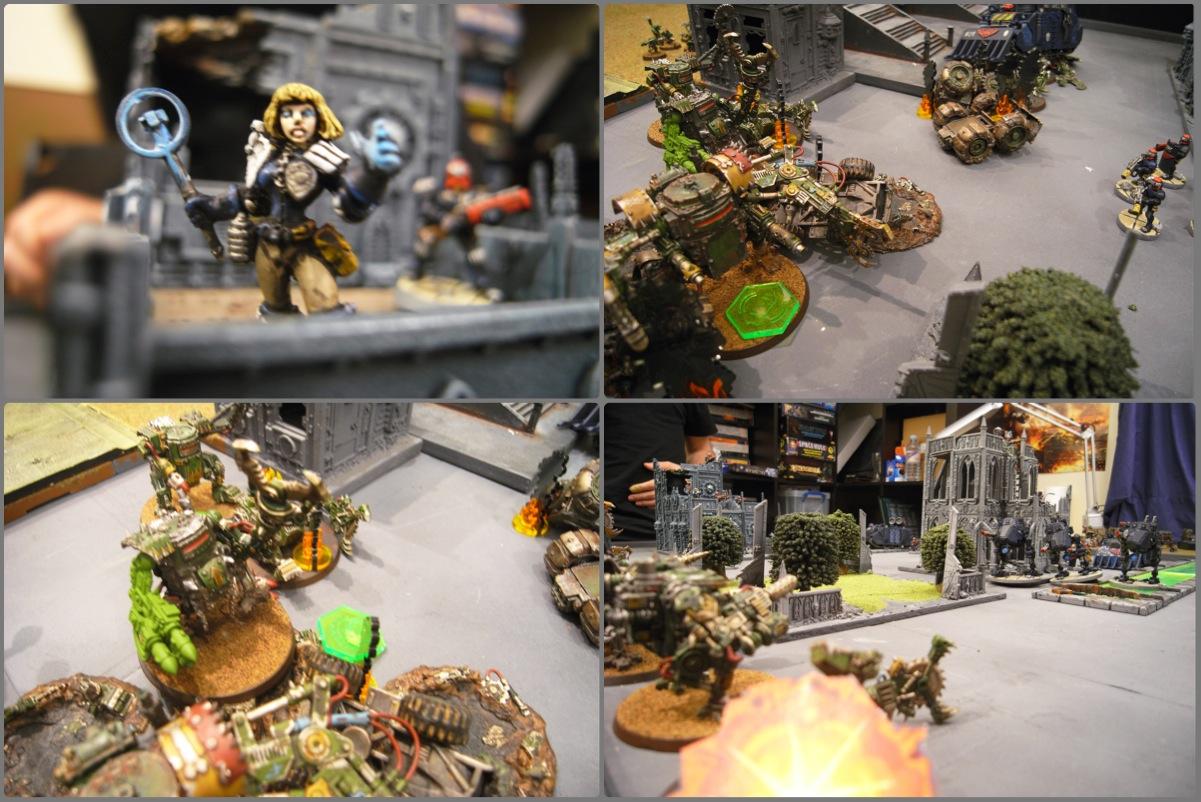
The entire Grot line zooms forward, the Buggies scoring early hits on the forwardmost Immolator, immobilising it and removing two Hull Points. The rest of the Kans and dreads clamber over the wall.
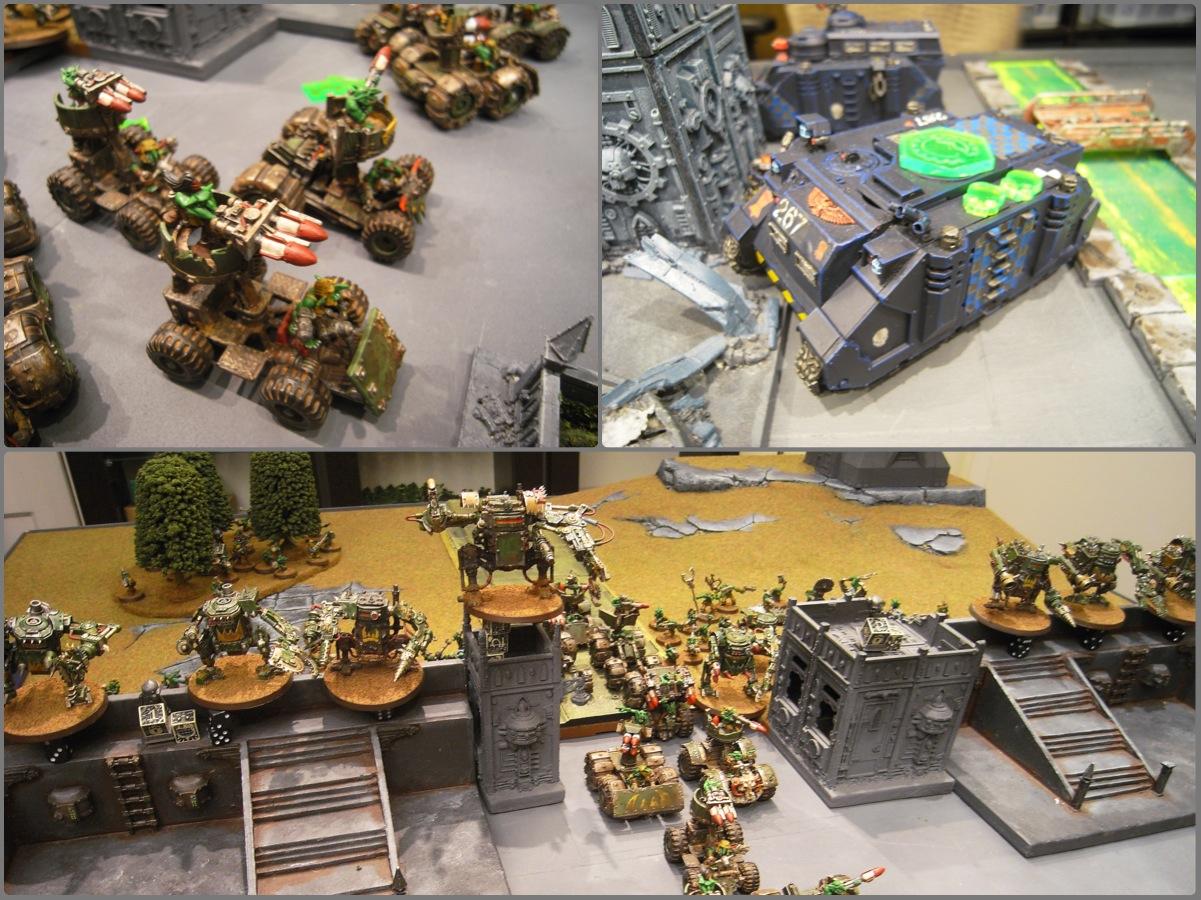
Buggies spread into the plaza and the Grots move up to the wall.
 Arbites Turn 1
The Exorcists move into a better firing position, but one of them immediately immobilises itself in the ruins. Both Dominion squads disembark from their Immolators, one squad leaving Jacobus in the immobilised Immolator. The Combat Team at the back also move forwards, just sneaking into range of the lead buggy.
The entire line then open fire - everything targeting the Buggies, which are scoring in this mission. At the end of the shooting phase, three have been wrecked, four have exploded and one shaken, leaving only one able to act next turn!
So, the advance wave of Grots has stalled, but a few Arbites vehicles are damaged too, and there are plenty more Kans to come...
 Grots Turn 2
The Grot Mobs continue to advance, the Megagrotz and Meks lining up ready to go over the wall.
While the Kans, advancing, take out the entire closest Dominion squad and half of the Psy-Marshall's bodyguard
The grots keep coming!
 Arbites Turn 2
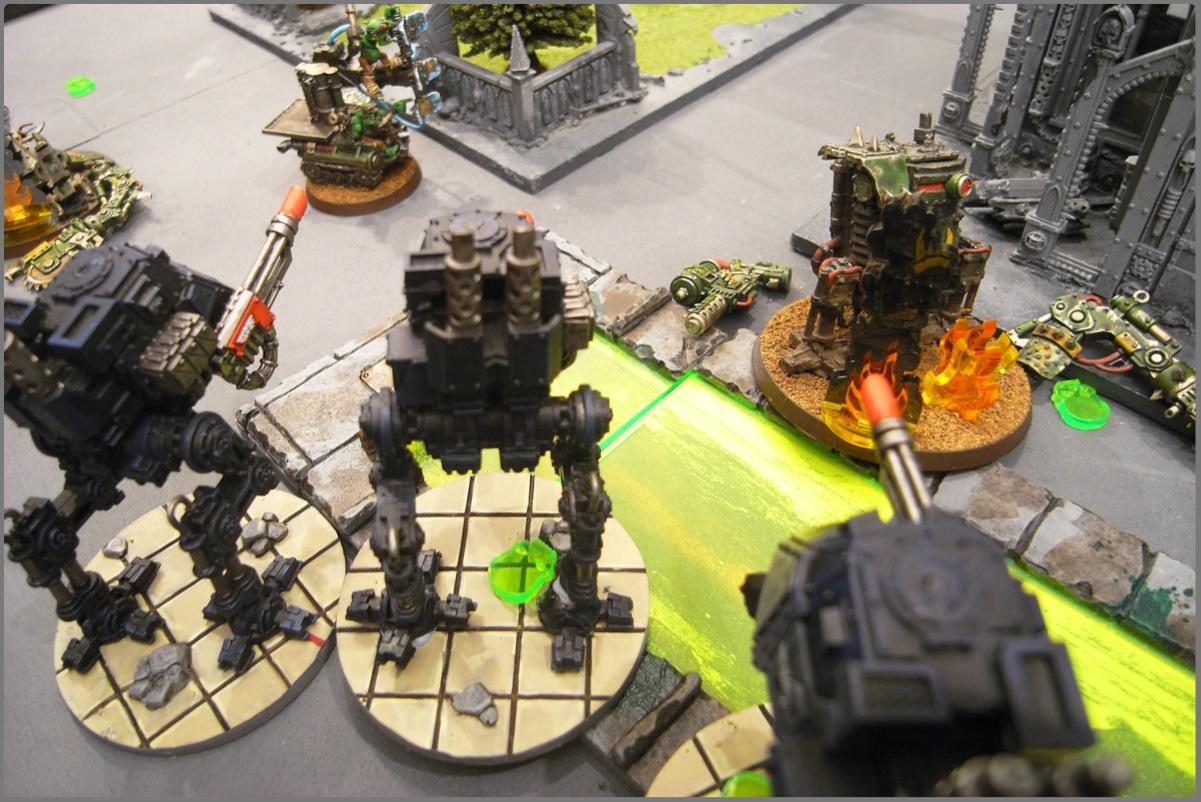
The Sentinels appear around the building, as the Arbites line targets the next Grot wave.

And the whole line open fire again, the Sentinels and an Exorcist taking out the last of the buggies, while a Patrol Team dismount from their Repressor and, helped by the Psy-Marshall, take out the grotzooka Kans.
The Immolators retreat in case of assaults as the Exorcists destroy one more Kan in the centre and immobilise another.
 Grot Turn 3
The Kans keep advancing, though their assault on one side has stalled, the central Kan advanced, taking out the last of the Psy-Marshall's bodyguards, and the full Kan squad target the Retributors, taking out three of their four heavy bolters.
The Kans continue to advance on one side, with the Megagrotz going over the wall in support.
 Arbites Turn 3
The next Arbites phase is less successful than the previous turns - the Psy-Marshall manages to shake the foremost Kan, and the Sentinels take out one of the as-yet-untouched squadron.
The Dominions cross the centre of the board to attach the Deff Dredd, but only manage to shake it, and the last moving Immolator manages to immobilise itself on some terrain. A Repressor fares better with it's riot plow, moving up to the walls through the rubble of Kans, and the last Combat Team advances through a building to hold the objective near the Retribution Team.
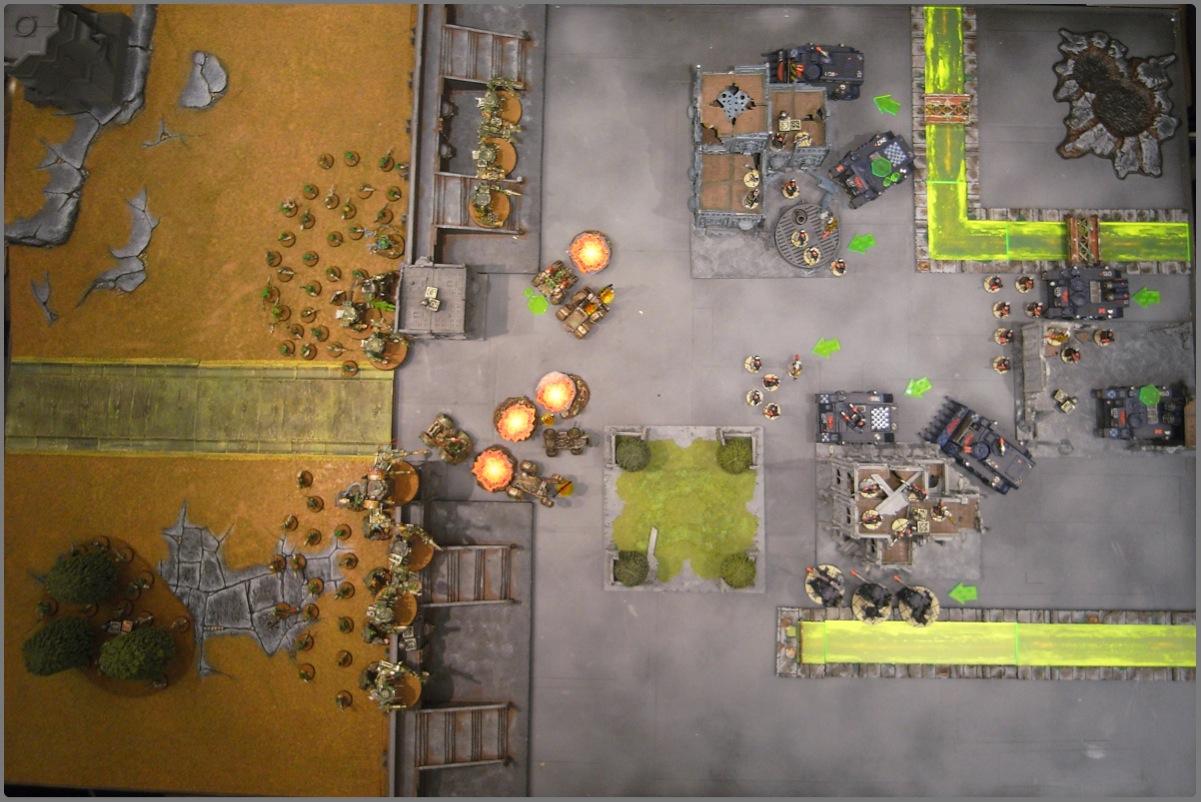
 Grot Turn 4
In turn 4, the Grots make their big push, the Grot herds go over the wall to capture the two objectives on top, the Megagrotz at the forefront.

The shooting is less effective, though, with only one glancing hit inflicted on a Sentinel.

And the Grots now have three objectives including their 4-pointer in the backfield.
 Arbites Turn 4
The Patrol Team move onto the objective near the Psy-Marshall and the Sentinels and single remaining Retributor target the largest remaining Kan squadron, exploding one and glancing another. However, the Dominions still have no luck with the Deff Dredd, merely glancing it a second time.

The Repressor at the walls gets as close to the Grot herd as possible and kills three with it's flamer.

And the Sentinels and central Combat Team fall back to consolidate around their objectives.
 Grot Turn 5
The Grots make a final push - the immobilised Kan taking out the Psy-Marshall with a rokkit.

And the Megagrotz make a massive charge to engage and wipe out the last Dominion Team.

The Big Mek, coming over the walls, charges the Repressor and stuns it.

While the final moving Kan charges the Sentinels, causing another glance

The Megagrotz consolidate all the way into the garden.
 Arbites Turn 5
The Combat Team reach the top of the tallest building to get to the objective.

And the static Immolator finally scores a hit on the Deff Dredd, exploding it. The Exorcists target the Megagrotz, killing two.

The Sentinel combat continues, the Kan suffering one glancing hit.

End of turn five, and we roll and get another turn.
 Grot Turn 6
The Grot herd on the walls get out of the way of the Repressor, sensing what might happen this turn!

But the Kan suffers another glance and is wrecked, freeing the Sentinels.
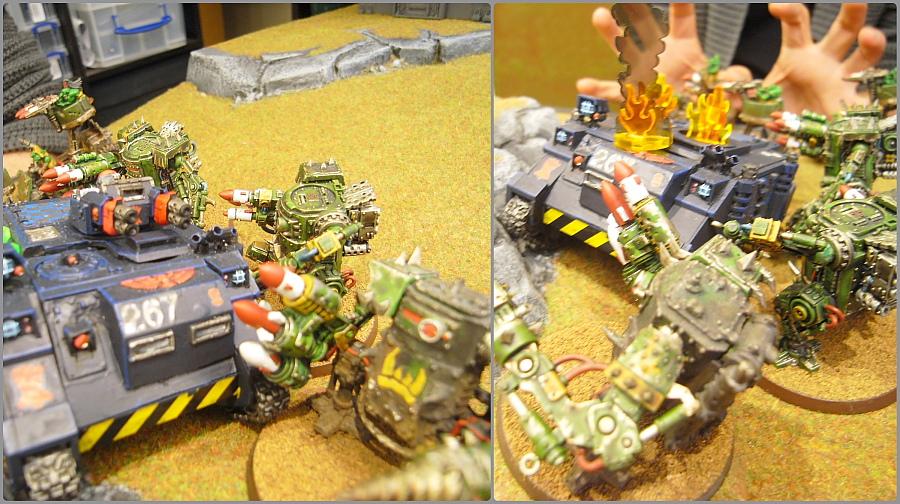
And the inevitable happens, the Mek exploding the Repressor and killing any nearby grots in the explosion.
 Arbites Turn 6
Most of the Arbites line targets the Megagrotz, but only manage to kill one.

While an Exorcist takes out the final two immobilised Kans.

And some bolter fire takes care of the exposed Big Mek near the tall building. We roll again and get another turn!
 Grot Turn 7
The Grots consolidate, hiding their warlord as the Grot herd take the objective. The Meganob attempts a long charge but fails.

The Grot positions on their last turn.
 Arbites Turn 7
Although they have more objectives, the Arbites try to increase their win by forcing some Grots to flee. The Sentinels target some...

While the Exorcists target the other squad.

But all the Grots hold.

And, at the end of the game, the objectives are all held, in a very similar way tot he start of the game.

Arbites - 9 [8 Objectives, 1 First Blood]
Grots - 7 [7 Objectives]


 WHFB 3000 pts
 40k 1000 pts
 40k 1000 pts
  ing thing I have ever seen. Ever.


 Mechanicus
 Ravenwing
 Deathwing