Hey All,
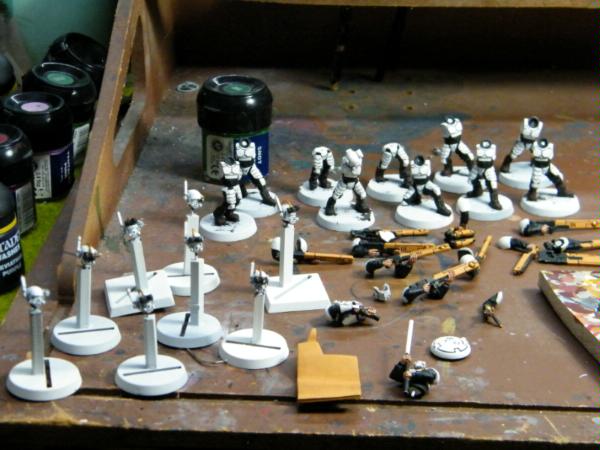
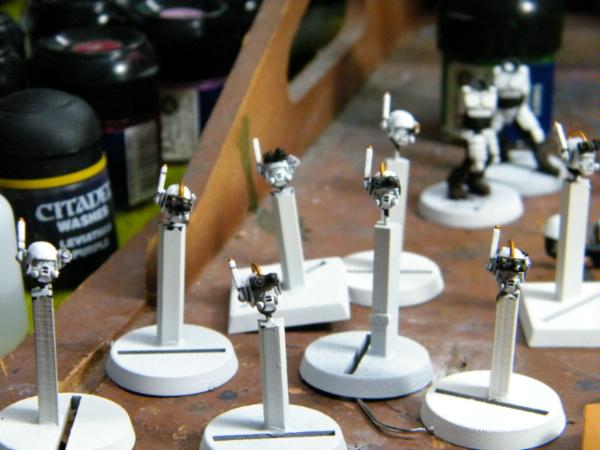
The army is coming together, just played my 6th game with Tau last night and took a bunch of photos, so wrote a report to go with em.
This was a friendly, ‘Mulligan’ game vs David Foster [Username; Midvale]
– Both of us are new to our respective armies, we offered each other advice and there could be takebacks if we fethed up.
Enjoy.
Dave’s Iron Warriors List [CSM]
HQ:
Chaos Terminator Lord - 2LClaws 130
Elite:
3x Terminators –
PW & H/Flamer, 2 Champions 2LClaws
Land Raider –Dozer Blade, Extra Armour – 375
Troops:
Chaos Space Marines
10x Chaos Space Marines 2xPlasma Gun, Champion
PW, Rhino – 245
Chaos Space Marines
10x Chaos Space Marines 2xFlamers, Champion
PF Combi Fl, Rhino – 245
Chaos Space Marines
10x Chaos Space Marines 2xFlamers, Champion
PF Combi Fl, Rhino – 245
Heavy Support:
3x Obliterators - 225 Pts
Vindicator, Daemonic Possession - 145 Pts
Predator,
TL Lascannon; H/Bolter Sponsoons - 135 Pts
My Tau List
1750pts
95 Models
10 Markerlights
HQ
Shas'
el - Airbursting Fragmentation Projector, Missile Pod, Flamer, Stimulant Injector,
HW Multi Tracker,
HW Drone Controller, 2 Shield Drones
131
Elites
2 Crisis Suits - 2 Plasma Rifles, 2 Missile Pods, Multi Trackers
124
2 Crisis Suits - 2 Twin Linked Flamers, 2 Missile Pods
86
2 Crisis Suits - 2 Burst Cannons, 2 Missile Pods, Multi Trackers
100
Troops
11 Fire Warriors
+ Shas'ui - Markerlight,
HW Drone Controller, 2 Marker Drones
200
12 Fire Warriors
120
+ Devilfish - 2 Gun Drones, Burst Cannon, Disruption Pod, Flechette Dischargers
95
10 Fire Warriors
100
10 Fire Warriors
100
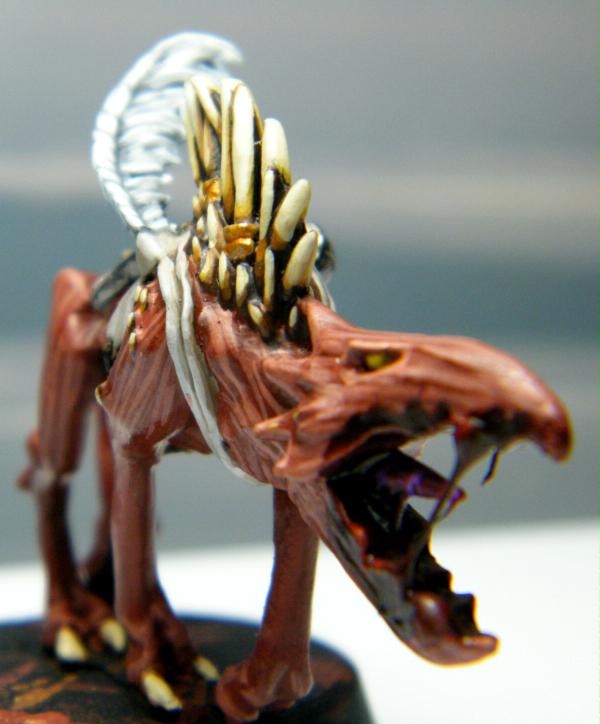
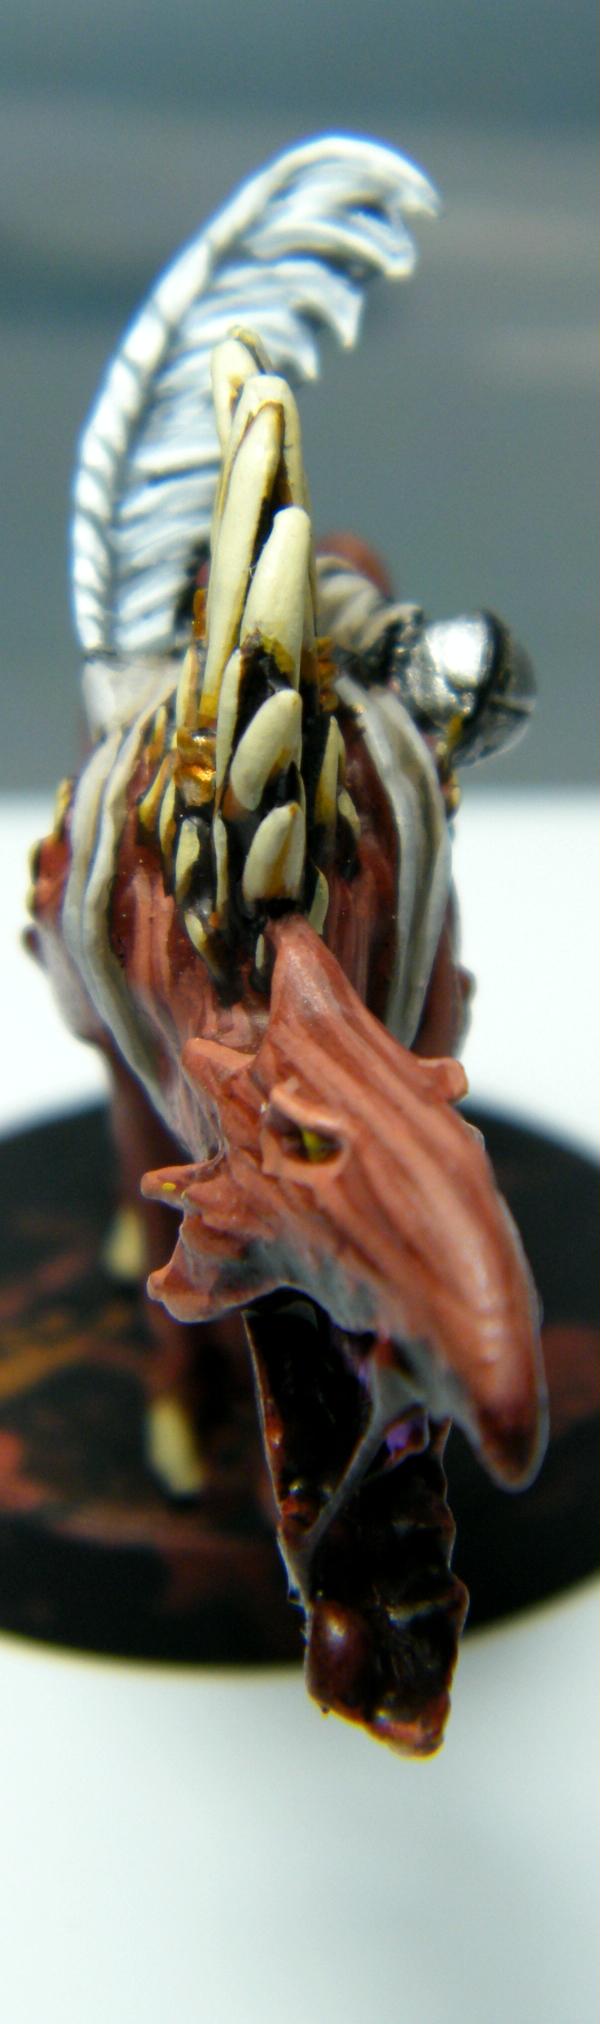
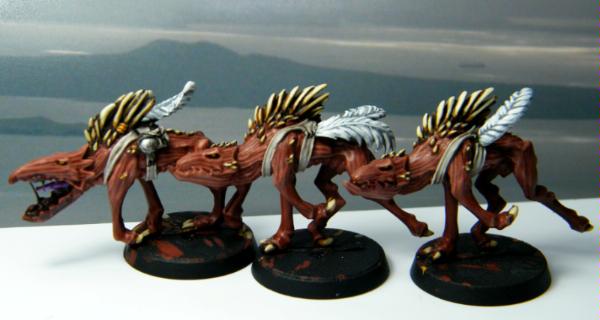
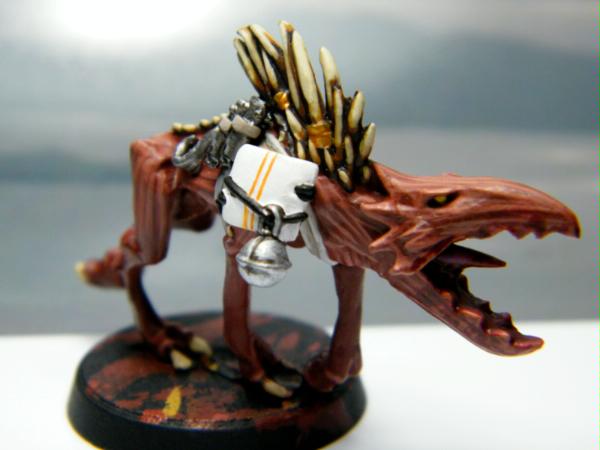
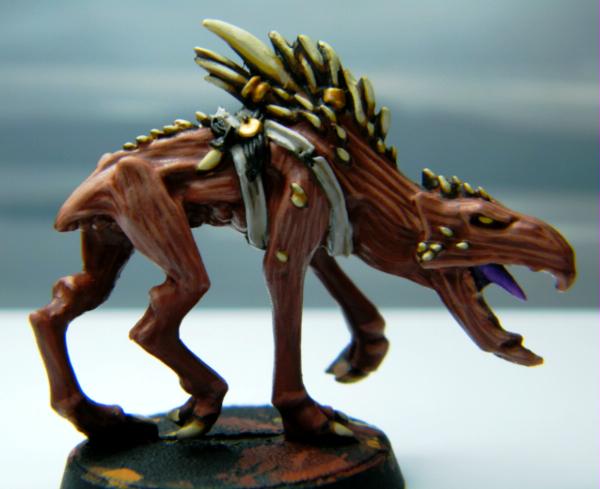
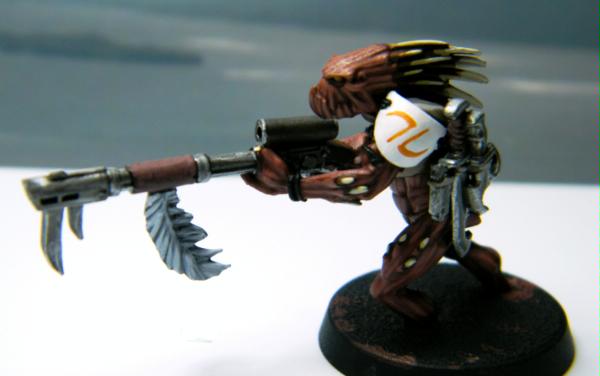
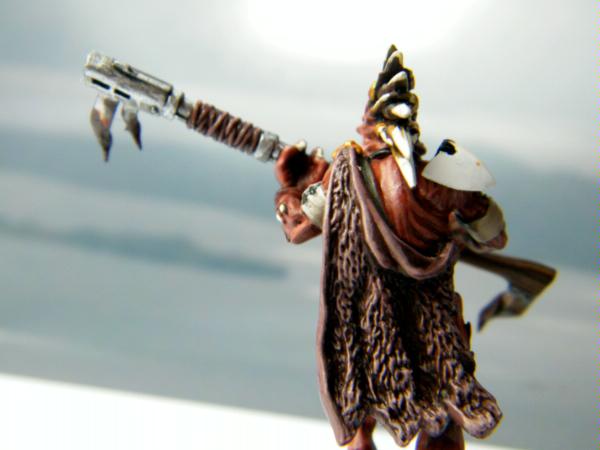
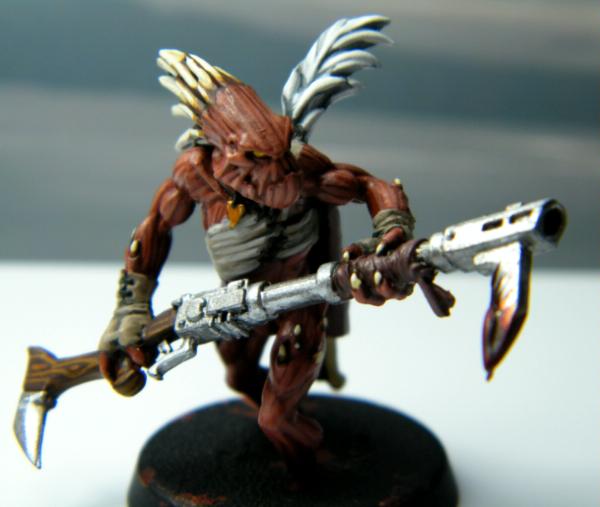
11 Kroot + 10 Kroot Hounds
137
Fast Attack
8 Pathfinders
96
+ Devilfish - 2 Gun Drones, Burst Cannon, Marker Beacon, Disruption Pod, Flechette Dischargers
95
Heavy Support
2 Broadsides - Advanced Stabilsation System, Team Leader w.
HW Drone Controller, 2 Shield Drones
195
Hammerhead - Railgun, 2 Burst Cannons, Disruption Pod, Multi Tracker
165
Board Setup;
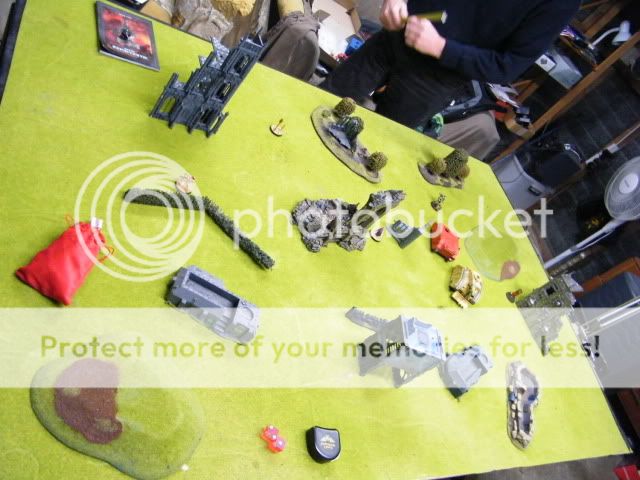
Rolled up Seize Ground with Dawn of War Deployment.
The 5 objectives here;
Dave won the roll for deployment and took the side that had the two obj in it.
A Flamer squad w. Rhino deployed in the Chapel of Sanctuary.

The push back bubble forced the Tau away from the centre of the table. The Fire Warriors w. 2 Marker Drones set up in the second and third floors of the ruin on the right flank. This gave them great line of sight and position to hold the right most obj.

The Commander deployed next to a unit of 10 Fire Warriors hunkered in cover.

The Obliterators and Flamer Crisis Suits were in deepstrike, while my Kroot were to outflank.
First CSM Turn;
Everything on, booting it 12” forward. The
CSM in the Chapel, move+run towards their rhino, ready to jump in next turn. No shooting.


 First Tau Turn;
The Pathfinders hop out of their Devilfish to the top of the Fuel Tower. Battlesuits jump in on the right, with the balance on the left.

My Commander opens up first with her AFP+Missile Pod – nailing 2
CSM in the Chapel. The Firestorm+
Fireknife Crisis Suits manage to both see far enough to the Rhino – Stunning it.

In a nifty move – the Fire Warriors in Ruins see 30” on their night fight roll. Three Markerlights fire at the Vindicator; one hits. The Hammerhead then uses that hit to see the Vindicator’s side armour, The Railgun shot hits, penetrates and blows it sky-high!
Here is the view from the Markerlight perch – The ruined Falcon is standing in for a crater!

The Rail Shot;
 Chaos Turn 2;
The Obliterators arrive – Dave places them very carefully and barring a 12” scatter, they will be golden. They actually scatter 5” closer towards the Broadsides – now well within rapid fire range.

The two newly arrived Rhinos sweep out to the flank objectives, getting mighty close now. The Pred and Land Raider move only 6” to fire Lascannons. The Pred opens up on the Hammerhead, Hits, Pens, Failed Cover Save, and Blown sky-high!
Lol. We are trading tanks now!
The Oblits morph
TL Plasma Guns and fire off 6 shots. I take a wound on each of the Broadside Suits and lose a Shield Drone. I’m sweating the Leadership test, but the boys hold true.
The Marine squad in the ruins tries to jump on board the Rhino, I say try cause double ones doesn’t quite get them there… Fail.
I suggested to Dave that
TL Meltaguns might be better as they would Insta-Kill a Broadside Suit if they get enough wounds to allocate past the shield drones.
Tau Turn 2;
The Flamer Suits fail to arrive, but the Kroot arrive from outflank and on the side I need ‘em to
With the Hammerhead gone, only the Broadsides can scratch the Land Raider, so open up…

…with the help of Markerlights from the Pathfinders.

Both hit [Twin Linked, BS5 will do that…]
Before I roll to penetrate; I say a little prayer to Aun’va! Dorky I know, but hey;

Naice!
Out pops the Lord+Terminators

Things aren’t so great with the Obliterators – A Devilfish full of Fire Warriors open up but only manage to sneak one wound past the 2+ save.

The Kroot valiantly charge and cause another wound, but loose to powerfists

…and flee…

On the right, not much more goes down; The Crisis Suits manage to stun the rhino again.
Chaos Turn 3;
The Obliterators stalk forward and use
TL Flamers to scorch both the fleeing Kroot and the Broadsides. 5 Kroot die and the rest gap it off the board. The 2+ save of the Suits keep them safe. Meanwhile the Pred Moves up and its Las shot bounces off a Devilfish. The
Plas Marine Squad scoots forward and grabs the left obj. The Second Flamer squad on the right also moves up and pops smoke on the right.
 Tau Turn 3;
The Pathfinders lit up the Obliterators, 24 shots from the Fire Warriors killed one off and the Broadsides just managed to peg the last one.

The Pathfinder Devilfish transported the second squad of Fire Warriors up the board

Chaos Turn 4;
The Pred moved forward to get a side armour shot on the Devilfish, but the ruins of Chapel saved it from damage.

On the right, the Rhino gassed forward, with the Flamer Marines right on the obj my Fire Warriors were holding.
 Tau Turn 4
The Broadsides snipe the Pred,

The Flamer Suits arrive, scatter, but using the Marker Beacon reroll and hit!

These and the rest of my army do their darnedest to poleax the Marine squad in the ruins, they manage to whittle them down to three models.
Chaos Turn 5
The Flamer Marines on the right nip into the ruins, they charge my Marker squad. The tough little buggers manage to drag down a
CSM in combat before being wiped out after they bolt.


The Rhino tries to ram the Devilfish, but the skimmer simply jinks
Away

Dave now holds the Left and Right objectives with full strength squads. The central obj has an immobilized rhino contesting, the Terminators are nearby.
View from Dave’s table edge;
 Tau Turn 5
This started with about 5 mins of frantic mulling.
I had an idea of what I wanted to do and thought I could pull it off; the question was whether to go now or bank on a turn 6. We got discussing the situation, I thought I could take it 2 – 0 Objectives this turn.
Dave rightly didn’t think this was possible. I did a couple of further pieces of movement in my head and got nowhere, the plan wouldn’t work. Dave actually suggested where he would move and how he saw it. It was way better than my plan.
So I moved a devilfish up to be contesting on the Left; Disembarked the Fire Warriors from the other Fish on the upper Left obj and used the rest of the army to pick off a rhino, a single terminator and the last three
CSM from the squad in the Chapel.
Lined up a Move, Run + Jump with the
Fireknife Suits to contest the right objective, but chose to hold back in case there was a 6th turn.
Picked off a few marines on the left and their Rhino.
 Turn 6 came up;
The Terminators stalked back towards the Fire Warriors, but after firing were just out of charge range.

The Plasma Marines did three casualties, enough for a test, but happily
Ld 7 was passed on a 7.
In my 6 the remaining Tau forces picked off the last of the Plasma Squad. The Fireknives, Ran + Jumped to contest the right objective.
With that the game ended;

 Thoughts;
Dave played really well with his new build; he told me that he concentrated on attacking my Troops, whilst maintaining his own. More importantly he threw his other forces into the fray, happy to lose them
After playing Eldar for two years, my first instinct is overkill everything. When your units are the best part of 200pts and are extremely specialized, they then can be vulnerable to a single Space Marine; you make sure everything dies, urgently and completely. Then rinse and repeat.
Tau seems to have a different doctrine, with so many multiple small units and a lack of close combat ability… The plan seems closer to a holding action before a pounce. T3 Ld7 Fire Warriors cannot hope to hold a midfield objective for any more than a turn.
In this game, I had some super good luck. [Broadsides surviving, then double sixes on the
LR] and tactical assistance from Dave. We were both puzzling out our armies.
Cheers
- Would love to hear any feedback + thoughts you have on the above.


 The Warmonger Club


 500+ pts,
 1000+pts,
  1000+ pts


 Everyone has a choice. Me, I choos not to make a choice


 Any Cadian who can't field-strip his own lasgun by age ten was born on the wrong planet! Anon
 1500 (Work In Progress)
  Badluck mate, happens to all of us !