Hey folks!
You can read my other battle reports for this event here:
Whiskey Challenge / Celebrity Match
Round Two
Round Three
Round Four
Round Five
Round Six
After a 12 hour drive to Washington D.C. on Friday, followed by four hours of gaming Friday night in an exhibition match, I woke up at 6:00
AM Saturday morning to get ready for Saturday morning registration. My nerves are shot, which for me means some time spend in the restroom being queasy and worse, and DEFINITELY no eating breakfast. My wife and I had complimentary breakfast certificates because of her priority rewards membership, but I couldn't even look at the donuts and coffee in the hotel lobby without feeling queasy. I called Hulksmash, who was devouring breakfast in his hotel room, waited for him to meet me in the lobby, and we walked over to the convention center. 7:00
AM rolls around and....no one is there. Ok, wrong convention center. We wander across the way to the other convention center, go in and register.

I get my table assignments and head to table #31 to find myself paired up against Matt Hoell's Tyranids for round 1!
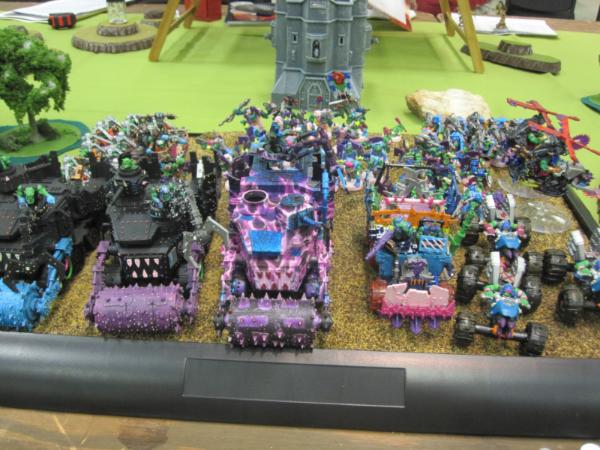
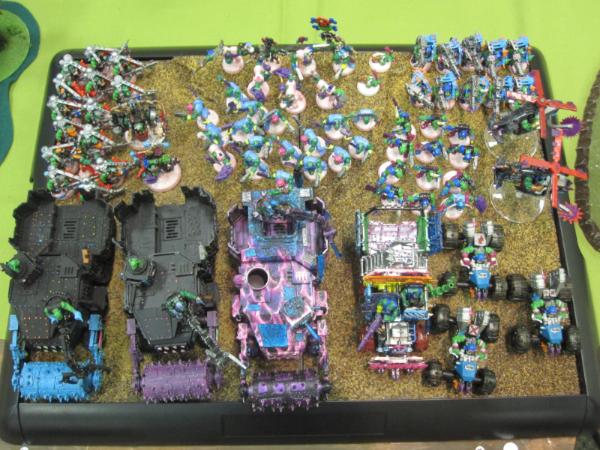
The Pink Waaaugh!
HQ1: Ghazghkull Thraka
HQ2: Big Mek with
KFF and Powerklaw
Troop1: 7x Nobs, cybork bodies + wound shenanigans in dedicated transport battlewagon
Troop2: 16x Boyz, Nob/Powerklaw/Bosspole
Troop3: 12x Trukk Boyz, Nob/Powerklaw/Bosspole + Trukk
Troop4: 10x Gretchin + Runtherder
Elite1: 15x Burnas
Elite2: 5x Lootas
Elite3: 5x Lootas
Fast Attack1: 3x Warbuggies with
TL Rokkits
Fast Attack2: 1x Deffkopta,
TL Rokkits + Buzzsaw
Fast Attack3: 1x Deffkopta,
TL Rokkits + Buzzsaw
Heavy1: Battlewagon
Heavy2: Battlewagon (Deffrolla, Boarding Plank, Grabbin' Klaw, Armor Plates, Grot Riggers, Big Shoota).
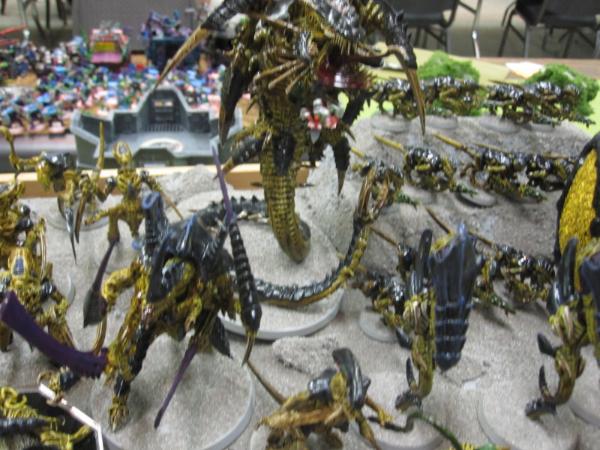
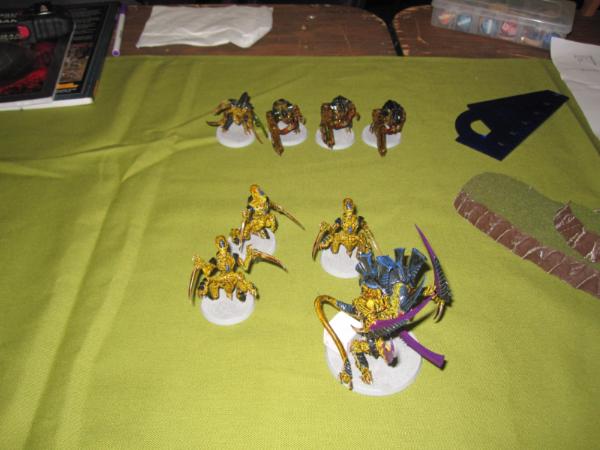
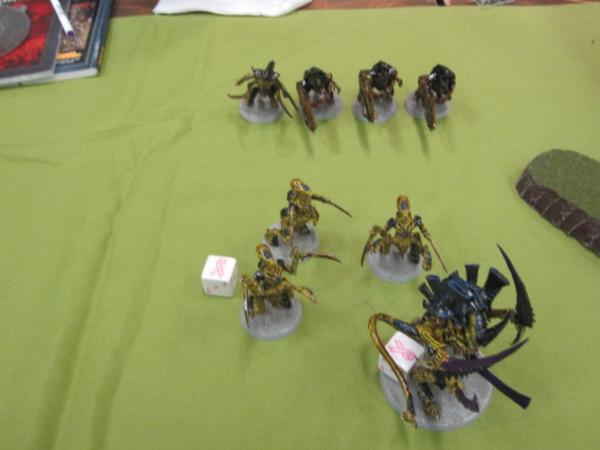
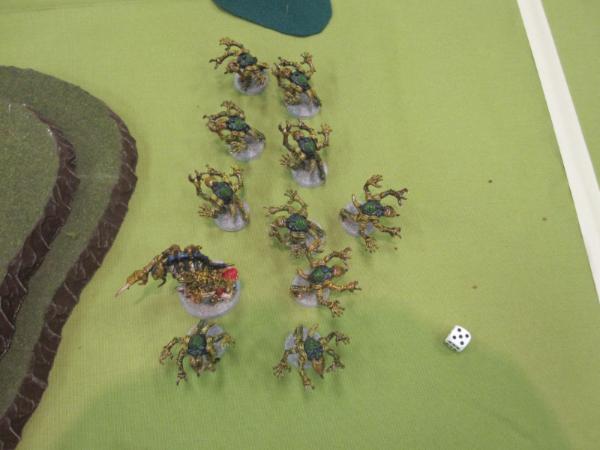
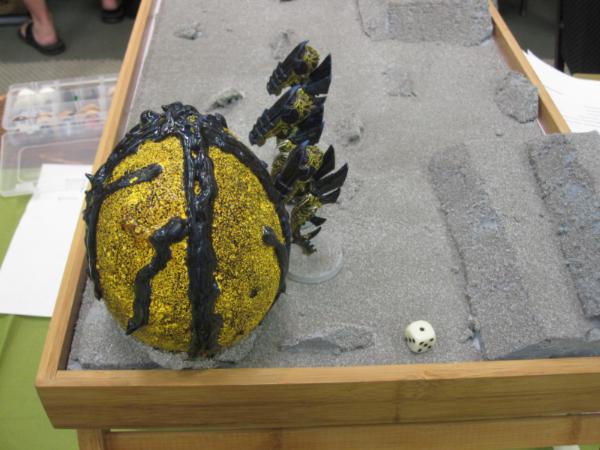
Matt Hoell's Tyranid Brood:
HQ1: The SwarmLord + 3x Tyrant Guards
HQ2: Tyranid Prime + Lash Whip, Bonesword
Elite1: 3x Hive Guard
Elite2: 1x Deathleaper
Elite3: 3x Zoanthropes + Spore Pod
Troop1: 10x Genestealers
Troop2: 10x Genestealers + Broodlord
Troop3: 10x Genestealers + Broodlord
Troop4: 13x Termagants + Spore Pod
Heavy1: Mawloc

Here's a close-up of his scaries.
Round One is Dawn of War Deployment, using the following order of win conditions:
1. Win by 250 Victory Points
2. Table Quarters
3. Objectives
Pre-game tactical assessment:
I've never played against a Mawloc before, but I know what it can do. He's only packing one unit of zoanthropes and one unit of hive guard - and with the Zoeys in reserve, I know I'll get at least one turn of movement before they get to drop on me...and that they're a one-hit wonder. Short of that, it looks like I need to stay away from the edges and the potential of genestealer threats, try neutralizing his ability to hurt my vehicles, and basically kill more than I lose. With Dawn of War, I'm going to have to walk onto the board and lose some of my Loota utility, and the Mawloc means I'm going to have to *very* carefully assess how I spread my vehicles around. The Swarmlord....gives me shudders. I know he's nasty, and I want to stay away from him.
We roll for deployment and Matt rolls

Ha!! I also roll

We re-roll and I win the roll to go first. I choose to deploy nothing, and keep everything in
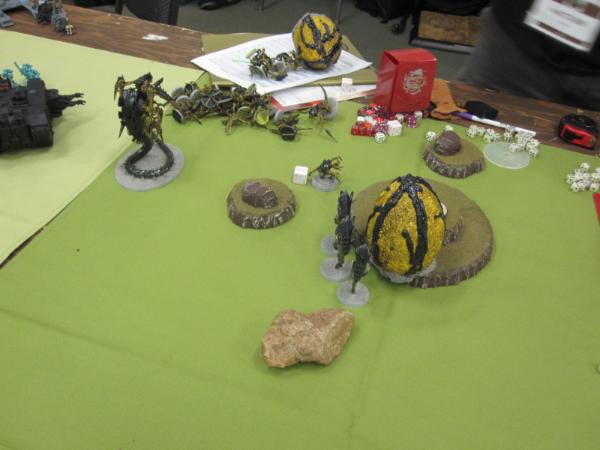
DoW Turn1 reserve. Matt deploys his Swarm Lord 24" up the field behind the central piece of terrain, with his hive guard in
DoW reserve and everything else in true reserve.
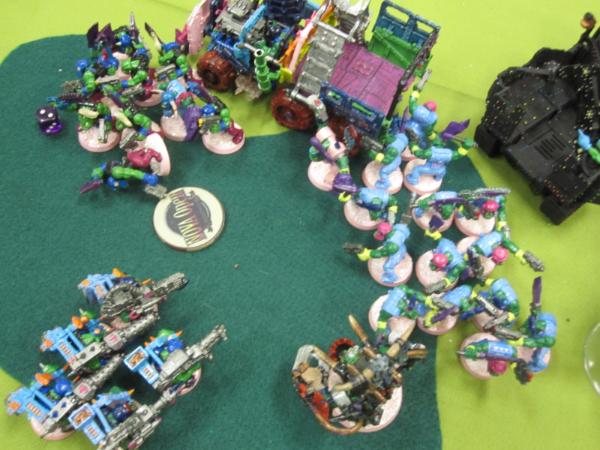
 Ork Turn One:
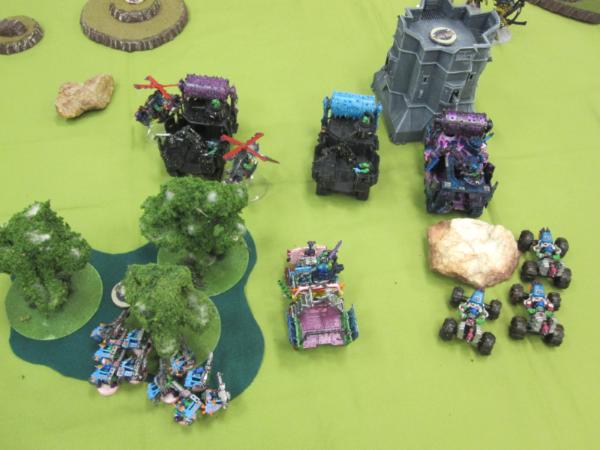
2,000 points of Orks roll onto the board. There's a piece of terrain in decent position for my Lootas to (eventually) get into on the left, while the right side has a cover-less hill on it, so I move onto the table just left of center. I'm avoiding the edges to prevent Genestealers from getting surprise assaults on me, and move my vehicles on in such a fashion that my Turn 2 move can spread them out to minimize the potential of the Mawloc to wtfpwn my army.
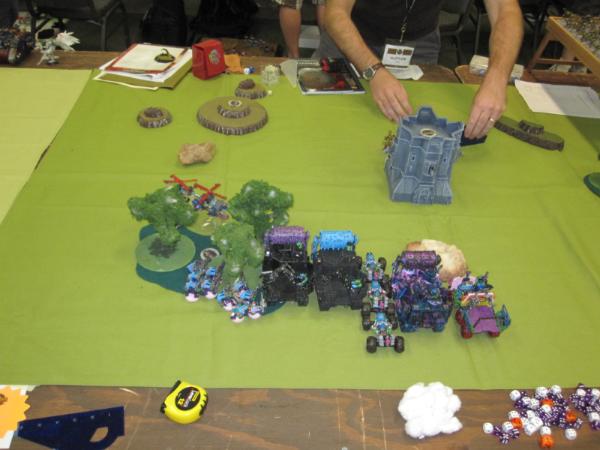
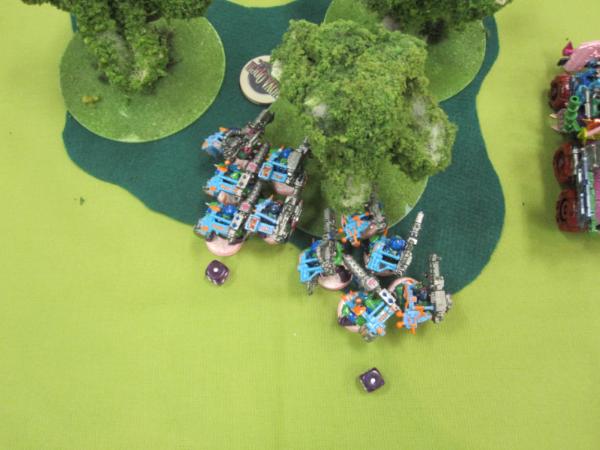
Both Loota squads roll well enough for terrain and make it at least half in - with no stranglethorn cannons, or venom cannons, I'm not worried about spacing them 2" apart or anything, and I don't expect him to use his Zoey warp blasts on my Lootas.

At the same time, my Deffkoptas took a turn1 turbo-boost up the field - far enough up that they can start sniping turn2, but not far enough that his Hive Guard can march onto the field and splatter them.
 Tyranid Turn One:
Matt marches his Hive Guard onto the board with an attached Tyranid Prime. His Swarmlord looks at the battlewagon line, realizes that he's outgunned by a huge wall of Orks, and moves 6" away from me, then runs
D6 away as well.
 Ork Turn Two:
I find his unwillingness to engage with the Swarmlord VERY interesting at this point. He's either trying to bait me forward to open up my rear for his spore pods to safely drop in without fear of scattering off, trying to catch me in a pincer attack, or is worried that I'll throw Ghazghkull at his Swarmlord and eat him. I move my battlewagons forward another 12" or so, but break apart my formation in preparation for the Mawloc dropping on me. My Lootas are happy where they are - he can't outflank genestealers and make it to me in 18", and my Deffkoptas maneuver for some shooting. My rokkit buggies line up for some of the same - they're trying to get cover behind a rock, but I don't want them clogging things up within 6" of the
KFF for when the Mawloc arrives.
Lined up for shooting, I open up! Rokkits open up on his Swarmlord - He fails an invulnerable save on the Swarmlord, and a Tyrant Guard takes a wound.
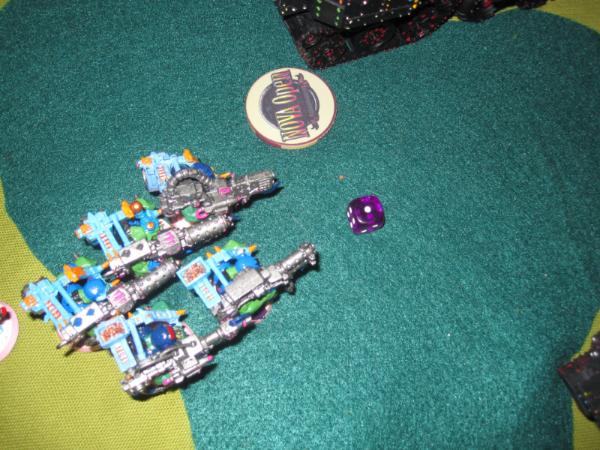
Back to my Lootas, who plan on opening up on the Hive Guard. Or, they could both roll one shot each, and not score a single hit.
 Tyranid Turn Two:
 HERE THEY COME!
Matt rolls for reserves and gets everything except his zoanthrope unit and one genestealer unit.
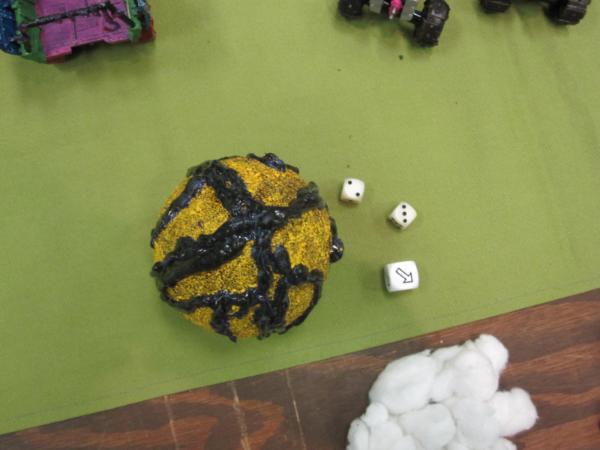
The Mawloc tunnels up from reserve. Matt didn't see any particularly juicy openings to try trashing multiple vehicles and instead aims for my Lootas. He scatters 5" and drops exactly between everything, hitting nothing. Awww. :(

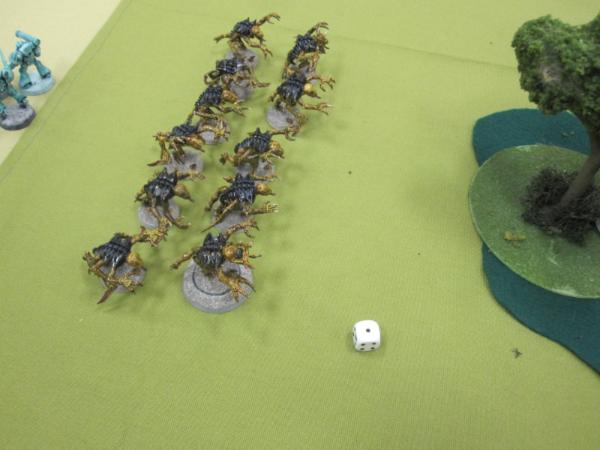
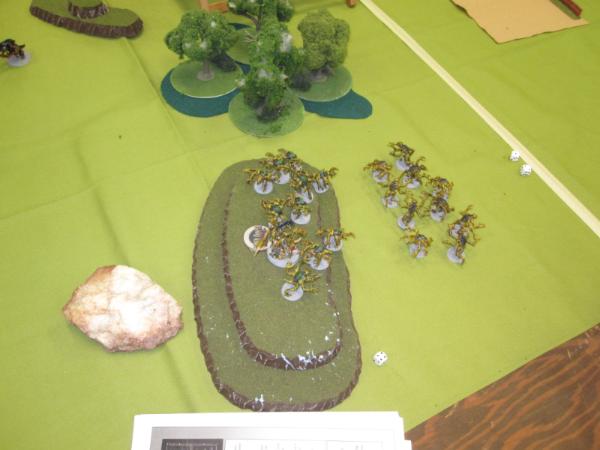
The first squad of Genestealers outflanks where he wants them - in the corner I'm occupying. If those Space Wolves in the background look familiar, yes - that is Stelek on the table next to me. =p

Despite having rerolls for table sides, his second genestealer squad comes out on the other flank, far away from everything. His third Genestealer squad stays in reserves.

The Spore Pod with the Termagants in it deep-strikes behind my line and scatters 5" towards the edge. Balls of solid steel to try deep-striking there!
Termagants with their assault3 STR4 guns spill out.

His Deathleaper pops out of a tree next to the Lootas, who are like, "Auugh! I'm so startled right now!!"

His Hive Guard advance while the Swarmlord retreats, and the Tyranid Prime switches units to join the Swarmlord.

His Hive Guard line up for clear shots on my buggies - I didn't do a very good job after all of giving them cover. One is wrecked, he glances the other into shaken.
Our game takes a comedic turn here! He's trying to decide what to fire his termagants at. He can get back armor on any battlewagon, my trukk, and I've two Loota squads sitting in cover. He's like, "Well, this is overkill but I'm going to shoot my termagants at your closest Loota squad." He assembled a vast pile of dice for his shots.
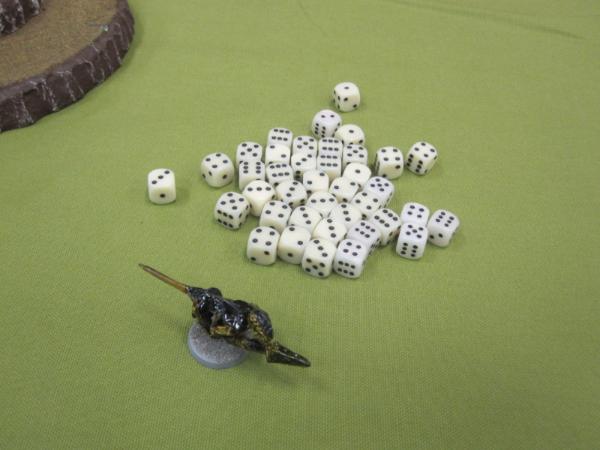
Nine wounds later, my Lootas are still standing!!! Not overkill after all.

On the left flank, his genestealers roll
for their run and don't make it far.
The genestealers on the right roll a nice five, and move 5" closer towards still not being close to anything. Poor things. :(
While I passed six of nine 4+ cover saves with my Lootas to only lose three, my dice are apparently feeling bad for the three losses and try making up for it with more 4+ rolls on my leadership test. My Lootas run off the board, and first blood goes to Matt!
 Ork Turn Three:
I think this is probably a game-defining moment here. Matt is expecting me to Waaaugh! and send Ghazghkull after his swarmlord. I could make it there, but don't feel comfortable with my ability to deal with all the threats in my backfield if I do extend myself, so I instead intend to hold fast and clear out my backfield....meaning that I'm going to get to take the Tyranids on piecemeal.
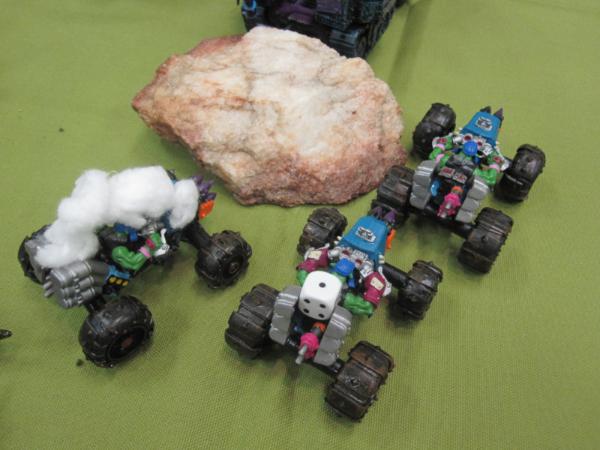
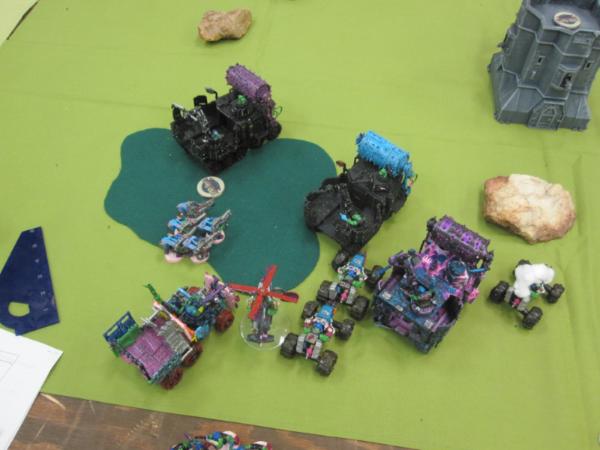
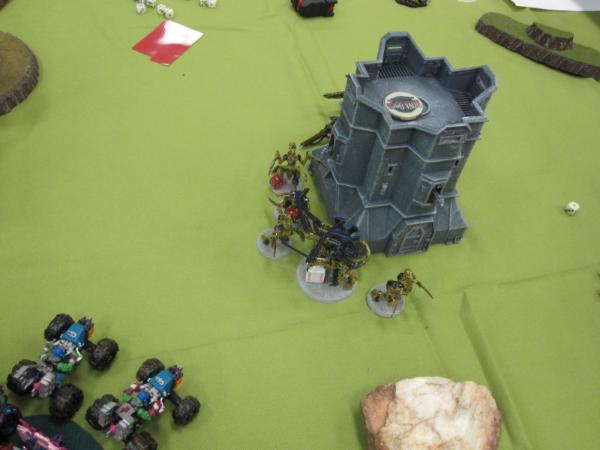
For those of you who don't know, Ghazghkull Thraka LOVES the smell of cooking Tyranids. The burna wagon moves 6" straight backwards, keeping its front to the Hive guard across the field, and Ghazghkull gets out.
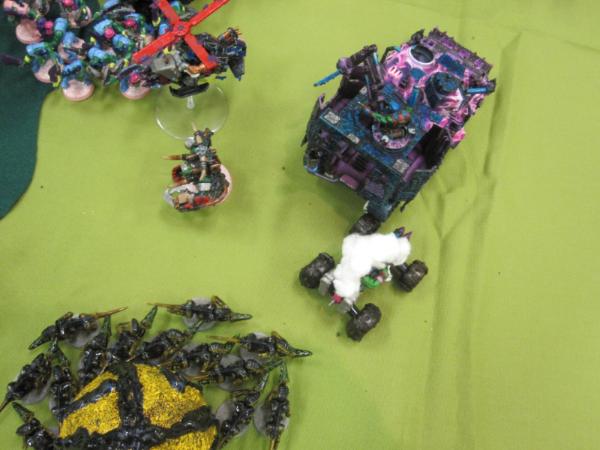
The wagon full of boyz gets out and eyeballs the Mawloc, while the trukk full of boyz jumps out next to the deathleaper.

My nob battlewagon moves 12" over to the genestealers and they disembark. My deployment probably doesn't look like what you're expecting; I made a mistake here. I thought that the Brood Lord's gaze of terror thingy worked against any one model he chose while in base contact - I didn't know it only worked when THEY assaulted. Otherwise I would have deployed 2" out of my wagon, close to them, shot and assaulted. Instead, I deployed so that a 6" assault would get me to him, he would react to me and pile in so that all my models go to attack, but his Brood Lord wouldn't make it into base contact anywhere. Oops.

Sorry for the blurry picture here. Loota shooting causes one wound to the Mawloc. The boyz on foot score two wounds! Take that! 6+ to wound vs. a 3+ armor save....then again, my deffkoptas and rokkit buggies were over there too; could have been a couple failed 4+ cover saves against rokkits. We had a short discussion about the trees and whether his Mawloc would get cover because we had been moving them around. I told him to go ahead and take cover saves; I was going to get him on the assault anyway.
Not pictured: The burna boyz open up on the termagants, hitting 8. Matt isn't expecting 15 of those templates though, and is waiting for me to roll - I explain that I'll be doing 120 hits to wound with no saves, and he picks them up off the board. The genestealers charging across the field on the other flank falter. A rokkit from a deffkopta drops the spore pod with a STR8 hit.
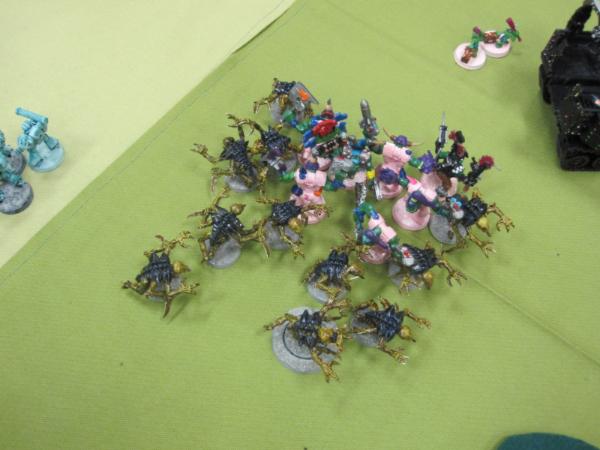
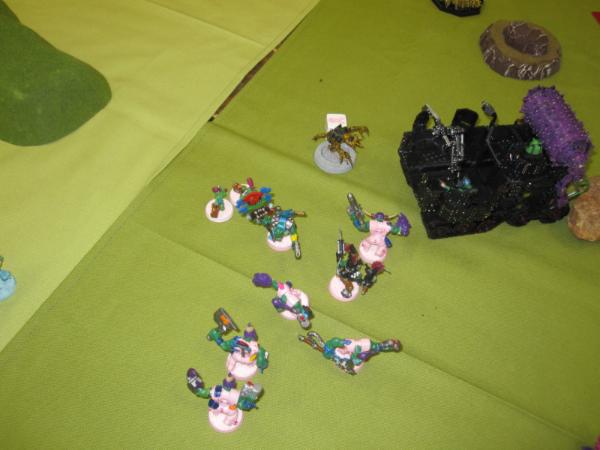
My nobs charge into his Genestealers!
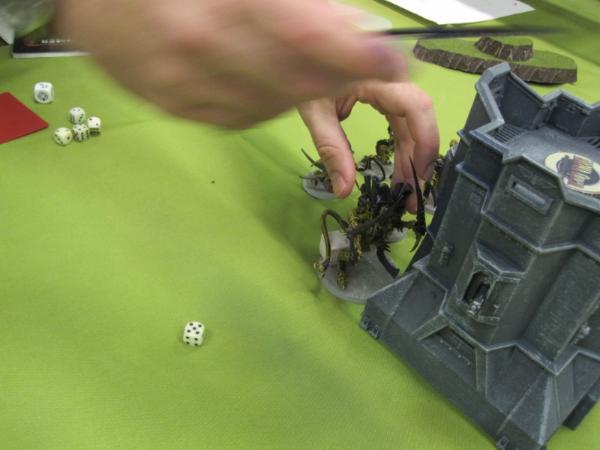
Ghazghkull and the Boyz mob charge into the half-wounded Mawloc, while the trukk boyz jump into the woods to entertain the Deathleaper.

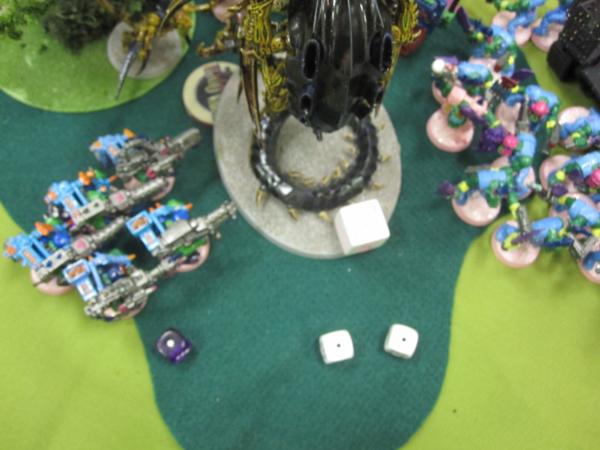
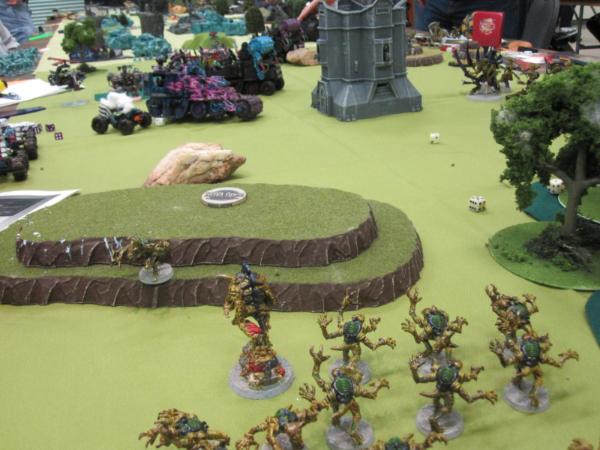
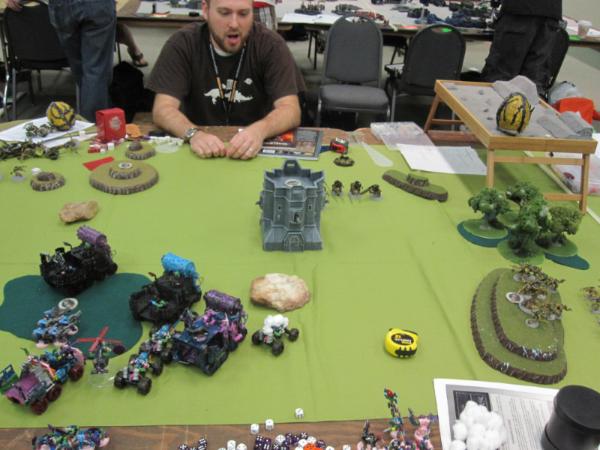
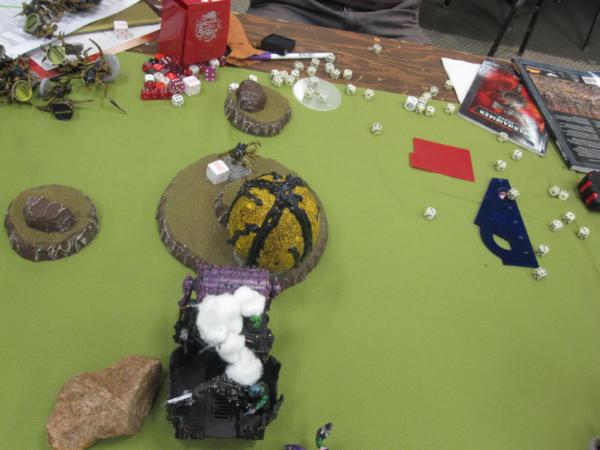
Here's a perspective shot of the rest of the table as we're piling in on the back corner.

While the Genestealers get to strike first, the nobs have wound allocation shenanigans, 5++ and 4+
FNP. I take three wounds, and in return wipe the squad, minus a wounded brood-lord....who flees.
There used to be a Mawloc and a Deathleaper in here.
 Tyranid Turn 3:
Matt rolls for reserves: His other genestealers come out. His Zoanthropes.....decide to sit this turn out.
Worse, despite having a 2/3 chance of coming on where he wants, and a reroll.....the remaining genestealers decide to also come on far, far away from the Orks.

Both squads of genestealers roll poorly for running and moving through cover; I don't think they want to get near that burna wagon.
In mid-field, his Swarmlord reverses his retreat and comes around, bringing the Alpha and Hive Guard with him. Ghazghkull had to use his Waaaugh! to get into base with the Mawloc, and for the nobs to pull their "Lets keep the Brood Lord out of base" shenanigans to make sure I lined up exactly 5.9" away from him, so he's not afraid of my threat range now.

Genestealers on the right flank have moved as far as they can (not too far).
His broodlord runs - nothing in synapse, and he heads 11" - further than I can chase in a turn. His Hive Guard can't really threaten AV14, so they turn their guns on a Deffkopta, which splatters to the ground.
Ork Turn Four:
At this point of the game, I'm feeling quite confident. The only reserves he has left are his zoanthropes, and I've got a solid lead on victory points, and his genestealers and swarm lord are not within a turn being threatening. I decide to re-embark everything and rotate my army around to protect my trukk and buggies from the potential threat of Hive Guard and deep-striking zoanthropes.
Crow's eye view of the end of my turn.
My remaining Loota unit opens up on the Swarmlord's unit and drops in another wound - Matt takes it on the swarmlord....who fails! He's got two wounds now.
Tyranid Turn Four:
Genestealers move across the board. Slowly. Dice rolls aren't working for Matt today.

Zoanthropes drop onto the field - close enough to the Brood Lord to bring him into synapse and he stops fleeing. DAMN
IT!
His Swarmlord and entourage are sneaking around the building, staying in cover and trying to find an opportunity for a counter-charge.
Zoanthropes open up on the Nobs wagon!! He passes all three psychic tests, rolls to hit and....gets one hit. Which I pass my
KFF save against.
The Hive Guard across the field open up on Ghazghkull's wagon and score a glance, my
KFF fails and.....shaken! At least no burnination for him.

Ork Turn Five:
I tank shocked my Nob battlewagon into his Zoanthropes, JUST missing hitting the spore pod. All three zoeys fail invulnerable saves and disappear.
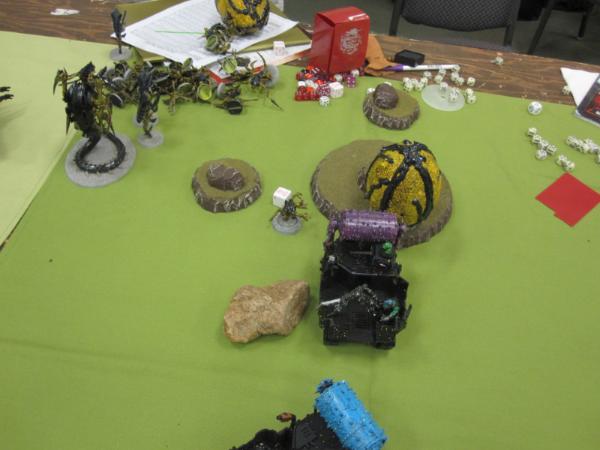
I continue to castle up. In hindsight, I probably should have gotten out my nobs and assaulted his pod at least, but I didn't think I could make it to his brood lord and didn't want him assaulting my nobs. Or his hive guard insta-gibbing them.

Shooting puts another wound on the Swarmlord, and back to the Tyranids.
Tyranid Turn Five:
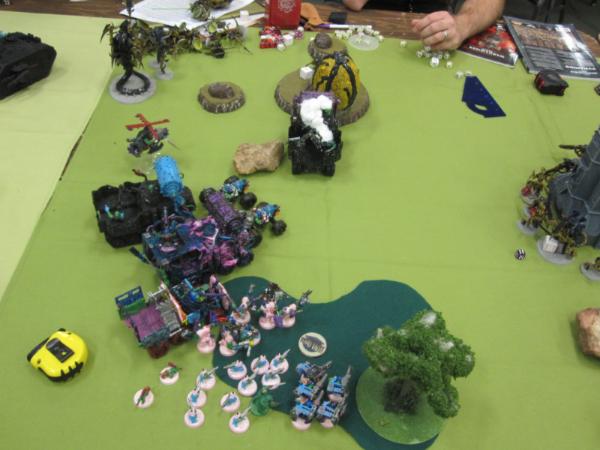
The Swarmlord and friends jump into the middle objective, while the Hive Guard hide behind the BLOS terrain in the middle to snipe at my battlewagon. Genestealers decide to sit tight; he doesn't want to come near my burnination.

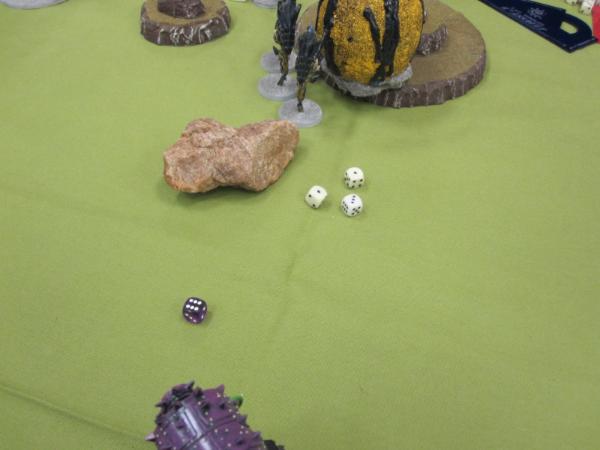
I've got my Rokkit buggies out front - I'm trying to bait him into assaulting them so that I can counter-assault / burn / everything. He takes the bait and
2D6s out of terrain.
Brood Lord swings around to come peek at the Battlewagon and perhaps assault it.
Shooting from the Hive Guard penetrates through the Nob wagon's
KFF and wrecks it. The nobs get out, pass pinning, and get out away from the Broodlord. Mistake on my part there too - he only had one wound, I should have invited the fight.
The swarmlord is JUST out of assault, and his turn ends.
Ork Turn Six:
We're running out of time in the round, and rather than going for it, I sit tight, back up and castle more - looking for shots at his spore pod and brood lord. This will be the last turn, and I've got the game in the bag if I just stay alive.
Shooting puts a 4th wound on the Swarmlord, his spore pod doesn't die, and his darned broodlord goes to ground and survives rokkits and big shootas.
Tyranid Turn Six:
His Brood lord has gone to ground, his genestealers stay put on their objective, and the swarmlord is too far away to try getting in an assault on anything. Hive guard don't do anything.
End of the game:
I win on Victory Points. My opponent controls 3 table quarters to my one, and two objectives to my one.....but the primary win condition is the only one that matters if it doesn't come down to victory points.
----------------------------------------------------------------
Post Game Assessment:
What....the hell....was I thinking? I played passively, which I *never* do. This game and how I played it would result in a horrible tournament draw. While I won the game, I was the "worst of the winners." Since the tournament bracketing was based on strong vs. weak, the rest of my games were going to be against the top of the winner bracket - the people who trounced their opponents.
I don't think that Matt's list was suitably equipped for dealing with Orks very well, and the one shot he had was probably to hit me with everything at once, or to bait Ghazghkull into a Waaaugh! and then exploit my post-Waaaugh! weakness.
Having won, I move on to game 2!


 .
.

 .....Bay Area Open GT 2013 - Best Tyranids
 .....LVO GT 2014 Team Tournament - Best Generals


 bro plays
 1100points
 2500points

 Death Guard 5100 pts.

 Daemons 3000 pts.