Armies are as follows:
My Nidz
Prime (
LW/
BS,
DS)
4 x Warriors (
DS)
10 x Hormies
10 x Hormies
1 x Zoey
1 x Zoey
2 x Hive Guard
15 x Gargoyles
15 x Gargoyles
1 X Trygon Prime (Note - Somehow left my Trygon at home - So we proxied a treeman on a large blast template and just assumed everyone could see him and he would never be in cover)
Tau (As best as I can remember)
Hq Suit
2 x Broad sides
1 x Tank with Railgun (hammerhead?)
2 x 6 Fire warriors in Piranha’s
1 x 8 Firewarriors
1 x 3 sniper drones and spotter
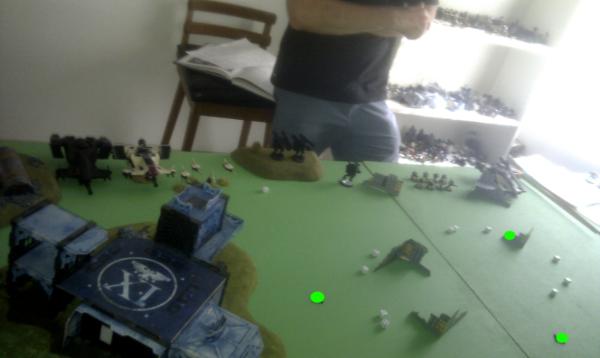
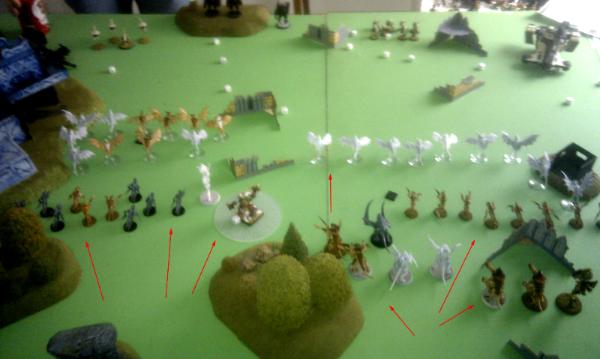
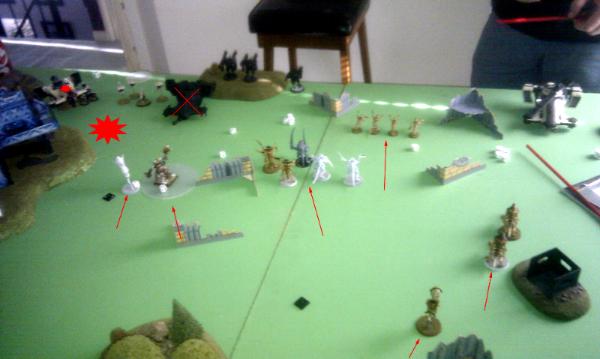
The mission was an objective mission with three objectives. I placed my two centrally, whilst my opponent placed his near one corner.
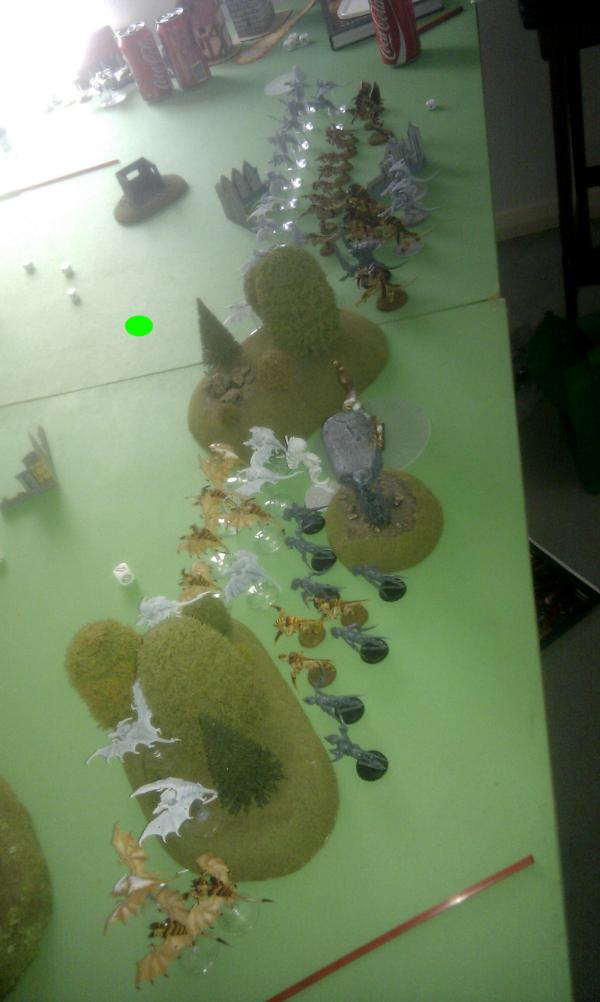
The battle is a pitched battle, and the Tau are going first. The green dots in the setup pics highlight where the objectives are.
With the Space Wolves down to a few marines, and the Nidz thought to be wiped out in the previous battle, The Tau decided the time was ripe to pick over some valuable crystals they had identified in the area.
Unfortunately for the Tau, the Nidz were far from gone and they would need to eliminate the alien threat if they were to secure any of these precious crystals.
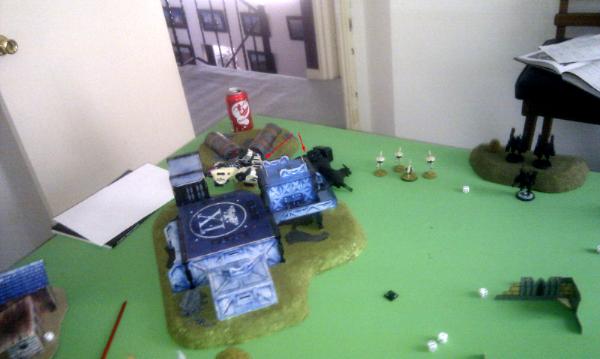
With this in mind, the Tau Broadsides advanced onto the hill to get a good look at the surrounding terrain, whilst the two devilfish transports hid behind the imperial firebase and the Hammer head and firewarriors over looked their closest objective on the opposite flank.
 Turn 1
Tau – First turn didn’t see much activity, with the Tau repositioning the Hammerhead and Devilfish transports. The long range guns then took some pot shots at the advancing horde, killing a couple of gargoyles and wounding the Trygon.
Nids – Typical mass advance. The Hive Guard try to shoot the Hammerhead, but are just out of range.
Objectives – Tau 0, Nids 1 (
KP – Tau 0, Nids 0)
Turn 2
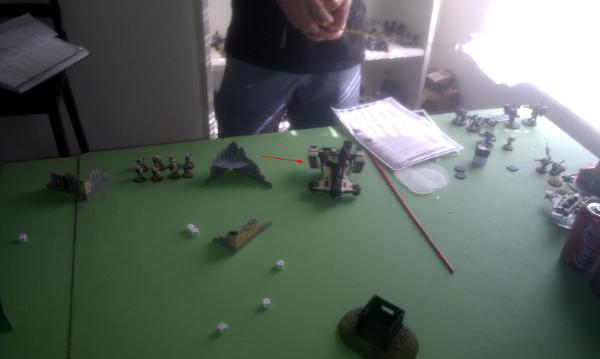
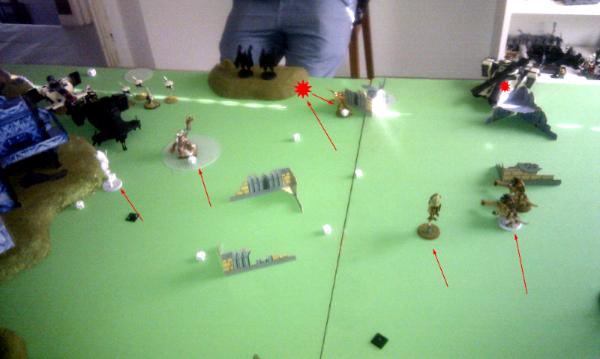
Tau – The Tau start the extermination of the Nid hoard. The Hammerhead and Devilfish do more repositioning, and the firewarriors pop out to help kill gargoyles.
Massed Tau fire destroys all of one gargoyle brood, and reduces the other to a single gargoyle. Meanwhile the Broadsides put another wound on the Trygon.
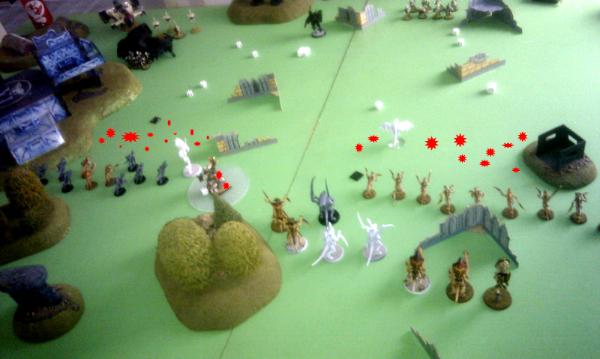
Nids – Again – mass advance. Lone Gargoyle moves in and assaults the Tau firewarriors. Zoey lances and wrecks a Devil Fish whilst the Trygon kills three firewarriors. The Hive Guard go for a run to ensure the hammerhead can’t scoot out of range again next turn.

Lone gargoyle manages to stay alive in the assault, tying up the firewarriors and preventing them from firing next turn.
Objectives – Tau 0, Nids 2 (
KP – Tau 1, Nids 1)
Turn 3
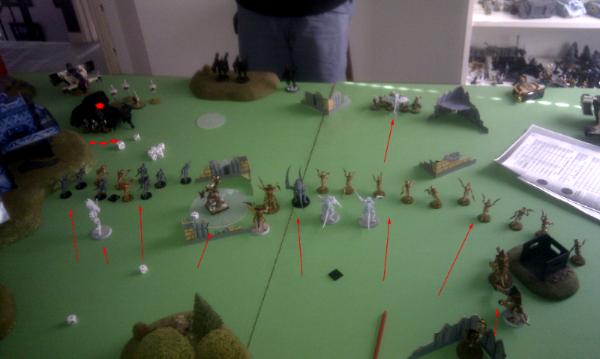
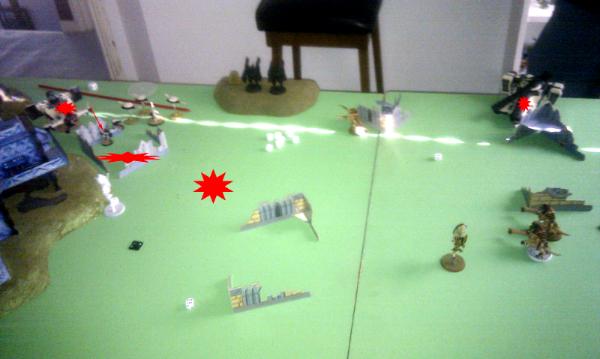
Tau - Shooting continues – All of 1 hormagaunt brood are wiped out, and the other is reduced to half strength. The Zoey also takes a wound. The firewarriors manage to kill the last gargoyle, and consolidate away from the closing hormagaunts.
Nids continue to advance – Hive Guard advance and shoot at the Hammerhead, but fail to do anything. Warriors light up the firewarriors and kill most of them, the remainder fleeing the battle.
Zoey Lances the remaining Devilfish, wrecking it. Whilst the Trygon shoots down the remaining fire warriors.
(Not sure why we moved the other devilfish, it must have been getting in the way somehow and we later replaced the ‘wreck’ with scenery to mark the difficult terrain)
Objectives – Tau 0, Nids 1 (
KP – Tau 3, Nids 4)
Turn 4
Tau – All the Tau firepower goes into the remaining Tyranid troops, killing off the last hormagaunts and pringing the warrior squad down to a single wounded warrior and the Prime (with only 1 wound left!)
(Must have missed a photo for the Tau turn here...)
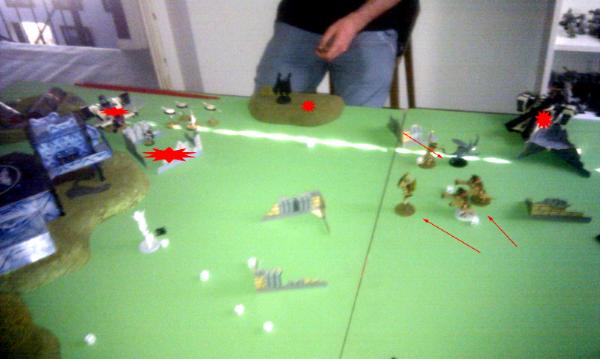
Nidz – The Nidz then retaliate with the Hive Guard wrecking the Hammerhead. The Warriors assault and kill the Tau
HQ, and then consolidate into the ruins towards the objective (only roll a 3 for consolidate, barely getting me into the terrain and not allowing me to get very close to the objective, which I’ll need to reach next turn in case I don’t get a 6th turn...) Trygon and Zoey both run forward to try and distract the Broadsides from taking out my last troops.
Objectives – Tau 0, Nids 0 (
KP – Tau 4, Nids 6)
Turn 5
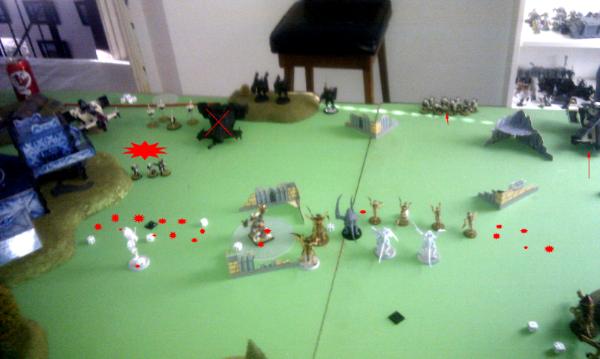
Tau – Seeing their only chance at claiming an objective was on the flank with the Trygon, the Tau poured all their firepower into it and just managed to take it down with the combined fire of broadsides, Firewarriors and drones. The firewarriors move up into the front devil fish wreck towards the objective.
Nidz – Warriors move out of difficult terrain a whole, 2 inches! They then proceed to run another inch, falling about 4-5 inches short of claiming the objective... I needed to roll better then that! Remaining firepower goes into the broadsides, downing one with a lucky hive guard shot.
Objectives – Tau 0, Nids 0 (
KP – Tau 5, Nids 6)
Game ends in a tie! (But Nidz claim a minor victory on
KP's).
Scorecard
Prime - Helped warriors shoot up fire warriors, and then killed the enemy
HQ in
cc -
B-
4 x Warriors (
DS) - As above -
B-
10 x Hormies - Soaked up fire and died -
C-
10 x Hormies - Soaked up fire and died -
C-
1 x Zoey - Took out two devil fish -
B
1 x Zoey - Did nothing for the whole game except provide synapse - D-
2 x Hive Guard - Took out a hammer head and a Broad Side -
B+
15 x Gargoyles - Took a lot of fire and died -
C-
15 x Gargoyles - Took a lot of fire, but last gargoyle managed to tie up an 8 man fire warrior squad for 2 turns

-
C+
1 X Trygon Prime - Shot up some firewarriors, but ultimately didn't impact on the game other then to draw a lot of heavy fire from the Broadsides that would otherwise be IDing my warriors -
C
Comments on the battle and tactics are all welcome as usual - Obvious mistakes I can see for my Nidz are:
1. Keep the objective in mind
2. Seriously, keep the objective in mind
Although I was probably a bit unlucky not to make it to the objective with my warriors, I shouldn't have left claiming the objective to a dice roll.
Anyway, It was a lot of fun. Coupled with my previous game against Space Pups, and another game I'm yet to write up against Space Pups, I think I'm starting to get a better handle on my army now, and a few things I would like to change.
But before I say what I think I should change/tweak - I want to here fromm Dakka on what they think of my army and the battle in general.
Thanks!


 .....Bay Area Open GT 2013 - Best Tyranids
  .....LVO GT 2014 Team Tournament - Best Generals

 Death Guard 5100 pts.

 Daemons 3000 pts.


 Imperial Knights: The Avengers Initiative
 Da Dark Angelz
 Arakasi vs Infinity