Finally got a game in with these and learnt a bit, but I guess I'll put a section for that at the end. The game of Malifaux (I was getting slaughtered after my luck ran out turn two, but Kirai loves to zoom around and die slowly it seems) we played before went a bit long so we were short of time and I didn't get any pictures.
My list
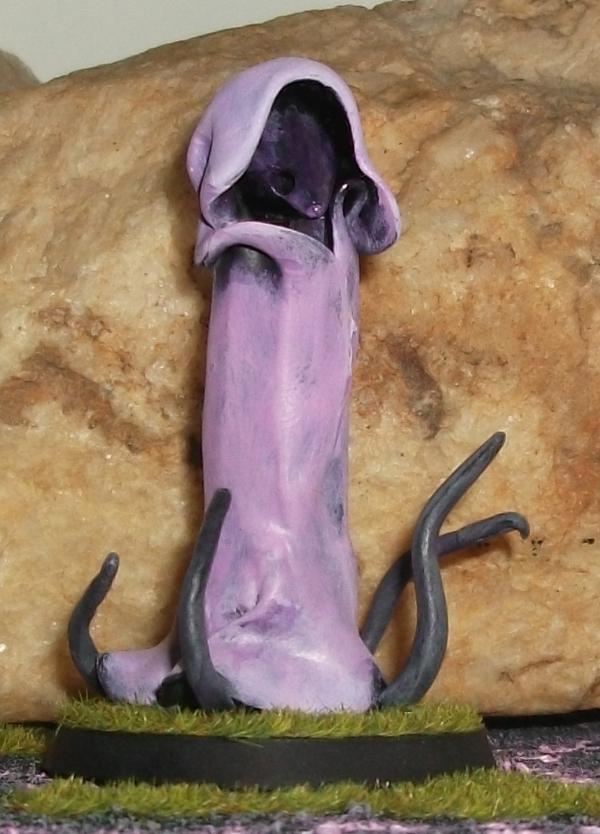
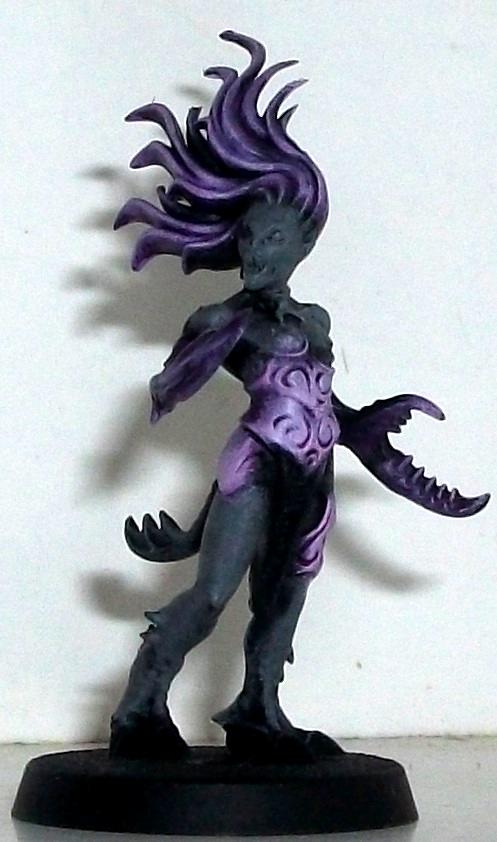
KoS - Daemonic Gaze, Soponific Musk
3 Fiends - Unholy Might
3 Fiends - Unholy Might
15 Daemonettes - Icon
15 Daemonettes - Icon
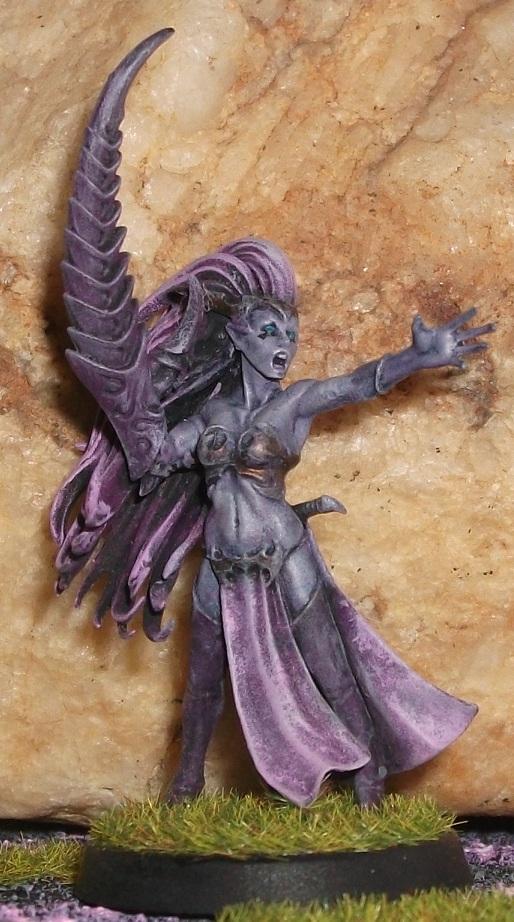
Daemon Prince - Mark of Slaanesh, Aura of Acquiescence (aka assault grenades)
Their list
Flying Tyrant with two sets of Scything Talons
Trygon Prime
Doom of Malan'tai in pod
12 Genestealers
12 Genestealers
They won the roll off, but gave me the first turn. My chosen wave was the
KoS, 3 Fiends and one of the Daemonette squads... I rolled a one so got the other wave instead.

He deployed in a generic fashion, from left to right, Hive Tyrant, Genestealers, Trygon and Genestealers. Completely out in the open, knowing as first turn I could do nothing unless the
KoS happened to show up and stare at something.
Turn One
Fiends warped in behind a wall in the center of the board towards the left, just taller than them, and did not scatter. They sat around there for the rest of my turn. Daemon Prince warped in at a corner store on the right of the board across the street from the fiends, and didn't scatter either, Daemonettes warped in next to him and scattered six inches, putting them probably where I'd walk them anyway, further down the side street. The prince shuffled a little more around the corner and down the side street (as the Trygon can shoot and I'd rather avoid it even though it isn't all that threatening). The Daemonettes gather around it ending my turn.
His Genestealers scurry up the board a little, in the direction of the Daemon Prince and Daemonettes. The Tyrant flys towards the Fiends and lands on the opposite side of the wall. The Trygon slides up the board also towards the fiends and that ends the movement phase. The Genestealers decide to wait it out a little while the Trygon charges 1" towards the wall and stops at the edge of the road.
Tyrant uses some power on the Fiends causing them to become
ws and
bs 1 until his next turn then charges at the fiends. However since it charges through the wall the Fiends get to strike first, to my friend's surprise with five attacks each. They manage to strip off one of its wounds, losing two of their own in exchange, Thankfully with two wounds each this meant the squad was still at full power.
Turn Two
Rolling for reserves the
KoS and second wave of Fiends fail to show, the Daemonettes however warp in next to the first squad within range of its icon preventing them from scattering. The Daemon Prince shuffles out around the corner followed by the Daemonette horde. But as the Daemonettes manage to only run 4" they are all out of range from the Genesteallers and now in open. The Fiends deal another wound and take another back for it.
Doom's pod lands directly in the middle of the Daemonette horde and doesn't scatter, Doom managing to find space to disembark. Usually Doom appears to be the most hassle I get when it comes to fighting the Tyranids, by this point he is like the army hero; that one guy that seemingly inspires your own army while drawing disdain from the enemy. Needless to say, it wanted my attention and it had it. The Trygon slithers past the wall and behind the combat. In the shooting phase Doom's aura activates, which usually means I'm losing a handful of models and his attack is quickly going to become a hassle (as its strength is proportional to the amount of wounds Doom has and the aura gives him health by draining it from those around it). The first Daemonette squad takes it's leadership test for the aura, they pass. The prince passes then the second Daemonette squad fails by two and saves one of them with their invulerable saves. Basically I had to roll less than 10 on
3D6 for this which each point over equating to a wound that ignores armour saves.
The Trygon charges into the combat with the Fiends, one squad of Genestealers charges into the Daemon Prince. The last charges into the first squad of Deamonettes. The Fiends manage to hit the tyrant but it manages to make his saves and they are ripped apart. The Daemon Prince flails around a bit and takes out I think two Genestealers... Then is ripped apart as well. The Daemonettes get reduced down to about eight, but also manage to cut down the Genestealer numbers to about half.
Turn Three
Fiends manage to come on,
KoS continues to be disinterested. The Fiends warp in behind the second Daemonette squad's icon then have to spend the turn waiting...
Doom's aura happens again, on none of the tests do I get above eight, one of them even a tripple two. The Daemonettes carefully slip around the pod as they charge at Doom. If they had touched the pod, whichever ones had would be initiative one for that combat.
The first squad of Daemonettes is reduced down to about five models now, but takes two Genesteallers back. The second squad rips Doom apart before he can even strike, even with his save being a 3+ invulnerable. However the entire Daemonette squad was in assault range meaning 60 attacks on the charge. Going to need more dice for this army.
The Tyrant charges into the remaining squad of five Daemonettes, attempts to use some power but fails and reduces itself to one wound. The other squad of Genestealers charges into the Daemonette squad, with a choke point between the corner store and the pod. The Trygon joins those Genestealers by charging the same unit. The Daemonettes fail to do anything and the last five of them are killed. The other squad however halves the Genstealers and gets knocked down to about seven.
Turn Four
The
KoS finally comes on and does so by warping under an overpass just down the street from all of this, on the opposite side of the intersection the corner store is one. The roll for scatter, double six; thankfully a hit as well ignoring the scatter. The
KoS strolls up to the edge of the intersection while the Fiends creep up behind the Genestealers. The
KoS uses Daemonic Gaze on the Hive tyrant, all hits and needs 4s to wound. I roll two threes and a two. Ending everything the
KoS can do that turn. The Fiends charge into the back of the combat with the remaining Daemonettes. The fight wipes out the rest of the Daemonettes while the fiends manage to finish off what was left of the Genestealers in one of the squads.
The Tyrant flys towards the
KoS landing on the other side of the overpass. The Trygon stops in front of the
KoS, then shoots taking two wounds off of it (only after this did I find out the
KoS had a 4+ invulnerable instead of a 5+ which would have saved the wounds, but I decided to just go with it anyway). The tyrant attempts to use his power to make the
KoS ws and bs1 as the rest of the army approaches it. It fails and its head explodes. Both the Genestealers and Trygon charge into the
KoS, who lands five hits out of the six it has and immediately kills five Genestealers before they could blink. The broodlord swings back but fails to wound as do the remaining Genestealers, but the Trygon manages to deal the last two wounds to finish the
KoS off.
Turn Five
At this point I now have two Fiends left out of the entire army. The puppet fiend with its strength six and the normal fiend. The charge into the pod and rip it apart. The next turn they are charged and manage to deal a few wounds but not enough to kill everything.
In the end I have four kill points to his six. First game is a loss, though a close one as usually against my friend's Tyranids it's one side or the other that wins clearly. But this one looked like it could have gone eitherway for most of it, even with my bad luck with reserve rolls, my luck on the scatter rolls seemed to try to make up for it a little. Not suffering a mishap once, even though in the case of the
KoS which was given room to scatter maybe 4" at most. It was risky, but where it needed to be at the time.
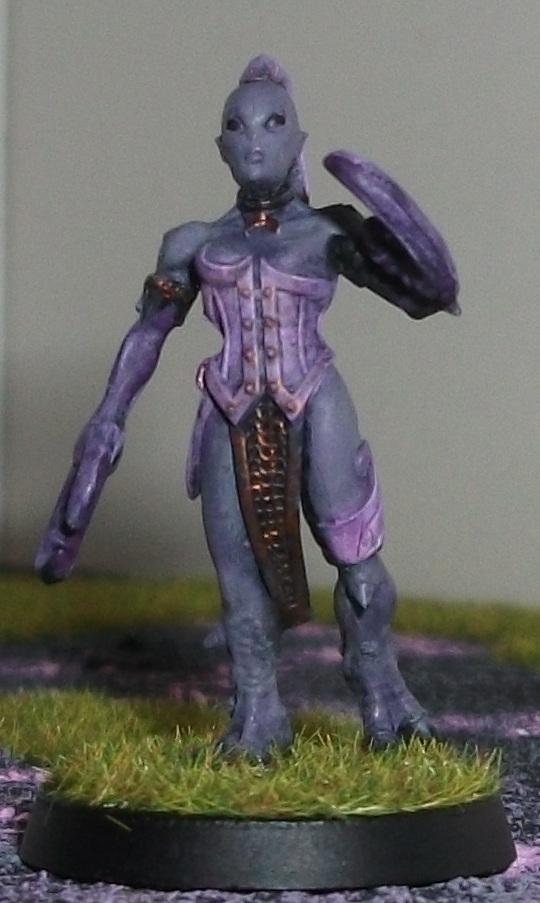
What I learnt mostly was just how fragile Daemonettes are, I know that on paper they appear so being about the same as a guardsman marching across the field.
The only difference is my flak armour isn't punctured by bolter fire.
The Daemon Prince was pretty disappointing, though he was pretty much barebones due to the game only being 1k. I knew it was sort of stupid to take something like that at this level, the
KoS itself is questionable, but it seemed alright, but the Prince alone was there simply because I wanted to use everything. Even going as far as to skip upgrades on it to fit in the extra Fiends I had made. By the looks of it, if I want a second
MC when I go up to the 1500 level, I might actually want a second
KoS. Leaves room for more Daemonettes unlike the three Daemon Princes which wouldn't leave enough room. The set up I had on them made the
KoS the same price as the Daemonettes, at about 235. If I put a second in with an additional Daemonette squad while taking the prince out I would have something like 50 points to mess with. Perhaps another decent way would be simply to increase the fiends instead of a second
KoS then to think about more
MC as I move up from 1500. I'll also be keeping track of this army's win loss ratio, though updating it at the end of the battle reports, hopefully I can cover all the games with them. Then hopefully I could also take pictures when I do.
Daemons of Slaanesh W:0 L:1 D:0


 )
)

 .
.