WE'RE BACK!
Sorry for the ridiculous delay - I've been away for most of the year so we haven't had the chance to get many games in, but we've finally now got a week free, so we're going through all the new Codexes that have been released since we played last. This time we tried the new Tau against the new Chaos Space Marines - so, finally, an entirely 6ed game. To get the most use out of our recent purchases, we also elected to play one of the Tau's Altar of War missions. Now we're both planning additions to the armies...
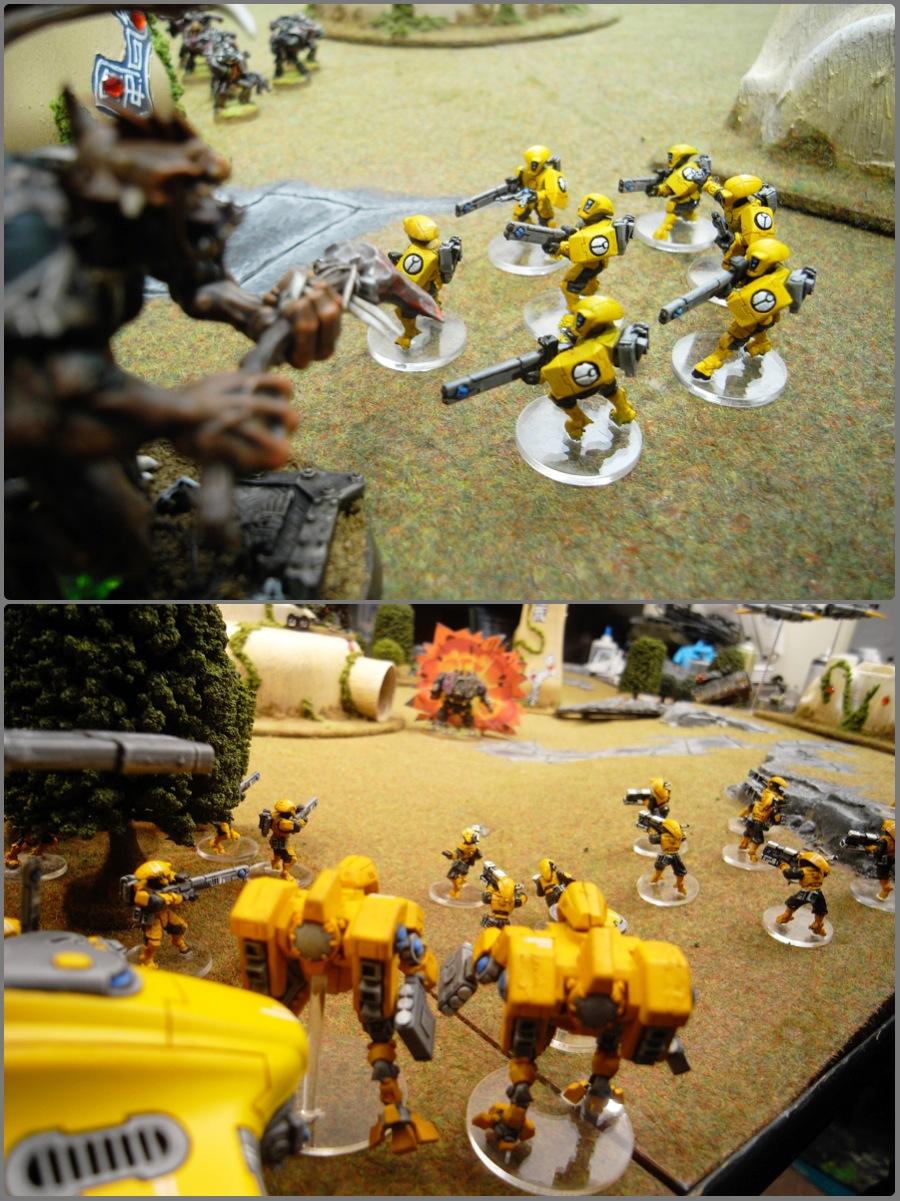
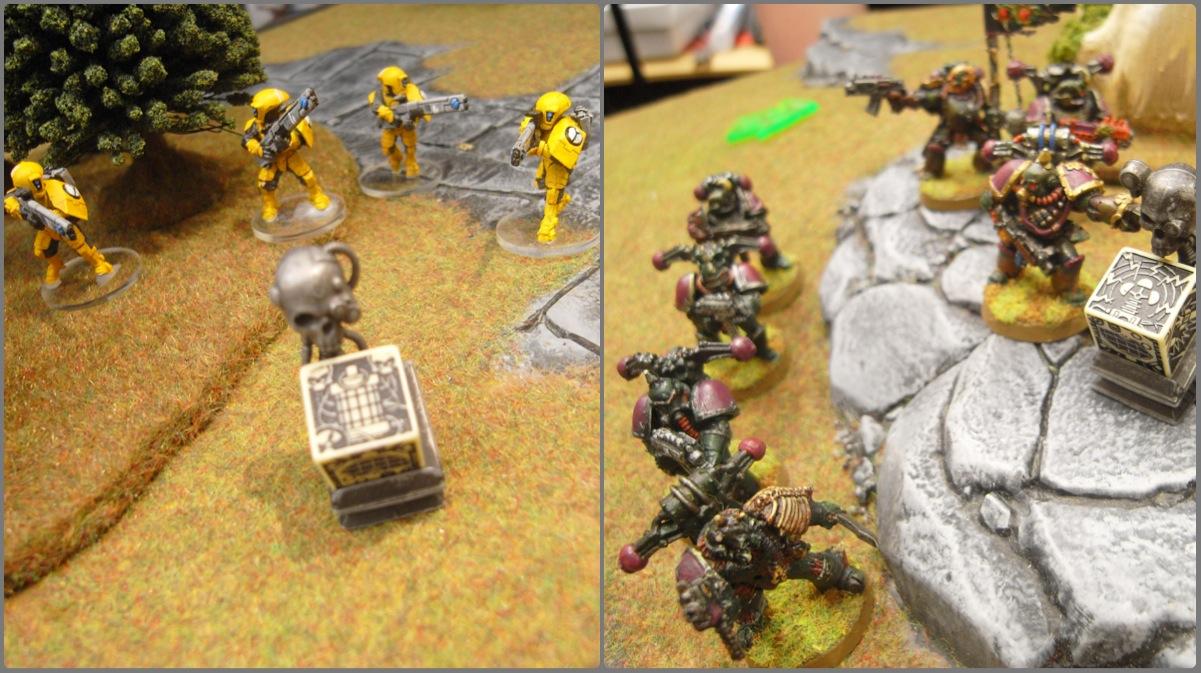
ArbitorIan's Bright Yellow Tau Army - 1850pts 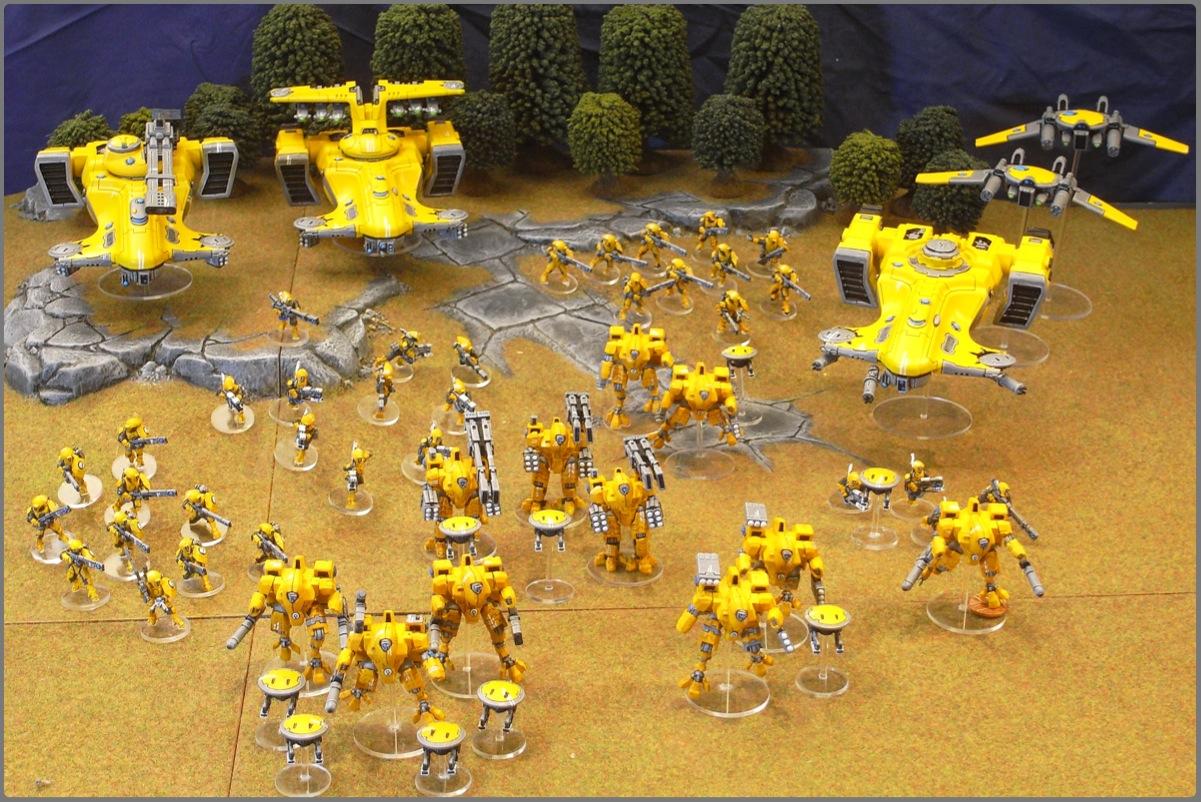
* Commander (Plasma Rifle, Fusion Blaster, Vectored Retro-Thrusters) accompanied by 2 Gun Drones
* 2 Crisis Bodyguard (Plasma Rifle, Fusion Blaster, Vectored Retro-Thrusters) accompanied by 2 Gun Drones
* 2 Crisis Suits (
TL Missile Pod) accompanied by 1 Gun Drone
* 2 Crisis Suits (
TL Missile Pod) accompanied by 1 Gun Drone
* 1 Crisis Suit (
TL Plasma RIfle) accompanied by 1 Gun Drone
* 10 Fire Warriors with Shas'ui
* 10 Fire Warriors with Shas'ui
* 10 Pathfinders (3 Rail Rifles)
* 4 Pathfinders (1 Rail Rifle) accompanied by 1 Gun Drone, in a Devilfish (Burst Cannons, Disruption Pod)
* 2 Remora Stealth Drones
* 3 Broadside Suits (
TL Heavy Rail Rifle,
TL Smart Missile System, Early Warning Override) accompanied by 2 Gun Drones
* 1 Hammerhead (Railgun,
TL Smart Missile System, Disruption Pod)
* 1 Sky Ray (
TL Smart Missile System, Disruption Pod)
Panic's Gribbly Nurgle Plague Marine Army - 1850pts 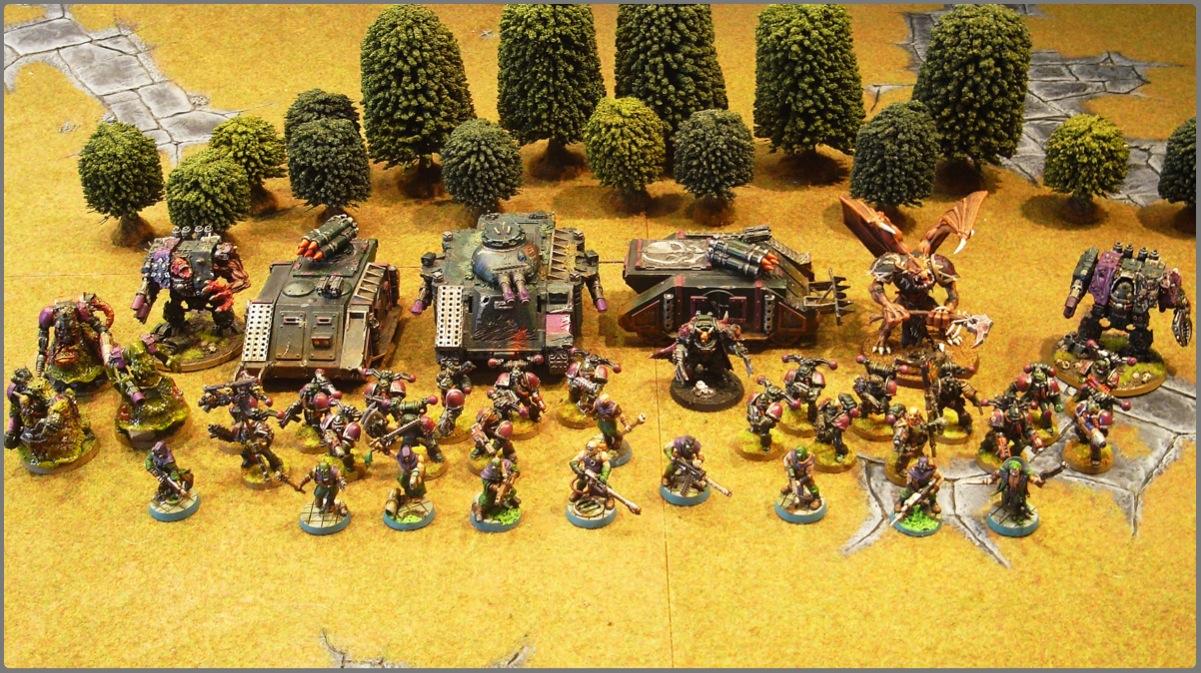
* Chaos Lord (Terminator Armour, 2 Lightning Claws, Mark of Nurgle, Gift of Mutation, Blight Grenades)
* Daemon Prince (Nurgle, Power Armour, Black Mace, Wings)
* Helbrute (
TL Lascannon)
* Helbrute (
TL Lascannon)
* The Cult of Dirt! - 10 Chaos Cultists (Autoguns, Heavy Stubber) including Champion (Shotgun)
* 10 Plague Marines (2 Meltaguns, Icon of Despair) including a Champion (Power Fist) in a Chaos Rhino (Havoc Launcher)
* 10 Plague Marines (2 Plasmaguns, Icon of Despair) including a Champion (Gift of Mutation, Power Fist) in a Chaos Rhino (Havoc Launcher)
* Chaos Predator (
TL Lascannon, Lascannon Sponsons)
* 3 Obliterators (Mark of Nurgle)
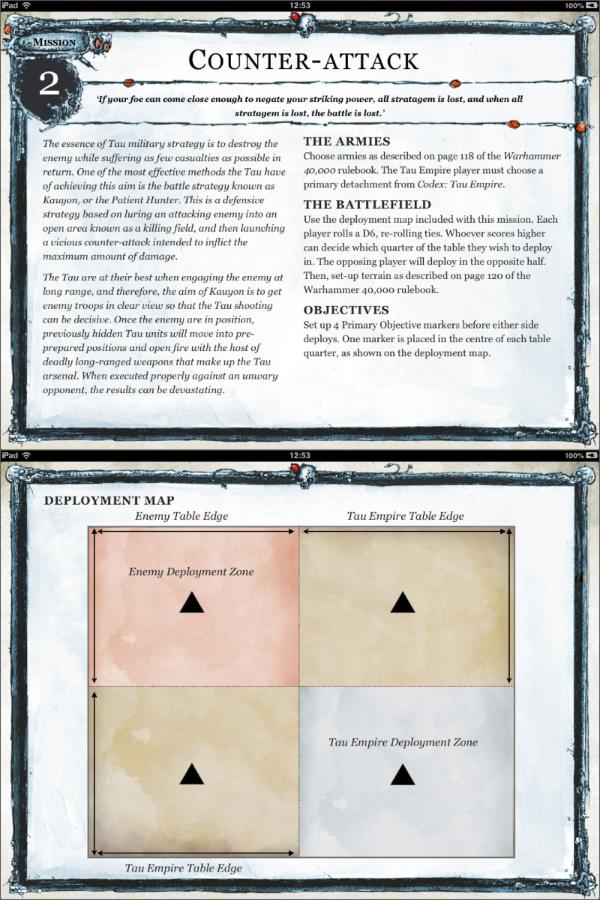
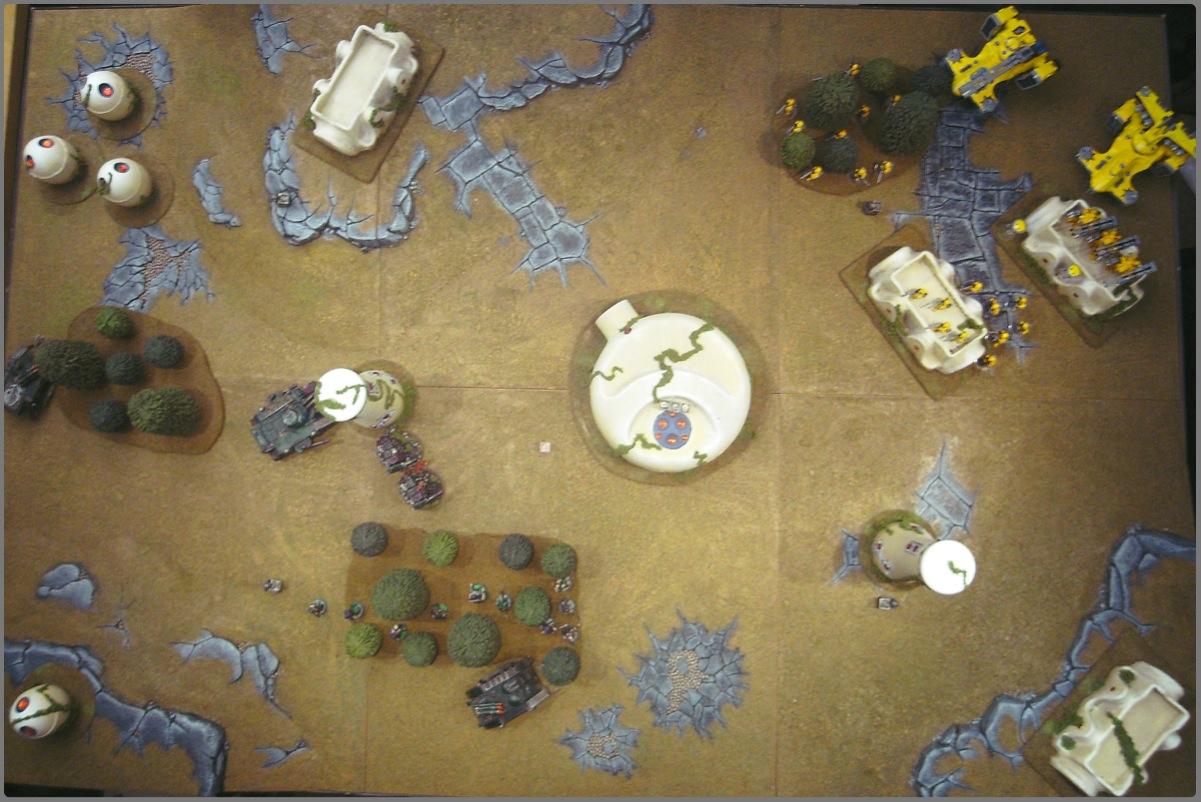
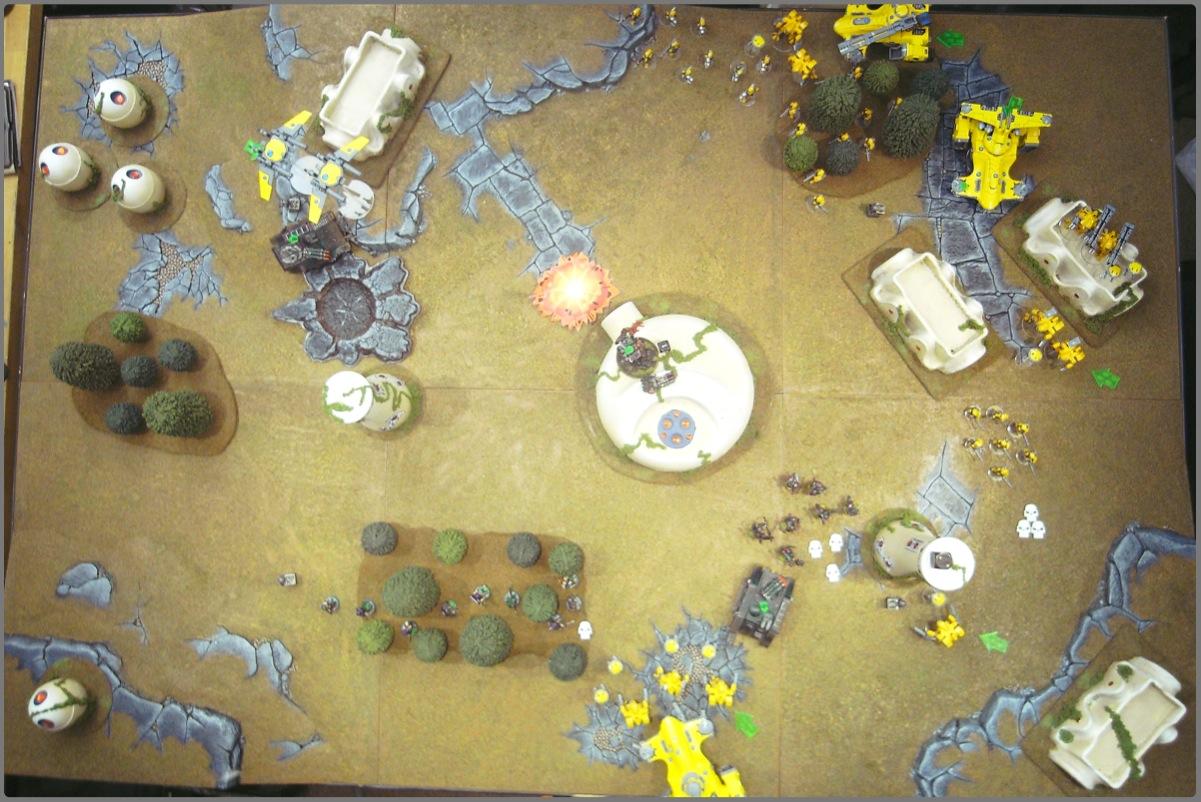
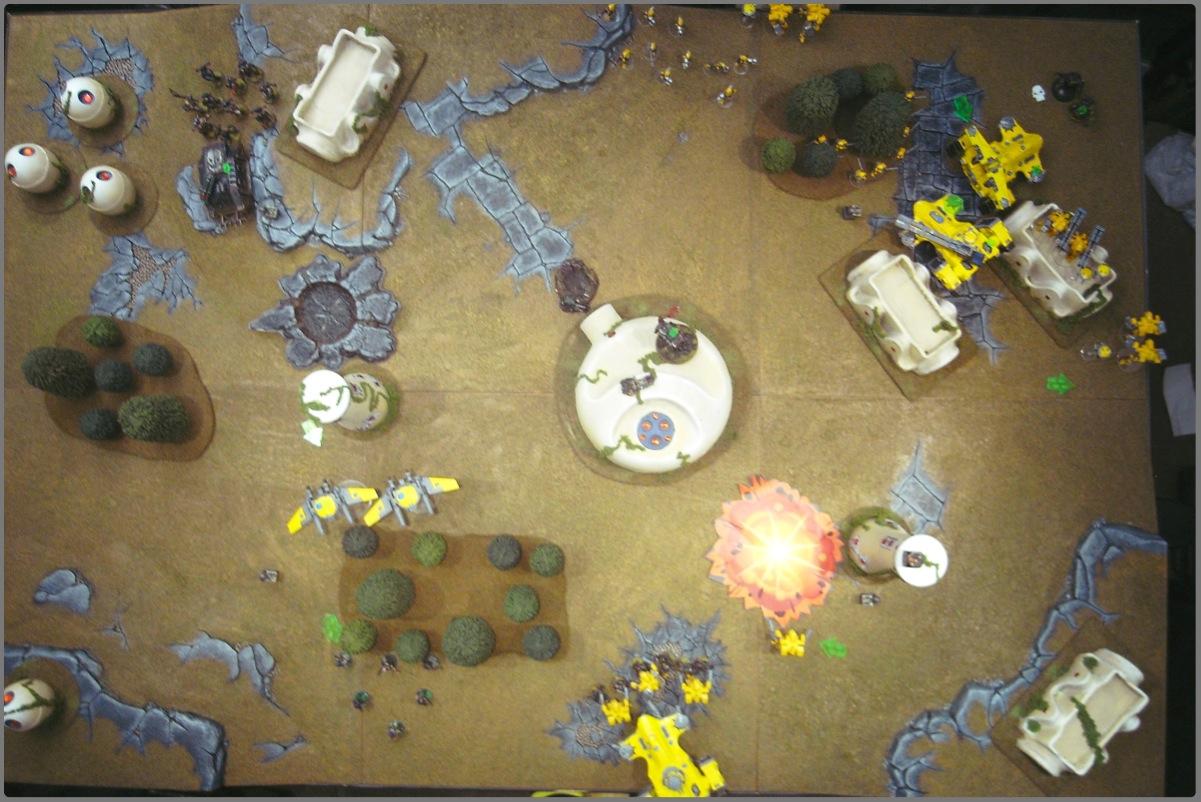
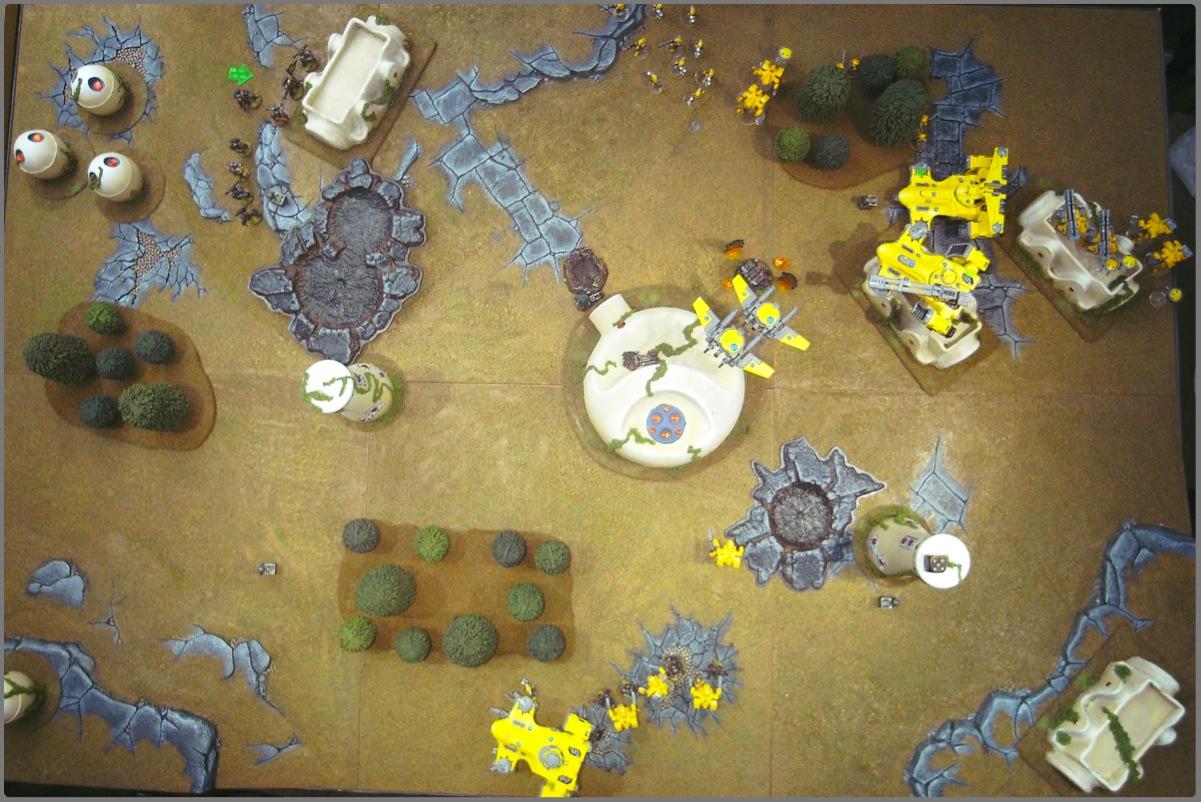
Mission We rolled 'Counter Attack' on the Tau Altar of War app. The Tau have a luring force (Troops and Heavy Support) in one table quarter, and then the rest of the force arrives from reserve using some pretty odd table edges, to represent the surrounding army. The mission is an objective grab, with one objective in the centre of each quarter. Tau setup first and go first, but because they're ready for the assault, all the units starting on the board get Stealth until they first move.
 Pre-game
 Panic was eager to try out the Chaos Boons with his two Gifts of Mutation, but both rolled Witch-eater - which would be great if I had any psykers! Oh well. Onto Warlord Traits. The Tau Commander got Ghost Who Walks Among Us - giving him
3d6" Jetpack bounces, and the Chaos Lord rolled Lord of Terror, which mean that he caused Fear.
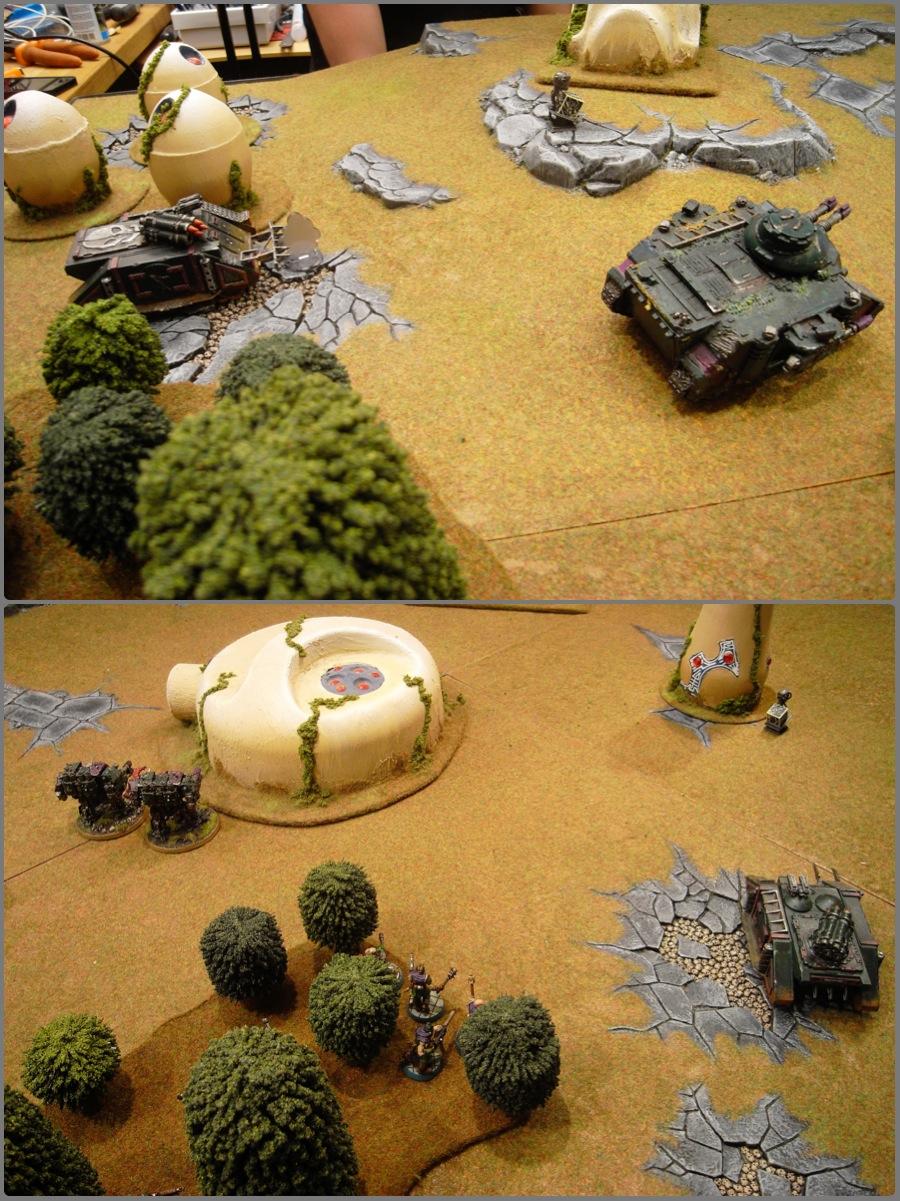
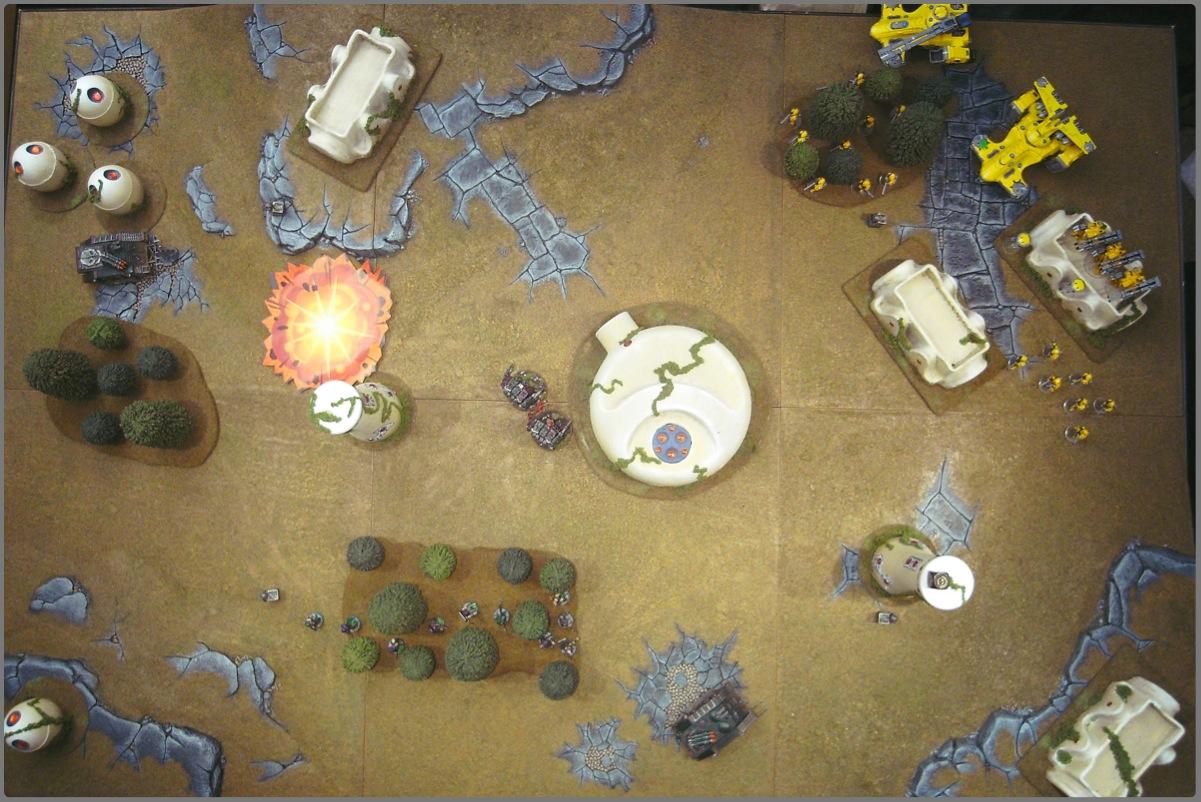
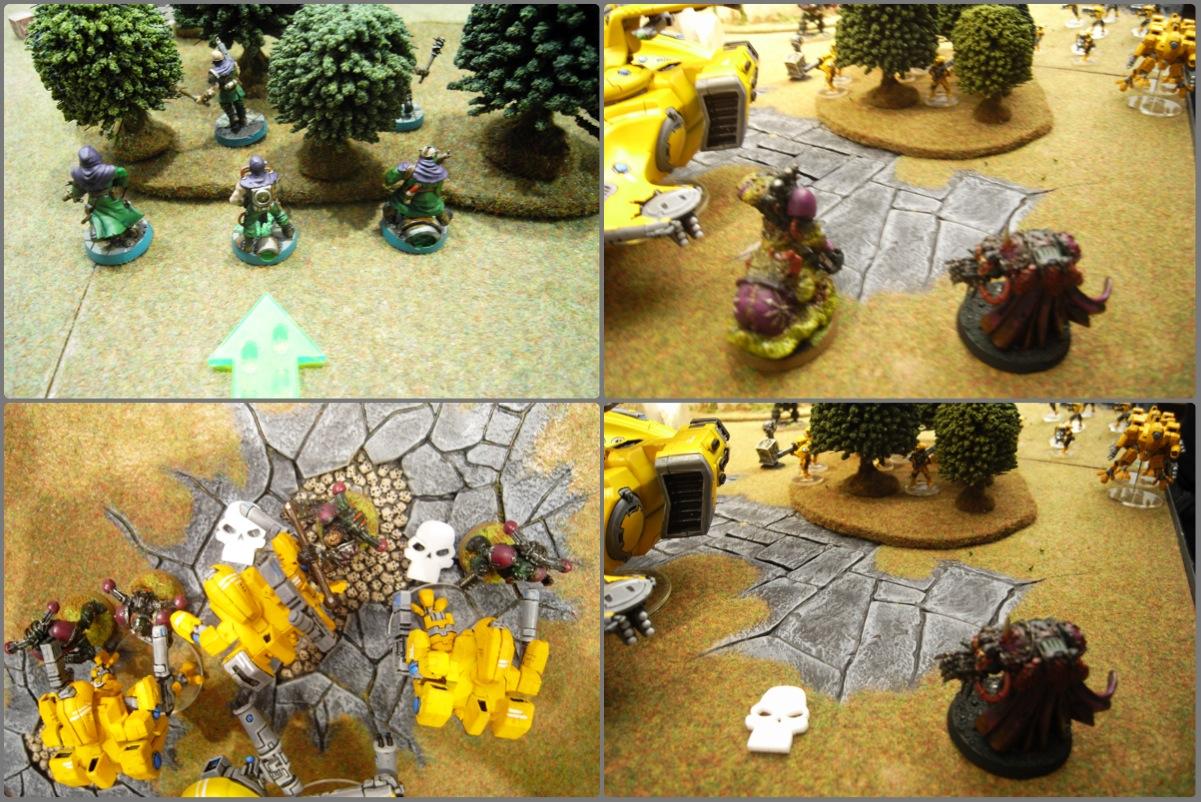
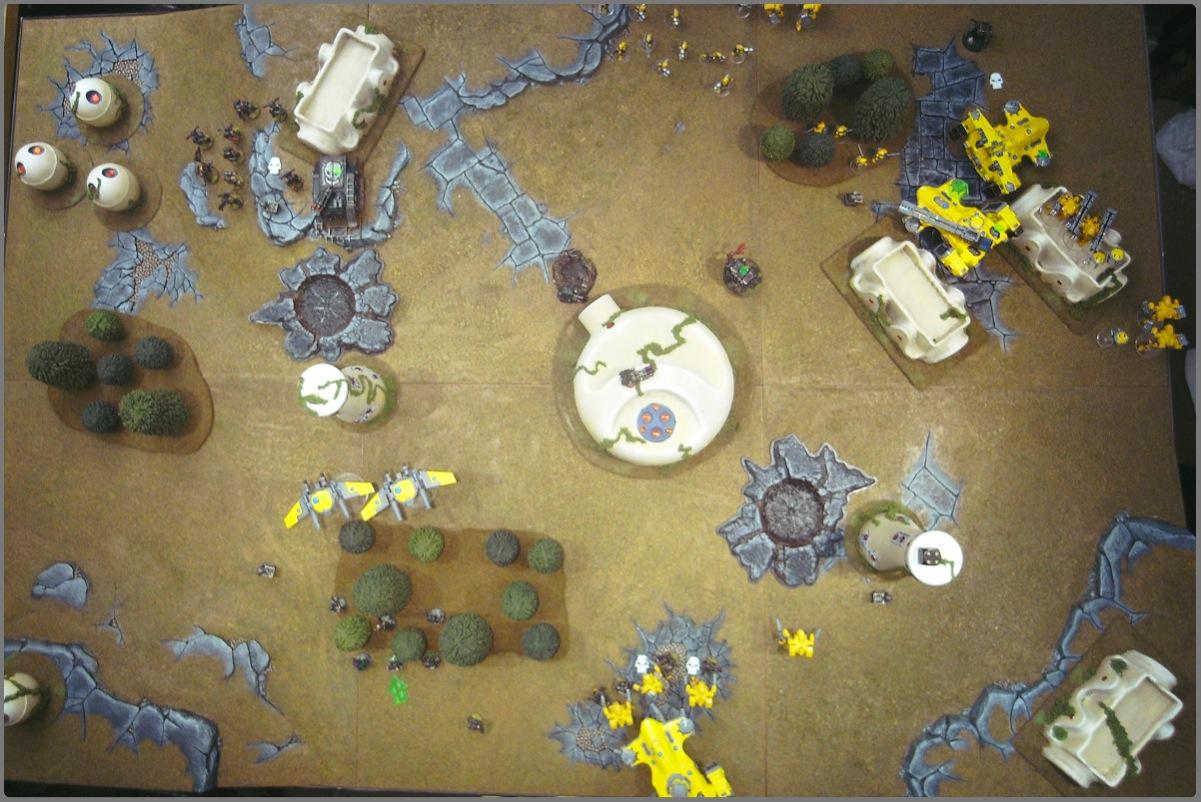
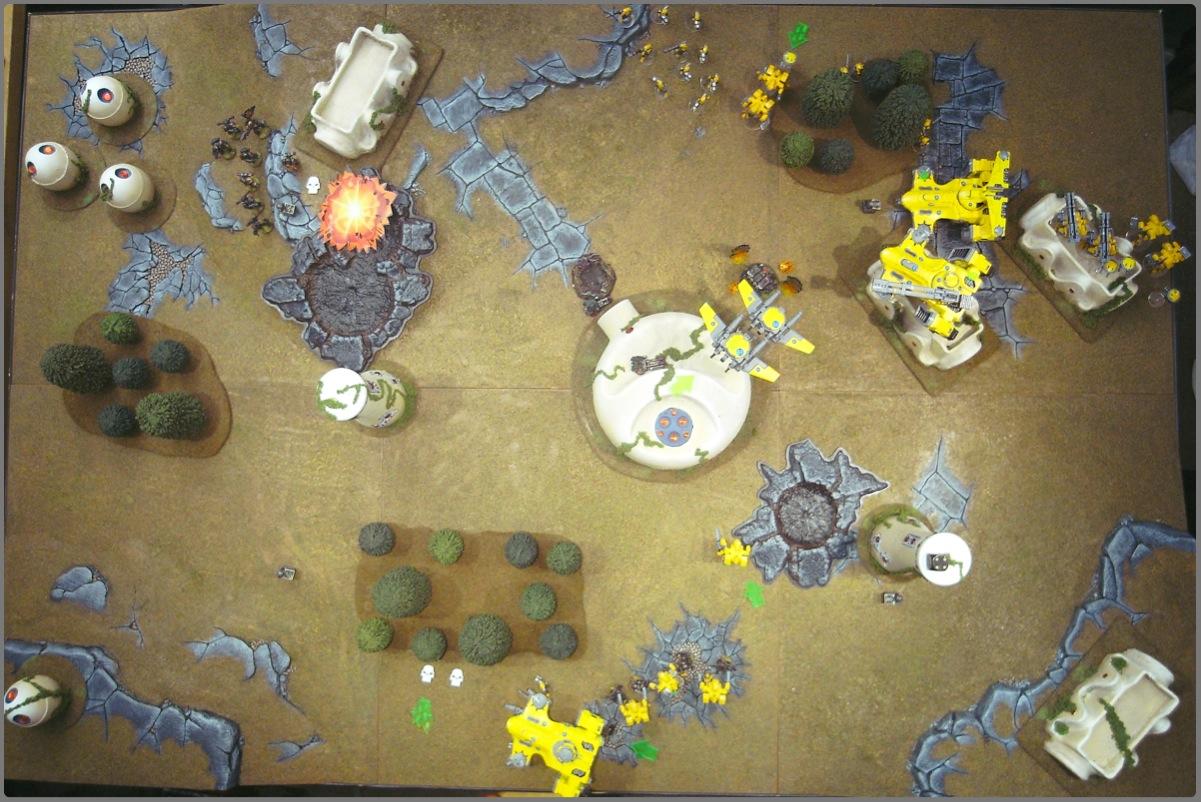
Chaos won the roll for table quarter, and Tau had to deploy first. Both tanks and the Broadsides set up at the back of the field, with a Fire Warrior squad in a building and one in the woods nearby, holding the Top Right objective (Sabotaged!). Chaos then set up far forward, with a Rhinos in position to race towards the Bottom Right and Top Left objective and Cultists holding the Bottom Left objective (Skyfire Nexus). The Lord joined the Obliterators in reserve, with the Daemon Prince. Chaos then manage to steal the initiative!
 Chaos Turn 1
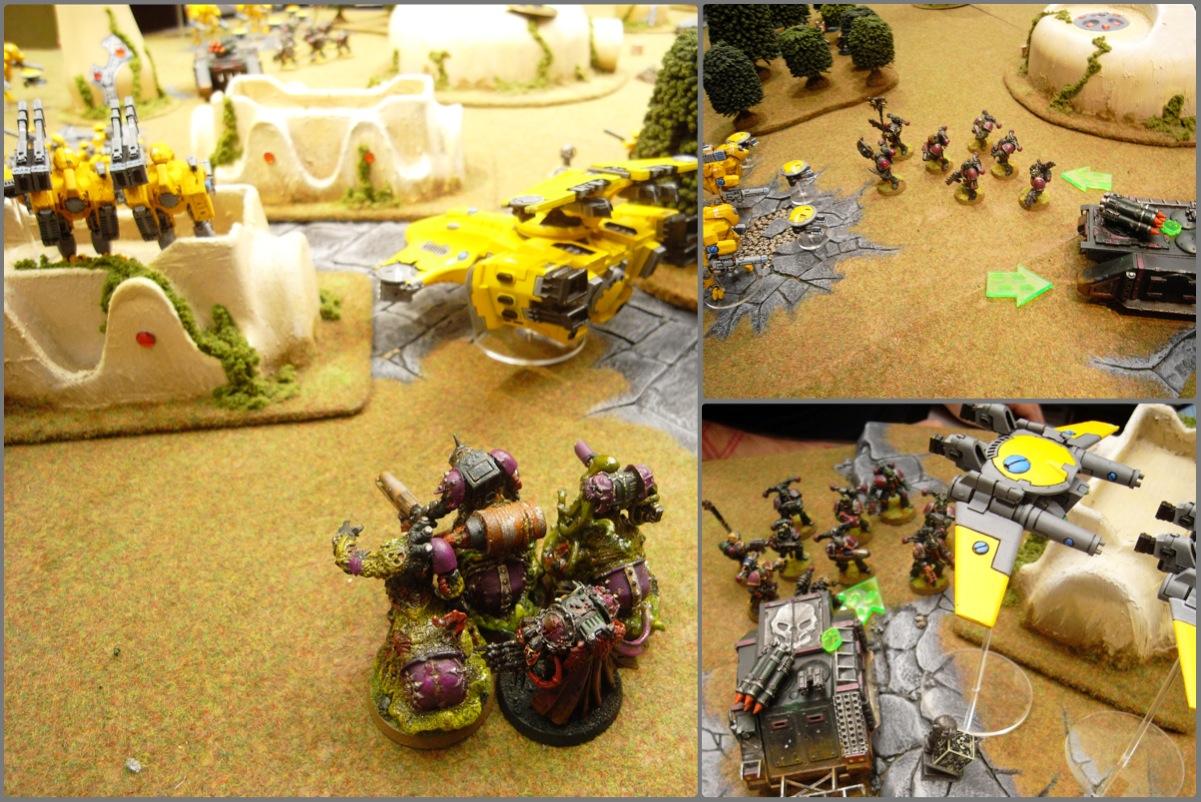
 Chaos start their surprise advance, both Rhinos moving towards objective and the Helbrutes and Pred moving forward.
The Predator manages to glance the Sky Ray, but the rest of the anti-tank goes wide. Havoc launchers and the Cultists' Stubber kill three of the nearest Fire Warriors, forcing them to flee!
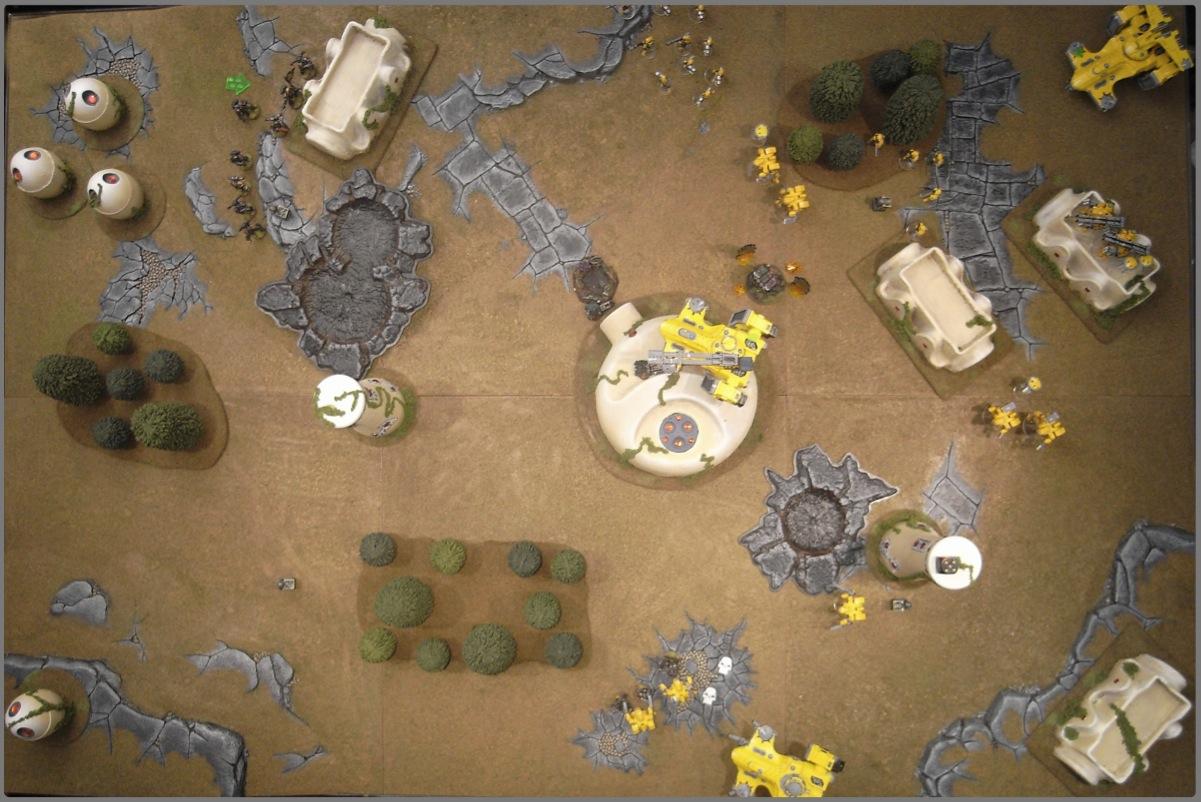
At the end of the first turn, Chaos are suddenly quite close.
 Tau Turn 1
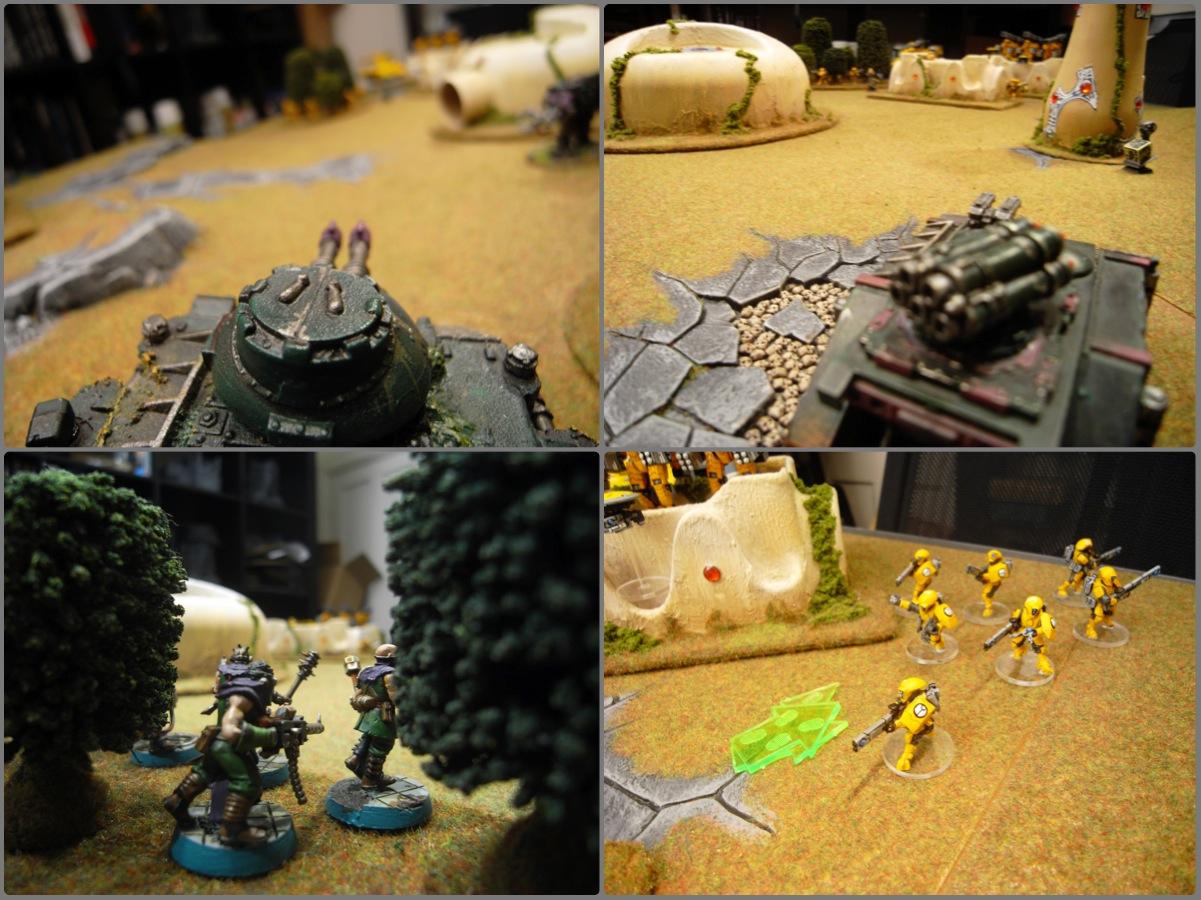
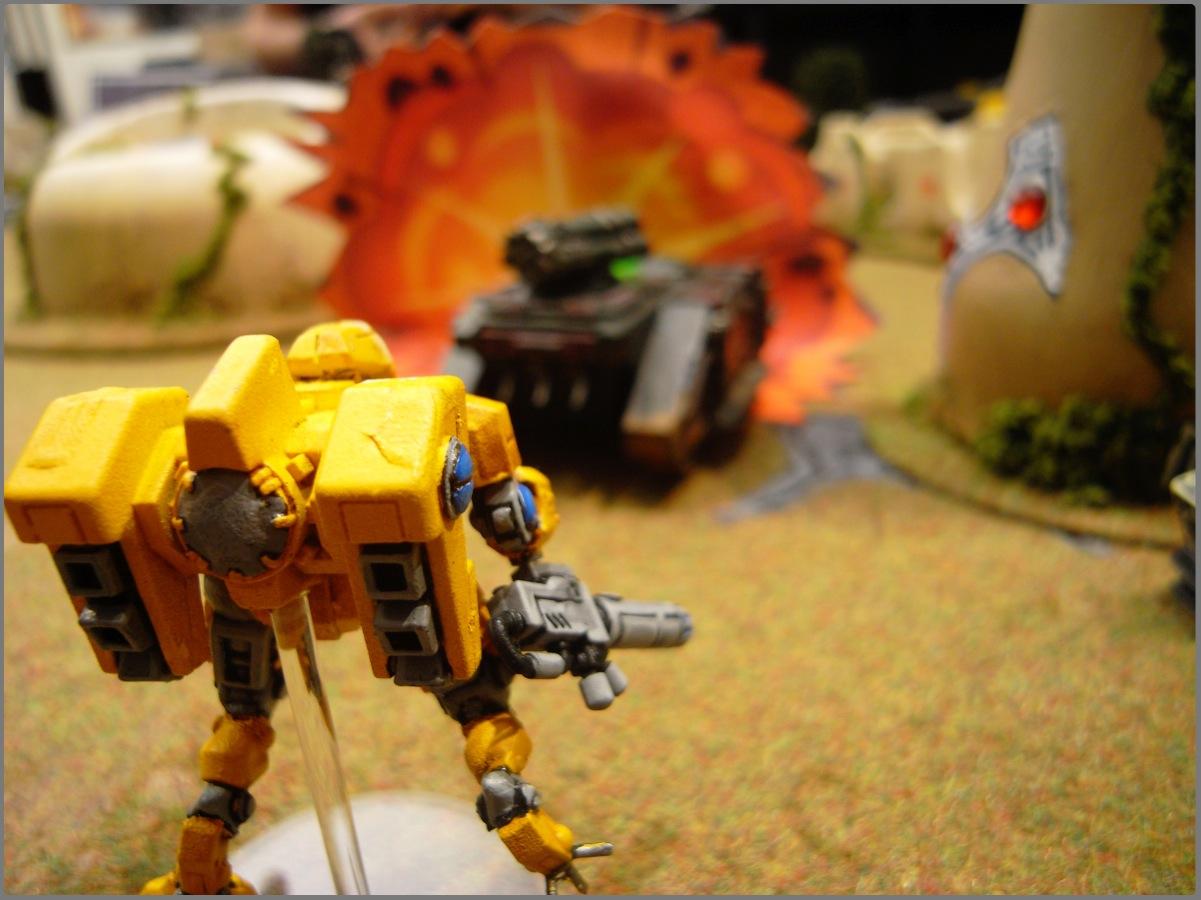
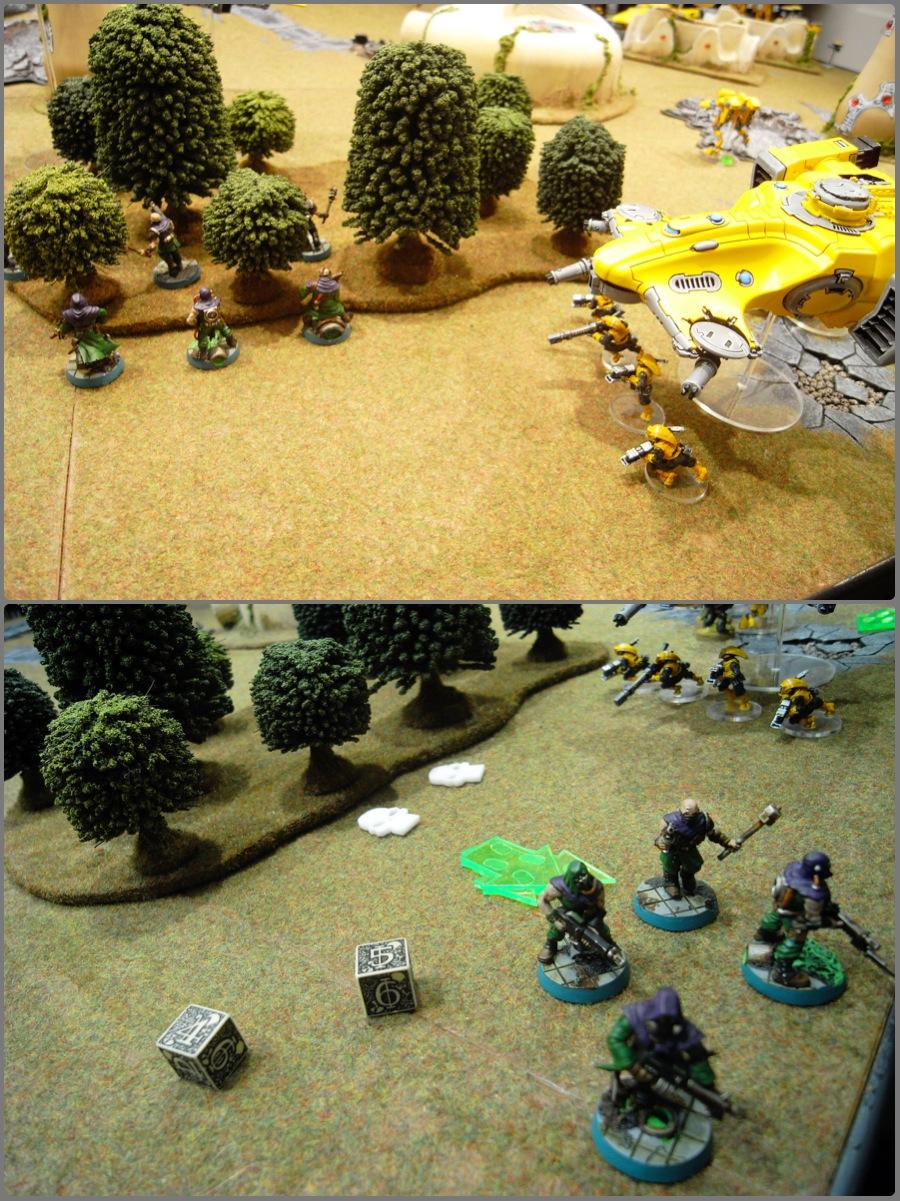
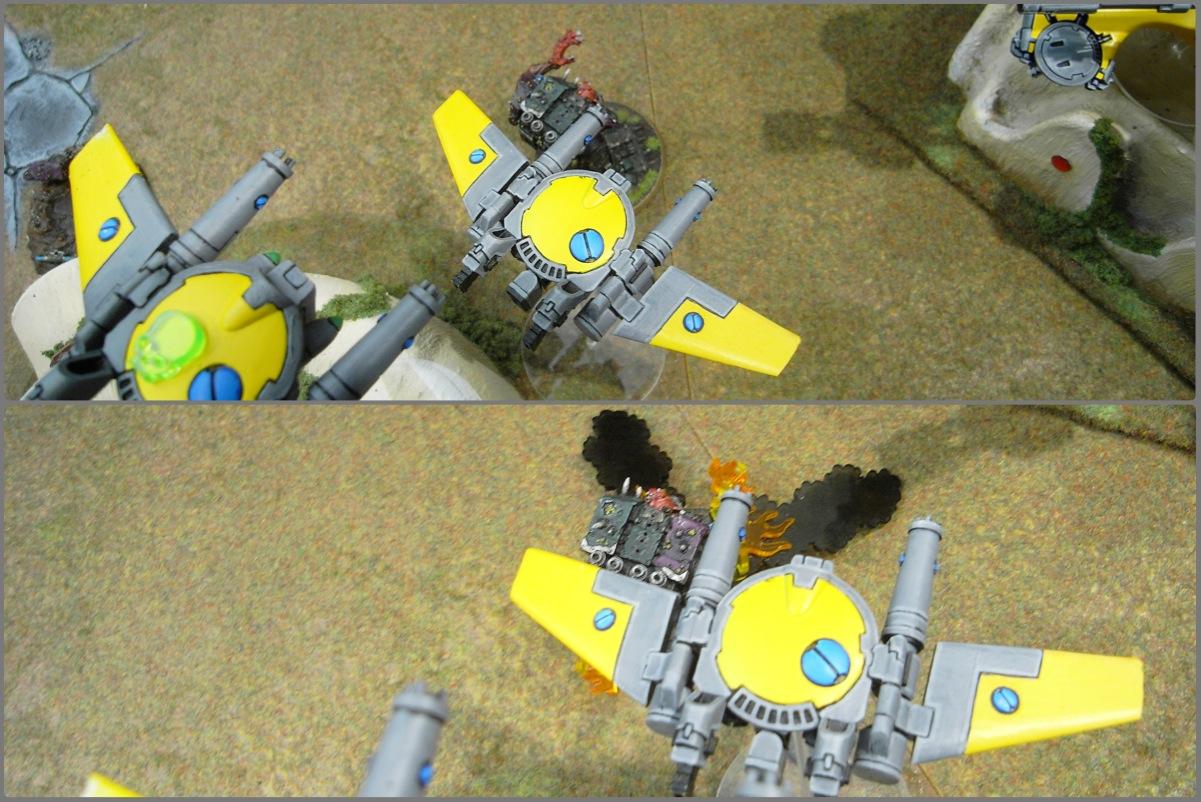
 The Broadsides open fire on the nearest Rhino, but cover from a tower means the shots have no effect. The Hammerhead does much better, it's first shot of the game exploding the Chaos Predator!
The Skyray markerlights the topmost Helbrute, slightly visible behind the round building, but neither Seeker missile penetrates. The Fire Warrior team also rally, but fail to hit anything with their Pulse Rifles.
 Chaos Turn 2
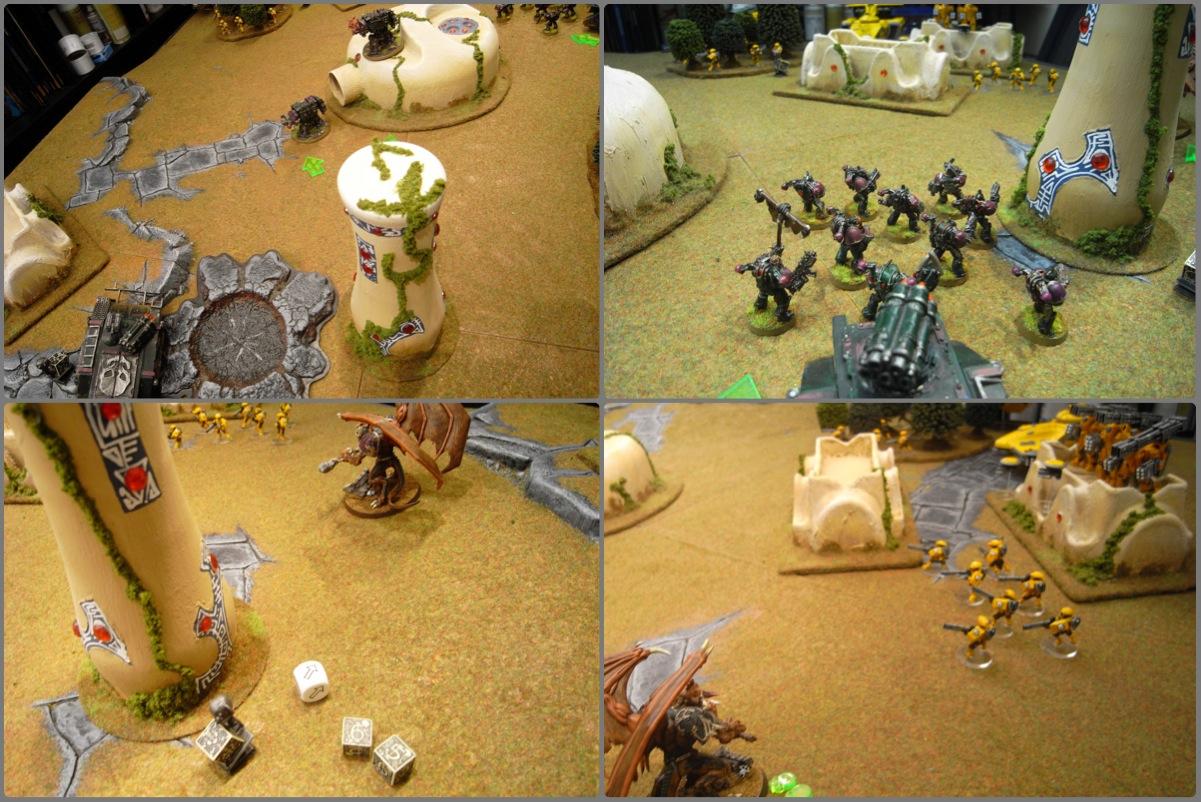
 The Daemon Prince and Lord/Obliterator squad arrive from Reserves, but the Lord/Obliterators scatter off the table and go back into the Reserve pool. The Daemon Prince tries to arrive behind the tower, but scatters into the open, where he loses two wounds to Interceptor fire from the Broadsides. In retaliation, the Plague Marines disembark from their Rhino in the BR quarter, and open fire along with their Havoc on the Broadside unit, killing one suit. They also reveal the BR objective as another Sabotaged!
The Helbrutes continue their advance forward, one of them going straight over the round building. The other Plague Marine squad advance on the
TL objective.
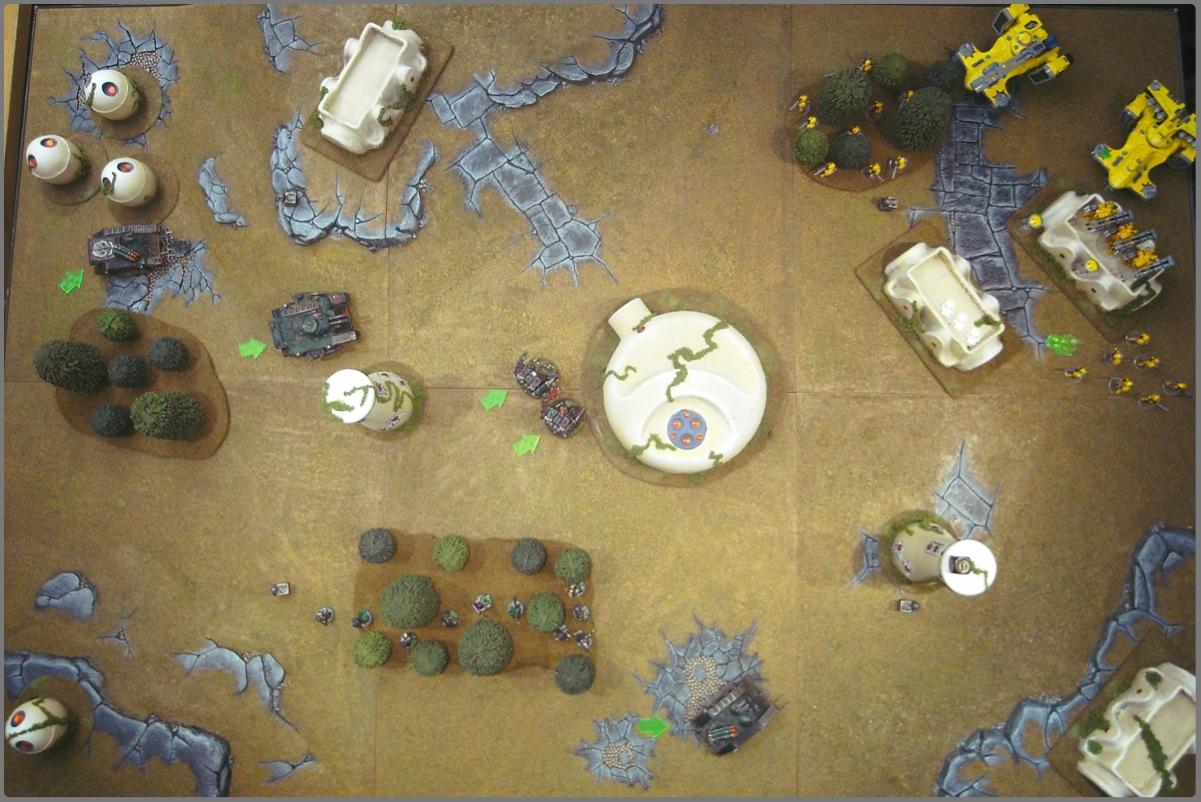
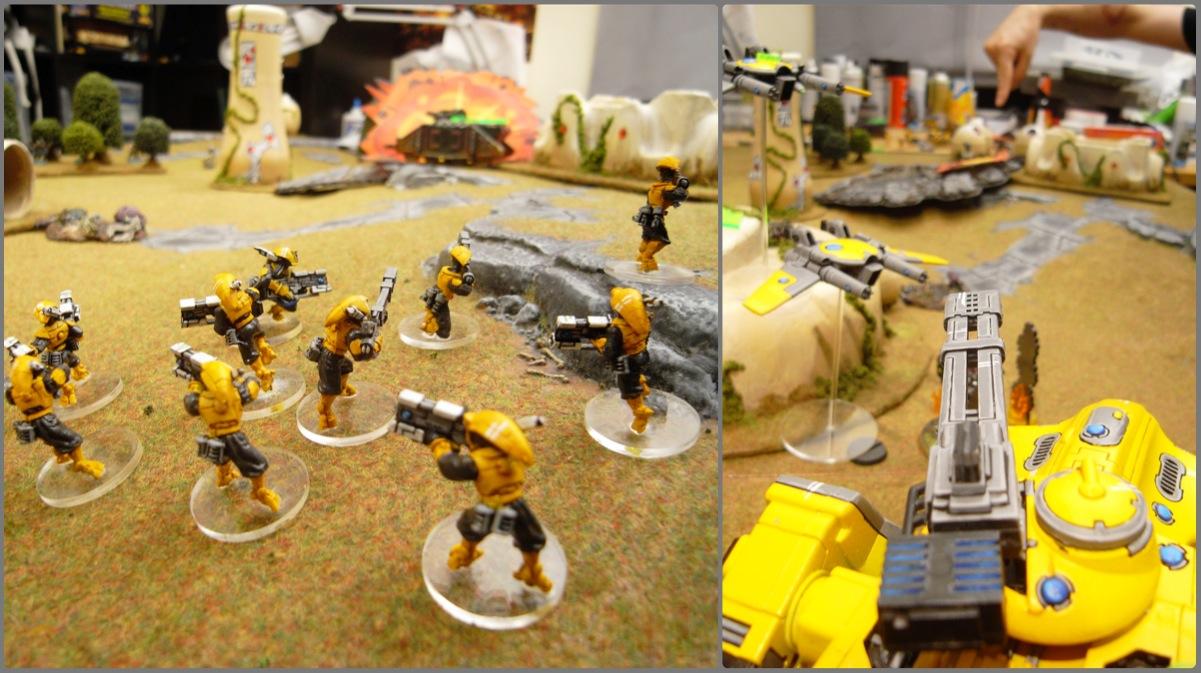
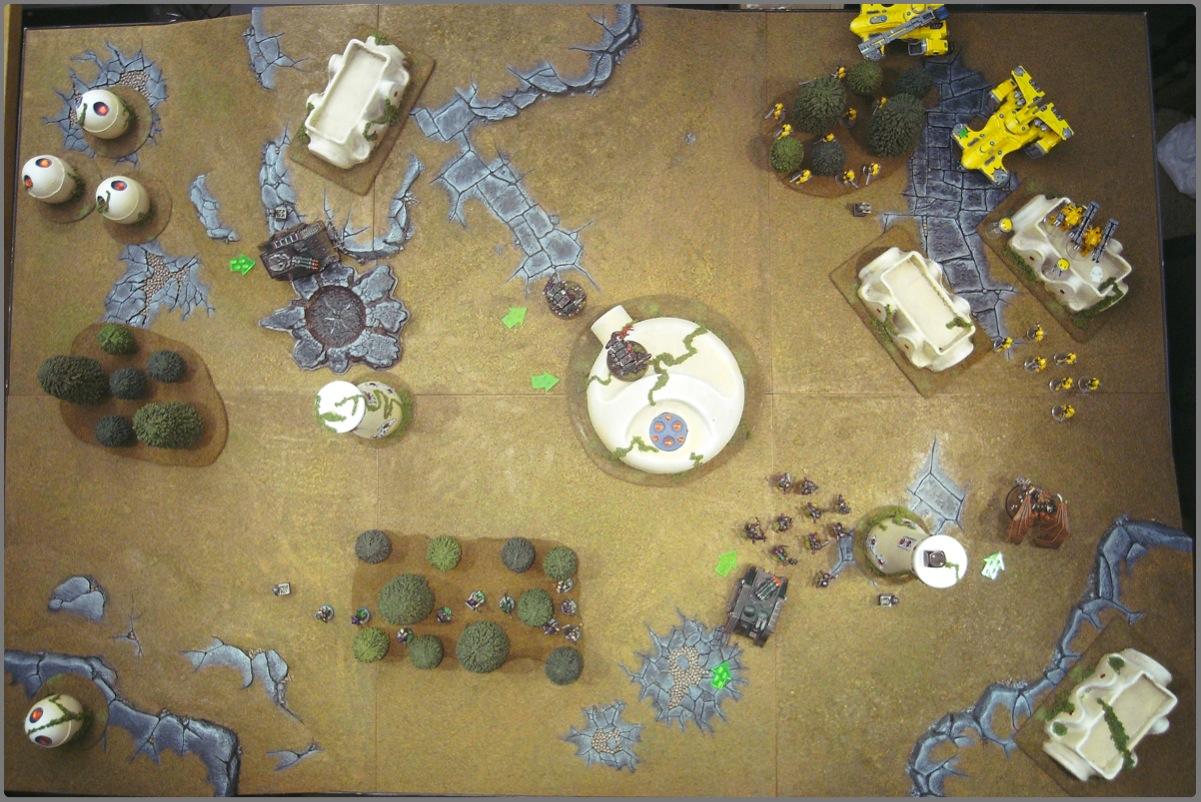 Tau Turn 2
 The cunning encirclement by the Tau goes amazingly well, and everything turns up from reserves at once! The Commander, Devilfish and Crisis Monat appear in the BR quarter, behind the disembarked Plague Marines, but only kill two. A squad of
MP suits appear on the right to support the rallied Fire Warriors. The large squad of Pathfinders and another
ML suit squad appear, illegally, in the Tau deployment zone - in this mission, they should have been 8-10 inches further up the board...!! Ooops...
The rallied Fire Warriors take revenge on the Daemon Prince, rapid firing and taking his last two wounds. The arriving
MP suits target the closest Helbrute and score yet another explosion, while the Pathfinders snap fire at the Chaos Rhino, causing a glance.
The Remoras come on from the opposite side of the table, marking the other Helbrute and blowing off it's lascannon arm with seeker missiles.
 Chaos Turn 3
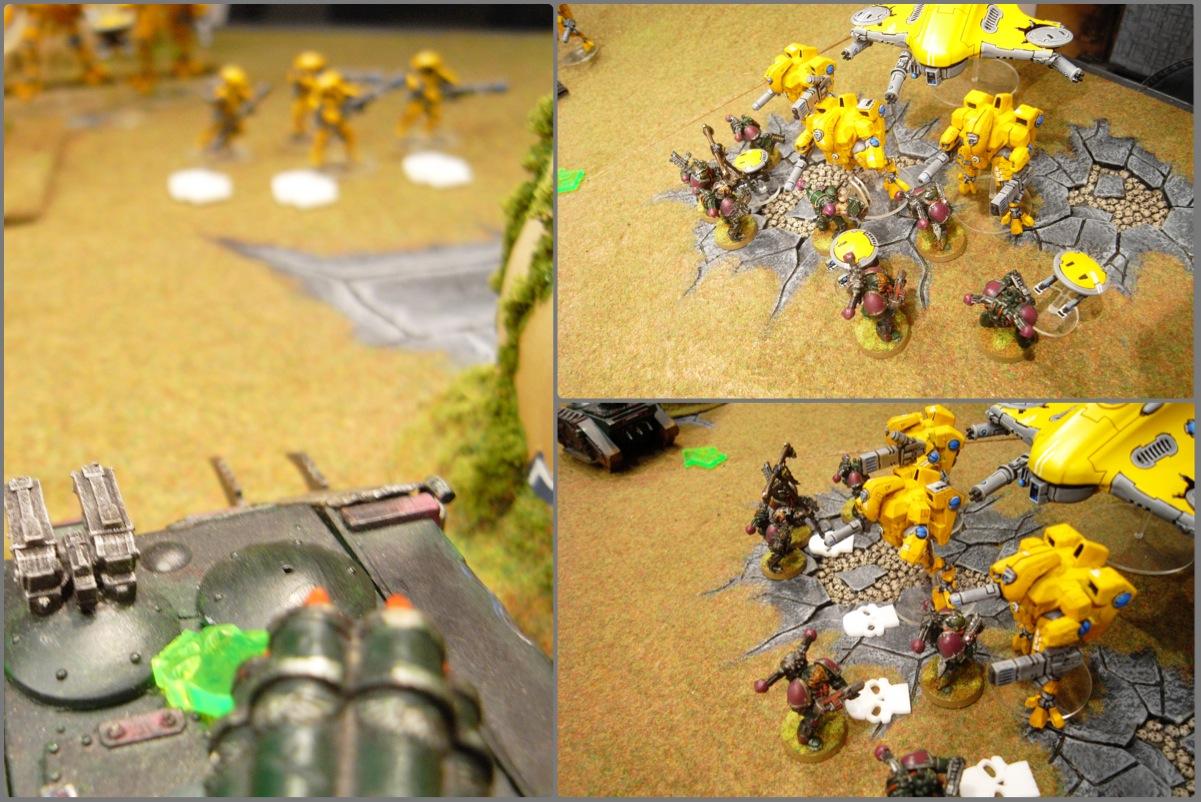
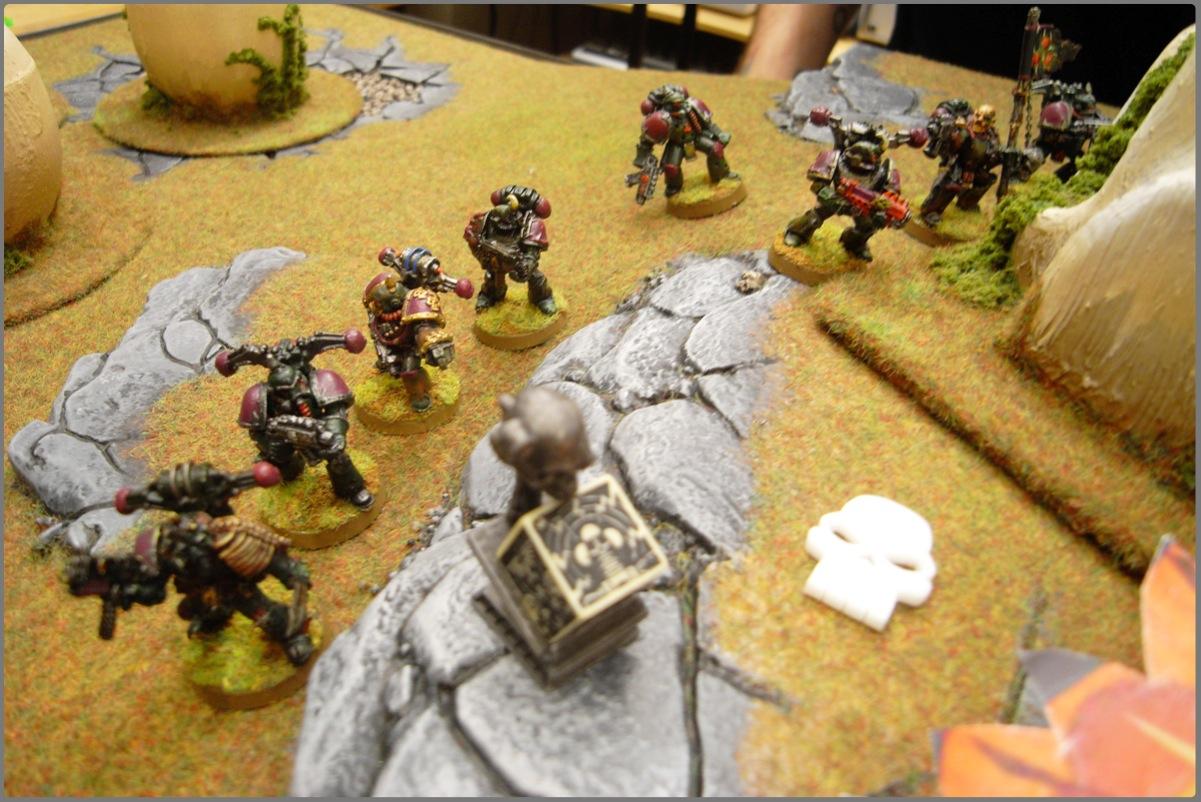
 The Chaos Lord attempts another reckless Deep Strike, but succeeds this time, landing right behind the Tau lines. Of course, the Broadsides use their Early Warnings to fire at the squad, killing one of the Obliterators. One Plague Marine squad rounds on the Commander's unit and the other disembark from their Rhino, and cause a glance on one of the Remoras.
The Plague Marines then charge the Commander, killing all three of the drones but losing their Champion in a challenge. Tau suddenly realise how pointless Vectored Retro Thrusters are on an I2 model! (I didn't realise that you take the HIGHEST value in the unit....oops!!)
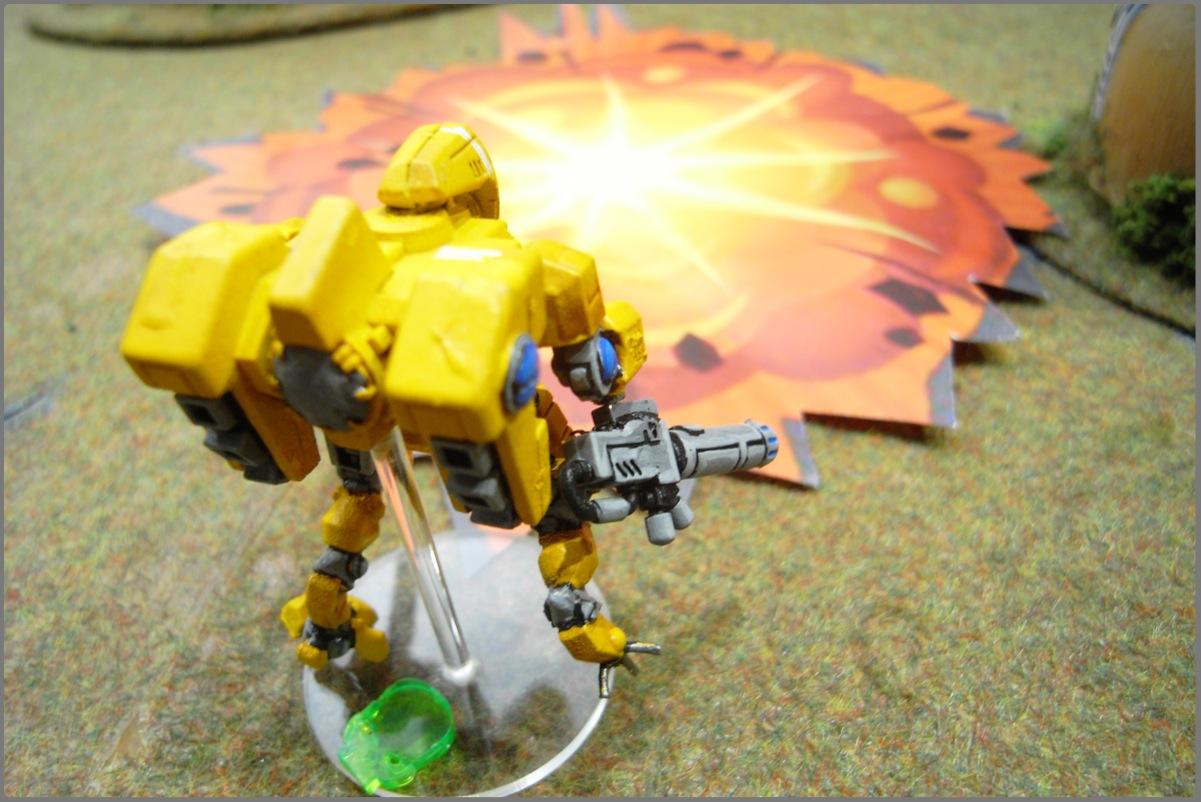
At the end of the turn, one of the Sabotages objectives decides to go off, killing the Crisis Monat's little drone buddy... :(
Also in this turn, the Havoc kills more of the
FW squad in the open, sending them fleeing off the board. The fire from the Obliterators also shook the Hammerhead.
 Tau Turn 3
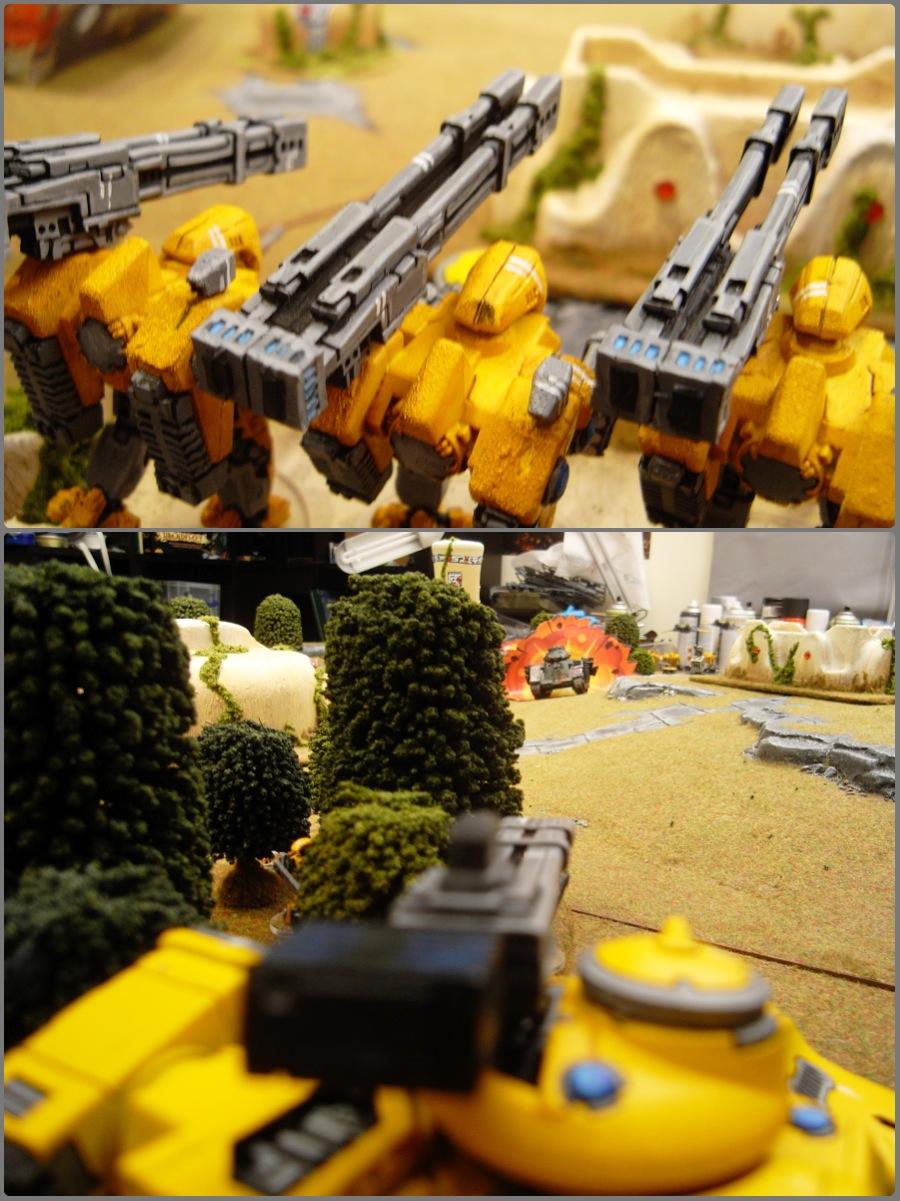
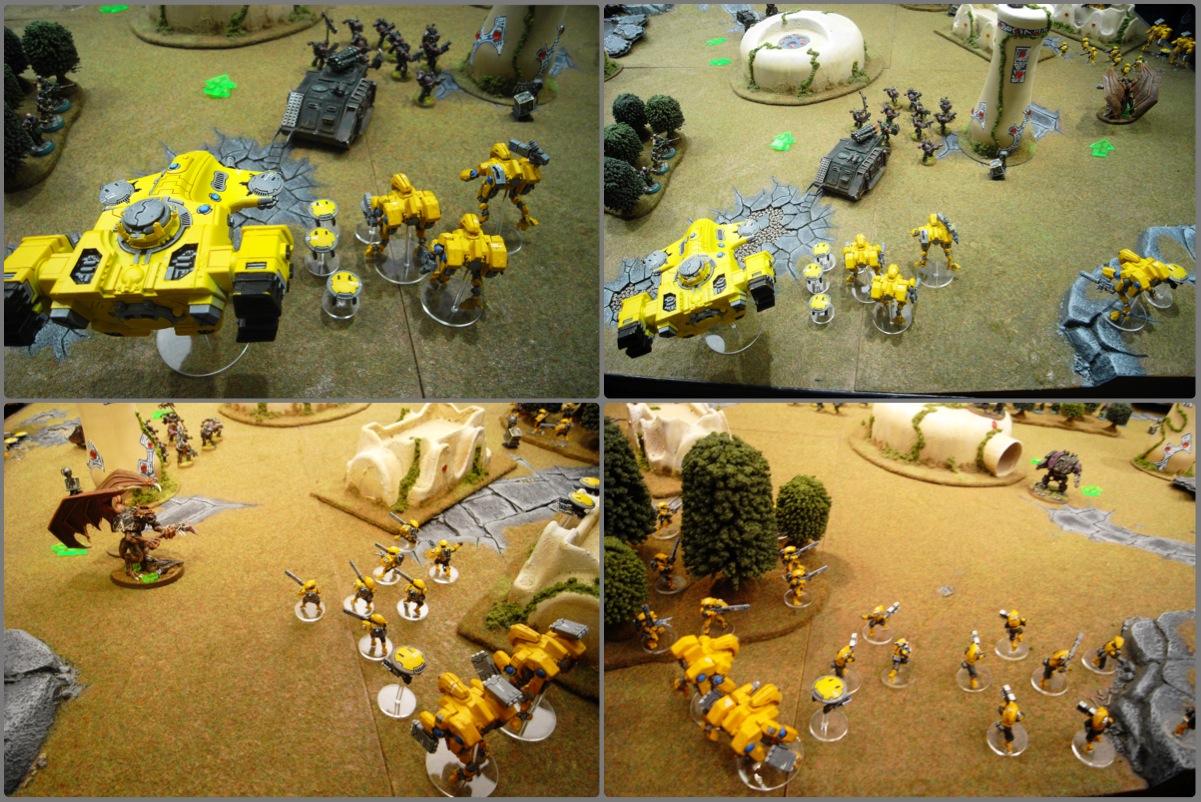
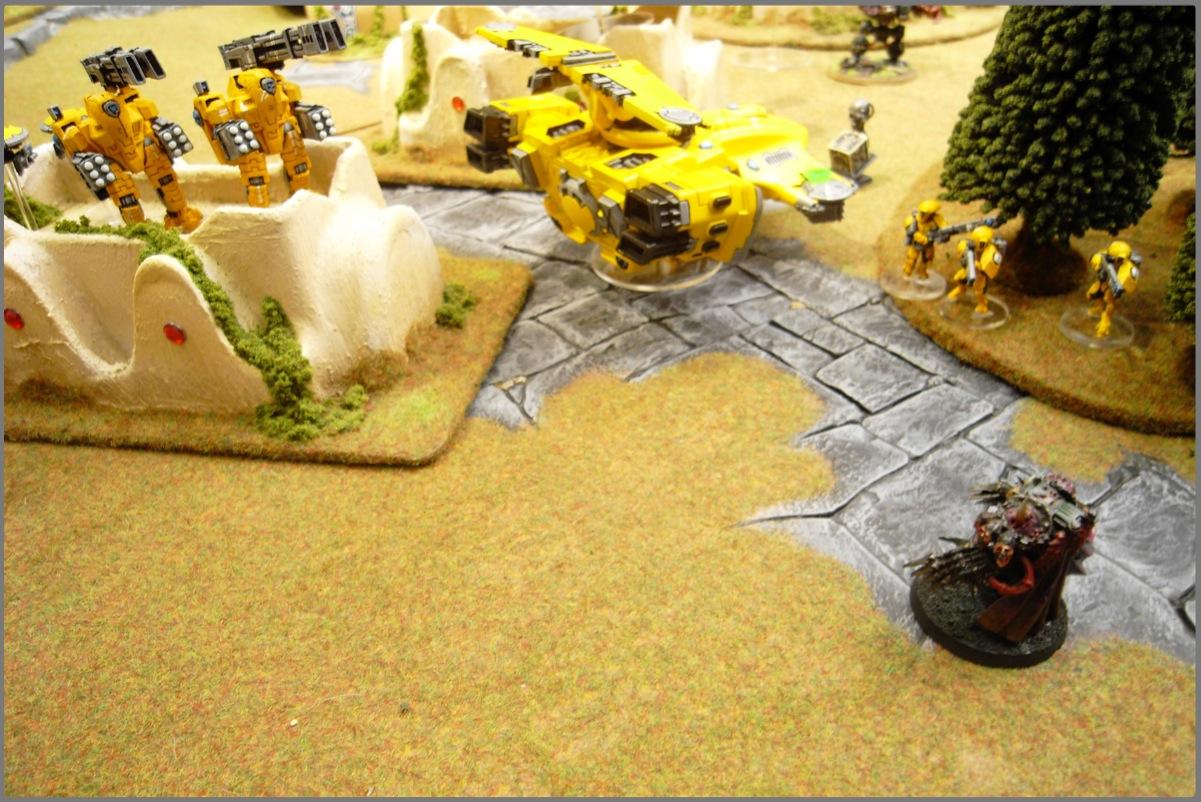
 The two
MP Suit units and the Sky Ray turn on the Chaos Lord's unit but only kill one more Obliterator.
Meanwhile, the Crisis Monat, enraged at the killing of his drone buddy, opens fire on the Chaos Rhino, exploding it.
So crazy is he, he doesn't even notice the wound he takes from the explosion.
The Remoras then turn on the Cultists, using their markerlights to remove cover and killing enough with burst cannons to send them fleeing out of the woods.
And the Commander's combat grids into a stalemate.
There's a bit of a pile up in the Tau deployment zone as everything struggles to turn and face the Lord!
 Chaos Turn 4
 The next Chaos turn goes by quickly - the Lord and Obliterator separate, intending to charge the squad in the woods, but losing some models to the Oblit's flamers put them out of range of the Lord's charge, and the Oblit's charge is scuppered when the
MP Suits nearby use Supporting Fire and kill him. In the Commander's combat, two more Plague Marines die, and the Tau still aren't quick enough to Retro-thrust away!
In the centre, the Helbrute continues it's advance, and the Cultists rally back towards the woods.
 Tau Turn 4
 In the Tau turn, the small Pathfinder team finally get out of their Devilfish (oops, forgot about them!) and open fire on the Cultists, forcing them to flee off the board.
The Broadsides get to fire in their own turn again, and kill the Chaos Lord.
And the Remoras turn 90 degrees and fly almost on top of the remaining Helbrute, wrecking it with a Seeker missile.
The large squad of Pathfinders then blows up the Rhino with Rail Rifles and once the dust has settled, the Hammerhead picks off the lone visible Plague Marine with it's massive cannon.
Some bouncing occurs, and the combat stalemate hasn't changed.
 Chaos Turn 5
 The remaining Plague Marines spread out to cover most of the squad while still holding their objective.
But, with no shooting left and no combat resolution, nothing else happens.
 Tau Turn 5
 And, as the Plague Marines finally down one of the bodyguards in Turn 5, we realise that they should have been re-rolling all their wounds all game due to their Plague Knives. Again, oops!!
But by this point the Tau are bouncing down the board for no real reason.
And the game ends!
Tau - 5 (First Blood, Slay the Warlord, 1 Objective)
Chaos - 3 (1 Objective)


 No Heldrakes? Looks like they could have done some damage.

 -5000 Pts. of Orks