| Author |
Message |
 |
|
|
 |
|
Advert
|
Forum adverts like this one are shown to any user who is not logged in. Join us by filling out a tiny 3 field form and you will get your own, free, dakka user account which gives a good range of benefits to you:
- No adverts like this in the forums anymore.
- Times and dates in your local timezone.
- Full tracking of what you have read so you can skip to your first unread post, easily see what has changed since you last logged in, and easily see what is new at a glance.
- Email notifications for threads you want to watch closely.
- Being a part of the oldest wargaming community on the net.
If you are already a member then feel free to login now. |
|
 |
![[Post New]](/s/i/i.gif) 2024/09/12 22:28:15
Subject: Re:Waaazag's terrain tutorial blog (formerly The Shattered City)
|
 |

Ragin' Ork Dreadnought
Deep in the Outer Boroughs of NYC
|
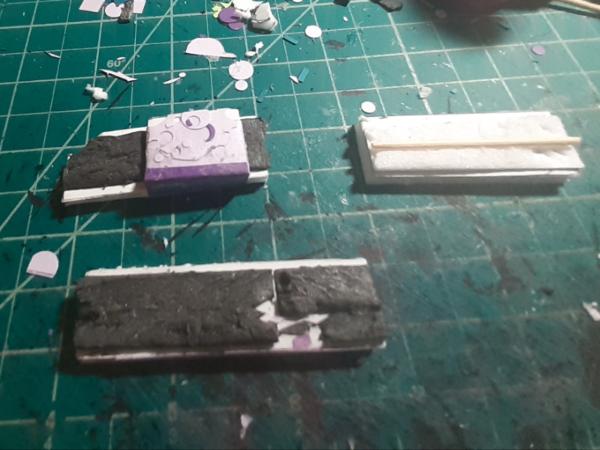
Okay, finally remembered to take progress photos of stuff before I primed it. The spaces between each pillar, on the back walls, gets decoration and a little floor runner to fill up the space. Here are the WIP shots of each of those three for the third floor.
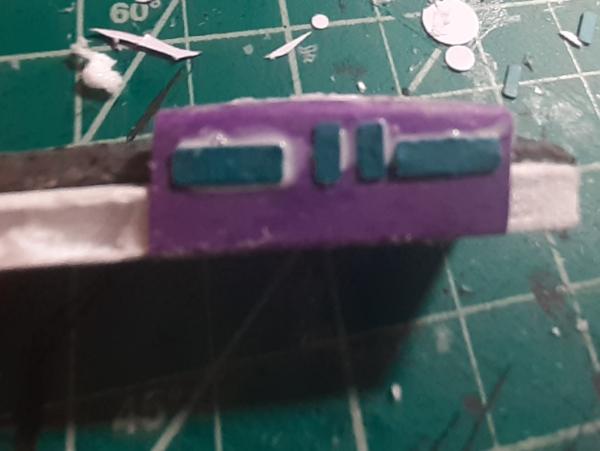
And some extra detail on the side of one that will peak up just over the floor panel.
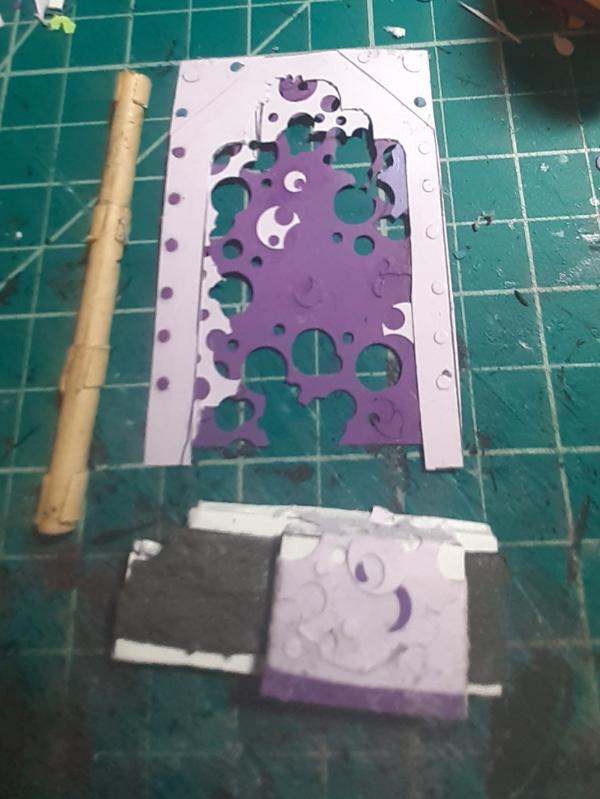
And then each runner with its respective wall panel and miscellaneous extra details, if any.
This one is for the left wall:
Here is the back wall and the panel for the center:
 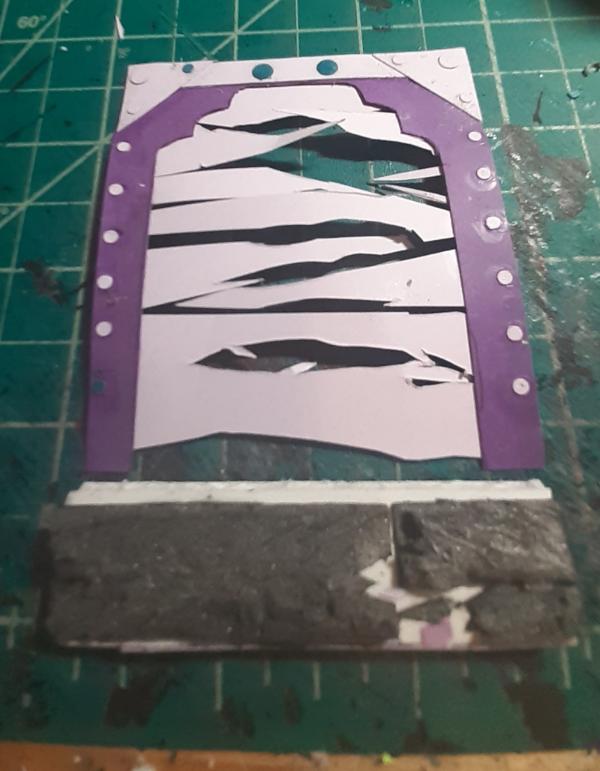
And the right wall:
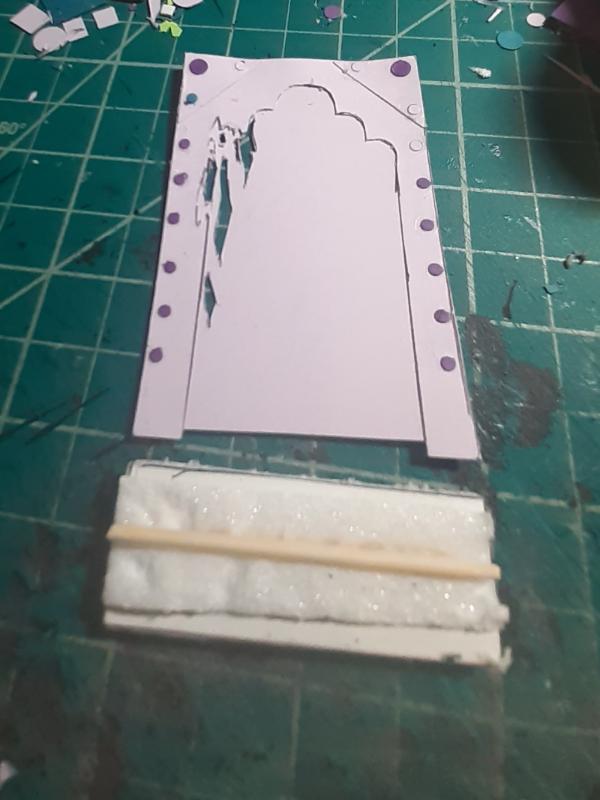
More details will go up as I make them. Thanks for looking and have an awesome day.
|
|
|
|
 |
 |
![[Post New]](/s/i/i.gif) 2024/09/12 23:08:44
Subject: Re:Waaazag's terrain tutorial blog (formerly The Shattered City)
|
 |

[DCM]
Boom! Leman Russ Commander
|
You're really cranking through the work! 
That's a great idea with the floor runners to add visual interest, detail and texture without having to get really involved- great look within reasonable build times; I
m stealing that.  
|
"He fears his fate too much, or his desserts are small, who will not put it to a single touch; to win- or lose- it all."
Montrose Toast

|
|
|
 |
 |
![[Post New]](/s/i/i.gif) 2024/09/13 06:30:41
Subject: Re:Waaazag's terrain tutorial blog (formerly The Shattered City)
|
 |

Ragin' Ork Dreadnought
Deep in the Outer Boroughs of NYC
|
Thanks, Meer_Cat! I'm very happy with my progress also. Speaking of which, here are some shots of the ceiling from the 1st floor, along with the last length of cabling in place.
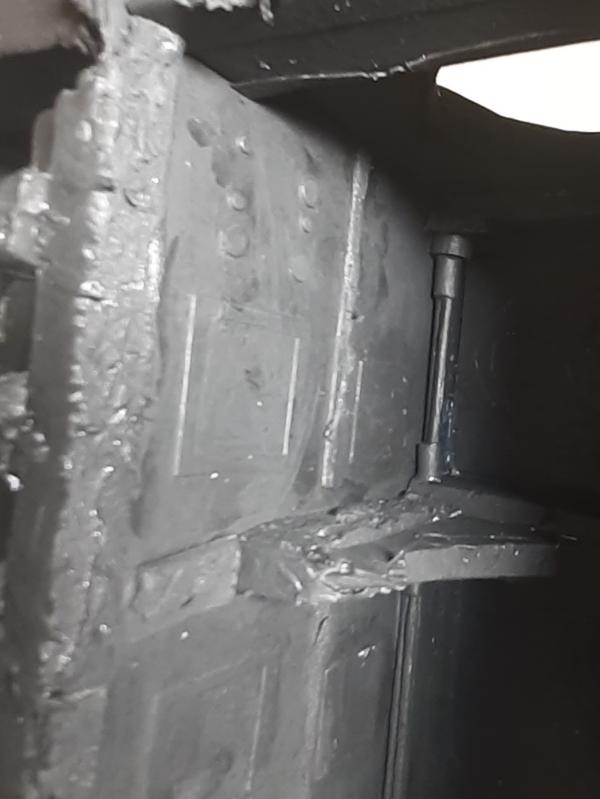 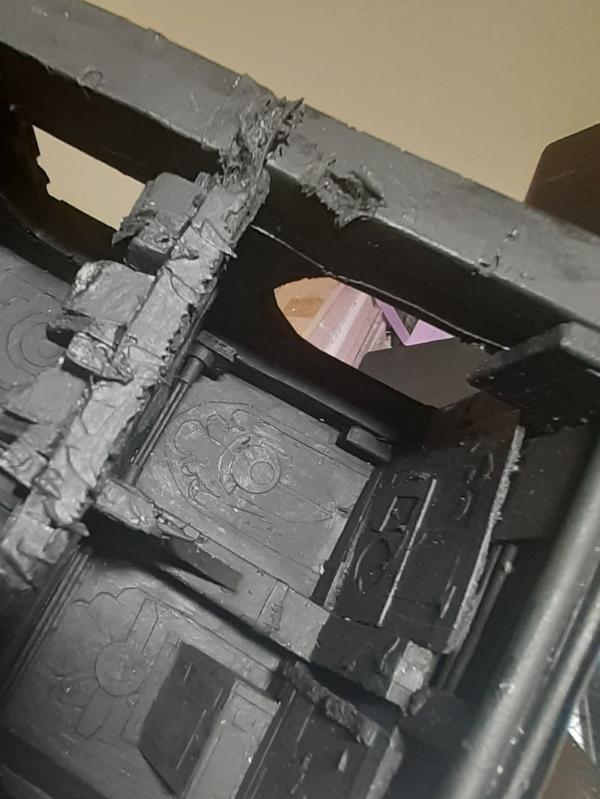
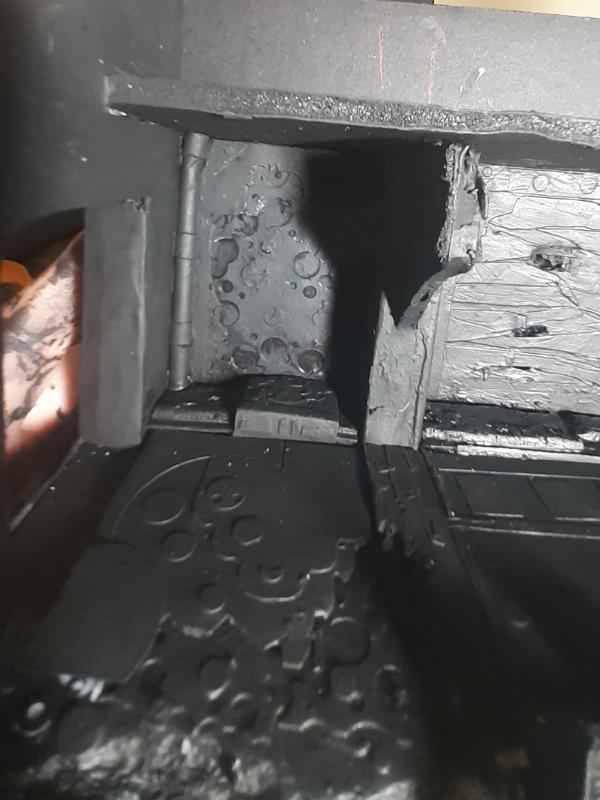
And then the right wall and floor panels in place:
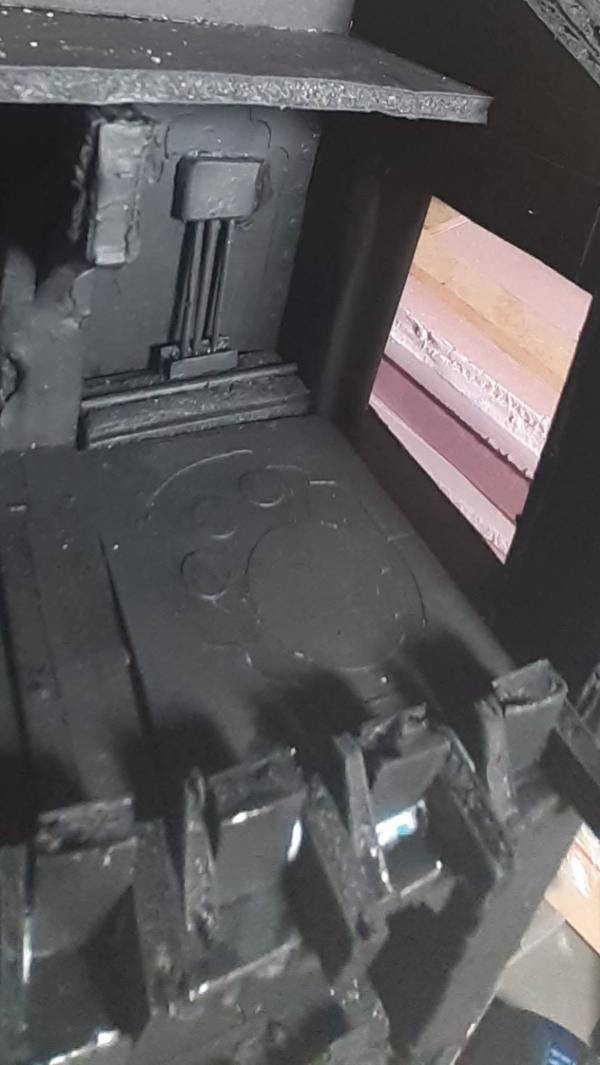
The middle:
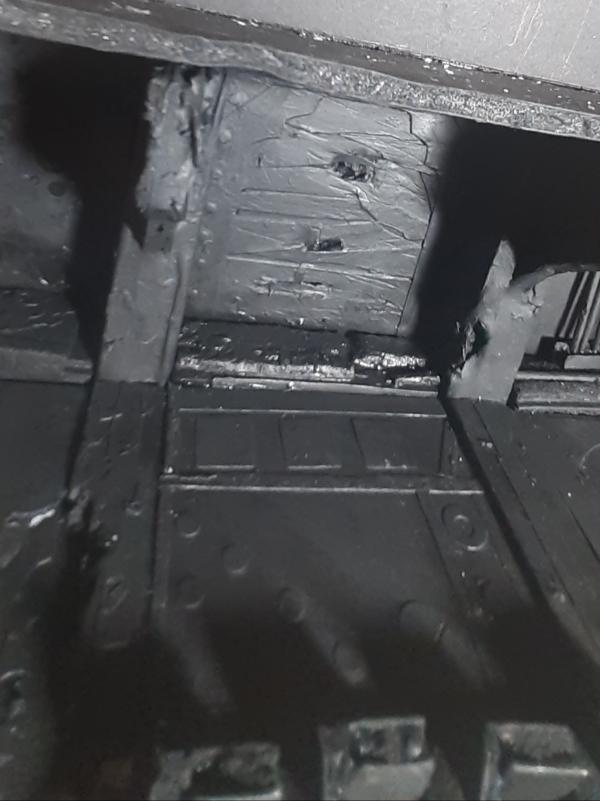
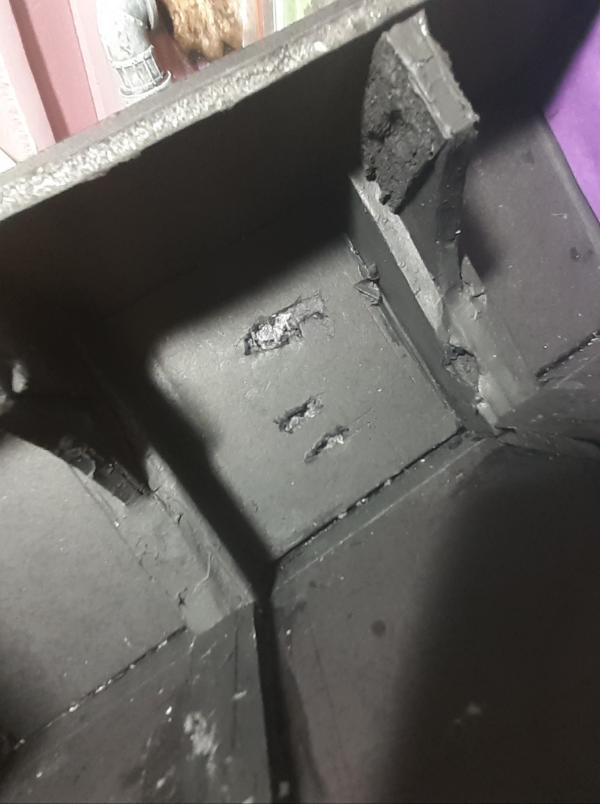
And the left, including detail of the floor. I tried to make it look like the area had been damaged by acid. Do you think it comes across well?
 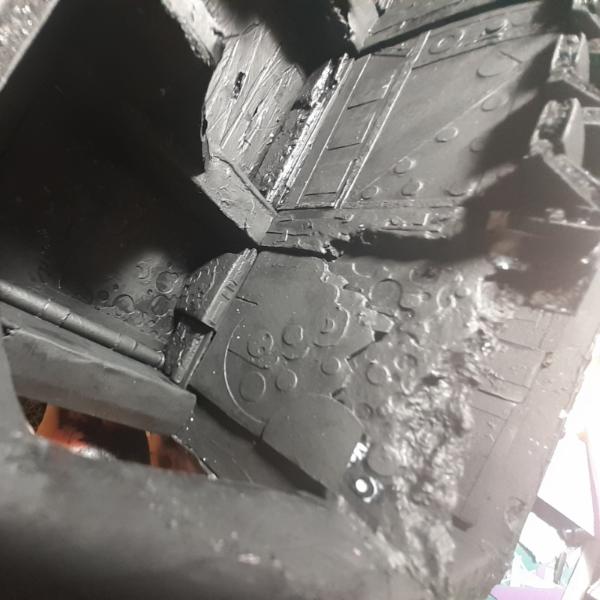
And then the third floor in its entirety, including the decorative railing.
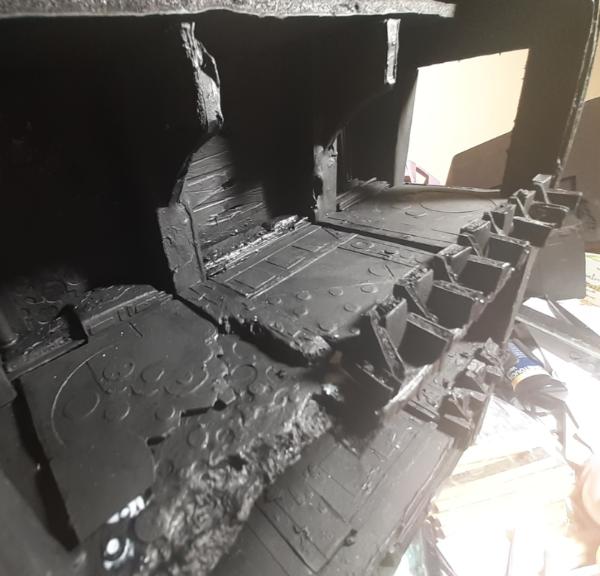
Thanks for looking. C&C is always welcome. Have a great day.
|
|
|
 |
 |
![[Post New]](/s/i/i.gif) 2024/09/15 06:11:09
Subject: Re:Waaazag's terrain tutorial blog (formerly The Shattered City)
|
 |

Ragin' Ork Dreadnought
Deep in the Outer Boroughs of NYC
|
Not a huge amount of work, but I started on the 4th floor.
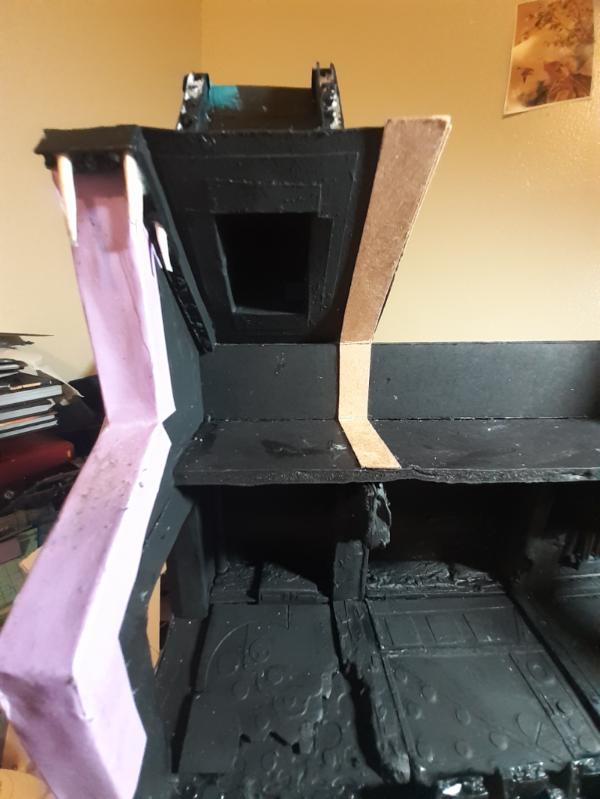 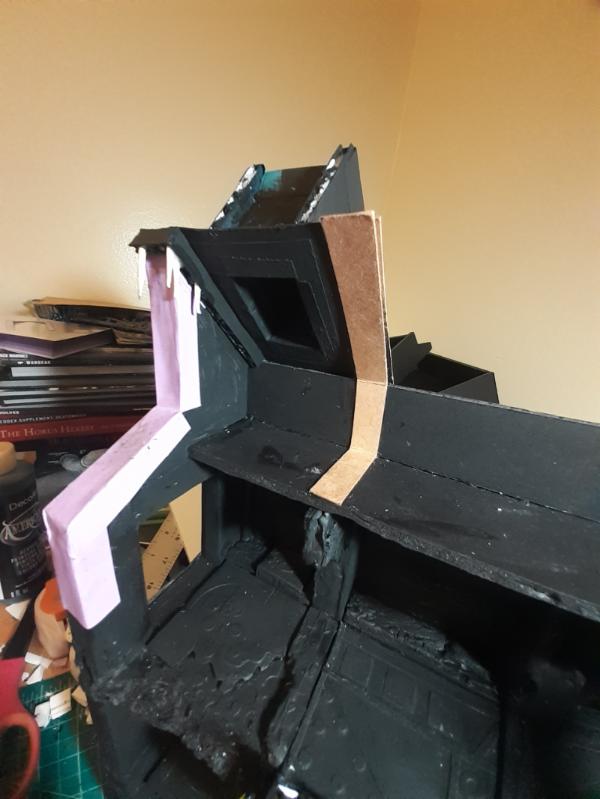
Thanks for looking. More progress tomorrow.
|
|
|
|
 |
 |
![[Post New]](/s/i/i.gif) 2024/09/15 14:51:31
Subject: Waaazag's terrain tutorial blog (formerly The Shattered City)
|
 |

Decrepit Dakkanaut
|
The evolution of this is staggering. Lovely stuff.
|
Theophony"... and there's strippers in terminator armor and lovecraftian shenanigans afoot."
Solar_Lion: "Man this sums up your blog nicely."
Anpu-adom: "being Geek is about Love. Some love broadly. Some love deeply. And then there are people like Graven.  |
|
|
 |
 |
![[Post New]](/s/i/i.gif) 2024/09/15 18:34:56
Subject: Waaazag's terrain tutorial blog (formerly The Shattered City)
|
 |

Ragin' Ork Dreadnought
Deep in the Outer Boroughs of NYC
|
Thank you very much for the high praise, graven! I should have more progress shots up tonight or tomorrow morning. I'm working on the right side of the ceiling and the back wall on this top floor.
|
|
|
|
 |
 |
![[Post New]](/s/i/i.gif) 2024/09/16 07:58:34
Subject: Re:Waaazag's terrain tutorial blog (formerly The Shattered City)
|
 |

Ragin' Ork Dreadnought
Deep in the Outer Boroughs of NYC
|
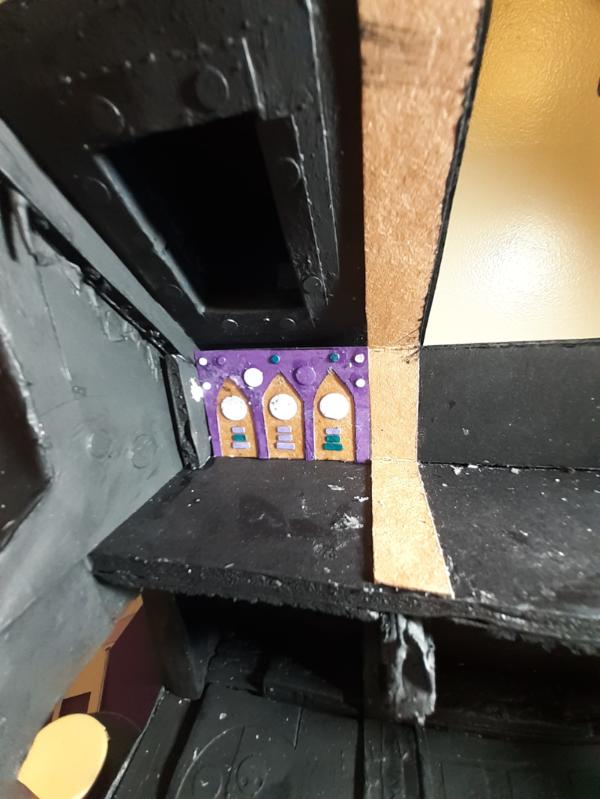
I started making details for the left side. A wall panel first:
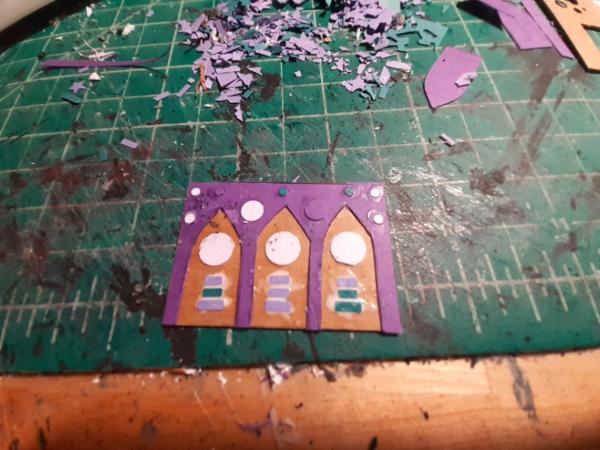 
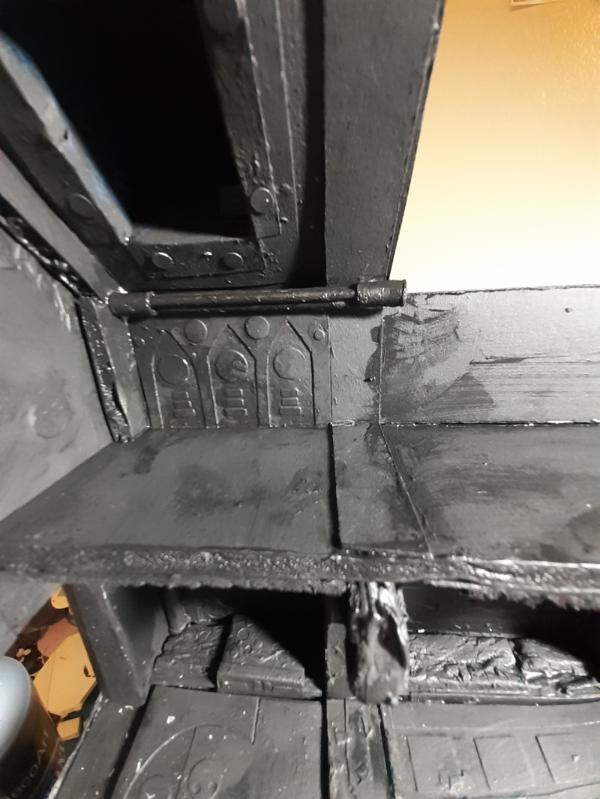
And then primed with some piping:
And then the floor:

And then a notched structural beam:
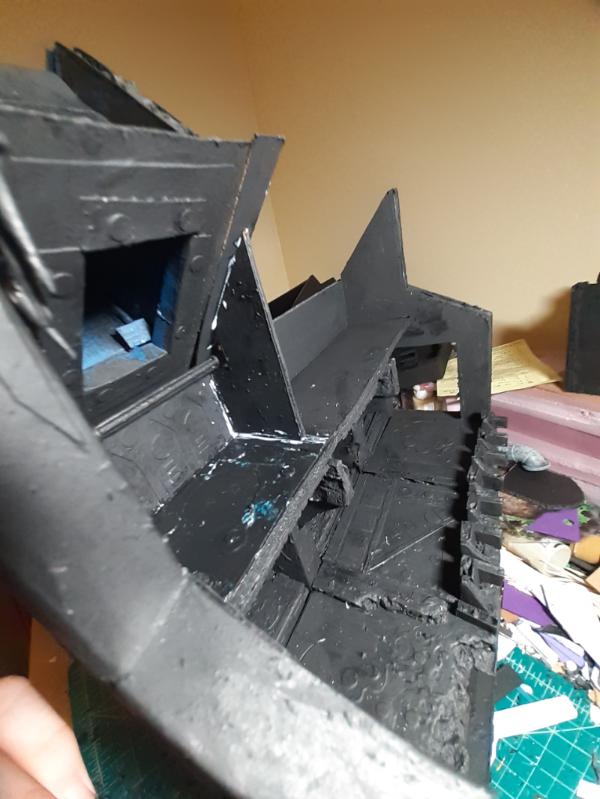 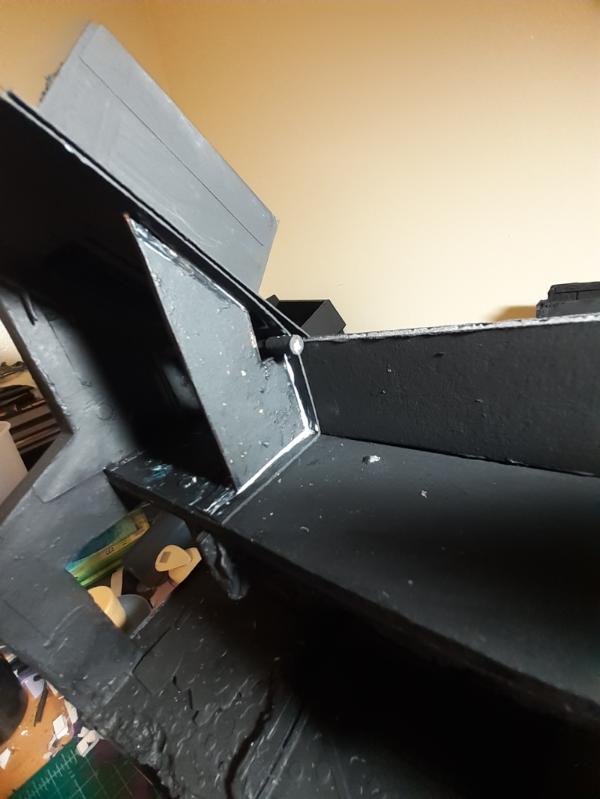
That's as far as I got this evening. More work will get done in the next few days, with more updates. I have to wrap the beams on the right side, make railing bits for the 2nd floor, detail the right side ceiling (including a vent shaft), and figure out what I want to do with the center. Then I have to cover the sides and detail the back before I will consider the building part complete and move on to the next piece.
Thanks for looking and have an awesome day!
|
|
|
|
 |
 |
![[Post New]](/s/i/i.gif) 2024/09/17 01:42:26
Subject: Re:Waaazag's terrain tutorial blog (formerly The Shattered City)
|
 |

[DCM]
Boom! Leman Russ Commander
|
I say again- that paneling is a terrific effect! The whole project is impressive and intimidating in its scope, but I really like your raised-relief panels and how natural they appear in their positioning; there is really a purpose for them to be where they are. Rock on! 
|
"He fears his fate too much, or his desserts are small, who will not put it to a single touch; to win- or lose- it all."
Montrose Toast

|
|
|
 |
 |
![[Post New]](/s/i/i.gif) 2024/09/18 05:22:32
Subject: Re:Waaazag's terrain tutorial blog (formerly The Shattered City)
|
 |

Ragin' Ork Dreadnought
Deep in the Outer Boroughs of NYC
|
Thanks again, Cat.
I started work on the right hand ceiling vent. This rim gets glued to the exterior of the angled ceiling.
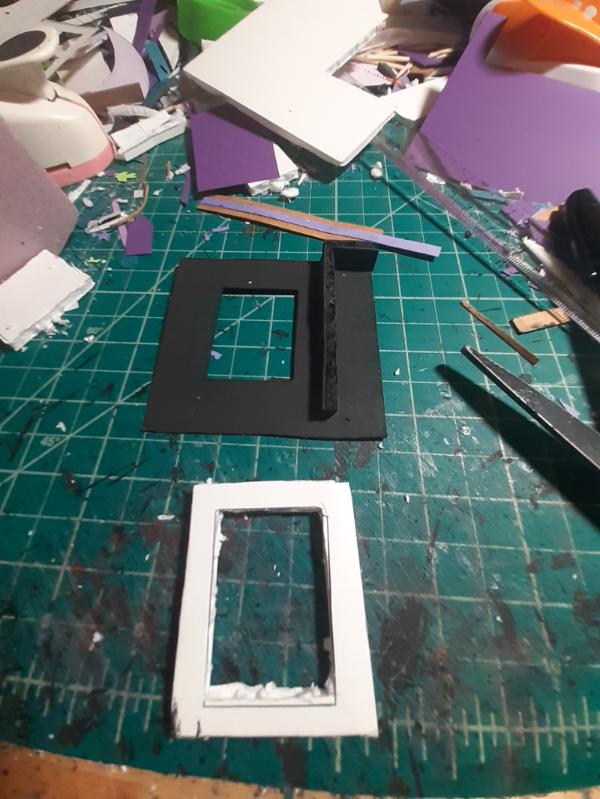
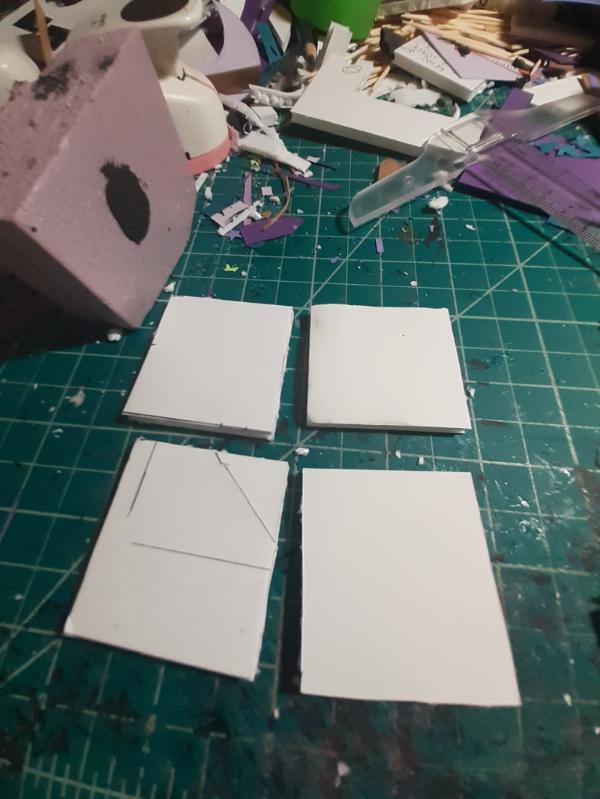
These are rough cut panels that will form the walls of the shaft.
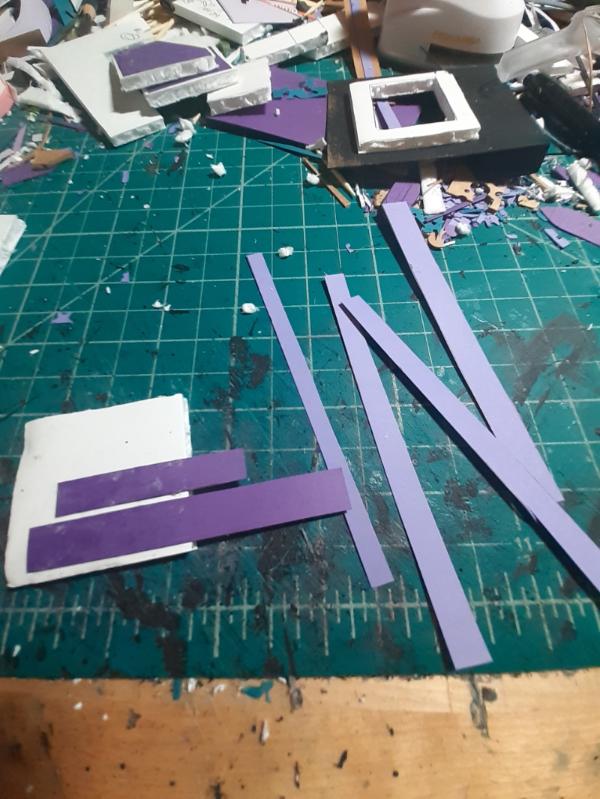
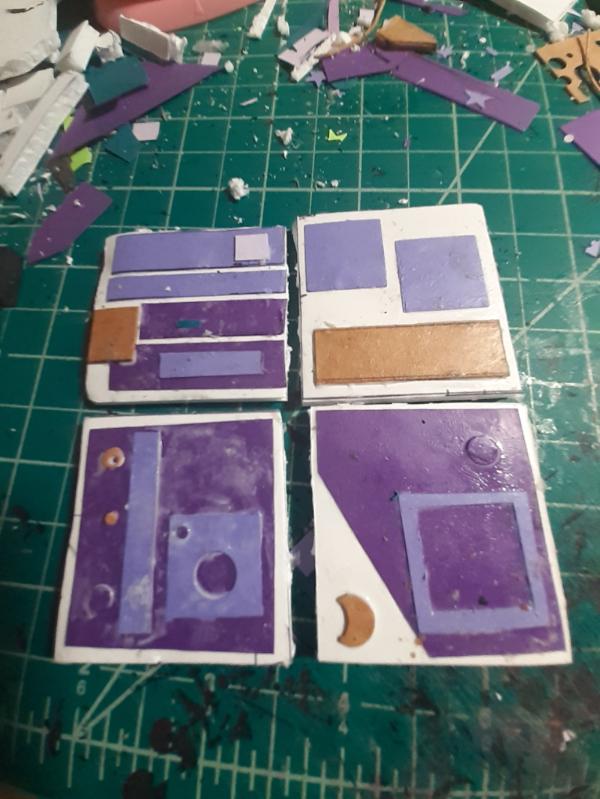
I learned from last time that most of the details I add to these panels will be hidden in the ceiling, but I still put way more than necessary. I just cut a bunch of paper strips of various widths, used some of the other paper debris you can see in the background here, and various scraps to add random shapes to these panels.
This might be difficult to see in this photo, but this is the base details of the other ceiling hole, with an extra nib of foam in the lip because the right side angle doesn't line up as well as the left.
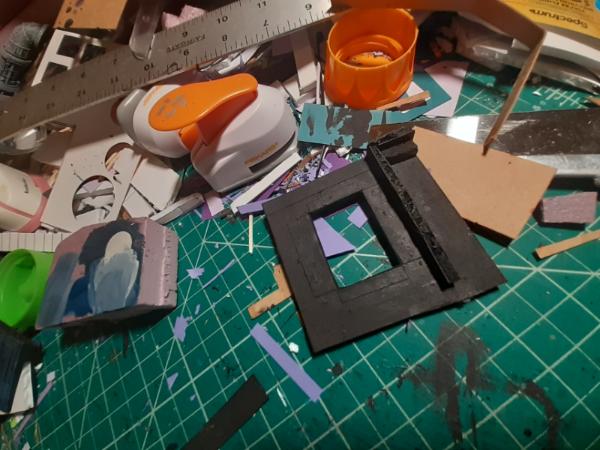
Then I primed and painted the vent interior panels.
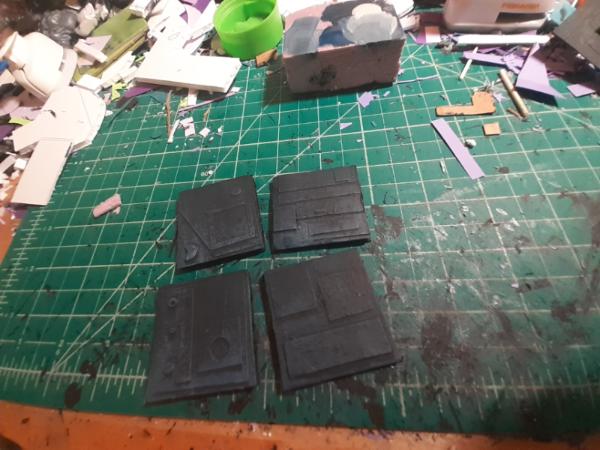
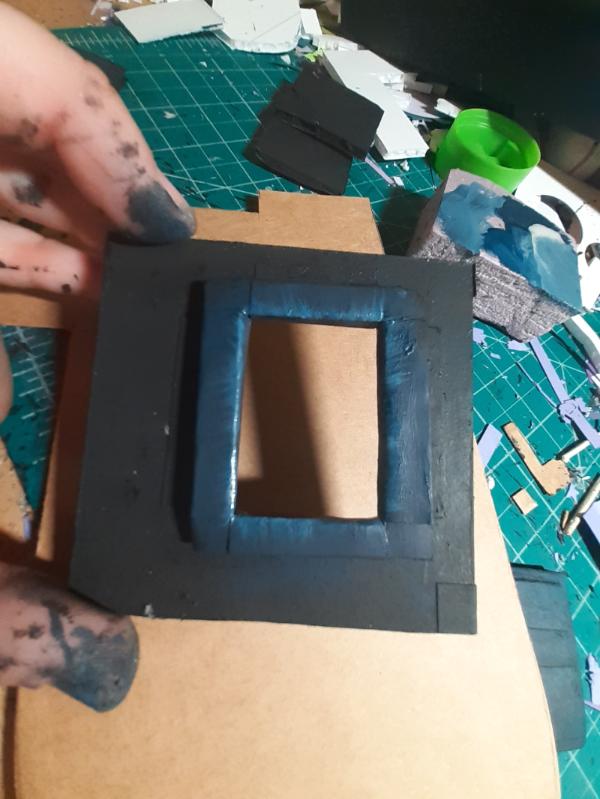
And the inner rim of the ceiling hole.
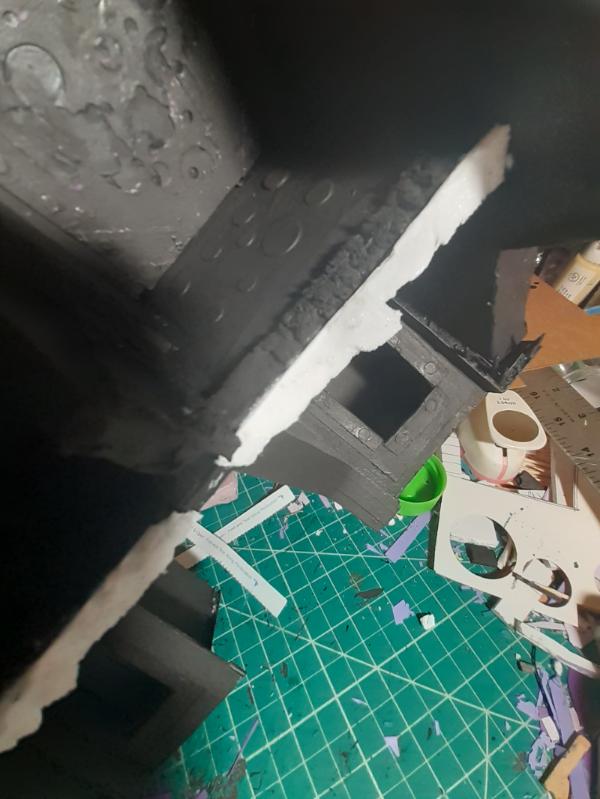
And then this is just a shot of the ceiling details of the third floor. Just a whole bunch of dots.
Any way, that's tonight's progress. More to do tomorrow. Thanks for looking. C&C always welcome. I hope you all have a fantastic day!
|
|
This message was edited 2 times. Last update was at 2024/09/18 09:51:41
|
|
|
 |
 |
![[Post New]](/s/i/i.gif) 2024/09/18 14:09:56
Subject: Waaazag's terrain tutorial blog (formerly The Shattered City)
|
 |

Ancient Venerable Dreadnought
|
This is looking superb, really giving me some enthusiasm for building a similar feature to display my Space Hulk stuff on. I’ll probably chest and 3d print something though
|
Goberts Gubbins - P&M Blog, started with Oldhammer, often Blackstone Fortress and Void Panther Marines, with side projects along the way |
|
|
 |
 |
![[Post New]](/s/i/i.gif) 2024/09/18 17:56:36
Subject: Re:Waaazag's terrain tutorial blog (formerly The Shattered City)
|
 |

Ragin' Ork Dreadnought
Deep in the Outer Boroughs of NYC
|
 gobert wrote: gobert wrote:This is looking superb, really giving me some enthusiasm for building a similar feature to display my Space Hulk stuff on. I’ll probably cheat and 3d print something though
Thanks, gobert. And I want to point out that 3D printing is not "cheating". It's just another tool in our creative toolbox. If I had the skill to design things in those programs or had access to a 3D printer, I would be using that, too. There is no wrong way to make great art (except by using generative AI because those steal art already made by other artists without crediting them. There really needs to be better regulation to protect creative people, who pour their heart, soul, dedication, energy, time, and earned skills into making their art, only to have it stolen and appropriated by Tech Bros and real cheaters/plagiarists looking to make money off of someone else's efforts).
Hmm, clearly I have strong feelings about AI art. Although, to be fair, I have really strong feelings about art in general and a deep love and respect for the artists that create it.
TL;DR: 3D printing is a tool, AI art is theft.
Rant out of the way, I wrapped the right pillar finally.
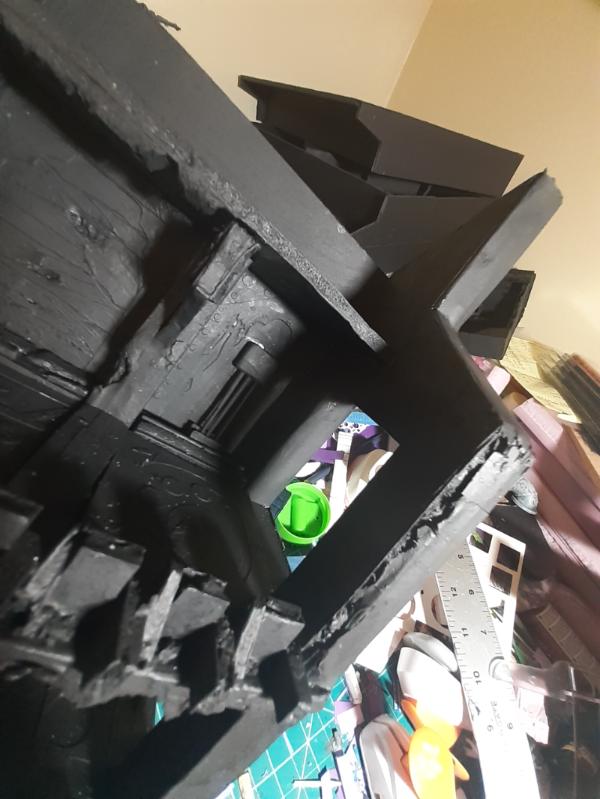
And glued the right ceiling vent panel in place.
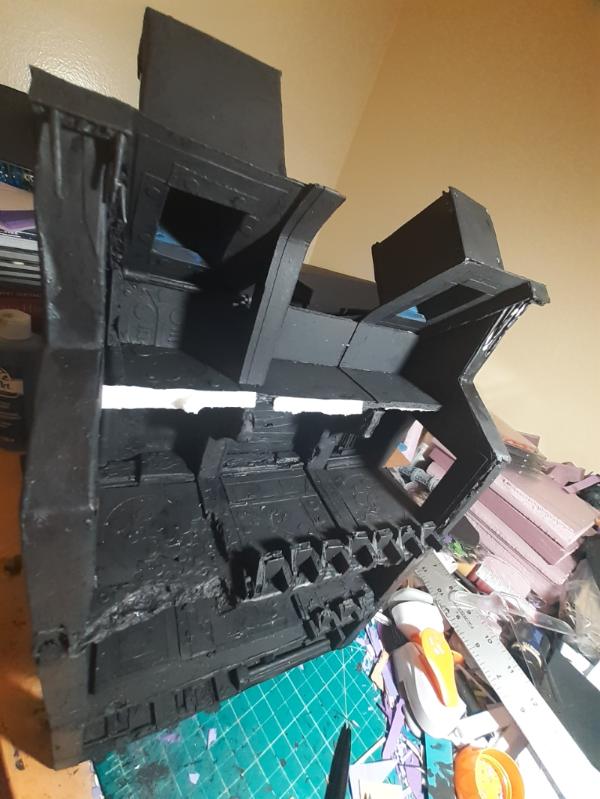
This part was way forward and I did not want to undo any of my previous work to fix it, so I added the nib inside this lip as an anchor for these corrosion stalactites.
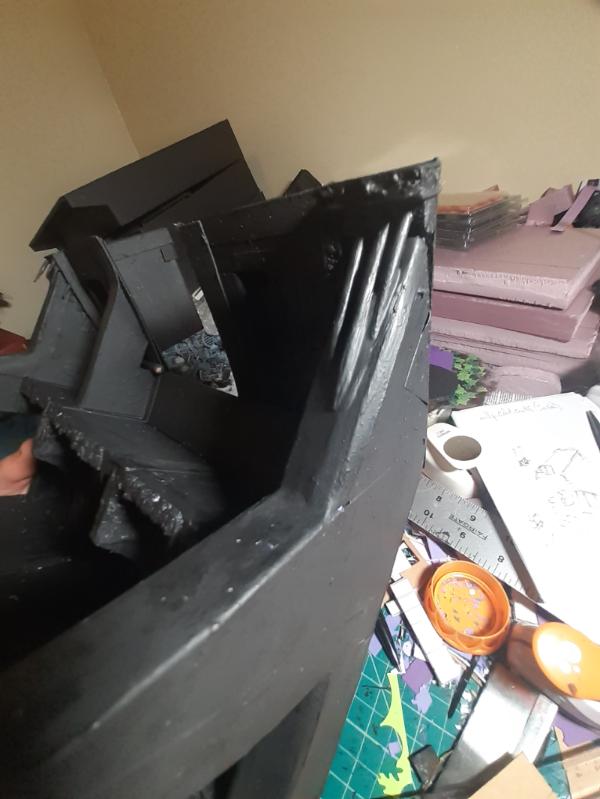
And then I immediately started adding panel details.
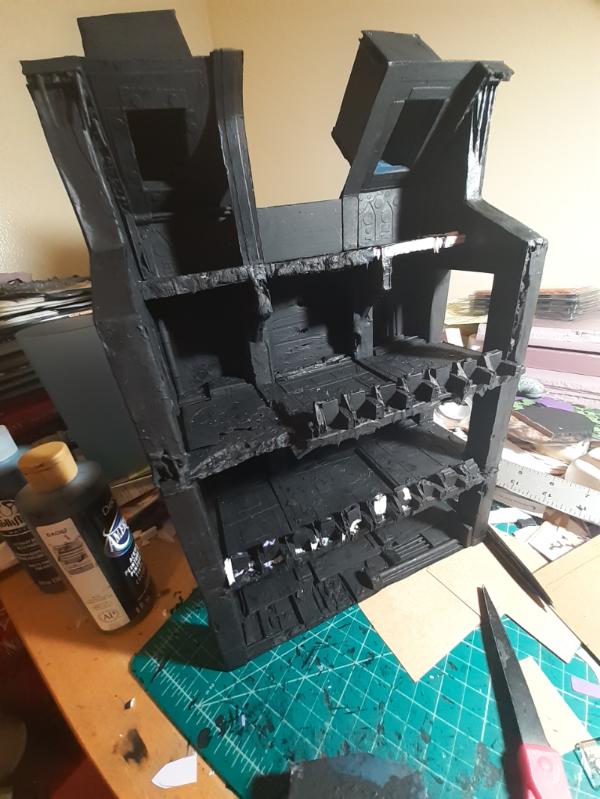 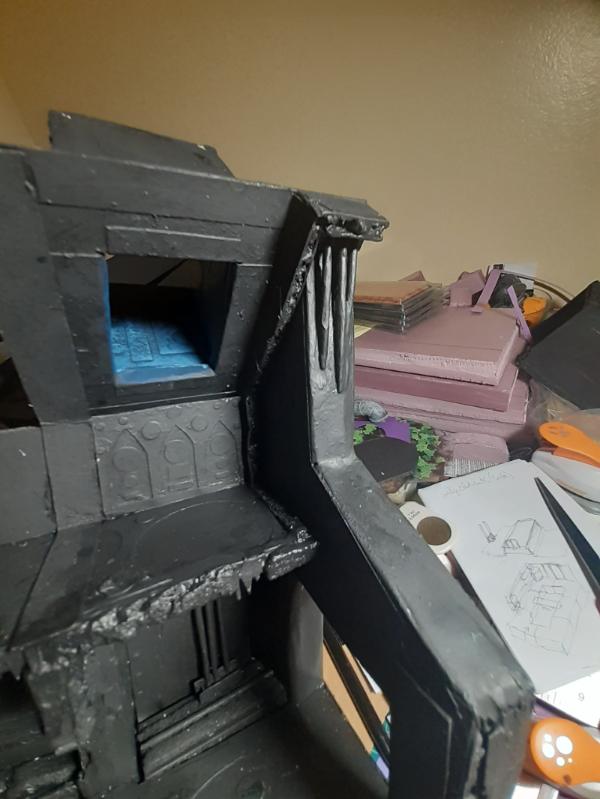
And floor deets:
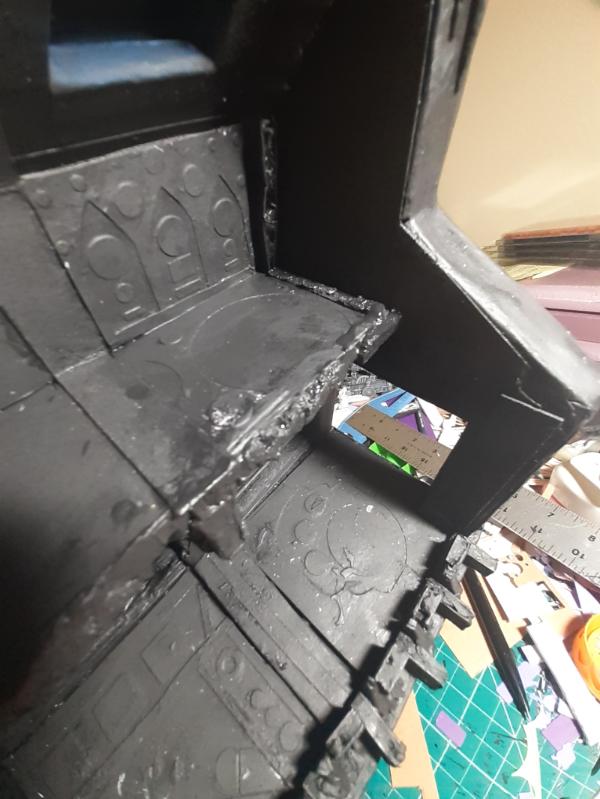
And here you can see a close up of the decrepit right pillar.
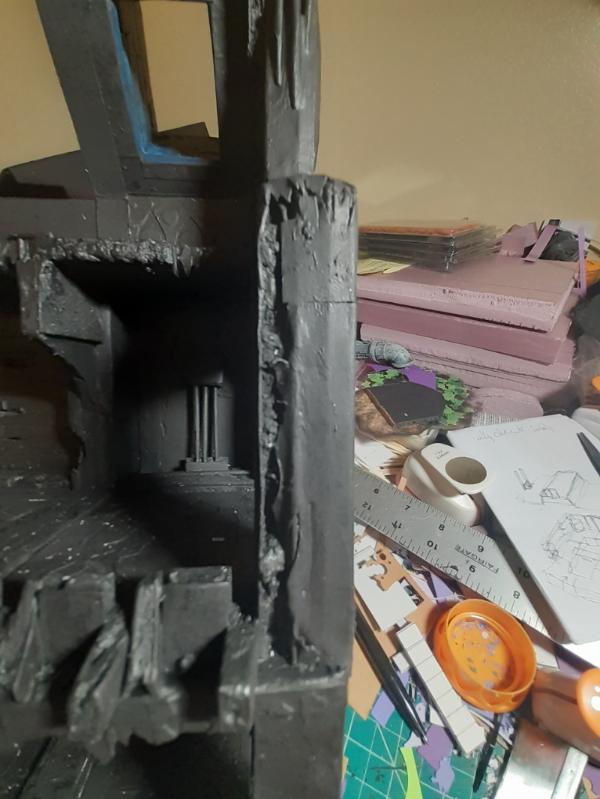
More updates as I get stuff done. Thanks for looking and have an awesome day.
|
|
|
|
 |
 |
![[Post New]](/s/i/i.gif) 2024/09/18 20:48:41
Subject: Waaazag's terrain tutorial blog (formerly The Shattered City)
|
 |

Gargantuan Great Squiggoth
|
Inspirational work. Brilliant use of material. Love this.
|
|
|
|
 |
 |
![[Post New]](/s/i/i.gif) 2024/09/18 21:44:11
Subject: Waaazag's terrain tutorial blog (formerly The Shattered City)
|
 |

Ragin' Ork Dreadnought
Deep in the Outer Boroughs of NYC
|
Thanks, Cam!
Here are a bunch of 4th floor details WIP.
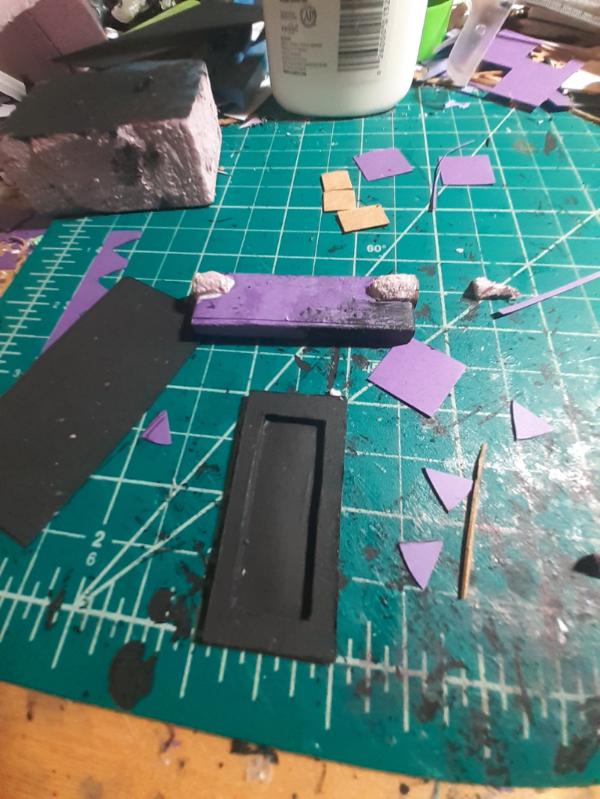
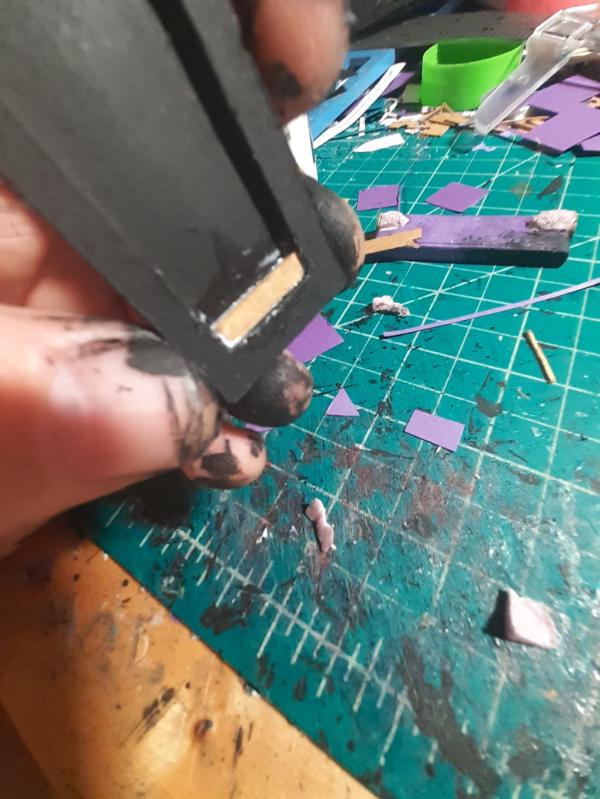
This will be a wall vent that I wanted angled louvers for. So I glued a short stack of risers to act as support inside the vent.
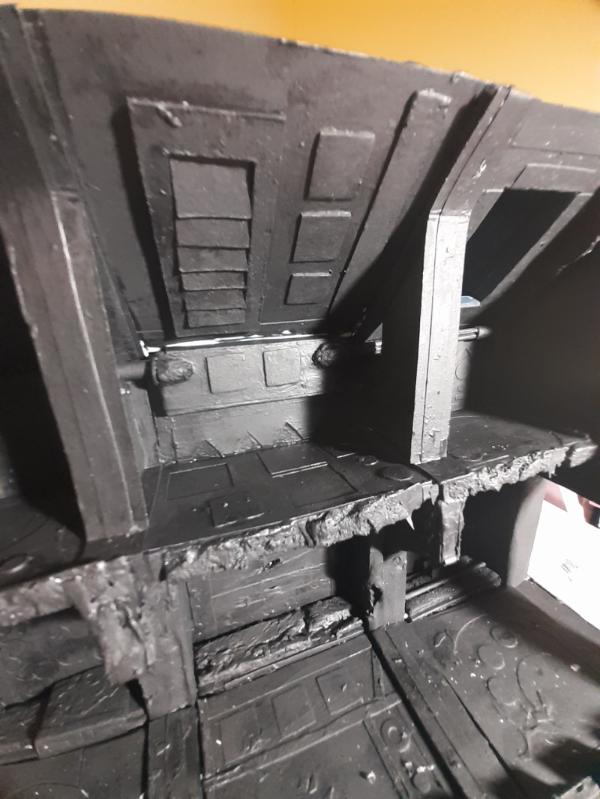
And then the last ceiling panel in place.
And then a wider shot of the top.
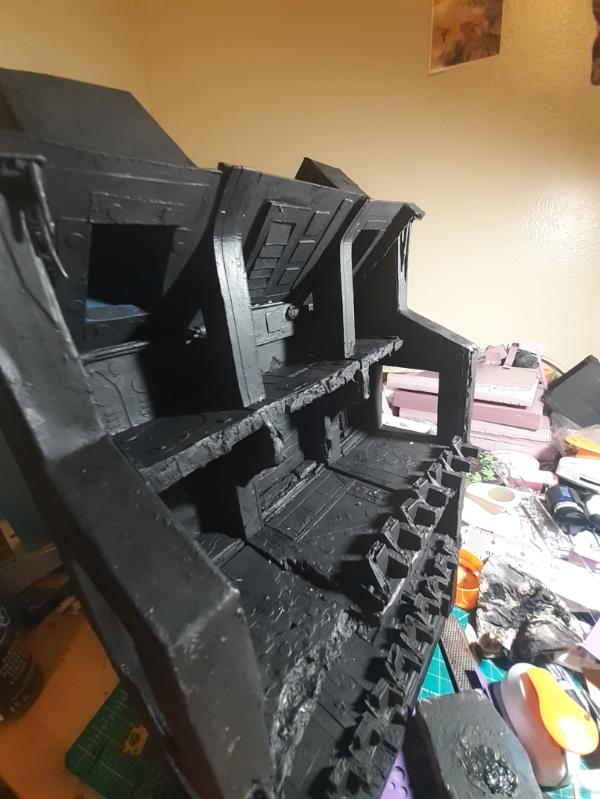
Every step of this build has been preceded by dreading the next big thing I had to solve or duplicate. The complex railing, the structural beams on the 4th floor, the ceiling vents, wrapping every pillar, and on and on. Powering through this build has been such an emotional challenge for me. And of course, I still have to detail the back and exterior sides of it. My work continues forever.
Thank you coming to my build and witnessing it with me. C&C always wanted. I want everyone to have the best possible day.
|
|
|
|
 |
 |
![[Post New]](/s/i/i.gif) 2024/09/19 20:48:11
Subject: Re:Waaazag's terrain tutorial blog (formerly The Shattered City)
|
 |

Ragin' Ork Dreadnought
Deep in the Outer Boroughs of NYC
|
|
|
|
|
 |
 |
![[Post New]](/s/i/i.gif) 2024/09/20 20:31:11
Subject: Re:Waaazag's terrain tutorial blog (formerly The Shattered City)
|
 |

Ragin' Ork Dreadnought
Deep in the Outer Boroughs of NYC
|
More work done. This piece was meant to give me a 2" depth ino the center of the board layout (there will be 5 other 2" riser platforms). My original idea was to have a board where a big hole in the center presented a flanking option to get to the opposite side of the table. But that idea centered around the idea that the airlock players would be entering from came into a cargo hold of some sort. My new idea places the airlock between gun batteries, with a platform overlooking the loading areas. So now this riser is just a middle piece among many. It also means that I will have to add a bottom sheet to enclose it all. I want it to sit flush with the other terrain it will sit on top of.
 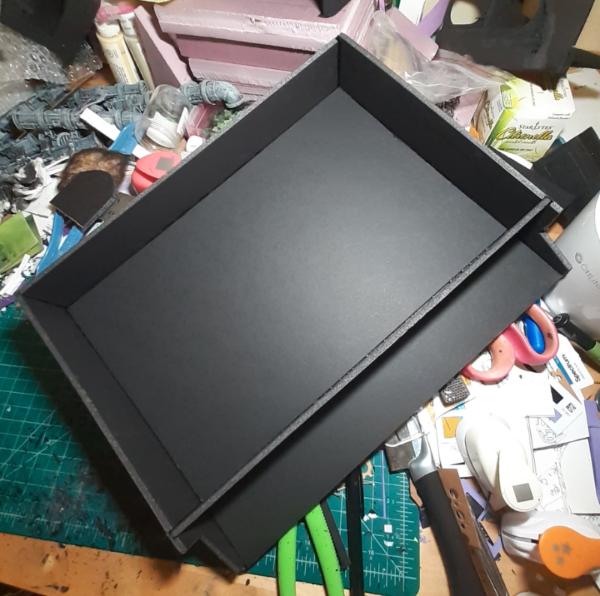 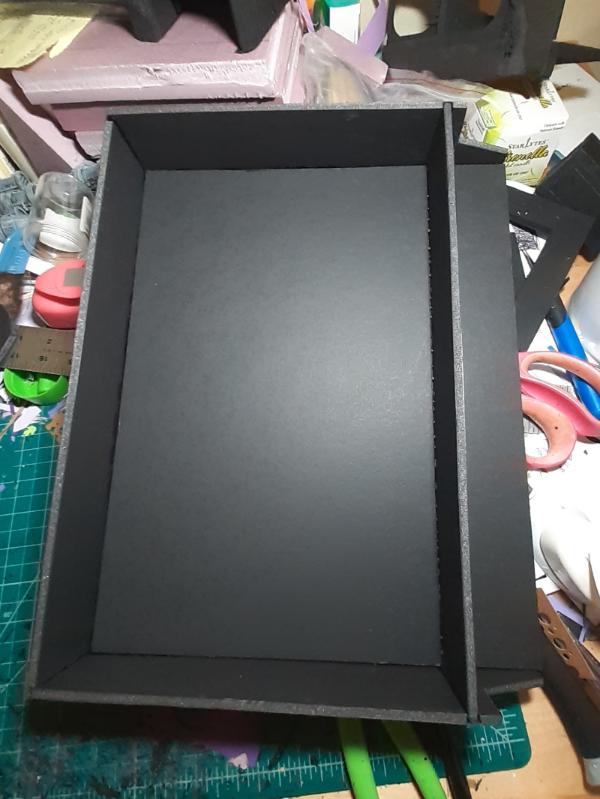
And I wanted to make the shape interesting, so I added this lip.
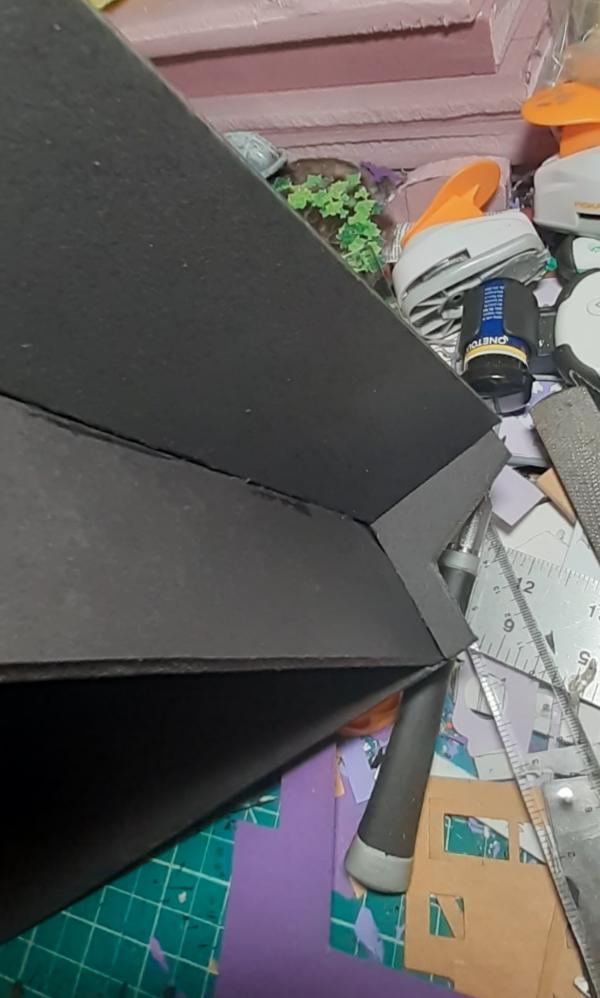 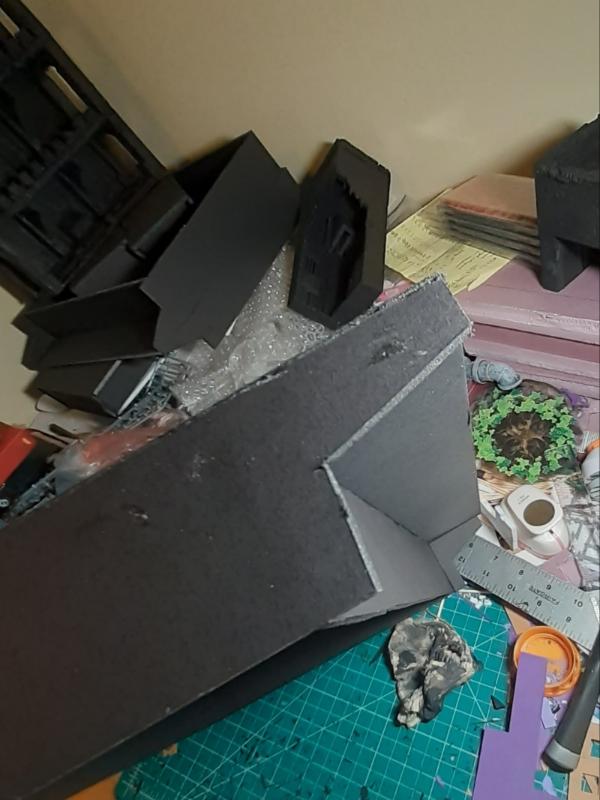
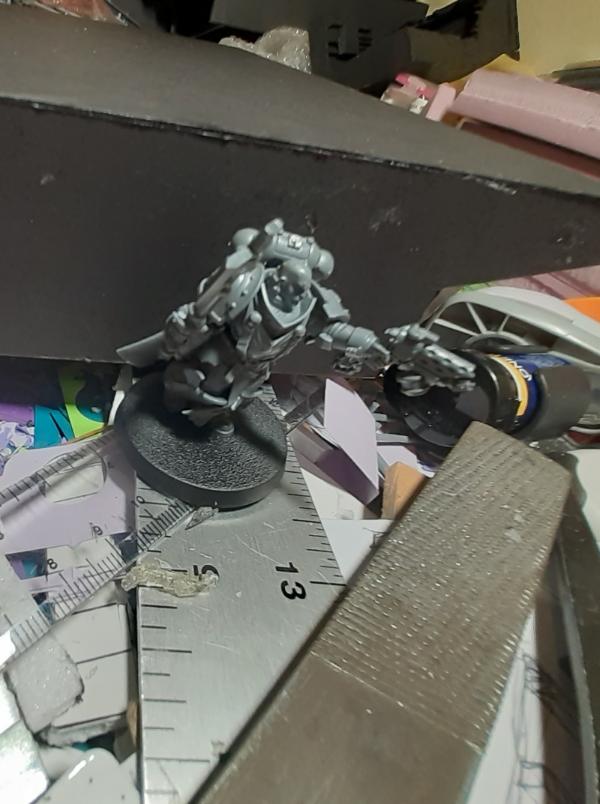
Here is rando BT to showcase scale.
This zoomed in shot is my new board layout idea.
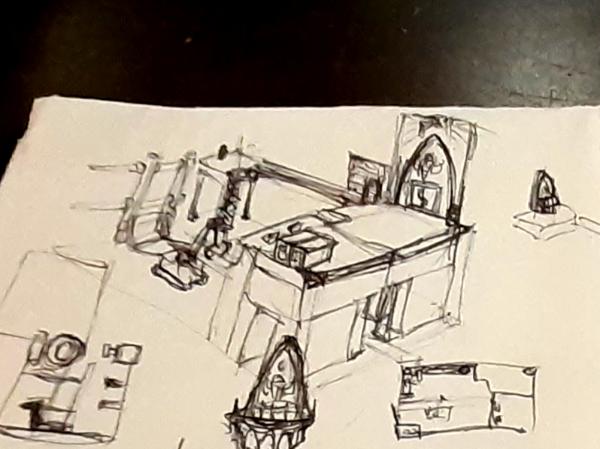
The full size of this riser thing is 14" by 11" by 2". I didn't want to do much cutting, so the top sheet is the exact size of the precut foamcore.
This is barely a beginning, but I don't want to lose momentum. Automatically Appended Next Post: I went a little berserk with making basic shapes to detail.
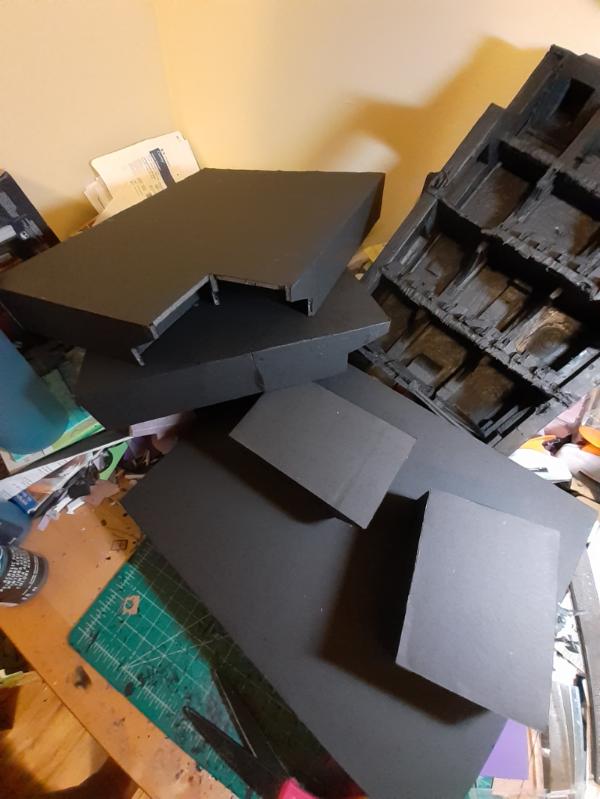
Hopefully I can make a bunch more basic shapes tomorrow, too.
|
|
This message was edited 3 times. Last update was at 2024/09/21 05:22:46
|
|
|
 |
 |
![[Post New]](/s/i/i.gif) 2024/09/21 17:03:25
Subject: Waaazag's terrain tutorial blog (formerly The Shattered City)
|
 |

Fixture of Dakka
|
Warboss_Waaazag,
OK, I see the detail on the one at the back. When that treatment is applied to the basic shapes it should look epic.
Cheers,
CB
|
|
|
|
 |
 |
![[Post New]](/s/i/i.gif) 2024/09/22 14:47:08
Subject: Waaazag's terrain tutorial blog (formerly The Shattered City)
|
 |

Ragin' Ork Dreadnought
Deep in the Outer Boroughs of NYC
|
Thanks, Captain Brown.
I wish I had progress shots to show for yesterday or today, but I wound up seeing a good friend on my way out of work last night and spent all my potential hobby time talking to him and catching up. So alas, I did human stuff instead of hyper focusing.
More updates forthcoming.
I think what I am currently struggling with is how to make effective staircases that are easily accessible by models, functional, and not gigantic. I want scratch built stairs that don't overpower the terrain and still look good. I might have to switch to a different material other than foamcore, but I also want to try to steer clear of plasticard. Anybody have any suggestions - material wise, construction tips, or links to stuff you've seen or done that works? Automatically Appended Next Post: I worked on more sketches. Just trying to spend my time well. Always trying to work out new designs, new ideas.
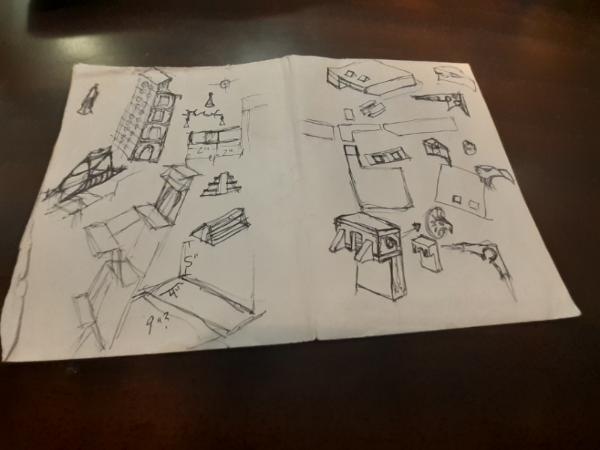 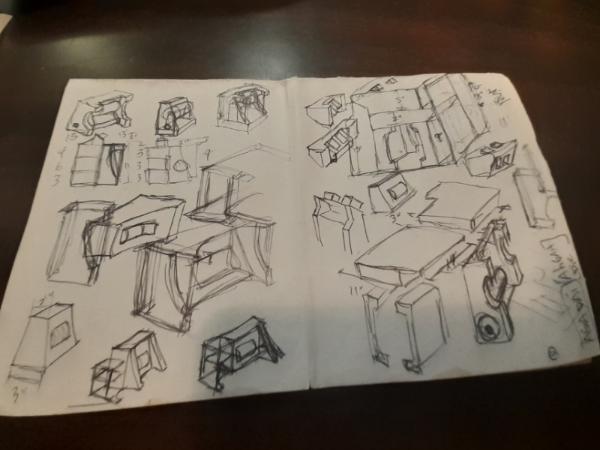 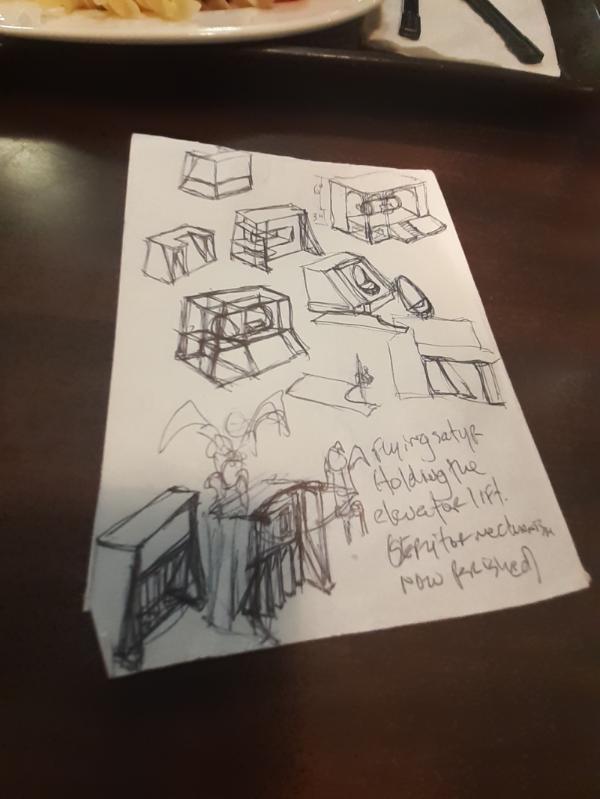
Don't mind my lunch in the background.
|
|
This message was edited 3 times. Last update was at 2024/09/22 19:26:18
|
|
|
 |
 |
![[Post New]](/s/i/i.gif) 2024/09/25 05:18:25
Subject: Re:Waaazag's terrain tutorial blog (formerly The Shattered City)
|
 |

Ragin' Ork Dreadnought
Deep in the Outer Boroughs of NYC
|
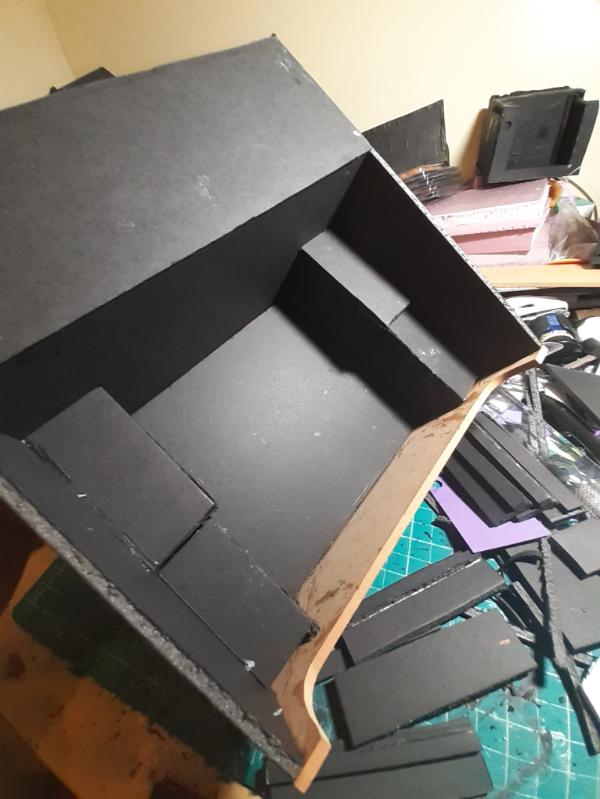
Started work on another piece. I wanted it to lean forward a bit and have some complex shape. Measurements got fiddly.
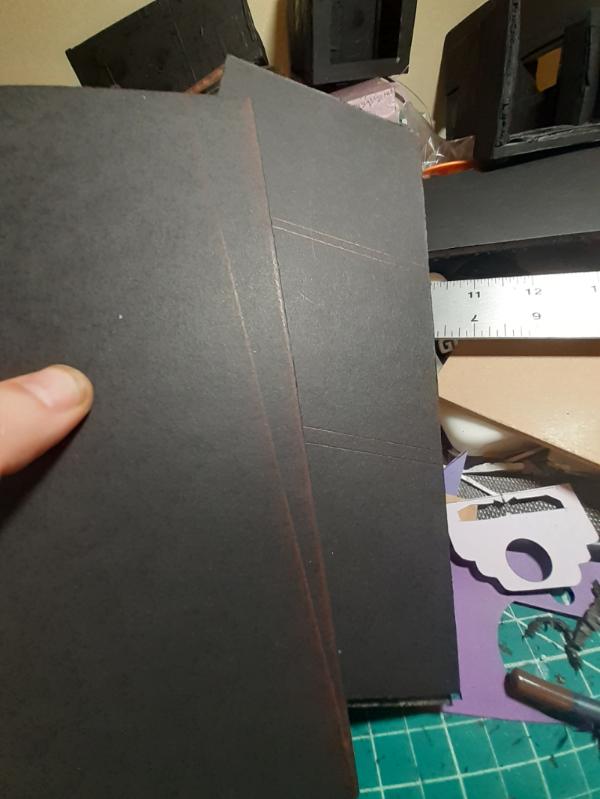 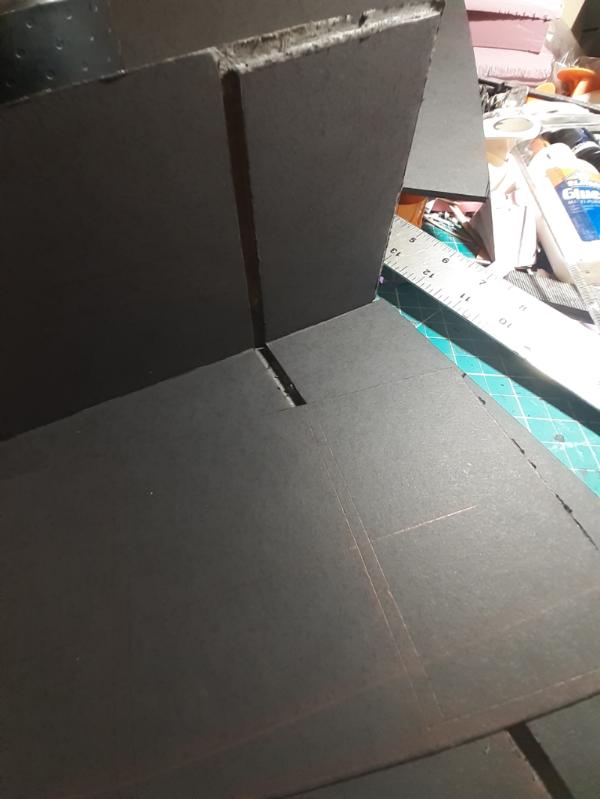 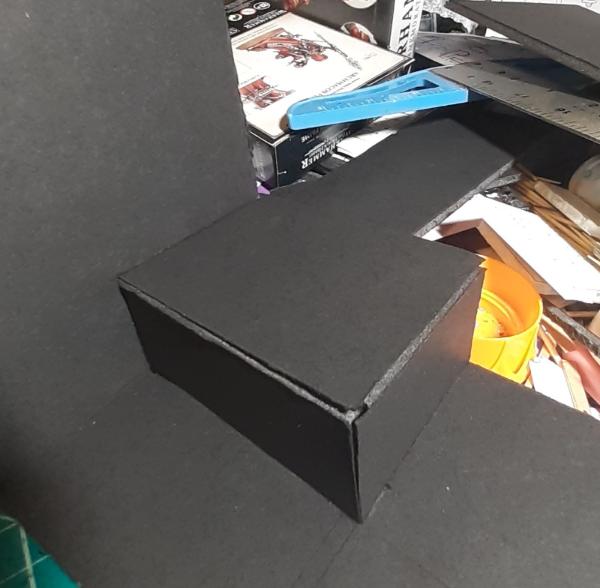
But I got there.
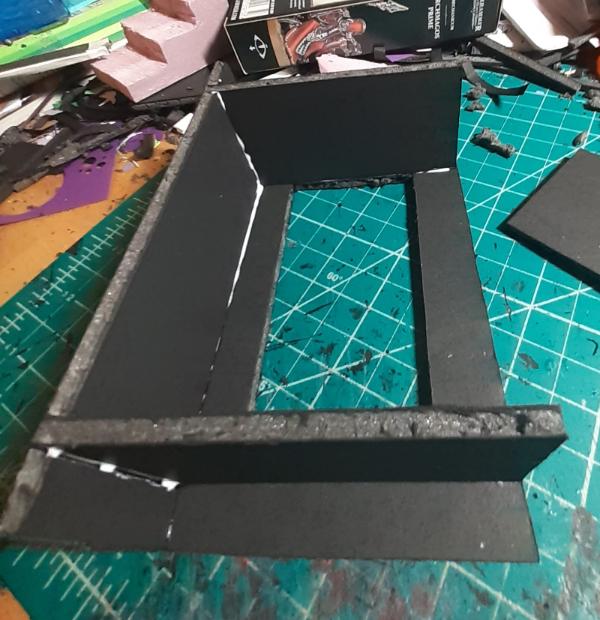
Then I started work on a giant heat sink.
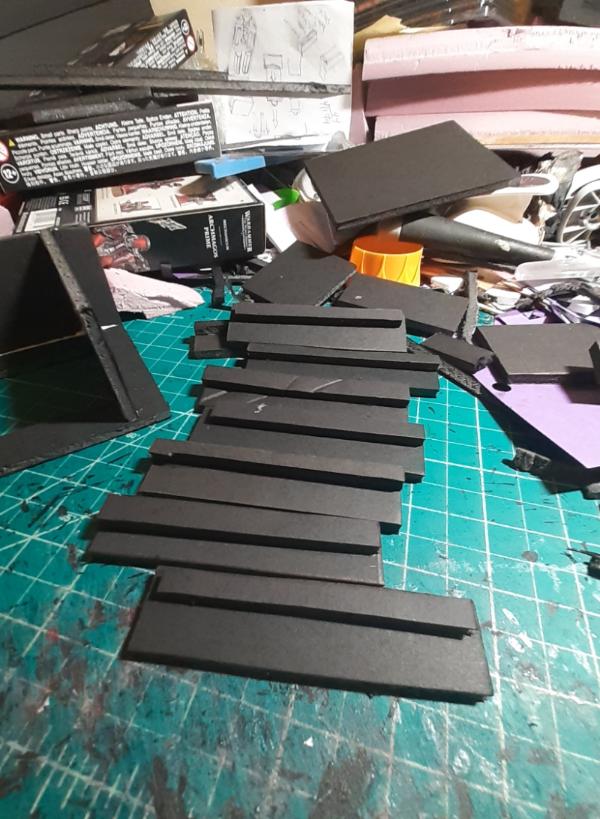
These are the tines
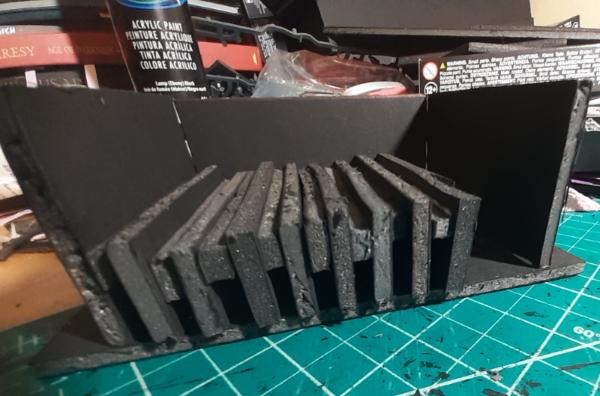
And here I test fit them in their housing.
That's it so far. More progress photos as I make it/them. Thanks for looking and have an awesome day! Automatically Appended Next Post: Okay, I detailed the rim of the heat sink vent.
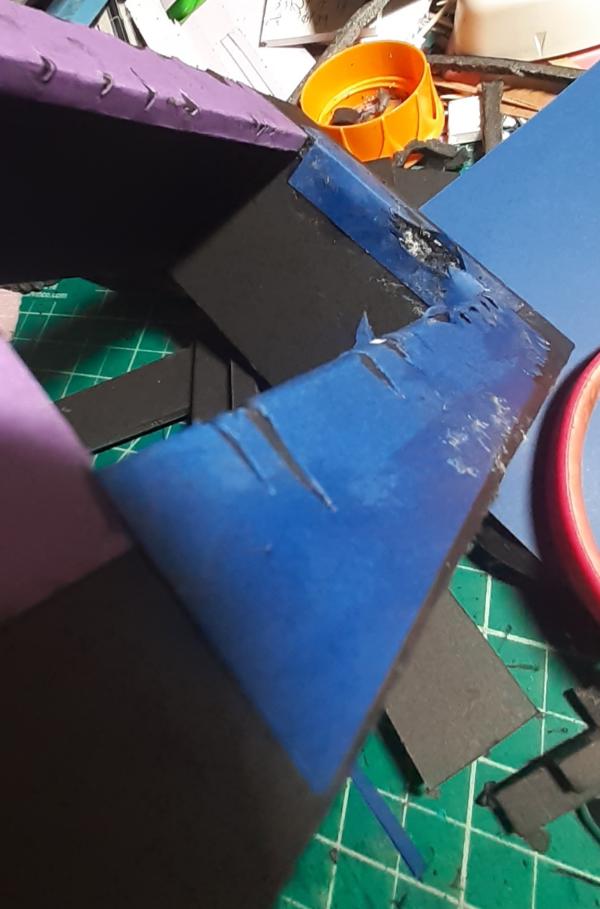 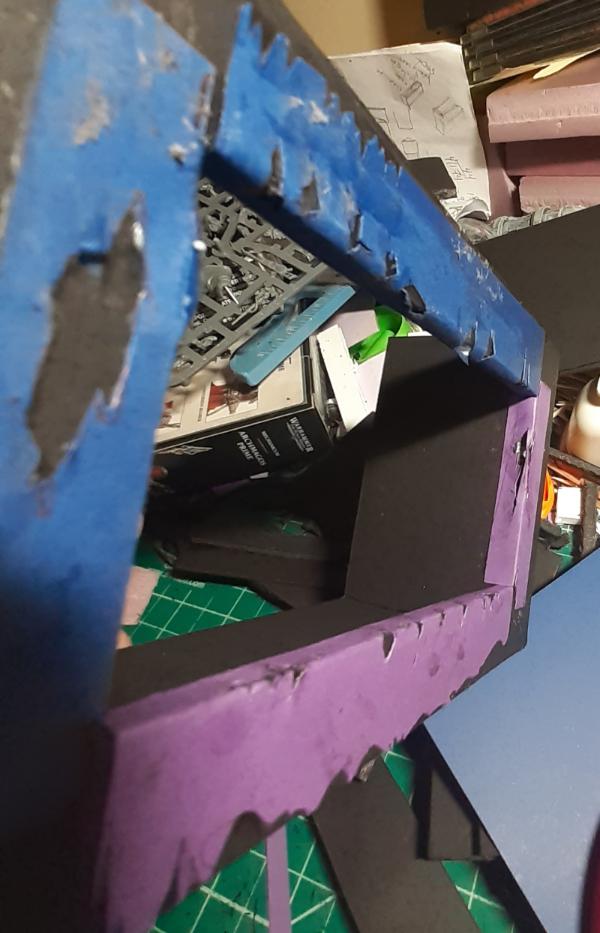 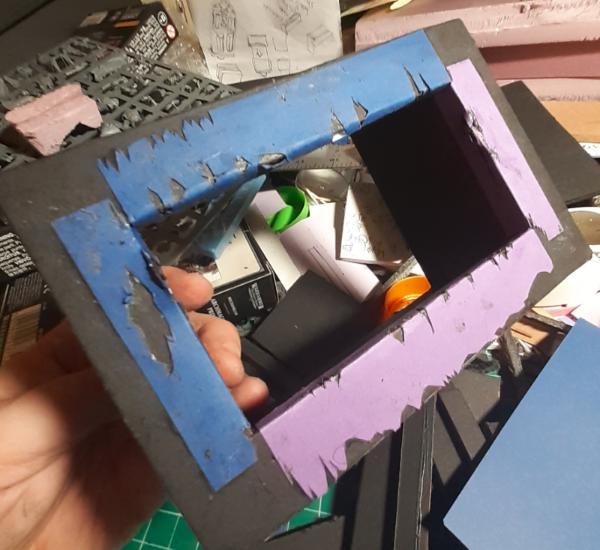
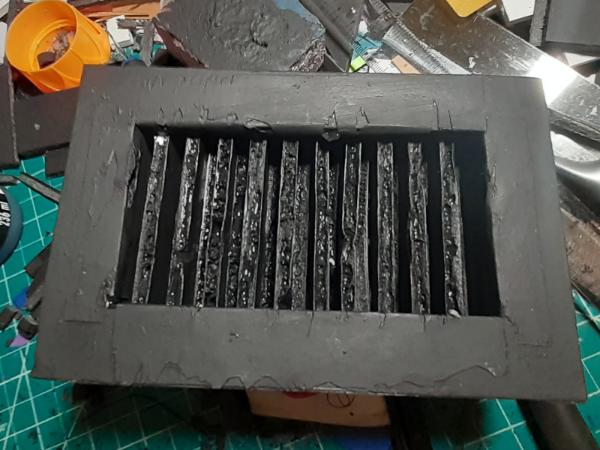
And then I distressed each tine. Applied glue to seal them, didn't wait for the glue to dry before priming them, and then primed and assembled the whole thing.
And then I test fit it into the main body.
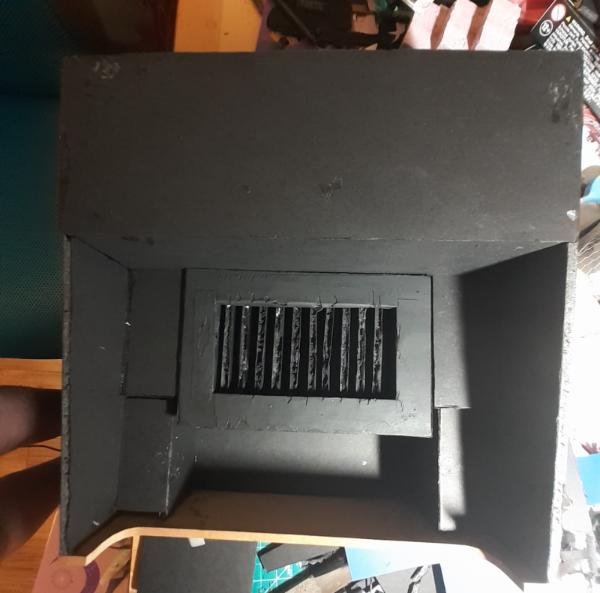
I like how this is coming out, but now I am kinda at a loss for what to put underneath this thing. Ah, well, I'll figure it out. More to come.
|
|
This message was edited 1 time. Last update was at 2024/09/25 14:44:14
|
|
|
 |
 |
![[Post New]](/s/i/i.gif) 2024/09/26 00:49:16
Subject: Re:Waaazag's terrain tutorial blog (formerly The Shattered City)
|
 |

[DCM]
Boom! Leman Russ Commander
|
What a great piece! 
Maybe condenser coils underneath? Or a computer work station/control station?
Rock on! 
|
"He fears his fate too much, or his desserts are small, who will not put it to a single touch; to win- or lose- it all."
Montrose Toast

|
|
|
 |
 |
![[Post New]](/s/i/i.gif) 2024/09/26 05:05:07
Subject: Re:Waaazag's terrain tutorial blog (formerly The Shattered City)
|
 |

Ragin' Ork Dreadnought
Deep in the Outer Boroughs of NYC
|
 Meer_Cat wrote: Meer_Cat wrote:What a great piece! 
Maybe condenser coils underneath? Or a computer work station/control station?
Rock on! 
Funny you should.suggest that!
Detailed the sides of this thing.
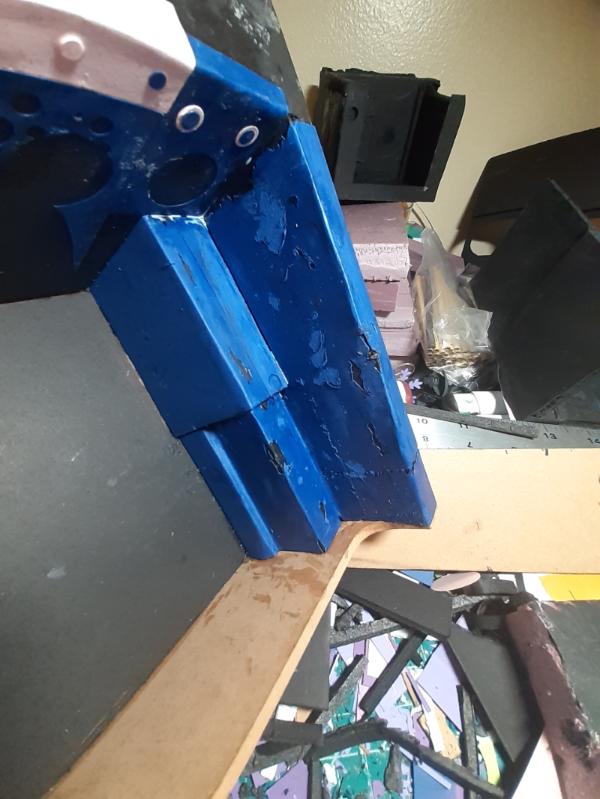 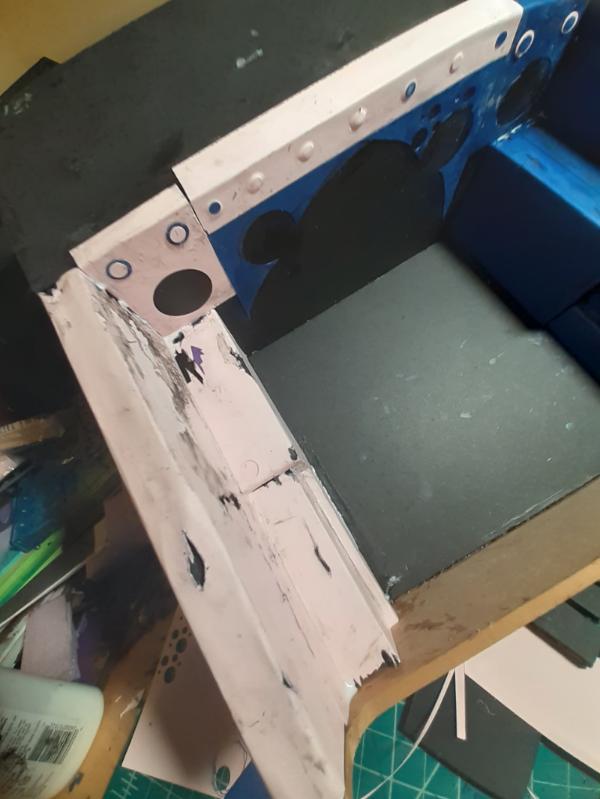
And added first floor details
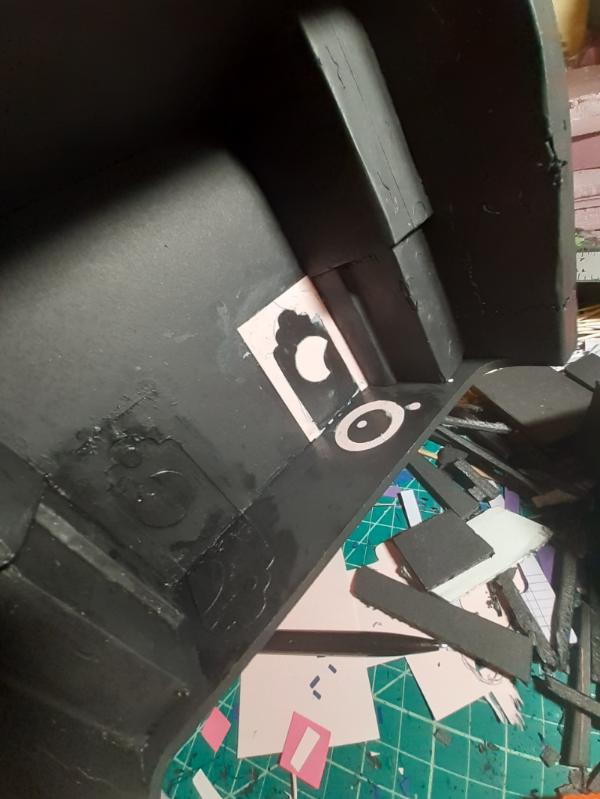 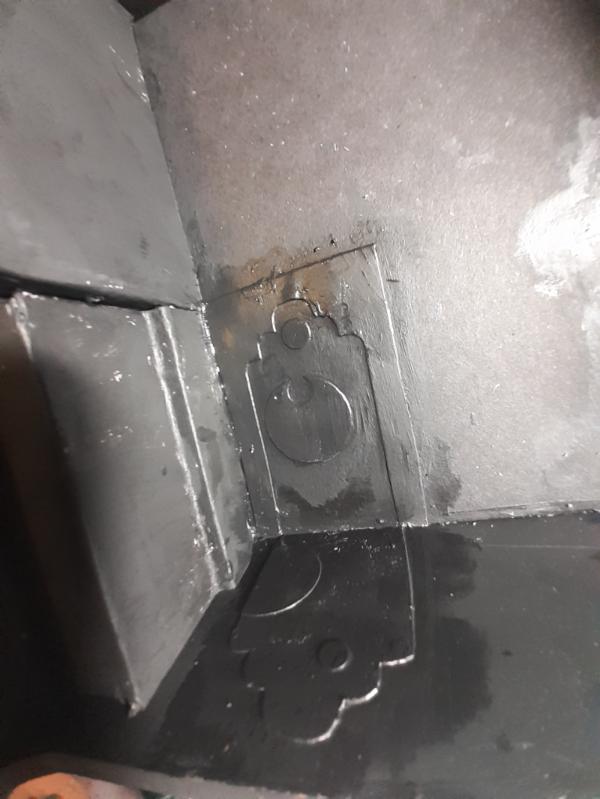
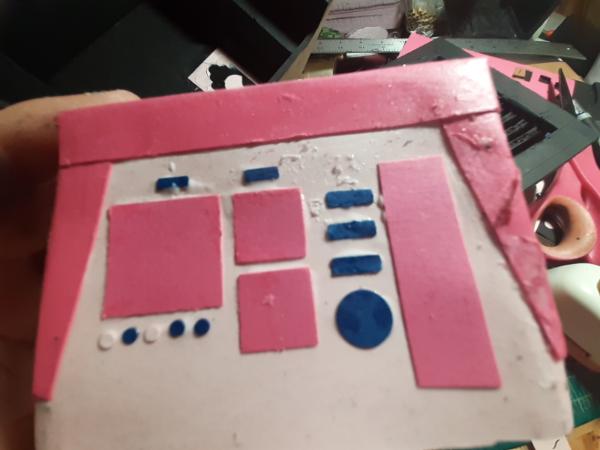
And then I made this console.
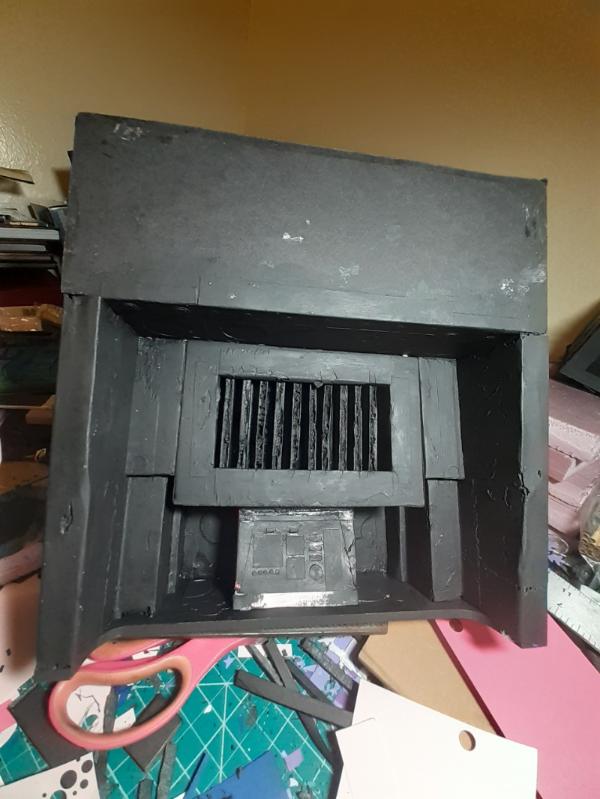
And then glued everything into place.
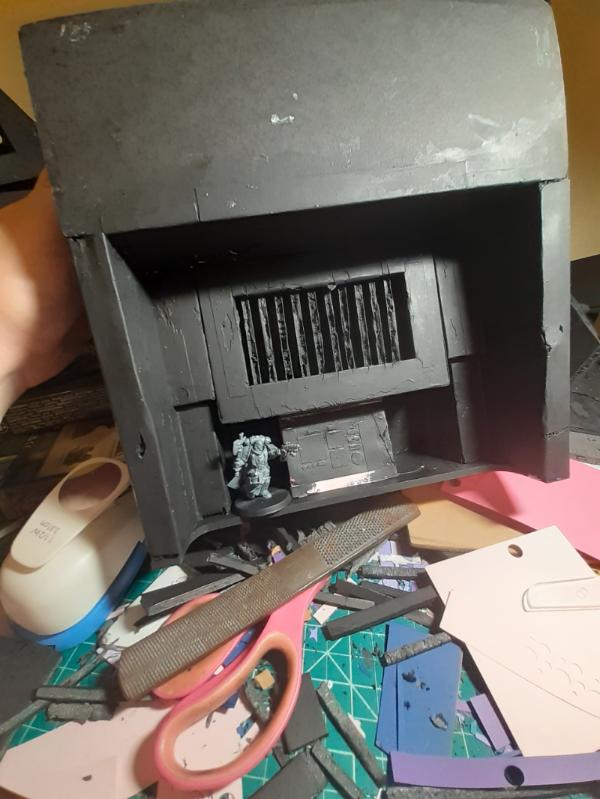
With Larry for scale
Thanks for looking, more updates soon.
|
|
|
|
 |
 |
![[Post New]](/s/i/i.gif) 2024/09/27 20:37:35
Subject: Re:Waaazag's terrain tutorial blog (formerly The Shattered City)
|
 |

Ragin' Ork Dreadnought
Deep in the Outer Boroughs of NYC
|
All I've managed to do in the past few days is sketch. I blame my mechanic.
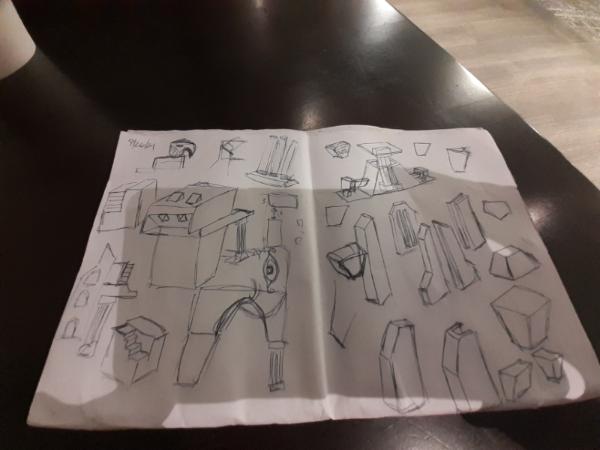 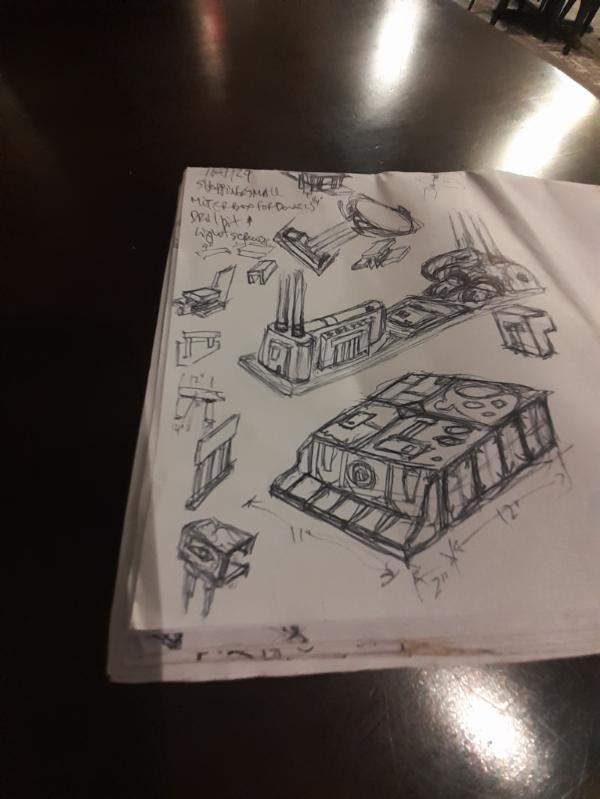
Thanks for looking. Feedback always welcome. Automatically Appended Next Post: I made a super small piece, meant to be scatter. The cap on the bottom? top? Got extra fiddly as the shape is not a perfect rectangle.
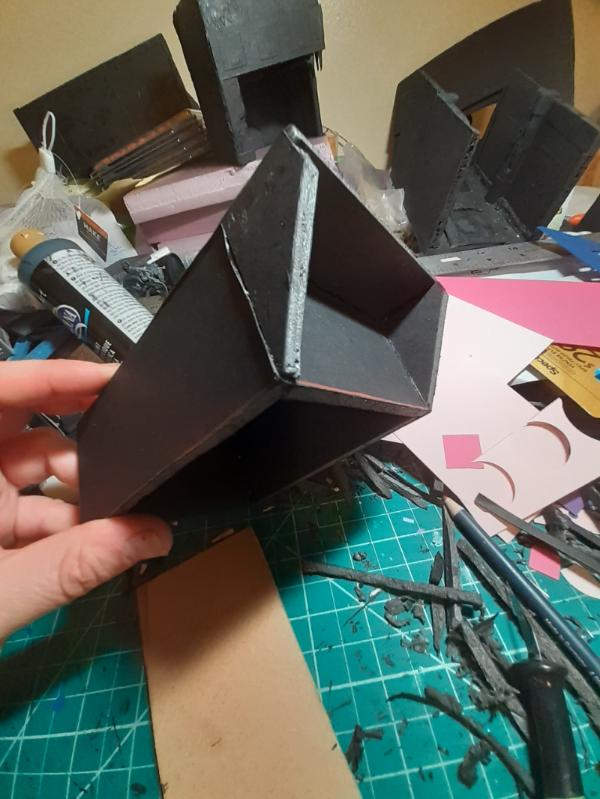 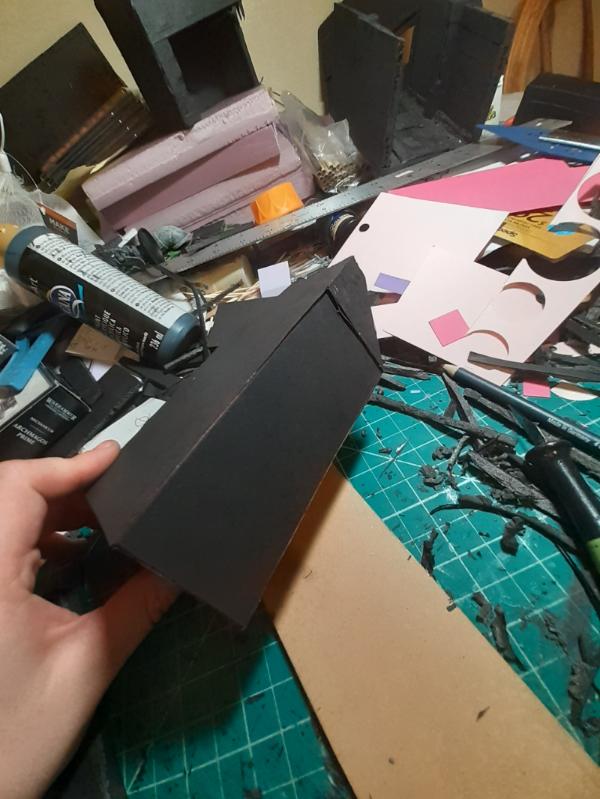 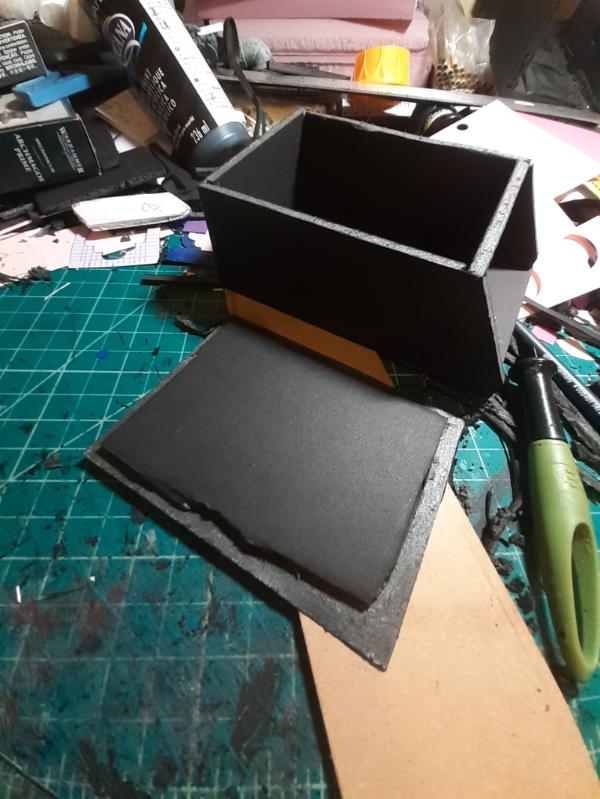
But whatever, it fit. Small work done, but at least I am trudging forward.
|
|
This message was edited 1 time. Last update was at 2024/09/28 06:36:00
|
|
|
 |
 |
![[Post New]](/s/i/i.gif) 2024/09/28 14:12:50
Subject: Re:Waaazag's terrain tutorial blog (formerly The Shattered City)
|
 |

[DCM]
Boom! Leman Russ Commander
|
Righthand pic, upper: that power conduits and control station needs to be made reality. Just sayin'. 
|
"He fears his fate too much, or his desserts are small, who will not put it to a single touch; to win- or lose- it all."
Montrose Toast

|
|
|
 |
 |
![[Post New]](/s/i/i.gif) 2024/09/28 20:12:26
Subject: Re:Waaazag's terrain tutorial blog (formerly The Shattered City)
|
 |

Ragin' Ork Dreadnought
Deep in the Outer Boroughs of NYC
|
 Meer_Cat wrote: Meer_Cat wrote:
Righthand pic, upper: that power conduits and control station needs to be made reality. Just sayin'. 
Thanks, yeah. I had a plan to make a pair of pillars on one long base to stand opposite the giant heat sink as a way to hold up the structures above, to add elevation, but I started thinking about using dowels to mimic pipes running from floor to ceiling instead of bulky structural supports. I was rolling ideas around for how to make them look more interesting than "pipes go up and down". Hopefully I can do the bird-ish part justice.
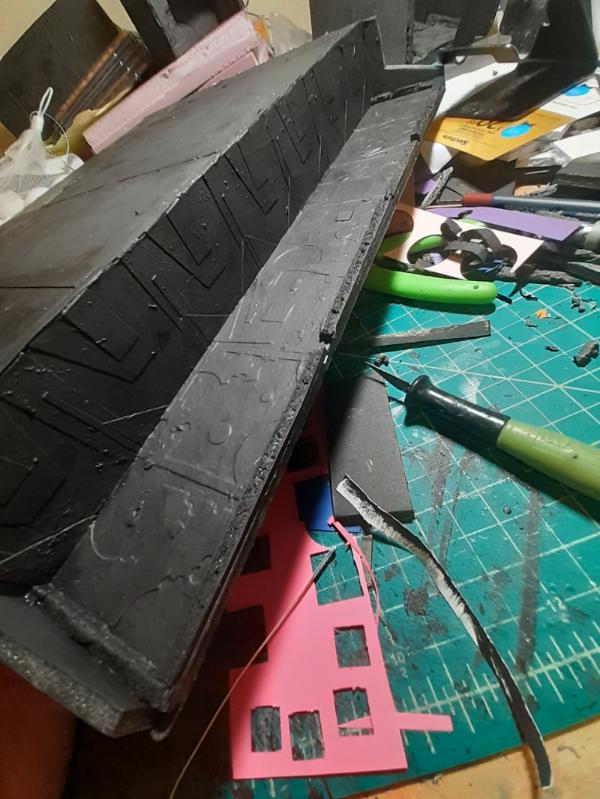
In other news, I started detailing the big, broad box that was originally going to be a riser to add a pit to the center of the board (with an overhang) and is now becoming a middle level walkway that i could potentially use up side down with that original intent.
This was a thing I needed to do because it was relatively simple. I fret about doing justice to the more sculpturally involved details and I don't want to discourage myself into inaction. So I did this instead:
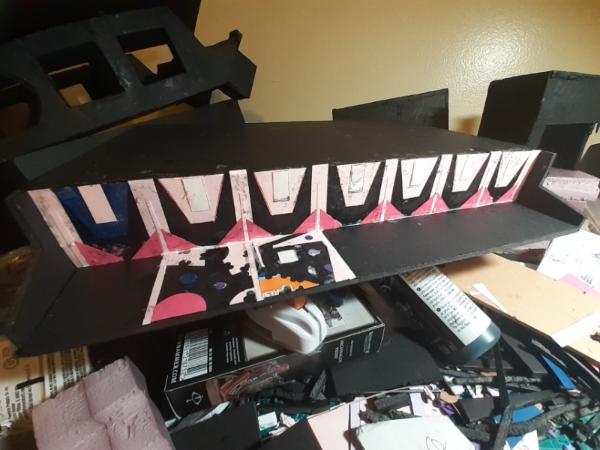
It's obviously not finished yet, but what do you think of it so far?
Automatically Appended Next Post:
I finished off the walkway and added deck plating made of sheets of various paper materials.
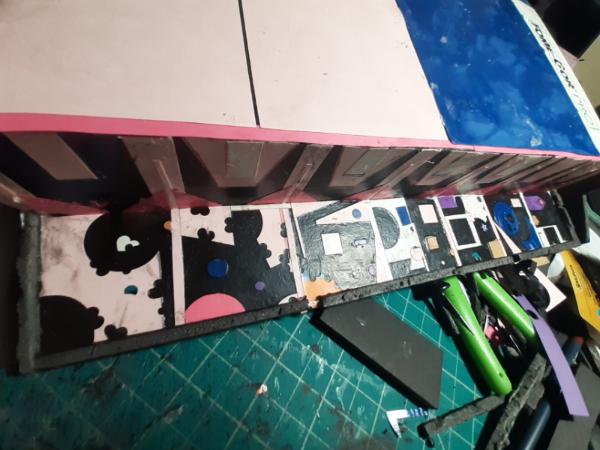 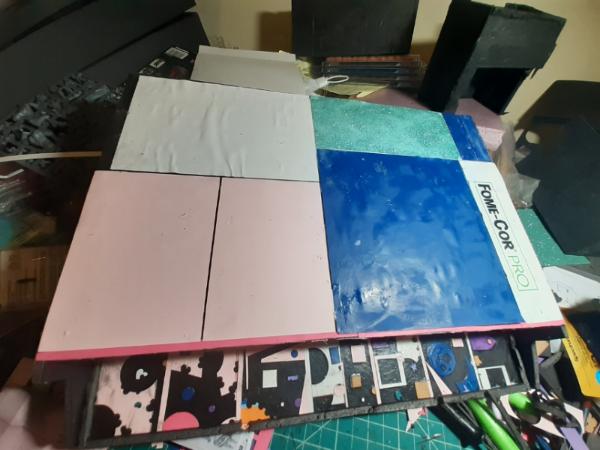
And then I primed it all.
 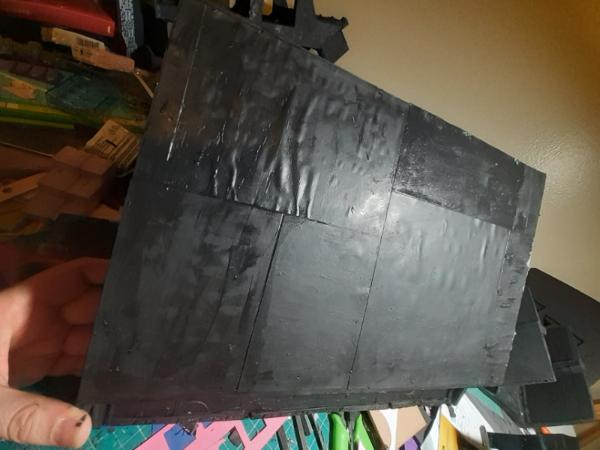
Just moving along. I was too exhausted to do any more work, but glad I was able to do some.
|
|
This message was edited 2 times. Last update was at 2024/09/29 04:21:28
|
|
|
 |
 |
![[Post New]](/s/i/i.gif) 2024/09/30 19:08:08
Subject: Re:Waaazag's terrain tutorial blog (formerly The Shattered City)
|
 |

Ragin' Ork Dreadnought
Deep in the Outer Boroughs of NYC
|
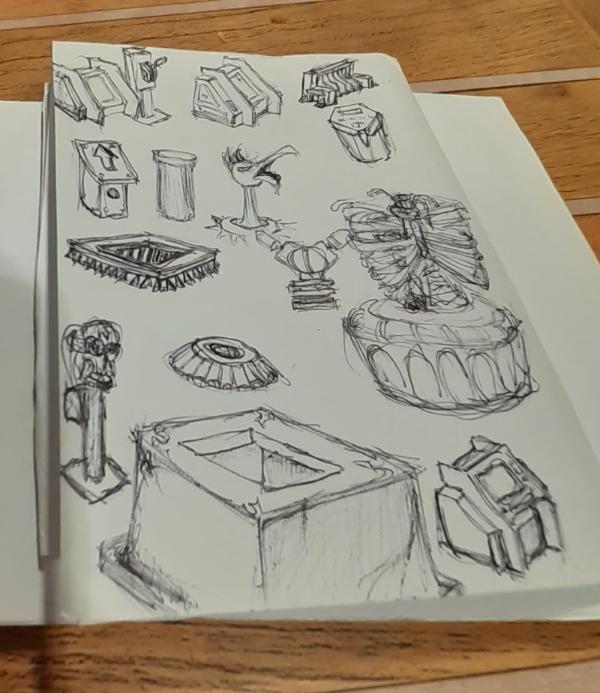
Oodles of doodles today. Full time jobs are not as fun as the hobby.
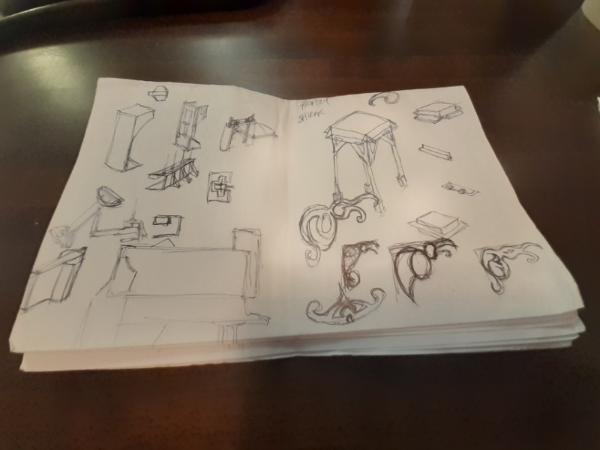
I'm coming up with scatter terrain detail ideas. What I like to call "Municipal Doodads".
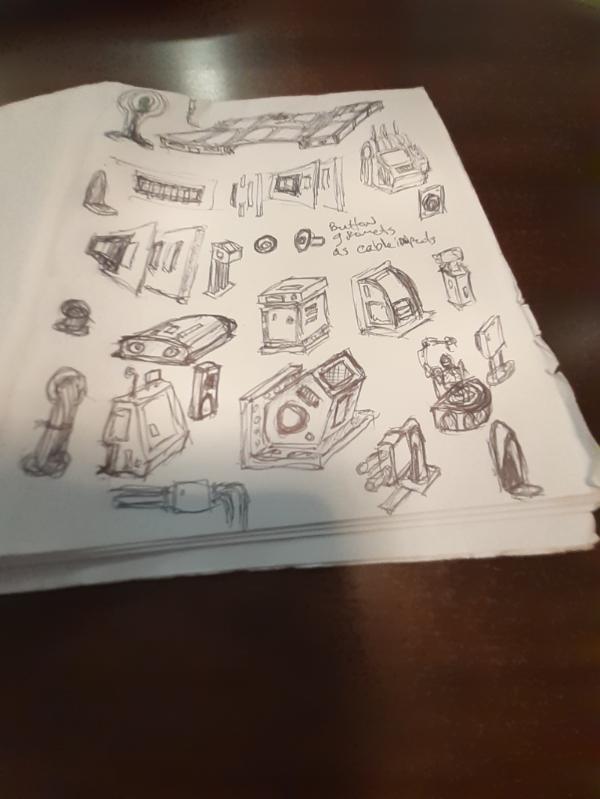
Thoughts? Any that jump out at you or that you think work particularly well? These are meant to be placed against a wall or in the middle of a big room to change up the big set pieces without having to make dozens of near-identical terrain.
Thanks for looking. Have a great day! Automatically Appended Next Post: Here, I did more
|
|
This message was edited 1 time. Last update was at 2024/09/30 22:09:56
|
|
|
 |
 |
![[Post New]](/s/i/i.gif) 2024/10/01 22:05:20
Subject: Re:Waaazag's terrain tutorial blog (formerly The Shattered City)
|
 |

Ragin' Ork Dreadnought
Deep in the Outer Boroughs of NYC
|
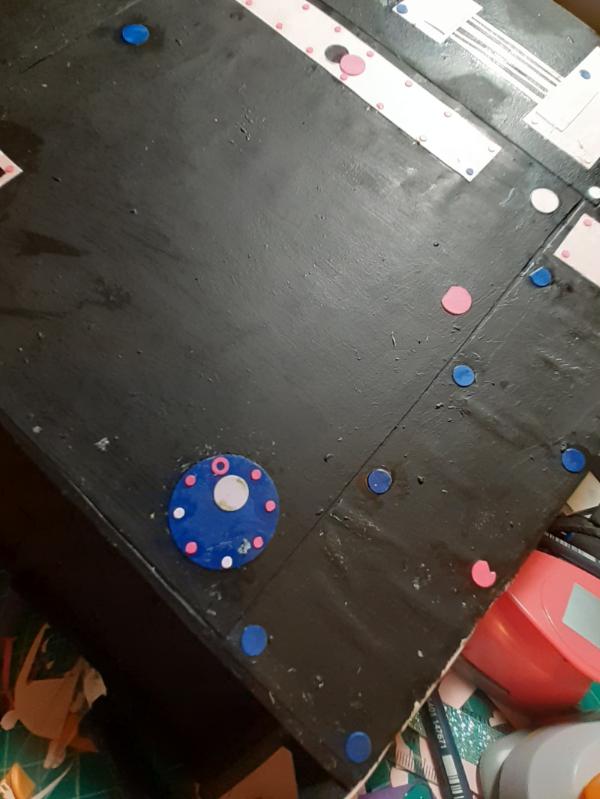
I started to work on the side panels of the big, flat riser peice.
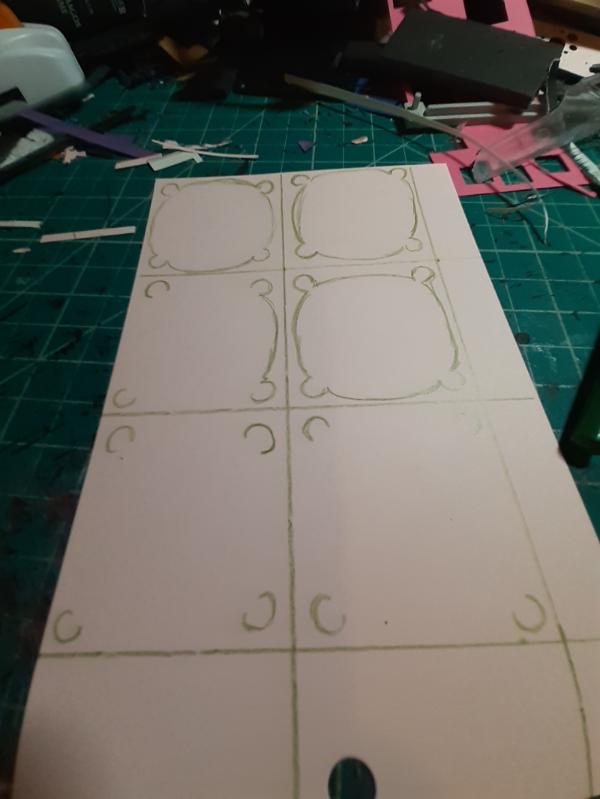 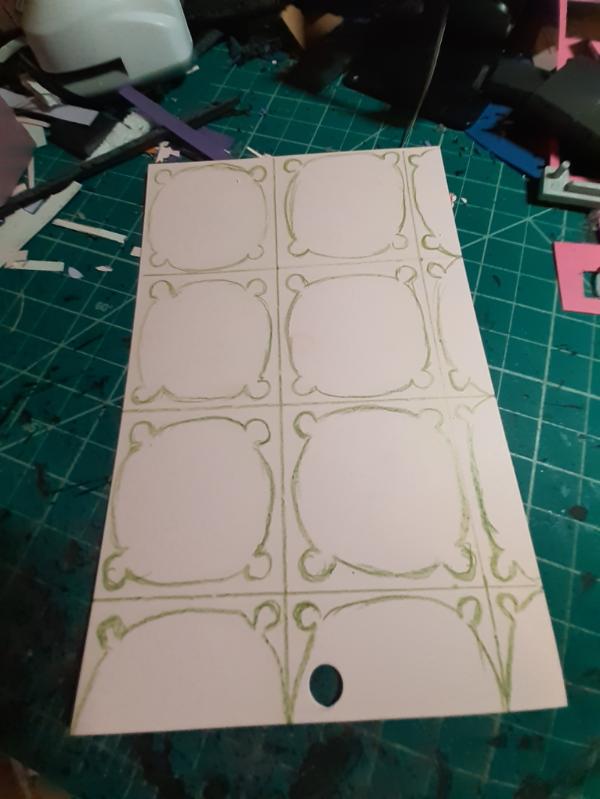
Then I cut out a small trim by hand and then one with the hole puncher. I liked the hole puncher better because it was way easier to make clean lines
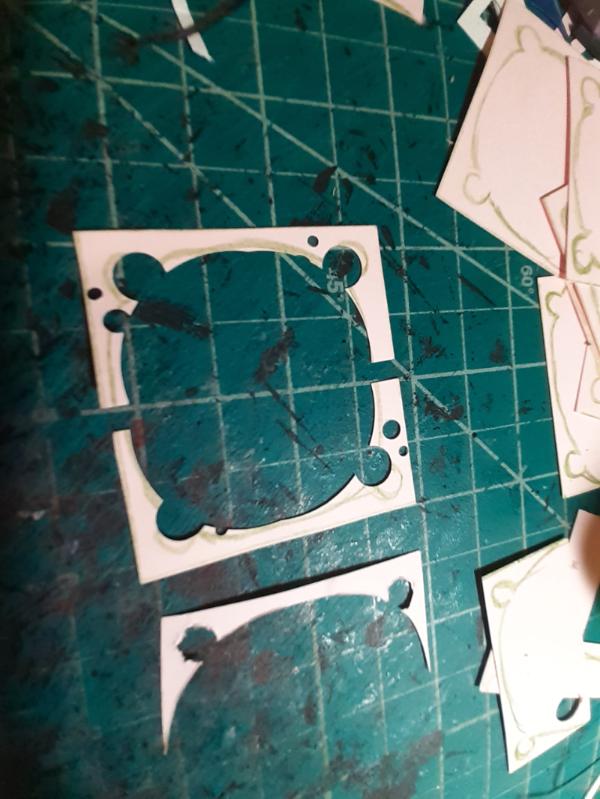
Here they all are in place.
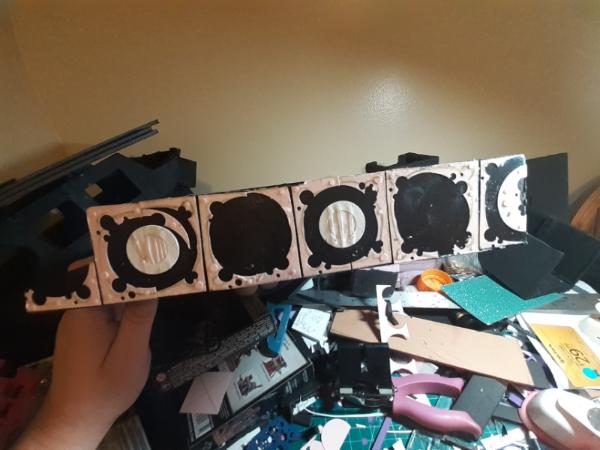
I wound up cutting them in half and then taking large hole punchers to them. Then I added these 2 "vents" and a bunch of teeny tiny rivets.
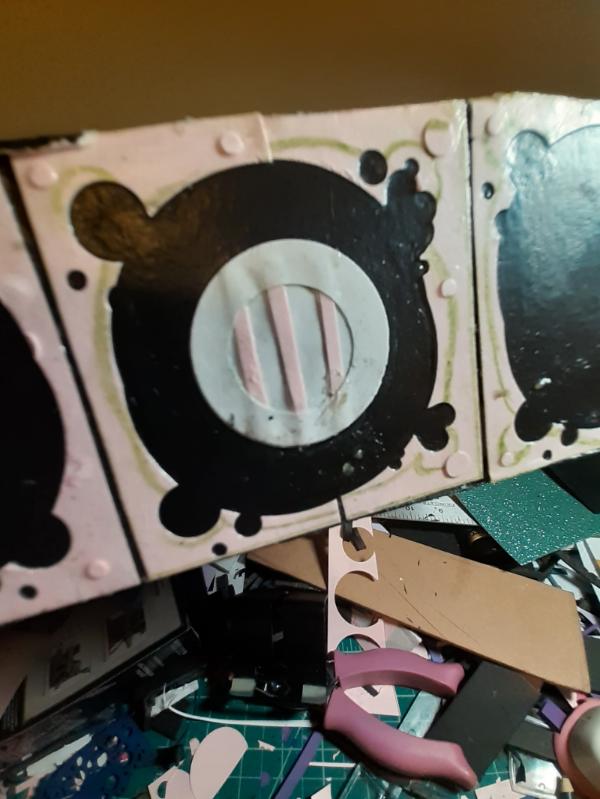 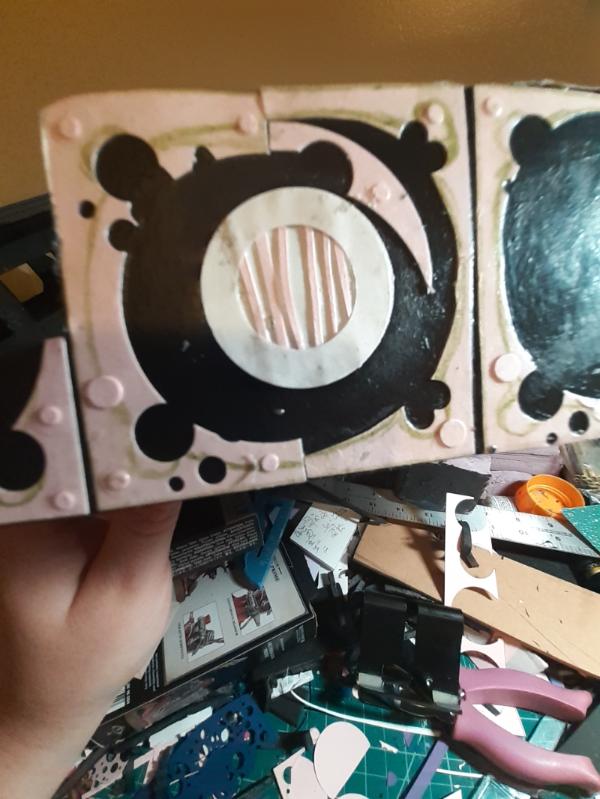
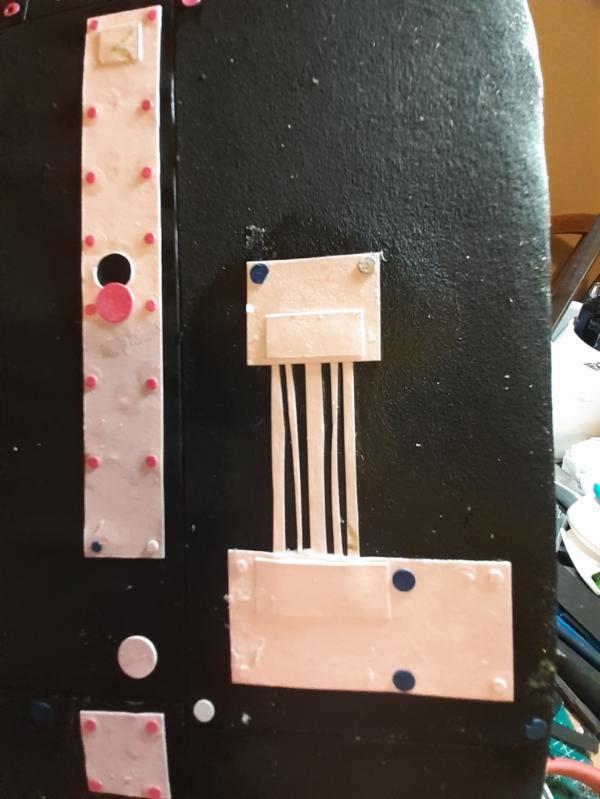
Then I added a second layer of details to the smaller large flat side.
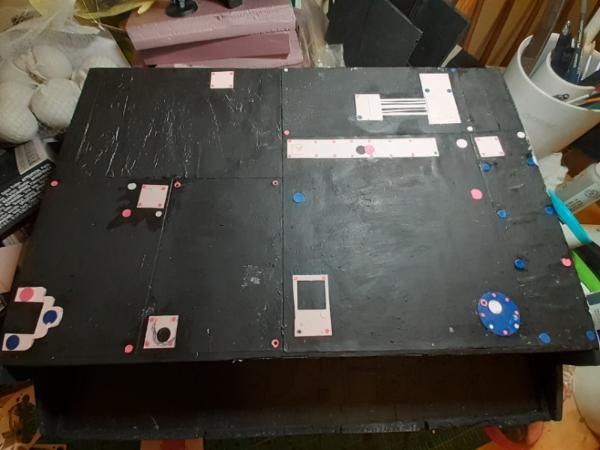 
I'm particularly proud of this "cabling".
Please comment on my progress. Even a "nice job, I like it" type comment is encouraging and appreciated. Thanks for looking and I hope you have an awesome day.
|
|
|
|
 |
 |
![[Post New]](/s/i/i.gif) 2024/10/02 02:48:50
Subject: Waaazag's terrain tutorial blog (formerly The Shattered City)
|
 |

Fixture of Dakka
|
Warboss_Waaazag
That was an ingenious way to make those vents.
Cheers,
CB
|
|
|
|
 |
 |
![[Post New]](/s/i/i.gif) 2024/10/02 07:05:24
Subject: Re:Waaazag's terrain tutorial blog (formerly The Shattered City)
|
 |

Ragin' Ork Dreadnought
Deep in the Outer Boroughs of NYC
|
Thanks, Captain Brown! I really appreciate your feedback!
I started work on more details. These bulkhead plates.
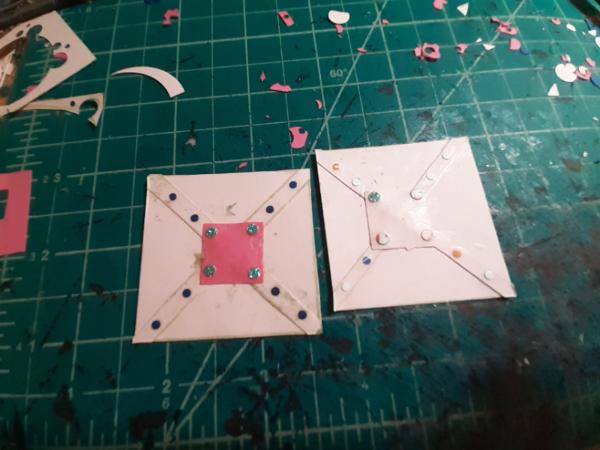
I placed the first to make sure it fit.
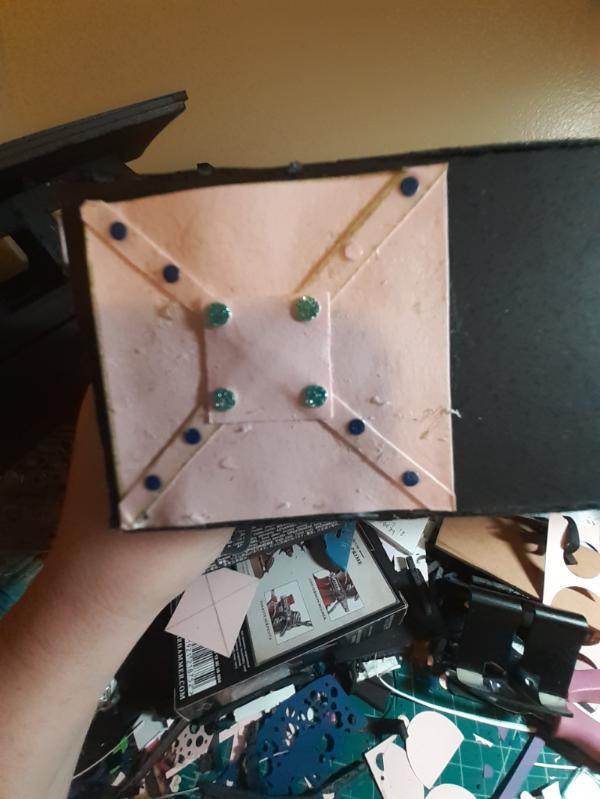
Thought maybe they needed spacers and completely mismeasured all that. But, whatever, I'm not undoing all that work.
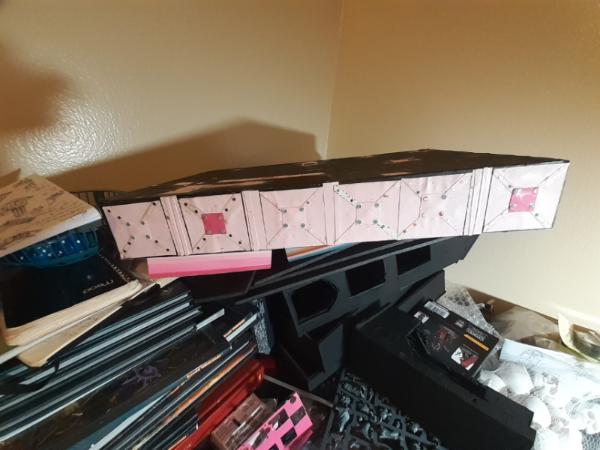
That's it for now. More progress tomorrow.
|
|
|
|
 |
 |
![[Post New]](/s/i/i.gif) 2024/10/02 09:30:29
Subject: Waaazag's terrain tutorial blog (formerly The Shattered City)
|
 |

Decrepit Dakkanaut
|
The punched round sections are excellent. And the X bulkheads are really coming together.
|
Theophony"... and there's strippers in terminator armor and lovecraftian shenanigans afoot."
Solar_Lion: "Man this sums up your blog nicely."
Anpu-adom: "being Geek is about Love. Some love broadly. Some love deeply. And then there are people like Graven.  |
|
|
 |
 |
![[Post New]](/s/i/i.gif) 2024/10/02 14:42:33
Subject: Re:Waaazag's terrain tutorial blog (formerly The Shattered City)
|
 |

Ragin' Ork Dreadnought
Deep in the Outer Boroughs of NYC
|
Thanks, graven. I really appreciate your feedback!
I did more work on the angled end of the walkway because it felt too plain.
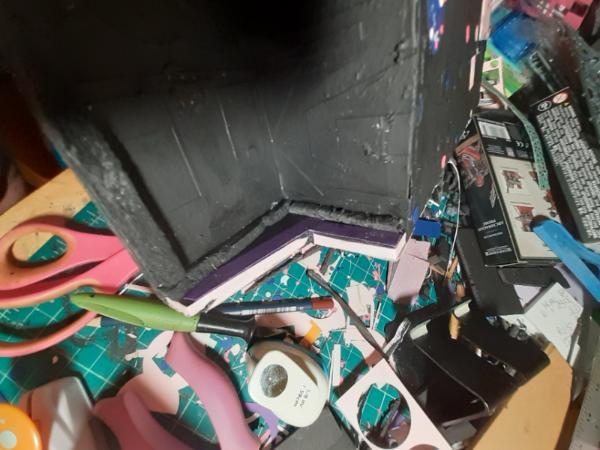
And put the first layer of detail on the large flat area.
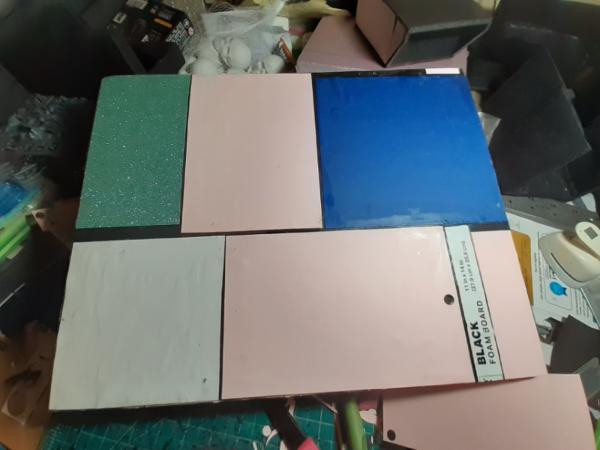
There's plenty more to do.
|
|
|
|
 |
 |
![[Post New]](/s/i/i.gif) 2024/10/03 15:20:10
Subject: Re:Waaazag's terrain tutorial blog (formerly The Shattered City)
|
 |

Ragin' Ork Dreadnought
Deep in the Outer Boroughs of NYC
|
After priming the larger floor area, I started working on the second layer of details. Honestly this piece will be the first of the large ones to be completed.
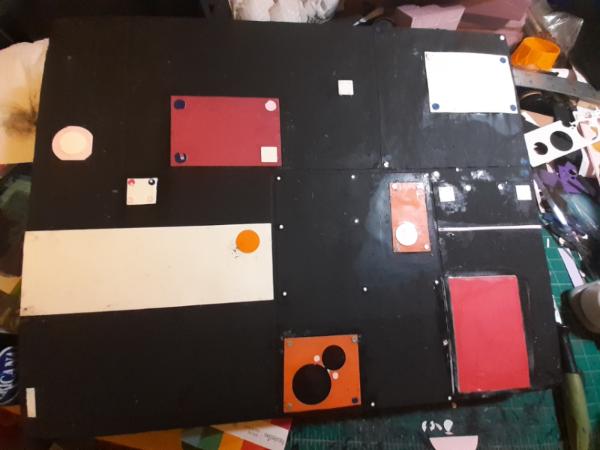
Thanks for looking. There's plenty more to do.
|
|
This message was edited 1 time. Last update was at 2024/10/03 15:20:31
|
|
|
 |
 |
|
|