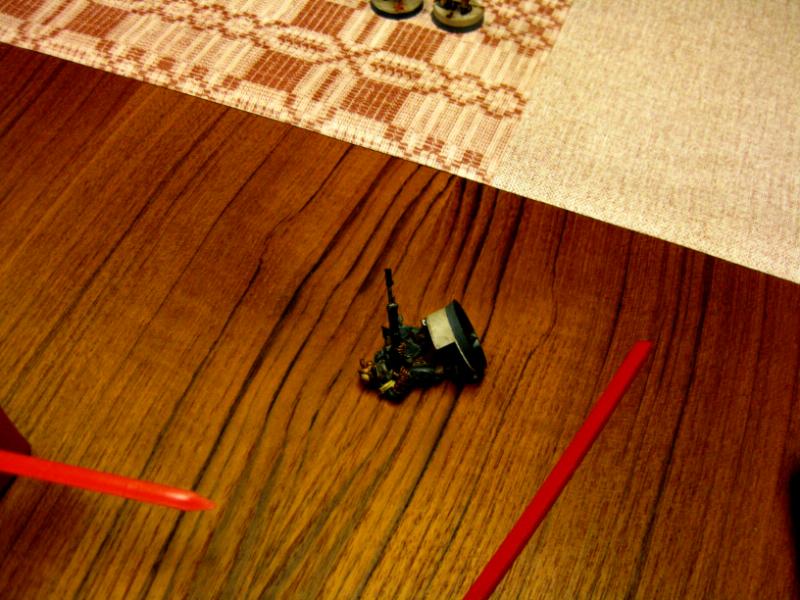
Got a battlerep for you tonight. More piccies will be along, but for now I need some sleep. Will be uploading more tomorrow at some point. Enjoy.
 Chapter Four, Hunting and Gathering.
Planet Sarum, mid 411.M41
Following the arrival of several warbands, and the establishment of base camps, the scene is set for formal investigations to begin. All of the groups are intent on finding the source of this mysterious disease. Several leads are being followed up, and it is inevitable that groups will clash as they search the city for viable clues.
One promising lead has arisen in the hive stacks, where several people have been reported dead from ”An yllnesse of the enfeebling kynde, the viktims wasting away for severral days before finally dying fromme the seizures”.
Special Rule: In the hive stacks, the poor lighting conditions mean that anyone without thermogoggles will need to test for sighting range before firing rangedweapons.
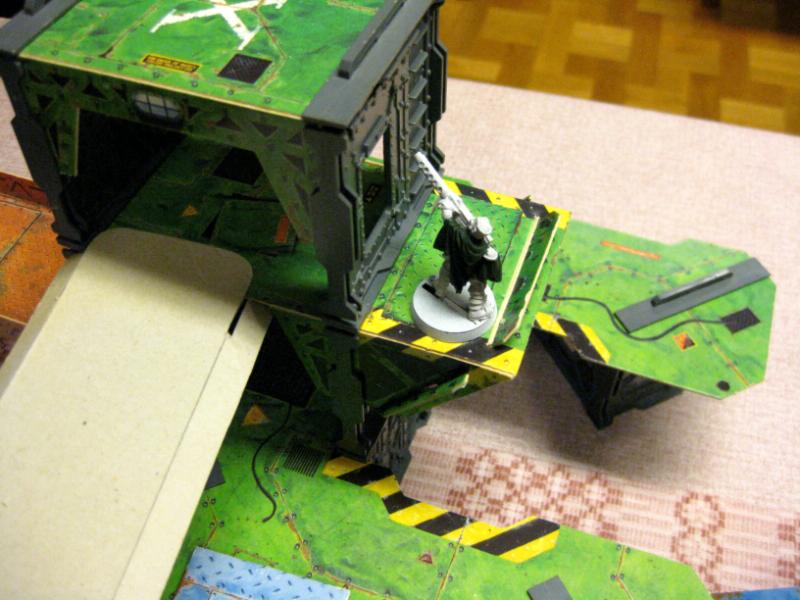
Another lead is in the Hospitalis Von Kaelon, where a noble who died under mysterious circumstances has been examined thoroughly by the medicae on watch.
Special Rule: Any fighter who goes out of action in the hospital, will roll twice on the injuries chart, keepint the better result. They´re IN the hospital!
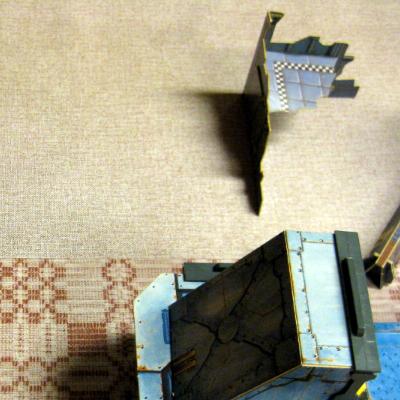
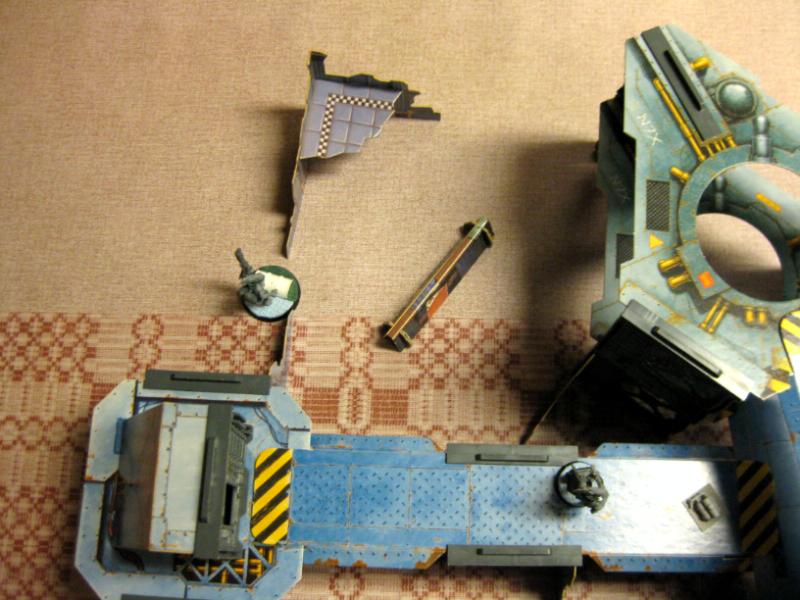
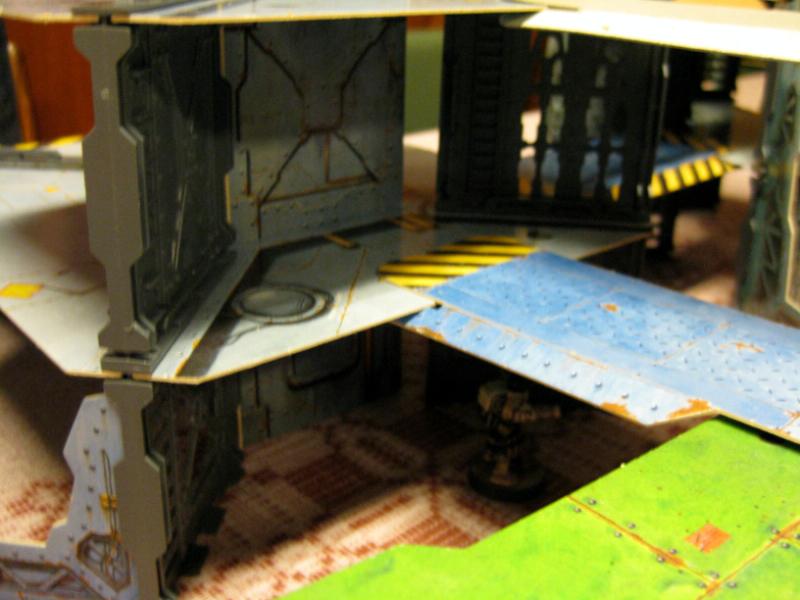
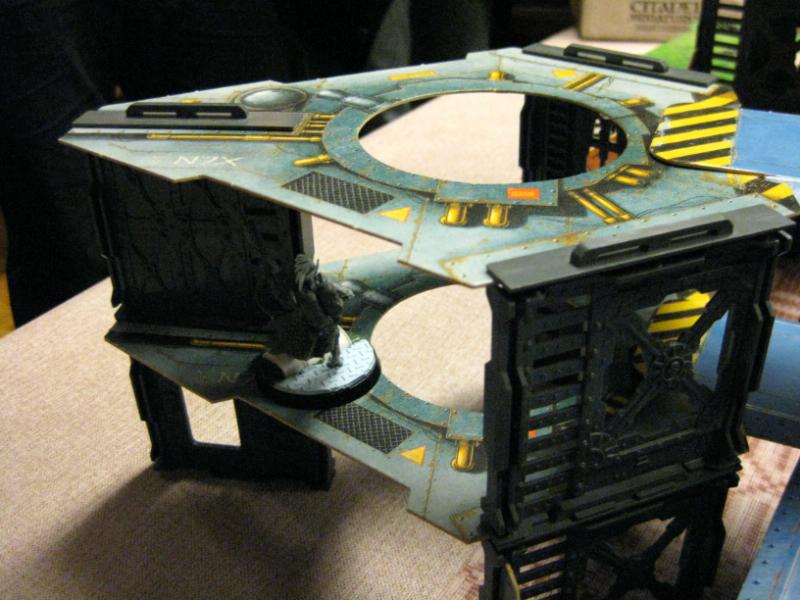
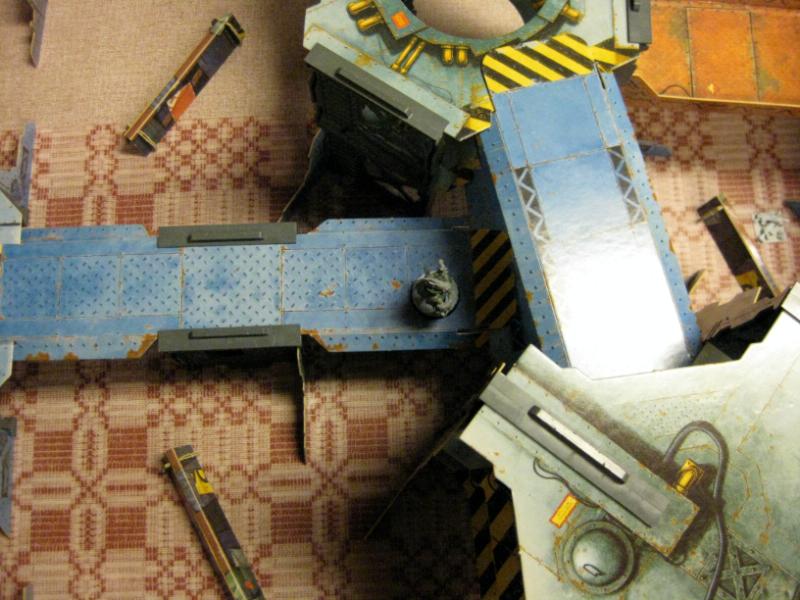
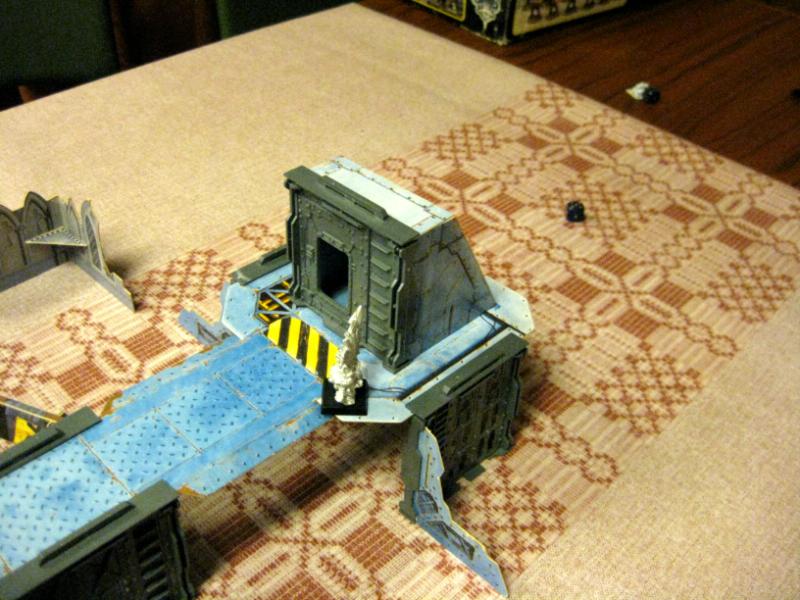
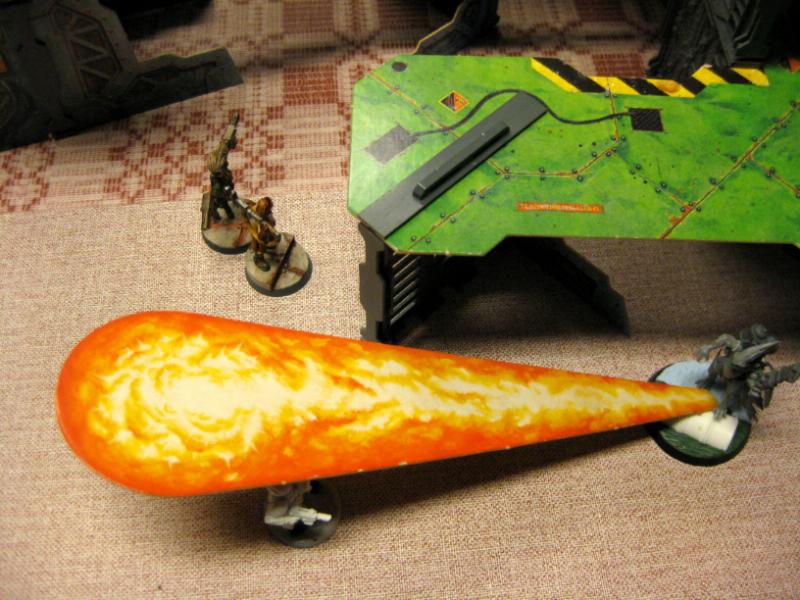
The third promising lead lies in a factory complex to the south of the city, which has been abandoned for months, following an outbreak of the disease there. It has been cleansed by flame, but the bodies of the dead are still in the ruins, decaying fast in the extreme environment of the dust fields.
Special Rule: While in the factory complex, any model which ends it´s movement more than 4” from cover must make a S test, or be pinned till next round. This is due to the howling winds that arise in the open spaces out here. Additionally, there is no use of tunnels or vents, since these systems don´t extend this far.
Each group of adventurers must split into three groups, to cover each area. They must cover all three locations, but the groups can be as large or as small as the leader would like.
Once combat begins, each player will only have the group at the rolled location at his disposal, and must choose whether or not to call on his reinforcements. If he leaves them in place, they each have a chance of finding a second (or even third) clue, getting the investigating party further in the quest for the disease.
Any group that is recalled, has a 5+ chance of arrival on the next turn, and 4+ after that.
- - - - - - - - - - - - - - - - - - - - - - - - - - - - - -
Up first, by random decision, are PrOtOcoN´s
”Ch´Pekks Mercenary Warband” (One of the new arrivals) and Xanthos with
”Sigismunds Hunting Party”.
The Xenos are divided as follows:
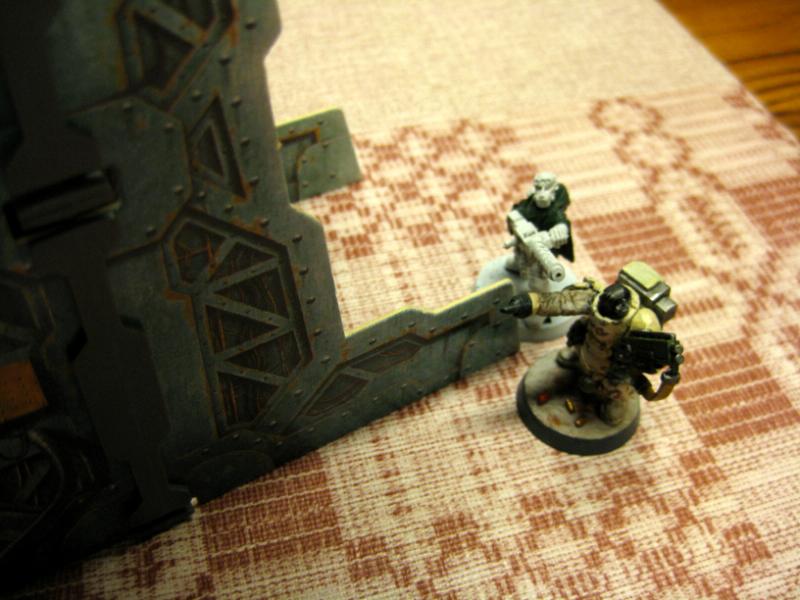
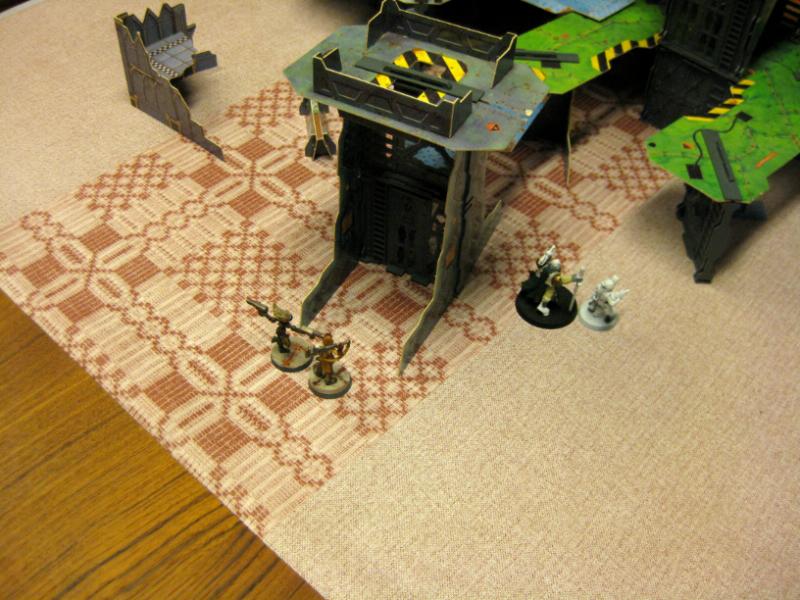
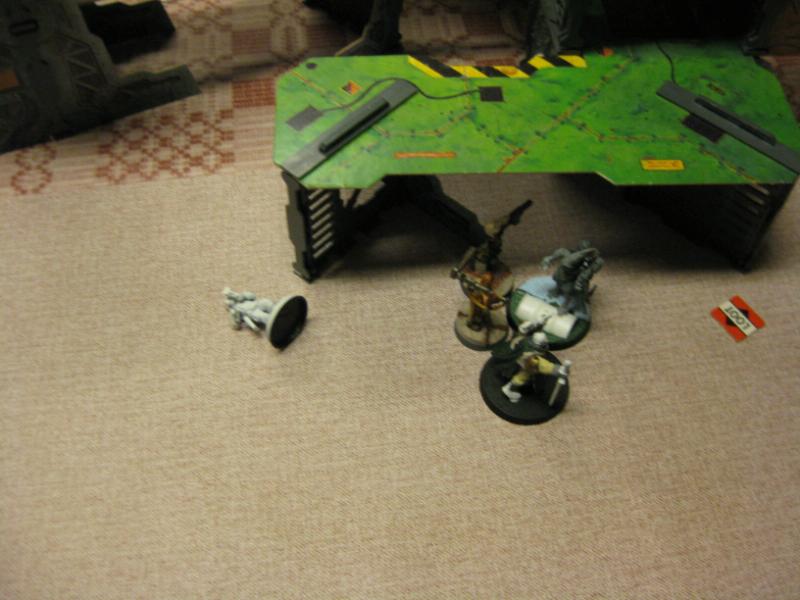
Hive Stacks Kurtz Bonesmasha (Orkoid ganger), Makaii Snorrison (Squat Heavy) and Lo’Mog (Kroot Juve).
Hospital Shas’ui Kel’shan Kais Kauyon (Tau Ganger), and Armin Reetho (Human Juve)
Factory Complex
Ch’Pekk (Kroot leader), and Lo’Zog (Kroot ganger)
The Inquisitor divides his forces thusly:
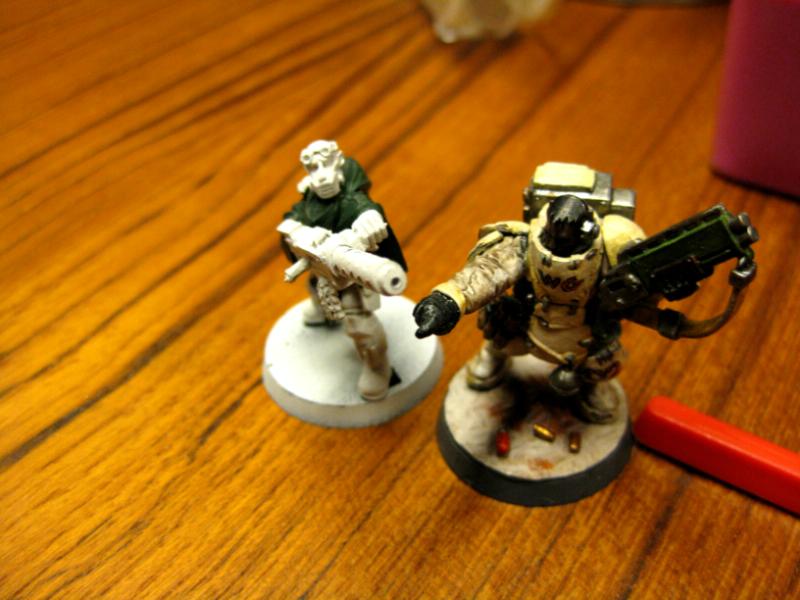
Hive Stacks Jayna Saar (Gunslinger), Jhess Lange (Juve) and Maynaard (Sniper)
Hospital Inquisitor Sigismund and his pilot Doily Ronson.
Factory Complex Hanta Khorod (the heavy), and
De´Norio Kh´na (The Void Born)
After doing so, we roll off for which groups will clash.
The hive stacks 1-2
The Hospital 3-4
The Factory Complex 5-6
Each of these has its own special rules, as explained.
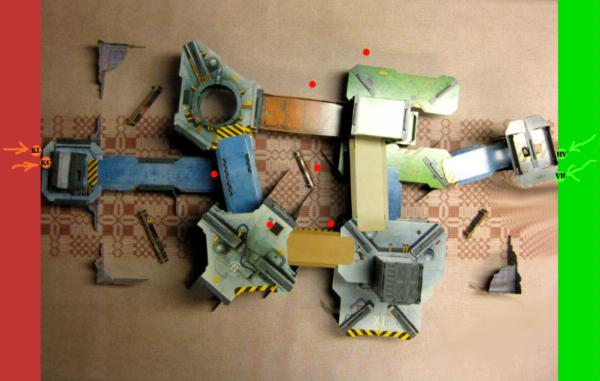
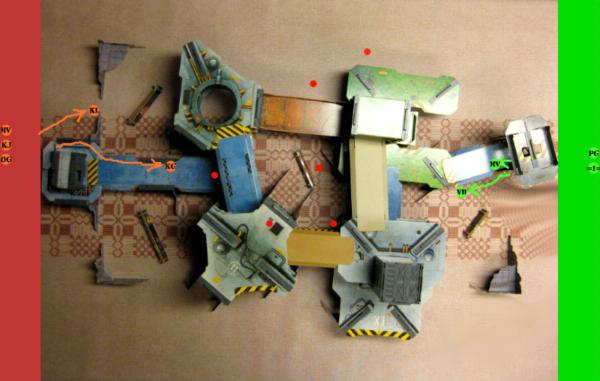
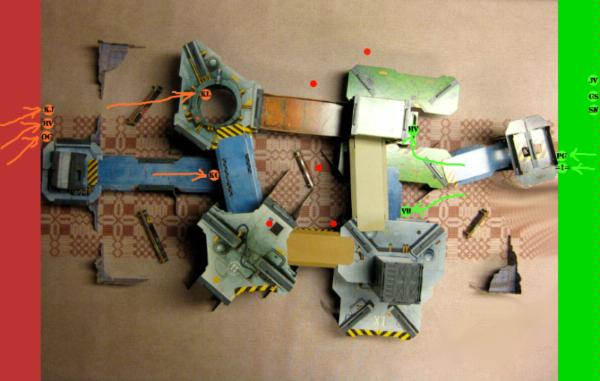
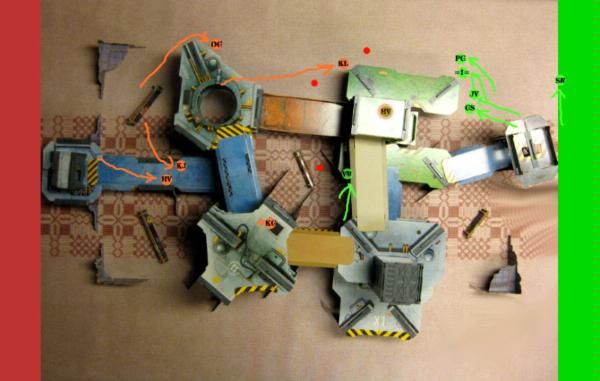
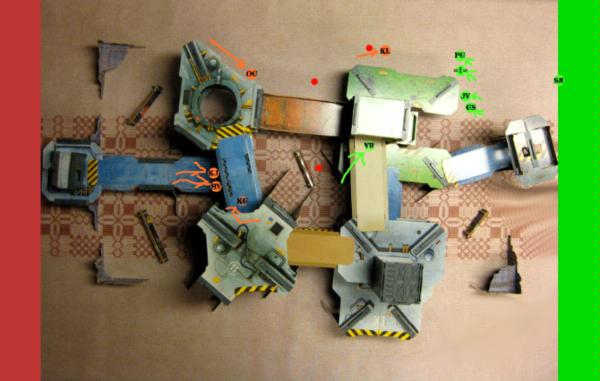
The rolloff is a six, so the Ordo Xenos will clash with the Xeno warband on the factory complex.
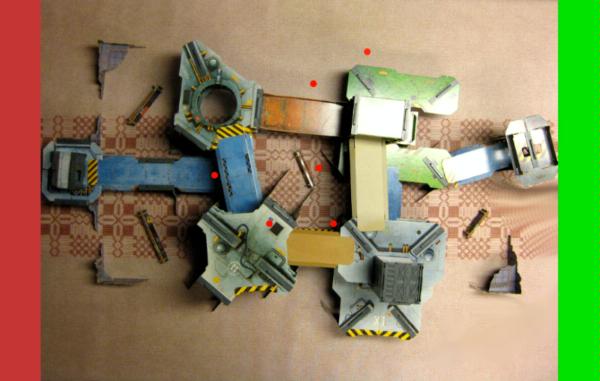
Setup:
The roll for setting up is won by
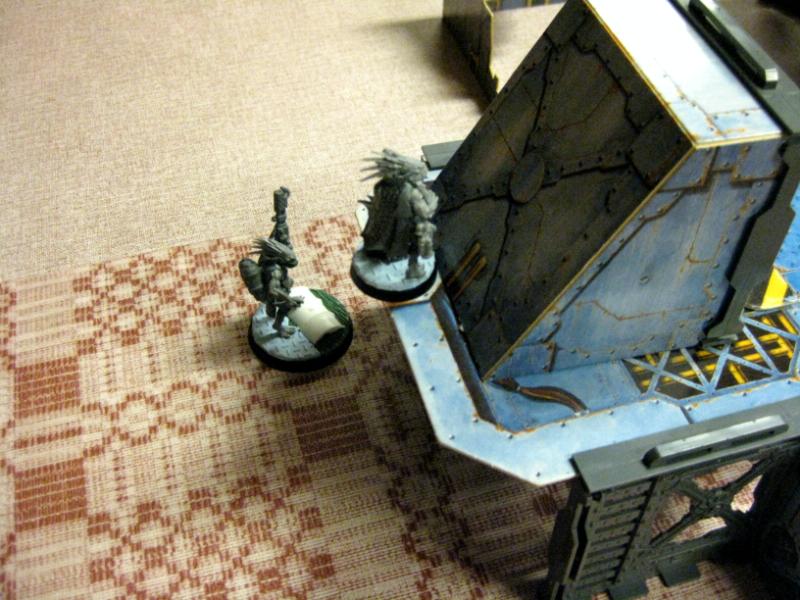
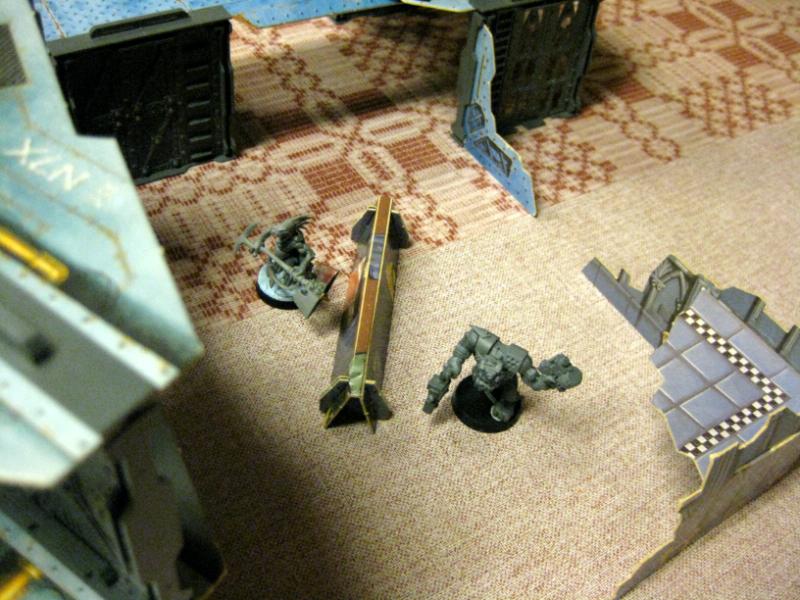
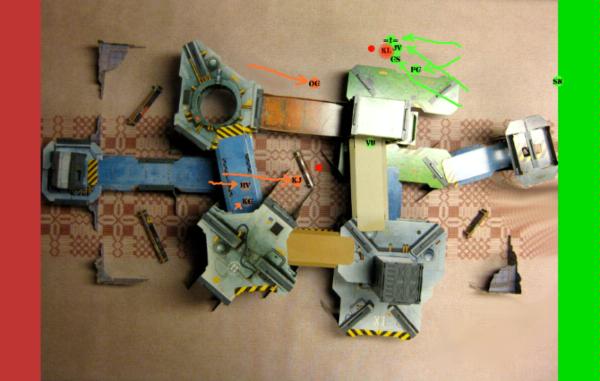
Ch´Pekk(KL), and he sets up on the western side of the complex, readying his Kroot brother(KG) for combat.
The Void Born
De´Norio(
VB) and Hanta Khorod(HV) with his heavy stubber, are the first to arrive on the side of the Inquisitor, and they get ready to make a dash out of the howling winds, and into the city.
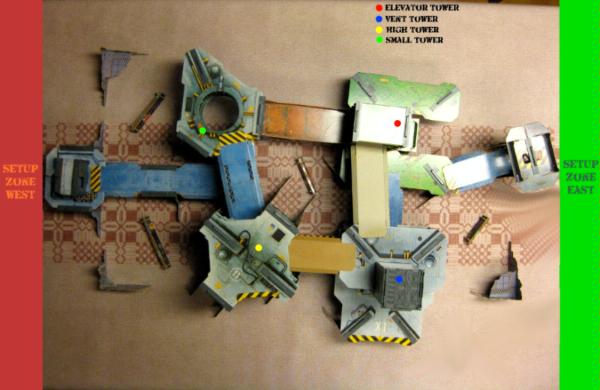
The loot counters are then randomly placed, at points between the two warbands.
 Turn One:
The Inquisitors agents are the first to move. They decide to let Inquisitor Sigismund and the group going through the hive stacks know, and both groups soon acknowledge that they are on the way.
The two Kroot mercenaries waste no time, with the scent of their prey on the wind they make haste towards the imperials. One of the kroot uses his fearsome leaping ability to propel himself up a floor.
 Turn Two:
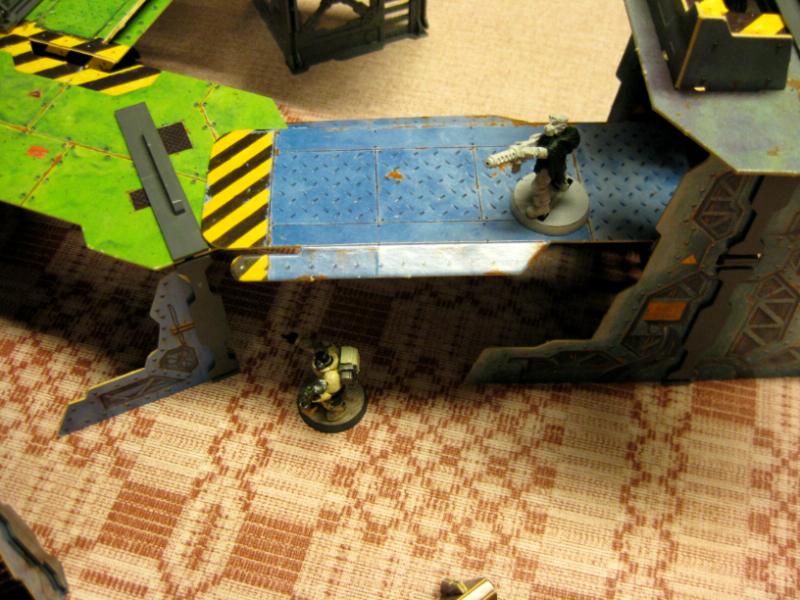
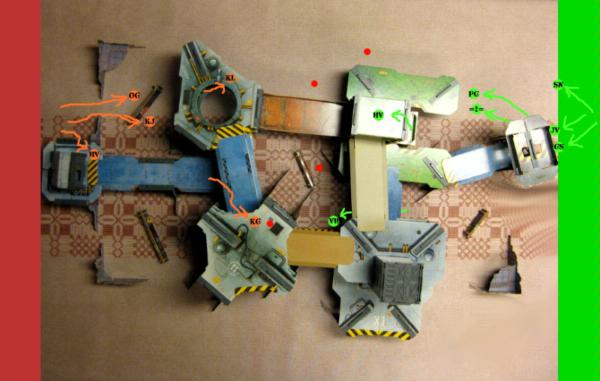
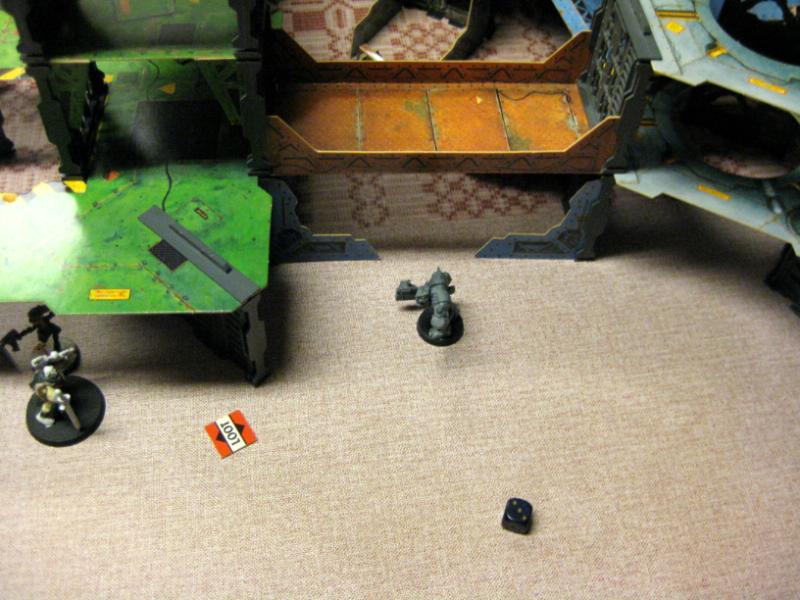
The Inquisitorial agent with the heavy stubber climbs the ladder closest to him, and starts advancing across the gangway towards the elevator tower. Meanwhile the Void Born advances on the ground level, heading for the loot counters.
On the Kroot side,
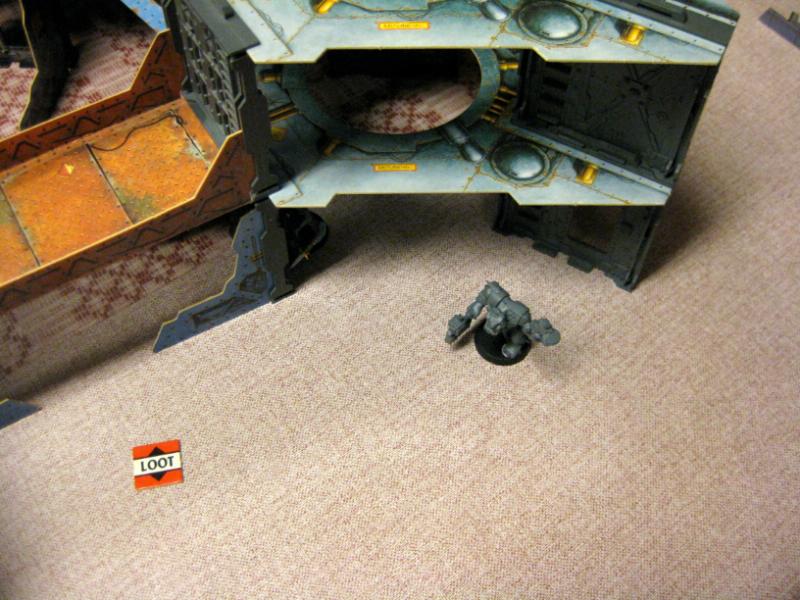
Ch´Pekk runs a bit to the north, and sets up for a grapnel shot onto the small tower. The Kroot Ganger, Lo´Zog, runs further into the complex, and leaps even further. He is now in position to pick up the nearest loot counter next turn!
The Kroot leader shoots his grapnel, and gets a good hit on the first floor of the small tower.
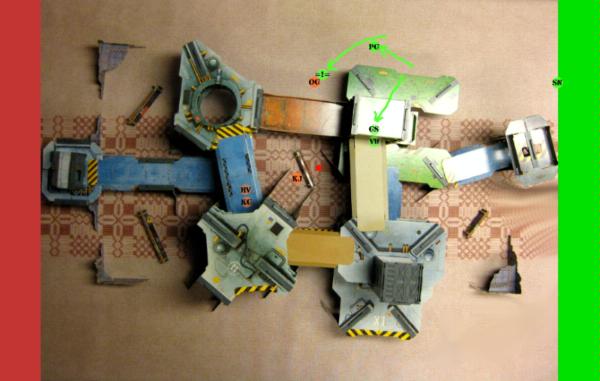
At the end of the turn, the first reinforcements for both sides arrive. The imperial agents are relieved to see that the Inquisitor(=I=) himself is here, flown by landspeeder. He dismounts, and takes his pilot(
PG) with him into the ruins.
The Kroot leader rejoices, as his Orkoid ally (OG), along with the remaining Kroot (KJ) and the squat Heavy(HV), have come to assist him.
 Turn Three:
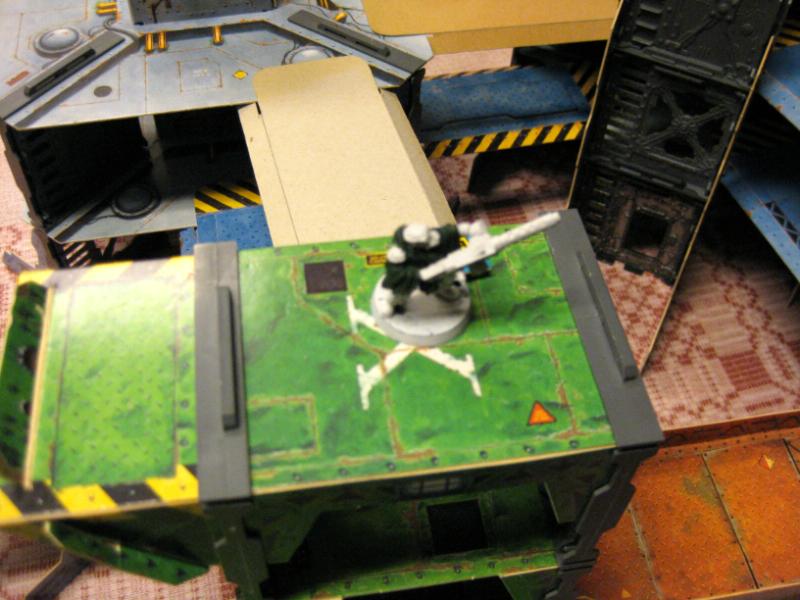
The Imperial heavy moves onto the elevator in the elevator tower, and begins his ascent to the topmost level.
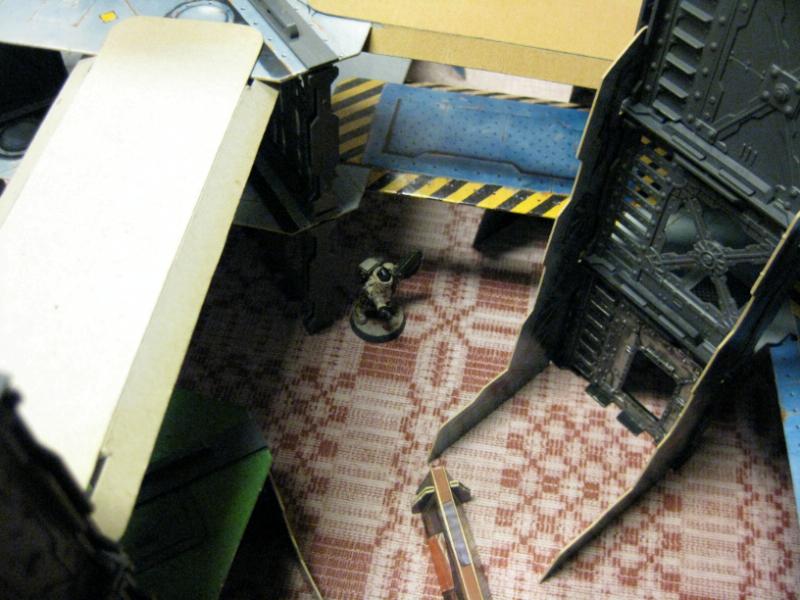
The void born moves underneath the bridge by the High Tower, and prepares to make a dash for the nearby loot pile.
Meanwhile, the Inquisitor and his pilot move to the base of the nearby tower, readying themselves for battle.
On the western side of the complex, the Kroot continue to advance.
 Ch
Ch´Pekk winches himself to the small tower,
while the leaping kroot gets to the first loot pile. He busies himself with grabbing it, for later analysis.
In the reinforcement phase, the last of the Inquisitorial forces arrive, the Sniper(SN), the Gunslinger(
GS) and the Juve Mechanic(JV).
 Turn Four:
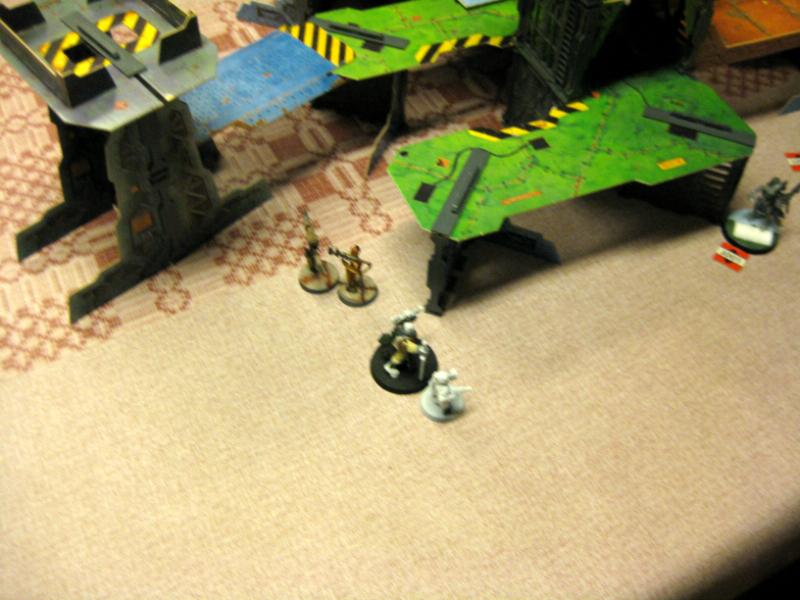
Inquisitor Sigismund and his pilot run further into the complex, heading for the two loot piles up north of the elevator tower. His newly arrived reinforcements run up in support, except for the sniper, who sets up for a shot at any xeno mercenaries that might show their heads.
The Heavy gets to the top of the tower, and the void born reaches his first loot counter, grabbing it for the Inquisitions forensic teams.
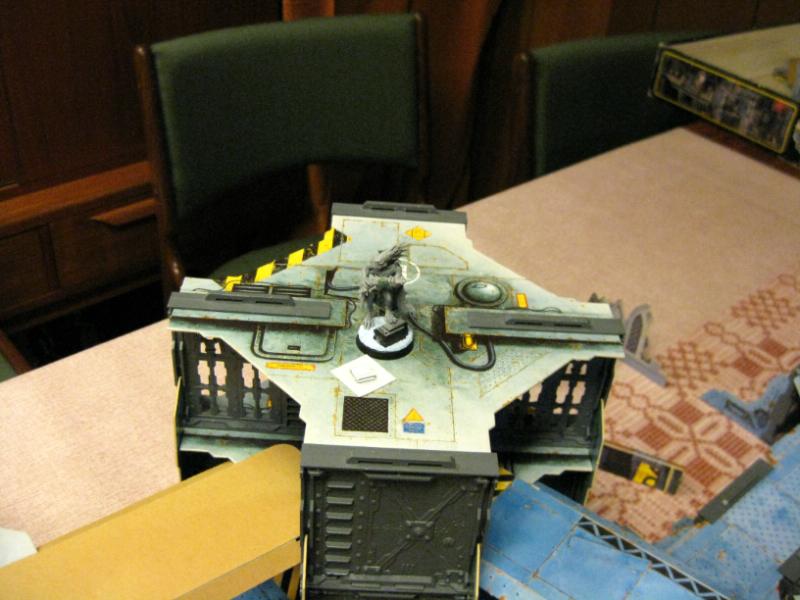
The Kroot mercenaries also move further into the complex, the leaping kroot ganger reaching the top of the high tower,
and the leader firing his grapnel gun at the foot of the elevator tower. The squat heavy moves onto the walkway towards the middle of the board,
and the Ork ganger, along with the Kroot juve, move along the ground, supporting their leader.
 Turn Five:
The Imperials, getting closer to the northern objectives, decide to reinforce these positions, moving a total of four models to within distance of the nearest one. The sniper moves north, looking for a clean shot at the kroot leader, suspecting that he´ll be making a move for the loot piles as well.
The heavy atop the elevator tower opens up an impressive fusillade of fire on the kroot in the next tower, but even with five shots he fails to hit him.
In the Xenos turn, the Kroot ganger moves onto the loot marker, picking it up and shooting the Heavy in the elevator tower. The heavy falls over the edge of the tower, and is out of action! The ork moves to the north, the squat heavy moves closer to the middle of the table, and the kroot juve moves to join him. Finally, the fearless
Ch´Pekk uses his grapnel line to slide over to the elevator tower.
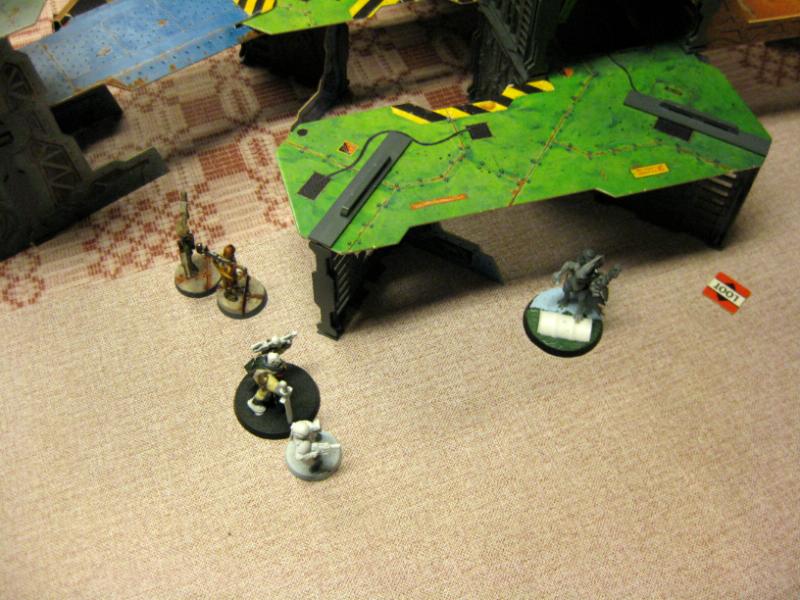
The Imperial sniper, having set his sights so carefully, is knocked down by the fierce winds, and falls to the ground, pinned.
 Turn Six
The Inquisitor and his three agents move into firing positions, and unleash a fearsome amount of firepower at the kroot leader. He goes down, losing a wound, and taking a further flesh wound.
The sniper struggles to get up, and the void born makes a move north, for the loot counter in the middle square.
The Kroot leader manages to get up in his turn, and proceeds to move into flaming range, taking a shot that hits Inquisitor Sigismund and his pilot full on. The Inquisitor suffers a wound, and his pilot takes a flesh wound in the flames.
The Ork moves further forwards,
and the leaping ganger moves down from the High tower to join his kin and the Squat heavy between the two buildings on the first floor bridge.
 Turn Seven
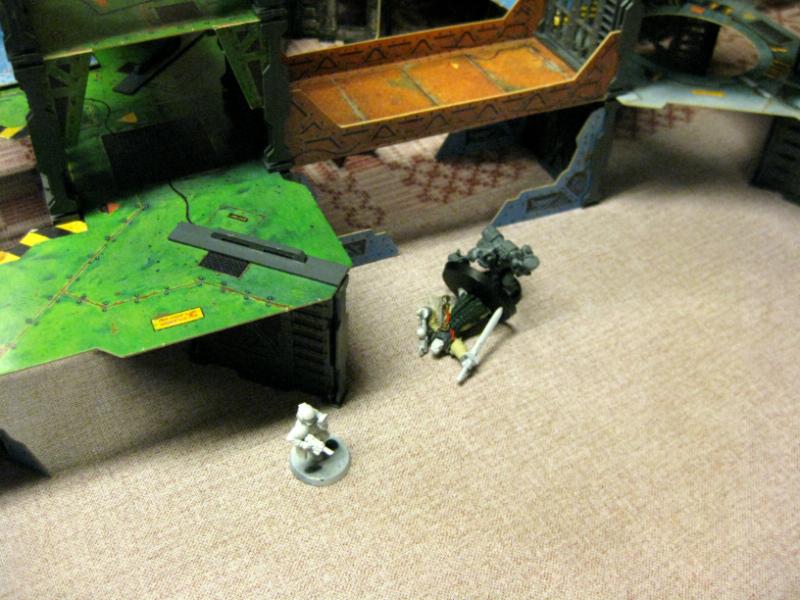
Recovering from his wounds sufficiently to stand up, the Inquisitor prepares his people to charge the Kroot Leader. He charges along with the gunslinger and the Juve, while the pilot moves forward, planning to secure the nearby loot counter.
Meanwhile, the void born moves further into the ground level of the elevator building, and takes a shot at the squat heavy, but misses. The close combat sees losses on both sides. The Juve Mechanic goes out on the imperial side with hideous wounds to her eyes, but the Kroot leader goes down, fearsomely wounded.
The imperials consolidate closer to the buildings.
The Ork moves onto the loot counter west of the imperial positions,
and the remaining mercenaries prepare to hold their side of the board, sending the Kroot juve forwards into the middle courtyard.
 Turn Eight
Having taken the mercenary groups leader out of action, Inquisitor Sigismund decides to charge the Orkoid ganger on the nearby loot pile. He charges, and orders his pilot to collect the eastern counter.
In the ensuing close combat, the inquisitor falls to the ork´s hideous strength. As he falls, the morale of his group falters, and hauling their fallen with them, they withdraw from the field.
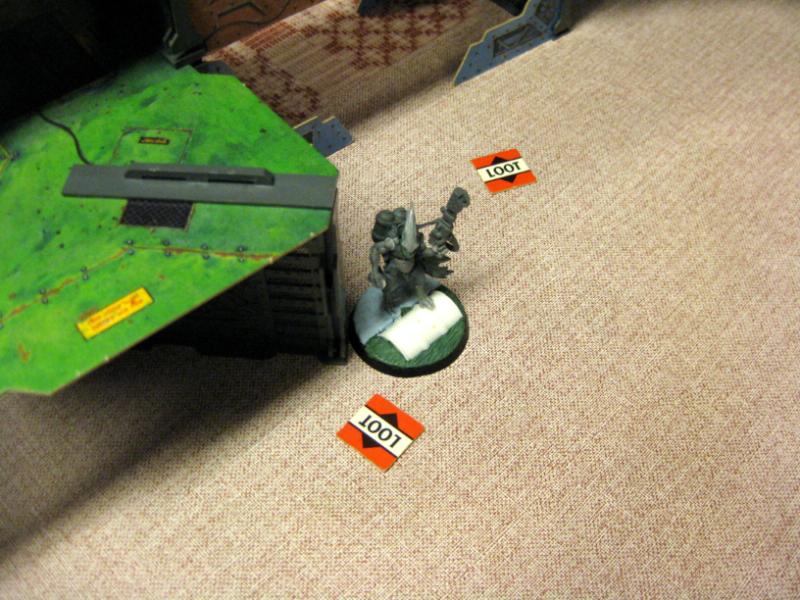
Aftermath:
The mercenaries ended up being in control of the battlefield, and taking four of the six loot counters as their spoils. A
D6 was rolled to see which loot piece was the one retaining the clue, and it proved that the very one that the inquisitors pilot had secured, held the clue that was searched for!
This made the battle a draw, the Inquisitor claiming a moral victory, and the Kroot claiming victory on the battlefield.


 Back on the path of the Imperial Citizen
 Krieg: More wins than Losses.

 i want to play and ride with you on your predator. i want to be friends with you
 too bad alien scum
 and
and  needs the new sm army codex!!!!!


