Forum adverts like this one are shown to any user who is not logged in. Join us by filling out a tiny 3 field form and you will get your own, free, dakka user account which gives a good range of benefits to you:
No adverts like this in the forums anymore.
Times and dates in your local timezone.
Full tracking of what you have read so you can skip to your first unread post, easily see what has changed since you last logged in, and easily see what is new at a glance.
Email notifications for threads you want to watch closely.
Being a part of the oldest wargaming community on the net.
If you are already a member then feel free to login now.
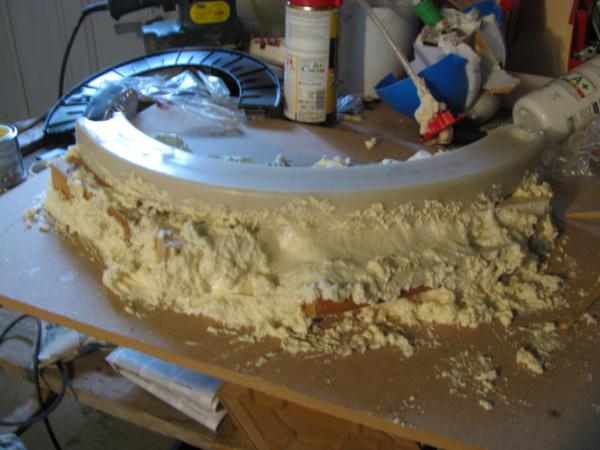
Proof. This was the styrafoam that came with a ceiling fan I recently replaced. It just screams TERRAIN to me. I'm going to try using this as a starting point for my LoER entry this round.
I'm thinking war-torn ruined factory. Or mad scientist's lab. Troops could hole up in there and defend it. Nice high ground. Good LOS blocking I suppose!
To be honest, this thing is huge. Very ambitious for me compared to past projects. Current dimensions are: 23" L x 12" W x 5" H. My plan is to cut it down some, maybe by 1/3. Rough it up of course. Add in doo-dads, dirt, battle damage, etc.
Also need to find a way to seal it so that the styrafoam doesn't lose structural integrity and crumble. I'm thinking PVA, maybe spackle, plaster, even papier-mâché. Lots of options!
@ Cleatus: Wow that does scream terrain, and to me also "skate park" You should check the completion date on this contest, Cam is giving us a big block of time so it might be worth trying on the whole thing depending on how much time you can devote.
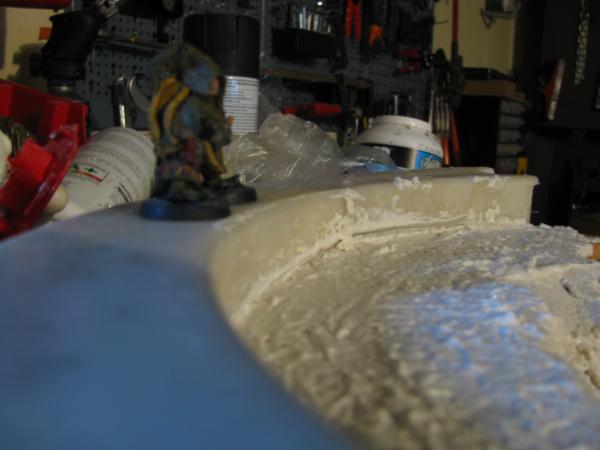
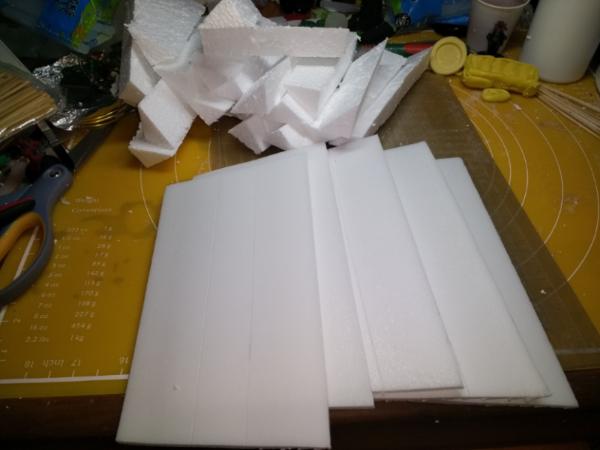
Time for some over due WIP shots. I had a lot of fun researching trench warfare as I was preparing to start this project. I felt like a budding Iron Warriors player learning about stuff like "enfilade, defilade, saps, communications trenches, reserve trenches, and the like.
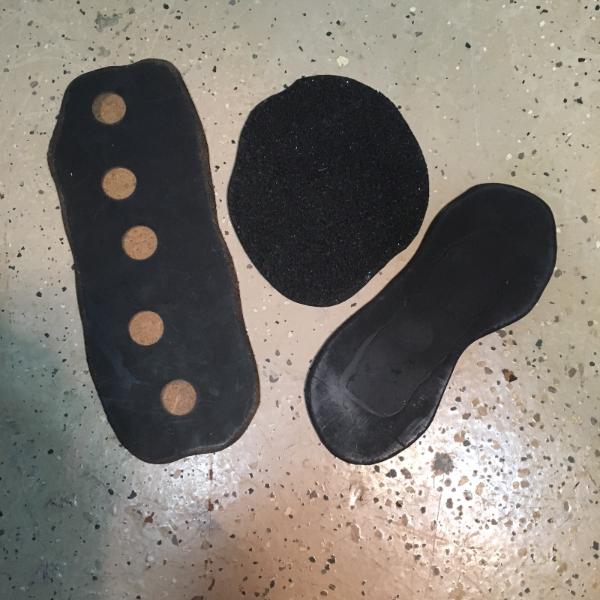
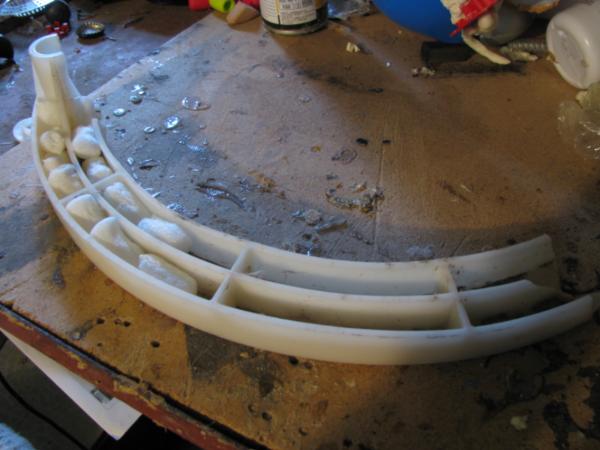
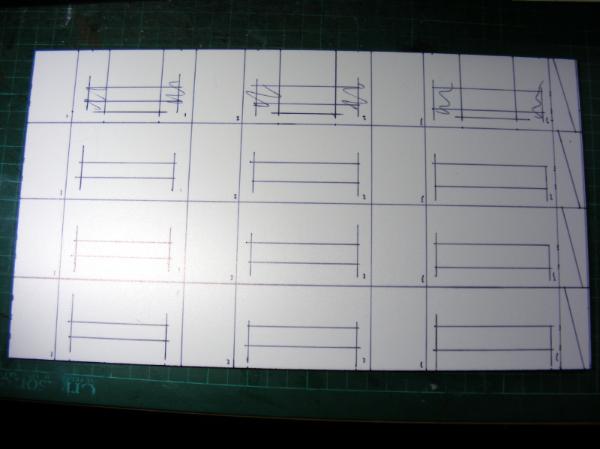
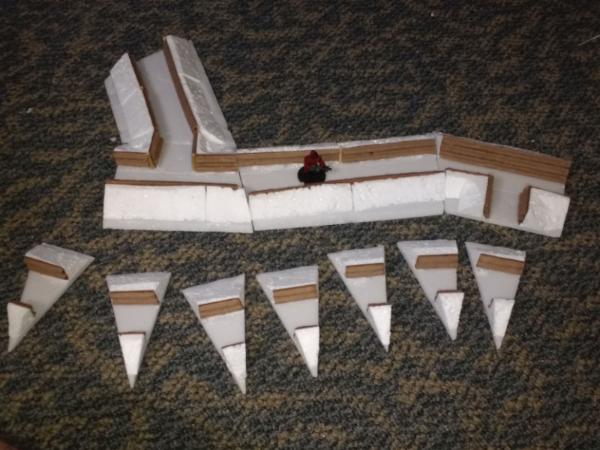
Here are some of my raw materials (which I later doubled). I cut 8 inch by 4 inch strips of dollar store foam core, then peeled off the paper. I also then cut roughly 1 inch by 1 inch styrofoam prisms. These prisms were then cut diagonally to create right triangular prisms.
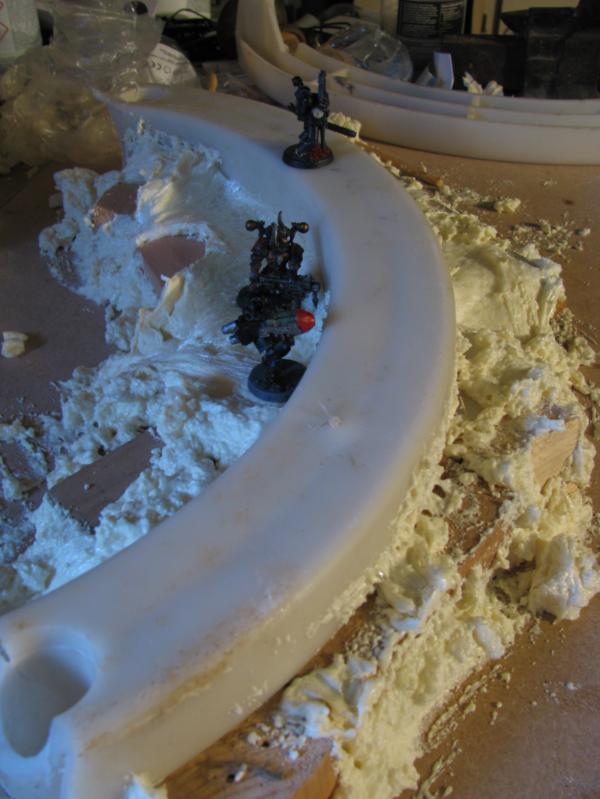
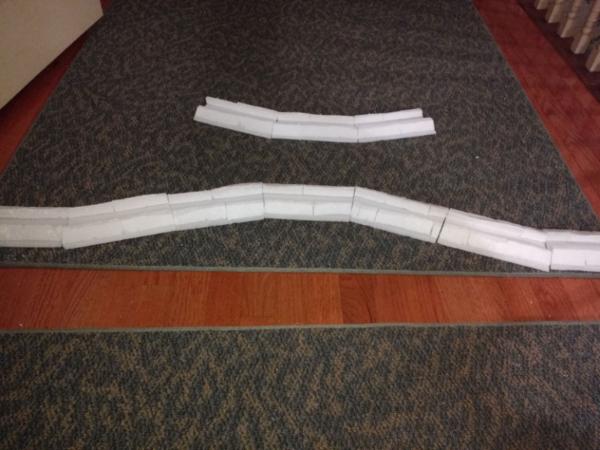
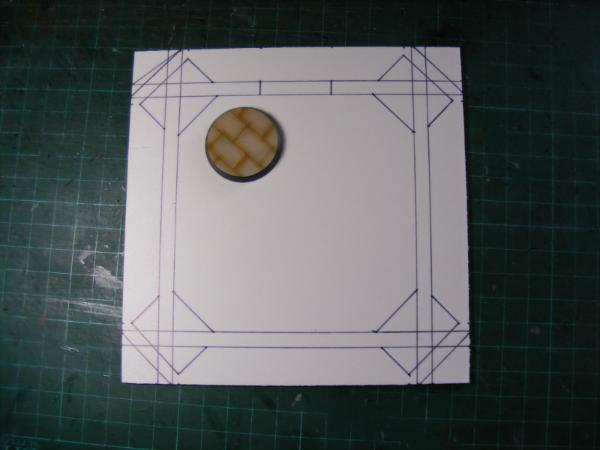
Here is a scale shot of a representative from each of my 40k armies. I am building this trench system in a modular manner, with each piece shaped like a hexagon with one side an inch shorter than the other.
Here the trench is set up in a way to protect from enfilade, so an enemy cannot fire down the entire length of the trench if the get in.
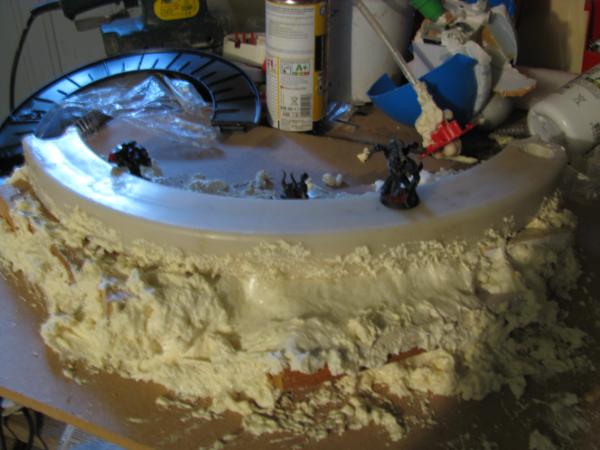
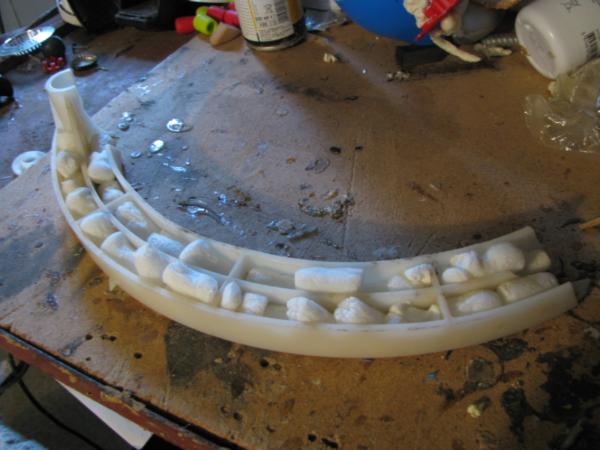
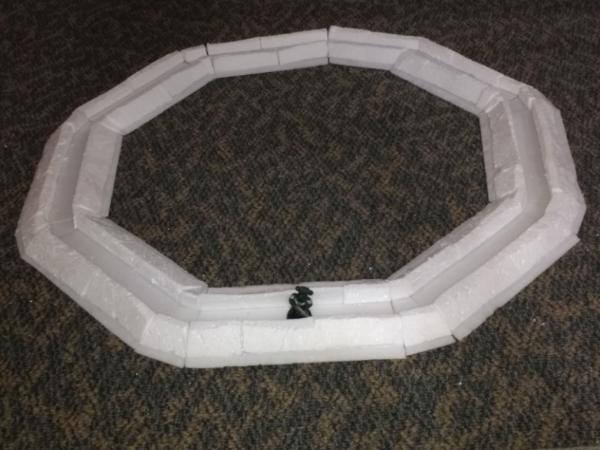
Here it is arranged in a curve.
I plan to make additional connectors to allow more configurations.
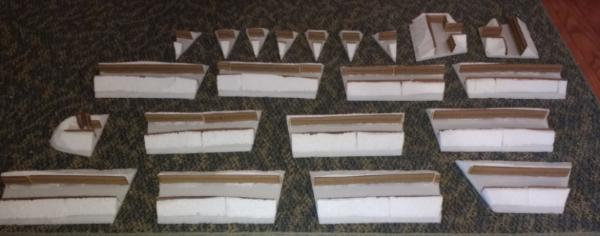
Made some more pieces today, I think I'm finally done making new parts and will start the many steps to finishing all the modules now.
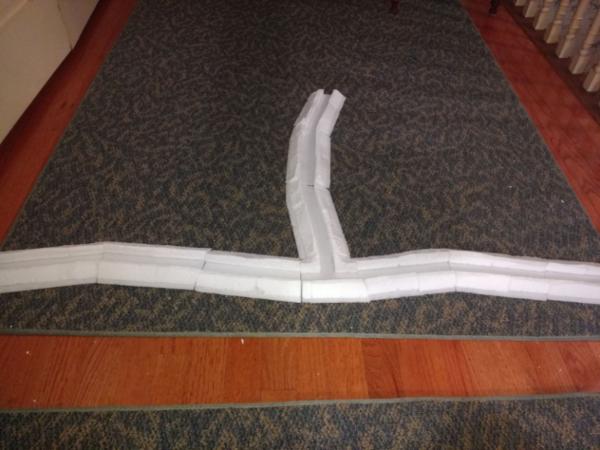
I made two "T" intersections for the trenches, so they can branch along with 4 arcs to allow the trenches to angle more.
Here's one of the T-intersections in use to allow a communications trench to attach to the forward trench.
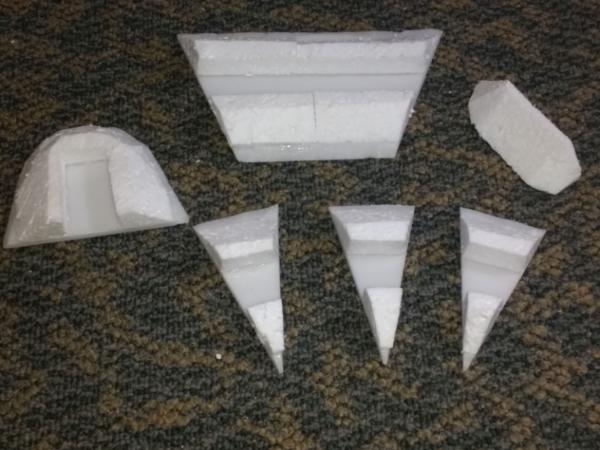
I then made some more of the arc pieces, another trench piece of a different size, and some end caps for the trenches. The extra arc pieces and trench piece allow em to construct this:
Thanks Cam! Rather than continue with what I had planned, I've gone back and started cutting away at the walls to widen the trenches to be able to add details while still being able to fit in the figures. Dakka's been a bad influence on me, I never used to care about adding so much detail
Thanks Cam, though I'm proud of myself that my work had enough detail that I made it into the League even though I don't do rivets.
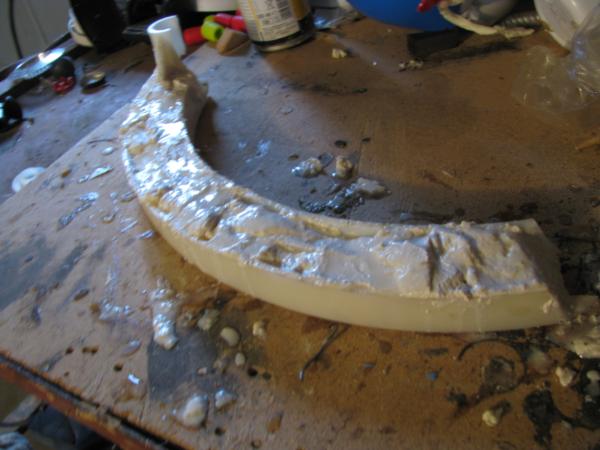
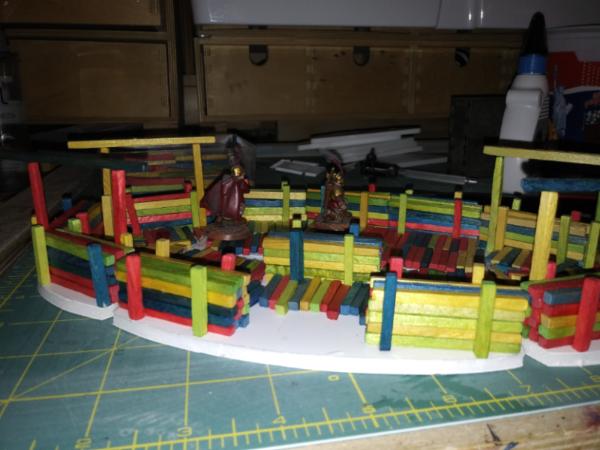
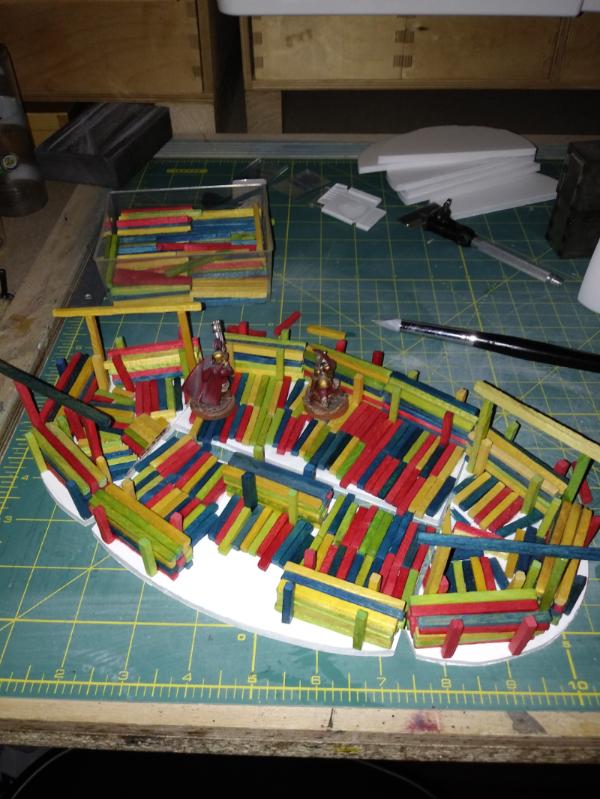
This took a lot longer than I would have liked, but now all of my pieces have been widened and had corrugated cardboard and bamboo skewers added to represent corrugated metal walls held up by posts. I've gotten Spackle/filler on about half the pieces which are currently drying.
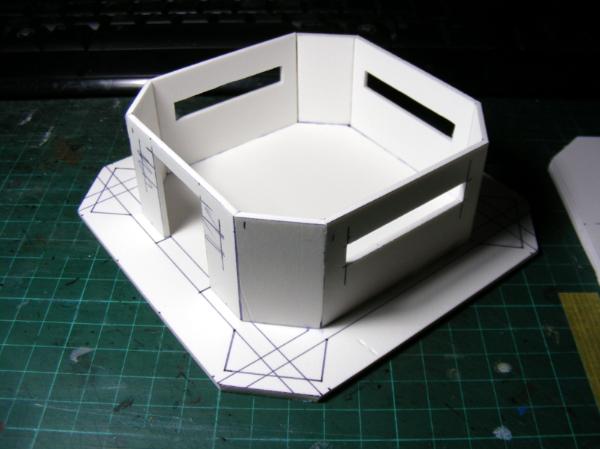
Nice to see so many of us progressing at once. Vik, you just exploded out of the gate. KernelTerror, Skalk, Vik, keep up the good work, I'm looking forward to seeing more. Also KernelTerror, this is probably funny coming from me with the huge trench system, but that piece of the bunker you have done so far looks really big, how big is it?
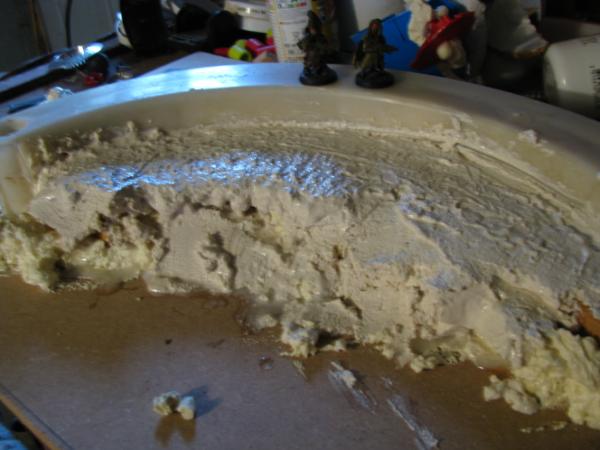
I've finished applying spackel/filler to all my little trench sections, but they don't really look different enough from before to warrant pictures. I hope to prime or base coat soon.
Great stuff all! Still working out designs, and waiting to find the bits of junk that will set my direction. I do however have some leave coming up and my original plan for that time is now dead, so I have some spare time on my hands to make up for any slow start.....
@KernelTerror: sweet, that is going to be an imposing piece. I hope you do manage to make the top removable, that would be cool to hide a tank in there sometimes. The people here on Dakka are a wealth of information and very helpful, so don't hesitate to ask for advice on how to do that. I'm looking forward to seeing your bunker progress.
@OMN: I agree with KernelTerror, very impressive precision on that build.
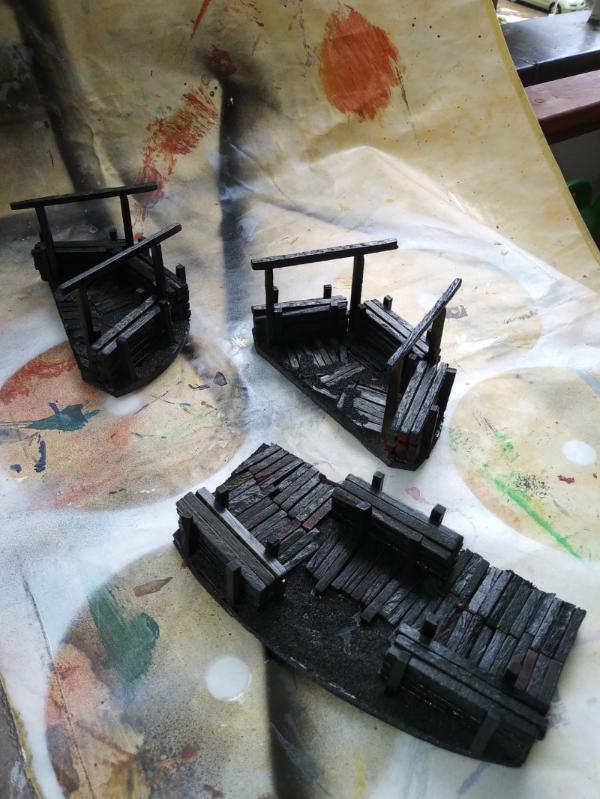
I've primed all my trench sections and have begun base coating them all. I only have enough room to work on and let dry about 1/3 of them at once, so it's taking a while.
I painted the dug down part of the trench a dark brown, while the part out in the sun light a light brown. Once sand is on top of it all, I'm hoping it will give a subtle and good looking difference. I plan to make the corrugated iron pretty weathered and rusty
This message was edited 1 time. Last update was at 2018/06/15 00:48:50
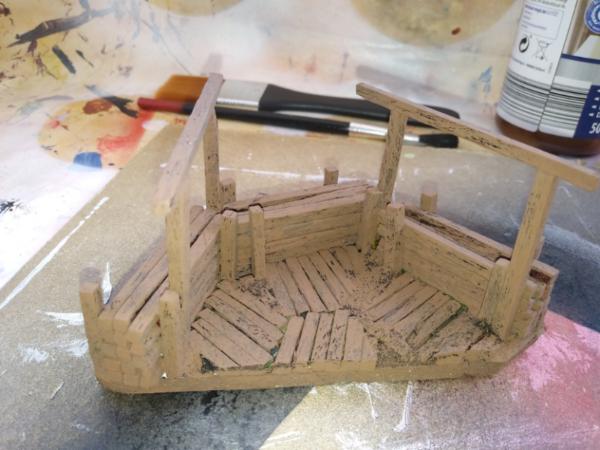
Not really, I was pretty sloppy cutting it out some of the corners are a mess.
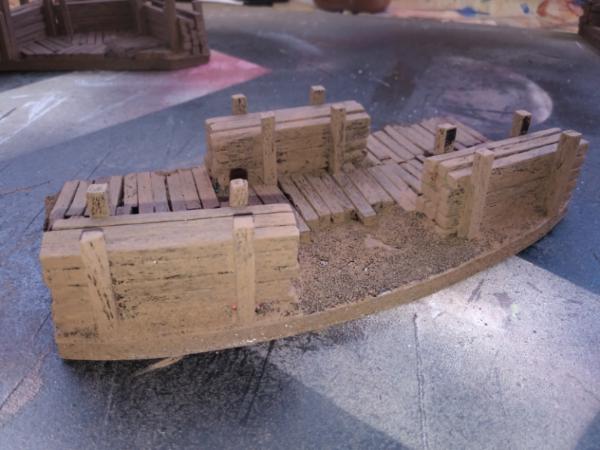
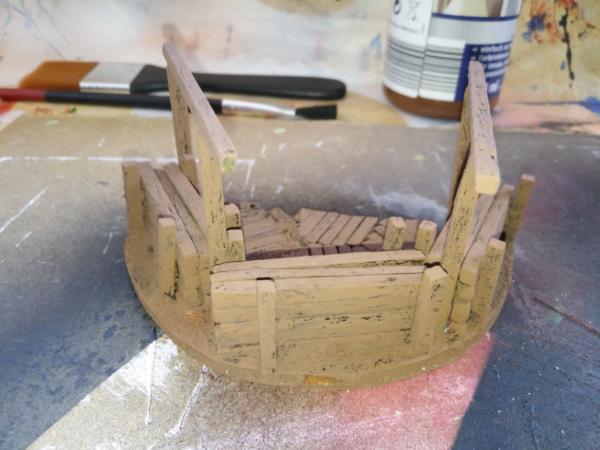
So that's the main body done, detailing and the interior next.
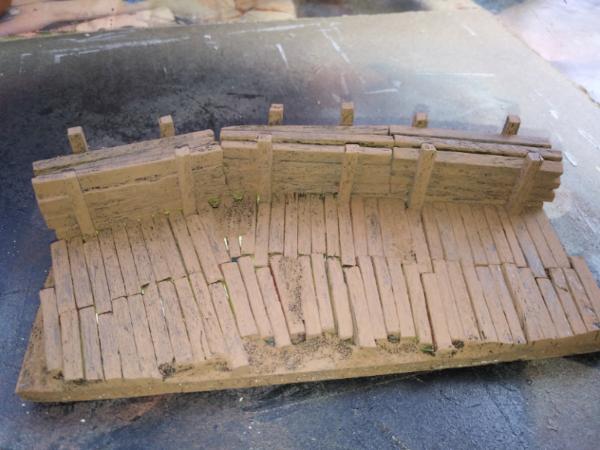
Riveted plates on the corner buttresses, above the fire slots and on the roof. Inside I need to add something in the centre and a door. Sandbags can be added to the outside to cover some of the more glaring issues.
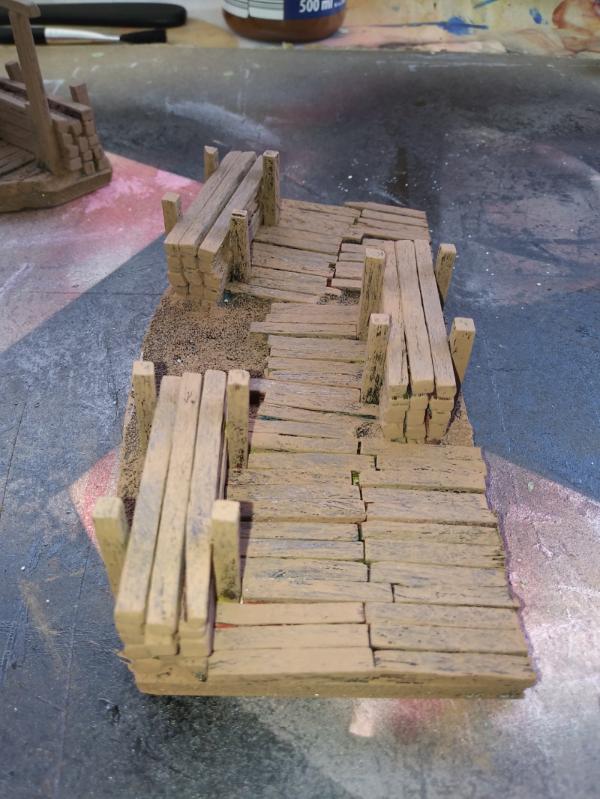
I've been adding the sand to the trenches, Still more to do. All my stuff is currently drying as I just finished adding a watered down PVA glue protective coat on top of all the sand portions.
Thanks OMN, it did take ages. Luckily it wasn't quite as bad as I expected (mostly mess wise). I keep my sand in one of those plastic barrels that you can buy pretzels in, and I found that I could just barely fit each piece through the mouth and into the barrel. So each piece, after the glue had been brushed on, would be slid into the barrel, I'd close the lid, then roll it around to apply sand. And yes, I'll be making sure to seal in all the sand I use, I've learned the hard way that it needs to be done .
Will it be problem if I add here some inspiration photos what can be build for "hold the line!" ?
Add it under spoiler
Spoiler:
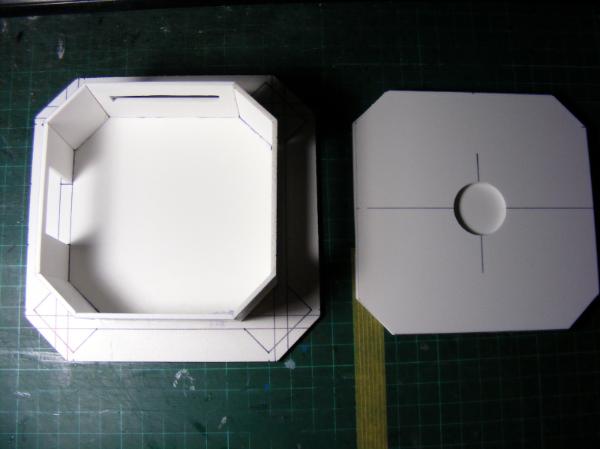
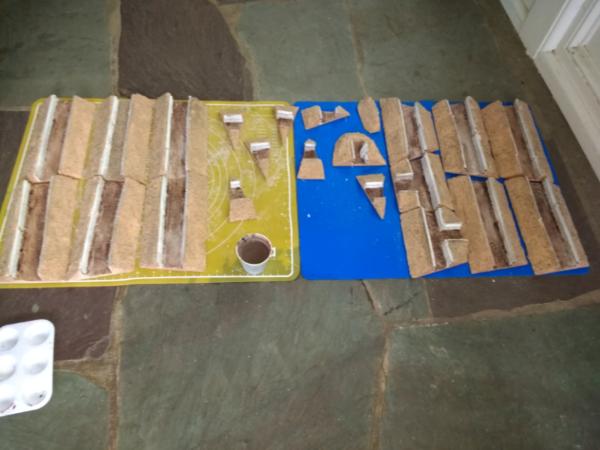
This one has no name, and is not constructed as terrain. Maybe in future....
(Original was flatbed for rc [radio control] logging truck)
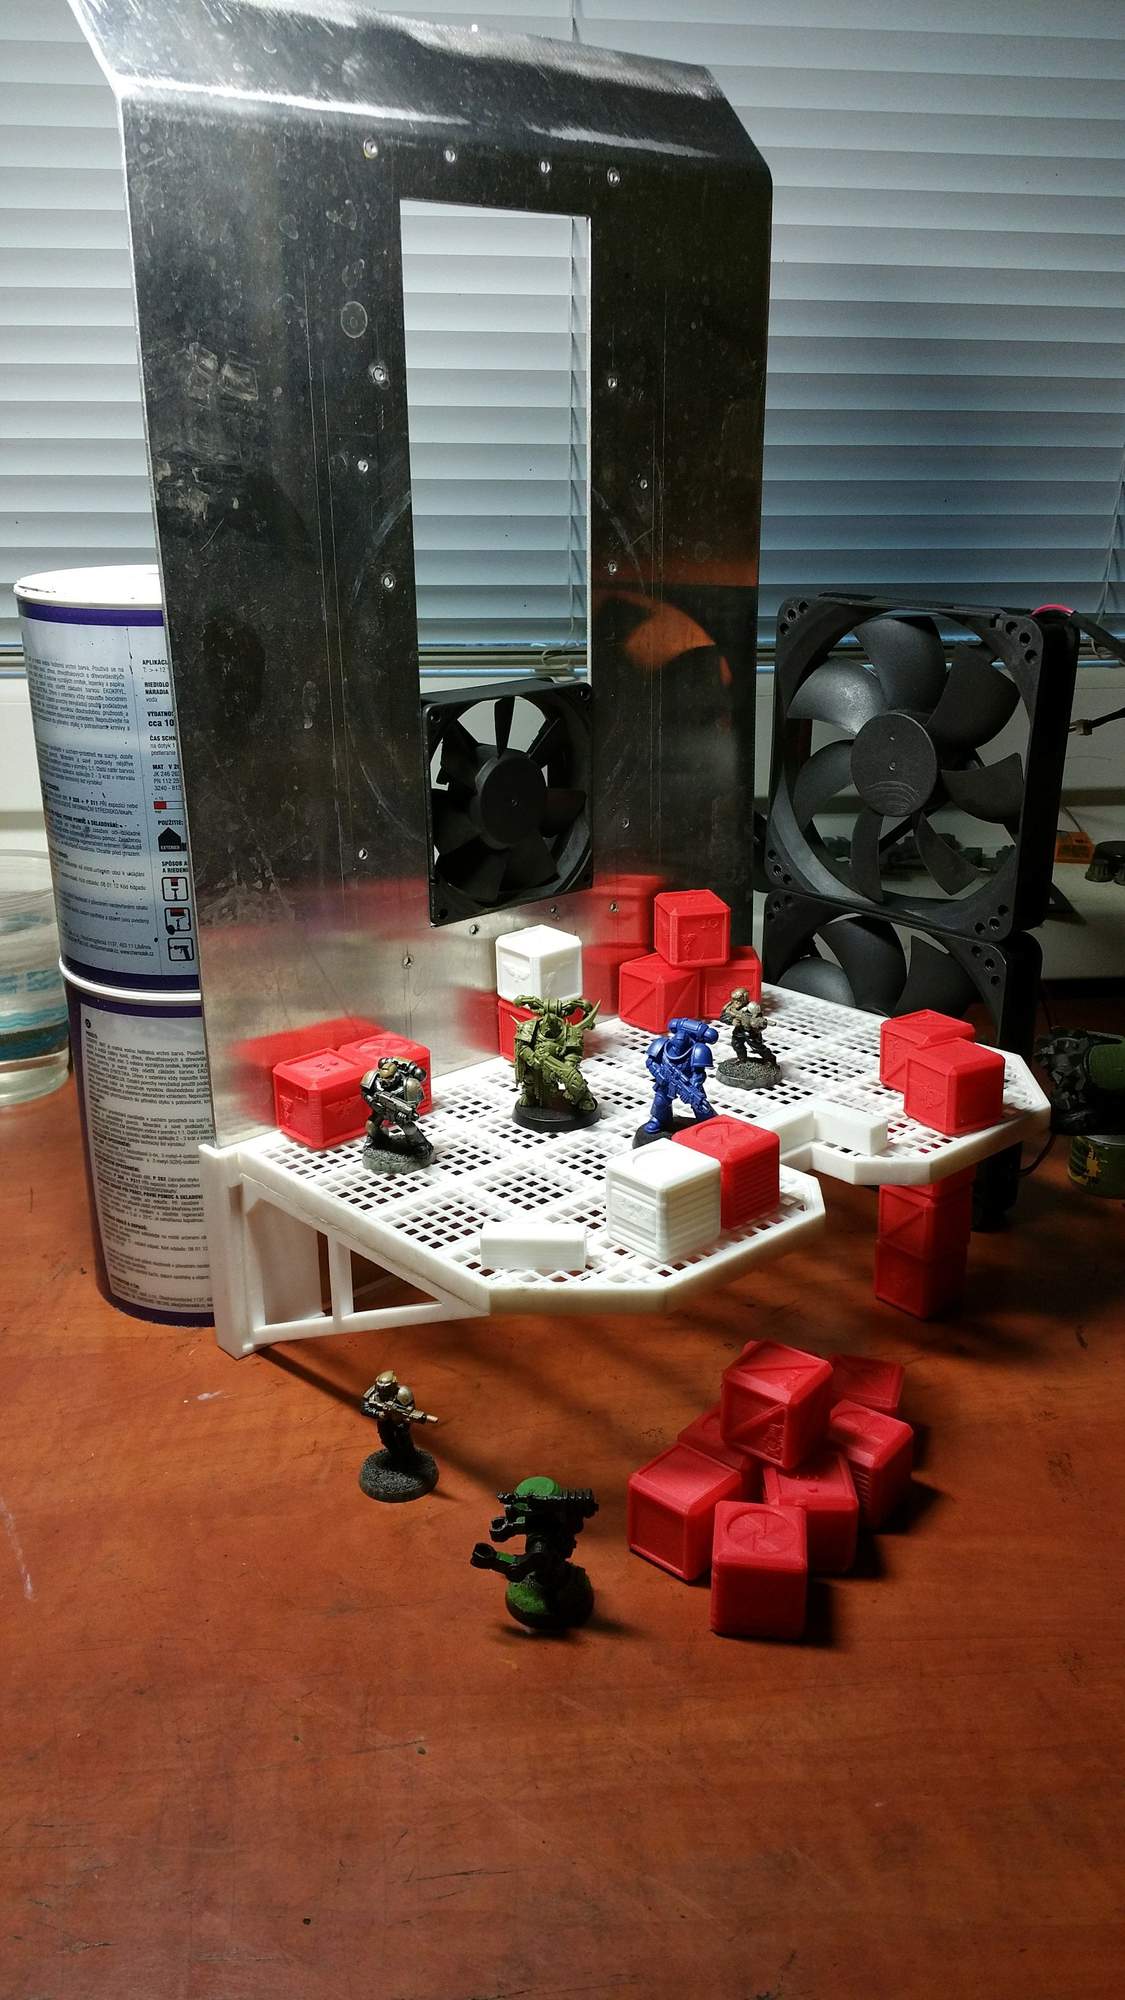
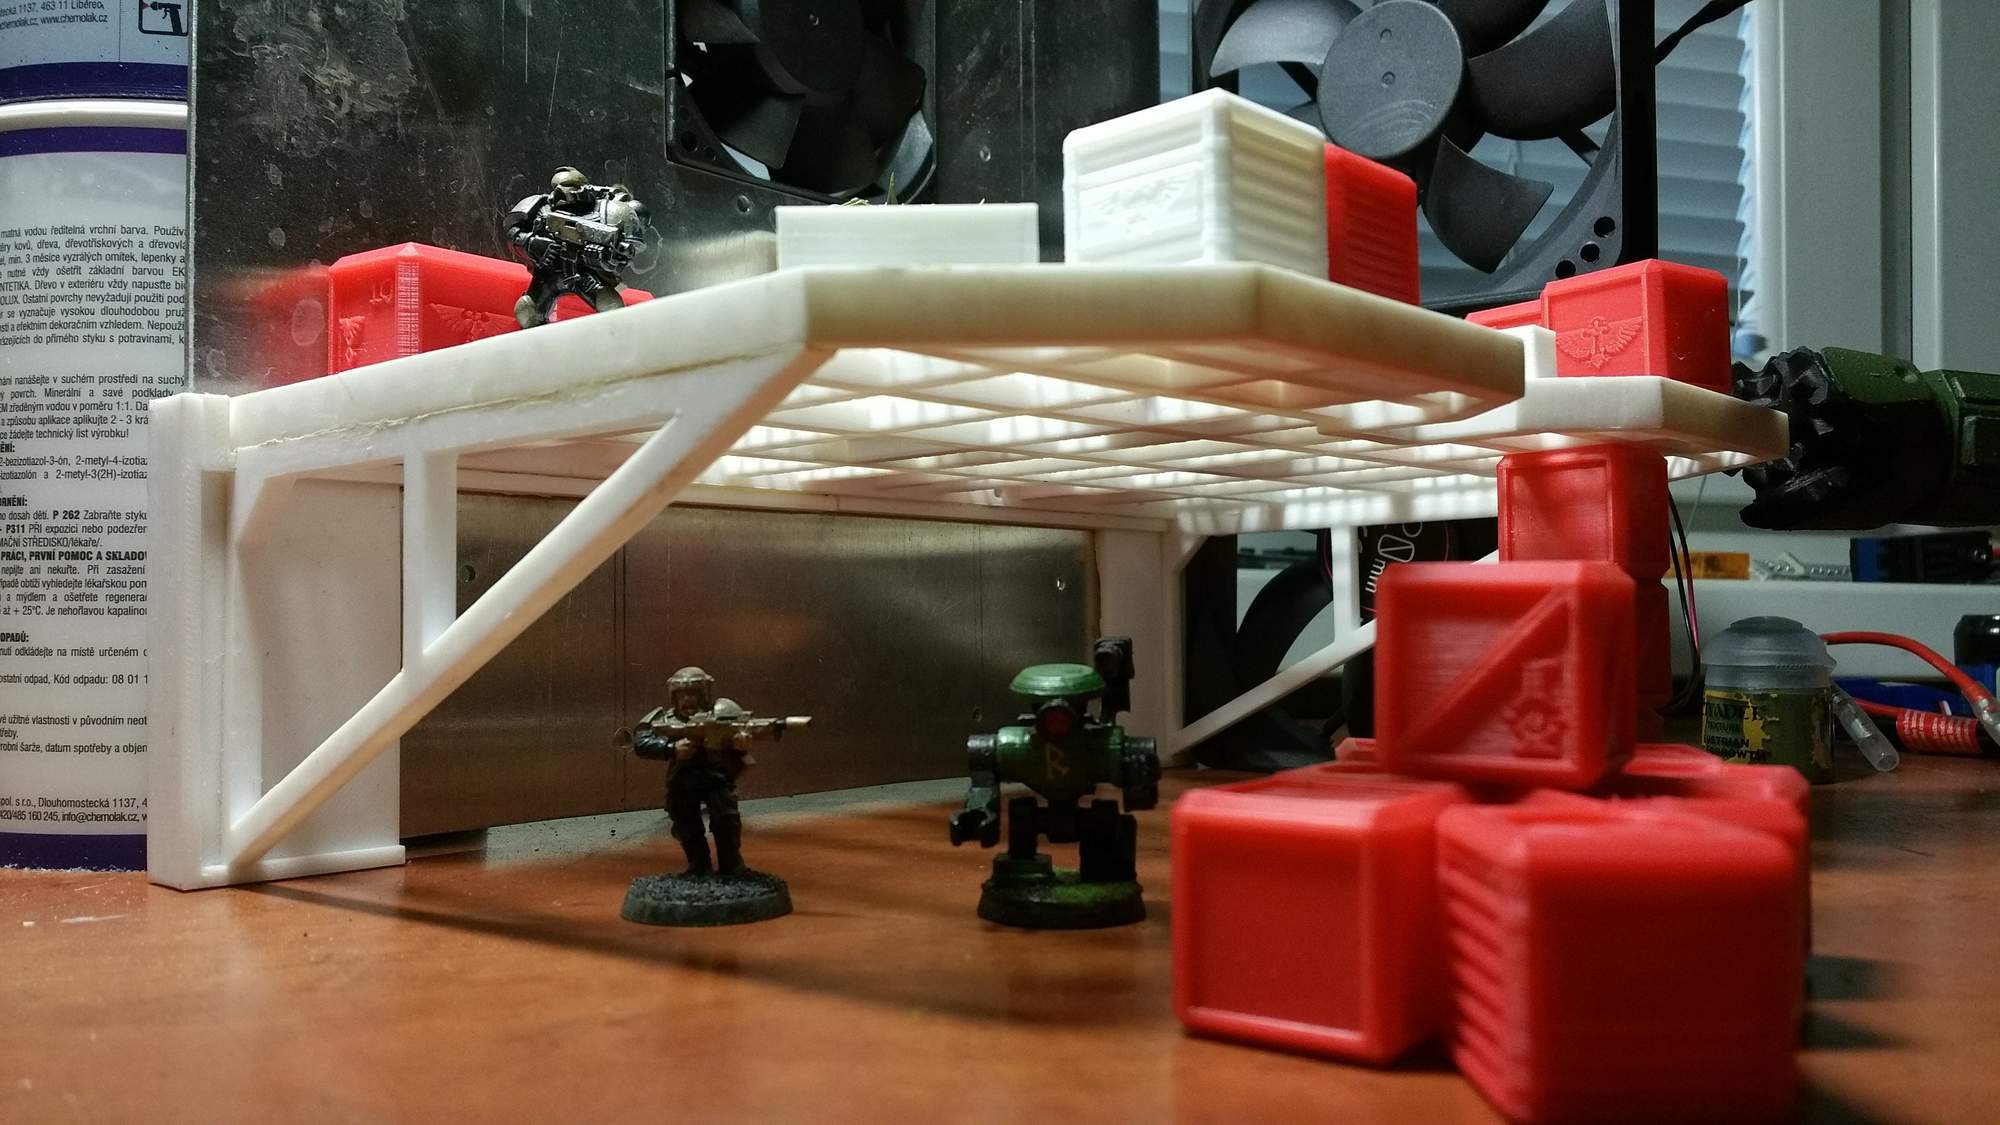
But with fantasy.... it can be superb 40k terrain.
Put it vertical, add some fans, drop few crates, create mess on floor, add staircase, carve some styrodur panels for cover clear aluminium..........and nice platform represent a defensible position at the side of ruined industrial building is born.
This message was edited 2 times. Last update was at 2018/06/16 05:16:40
2018/06/17 19:51:48
Subject: The -=]_=- Terrain Competition Thread -=]_=- LoER Terrain Contest #26 "Hold the line!"
Finally got an Idea on what to do for the theme, I'm currently working on Rebel Grots for GorkaMorka and figured out a way to make the same project work for 3 different competitions
The actual Grots for BlogDeKouzes warband competition, The Vehicle for Yak Comp 24 over on the Yaktribe forum, and the Grot Scenario Terrain for this LoER comp
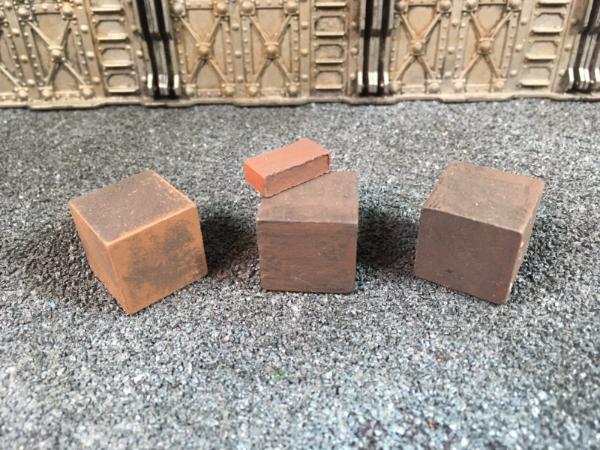
Starting materials for the GorkaForta (of is it FortaMorka?)


 Loving watching this contest evolve, as League Lurker. Keep it up gang!