Hi everyone.
I thought about posting this in the Blogs section however as it's such a small project and I'm intending it to be a step by step approach to a piece of scenery I thought I'd post it in here.
If the powers that be disagree with me, feel free to shift this to a more appropriate forum.
I've had this idea to do a piece of scenery around the space marine statue since the honoured imperium kit came out.
I've seen similar pieces of scenery made by others however this is my take on it with instructions.
The only reason it is not all in one post is that I'm waiting on extra wall sections.
I'll start this with the ingredients I'm using on this project.
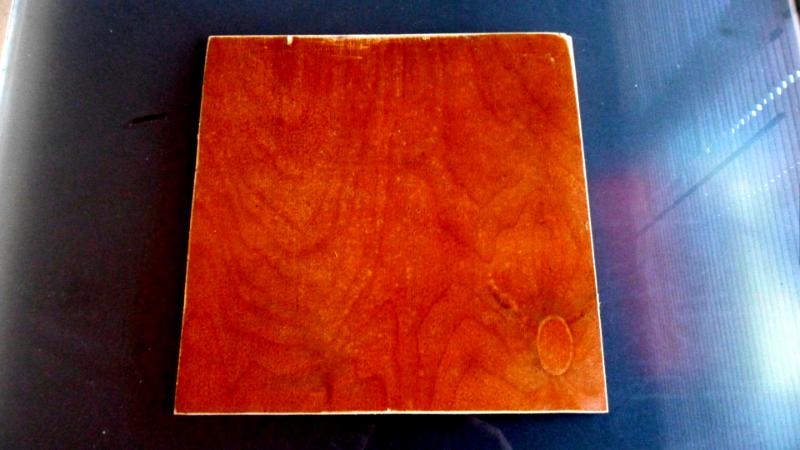
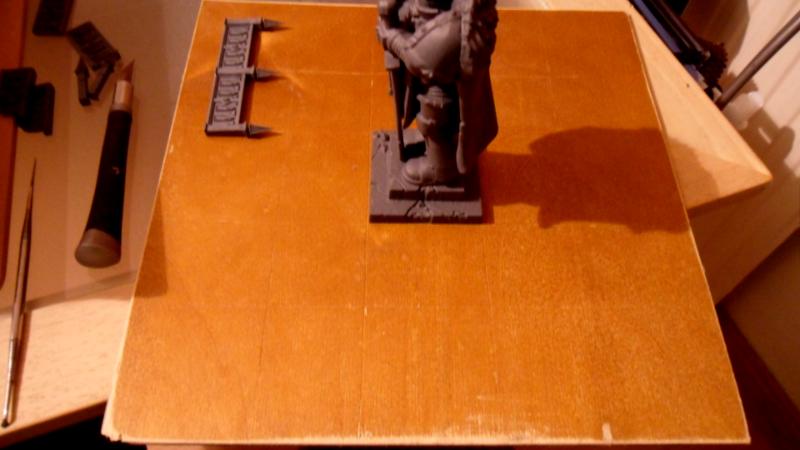
This is my start. It is a piece of backing board to an old wardrobe I had. It is 3mm thick plywood however any thin basing material will do. This is 12" square.
I had purchased 3 sheets of this material a few years ago for a project at the time and had never used it (or completed the project).
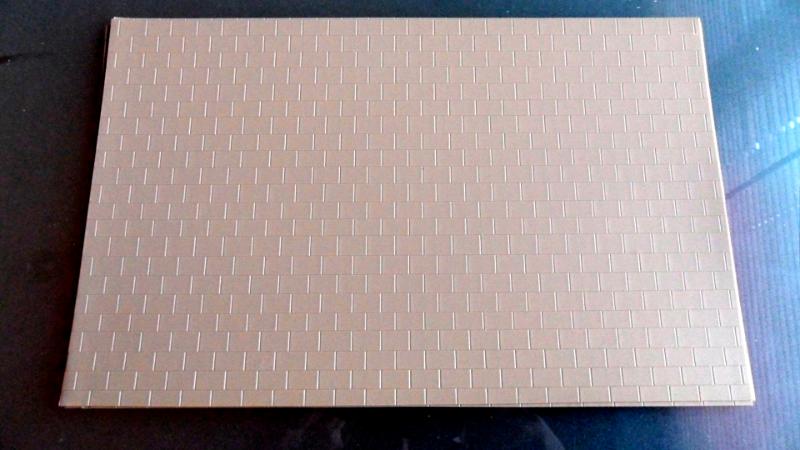
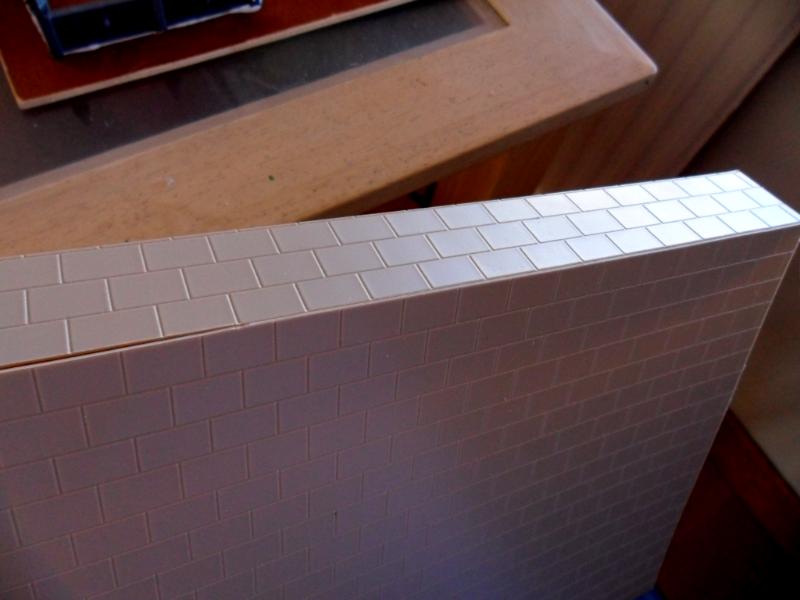
It is 0.5mm moulded styrene. I'll use this for the pathways leading up to and around the statue.
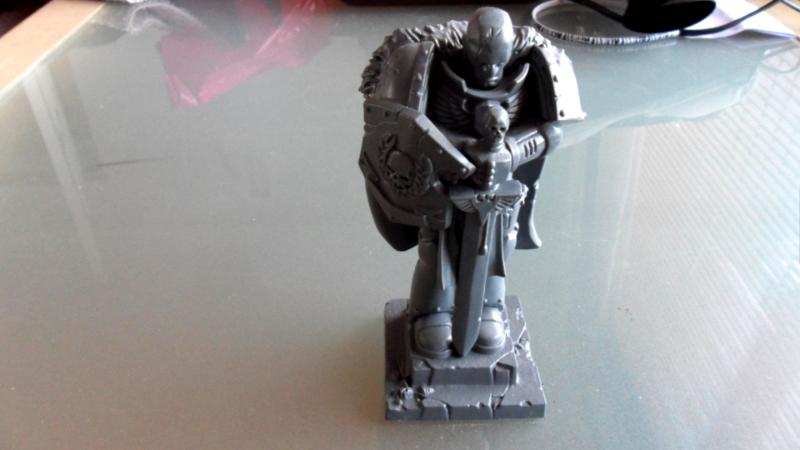
Here you can see my honoured imperium statue without any conversions.
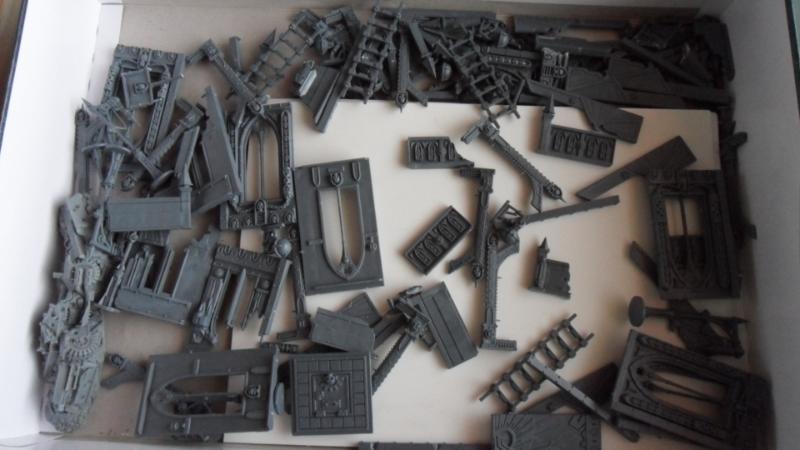
This is my scenery bits box from which I'll be using the wall sections from the sanctum imperialus kit as a boundary wall for the park.
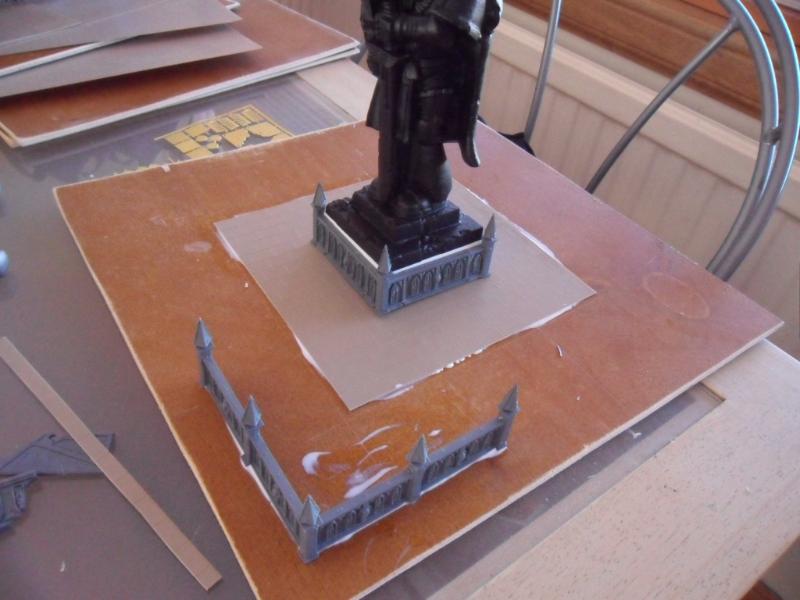
Here you can see my planning stage of how it will all fit together. I wanted it to be on a 12" square base as this would tie in with the rest of my
COD scenery. You can see the lines of where the paths, walls and grass will be. This will leave a 1" gap around the edges that I will make foot path like this:
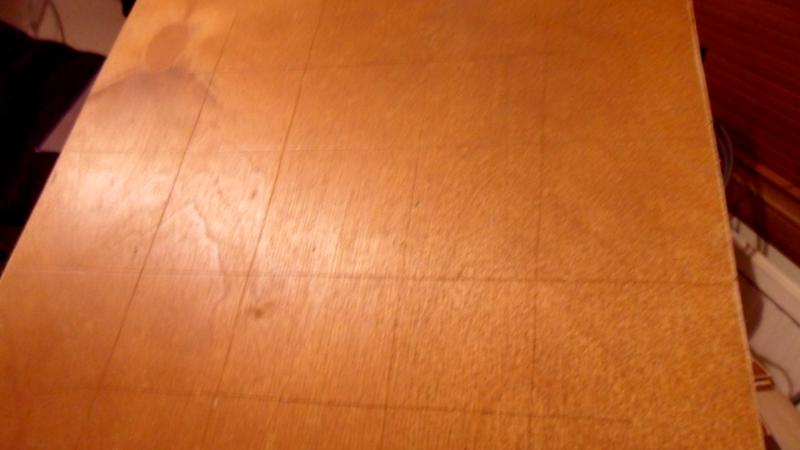
You can see the lines marking the boundaries better in this.
I decided to make it a 2" path around the statue.

This is where I'm up to so far. I've sprayed the statue with
GW roughcoat and also sprayed it black with
GW chaos black.
I'll update soon.
***Updates***
The next stage for me while I'm waiting on more wall sections coming from a well know internet shopping type place is to complete the plynth and make a start on the outside walls with what I have at the moment.
For the plynth I decided to make this the height of the wall sections by the width of the statues base.
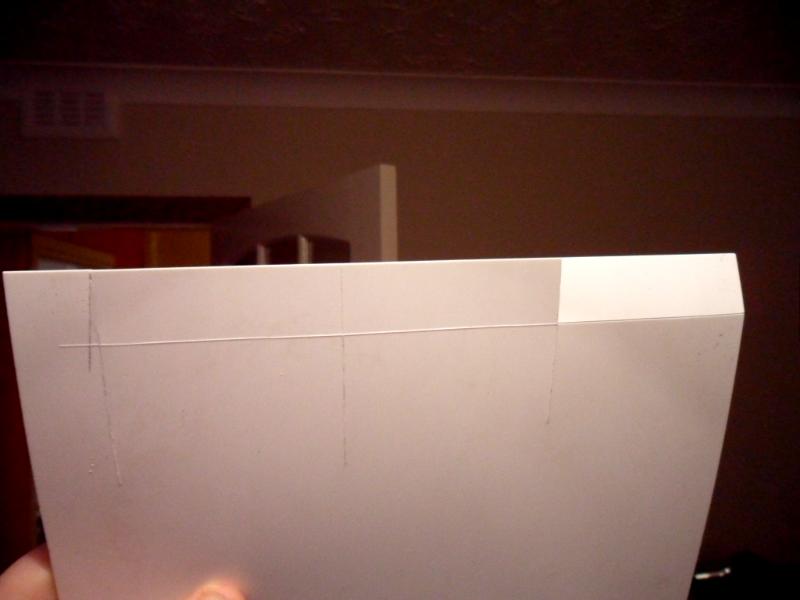
I used 1mm styrene for this which you can pick up at most hobby places.
The beauty of this stuff is that you can just score and snap it. It doesn't need to be too neat at this stage as nearly all of this will be covered by wall sections.
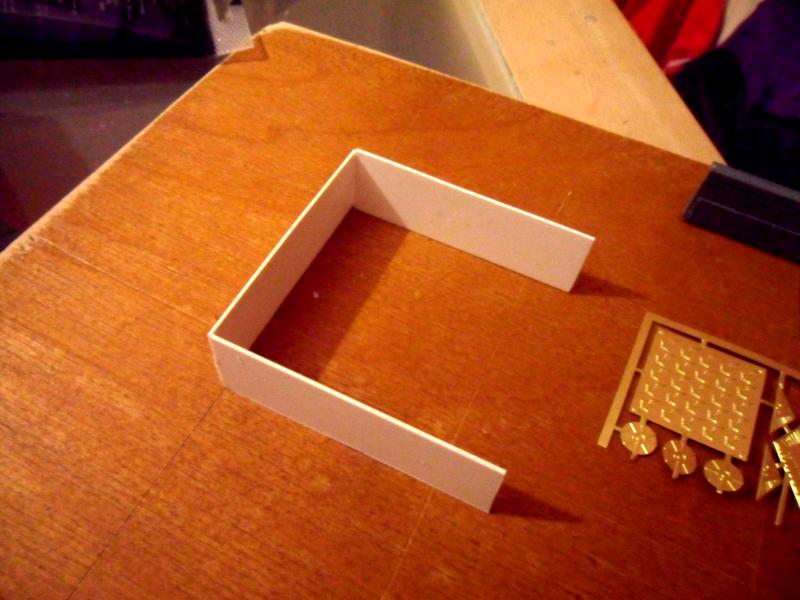
I also used the markings on the board to give myself a guide as to right angles for this.
This shows the base assembled and also how I got the measurements for it:
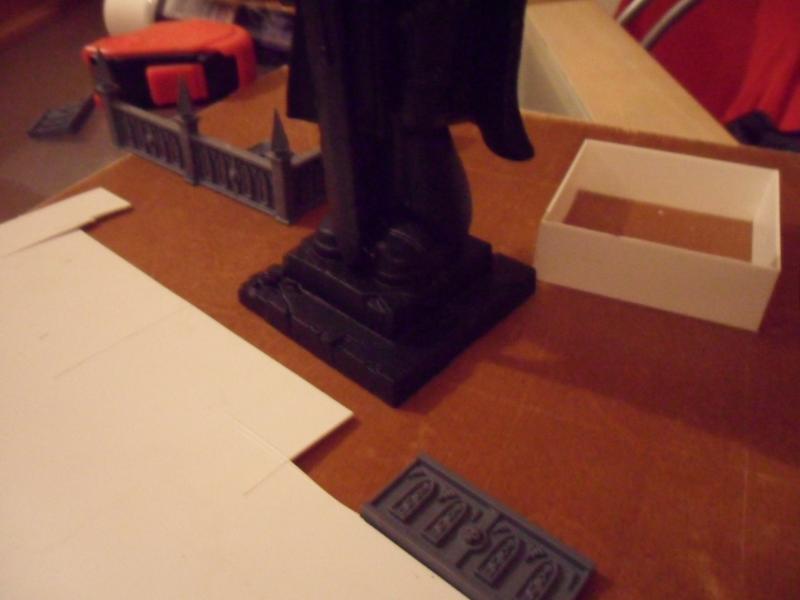
Now that I had my basic plynth I now had to dress it.
I decided to use the same wall sections That I was using for the outside walls.
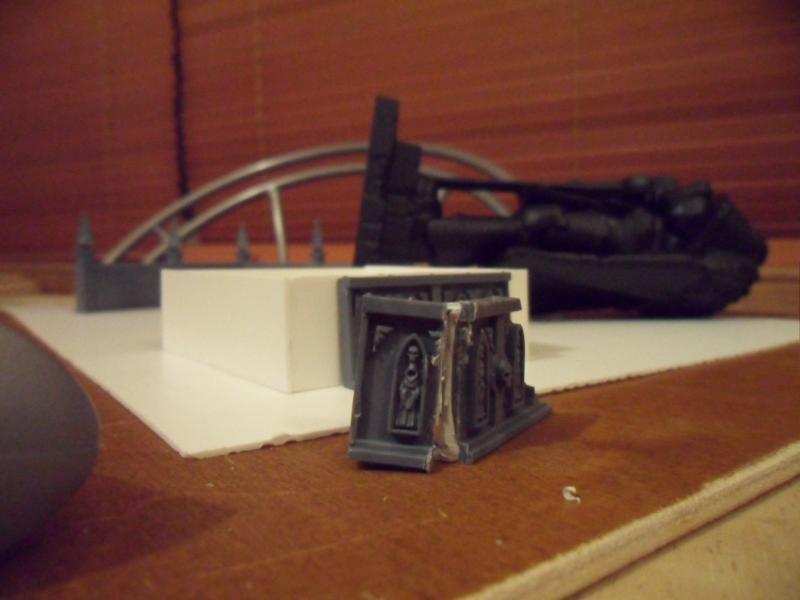
This did leave me with a bit of a problem though as the wall sections were a bit shorter than the plynth:
This would mean that I would need to fill in the gaps with cut wall sections.
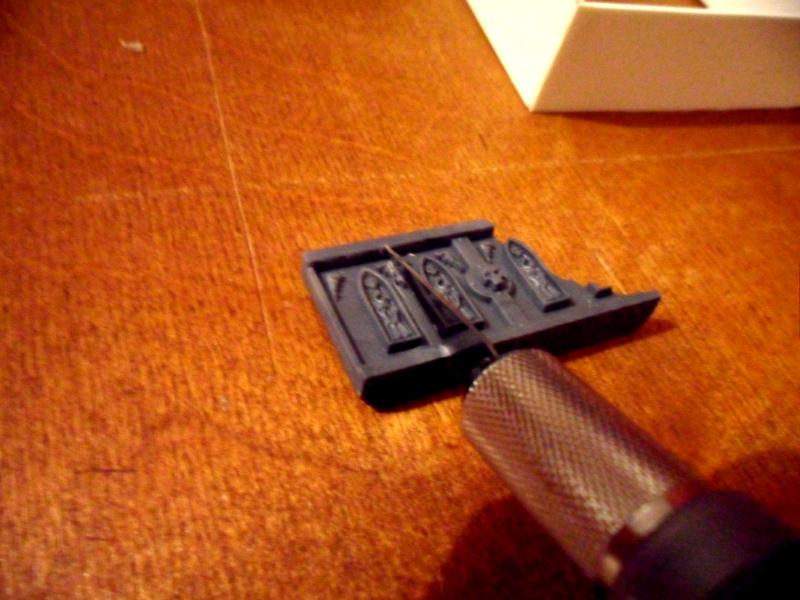
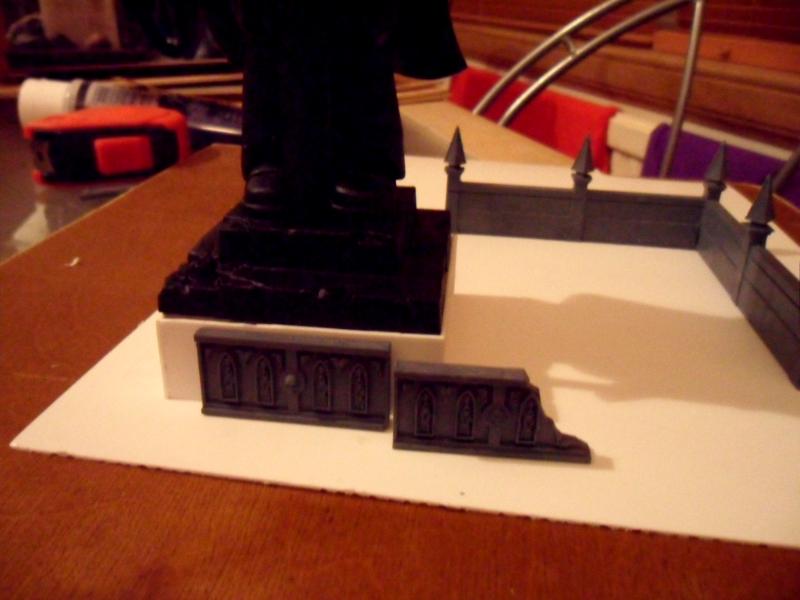
This pic shows how I got the right size to keep the pattern consistent on the wall. On each wall section there is a rivet at the bottom of the wall by lining the up with the bit of embossing on the wall this gave me the perfect size.
Once again I just scored and snapped these wall sections as I can neaten up the rough edge by the blade.
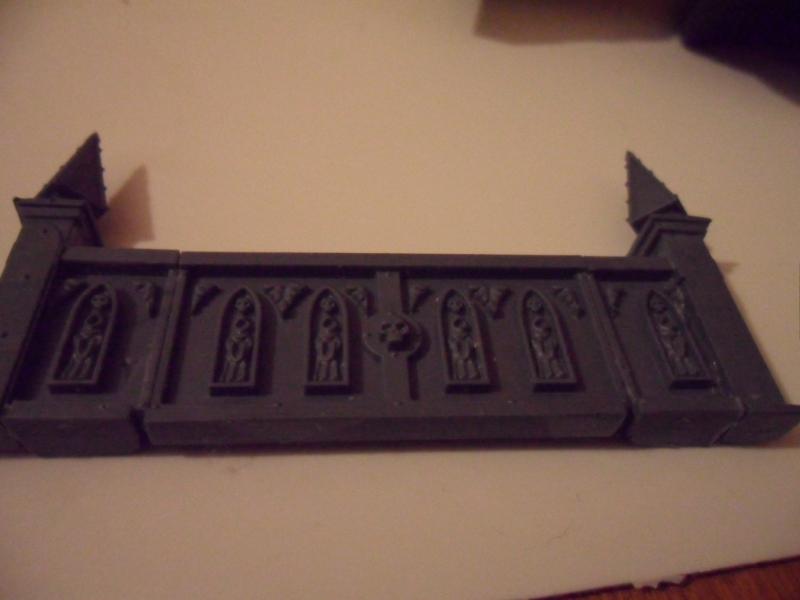
One completed plynth wall section.
You can see it here as well as the first of the completed outside wall sections:
More updates soon.
***Updates***
I got a bit more done today.
I decided, as I had run out of wall sections, that I would get as much done as possible until the wall sections arrive.
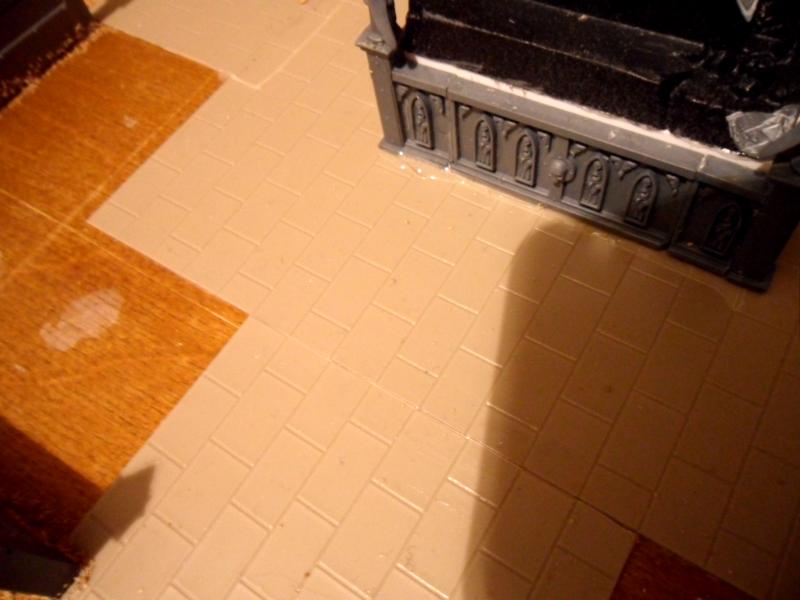
All I can now do is complete the paving.
Cutting the sytene - score and snap again:
The paving around the statue:
Where I'm up to:
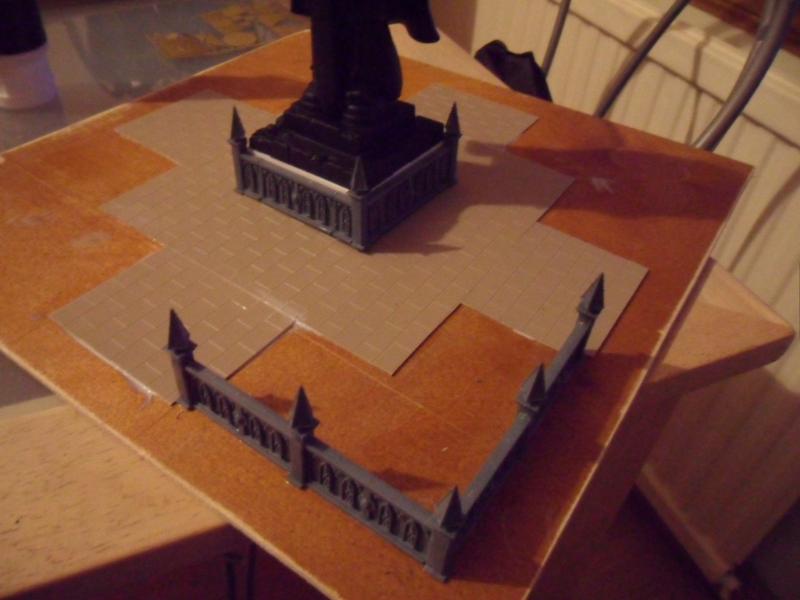
The bare wood section between the outer wall and the inner paving will have grass in them in the finished model.
The walls and paving are all glued down using PVA glue.
***Small Update***
As the weather has been fairly bad in the
UK with lots of snow lately and our postal service has seemed to stop working or are clearing their backlog, I'm still without the wall sections required to complete the build on this. At the same point this has left me more time to add some detail to the base. I didn't want the garden to look pristine as after all it is from the war torn age of
40k and the rest of my
COD scenery is suitably battle scarred.
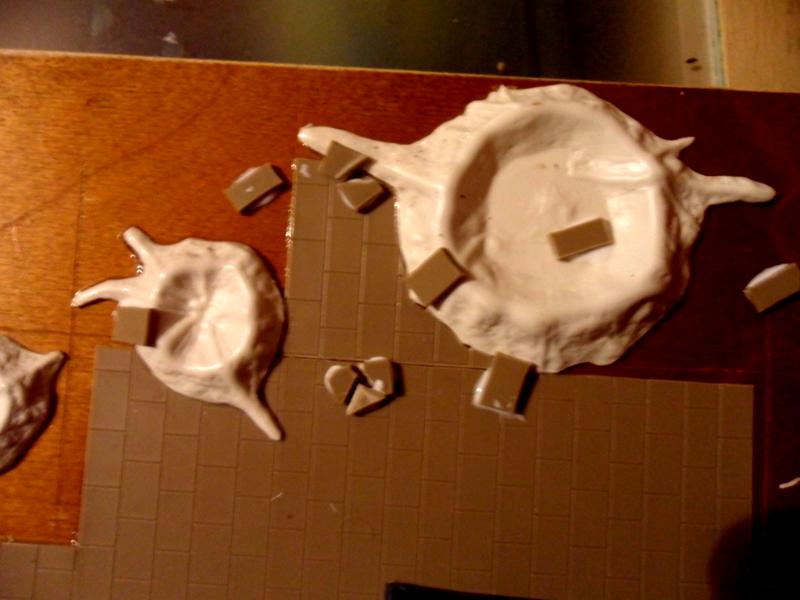
I am lazy and a hoarder at heart. So rather than make the craters myself I had a rake around my
40k stuff. I found these out in my garage. I'm fairly sure they were released way back when (I found them in the original plastic space marines box).
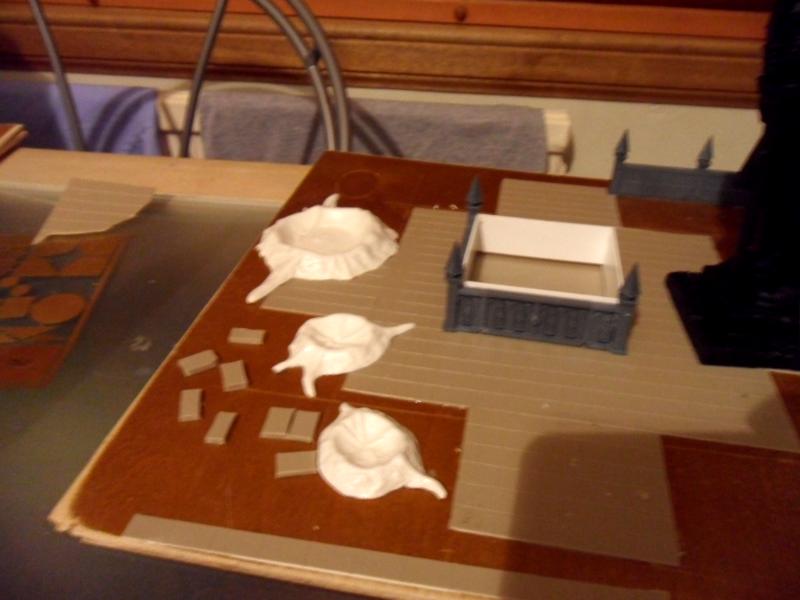
I decided to make three off them and at the same time make some slabs that have been blasted up by the impact. You can see these sitting on the base board. I cut these from the original molded styrene sheets off cuts and glued four of them together to give them a bit of depth.
You can see the slabs in place in the garden in this photo. I'm intending on putting basing material on the craters as I'm wanting a bit more fine detail on them. They are fine to give me the basic shape though.
More updates soon once the elusive wall sections arrive.
**Update**
The elusive wall sections arrived and so did Christmas.
As I had already started on the damage to the statue I needed to finish these. This took me over the holidays.
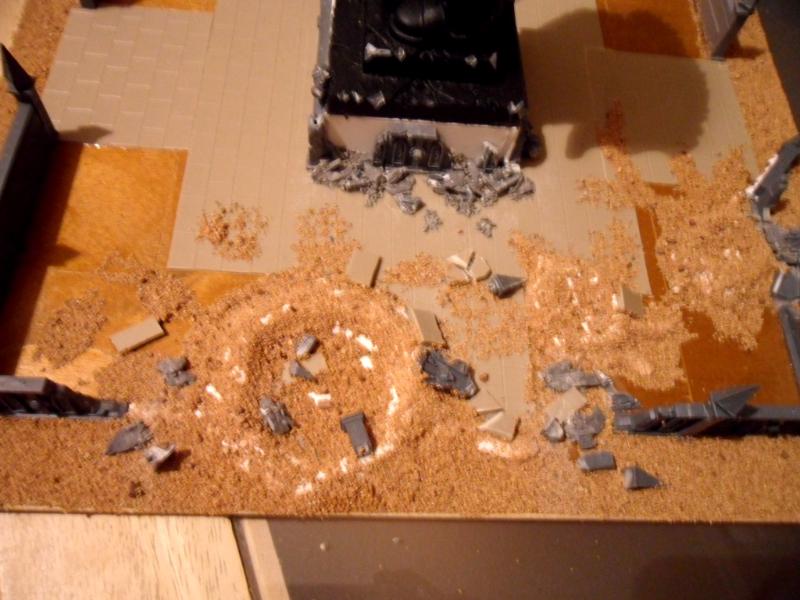
Here's where I'm up to:
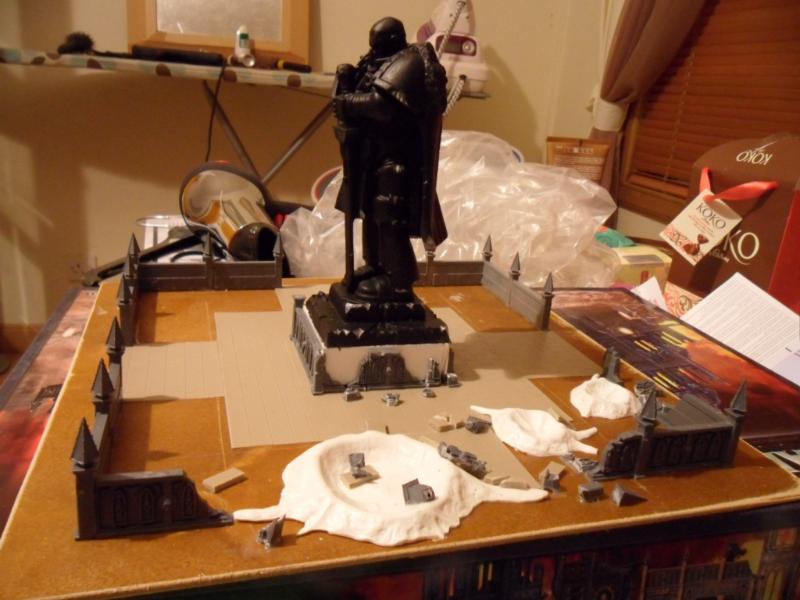
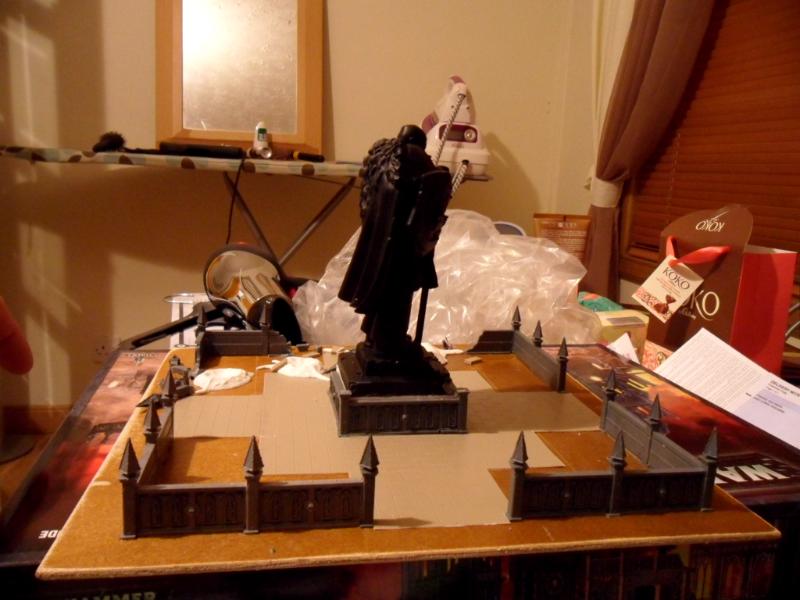
The other side.
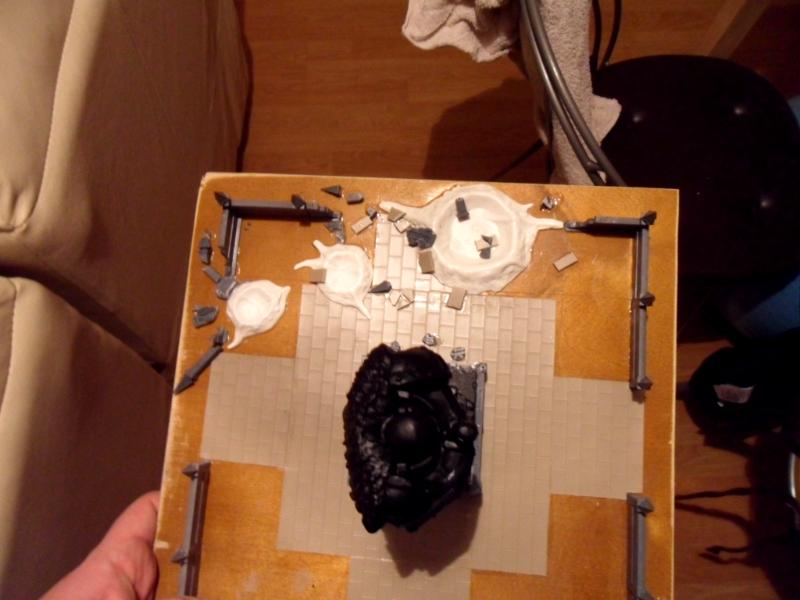
An overhead view
and finally a close up.
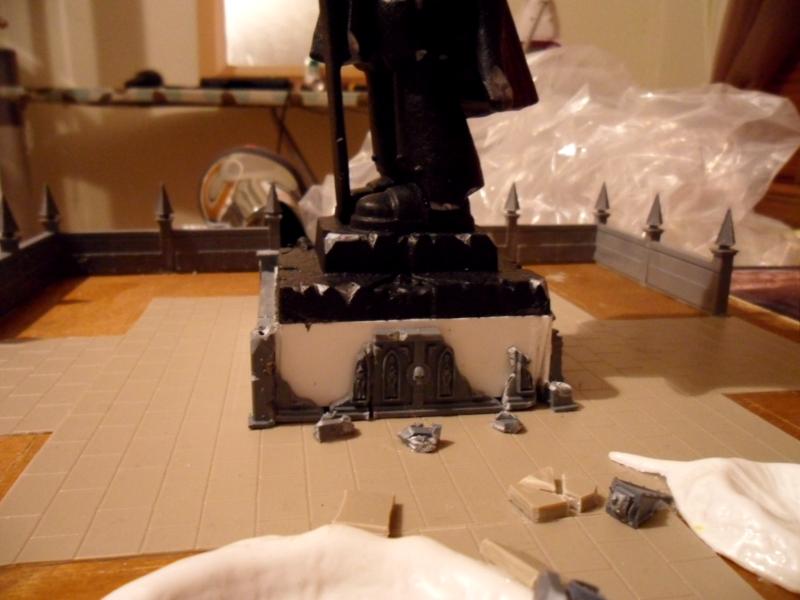
I've taken the pointed corners off the statue base wall sections as I thought there was too many points. I'm thinking of adding in the small eagle statues that you get in the building kits.
Thoughts?
**Update**
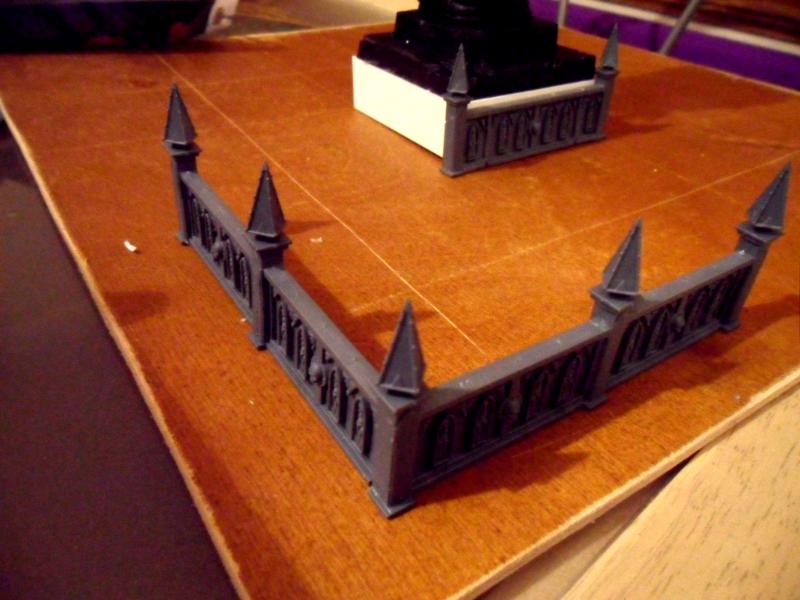
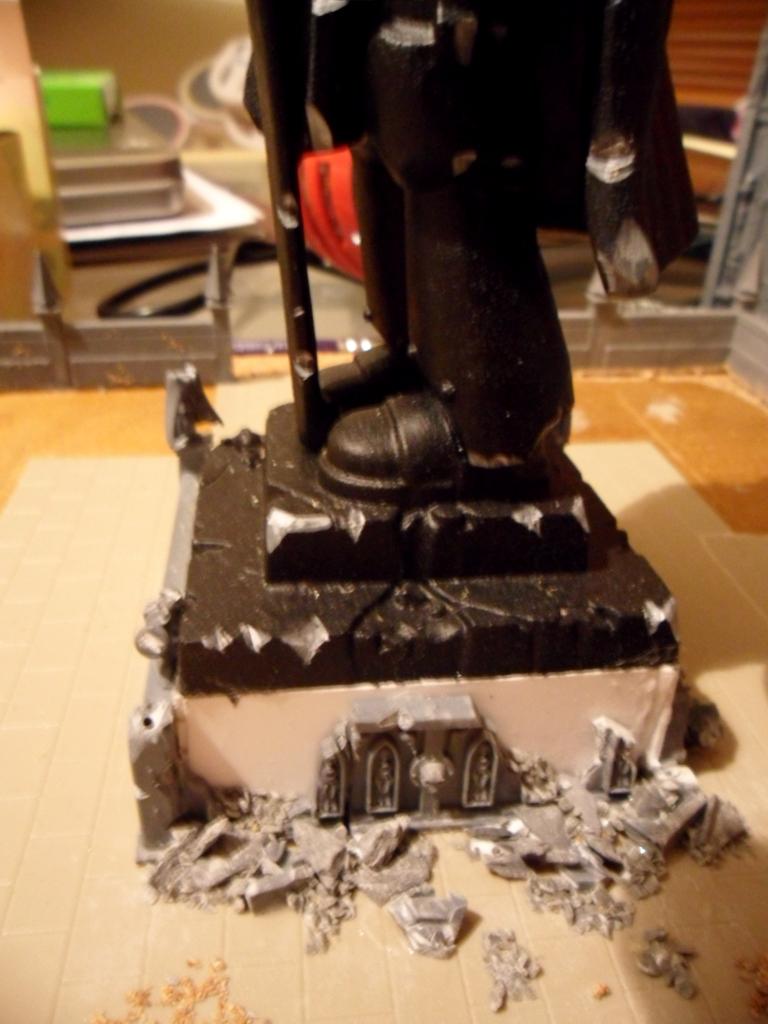
I trimmed the pointy corners off the statue plinth corners and decided to replace them with these:
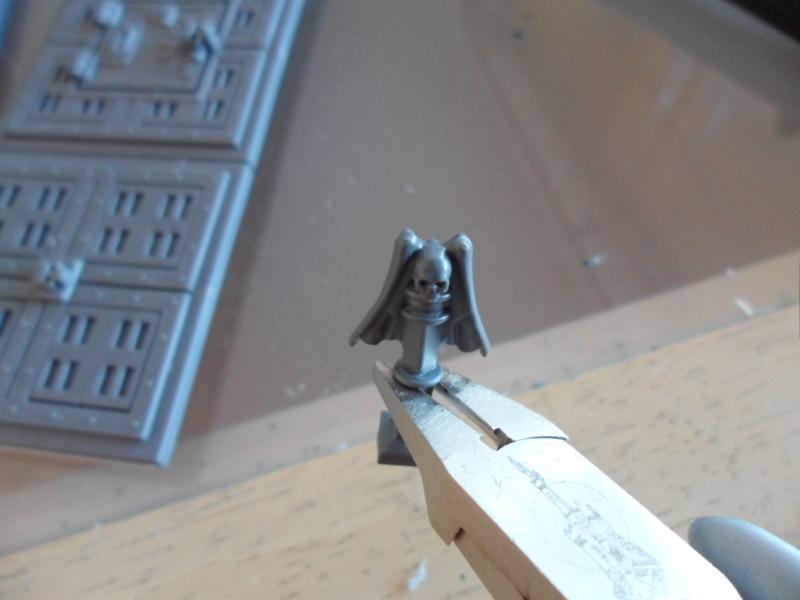
I had a few of them lying around but they were too tall so I trimmed the stem down a bit.
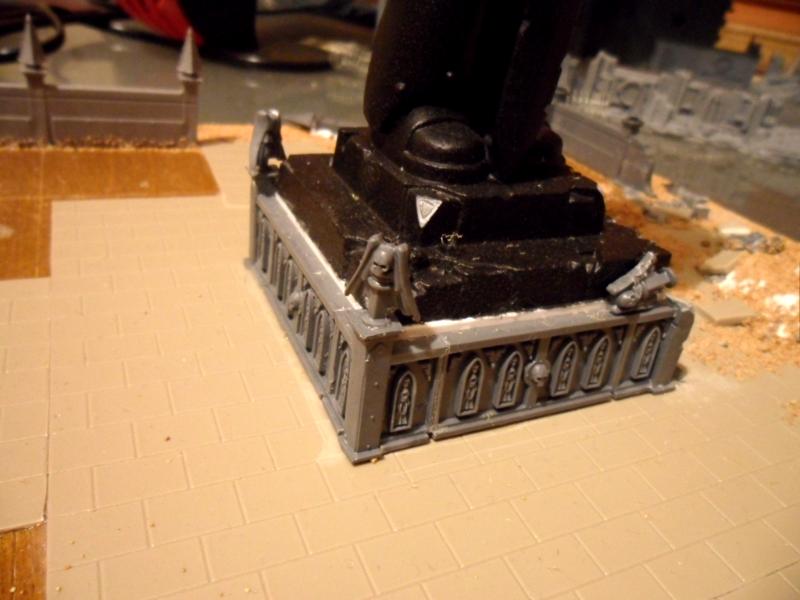
Here you can see them on the plinth. One has been blown down by the explosions.
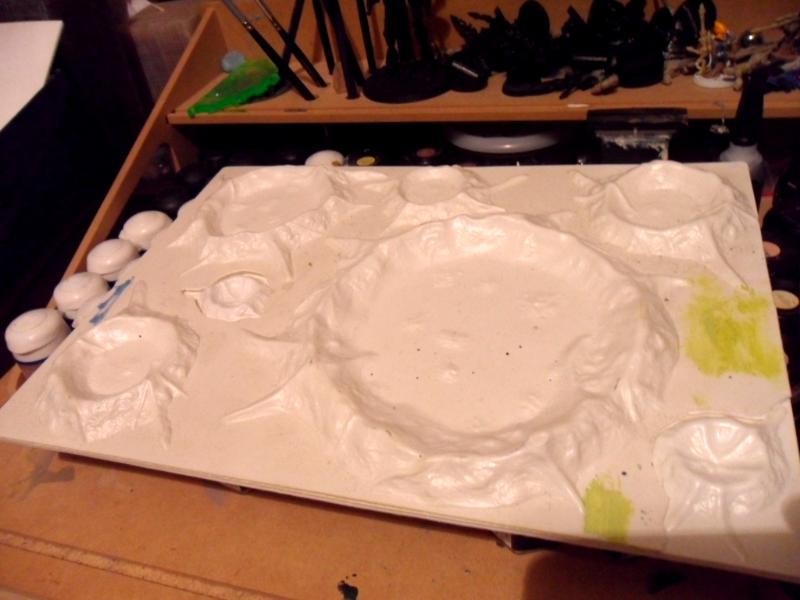
I've also added
GW basing all around the outside of the walls (I'll paint this like tarmac) and also across the craters to represent soil.
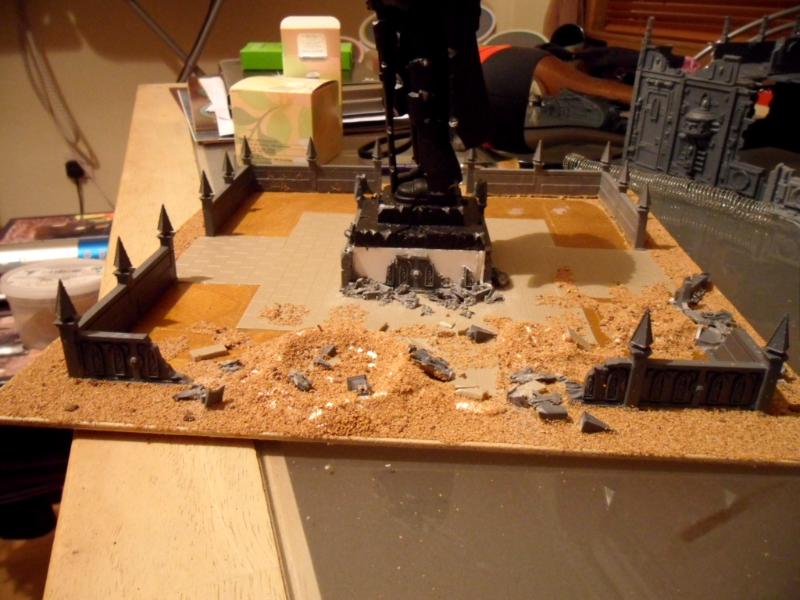
I also added some more detail to the battle damaged section of the plinth. I added medium and light slate from the
40k basing kit to represent the blasted plaster section from the plinth. I also added some more splash damage to the statue to make it blend in a bit more with the damaged sections around it.
That's it pretty much for now. I'm almost ready to give all the sand and slate another watered down coat of PVA to seal it all before painting.
I'm open to suggestions before I do this though.
I've already identified something I want to change before I do.
If you look closely you can see how half of the slabs are split along the inner square where I cut them. I'm going to cut these slabs out and replace them.
Anything else?


 "
"


 4250 points of Blood Angels goodness, sweet and silky
  1000 points of Teil-Shan (my own scheme) Eldar Craftworld in progress
  800 points of unassembled Urban themed Imperial Guard
  650 points of my do-it-yourself Tempest Guard
  675 points of Commoraghs finest!
 2000+ pts
 2000+ pts
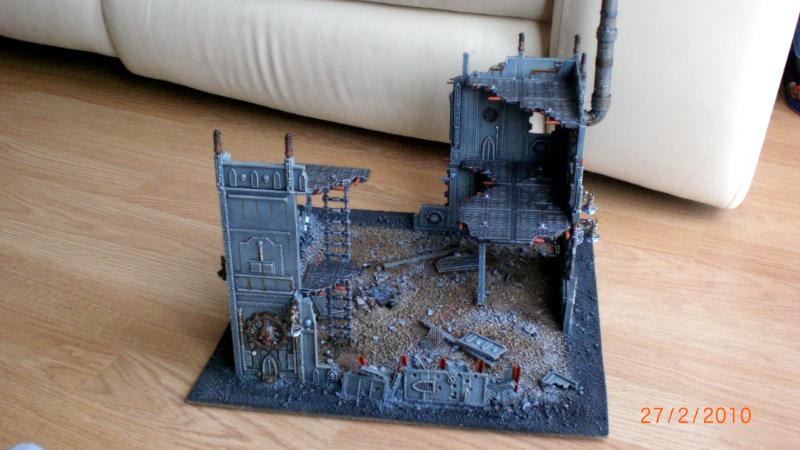
 I spent a long time on that scenery piece. Hopefully this one will look good besides it.


