This is it, the final push!
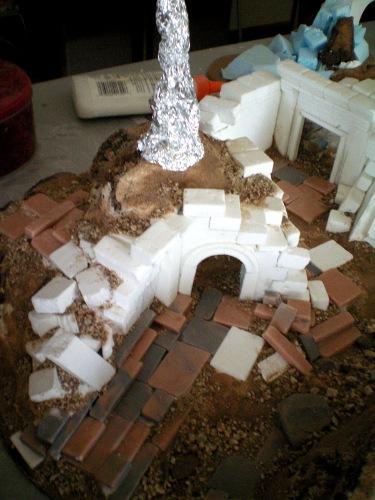
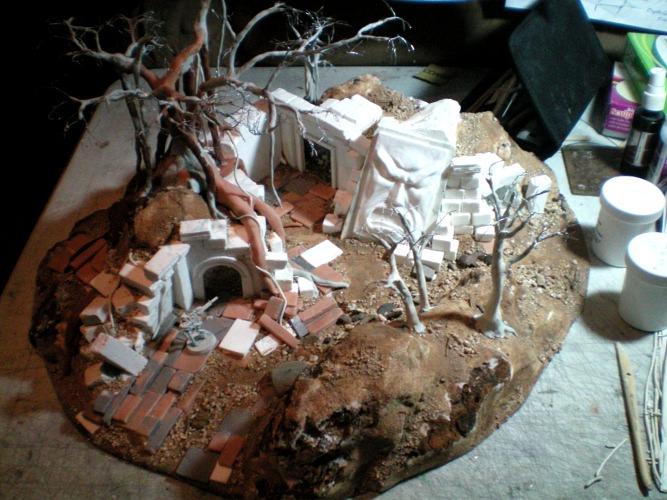
In the last chapter we finished all the major construction work and now it was time to break out the plethora of paint bottles that would go into this, but first a liberal coat of primer to start things off.
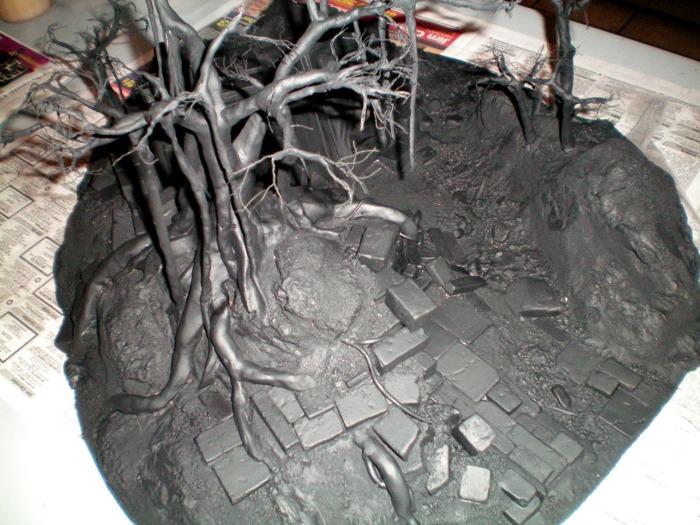
I almost always use flat black primer on terrain, it lends a nicer contrast to the finished piece. Even if the piece will be brightly colored, I much rather have dark shadows peeking out from inside the corners and recesses.
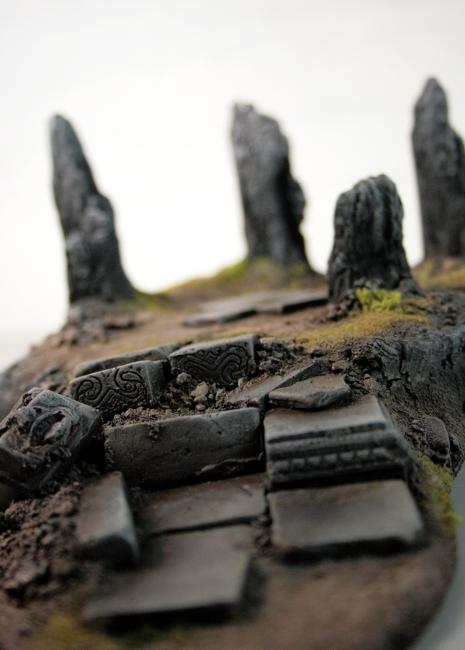
I started with the ground cover, beginning with a dark Light Cinnamon/Asphaltum mixture. We tried a couple different color choices on the ground actually, the first try came out unnaturally dark and red, so we washed it with a thin coat of black and started over, so yes, despite how smooth it looks in the project logs we really do go through our fair share of trials and errors.
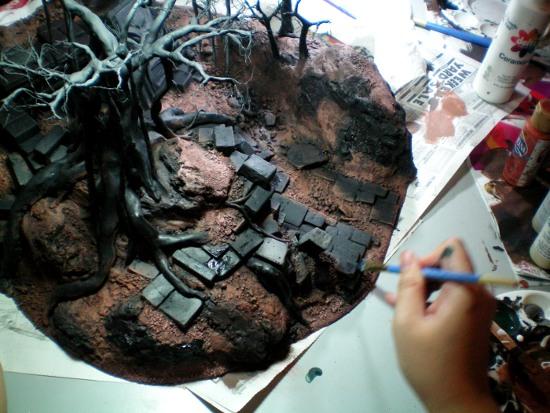
Mismuse takes over for a bit, working on the next stage of highlights, getting brighter and brighter and going into a lighter, more golden toned Bambi Brown.
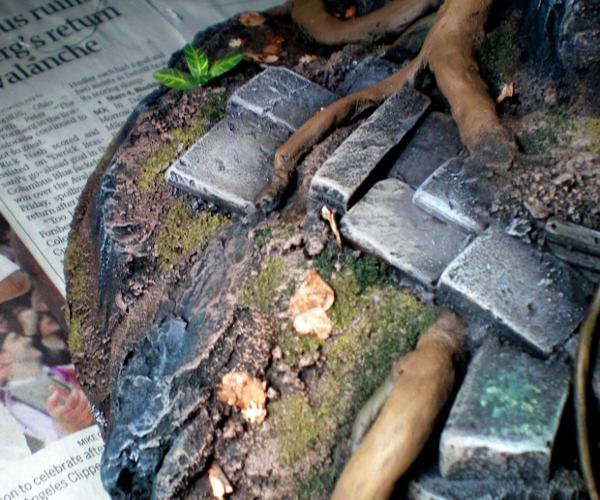
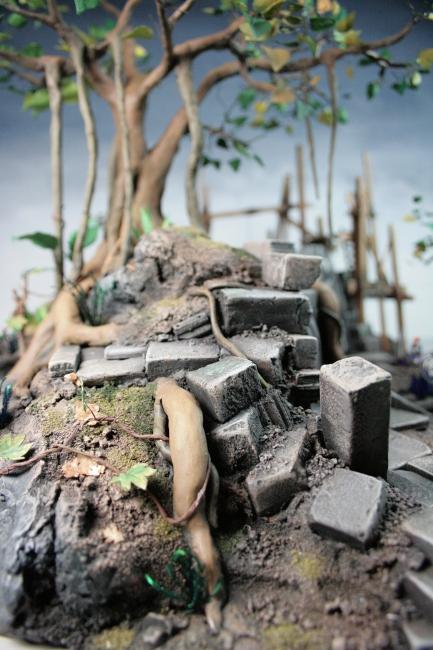
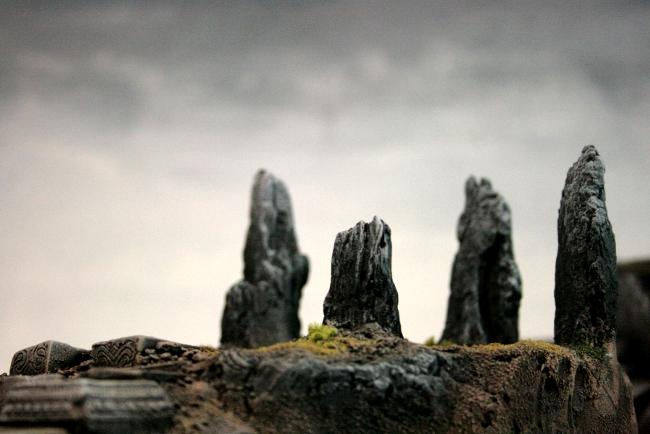
Before finishing the ground, we worked up the colors for the rocky projections, which were painted in a mix of dark greys, with green and blue washes and highlighted up to light grey.
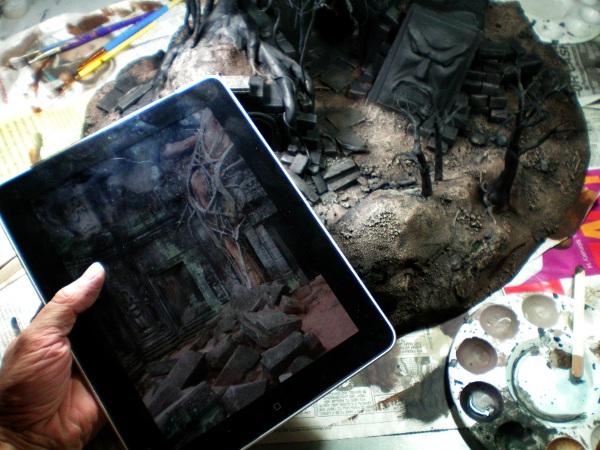
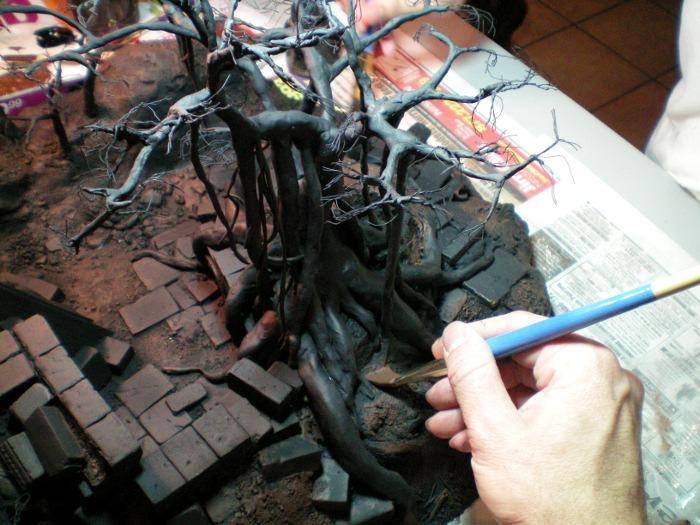
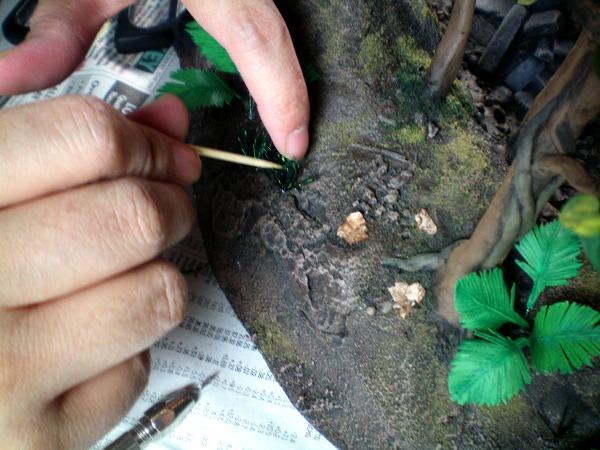
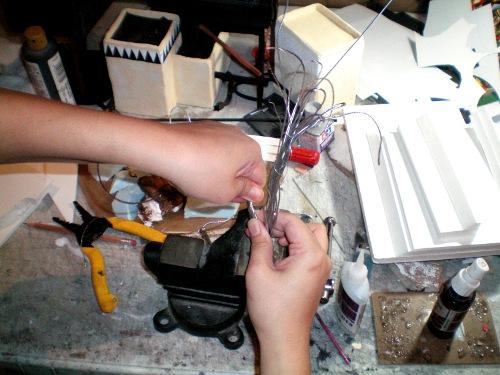
Always a good idea to keep your reference material handy, and the age of modern technology makes that easier than ever. It’s great to be able to zoom way in on an area of a picture to study the details, or hold it up by your model to check colors and tones. Also
whooohooo! Look an ipad! nyahaha! U jelly?

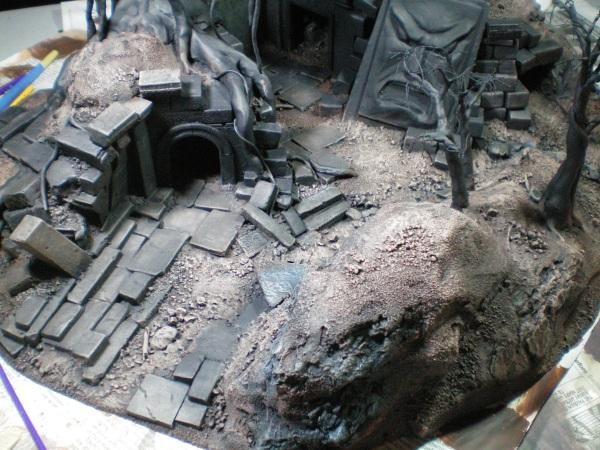
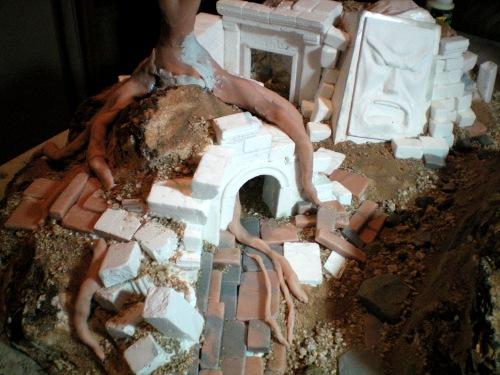
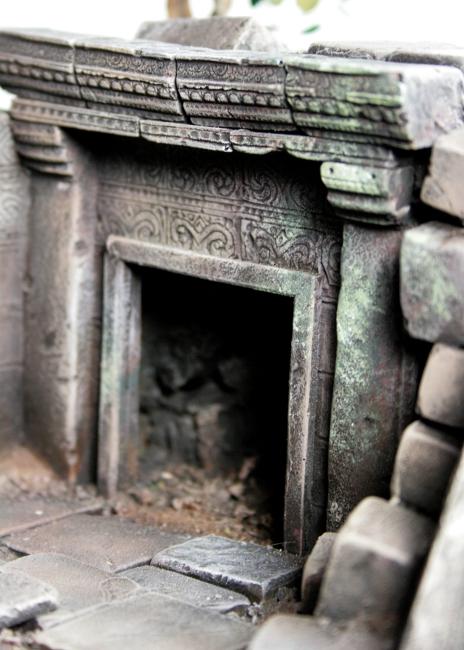
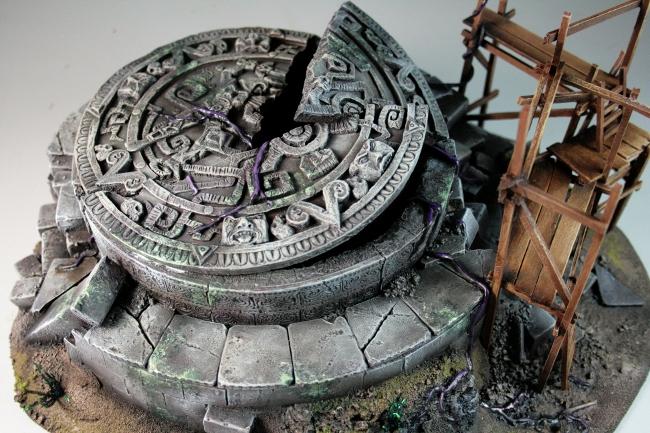
After a little studying different pictures, and talking about what actually looks good, we came to the conclusion that the coloration of the actual ruins was more complicated than it looked at first glance, and this is where we originally decided on our color scheme of starting with a burnt umber shade and working up to grey and green.
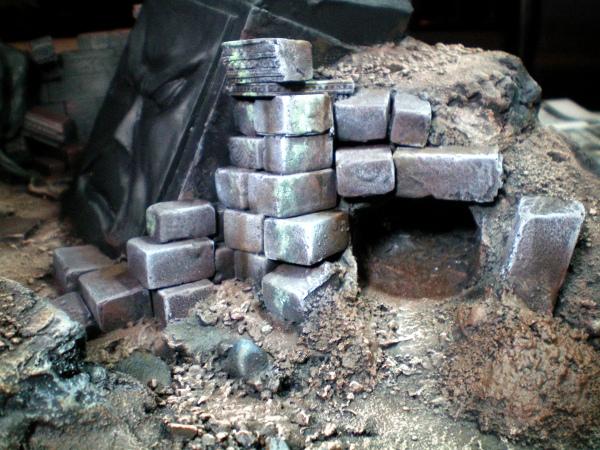
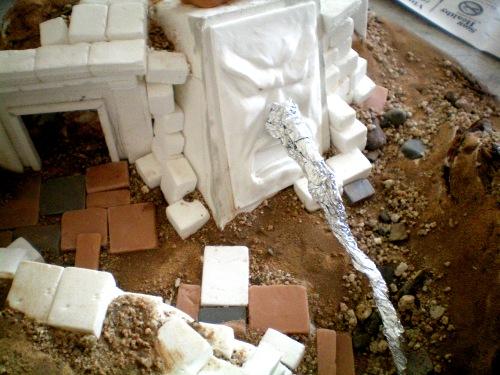
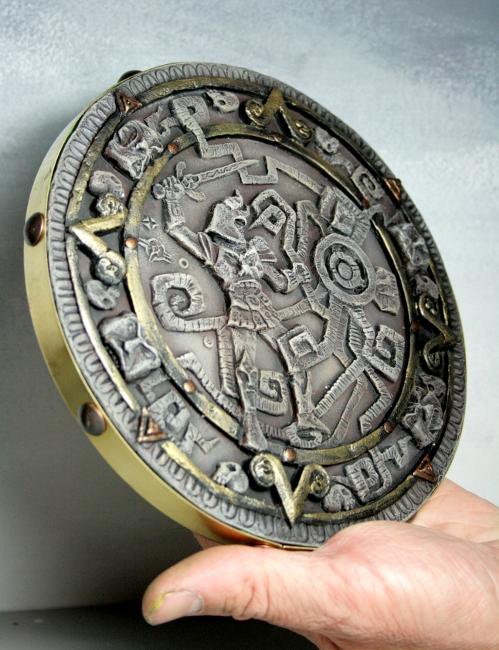
It was after this that we applied the same technique to the broken seal piece, which was actually going on simultaneously as this part of the project.
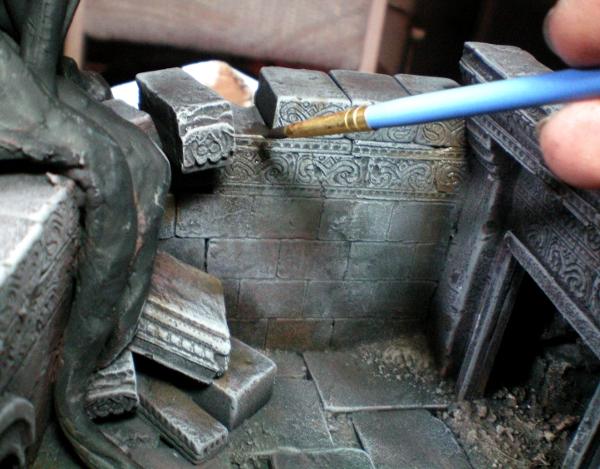
After highlighting, I added water stains and earth toned colors over some parts of the stones, one of my favorite mediums for this kind if weathering are Vallejo inks, such as Smoke. Here you can start to really see the look we were aiming for come to life.
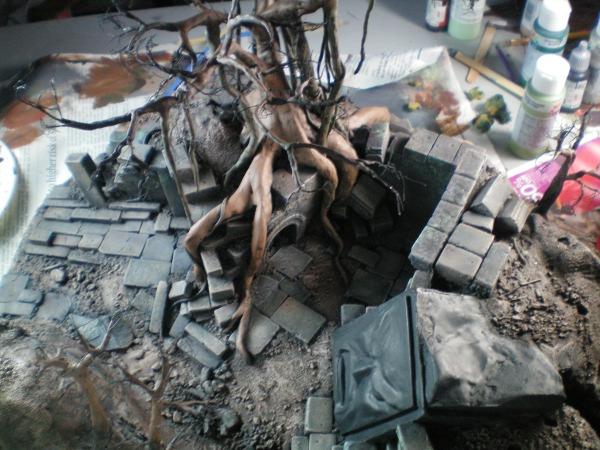
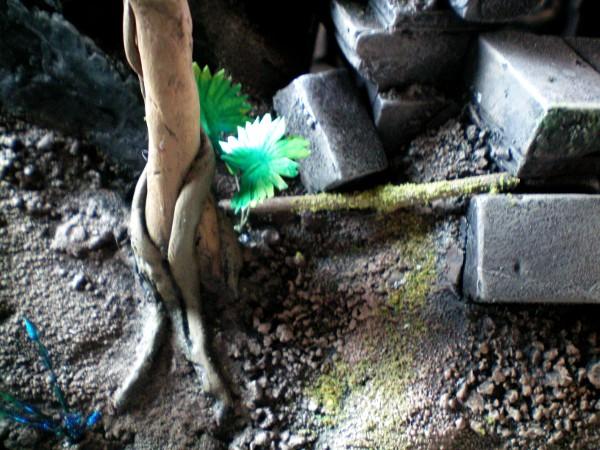
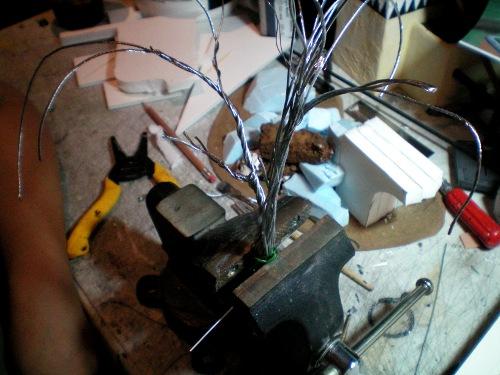
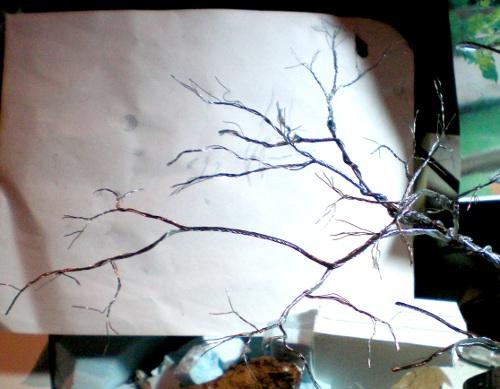
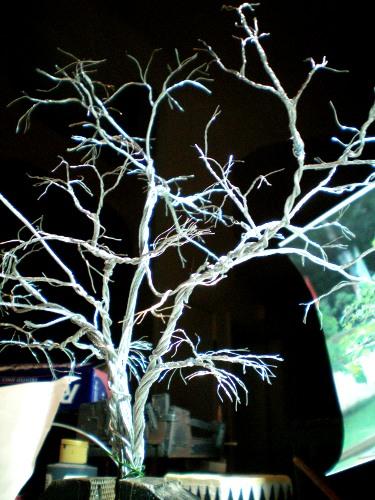
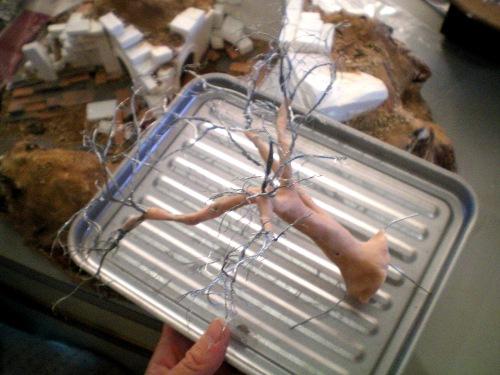
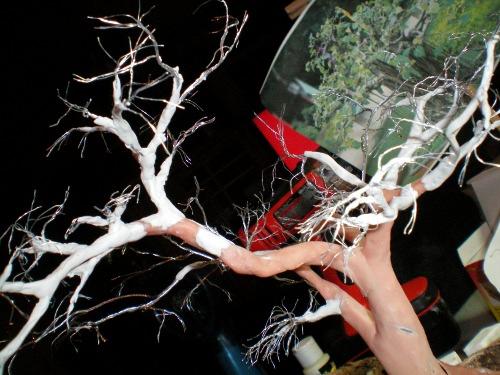
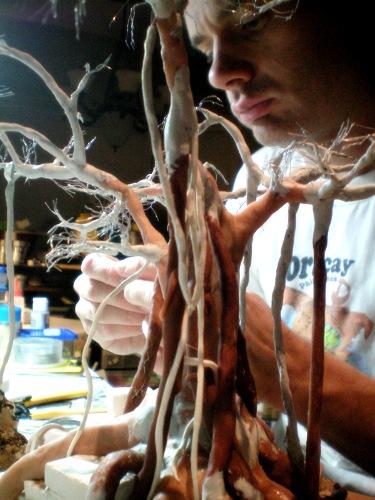
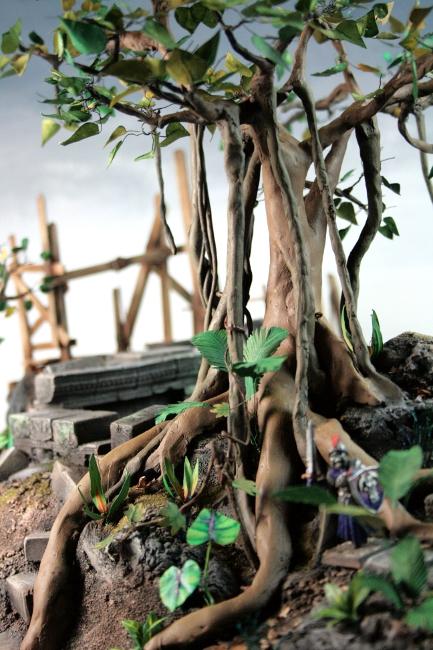
The tree trunks were painted Honey Brown and Teddy Bear Tan. We kept the colors fairly uniform on the trunk without a lot of highlighting or shading, but the smaller roots we blended into light green/brown to look like newer growth.
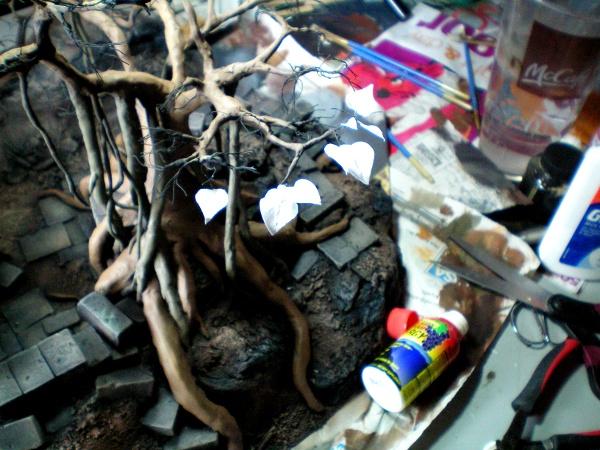
And finally, with everything underneath the trees almost fully painted, it was time to leave.
And leaves we did. Each leaf was actually two pieces, cut individually from a folded piece of paper, and then sandwiched over the wire stems with PVA glue. Actually, Mismuse did most of the leafing, I tried to help but was relegated to an assistant role because I have a crippling handicap called “Big Ol’ Awkward, Dry Man-Hands.” This syndrome prevents me from manipulating tiny, thin things and I am physically unable to peel open those plastic grocery bags. It’s a real disease, I get to park in a handicap space. Don’t discriminate me!
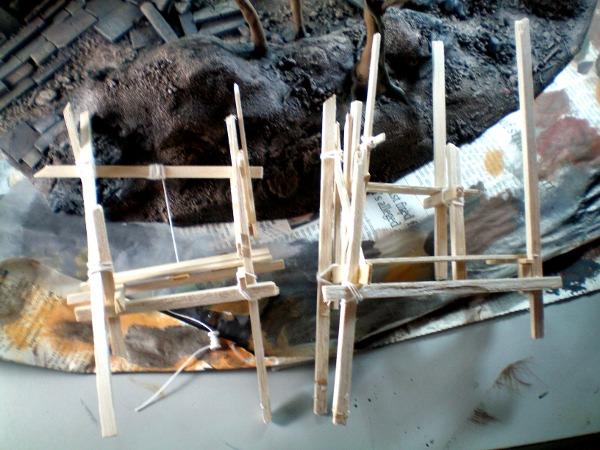
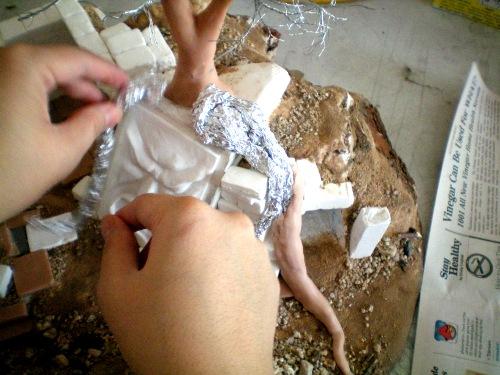
Mismuse constructed the scaffolding pieces while I fumbled with the leaves on the tree for a bit. I think I averaged one leaf every 10 minutes to Mismuse’s average of 1 – 2 leaves every 2 minutes. Also most of the ones I was able make ended up falling off. We agreed that my time would be better spent working on different parts of the project.
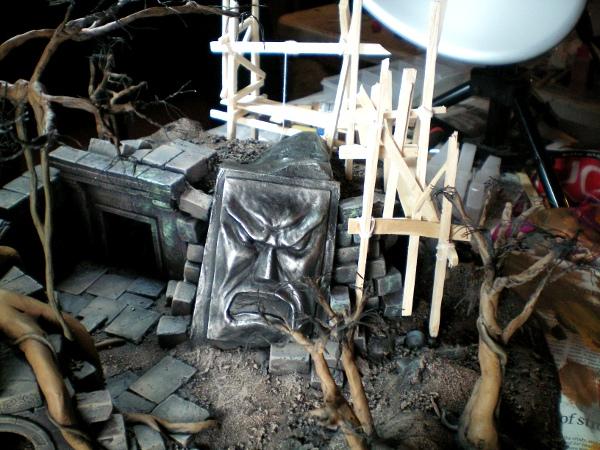
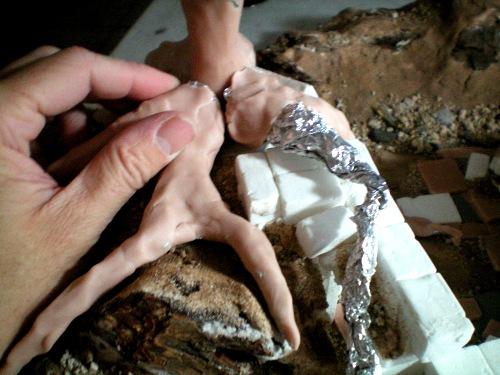
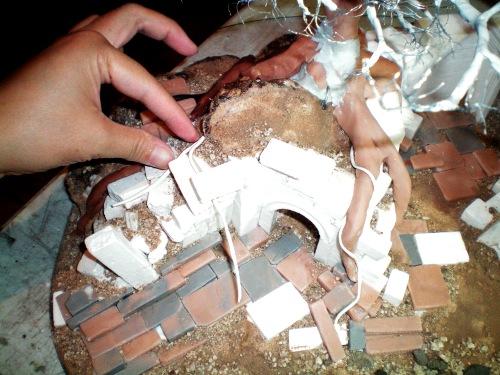
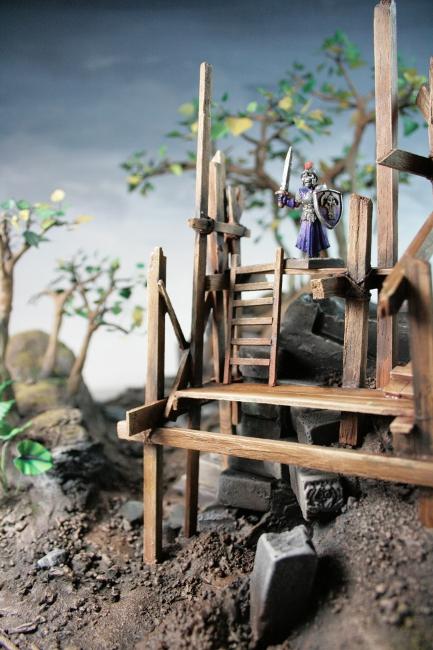
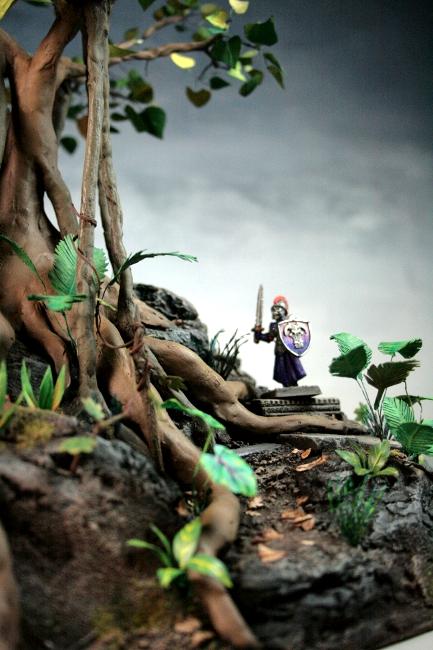
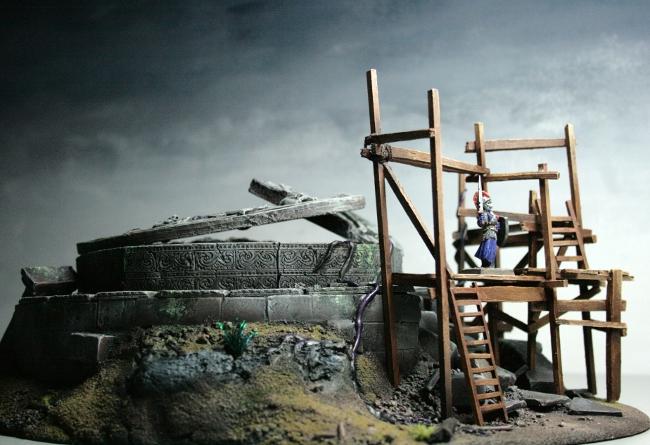
I painted the Orgoth Tower base in very dark gunmetal, then highlighted up with metallic toupe. I wanted to show that it was totally different from the surrounding ruins, something much older and made with a different kind of exotic technology. Here the scaffolding is test-fit into holes we cut in the hill, but not yet glued down.
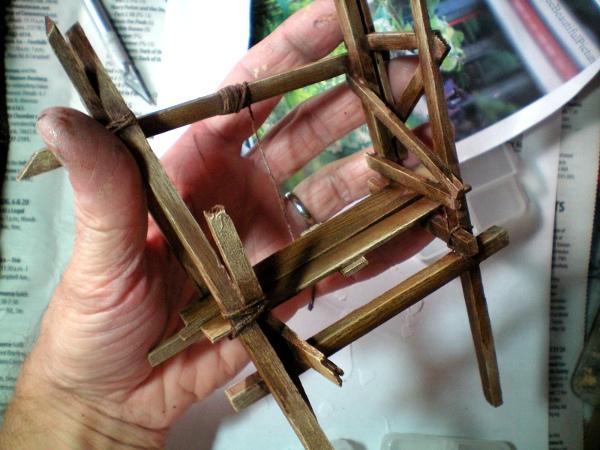
Now Mismuse tagged me out of attaching leaves, and I took over painting the scaffolding.
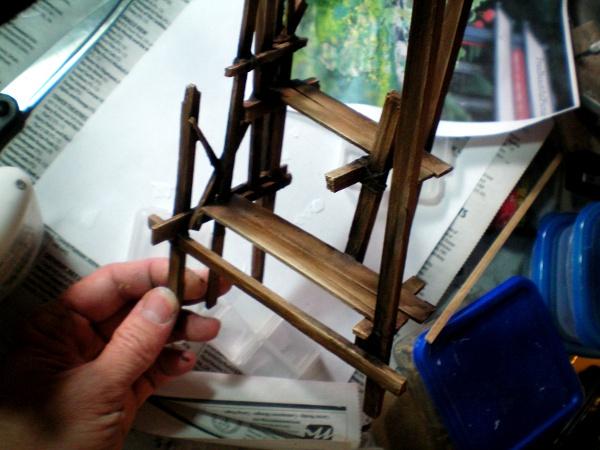
I started with a dark, rich blend of brown velvet and light cinnamon, and brought it up through shades of tan and sand, then shaded down with Vallejo Smoke ink. I really liked how these came out.
meanwhile, more leaves. Mismuse trimmed them as needed to keep the edges of the two halves meeting flush with each other.

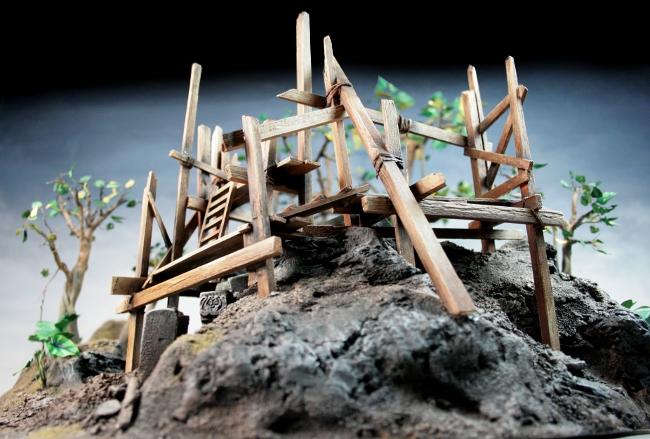
We glued the scaffold down, then added a few connecting pieces (not shown) so both platforms were connected.
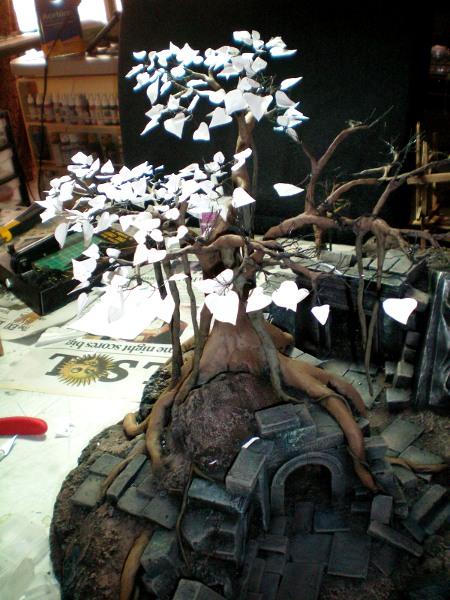
And still more leaves. The sun was rising yet again in the background. I swear it felt like the outside world was on some kind of time lapse special effect, days and nights flying by. “What? it’s already morning/night?” was a common statement in these final days of work.

Now there were enough leaves that Icould start painting them, even as the leaves on the other side were still being attached.
The leaves were painted in different shades of yellow, green and brown, and then shaded with inks, picking out details like darker or lighter veins inside the leaves.
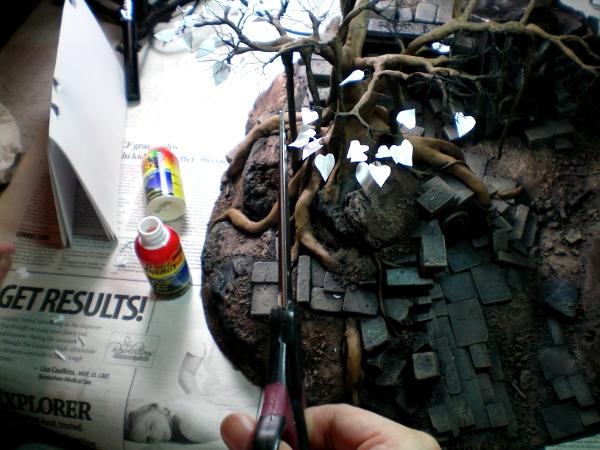
Multi-tasking made this project possible. While I was still painting the hundreds of leaves, Mismuse began carefully drawing and cutting out scores of different kinds of jungle plants with some very sharp little cuticle scissors. Each one was attached to a wire stalk and curled or bend to a natural shape before priming white.
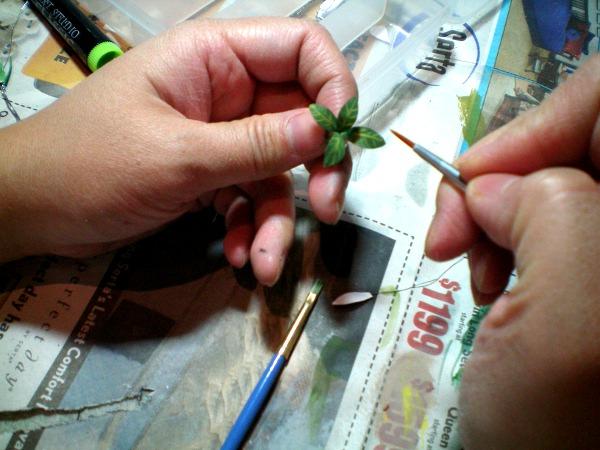
Of course, they each had to be painted as well.
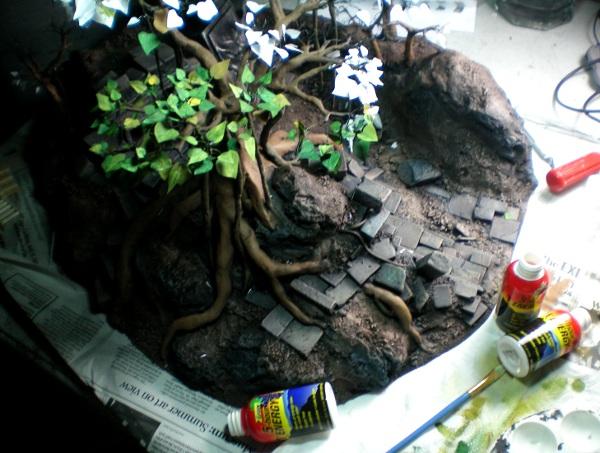
We started attaching the plants and I sprinkled on a few different blends of fine turf, but only in patches in a handful of places. As I’ve said elsewhere, we have issues with turf, namely it can easily be overdone and make a terrain piece look like golf course, abolishing all the contrast and detail underneath.
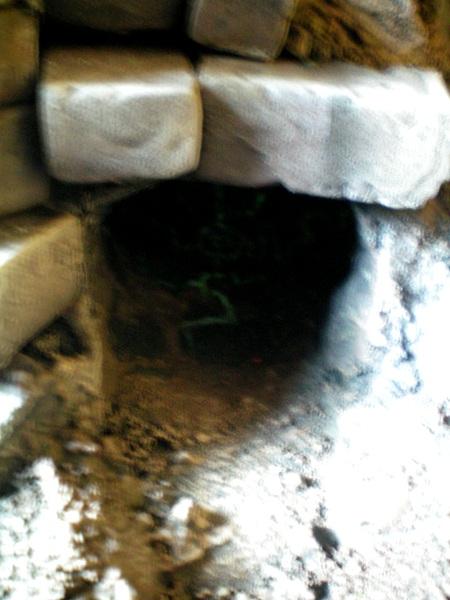
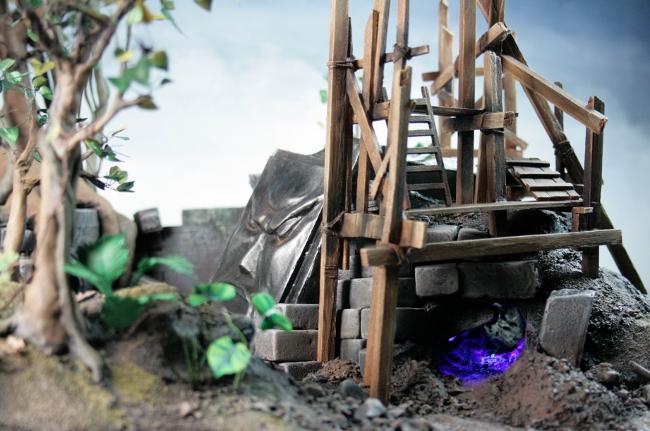
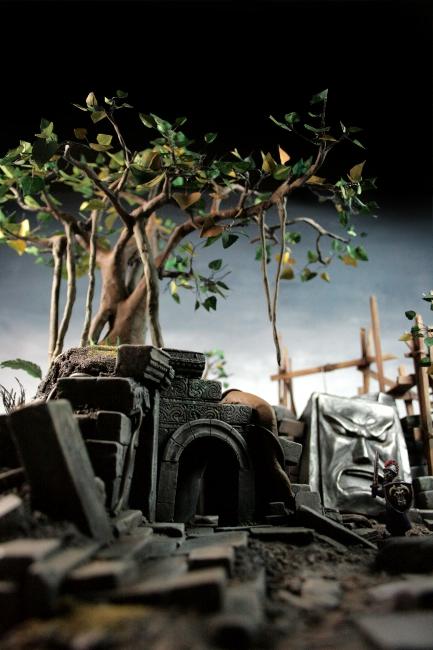
It’s really hard to capture this on any kind of camera, but inside the excavated mineshaft I used glow-in-the-dark paint, thinned to the point of going on transparent, and drew an arcane symbol of spidery runes, which only appeared when the ultraviolet light was turned on or in darkness, as seen above.
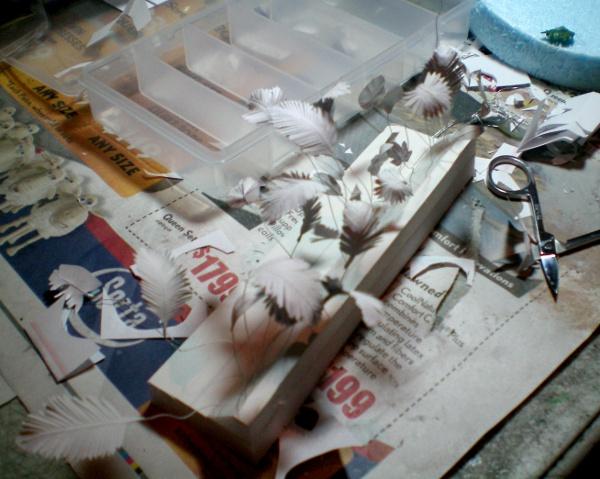
For some of the more exotic ferns we cut up peacock feathers and bunched the tips up, gluing them into holes drilled with a pin vice.
We also made dead leaves and forest litter with cut up small leaves and sticks, dyed with brown ink mixed with alcohol, which dried with a mottled, aged appearance.
Mossy logs, sticks and more jungle plants.
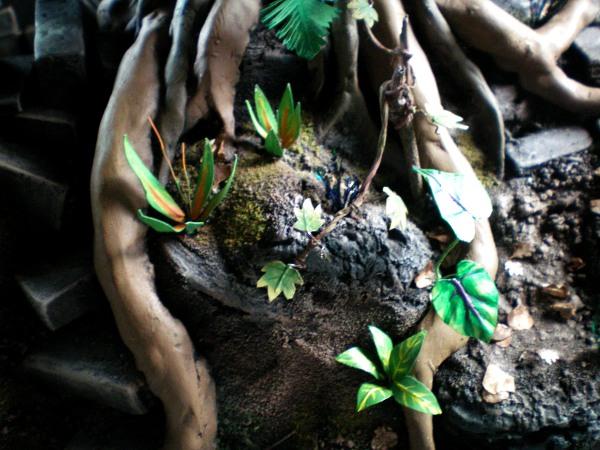
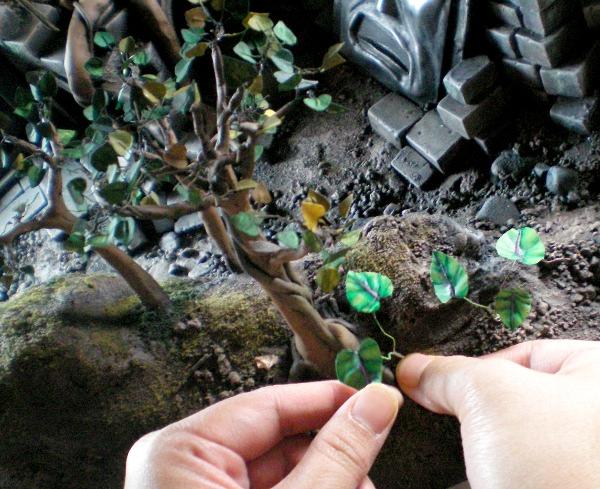
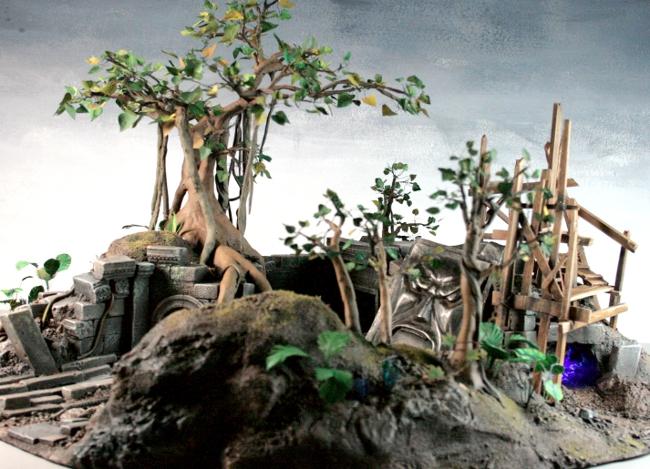
More vines were added, more plants. And at long last the final jungle look was emerging. All this time we were still taking turns painting leaves.

Every time I thought we were almost done with the damned leaves, I would turn the whole piece over and see a few dozen that I missed. But we did get it done, and we actually wished we could have put more leaves and plants in, and a myriad of other details, but as always we were constrained by time and budget. I just couldn’t spend another week painting jungle plants, as it was we were just barely finishing this in time for GenCon, and had well exceeded our anticipated labor time. The other pieces in this set would have to wait, but we got the main pieces critical to the campaign done and we learned a LOT. As the final step, I brushed a little MiG pigment dust and turpentine into the ruins, and at this point I stepped back and realized that we had not only made one of our most beautiful pieces, but now we have a solid tactic for taking on jungle/forest and beautiful crumbling ruins. But I’ll let the finished pictures speak for themselves.
Next: On to the finale!


 My IG blog:


 Simply amazing! Great work, everything looks so real!


