And here was me worrying I might get caught by auto-appendicitis. Thanks guys

Gits - Thanks guy, seems like my youth wasn't entirely mis-spent then

graven - Cheers
I used to have one, but I needed to use it to fix a passing sub. Glad to have fired something inside your head
That's the whole raison d'etre (sp?) for Upzag & Grimsnik, spreading the word of GorkaMekka

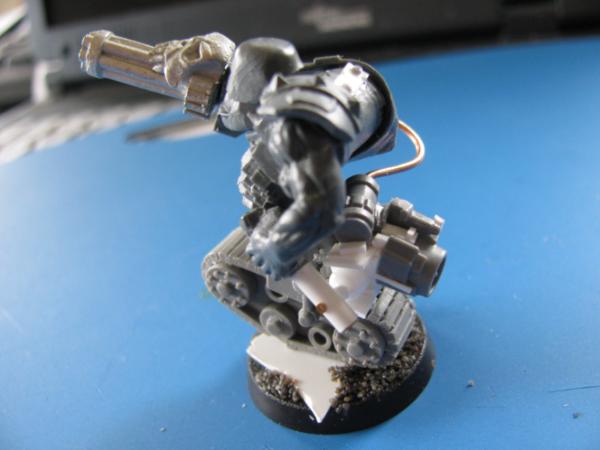
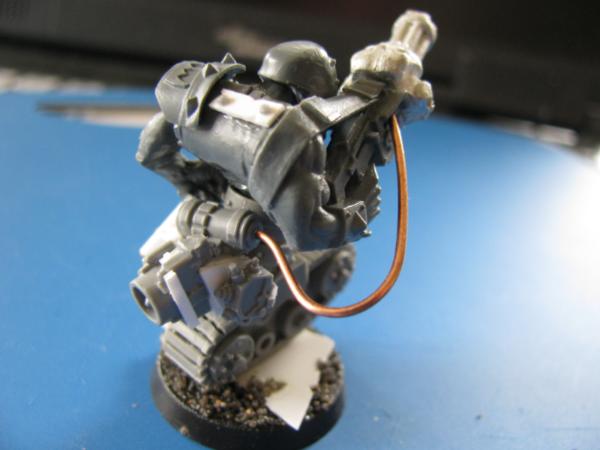
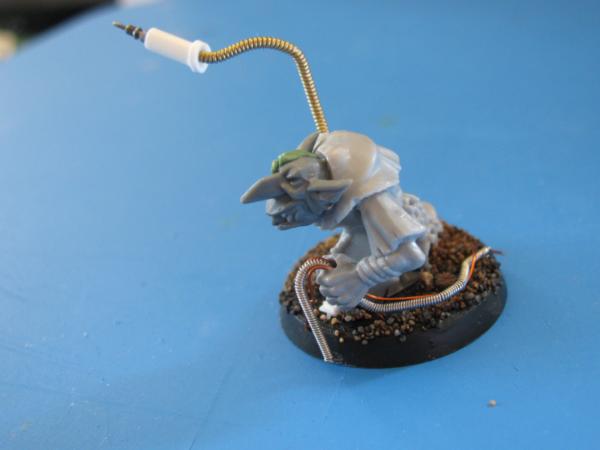
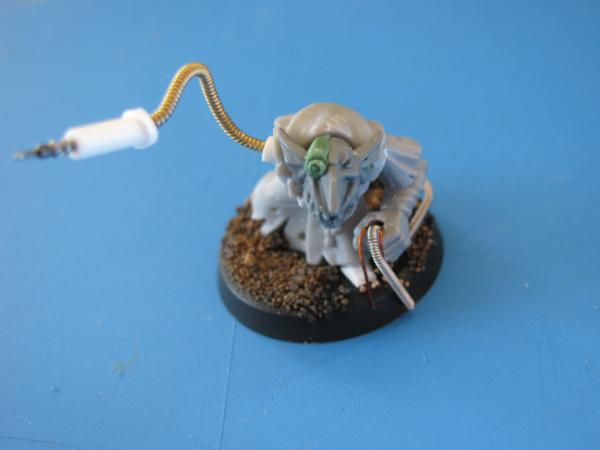
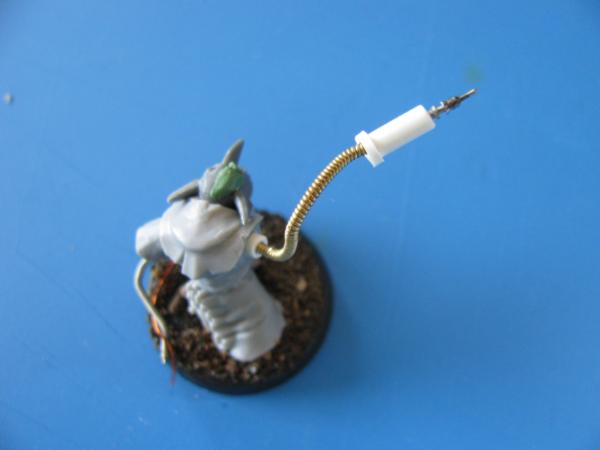
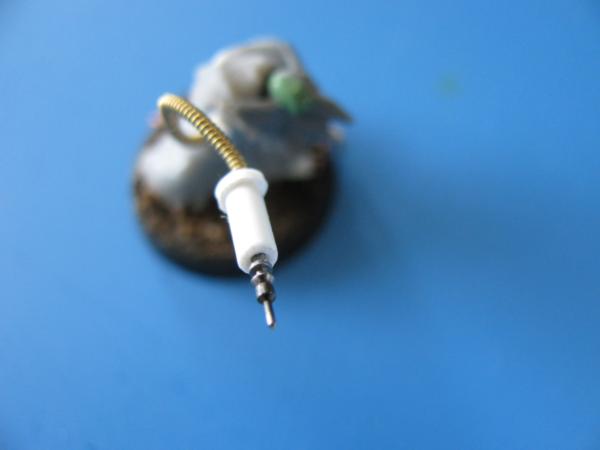
CK - Thank you, very pleased to see you back on dakka, grots all over have been restless in your absence. The hypo came from 2 bits of plasti-tube (I know, you already got that bit
) and a piece from a watch. Have a bag of watch parts, lots of interesting little piees in there, also where most of my gears and cogs come from.
Solorg - Thanks for the kind words, welcome aboard. Help yourself to drinks and nibbles, but be warned, they came from the sevo-grot's 'kitchens'. Could be anything. Best sign this waiver if you do plan to ingest something. Hope you'll enjoy the read and find something to pique your interest. Also should point out, colour can be a bit sparse in this blog sometimes. The good thing about reading it together is that it will appear as if I move a lot faster than I really do
vik - Cheers. It's all down to those tweezer-fingers as weety figured out. You've had all the training you need - building things
Just start working on smaller and smaller details as you go along. The optical implants help a lot obviously. As do the servo-grots. They're smaller than me, closer to the bits, easier to see.
So digging around, looking for some bits when I came across a stash of old 'special' paints - glow-in-the-dark, granite textures, mettalics, interference mediums etc. Well, I mentioned that the interference colours might be interesting on the fighta. Why not try them out?
Obviously, being me I'm going to do this colour by colour, working methodically, noting my results.
Daler-Rowney, cryla Interference Medium 713, red. Instantly decided I'd throw a bit of the blue in their too, sod science, this is art
So about 3:2:1 water,red, blue. Almost did the prototype Slork with the big sword, figured it would be interesting Slaaneshi armour, then thought I really should just test it first. (Hey, a sensible idea). So went with Stalka's shoulder pads:
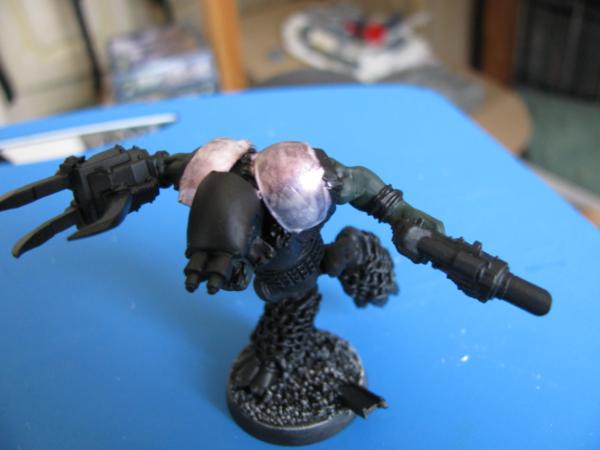
Two thin coats, still a little patchy (worse in the pic), pleasant shine, looks nice, but some of the areas appear white and cloudy when not shining. You get a nice pinky sheen in the areas which would be 'high-lighted', and the areas which would be 'shaded' have a whitish tinge to them. This is a dynamic effect, the areas change as you move the mini. Not sure what causes the white look, I do know that's how these paints can look when put on top of white or pale colours, but this was over black.
However that is only 2 coats, I'll do some more later. Although the mix won't be quite the same
Not sure if they're so good watered down either, but they're a little thick to use straight from tube on minis.
So then I threw a little knarloc green into the mix:
Again, 2 coats - actually, might have been 3 here, coverage still a little patchy, things are starting to get interesting. Although that's quite hard to tell from the pics. This time the 'shaded' areas appear green, then as you turn the mini they show pinky mettalic. You can get a glimpse of it from these, hopefully as I play with them more I'll get better results on camera.
Definitely worth playing around with these a bit, I'm thinking maybe throw a pale blue in with the interference red, that might be cool. Obviously I've got a lot of messing about before I'm happy with what I'm actually doing, but it's all good. I do have absolutely no idea how to go about shading and highlighting these, that'll be fun too, maybe figuring out how to highlight other metallics with these.
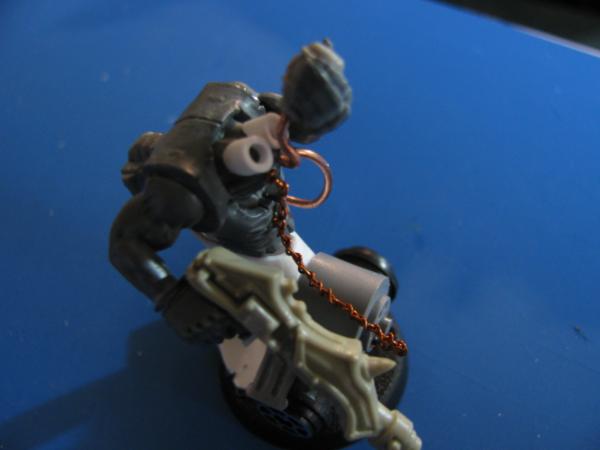
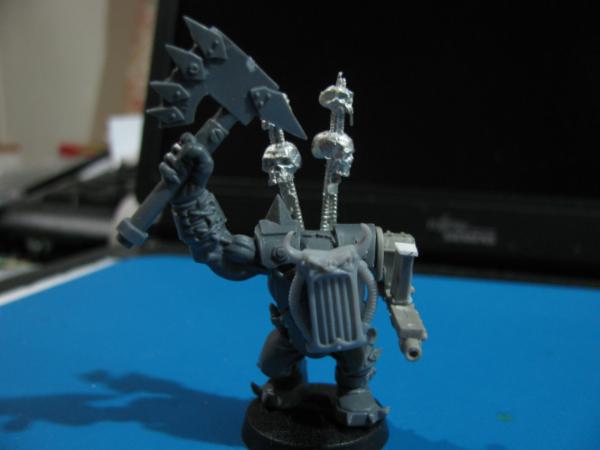
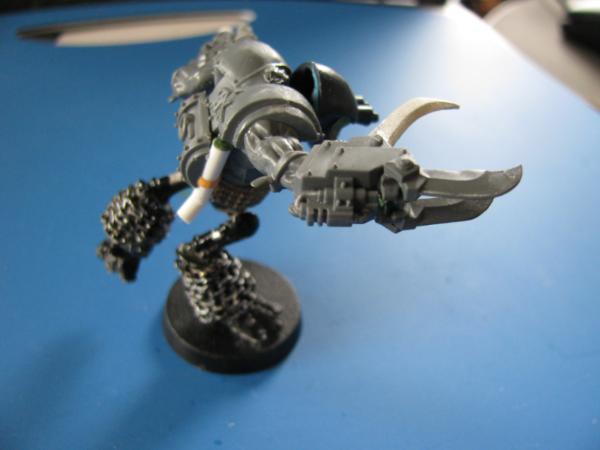
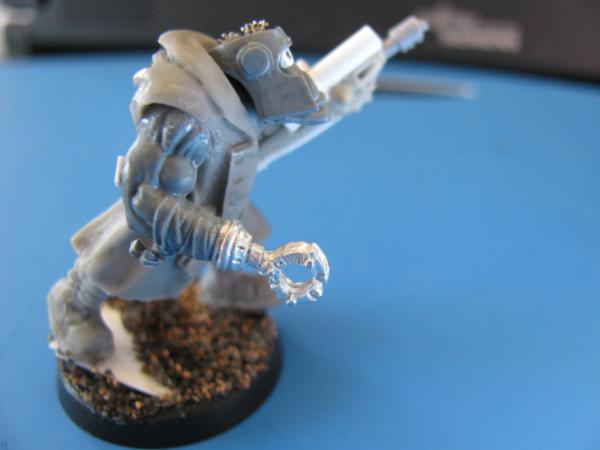
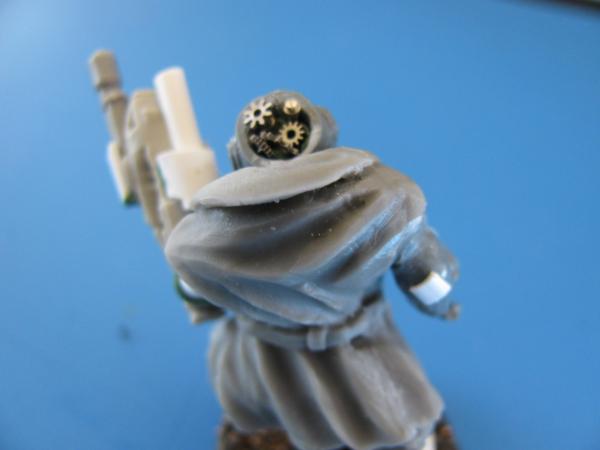
Snake 'Ead Jonez:
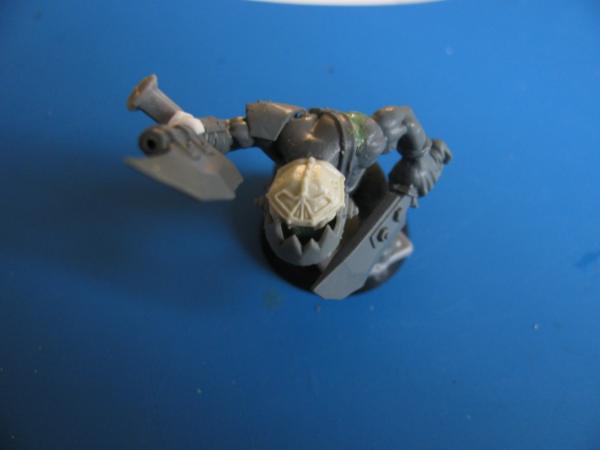
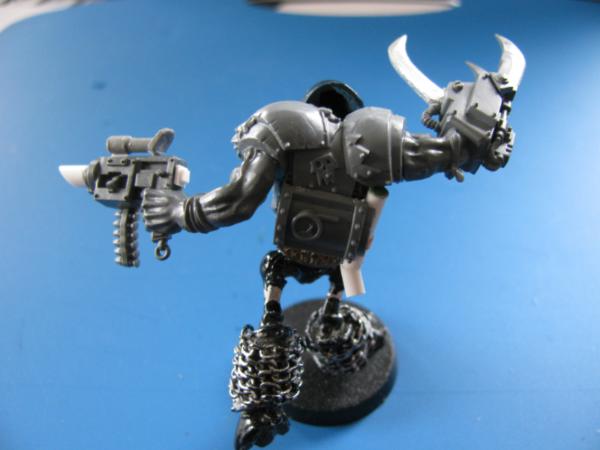
Had the temerity to come back to the dok complaining about his gun-hand. Luckily the dok was out so the grots fixed him up, gave him a 'choppy-shooty'. He seemed pleased with it.
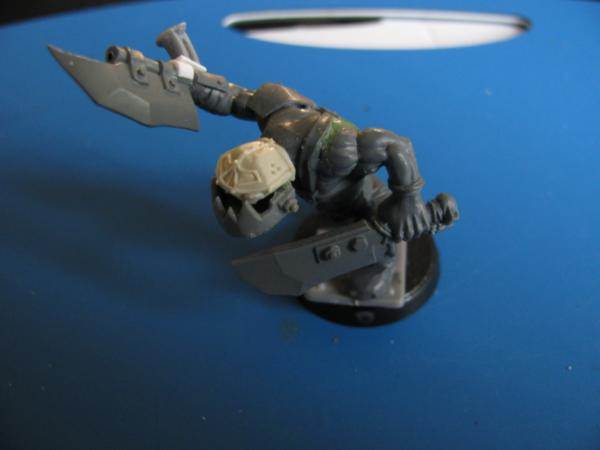
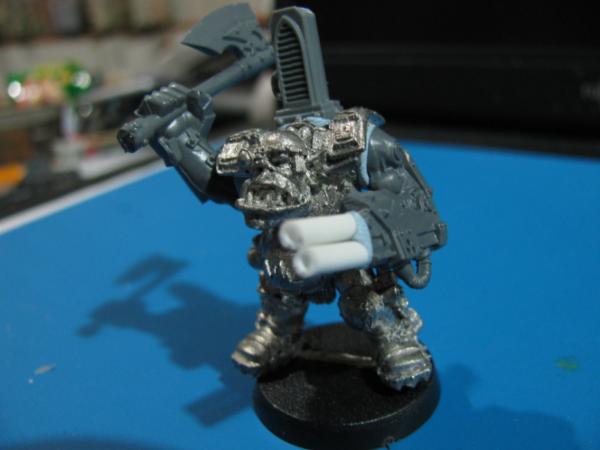
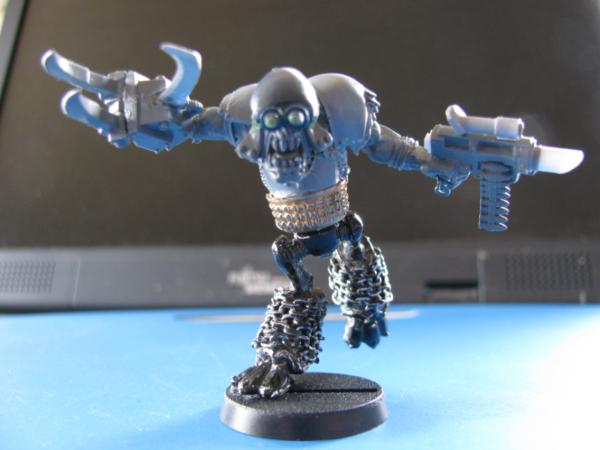
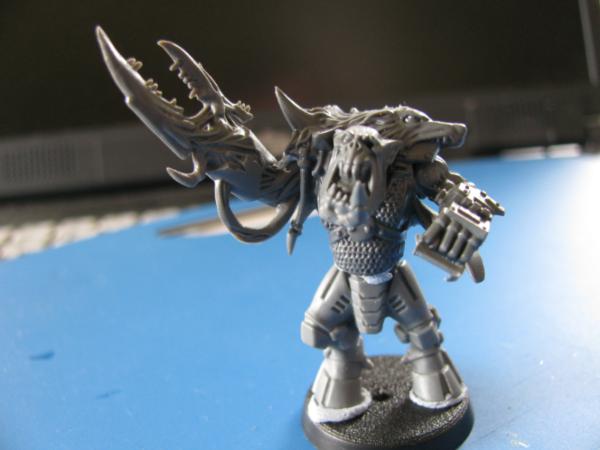
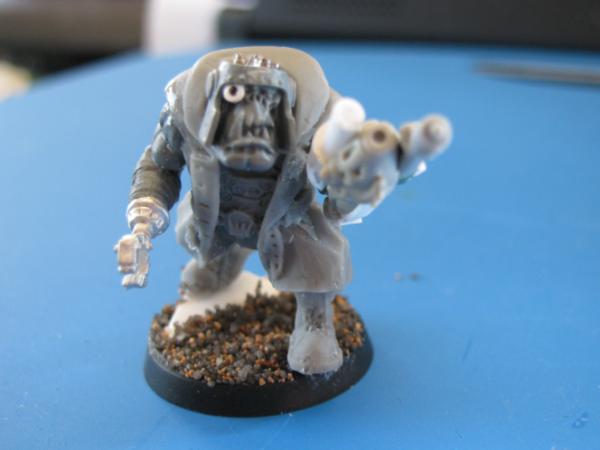
Slurpee Boy:
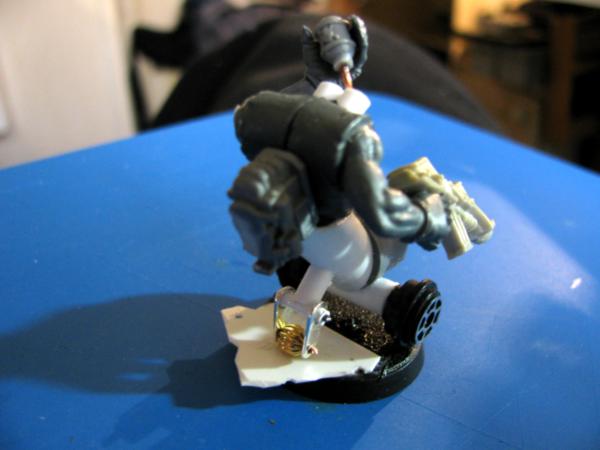
Stopping for a quick top-up mid-battle, that shootin' stuff sure takes it out of you. Well, shooting at stuff, with a
BS of 2 he's not hitting much. And I very much doubt that's actually a slurpee in there. Could be though, can never tell with these guys.
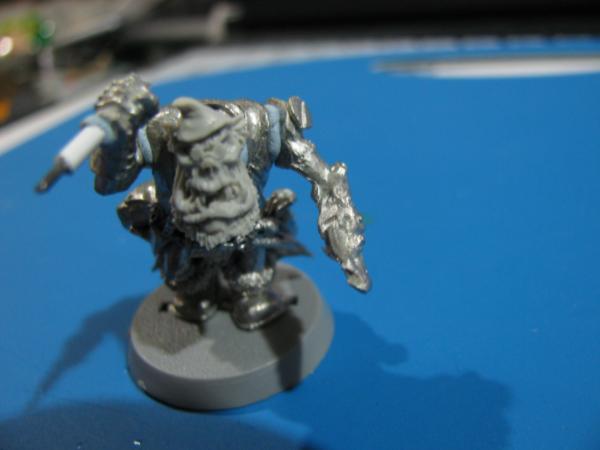
The arm still neds a bit of
GS, it was originally meant to hold a Mekanikus' big dakka, but I bent it a bit too far for that, so it came over here. Probably not the best 'face' to use for this as it gets obscured by the hand, but I liked the idea of it feeding into one of his head-holes. Did plan to further orkify his shoota too, that was previously modified for some chaos dude who never picked it up. Always the same with them spiky skull freaks. Always needing guns, always wanting more spikes added to the skulls, always wanting more skulls added to the spikes, then they never collect. Never. All that effort, all those materials, they think I've got time and money to spare? Anyway, I digress...
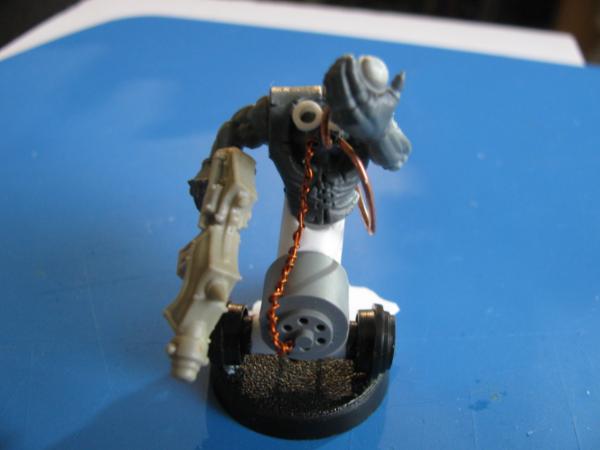
This could get messy:
So, out of nowhere I decided to mess with something else (no surprise there), and thought it might be 'fun' to document it.
Sprues:
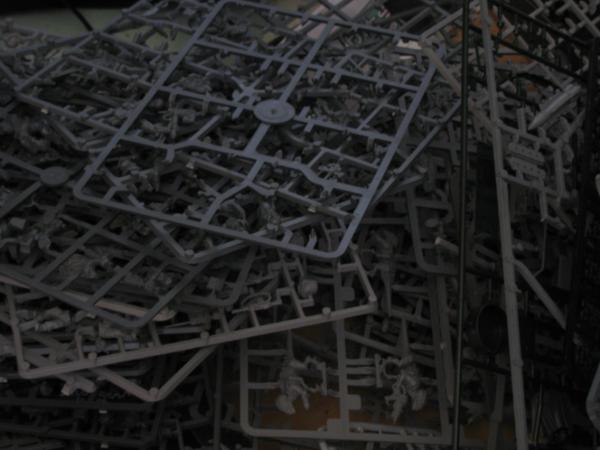
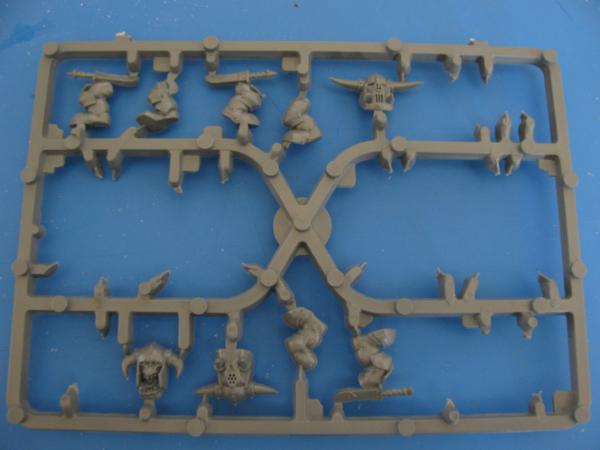
We've all got loads of 'em. Lots of us use them for other things, that's the kind of people we are. That one looks interesting, nice size to work with, let's get those bits off it. It's a bit bobbly still (that's a technical term ladies and gentlemen), chop some of the funny shaped connectors off, we'll keep all the little raised circles though, too much effort to cut off, plus it adds a bit of depth. Should now be able to lay something flat, maybe a piece of platicard, on either side.
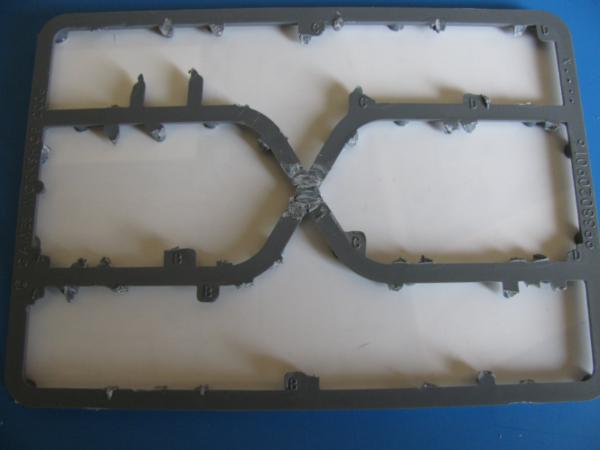
Those little circles can get a little glue love and then I'll stick it to a sheet of plastic-card. Oh look, there's one I prepared earlier. (I do wonder what became of my Blue Peter badge). Actually, that wasn't prepared earlier, the single sprue shot was taken after this one, and then I realised I hadn't taken that one. Same sprue though, black orcs.
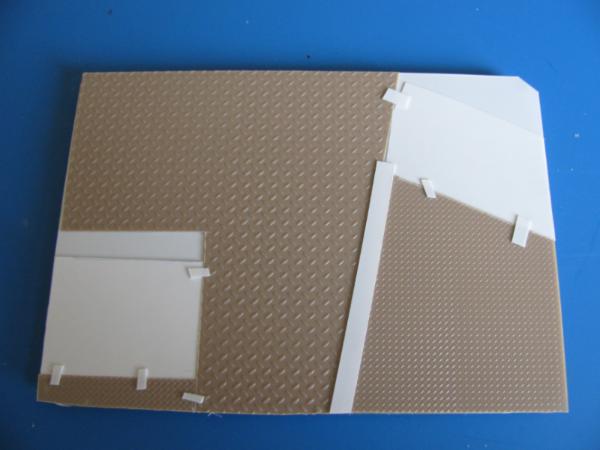
And add some detailing to the top of the plasticard - that was needed for structural stability. It looks a bit like a floor now.
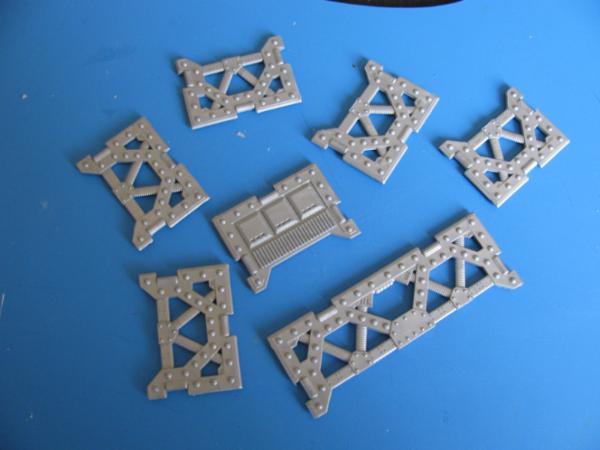
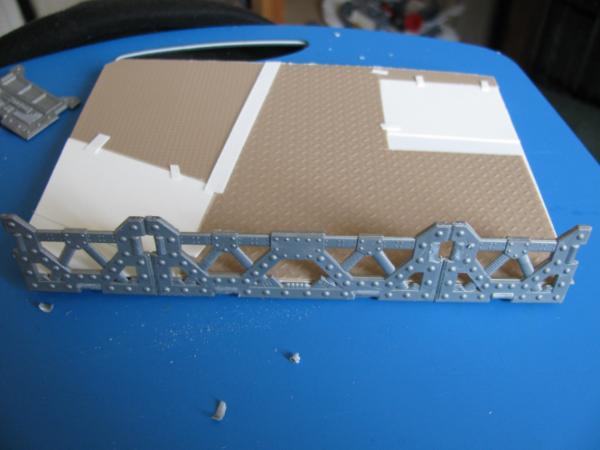
Got some fence type bits here, hey, they fit nicely, the rivets line up with the base, the rivets on the reverse will help with the gluing. Love it when parts fit together naturally. I'll just shave a few protusions off here and there, not sure why yet, something'll go there no doubt, don't want to hack at it once it's in place. Almost looks like it could be something now.
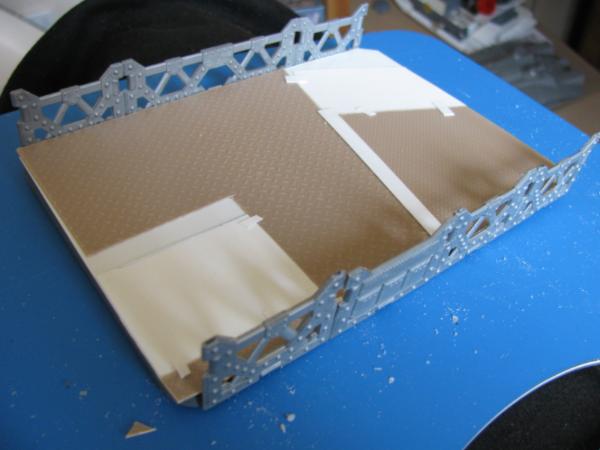
Ahh, that looks like it could make a nice bit of terrain. Some sort of rooftop vantage point. Maybe even a low-level platform. Plan it right, could be both. Maybe something with magnets, inter-sliding tubes, pins or maybe just cleverly thought out supports.
It'll need some support, maybe some more sprue? Yes, why not, let's cut the corners off another bit. Bit of cutting and re-cutting to get them level, and I'll try and glue them so there's a lip between the edge and the support beams.
Wow, pretty much level. That's always a bonus. That could almost be a low-level platform as is. Maybe a couple sets of steps, make them seperate, still got multiple uses for multiple bits of terrain. Possibly enclose the other 2 sides, we'll wait for that though, I have a feeling they might be different styles to the long sides.
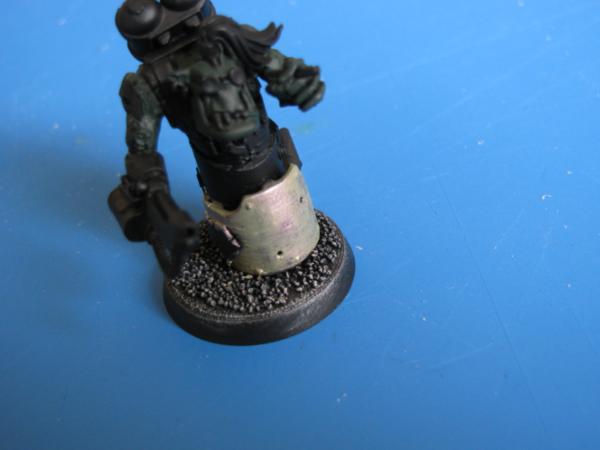
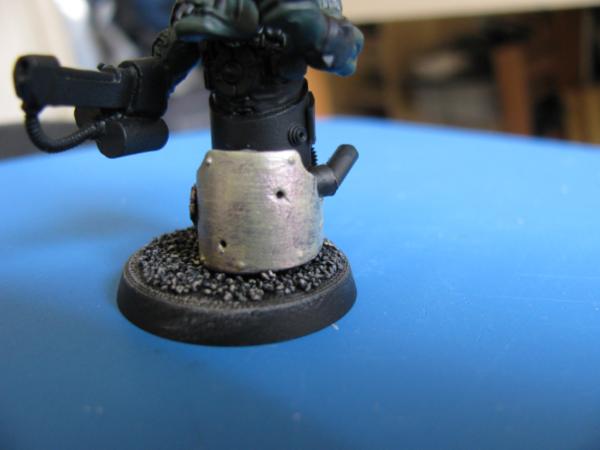
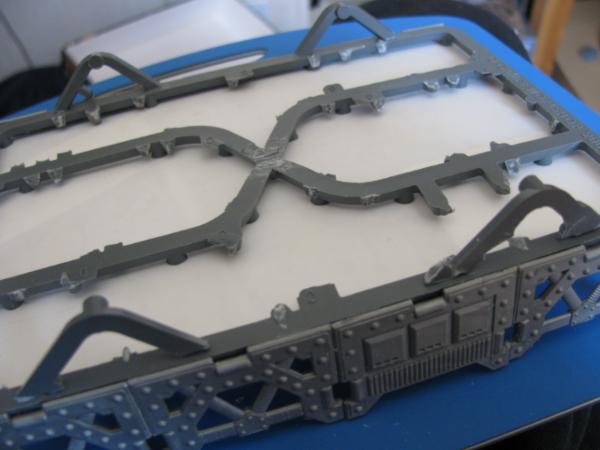
Right, now we need to grab a sentinel cockpit. Wait, what? Where's that fit into it? Well, could be it's not a terrain piece at all. Could be that's the flatbed for another trukk (I don't know what #, lost track of which is which now I think anyway
) Won't bother with the mono-wheel drive gubbins just yet, need to check heights and stuff for that. So, blu-
tac a wheel under the senty cockpit, shove some tubing through those 'support bars' for axles, shove on those big ol' wheels and put the senty up front to get a feel for how it looks.
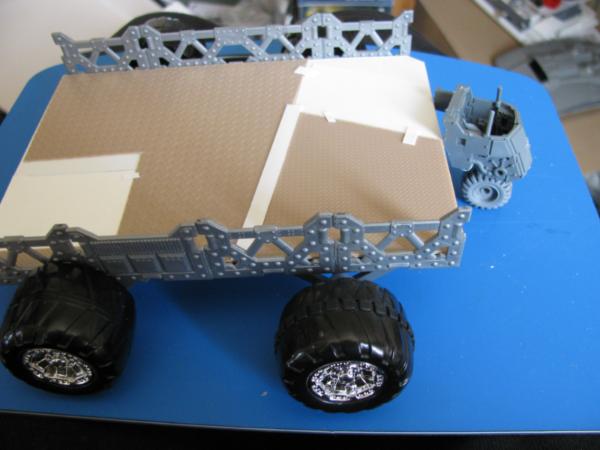
OK, that's not so good there then.
Sometimes when you get an idea, it's worth jsut laying the parts down together, see if the scale works
Otherwise, you might end up with this situatuion.
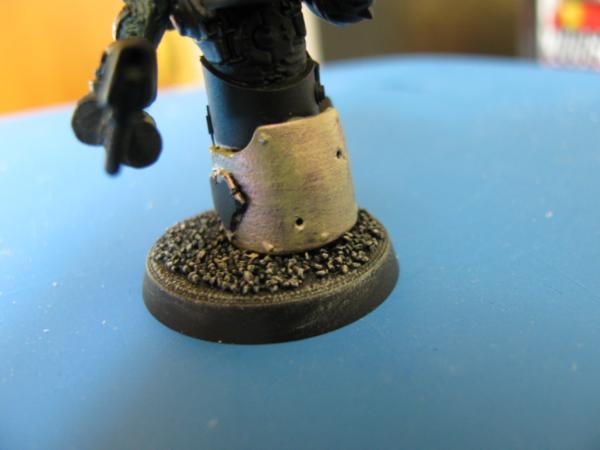
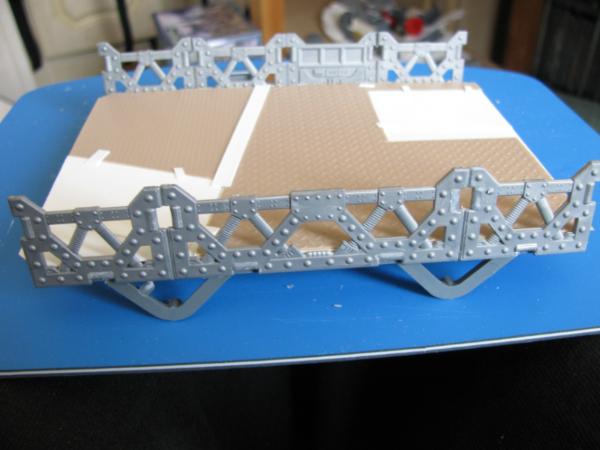
Right, well that mono-wheeled senty cockpit will have to go to another vehicle then (this could possibly shed some light on why I've lost track of trukk numbers). What else have we got? Hmm, a landspeeder cockpit? They're good for a variety of situations. Actually, there's a partly modified speeder in that box by my foot, let's try that.
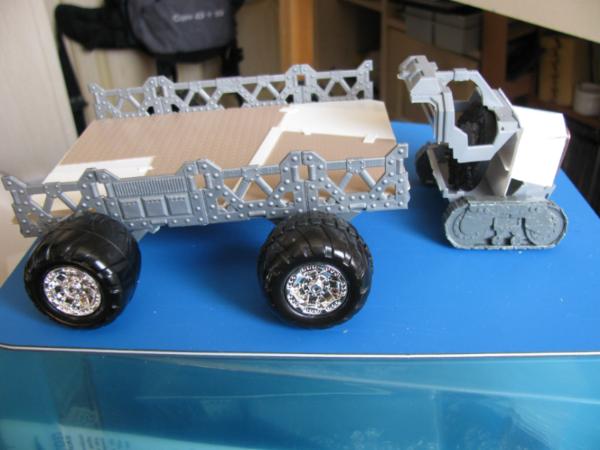
Well, that's certainly better than the senty. Still not fully convinced though. I have a plan in place for that cab (which is keeping those tracks), and I don't think this beats that, so time for something else.
There's a few ideas with off-central cabs coming straight off the flat-bed, I like the feel, but not going to work with those wheels I think.
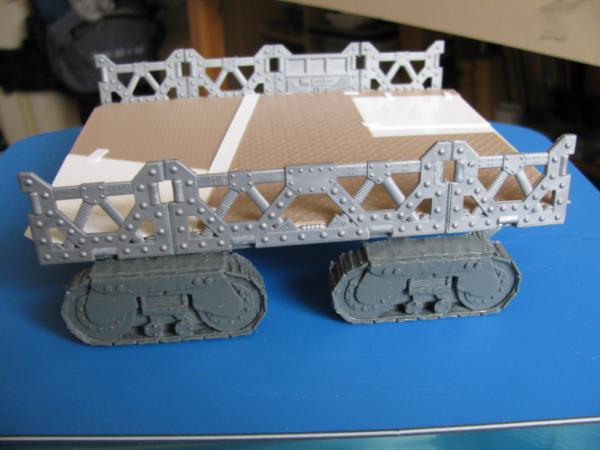
So, looks like it'll go tracked then. I really liked the senty idea too, shame. I'll have to see if it fits any of the other layouts I have scribbled on foam board and plasticard. If it stays tracked like this, think a high, off-centre cab will work. It's now getting close to some other ideas that got sparked off by some of the Realms of Legend concepts over in Kid Kyoto's civilian vehicle thread
(
http://www.dakkadakka.com/dakkaforum/posts/list/391316.page).
Might have to re-look at those before seeing where else this will take me.
Anyway, that'll wait for now, not sure if that was interesting for anyone, don't think I chatted as much as I planned, but that does seem to have taken up a big chunk of time with typing rather than modelling
Thanks for looking, not a great deal of real updates this time round, hopefully it was 'fun' though
Automatically Appended Next Post: Edit:
Emperors_Champion - Snuck in there whilst I was shuffling words and pictures around. Thanks a lot man, seriously
Come in, grab a chair, relax, I'm sure someone else will come join us shortly.


 Imperial Knights: The Avengers Initiative
 Da Dark Angelz
 Arakasi vs Infinity


 Orks is never beaten.
 's in my life!

