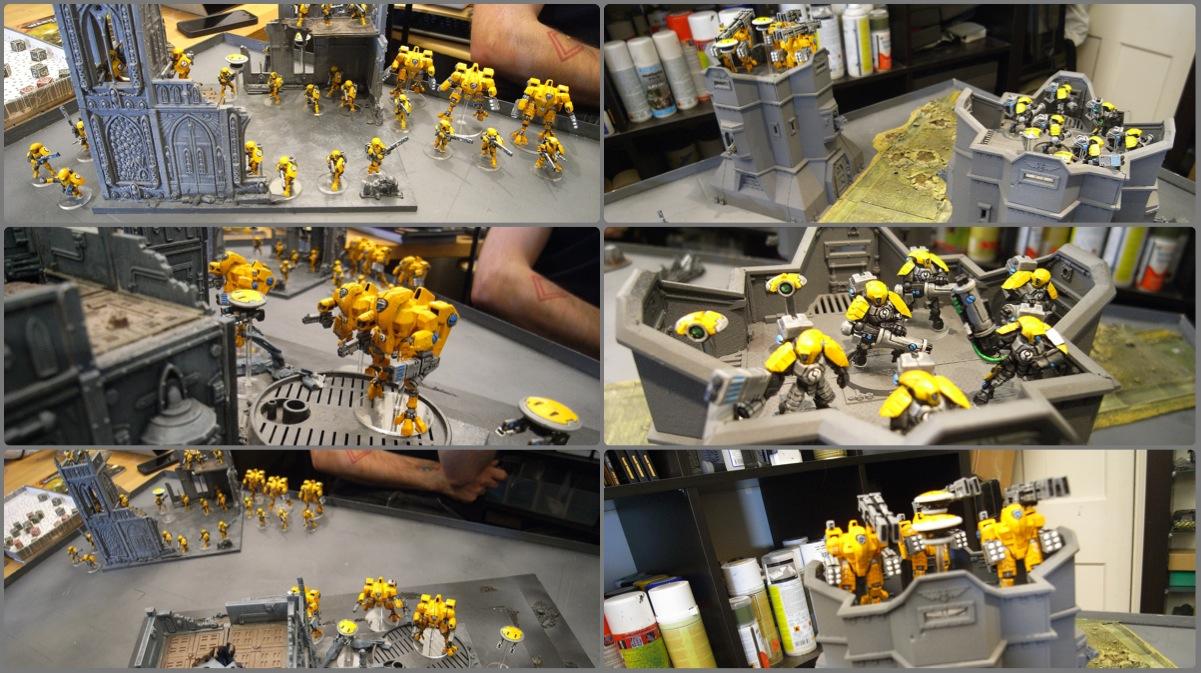
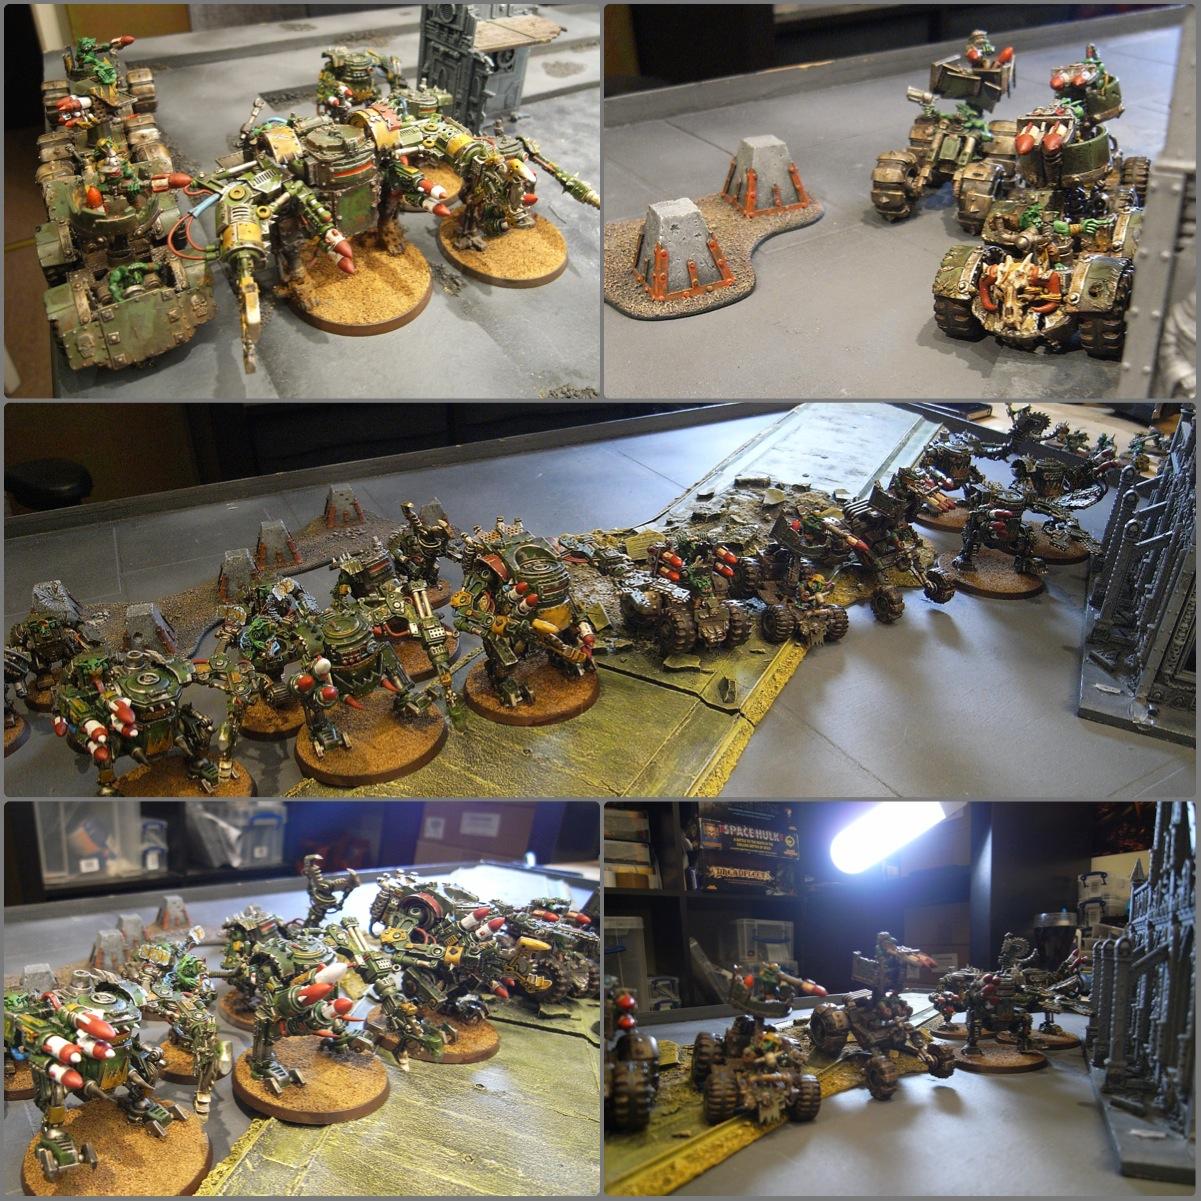
Helloo! So, we're back and trying out the Tau against the next enemy in line - the Grot Kan Wall! I'm trying out a more infantry based force now that I've got my new Ethereal and Fireblade conversion painted, and Panic is seeing how well the Kans hold up in a hull-point environment...
ArbitorIan's Tau Ye'lo Sept - 1500pts
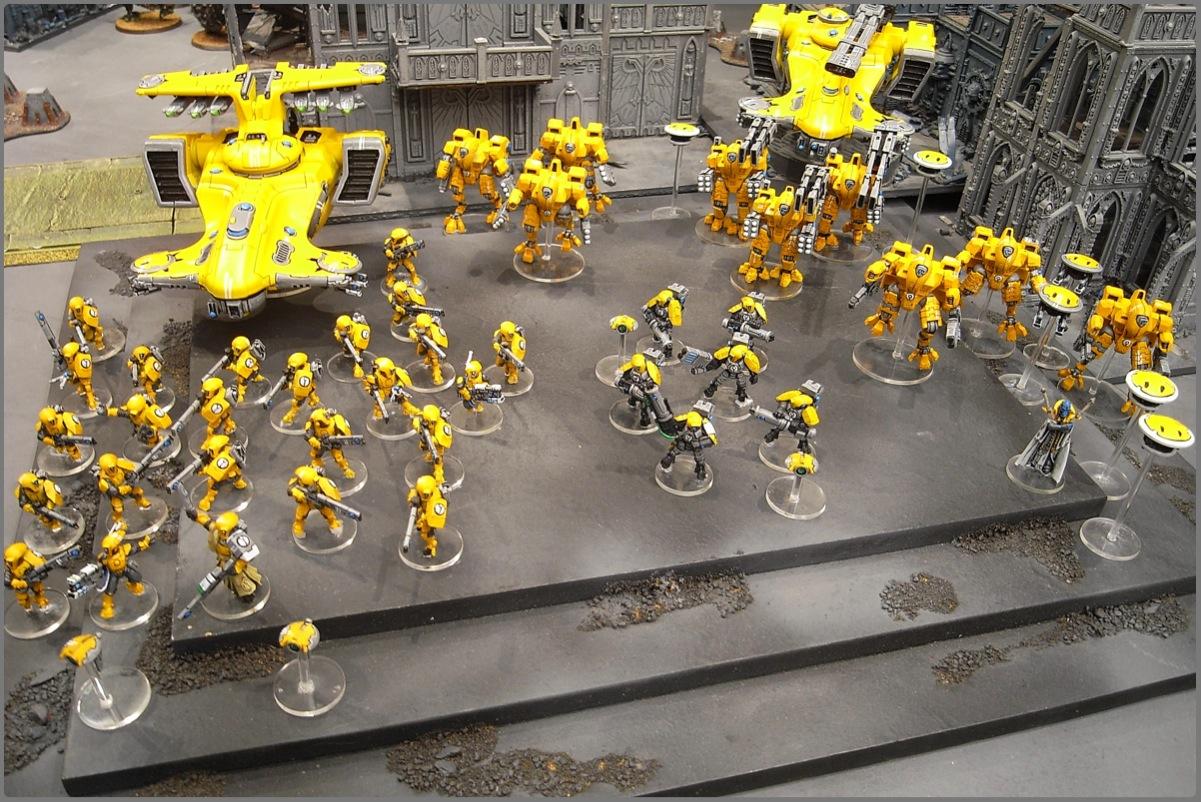
* Cadre Fireblade with two Marker Drones
* Ethereal with two Shield Drones
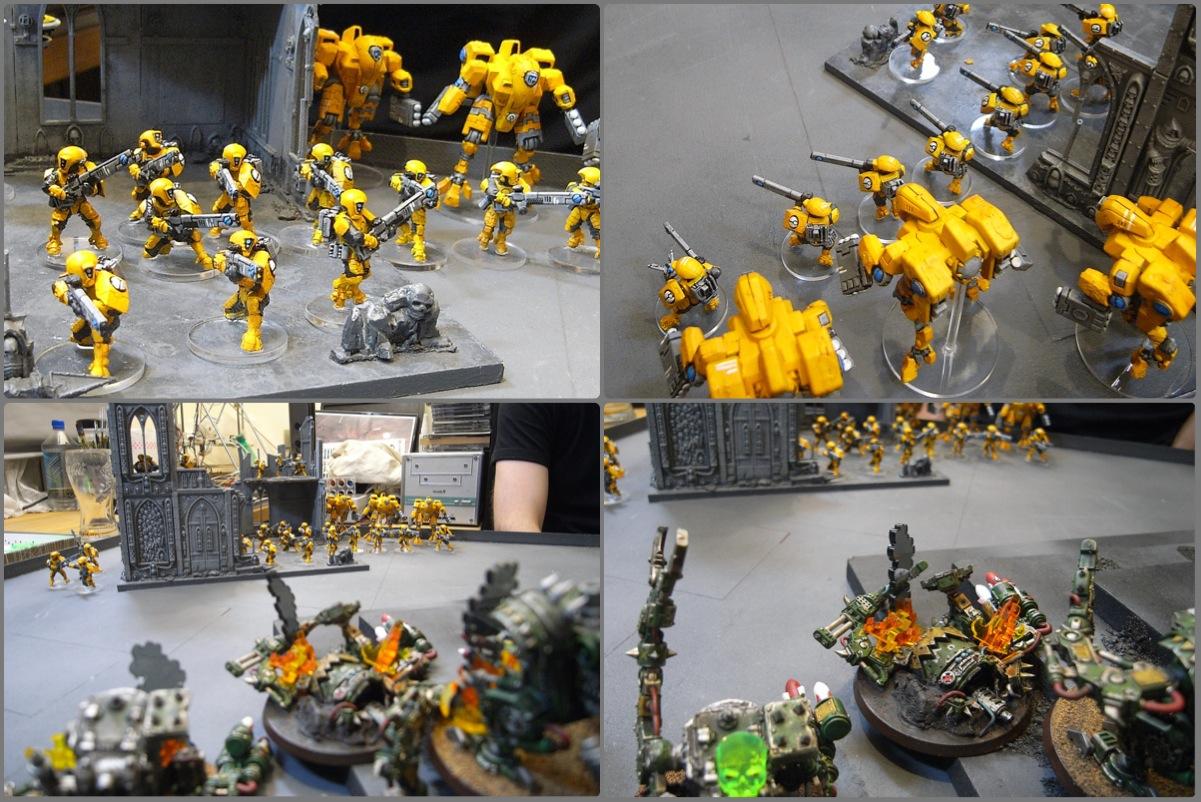
* 12 Fire Warriors (Pulse Rifles) inc Shas'ui with Markerlight/Target Lock
* 12 Fire Warriors (Pulse Rifles) inc Shas'ui with Markerlight/Target Lock
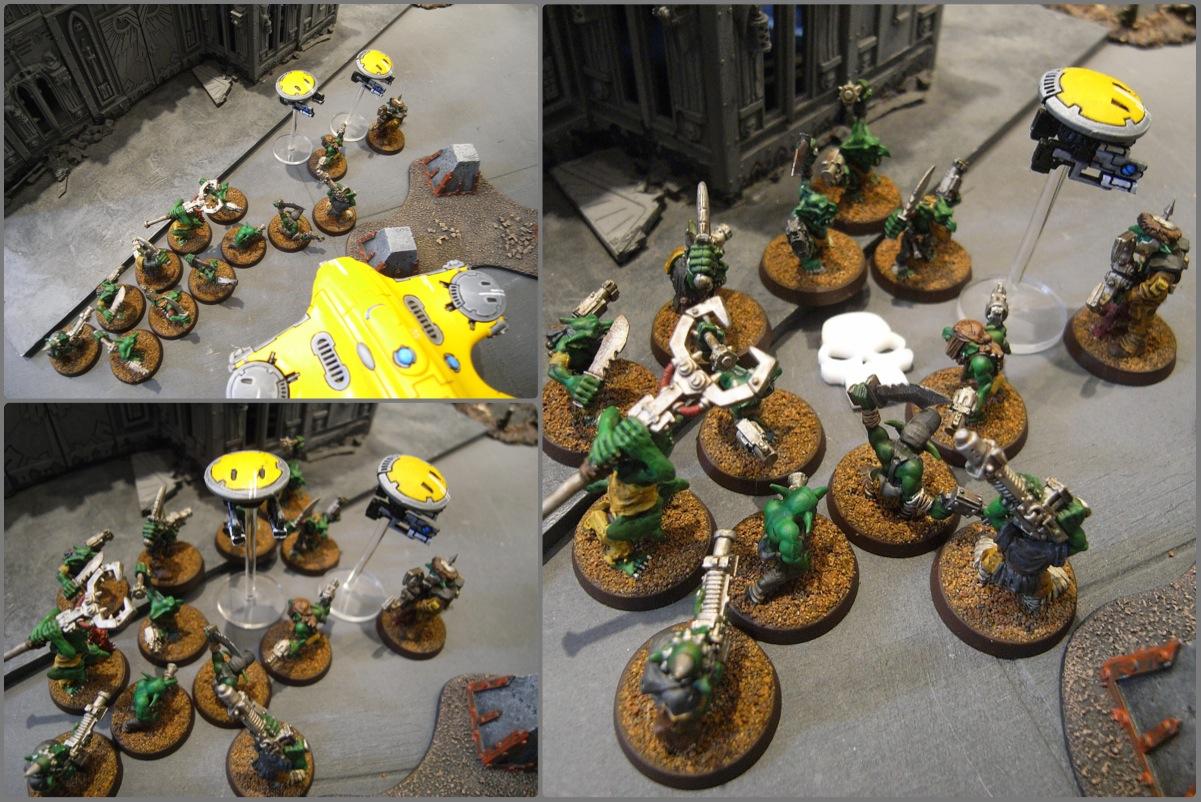
* 7 Stealth Suits (1 Fusion Blaster) inc Shas'vre with Markerlight, with two Marker Drones
* 3 Crisis Suits (Plasma Rifle, Fusion Blaster) with two Gun Drones
* 3 Crisis Suits (
TL Missile Pod)
* 3 Broadsides (Hvy Rail Rifle,
SMS) with two Shield Drones
* Hammerhead (Railgun,
SMS, Disruption Pod)
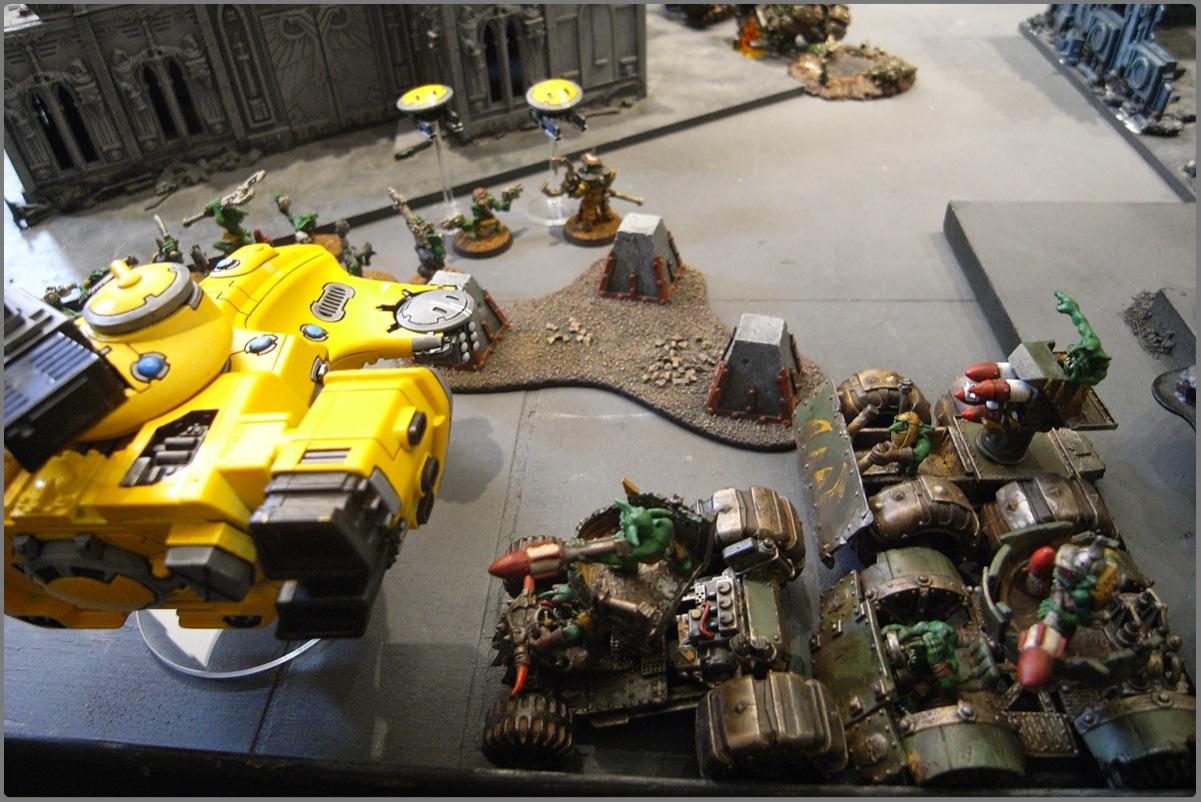
* Sky Ray (Disruption Pod) with two Gun Drones
Panic's Grot Kan Wall - 1500pts
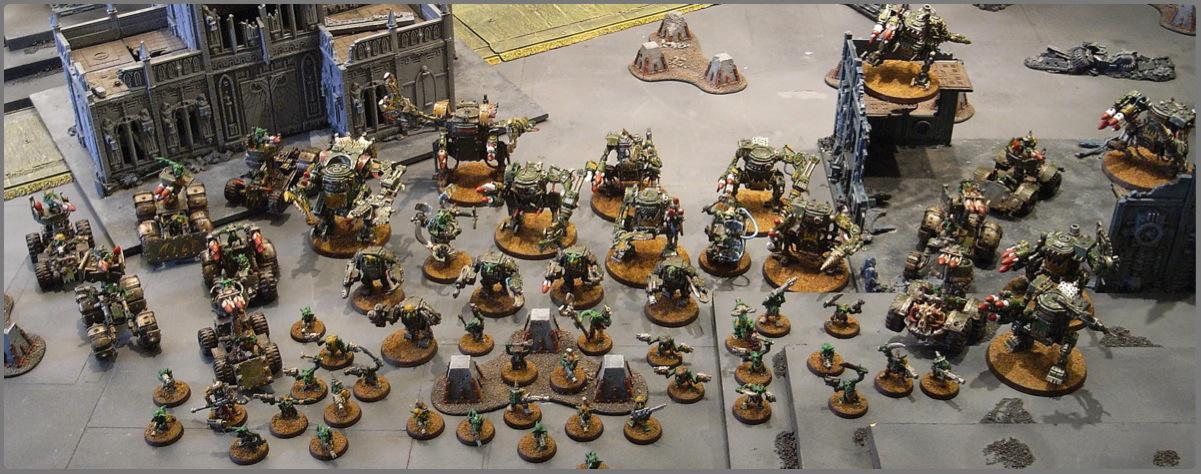
* Big Grotmek (Kustom Force Field)
* Big Grotmek (Kustom Force Field)
* 5 Meganobz
* 3 Killa Kanz (Rokkits)
* 3 Killa Kanz (Rokkits)
* 3 Killa Kanz (Rokkits)
* 3 Buggies (
TL Rokkits)
* 3 Buggies (
TL Rokkits)
* 3 Buggies (
TL Rokkits)
* Deff Dred (Rokkits, Extra Rokkits, Lots of Rokkits)
* Deff Dred (Rokkits, Extra Rokkits, Lots of Rokkits)
* 10 Grotz with Runtherd
* 10 Grotz with Runtherd
* 10 Grotz with Runtherd
Mission
We played Vertical Envelopment from the Tau Altar of War book. This is basically a kill points mission, but with the added bonus that the Tau MUST deploy all their skimmers into reserve. When they become available from reserve, they arrive at the enemy's table edge. There are also points for the usual three objectives. Unfortunately, we played this game a week ago and I can't remember what Warlord traits we got - I don't think they were much use...
Deployment
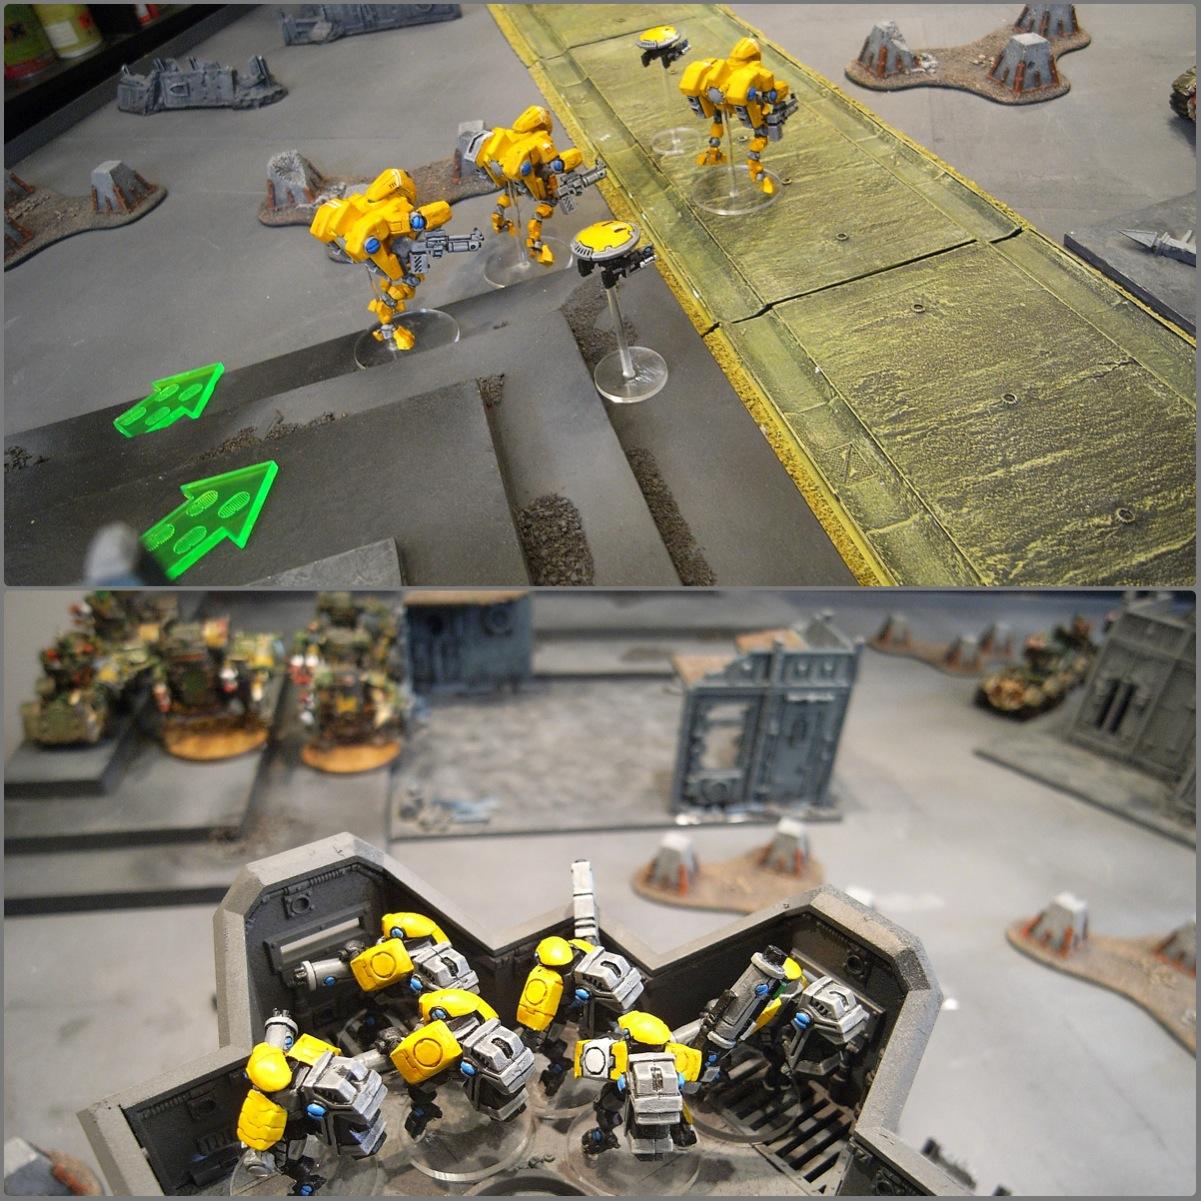
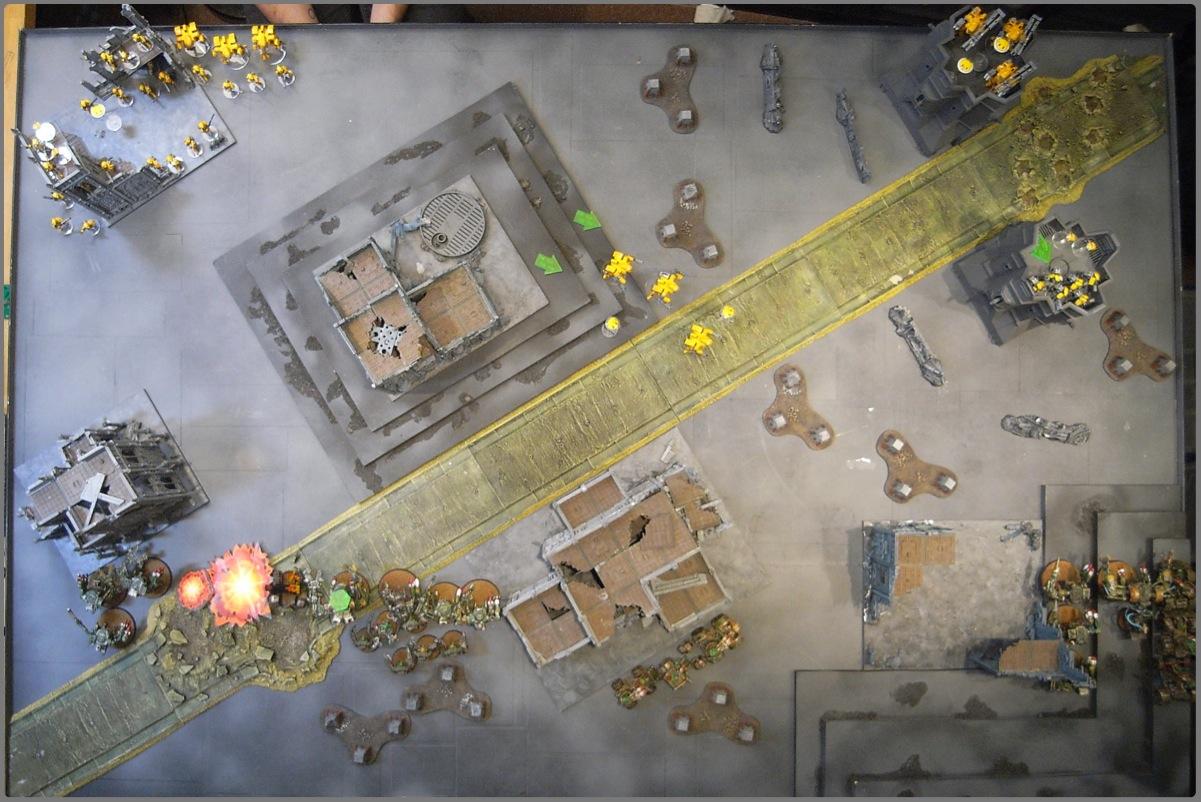
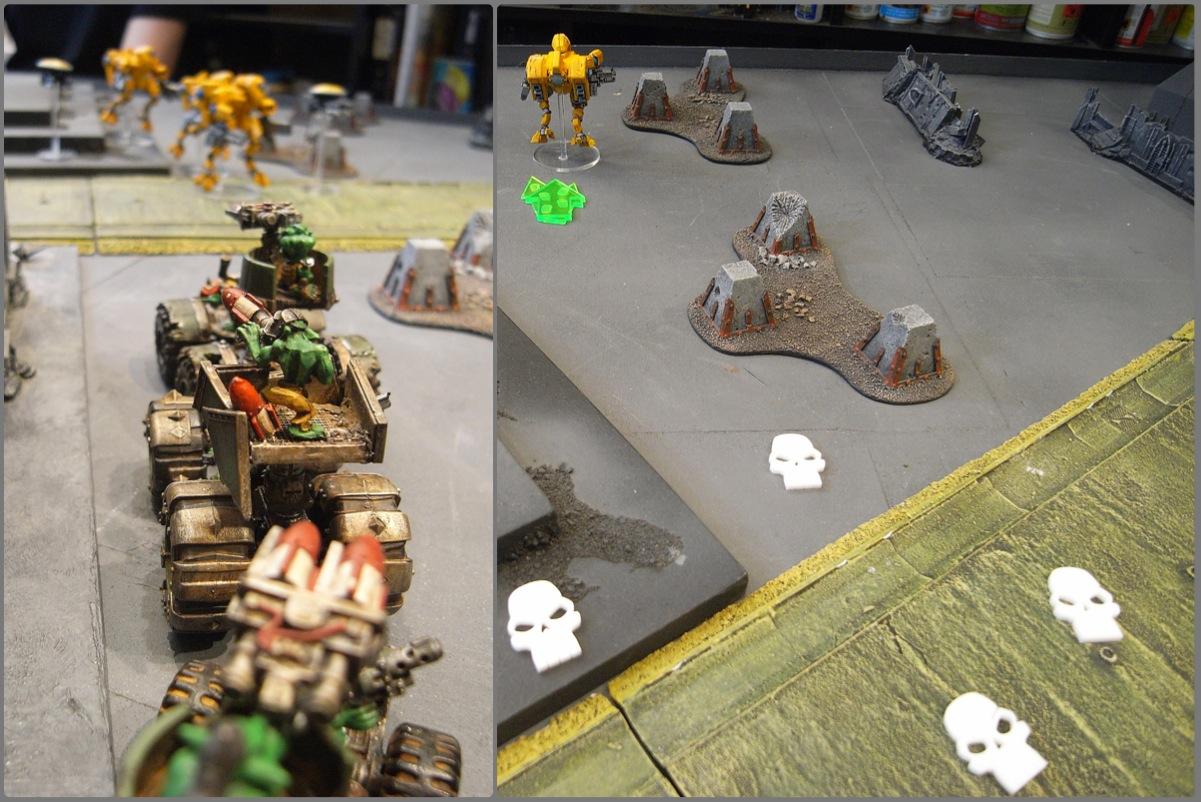
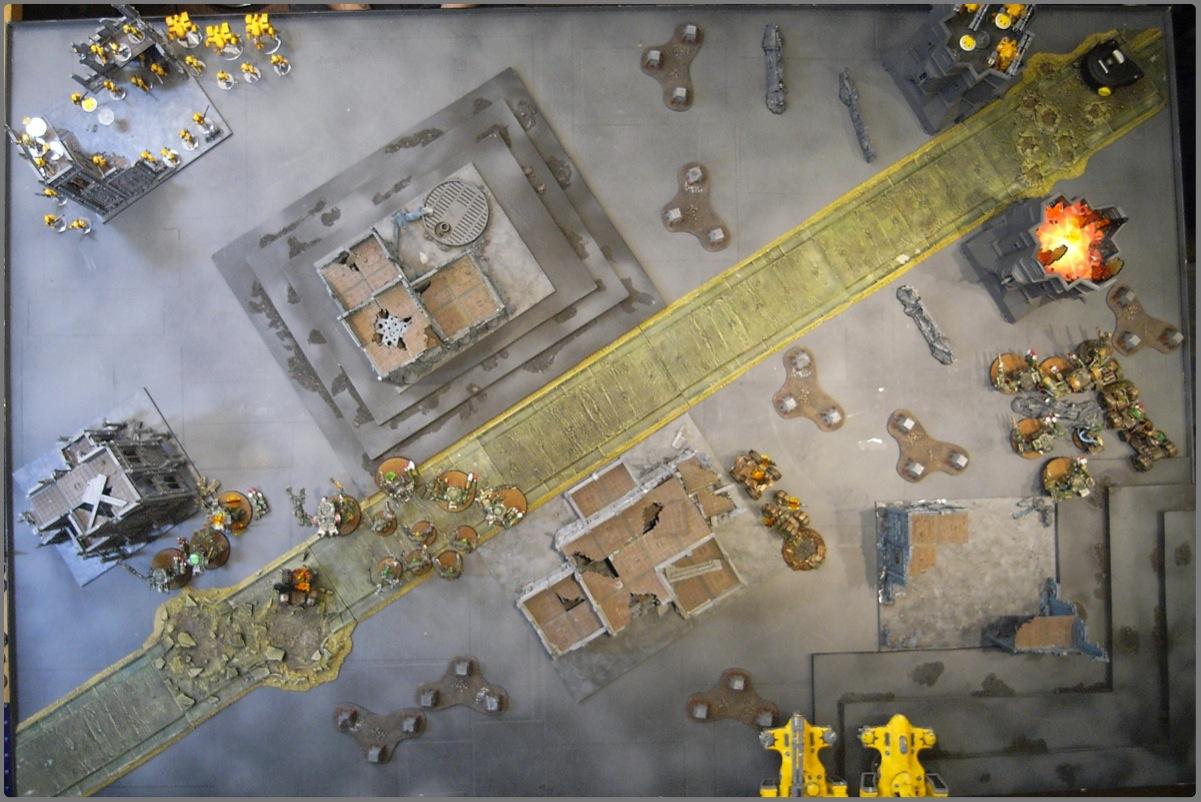
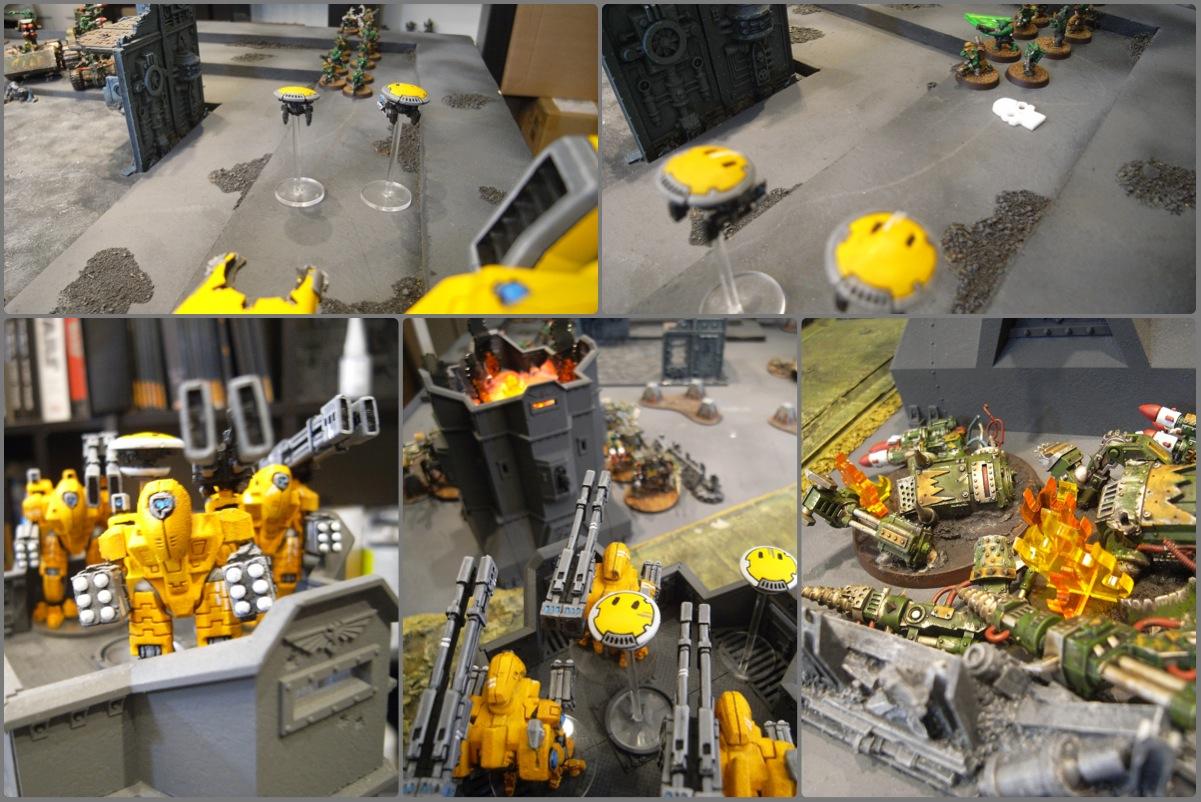
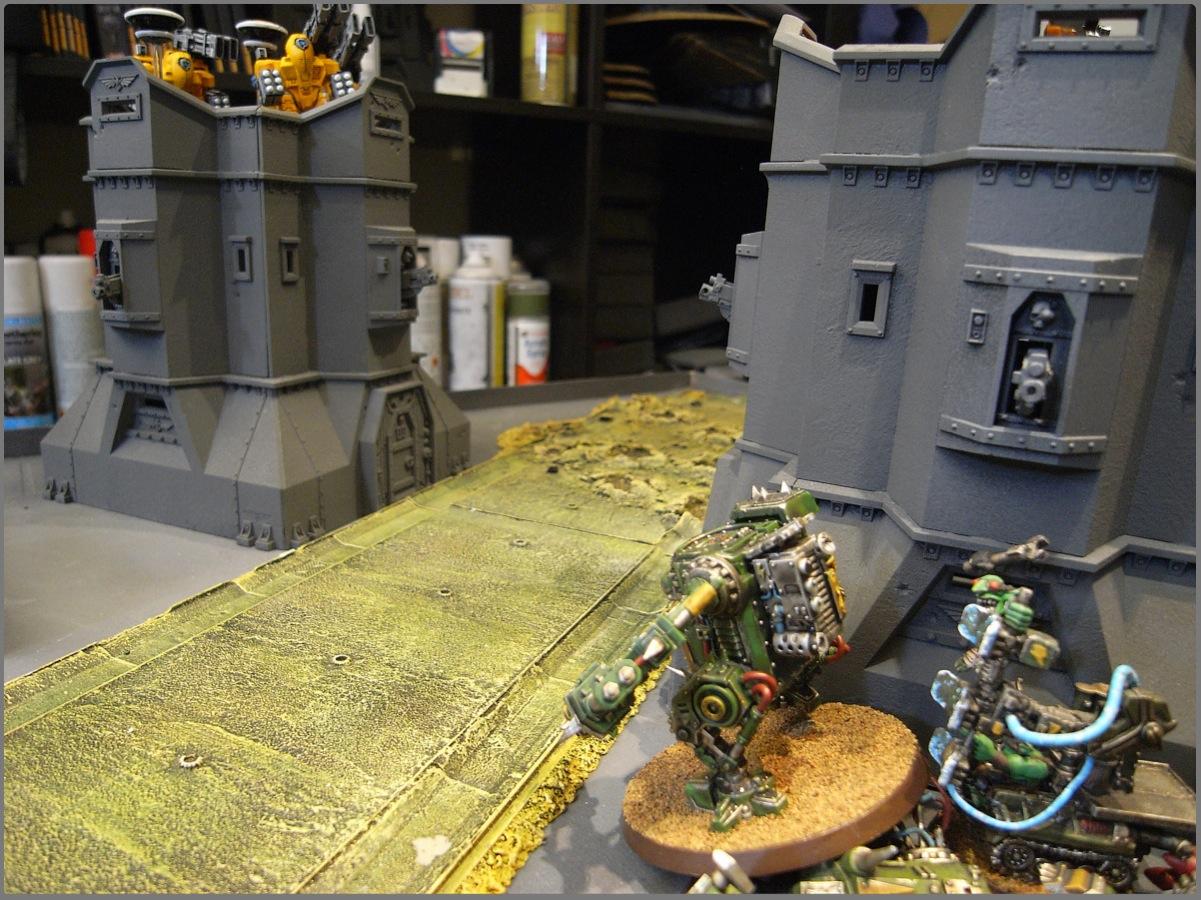
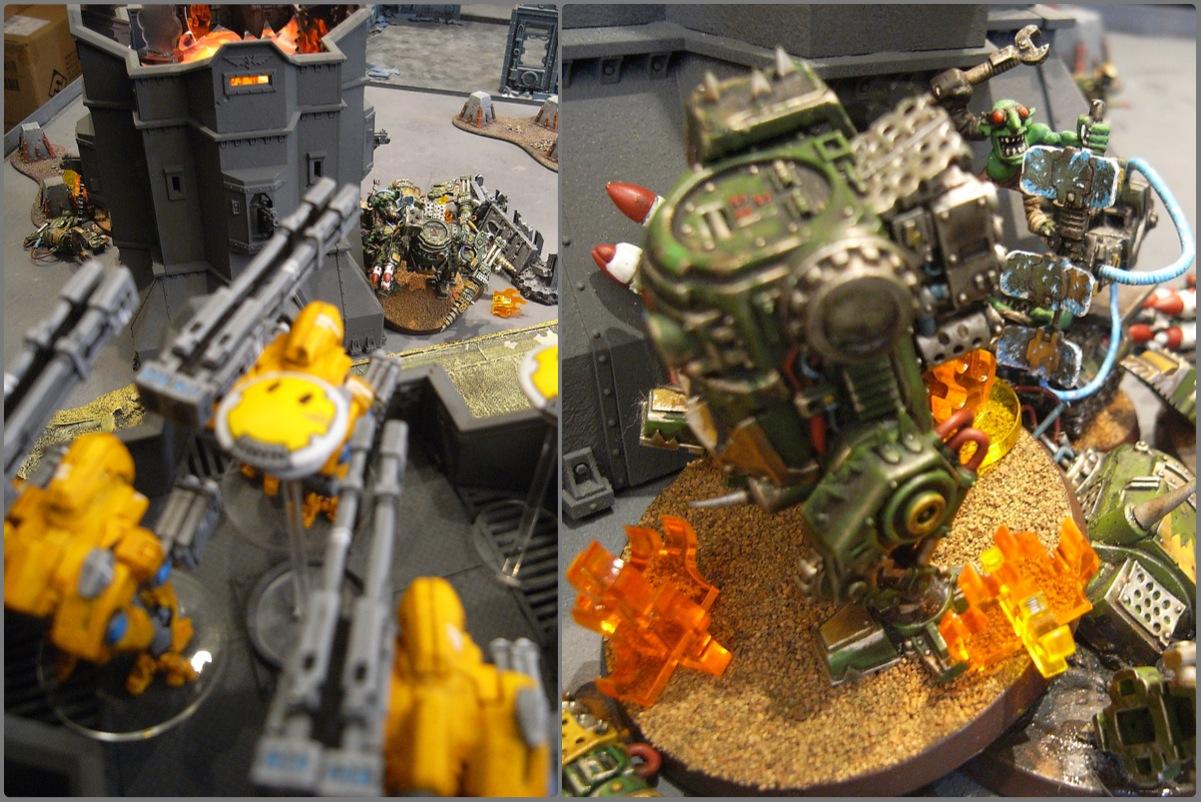
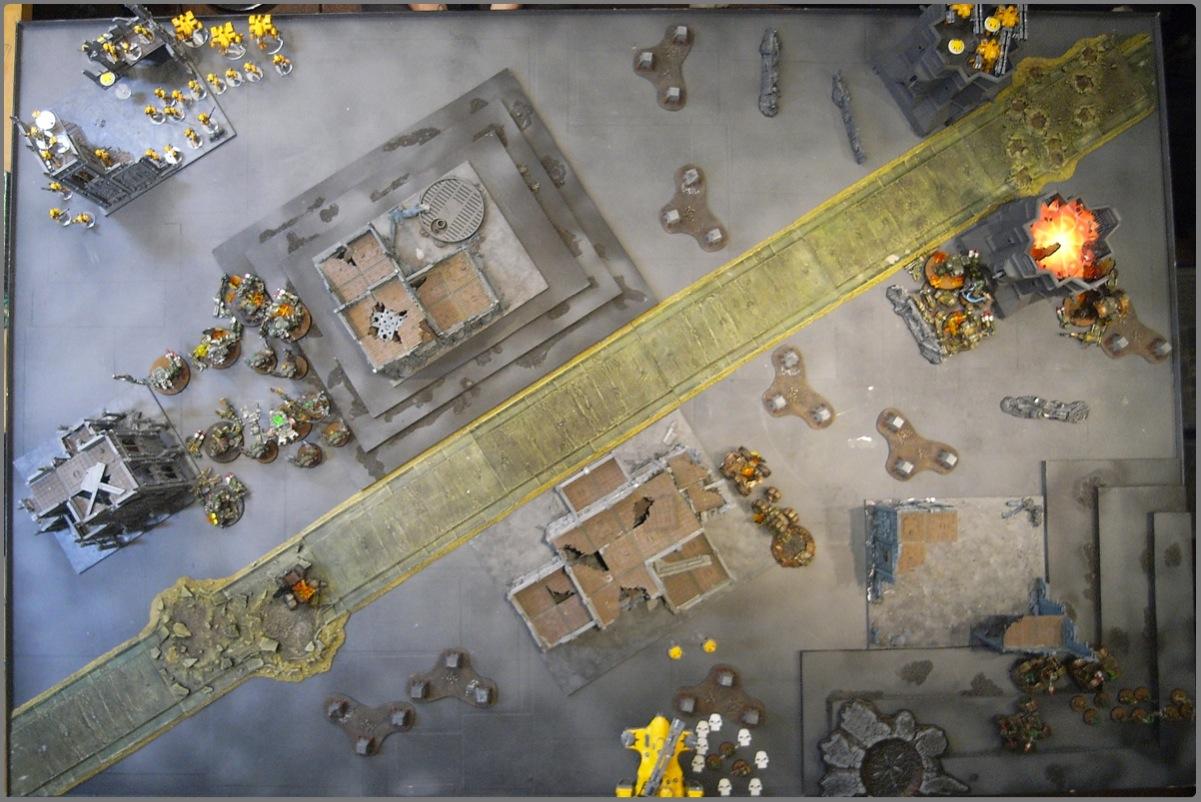
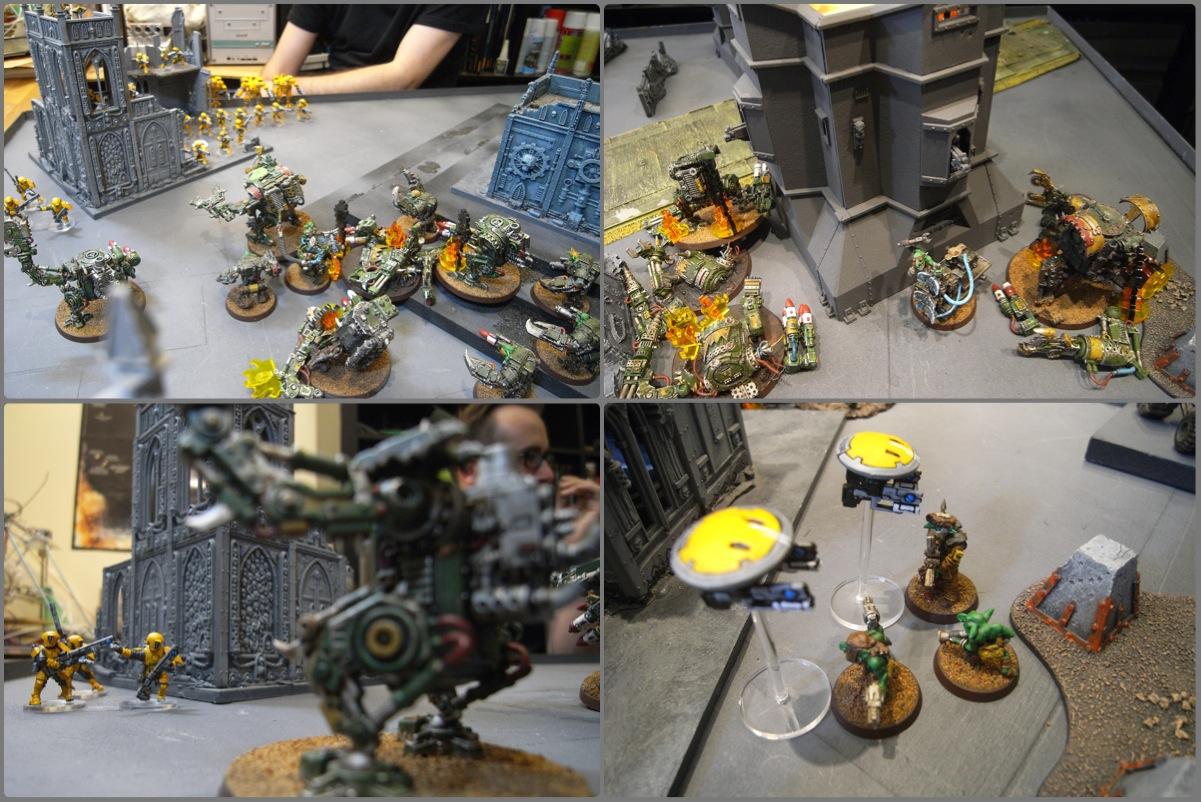
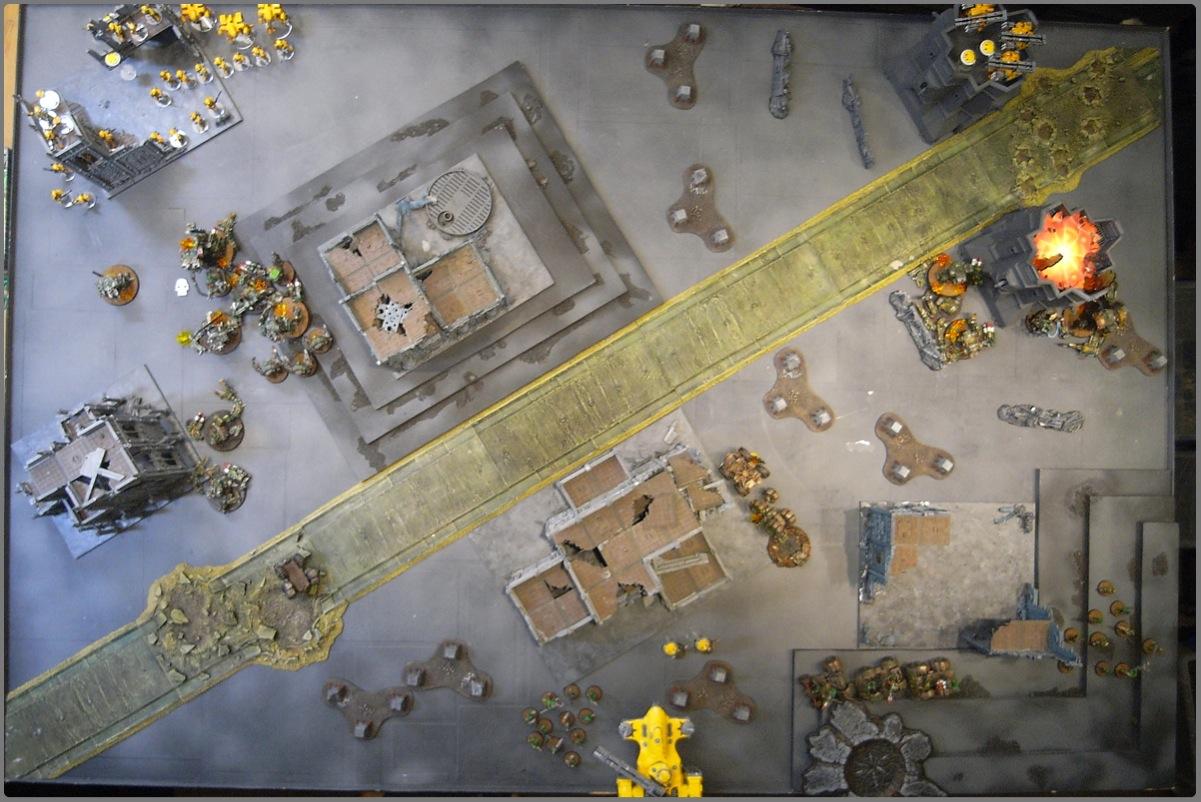
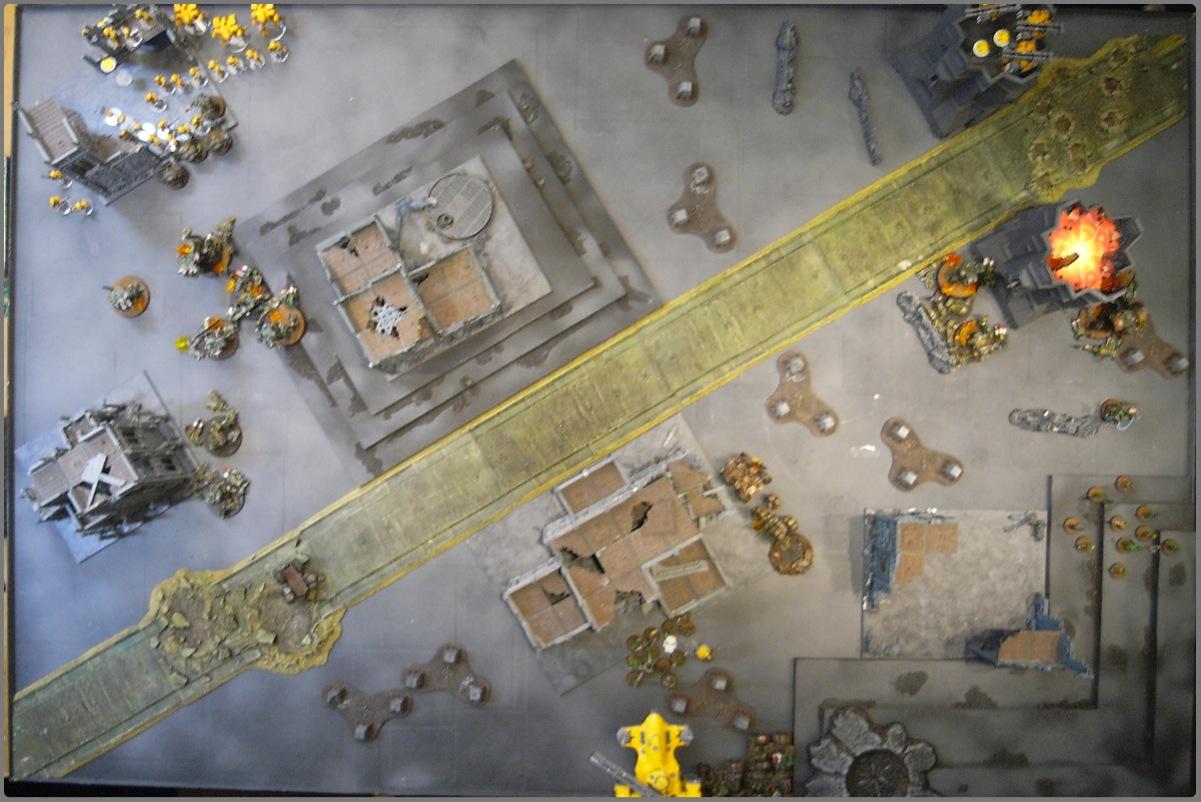
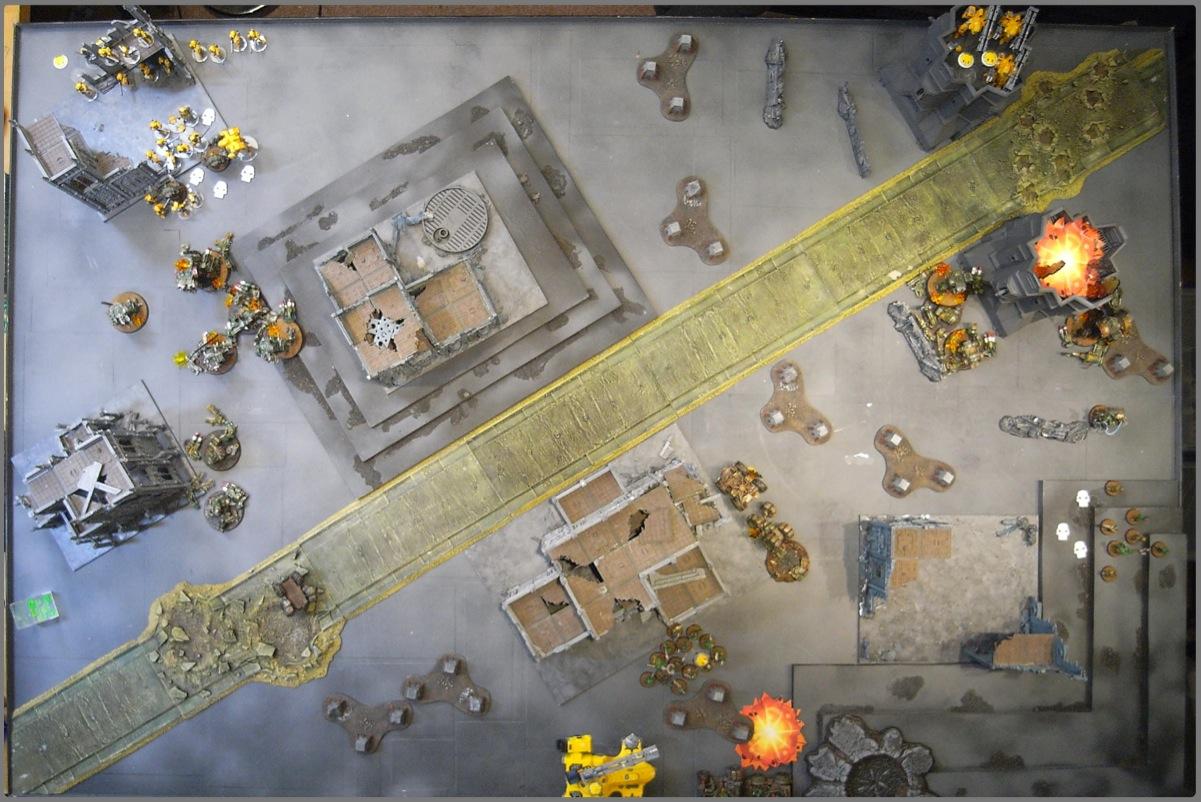
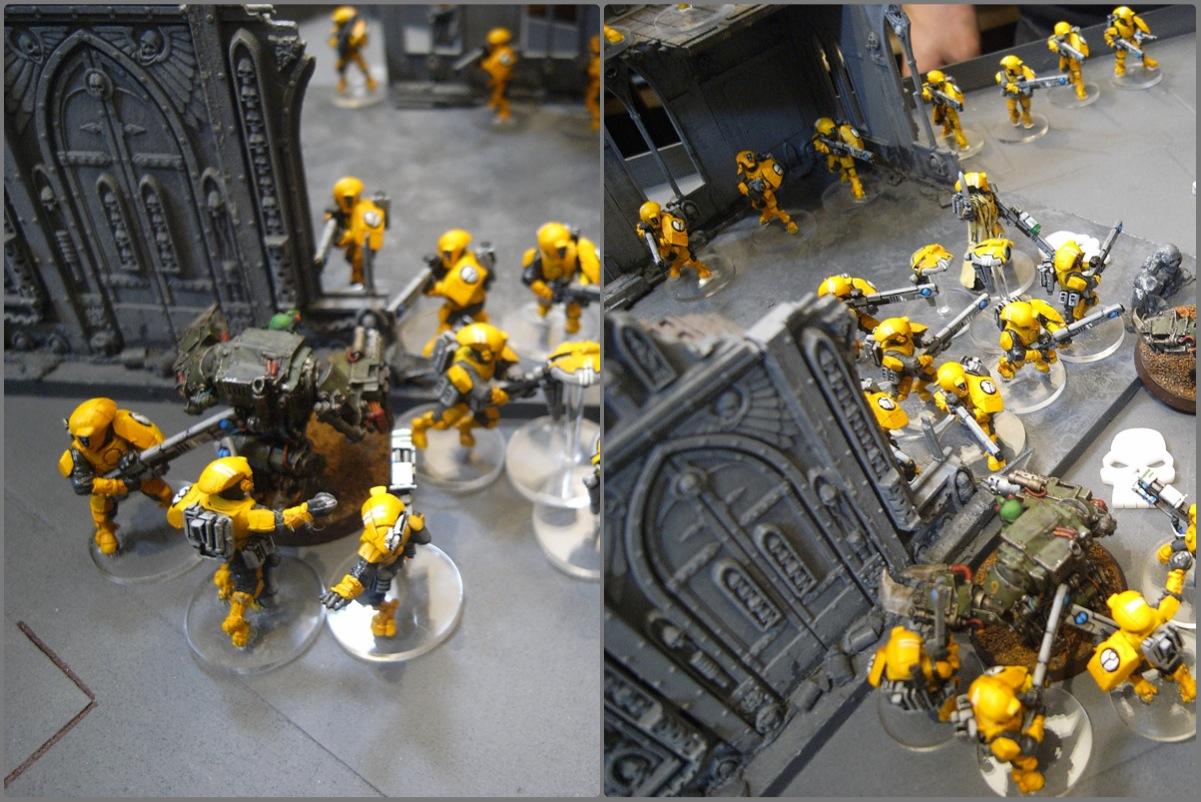
Tau deployed first and split their forces, expecting the Grots to go where the biggest concentration of guys was. The Fire Warriors, Ethereal and Fireblade set up in a ruined building at the top left, with the Missile Suits in support. Then, the Broadsides covered the firelanes from one of the bunkers while the Stealth team infiltrated forward into the other bunker as support. The Plasma Suits set up in the middle of both. Obviously, both tanks had to be in reserve.
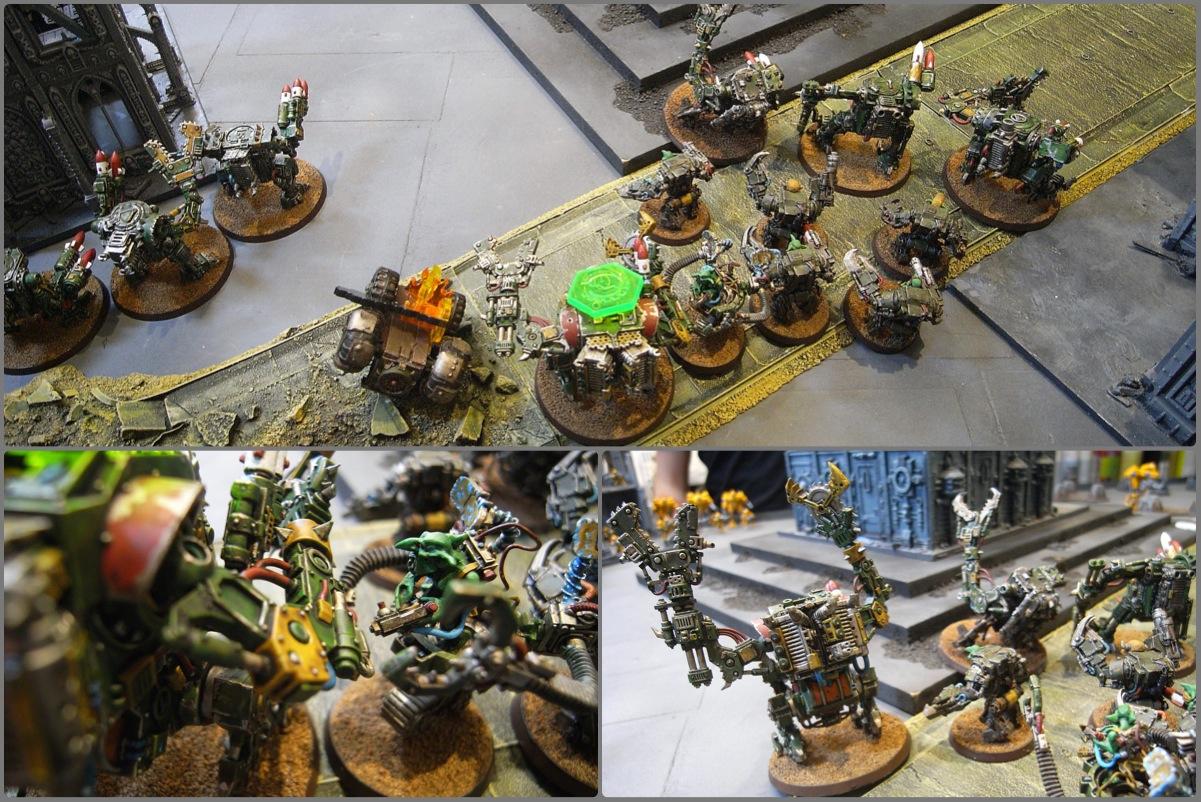
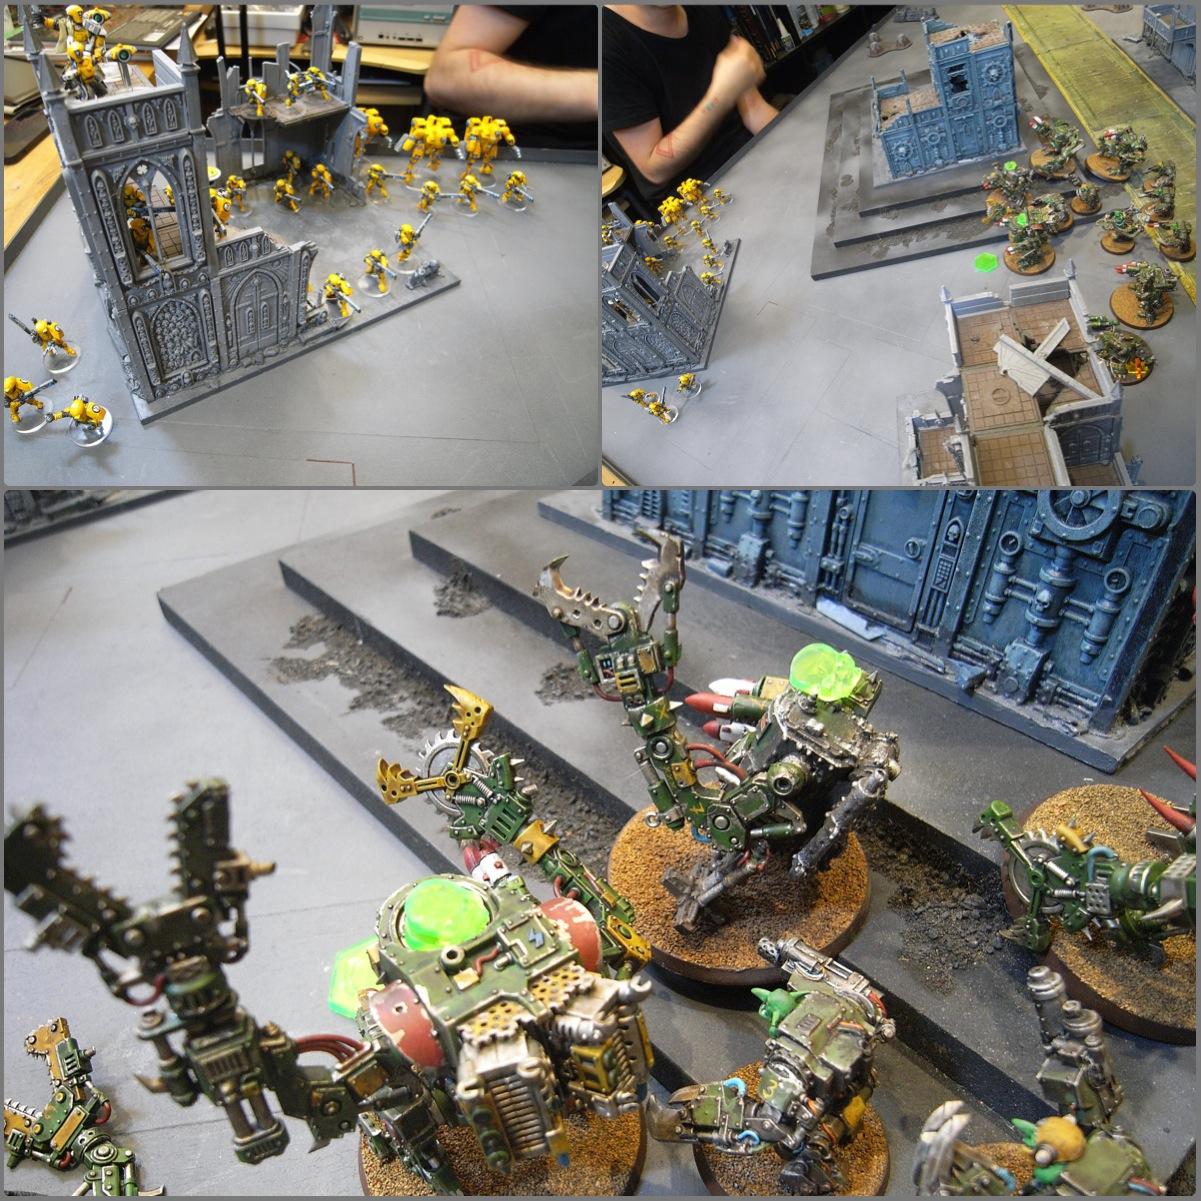
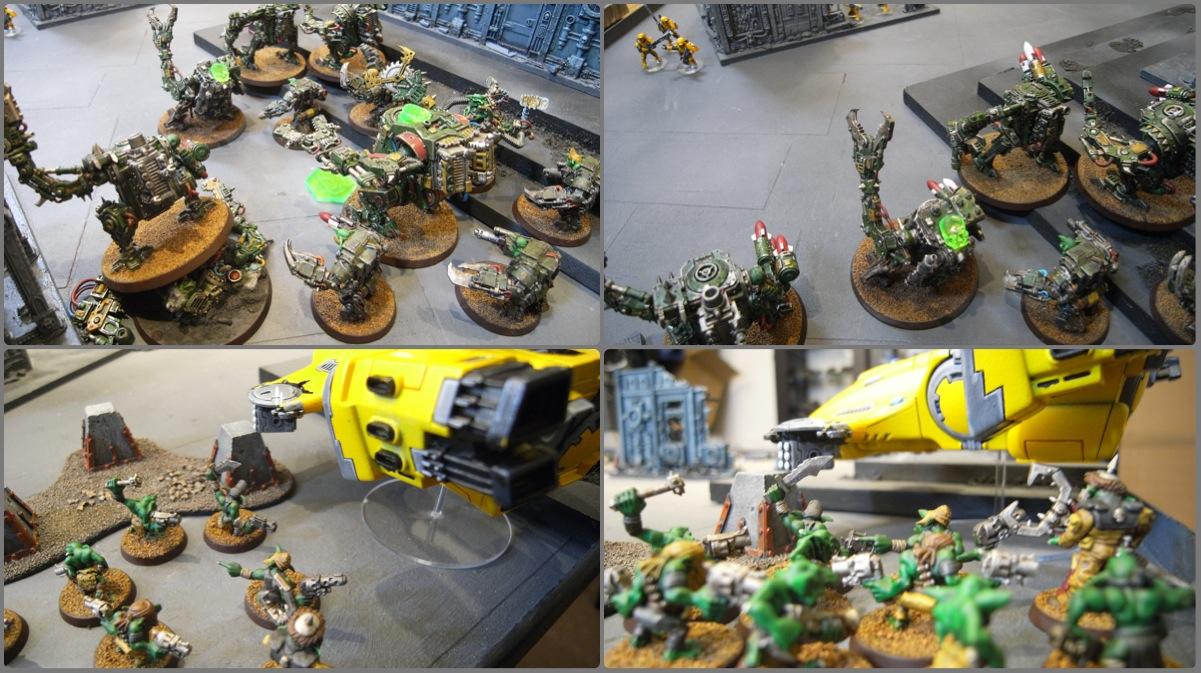
The Grots then did the usual and formed a big line opposite the Fire Warriors, but a detachment of one Dred, one squad of Kans and a squad of Buggies set up with one of the Meks opposite the bunkers.
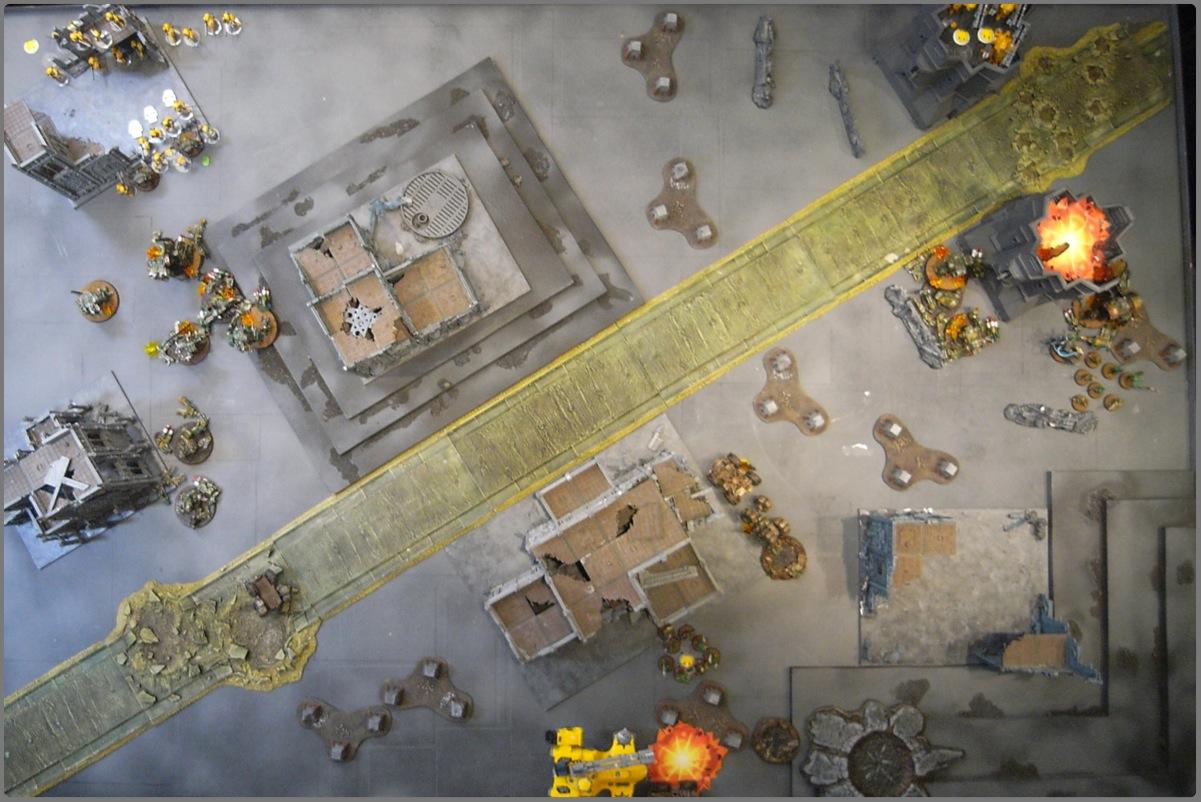
Tau may be a bit too spread out here...!
 Tau Turn 1
Tau open fire! The combination of markers and pulse rifles, supported by the Missile Suits, destroys one squadron of buggies and immobilises the Dred.
Meanwhile the Plasma suits jump forward, run and bounce to try and get to the other side of the table to support the outgunned Stealth team. They don't get that far, though.
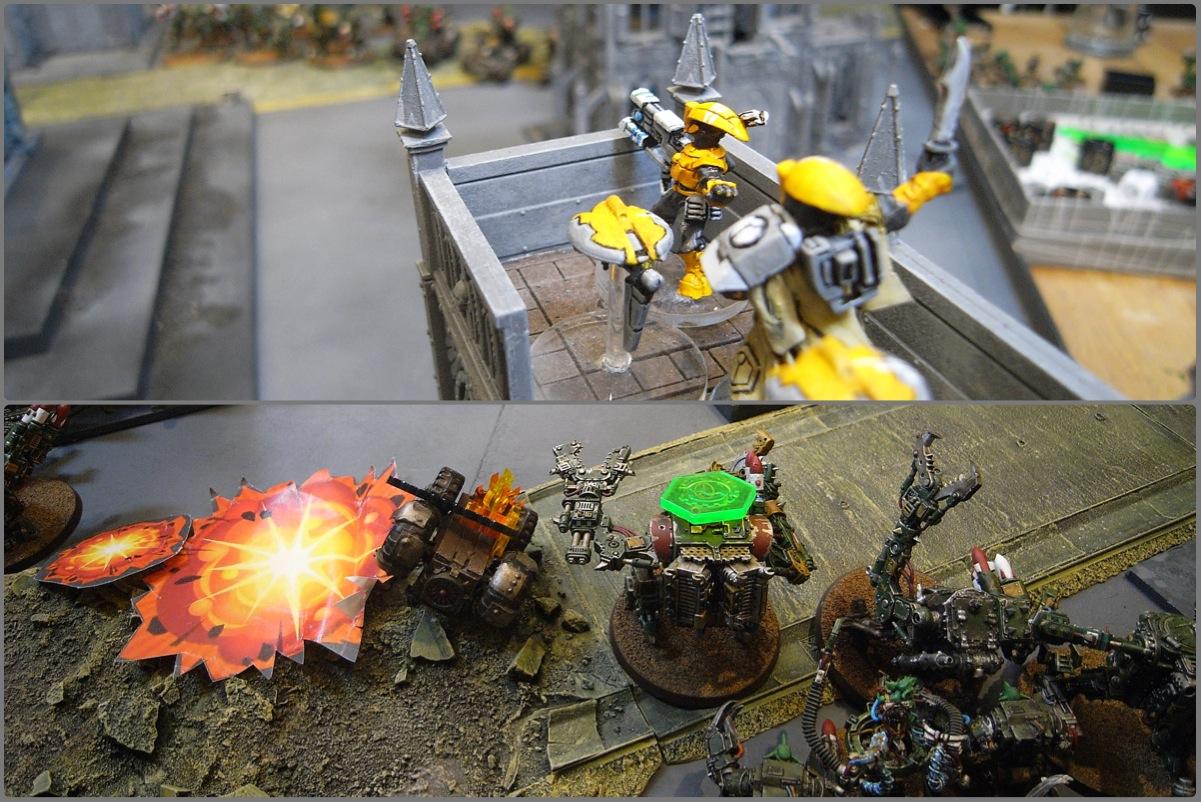
The Stealth team themselves didn't manage to cause ay damage.
 Grot Turn 1
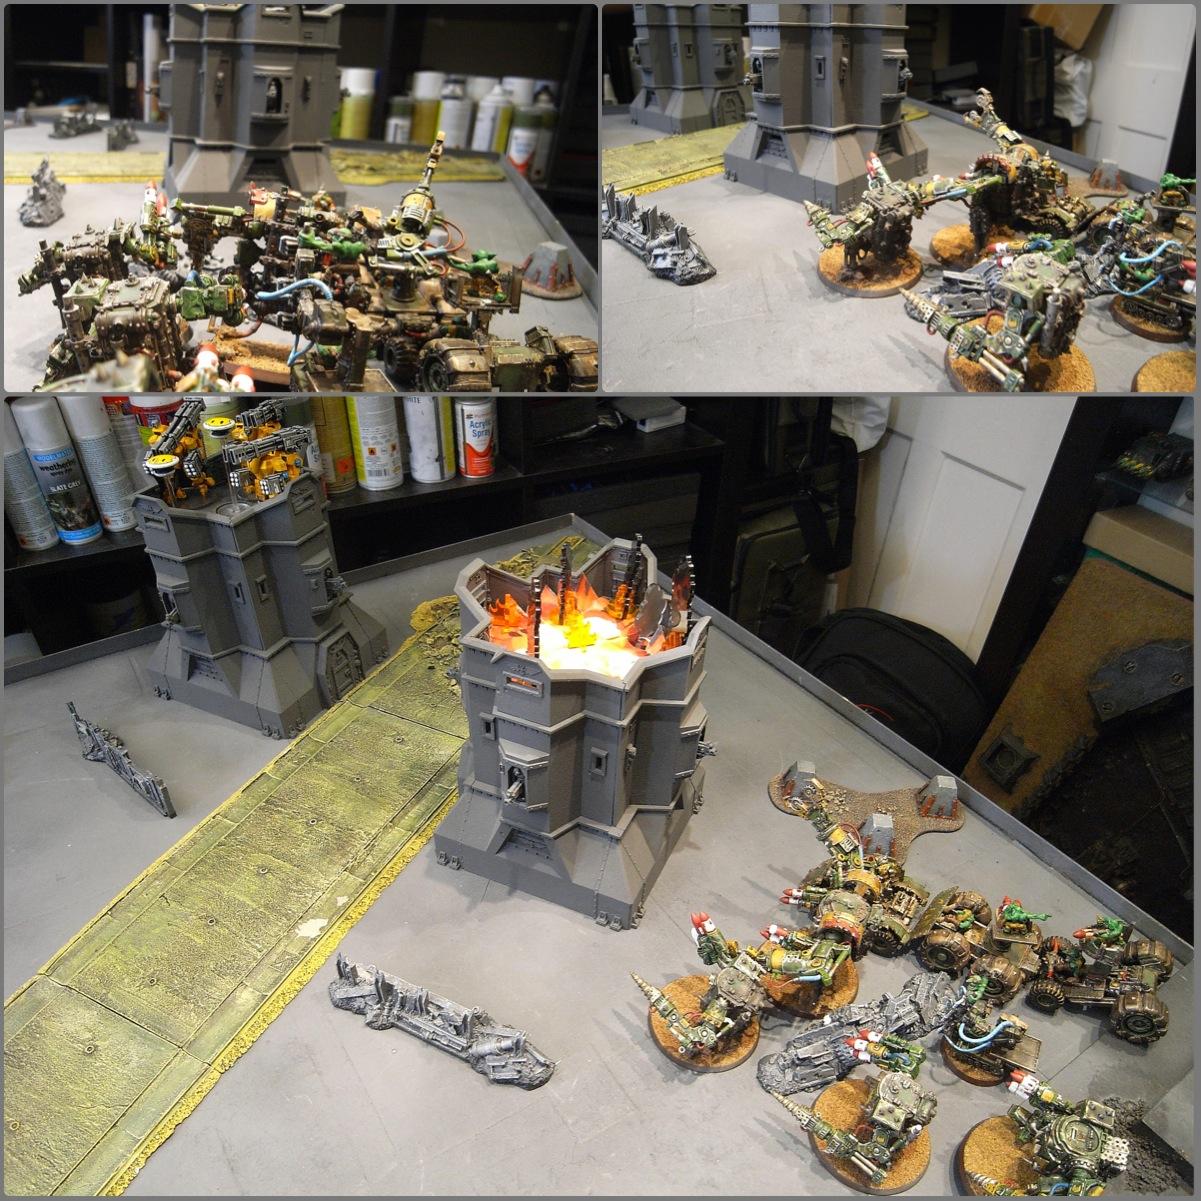
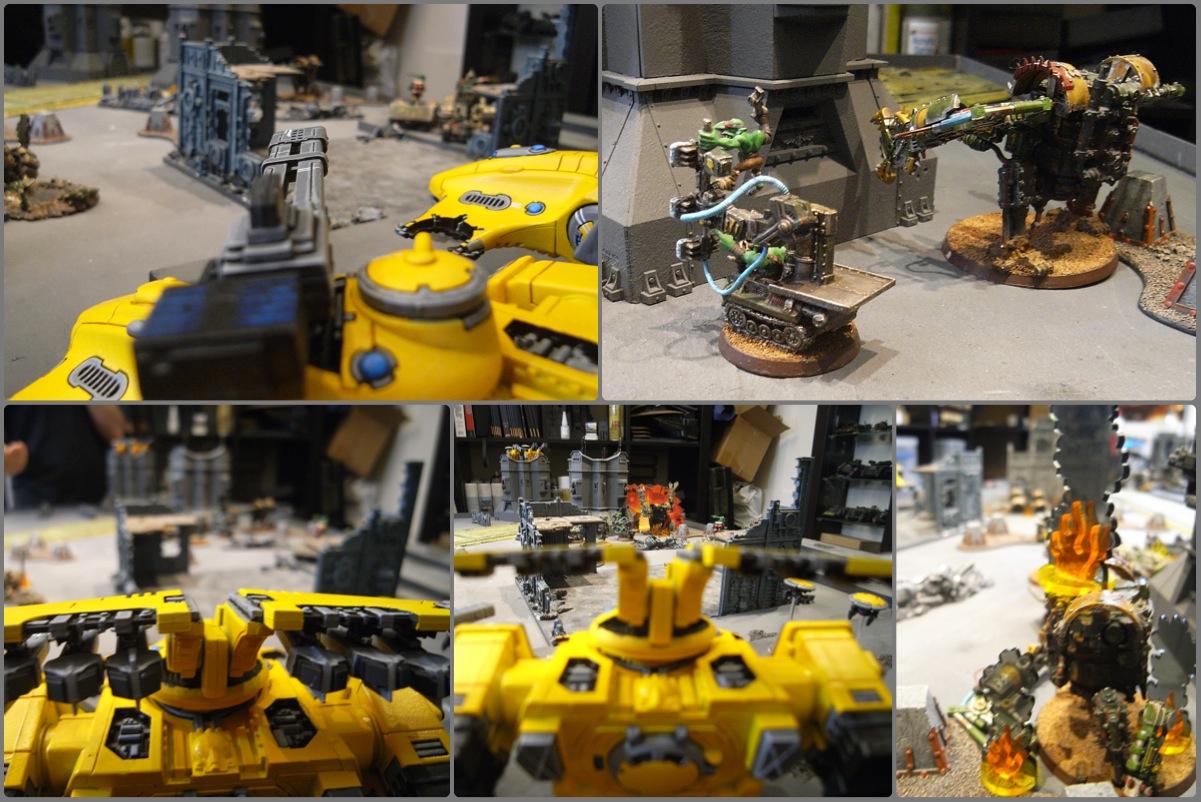
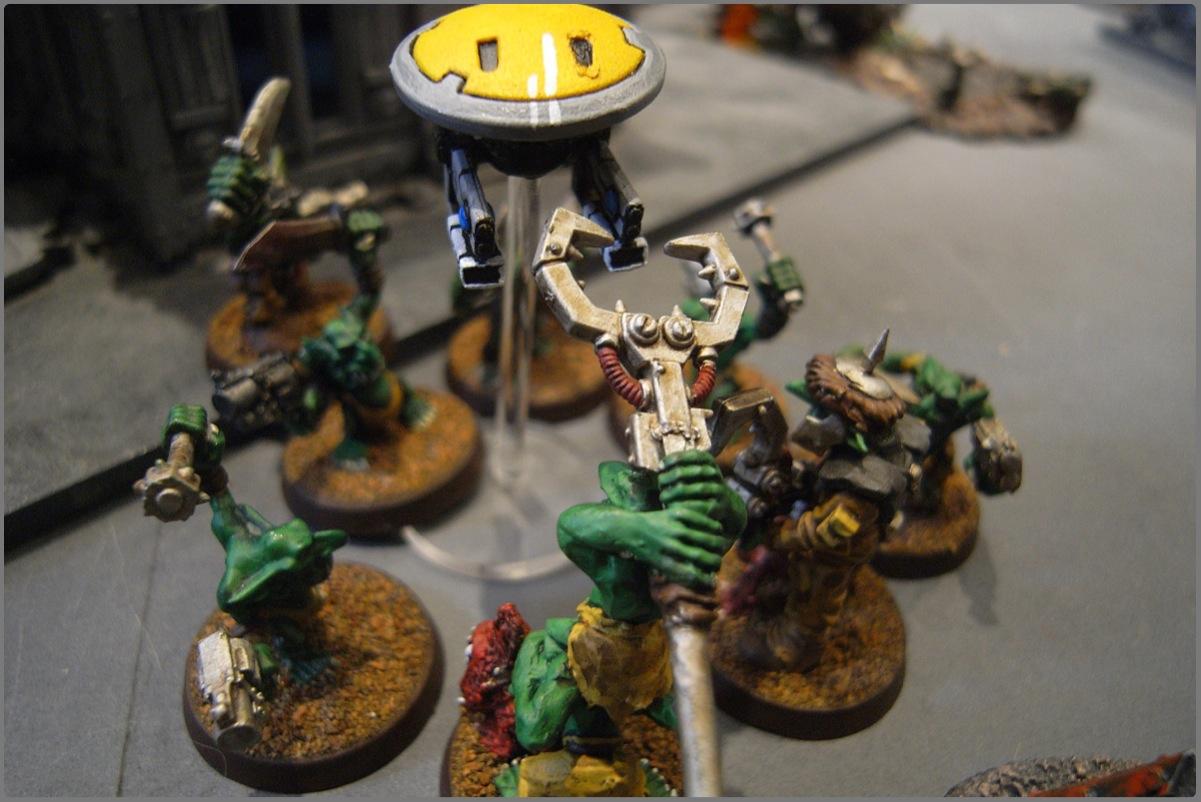
The Grotmek moves up to the immobilised Dred and fixes him - look how happy he is...
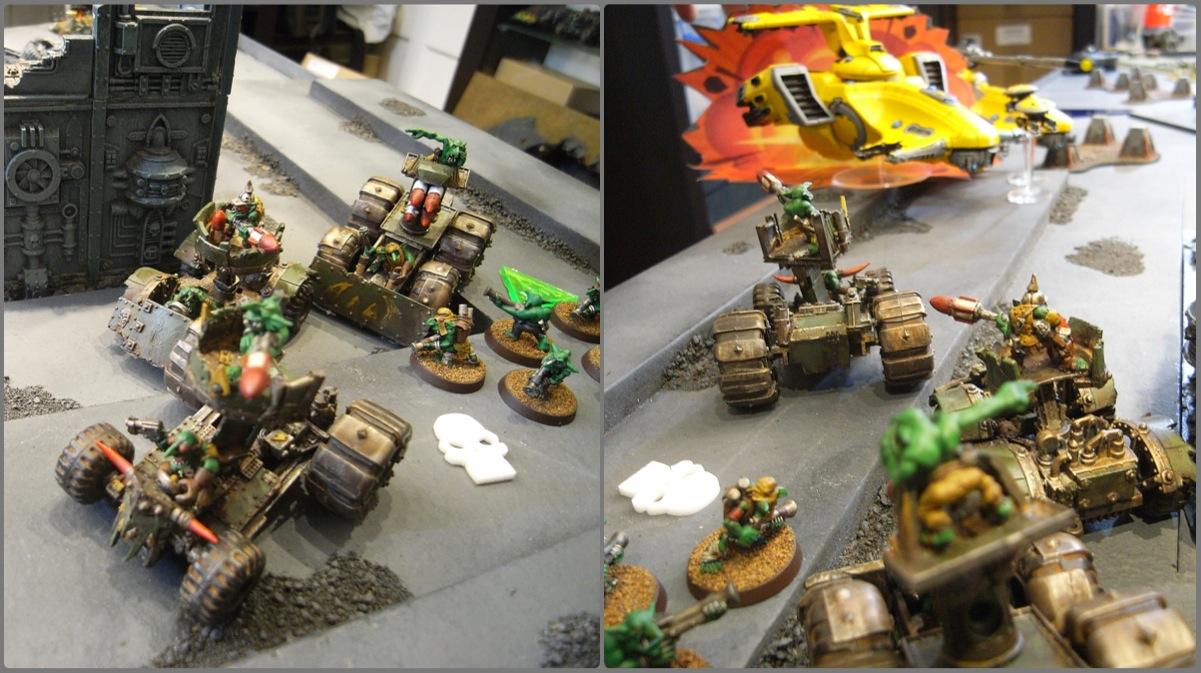
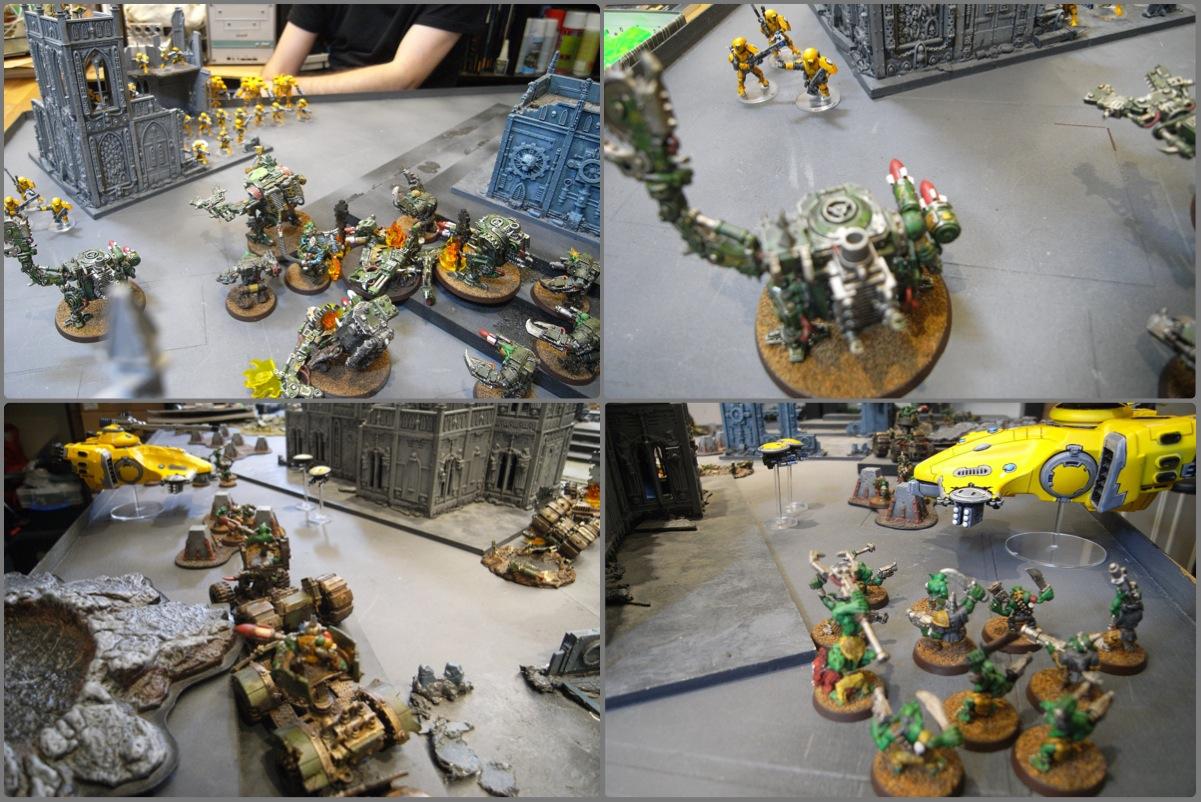
And some buggies and kans swoop down on the exposed Plasma Suits, killing all but one suit, who starts to flee!
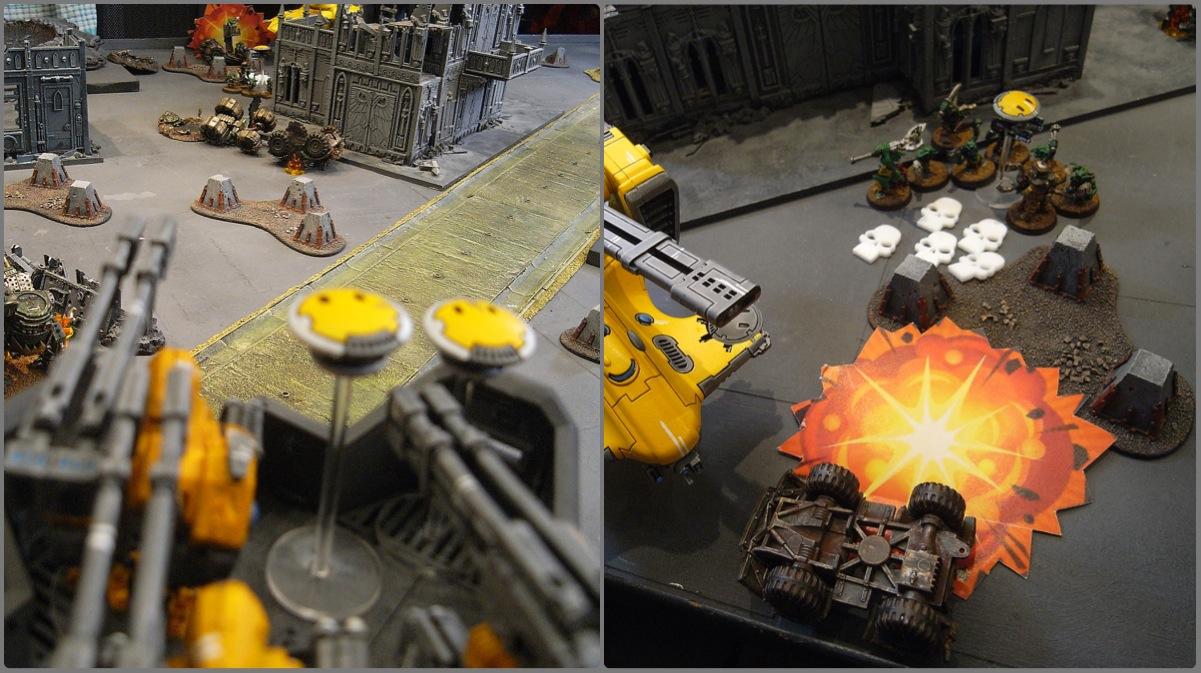
And rokkits from the left flank target the nearest bunker, exploding it and wiping out the Stealth team on the roof!
The Tau are two units short and the grot line has made some progress.
 Tau Turn 2
The lone Crisis suit flees off the board, but the rest of the reserves arrive, the two Tau tanks arriving in the Grot deployment zone.
Massed Tau fire takes out two of the next Kan squad.

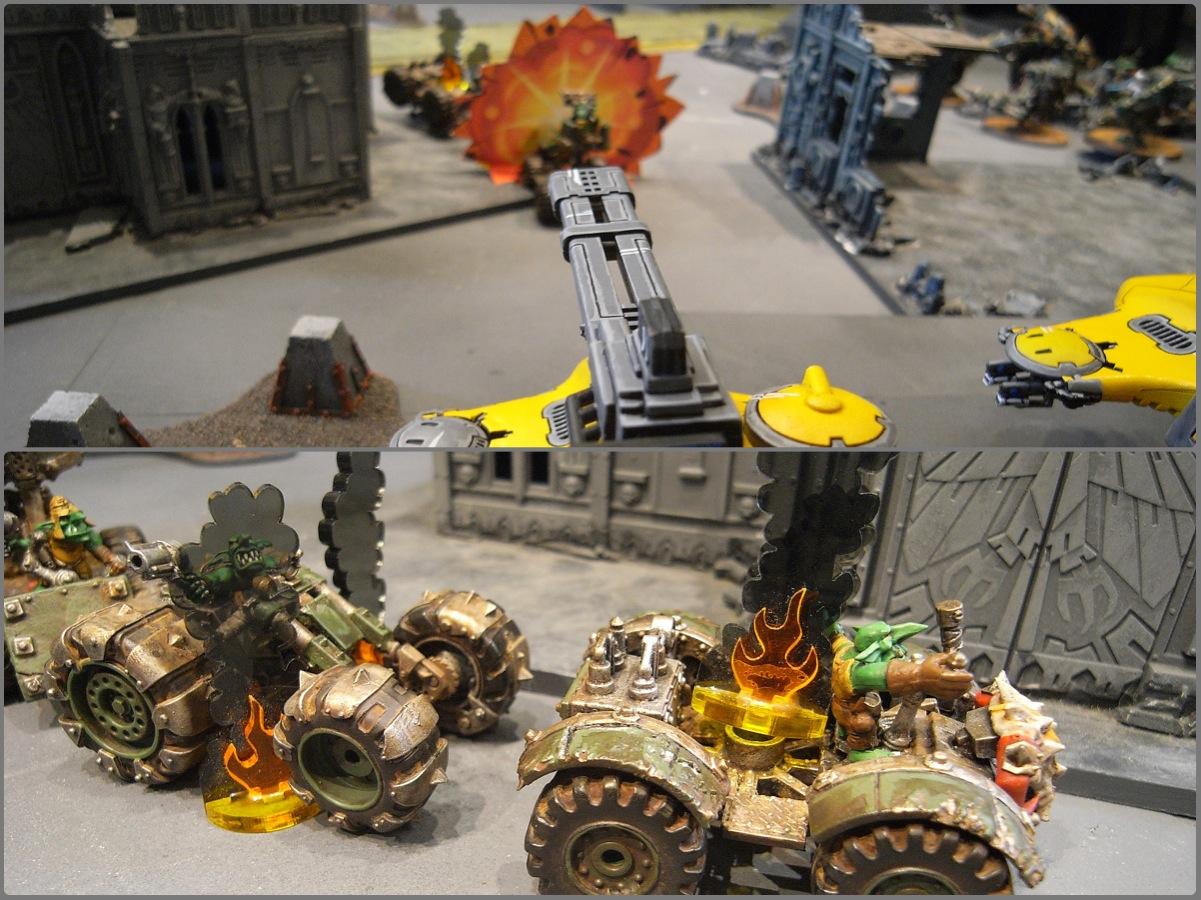
And fire from the tanks kills all three of the buggies that killed the Plasma Suits - revenge!
It's only turn two and it's turning into a bloodbath...
 Grot Turn 2
The main Grot line moves forward and the remaining Buggies turn to attack the Skyray, but it's saved by it's Disruption Pod.
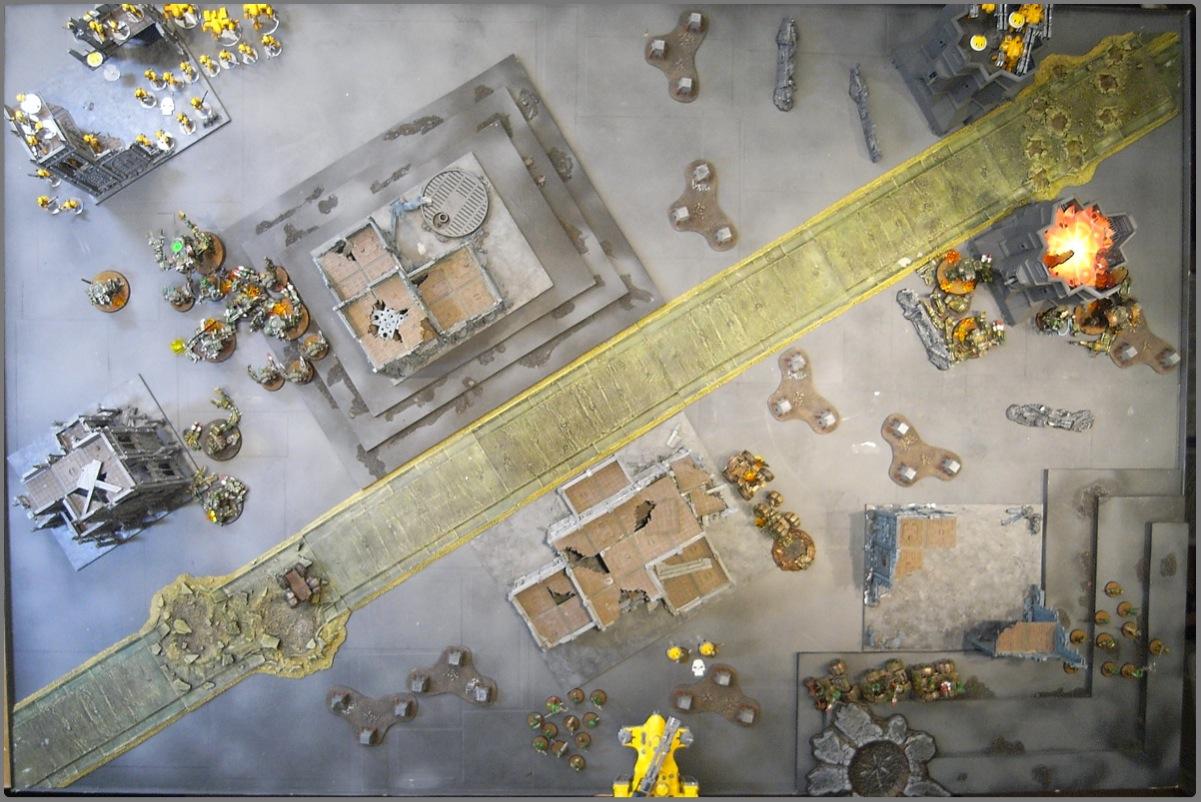
The first squad of Grots arrive from reserve near the Tau tanks, as the Kans and Dred on the flank run forward towards the Broadsides' bunker.
Ooops. Spot the tape measure.
 Tau Turn 3
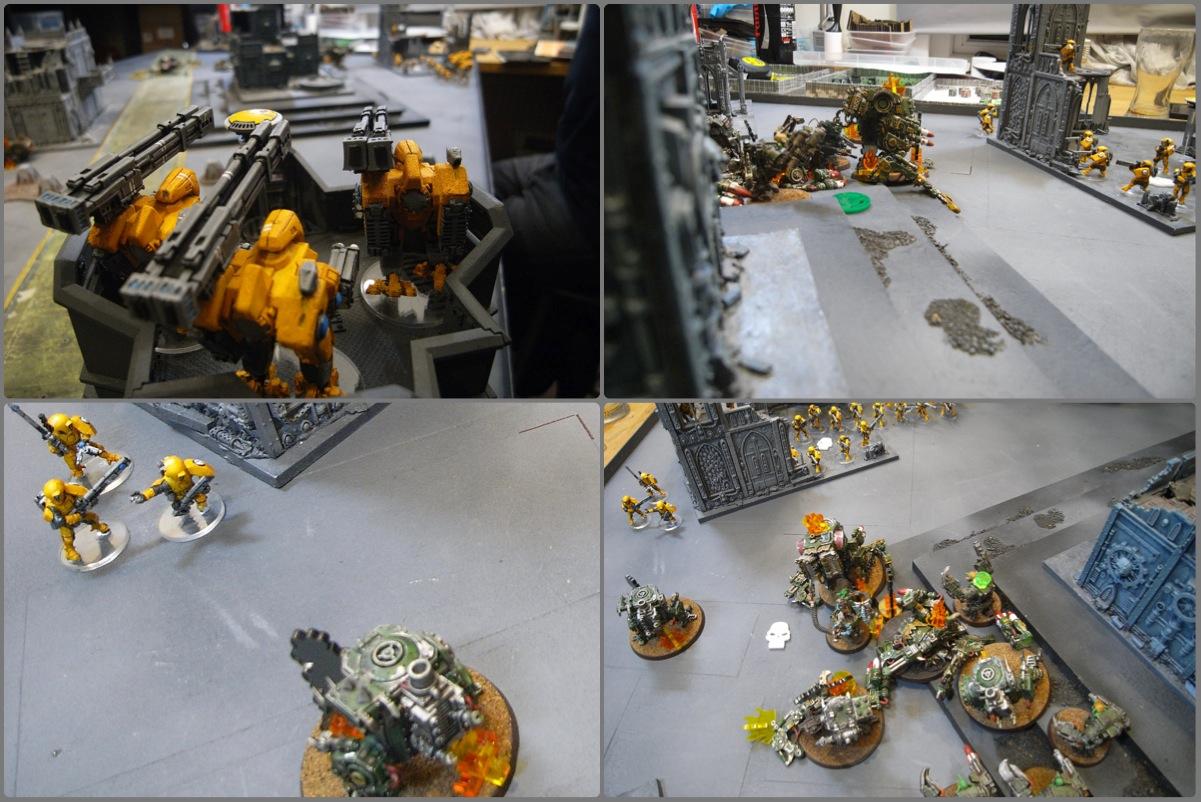
The Drones detach from the Skyray to attack the Grots, but only kill one. It's enough to pin them for a turn, though! The Broadsides then turn on the approaching Kans, wrecking two.
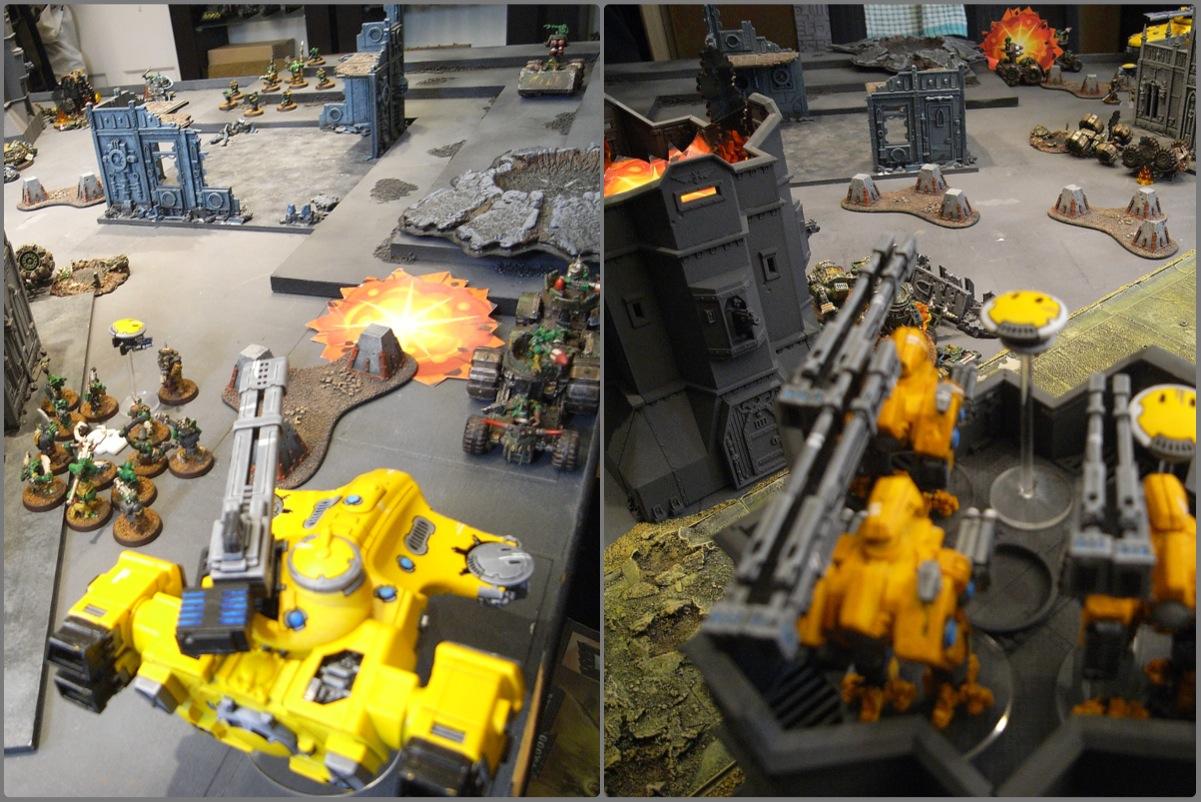
The Hammerhead tries to hit the Dred but fails. It's left to the Skyray to launch EVERYTHING at it, destorying it with a volley of Seeker and Smart missiles...
And the firebase in the corner manage to shake the Dred and knock some hull points off the Kans.
The board amasses the usual ton of wreck markers that pop up whenever the Grots are around...

 Grot Turn 3
The Buggies try again, zooming around the corner and exploding the (now weaponless) Skyray.
While the main grot line pushes on and more Grots arrive from reserve to harass the Hammerhead.
The last remaining Kan on the flank edges forward...
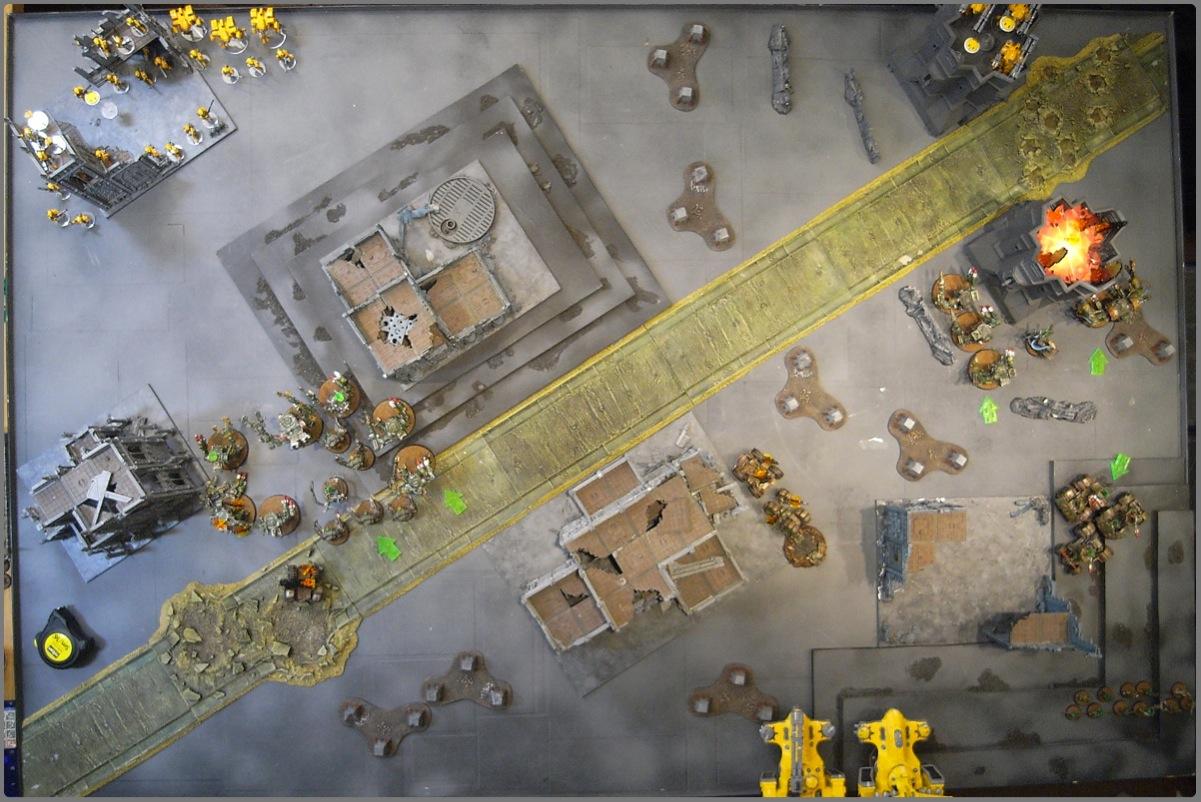
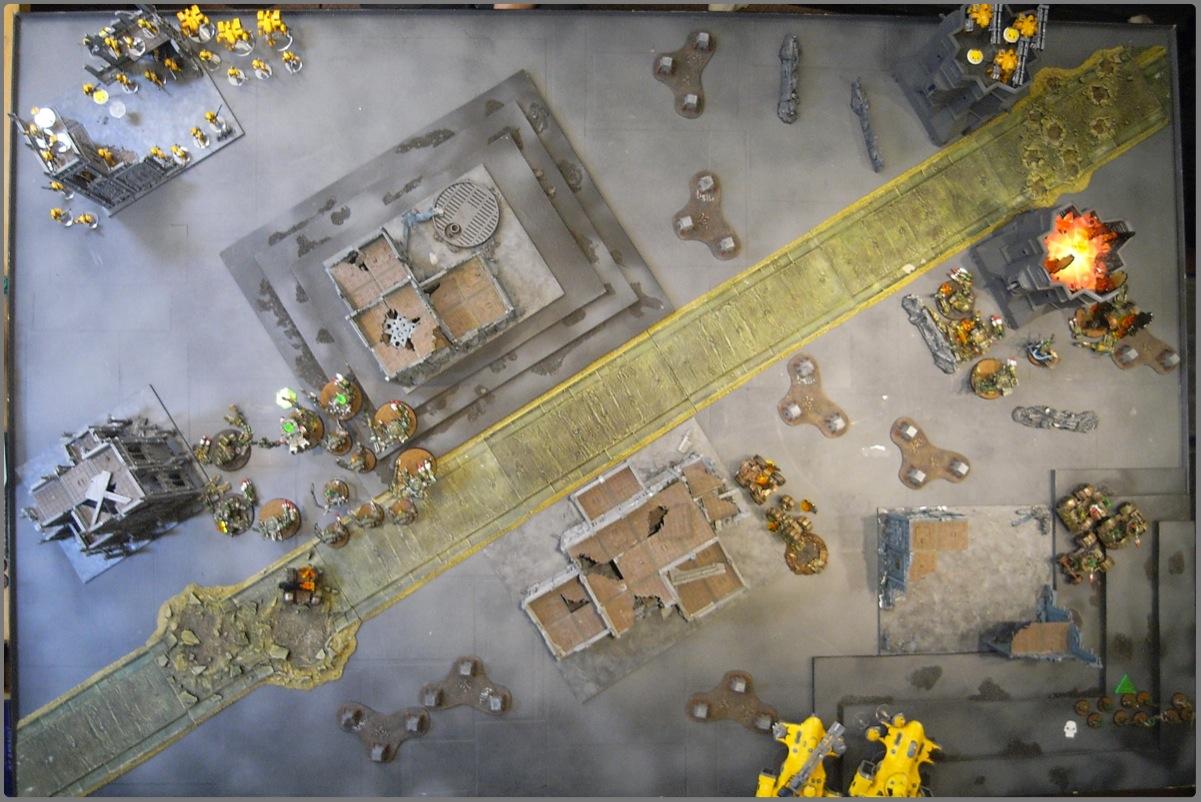
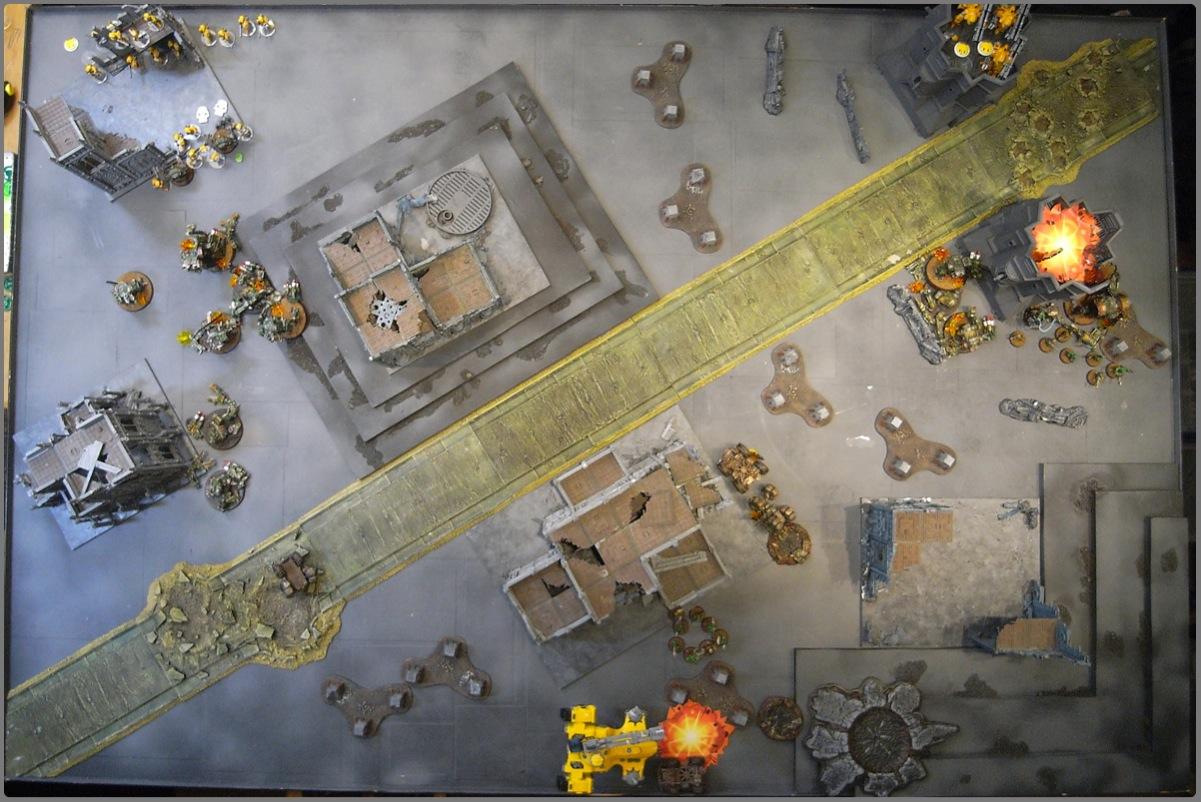
The Kan Wall is finally approaching the Tau firebase
 Tau Turn 4
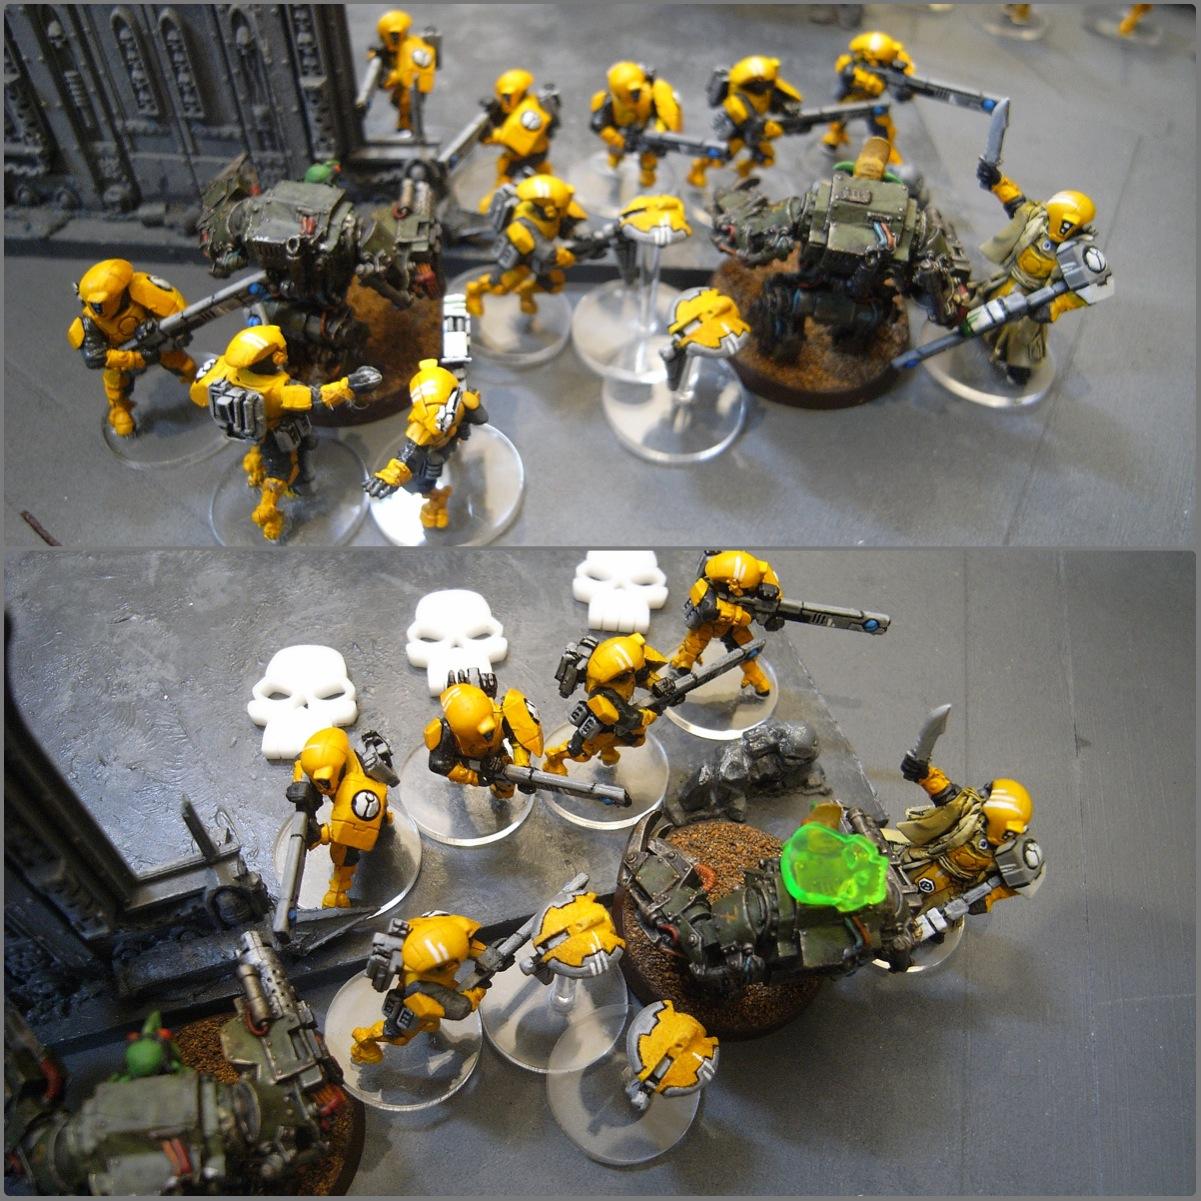
With the Kan Wall finally in range, the Ethereal and Fireblade come into their own, and about a billion pulse shots succeed in destroying a full Kan squad and stunning the Dred.
The Broadsides take out the final Killa Kan on the flank
And the Hammerhead and the Skyray's detached Drones target the newly arrived Grots, killing loads.
The Runtherdz have to use their squigs to keep the remaining Grots from running.
 Grot Turn 4
The final Kan advances on the firebase, as the Buggies attack the Hammerhead, failing to hurt it. More Grots turn up to help.
The Kan and supporting Megagrotz can't make their charge, though. The reduced squad of Grots charge the Gun Drones, but can't hit them - they're probably floating too high.
They'll definitely be in range next turn..
 Tau Turn 5
With the flanking force gone, the Broadsides turn their attention to supporting the firebase, destroying the last Deff Dred. The firebase kill the final Kan and inflict some wounds on the Megagrotz, who prove much more resilient..
And the Drones manage to kill a Grot, but the combat goes on.
Megagrotz up next!
 Grot Turn 5
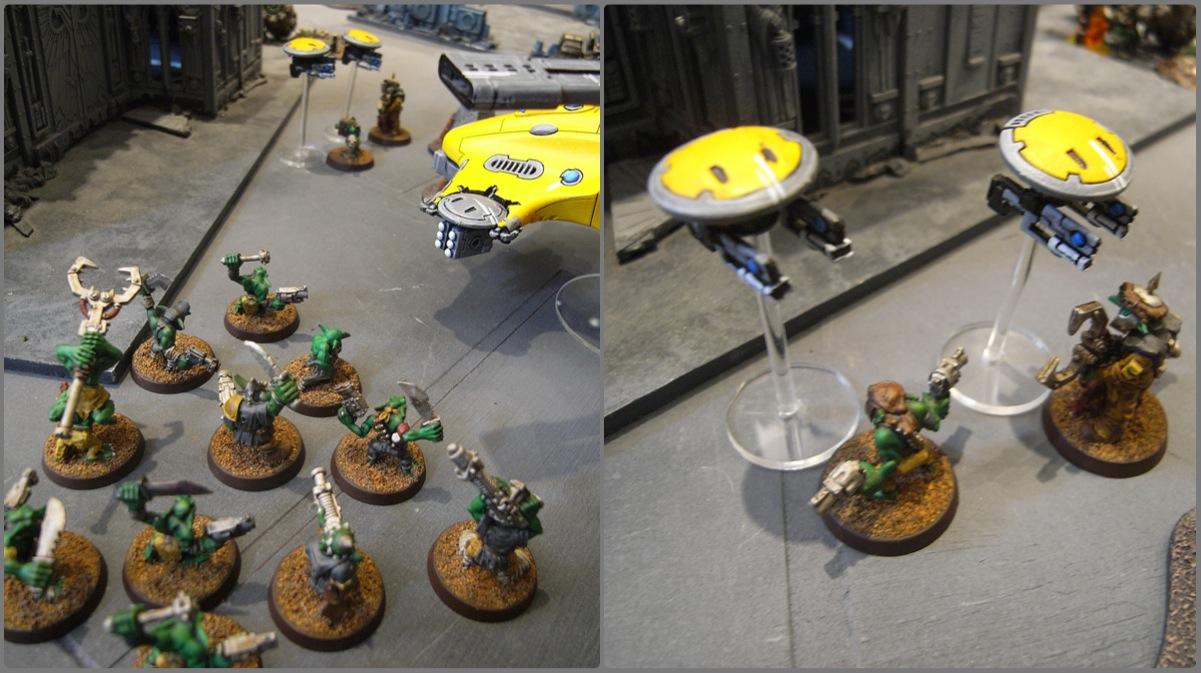
The newly-arrived Grots join in the fight, killing...um...one Drone!
The Buggies get closer to the Hammerhead but still can't kill it.
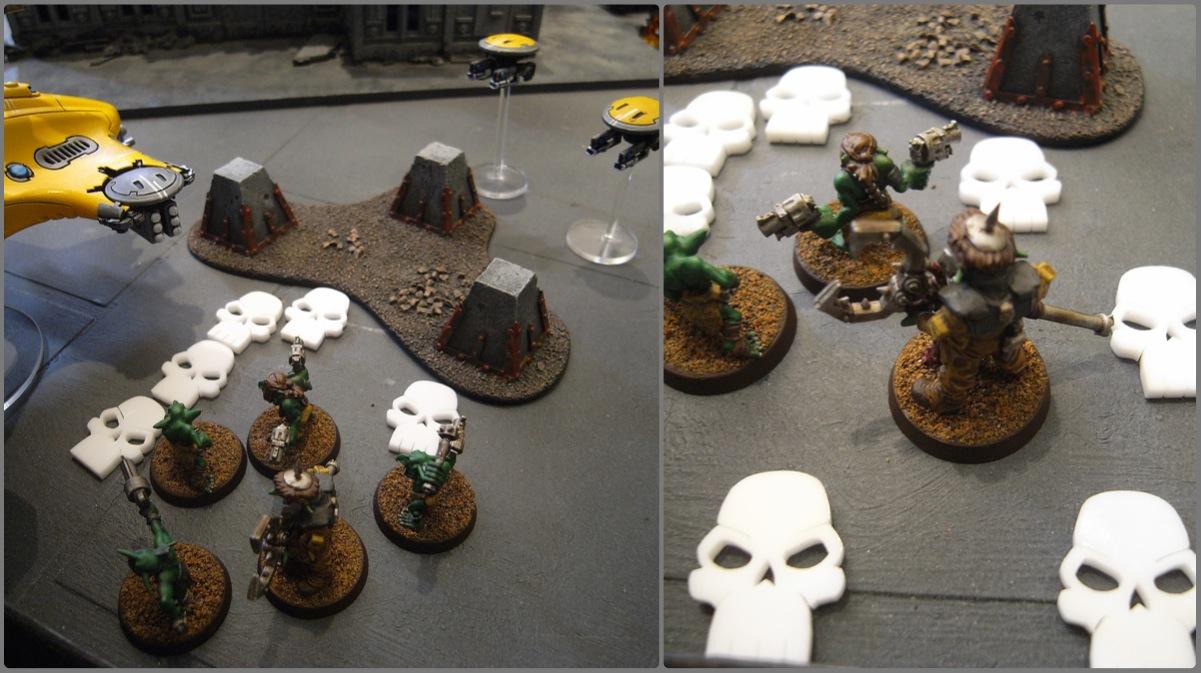
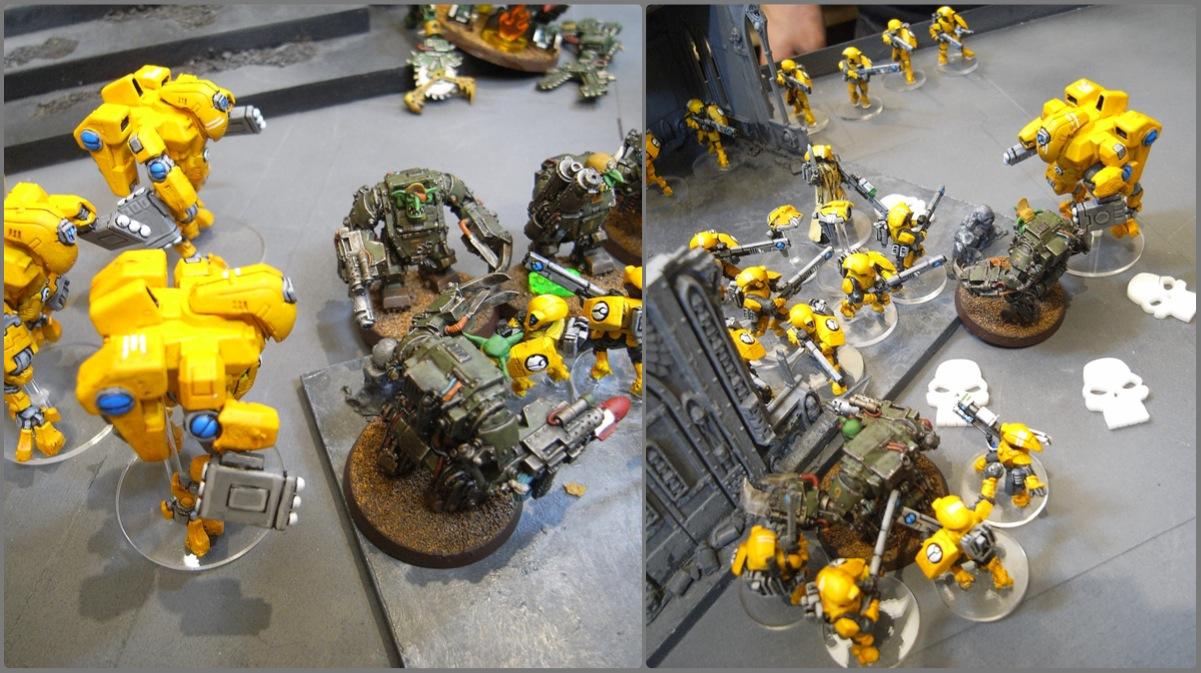
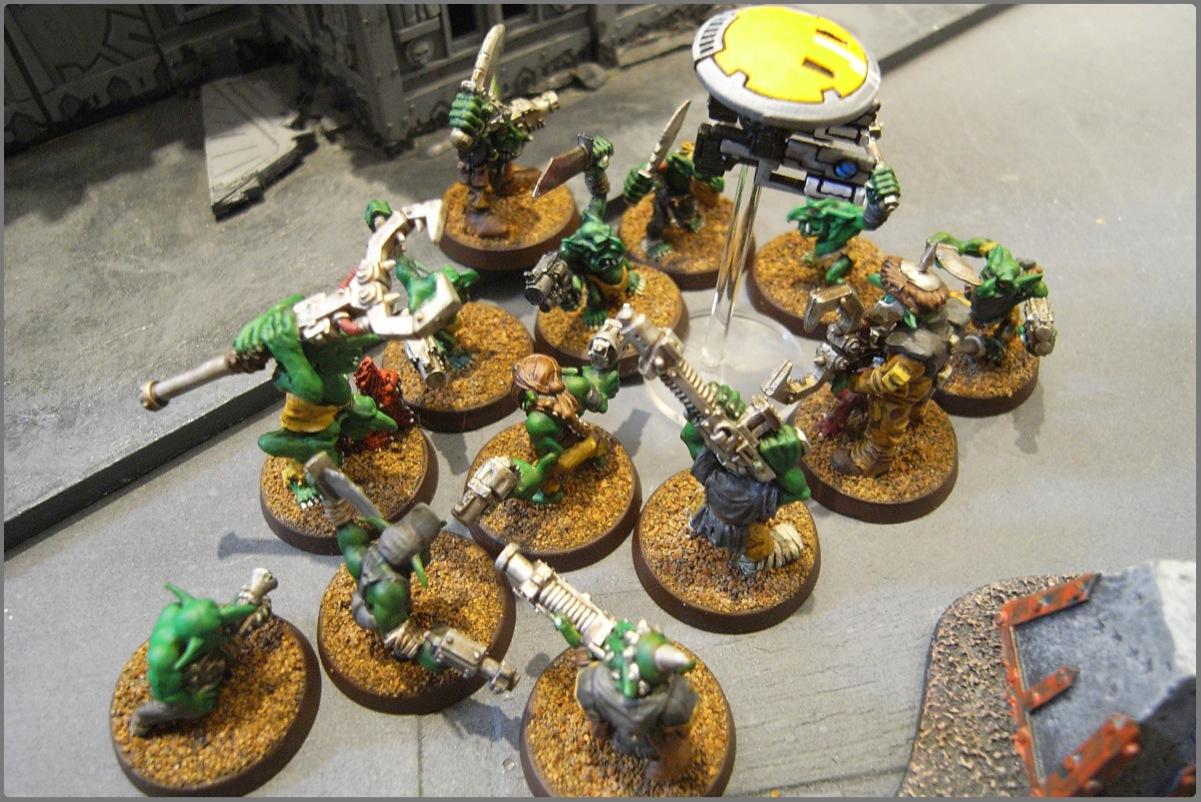
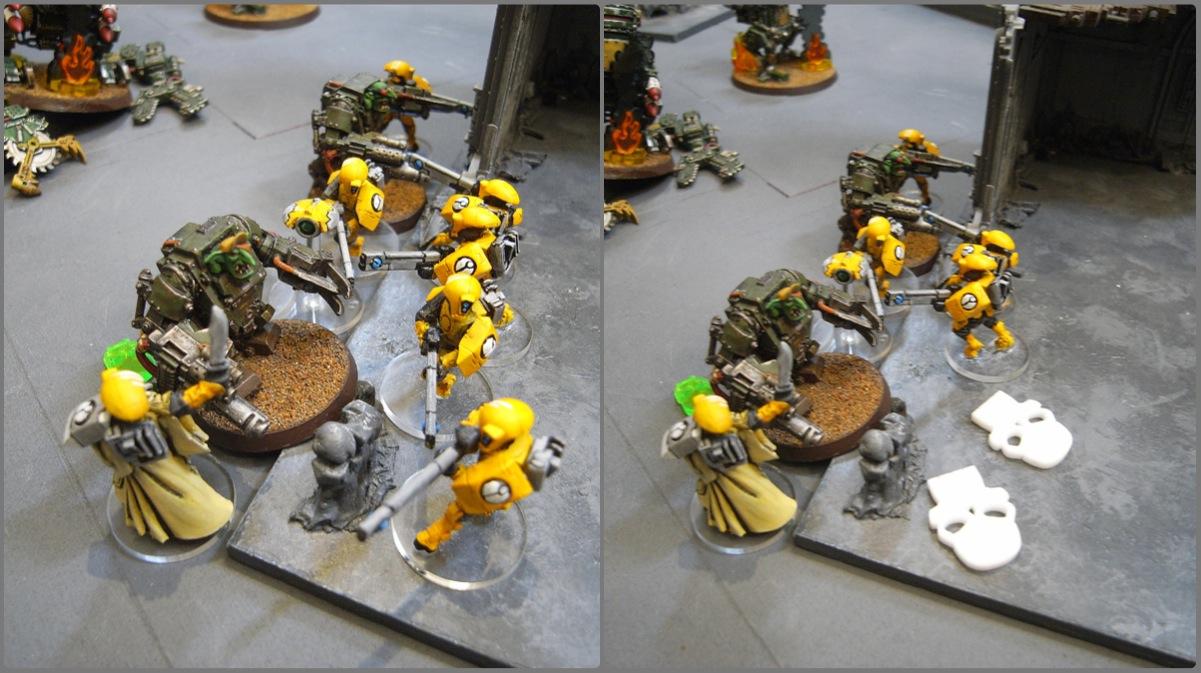
And the Big Mek and Megagrotz launch their assault on the firebase. Unfortunately, the Mek is the first to die from supporting fire!
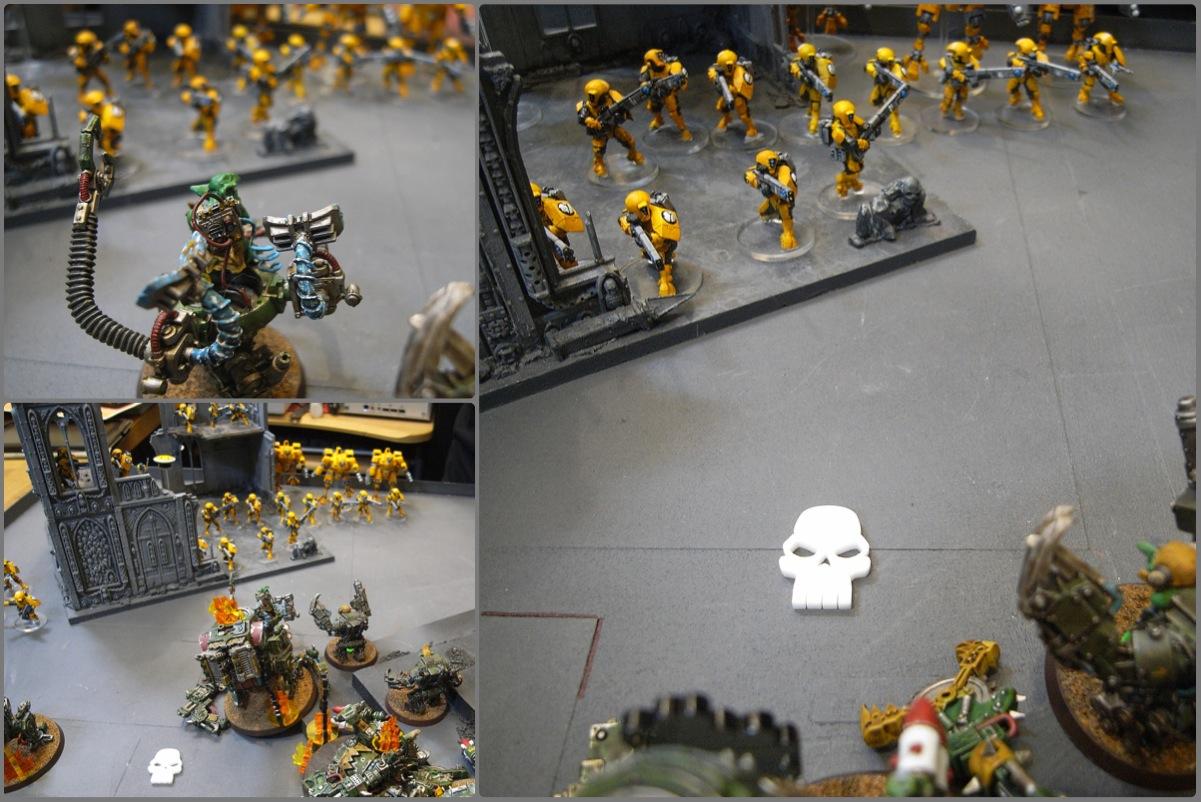
The Megagrotz wade into combat, killing three Tau, and suffering no wounds in return.
 Tau Turn 6
The Hammerhead and Broadsides join forces to explode one Buggy and wreck another.
And the Missile Suits join in the combat with the Fireblade and Fire Warriors. Two Megagrotz are killed, but so are two of the Crisis Suits.
And that pesky Drone still hangs on in combat with the Grots.
The rest of the Fire Warriors move backwards in case things go wrong...
 Grot Turn 6
The Megagrotz kill a few more Tau, proving pretty invulnerable to the Fire Warriors.
The Drone is feelinf pretty invulnerable as well.
 Tau Turn 7
And the Tau take massive losses in their last turn of combat, finally causing one wound.
As the Broadsides take out the final, final Buggy
That Drone is still down there...
 Grot Turn 7
And in the final turn of the game, the Runtherd finally catches the Drone with his grabby stick

And the Megagrotz continue to kill flimsy Fire Warriors.
End of the game!
Grots - 6
VP (5 kill points & Linebreaker)
Tau - 10VP (9 kill points & First Blood)


 1850
1850
 2000
2000
 3000
3000

 8th Grand Company (Iron Warriors 8,000pts): 36-11-2

 Heavy Rain Cadre (Tau 4,000pts): 9-3-0


 3,500 pts (w.i.p.)
 1,500 pts (yardsale!)


 The Righteous, Space Marines (3.5K+)


 Waaagh! Skarshak - Back after being lost in the Warp, an' ready to Krump sum 'eads!