Hey folks! You can find my battle reports for the other games in the
GT here:
Game One: You're reading it!
Game Two
Game Three
Game Four
Game Five
This weekend I made the eight hour drive to San Antonio, TX for the Alamo
GT. I had originally planned on taking my Necron Wraith Wing, but my wife does the painting around here, and she was under the weather for the last two weeks and didn't get a lot of painting done, so we didn't get the Monoliths done. I don't mind going to
RTTs or
FLGS tournaments with unpainted models, but not traveling long distances for a Grand Tournament. Worse...I sent in the wrong Dark Eldar list! I wych cult and my kabal are both labeled "2,000
DE.xls" in different places on my desktop, and I didn't realize until I printed out my lists Friday when I was leaving work that I had sent in my Kabal "Darklight Storm." And what I had sent was a modified version of my usual Darklight Storm that I had never actually used before; I made it to playtest a slight tweak in wargear for units.
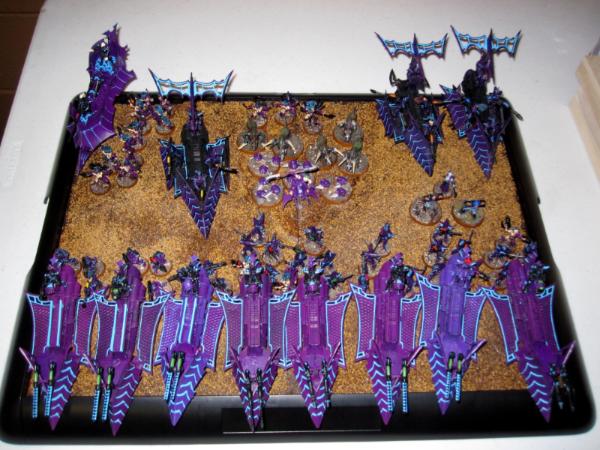
Darklight Storm
HQ: Baron Sathonyx
HQ: Haemonculi with Shattershard, Crucible of Malediction, and Animus Vitae
Troop1: 5x Warriors with 1x Blaster // Venom with Dual Splinter Cannons
Troop2: 5x Warriors with 1x Blaster // Venom with Dual Splinter Cannons
Troop3: 5x Warriors with 1x Blaster // Venom with Dual Splinter Cannons
Troop4: 5x Warriors with 1x Blaster // Venom with Dual Splinter Cannons
Troop5: 5x Warriors with 1x Blaster // Venom with Dual Splinter Cannons
Troop6: 9x Wyches with Haywire Grenades // Raider with Flickerfield and Torment Grenade Launcher
Elite1: 4x Trueborn with 4x Blasters // Venom with Dual Splinter Cannons
Elite2: 4x Trueborn with 4x Blasters // Venom with Dual Splinter Cannons
Elite3: 3x Trueborn with 3x Blasters // Venom with Dual Splinter Cannons
Fast Attack1: 3x Beastmasters, 4x Razorwing Flocks, 5x Khymerae
Heavy Support1: Ravager with 3x Dark Lances and Flickerfield
Heavy Support2: Ravager with 3x Dark Lances and Flickerfield
Heavy Support3: Ravager with 3x Dark Lances and Flickerfield
1,996 points
 List Analysis
-Baron Sathonyx is actually the core of this army for his +1 to go first ability. Dark Eldar are most potent during an alpha-strike, and anything they can do to help get that alpha-strike is worth doing.
-The beast unit itself is a decent unit, but primarily exists to give the Baron a unit to hang with. The Baron is jump infantry, so can't embark on a raider or venom, and I don't want him floating around by himself getting sniped down. It works out rather well since beasts don't have grenades and couldn't use their nifty I6 and I5 if they had to assault through cover. The only decent saves in the unit are the 4++ on the Khymerae, but those are important to save for close combat power weapons. That makes the Baron's +1 cover save a perfect match for beasts! The only downside to the unit combination is their mismatched movement and assault speeds. The Baron can move 12" and assault 6", and the beasts can move 6" and assault 12". They're both fleet, but together they can only move 6" and assault 6". I've found after practice and testing that I can pretty accurately judge when to leave the Baron attached, and when to separate him so that I can get a 12" charge on the beasts.
-Each warrior venom has dual purposes. The venoms are potent anti-infantry, while the unit inside can add its own potent anti-infantry with 8 poison shots rapid-firing at 12" with a STR8 AP2 shot getting a terminator killer shot in there, or serving as a potential anti-tank addition.
-Flickerfields on Everything! Nightshields are pretty useless against almost everything that shoots at tanks, but a 5+ invulnerable save works in both close combat and ranged combat; and theoretically giving me 1/3 more vehicles! Every melta against a ravager that pings off my flickerfield is a little personal victory.
-The wyches in this army primarily exist to make this a
TAC army. Lances don't work against Monoliths or Blessed Hull, so haywire grenades fill the gap against things which I don't have the ability to kill. They're a decent assault unit, but have no Agonizer. My opponents keep being surprised at that fact - but at the end of the day, I don't have 25 points to spare for it.
-The Haemonculi is there to pass a pain token on to the wyches unless the wyches get a

for their drug and start with one - in which case he couldn't pass the pain token over, so he instead starts with a Trueborn unit. Don't ask about the Animus Vitae; it doesn't do anything to help him, and is only there because this wasn't a tested variant of my Darklight Storm.
Game One Opponent: John Green's Dark Eldar
HQ: Asdrubael Vect and the Dias of Destruction
HQ: Lady Malys
Troop1: 8x Wyches (to go with Asdrubael Vect and Lady Malys in the Dias of Destruction
Troop2: 10x Wyches (1 Hekatrix with an Agonizer), 2x Shardnet and Impaler // Raider with Dark Lance
Troop3: 10x Wyches (1 Hekatrix with an Agonizer), 2x Shardnet and Impaler // Raider with Dark Lance
Troop4: 10x Wyches (1 Hekatrix with an Agonizer), 2x Shardnet and Impaler // Raider with Dark Lance
Troop5: 10x Wyches (1 Hekatrix with an Agonizer), 2x Shardnet and Impaler // Raider with Dark Lance
Troop6: 6x Wyches (1 Hekatrix with an Agonizer), 1x Shardnet and Impaler // Raider with Dark Lance
Heavy Support1: Ravager with 3x Dark Lances and Nightshields
Heavy Support2: Ravager with 3x Dark Lances and Nightshields
Heavy Support3: Ravager with 3x Dark Lances and Nightshields
Beachhead:
Your forces have made planetfall on the forest world of Alamo Prime. Your speartip strike force is ordered to seize and control a beachhead for the remainder of your forces to descend from orbit. An enemy force, however, has also decided that the same location would be perfect for their own beachhead. The Battle for Alamo Prime has begun!!!
Objective: Seize Ground (5 objectives)
Deployment: Pitched Battle
Special Rules: Rulebook Default (Reserves, etc.)
Duration: Random Game Length
Secondary Objective:
Your orders are to clear sufficient area for support craft landing. The player who controls
more table quarters achieves this objective. A table quarter is under control if you have a scoring unit in that quarter and your opponent does
not.
Boyz, I think we all just got pormoted." - Davy Crockett on being told Santa Ana would only execute officers
--------------------------------------------------------------------------------------------------------------------------------------------------------------------------------------------------------------------------------------------------------------
We roll off for objectives and John wins the roll, placing three to my two. We take turns setting up objectives, and pretty much end up putting objectives 12" from each other. I think we both want to brawl it out in the middle.
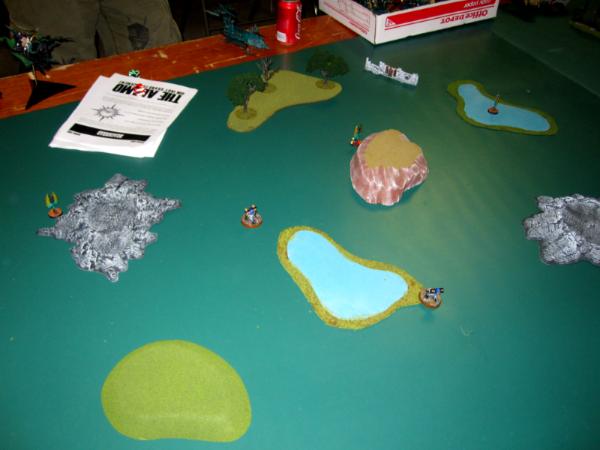
The table is pretty sparse on terrain....but all the tables are pretty sparse on terrain. Someone explained to me that the Alamo is primarily Fantasy, and that the terrain works fine for Fantasy, but not so much for
40k.
We roll for deployment, and I win!
I elect to deploy and go first. Then I pause for a moment to think. Vect can seize on a 4+, and there's not enough terrain on the table for me to hide behind for a safe deployment in case he does seize on me. 50% chance of me deploying to go first and being subjected to a turkey-shoot...50% chance of not....I don't like 50% odds in a fight, so I change my mind and elect to let my opponent choose sides and deploy and go first.
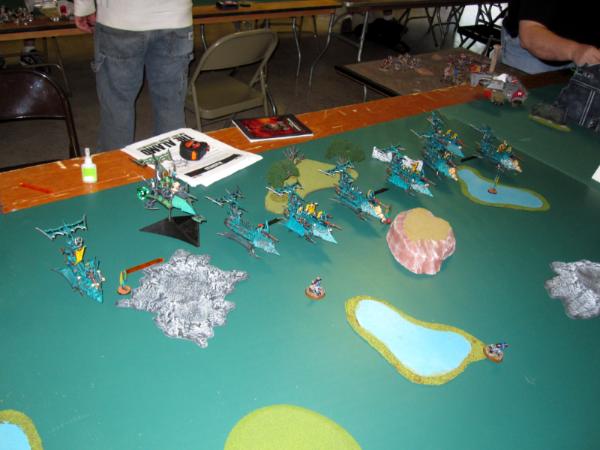
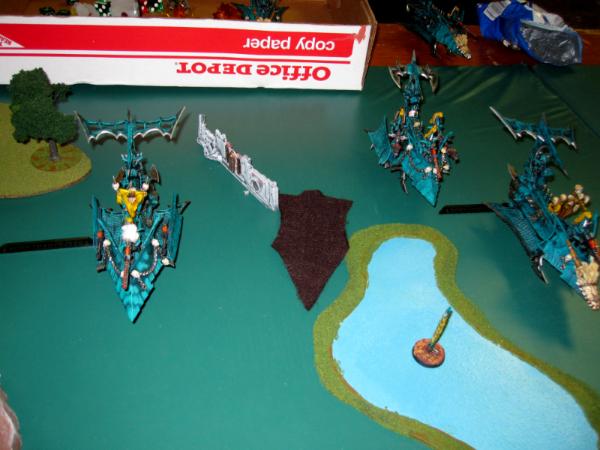
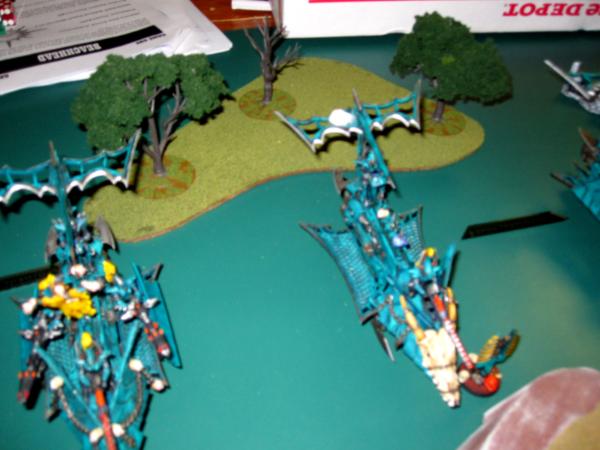
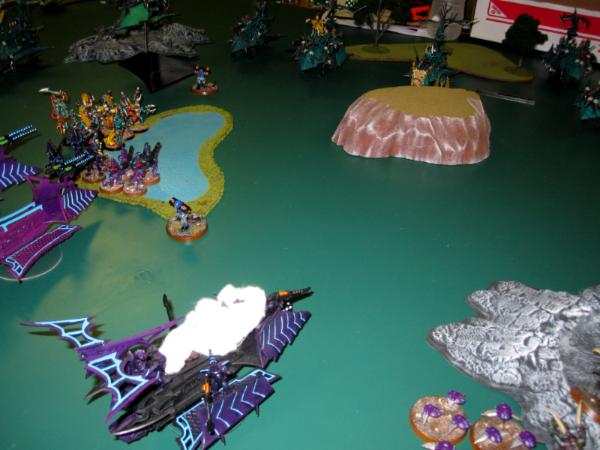
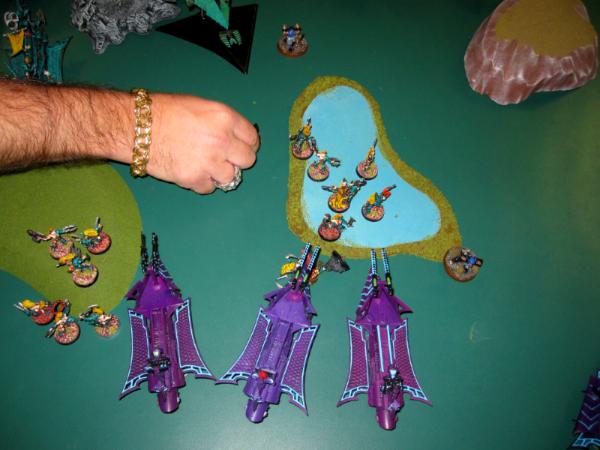
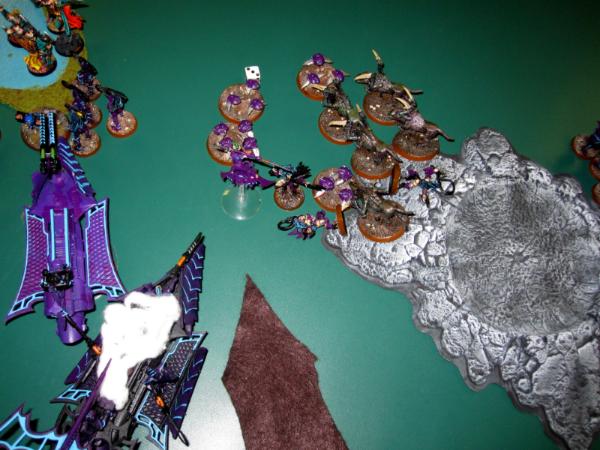
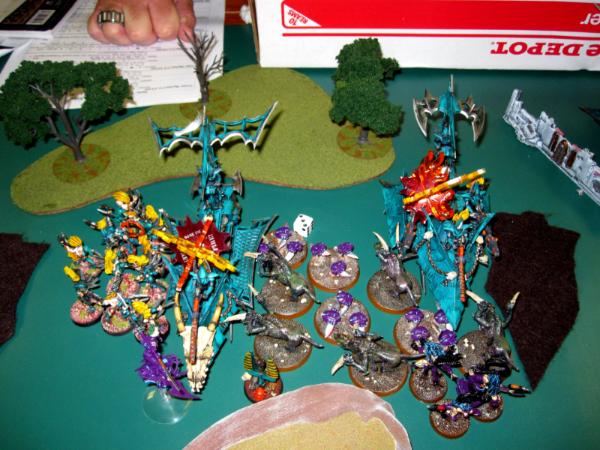
Enemy Deployment: The Dias of Destruction is the raider on the triangular base that is painted green.
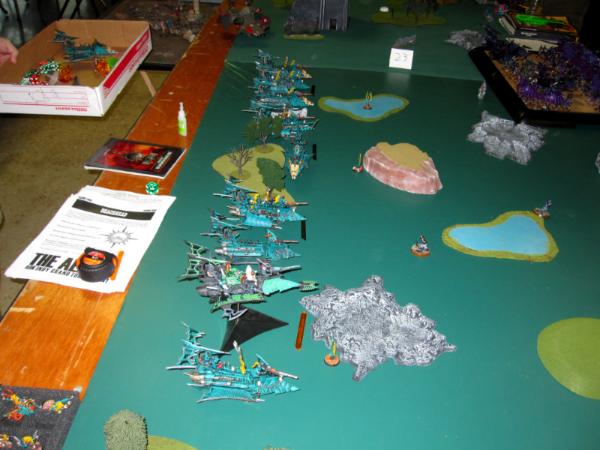
Here's a front shot of his left side deployment:
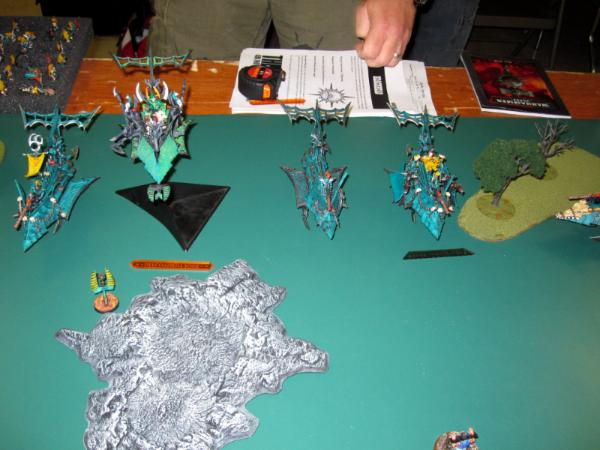
Here's a front shot of his right side deployment:

For my deployment, I choose to go full reserve. My guns shoot as far as his do, I can move on 12" and still lance 36" across the board; I won't get a perfect alpha-strike but I'll get some. We roll for combat drugs! I get a
for an extra pain token! He gets +1 strength.
Enemy Turn One: His vehicles nudge across his deployment line 6" on average and hang tight.
 Dashofpepper Turn One:
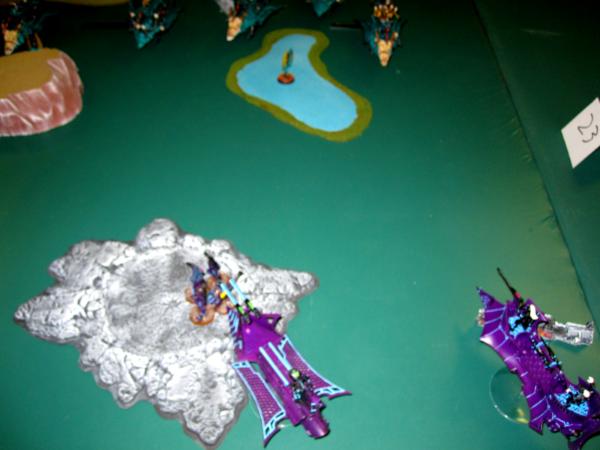
 Baron Sathonyx crept around the board and farted on Asdrubael Vect. Vect was not impressed.
Enemy Turn Two: His army stays static and his gunner's fingers twitch on the trigger guards. In his shoes, I would have moved everything flat out around my deployment zone - far enough away that a 12" move, 2" deployment and 18" range couldn't range my vehicles, and I'd get a 4+ cover save against anything that came out of reserve with the ability to range across the board to me - in this case, the single ravager.
Dashofpepper Turn Two: I roll for reserves and get my wyches! Typically the Haemonculi goes with them, but he's donating
FNP to some trueborn today since the wyches already have it. I get two trueborn units (not the one with the haemy), two warrior venoms, one ravager, and the Baron+Beast unit. I move on.
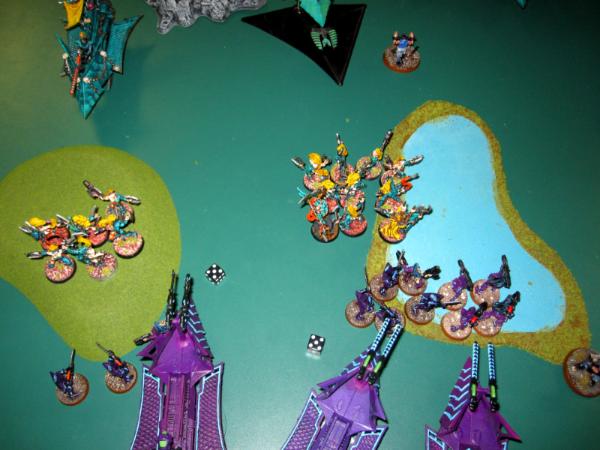
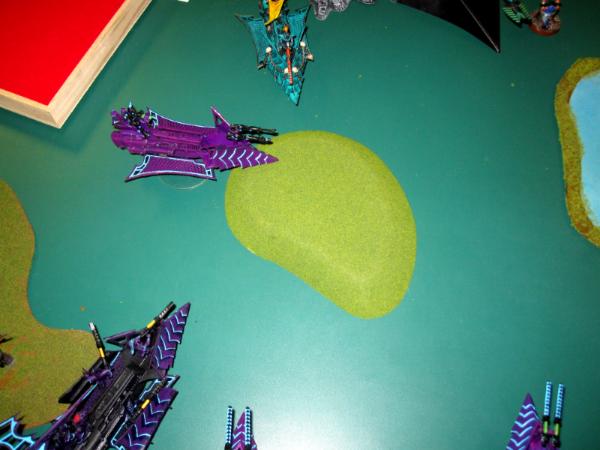
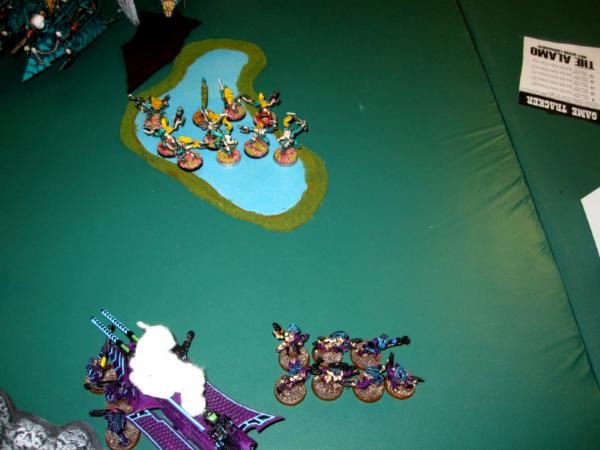
Left side moves: I move my venoms on 12" and disembark. I *really* need to focus on taking down his vehicles; he doesn't have
FNP on his wyches; if I can explode a couple he'll take serious casualties, and his ravagers will hurt me. I don't think that I was thinking clearly - I was focused on getting 18" range with blasters on him...which would mean my disembarked units are in assault range for his wyches if they move up 12"...and only fleet 1".

On the right side of the board, I bring in a trueborn venom and my wych raider. I'm trying to angle in shots at another ravager with the trueborn, and to take advantage of the wych raider's dark lance.
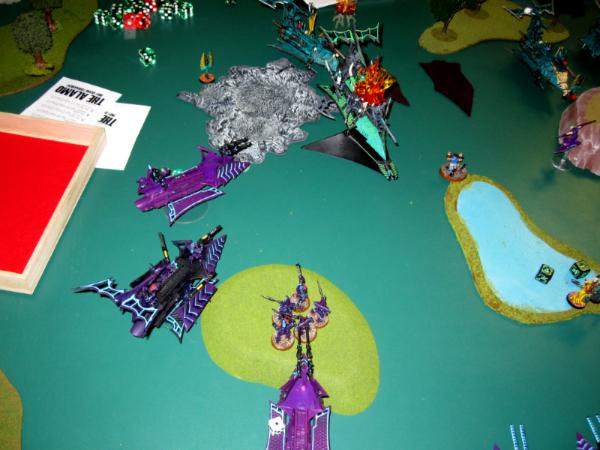
Diagonal shot of my movement.
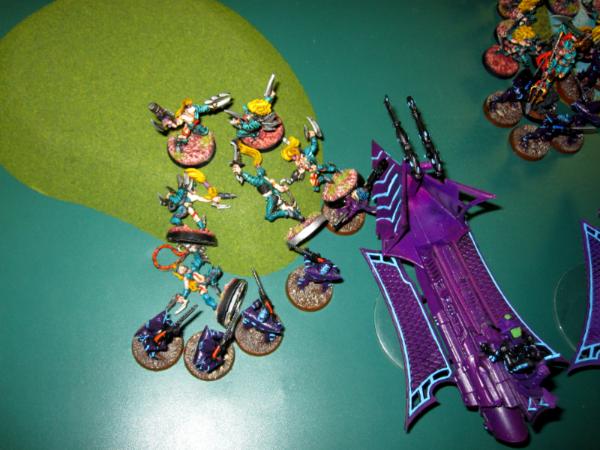
I open fire! My trueborn in the middle were planning on shooting at the ravager, but since I'm out of range because of the Nightshields, they go for the wych raider in front of them and explode it! The wyches that get out fall prey to barraging splinter cannons. My lone ravager strikes out at his ravager and only nets a "Weapon Destroyed" result.
My wych raider takes a pot shot at the wych raider of his sitting on the objective in his deployment zone and immobilizes it.
My warrior blaster on the left can't shoot at the ravager either because of the nightshields, so I take a shot at one of his wych raiders on the left and get another weapon destroyed result. I really would have liked to put some fire on the Dias, but 4+ to glance vs. 2+ to glance with the pitiful firepower I have on the table would not be the best use of resources.
My Turn One ends with an exploded raider, a dead wych unit, two lances gone, and an immobilized raider. Hindsight is 20/20, and I'm racking up mistakes this early on. I should have deployed in a corner and gone for a piece of his army to negate his ability to get wide-spread assaults on me, but I didn't. My target priority was good, but my movement was terrible as was my choice of where to move on in what strength.
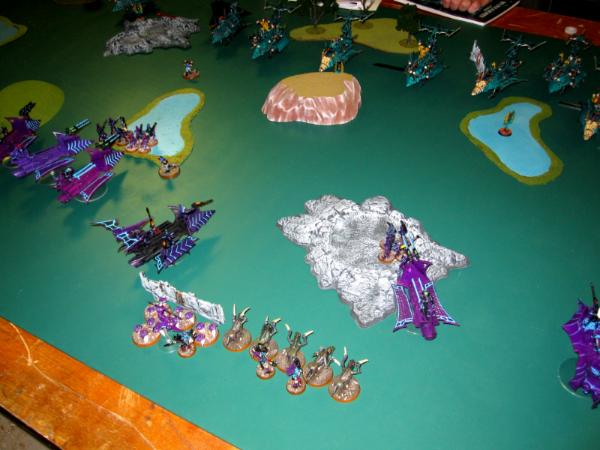
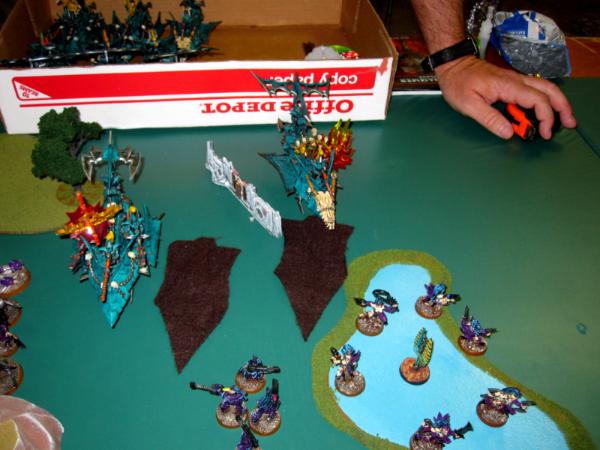
Enemy Turn Three:
As my poor planning was bound to incur, he moves 12" up the board and disembarks half-naked death in the form of a wych raider and the Vect+Malys+Wych combination. They both run up in preparation for assaulting.
The two weapons left on his weapon destroyed ravager open up on my ravager and wreck it.
He gets a 5" run move with both of his wych units.
Some pot shots from his raiders over on the right side of the board immobilize my wych raider. That's right. I brought my wych raider onto the board in the corner, away from all the action.


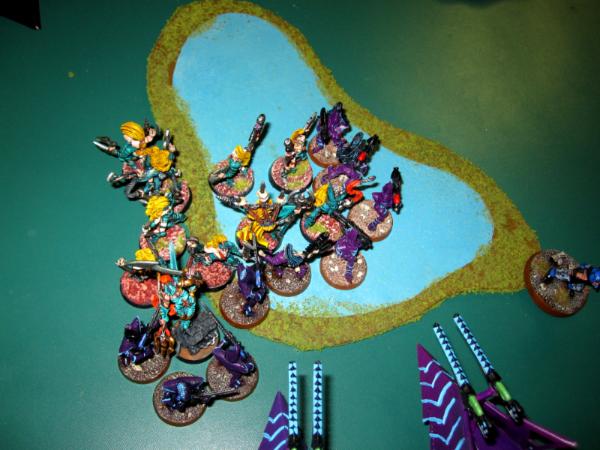
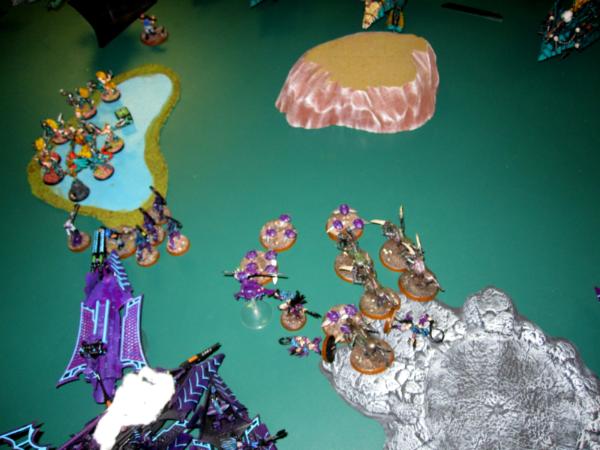
His wyches assault into my warriors on my left:
And in the middle, he multi-assaults my warriors and my trueborn.
A few dice rolls later, I'm down two out of six scoring units, I've lost a trueborn unit and a ravager and 1/3 of my anti-tank capability, and he's got
FnP on both units, and Furious Charge on Vect, Malys, and the wyches.
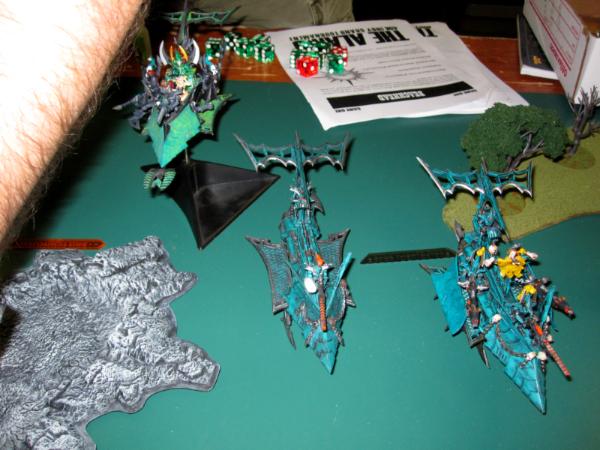
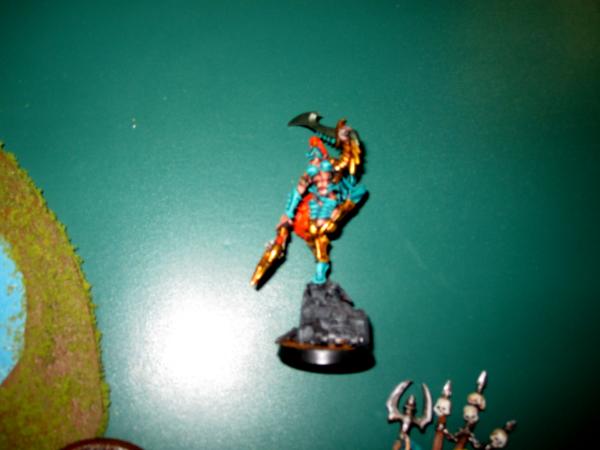
Here's a close up of his Vect; its a 3rd edition Dracon.
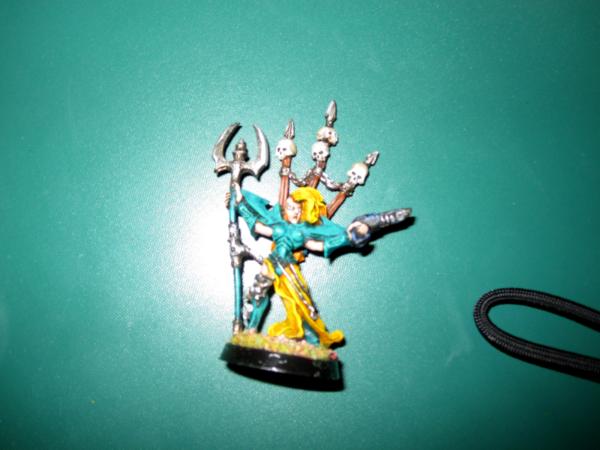
And a slightly blurry shot of his Malys model - Lelith!
 Dashofpepper Turn Three:
I roll for reserves and get my last trueborn unit in! I also get both of my other ravagers and two more troop venoms.
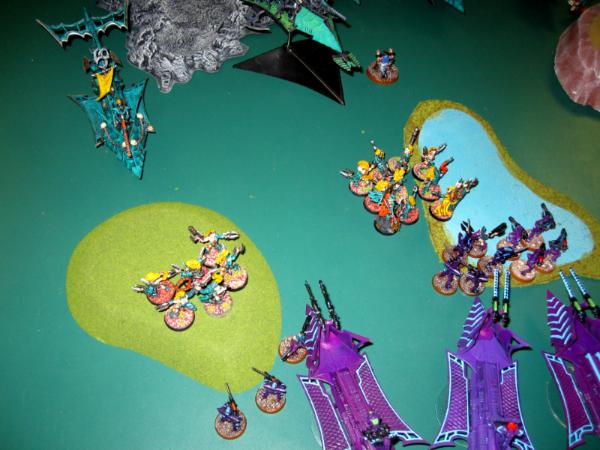
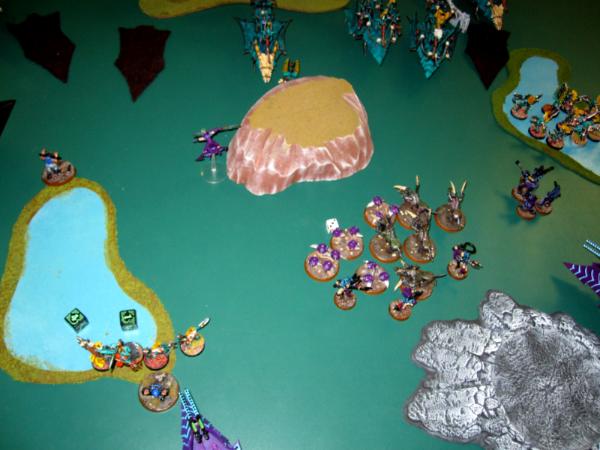
My trueborn come in from reserves, move up and plop down in front of Vect and friends - I'm going to take a shot at the Dias that they came out of - its an extra ravager and equally dangerous. The haemonculi plops down in front of Vect...I'm hoping that my Shattershard can inflict some serious damage.
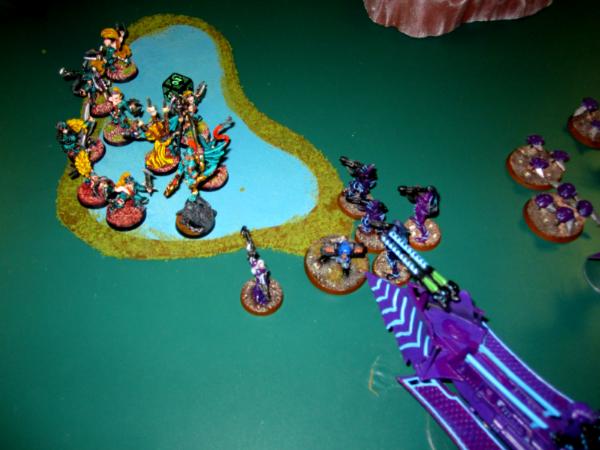
My beasts
2d6 over towards Vect's unit; I'm hoping for a decent run move so that I can get in and assault them.
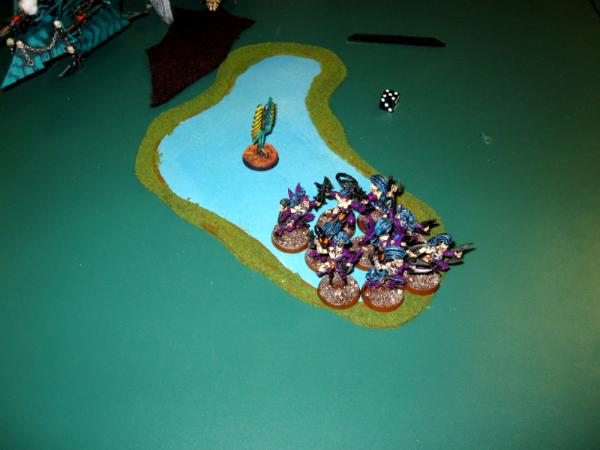
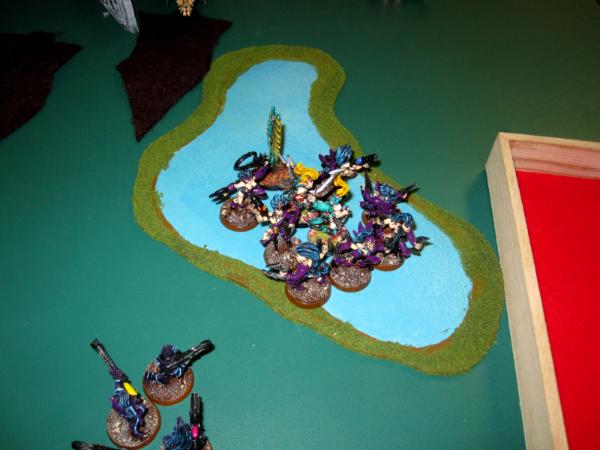
My wyches get out of their immobilized raider, move up 6", then run 5" to get into cover and onto the objective. Their raider shoots down the wych raider in his deployment zone behind the objective.
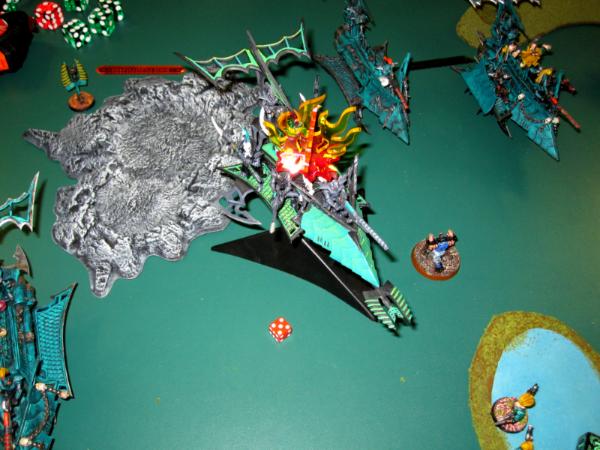
Trueborn open up and take down the Dias of No More Destruction!
The Haemonculi lays down the Shattershard and hits Vect, Malys, and all but two wyches. He starts taking toughness tests - anything 4+ and he loses the model. Vect passes. Malys passes. Agonizer passes. EVERYTHING passes except for two normal wyches. *sigh* Just once I'd like the Shattershard to wtfpwn something uber.

With the horrible shattershard effort, splinter cannons lay down their terrifying fusillade and take out the wyches on the left and most of the wyches in the middle. But I can't touch Vect or Malys, and his agonizer hangs around. Between ravagers, I also explode the last mobile raider full of wyches in his backfield.

The wyches that were just here..gone! Rapid firing warriors from their venoms with some splinter cannons to finish them off get the job done.
My beast unit runs for 3". Damn. My Baron is still attached, and a 3" run won't put me into assault range. From the wreck marker in there, I appear to have lost one of my venoms during his shooting phase in turn three as well. I haven't written any battle reports in almost a year.
 Enemy Turn Four:
He's running out of vehicles, but Vect is still in play in the middle of my deployment zone. Worse, I'm terribly afraid that he's going to come jump on my beasts with Malys and Vect.
His surviving raider on the left moves 12" to the rear and the wyches remaining over there move over and jump on. I'm not sure if you're allowed to move a vehicle first, then move a unit to it and embark...but didn't think it would make much of a difference in the grand scheme of things so let it ride. On the right side of the board, his weapon destroyed ravager stays put and the one that hasn't been hurt moves 6" forward to get clear shots at my vehicles.
On the right side of the board, his wyches move up to my own and assault in. I've got
FnP and he doesn't....but I completely whiff combat and he doesn't. I lose by two, win the initiative check, and run 11".
And in the middle, instead of going for the beasts, he assaults the trueborn and haemonculi with Vect and Malys, picking up another two pain tokens. Between his ravagers, I lost the trueborn venom on the right and a second of my own ravagers.
Dashofpepper Turn Four:
At this point, I've finally got an opportunity to gain the offensive. My beasts didn't make it into assault with Vect and it cost me two more units, but I have enough splinter cannons to go around (and warrior units in venoms) that I feel like I can rapid fire and splinter cannon that unit down. Vect *eventually* has to roll a

and fail his shadowfield, and as I'm eyeballing distances...I'm pretty sure that I can break the Baron off from the beasts, and between him and the beasts assault his immobilized raider in the back, the one that didn't move, and the one that moved 6". Three birds with one stone!
The Baron breaks off and moves 12" towards the immobilized raider while the beasts
2D6 out of cover and get clear. The trueborn from my wrecked venom move up to get clear shots (and within 12") of one of his ravagers.
My wyches also regrouped and consolidated forward 3". I'm glad that I didn't lose them - taking down wyches in cover with splinter cannons is 4+ followed by 4+
FnP instead of just 4+ saves.
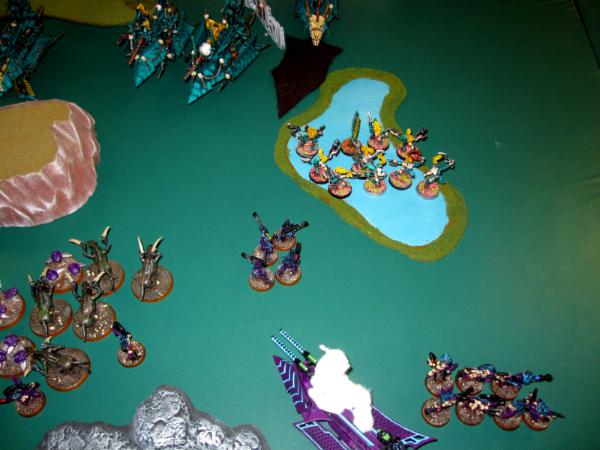
On the left side, my ravager moves up to get a shot at the raider that just picked up the wyches. I've got a weapon destroyed venom moving up into blaster range of that wych raider just in case too. Looks like I suffered a shaken result on a venom in the rear.
I open up! My Ravager immobilizes his wych raider in the rear left. My wyches get a 6" run roll, which will bring them back into assault range of his wyches. He goes to ground with his wyches as I open up with splinter cannons to thin their ranks. In midfield Vect also goes to ground on the objective - he's got one surviving wych in there with him and Malys and he's trying to protect it. The wych and Malys still die after much rapid firing and splinter cannons, and Vect finally fails a shadowfield save. I focus more fire on the wyches on the right though because I'm outnumbered slightly, and because I didn't open the raider in the top left.
My trueborn on the right shoot at the stationary ravager and explode it. I was afraid that if I shot the middle one that moved, I wouldn't be able to pull off a multi-assault with my beasts into his immobilized raider and the other ravager, so decided to play it safe.
My wyches assault into more attractive combat, and win! He passes leadership and we stay locked in.
My beast unit and the Baron separately assault into the stationary raider and the combat speed ravager. I wreck both and his wyches pile out.
 Enemy Turn Five:
He suffered a devastating turn - I took down two ravagers, most of a wych unit, wrecked one of his last two raiders, and took out Malys and pinned Vect (voluntarily). With Vect pinned, he only has two units to move. His last wych raider on the left is immobilized by my shooting, but he's afraid to get out because of the splinter cannons, so he sits tight, and the wyches in the middle multi-assault the Baron and the beasts. While the beasts don't have defensive grenades on their own, him choosing to multi-assault both hit him with the penalty. 20 attacks on the charge instead of 30, Shardnets reducing the Baron's attacks instead of adding attacks to his own...he put 4 wyches into the Baron and the other six into the beast unit - and the beasts ate his wyches. He's needing 4+ to hit and 3+ to wound (+1STR drugs), while my khymerae are needing 4+ to hit and 3+ to wound as well with 15 attacks...and another 20 from the razorwings needing 4+/4+.
On the right, my wyches finished off his wyches and spread out around the objective to deny him the ability to poke his nose within 3" of the objective. That wrecked raider back there didn't get wrecked until my turn five, so I was just trying to prevent it from happening.
 Dashofpepper Turn Five:
My warrior venom on the left moves up to the objective and the warriors jump out. Several Dark lances from a ravager, and much splinter fire later, the raider and wyches are dead, while my surviving trueborn unit on the right kill the last empty raider on the table to finish the game.
Final Score: 20/20 points (16 primary, 4 for secondary)
Post-Game Analysis:
We both made some mistakes. I don't like to reserve, but seizing on a 4+ is too risky to chance, so I figured it was worth it to deny him the ability to alpha-strike me on a seize. I moved on poorly and presented ample and diverse targets for him to fire at. I stuck my wyches in a corner when I really should have brought them out center-field, and I should have moved in on one flank. By the same token, my opponent was apparently unfamiliar with the "Aerial Assault" rule that lets ravagers fire all three weapons while moving at cruising speed, which is why he was only moving them 6" per turn.
Out of the five Dark Eldar players in attendance, four of us got paired up against each other in the first round...which we all thought was interesting.

Stay tuned for Round Two! Hopefully I'll have it up tomorrow.


 5000+ pts.


 5K Points of Grey Knights and Red Hunters