@LoneLictor: Thanks - always glad to provide useful information.
@bigfish: Don't worry - I feel the same way sometimes

Hopefully this post meets with your expectations...
@SelvaggioSaky: You should always try more stuff with plasticard. If I can help encourage that, then so be it!
@tough n' orky: Thanks as well.
Arakasi presents: Da Dark Angelz "Welcome To Thunderdome" Edition
So, as you may (or may not) be aware, DakkaDakka recently ran a new painting competition:
Dakka Painting Challenge: Welcome to Thunderdome!. I was lucky enough to place 2nd in both the
public voting and final judging with my entry:
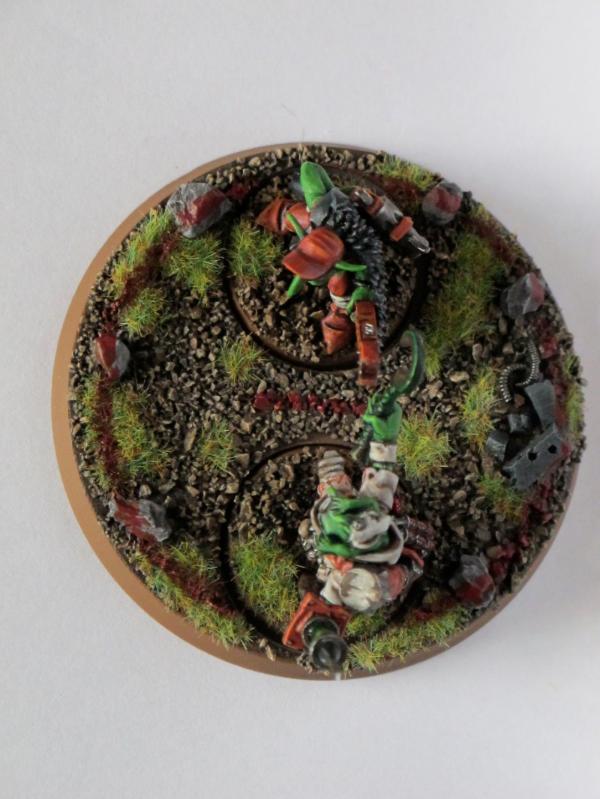
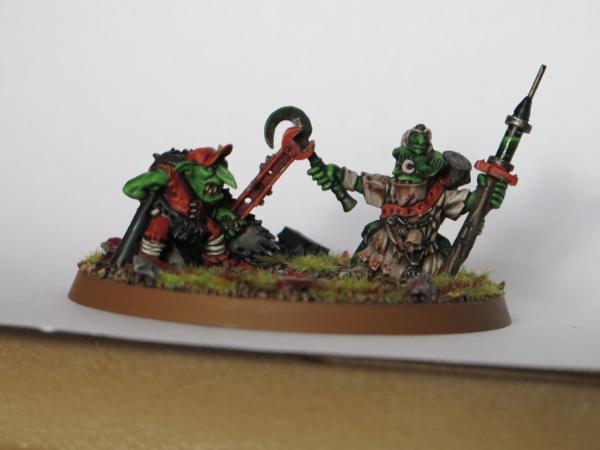
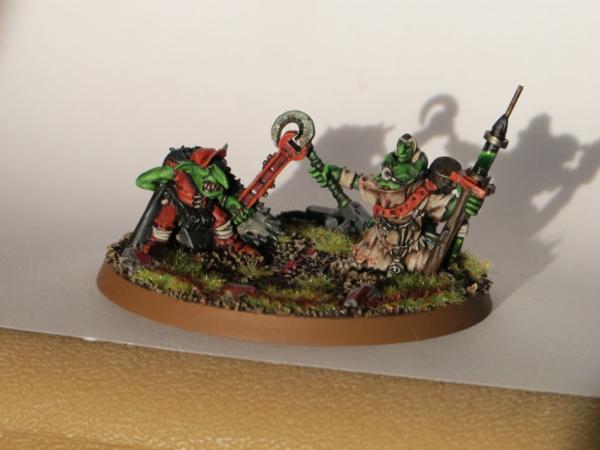
Grot Wars: Oiler Vs Orderly
Now I can finally share with you a (hopefully) tasty treat - my journey from start to end - all in one place!
It begins...
The Dakka Paint Challenge was launched on the 27th January 2012, but I didn't find out about it until reading about MrMerlin's plans to enter on his blog on the 7th February 2012 (I rarely venture outside my subscribed threads it seems
). With only a month to put my entry together *and* paint it (and my notorious slowness in both), I decided a "less is more" approach would be best. Thankfully, I had actually given this some thought previously - as a group of Dakkanaut's had launched their own Duel competition previously - and as that thread spiralled a bit with thoughts on the upper limitations of a Duel entry, I thought two lowly Grotz duelling it out would be a pleasant contrast to where that thread was heading. Now, I didn't have the time or inclination to enter that competition, being busy with painting my Orks, but an official DakkaDakka one? Yes please! First one's the hardest...
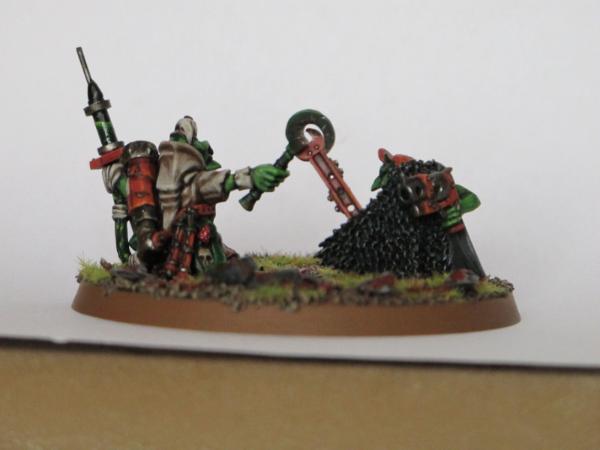
I felt confident two Grotz would be within my ability to model and paint within the time frame, so the question became - what theme? I had a few additional "restrictions" on my choices to the competition itself - I wanted the models to be able to take their place in Da Dark Angelz as well, so they needed to be useful, and also on their own bases (which would require a larger base as per the competition rules to bring them together in a duel). I can't remember if I came up with the idea first and then looked for appropriates models, or came up with the idea while browsing models - but Mek Oiler vs Painboy Orderly it was, the Nasty Skulker and night Goblin Shaman models (both from Fantasy, go figure) providing a nice "crossed weapons" pose from the get go. Order placed, I just needed to await the models...
With the "crossed" weapons pose, and the Dark Angelz/Mek/Painboy colours, it seemed only natural to make this a bit of a Star Wars tribute also. On the left, we would have the Oiler taking the role of Sith in red and black, while on the right we would have the orderly taking the role of Jedi in white and green - and hence "Grot Wars: Oiler vs Orderly" was born.
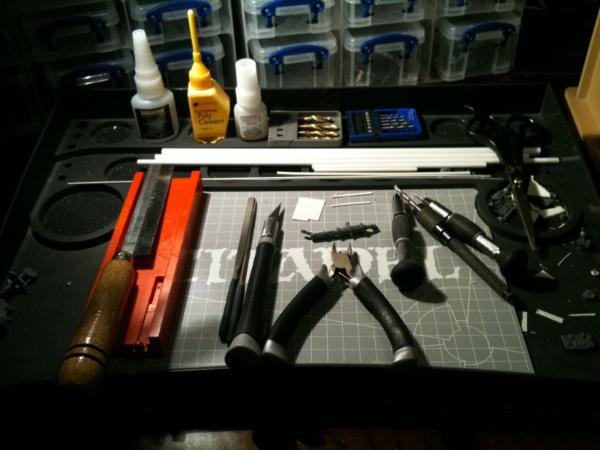
Construction
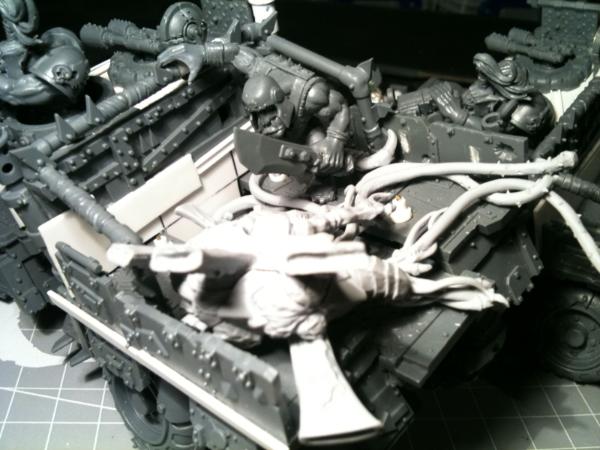
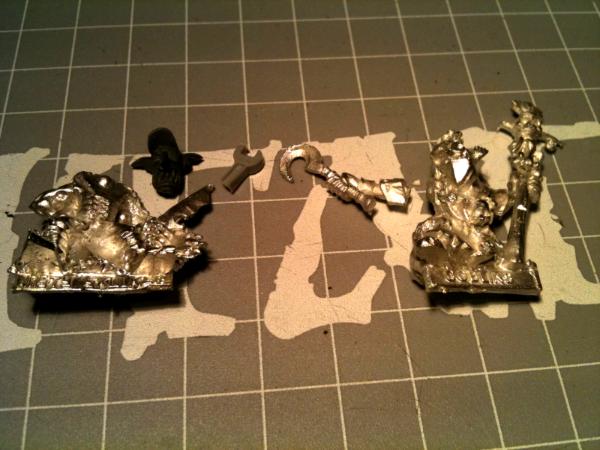
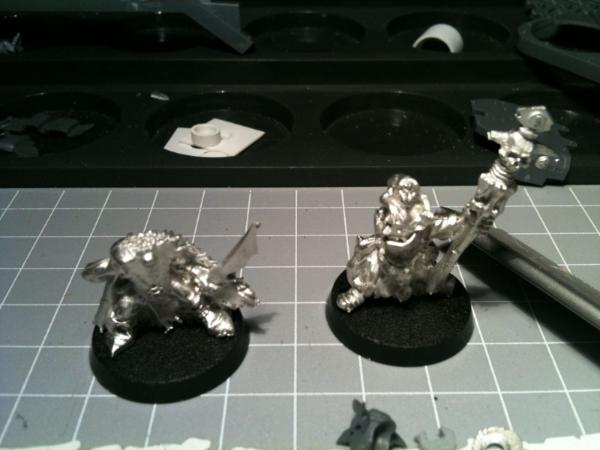
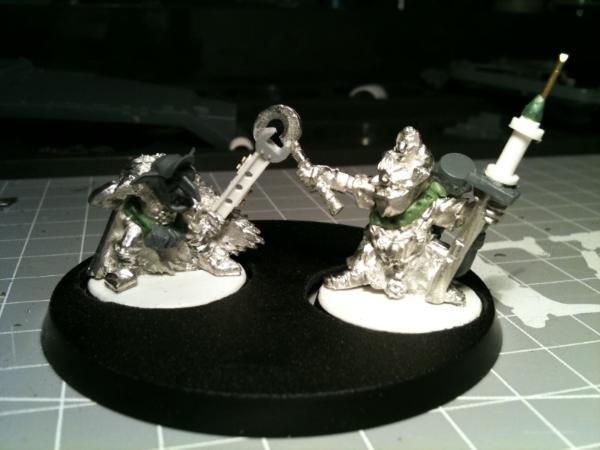
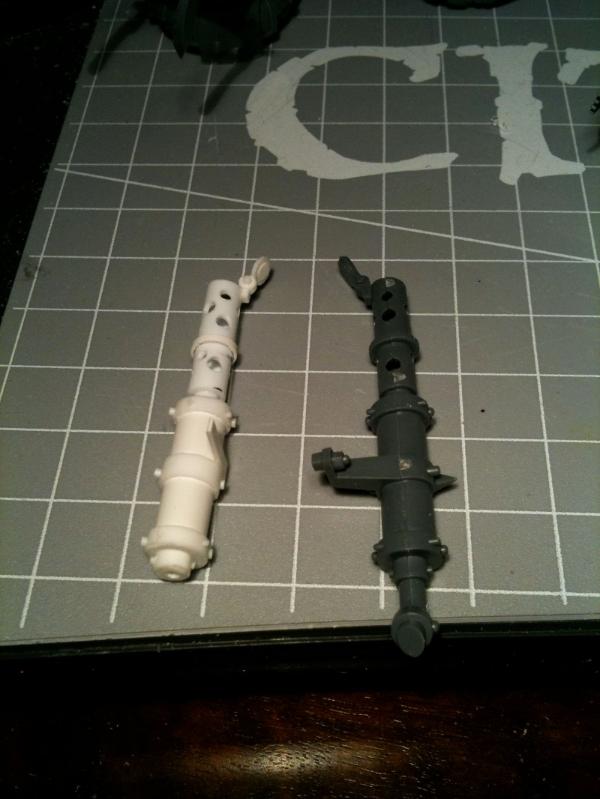
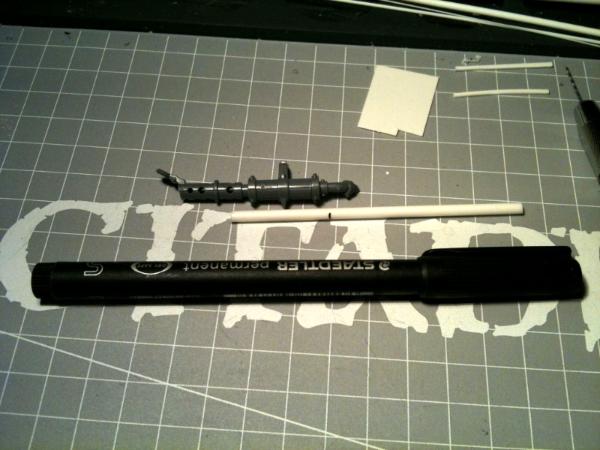
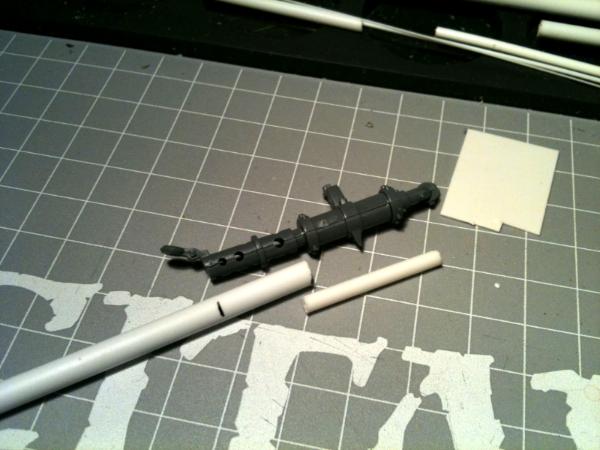
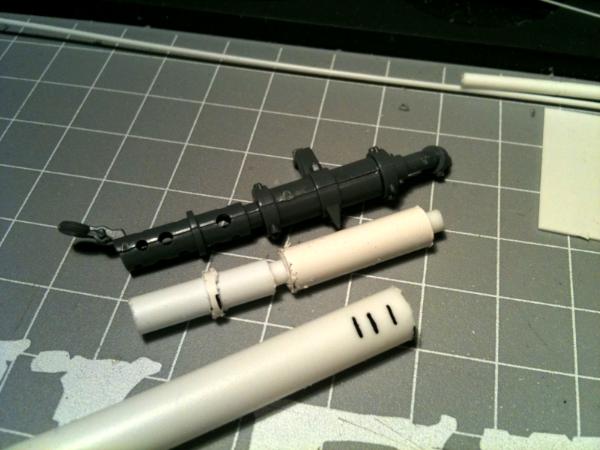
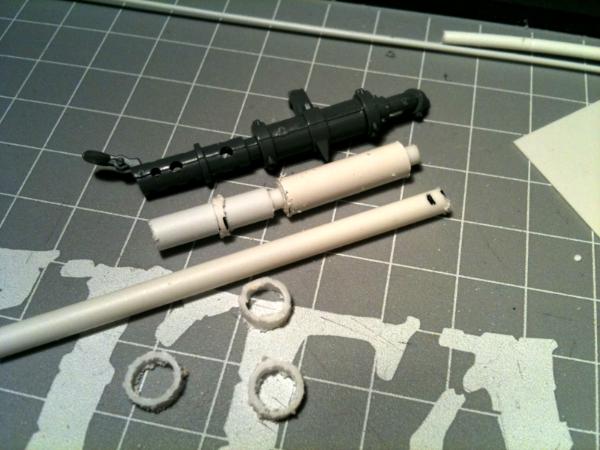
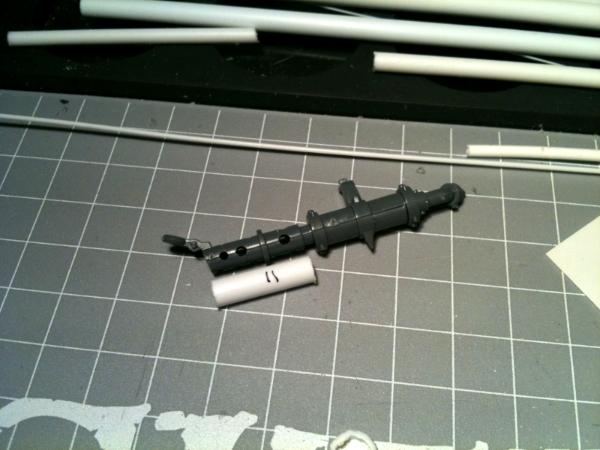
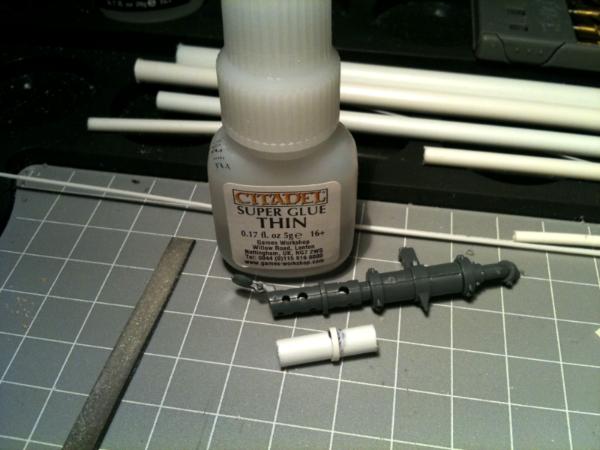
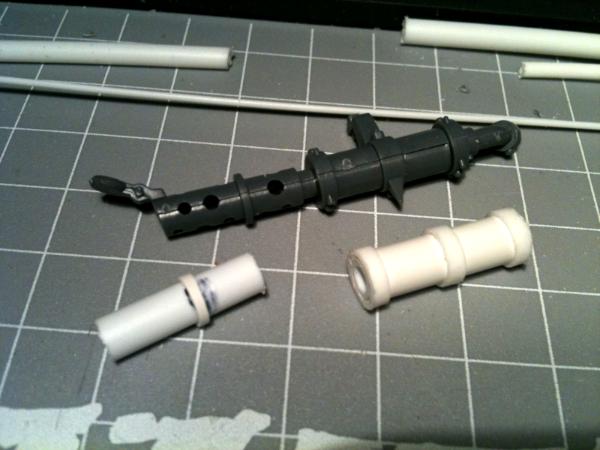
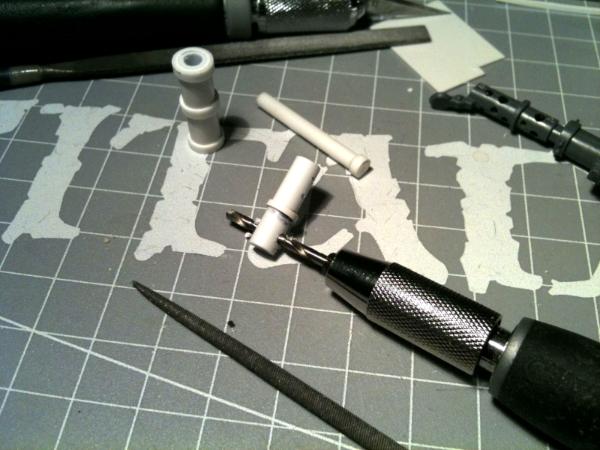
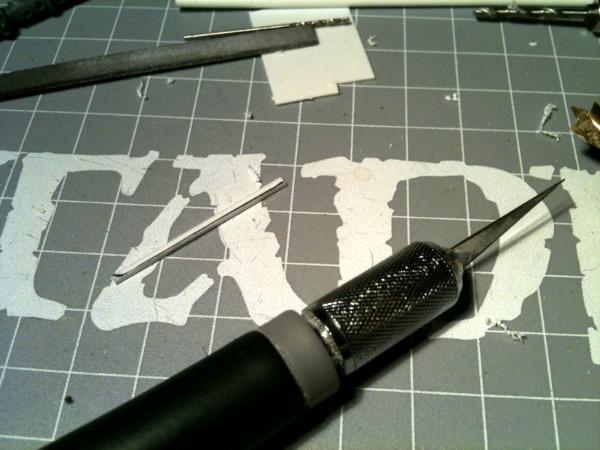
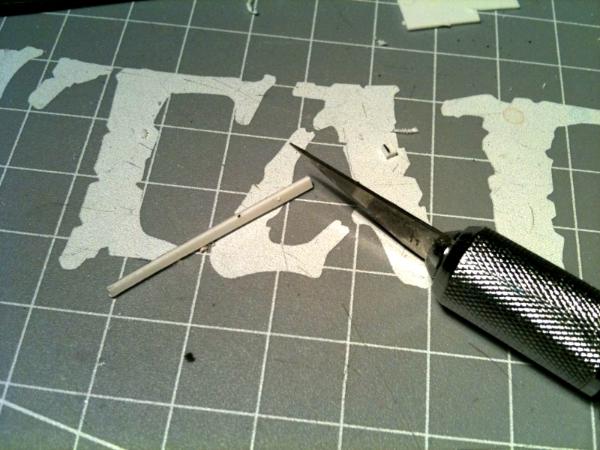
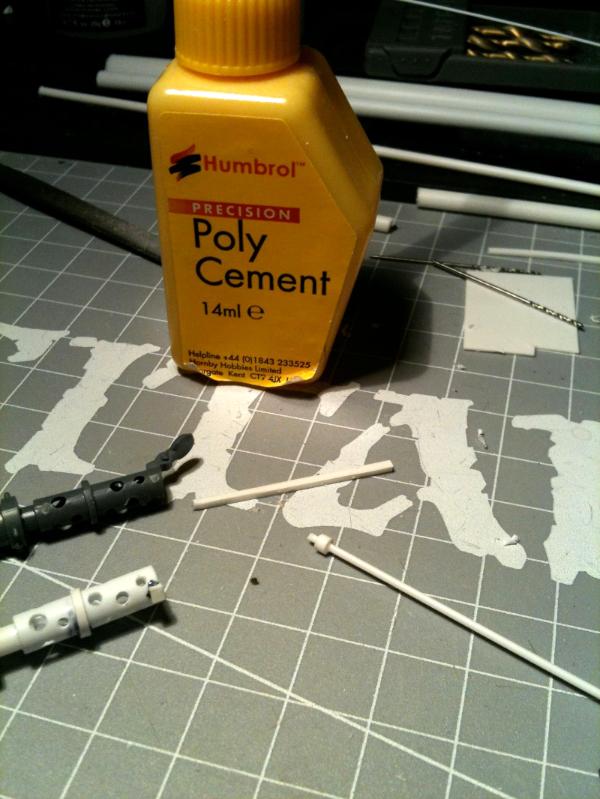
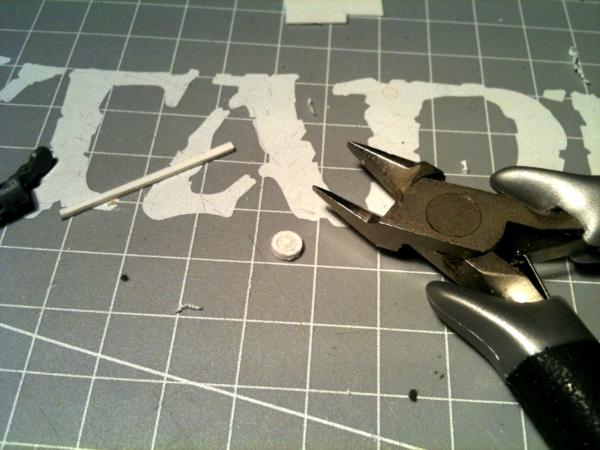
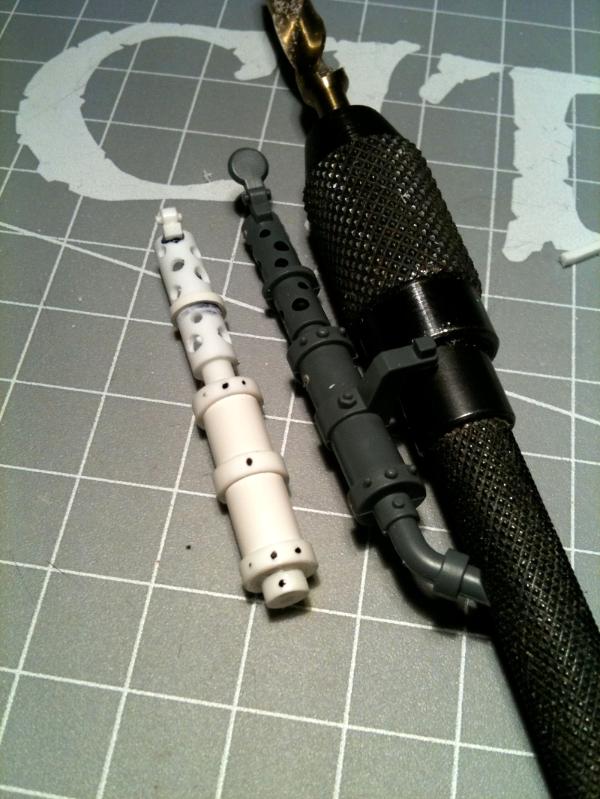
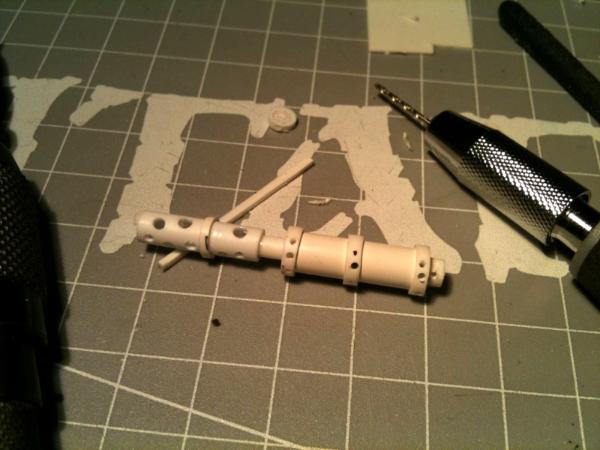
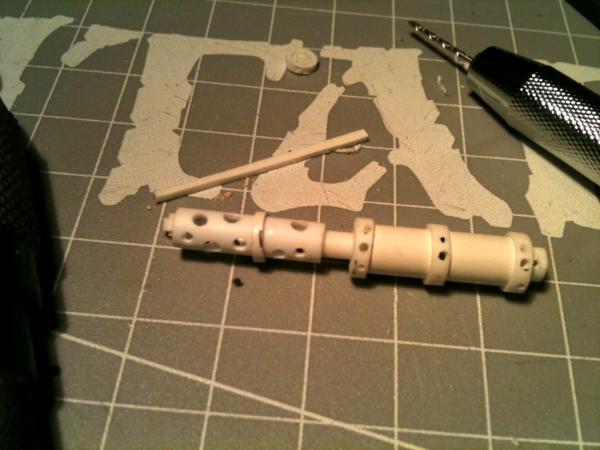
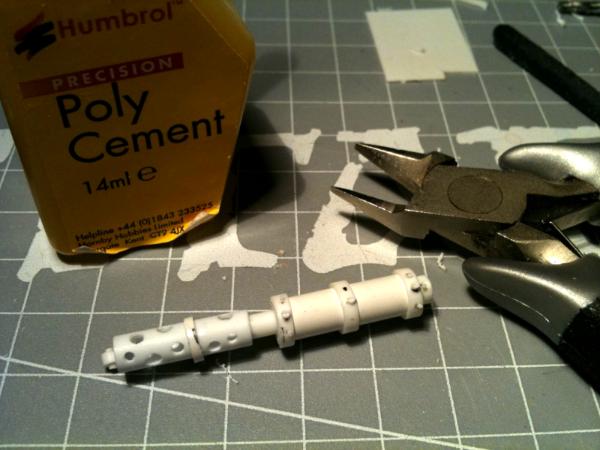
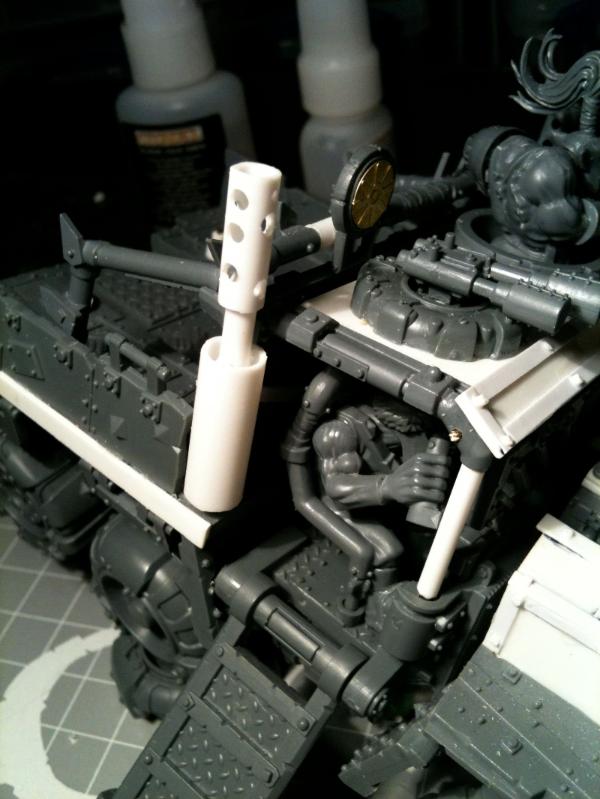
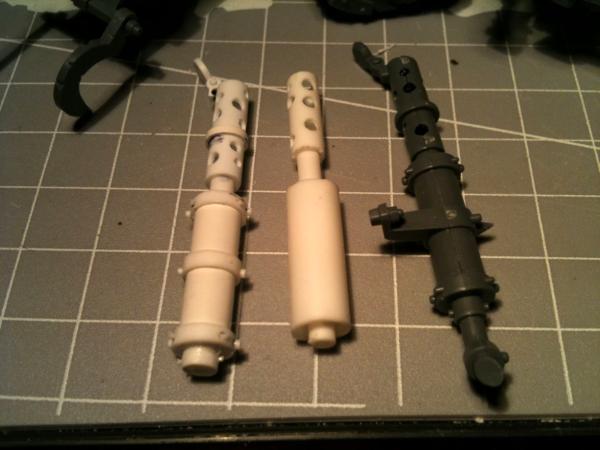
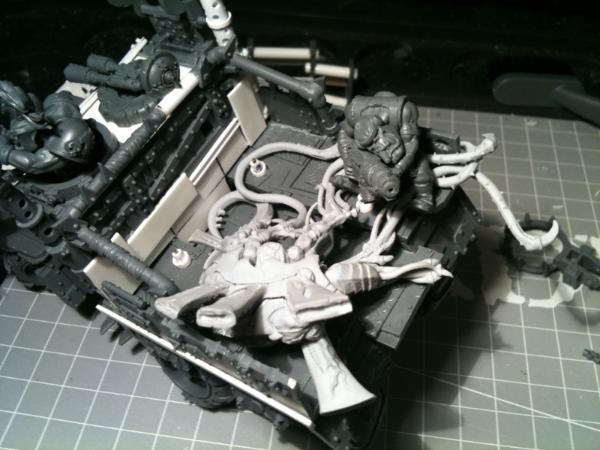
The models arrived and building was started in earnest! First, the parts in their
raw form (the wrench is a broken off
FW grot):
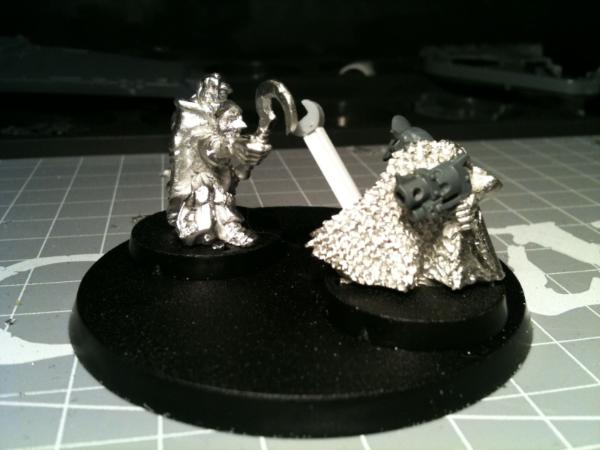
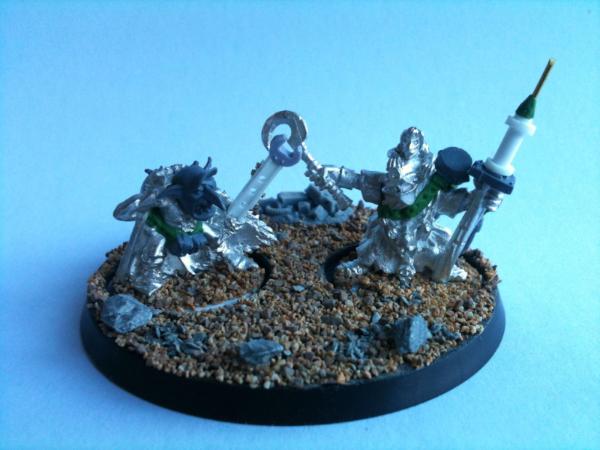
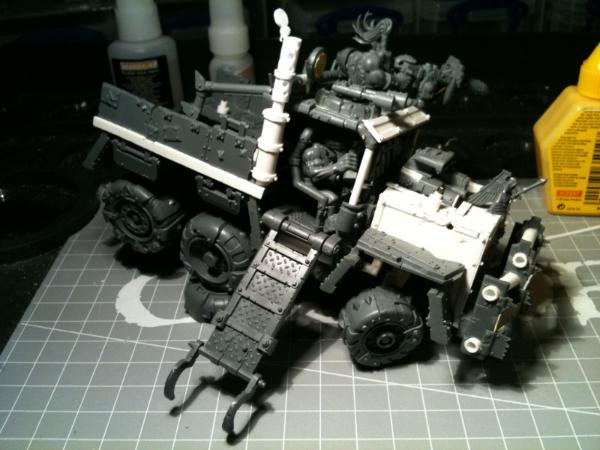
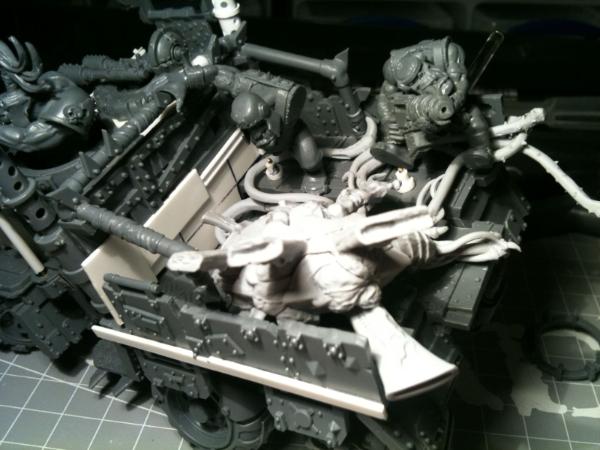
On their bases:
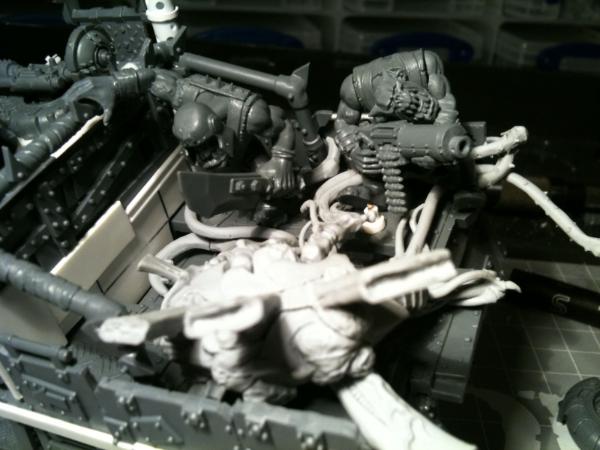
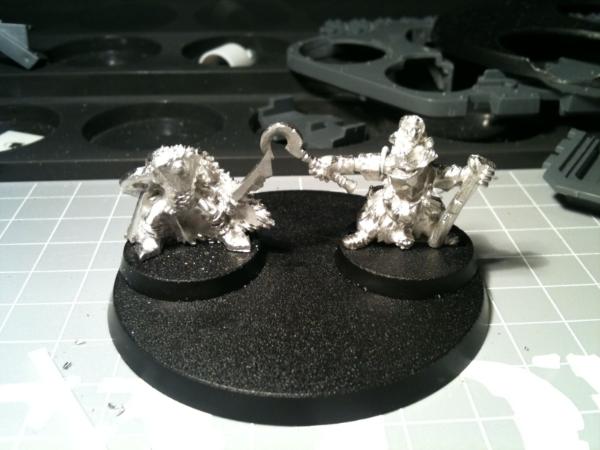
Posing for the larger encompassing duel base:
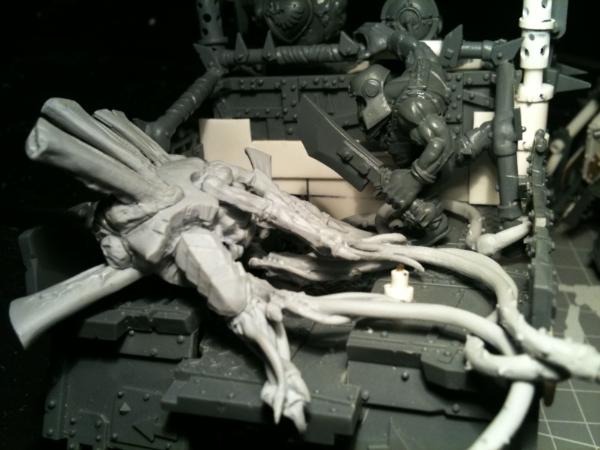
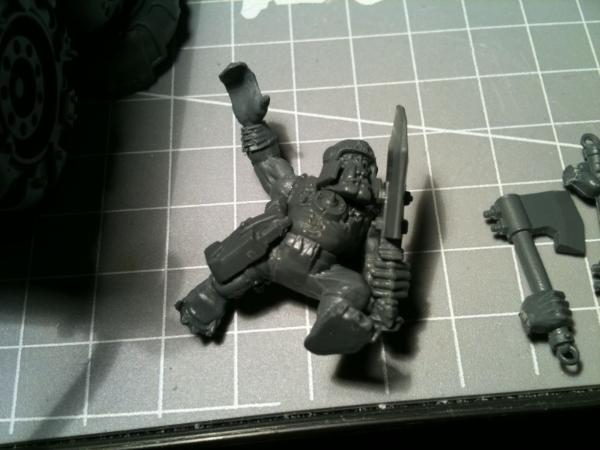
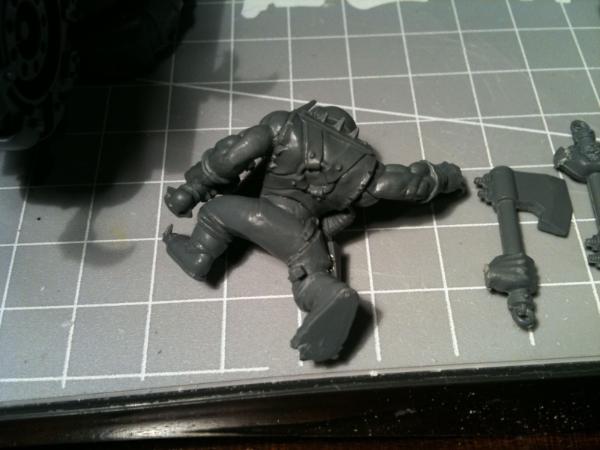
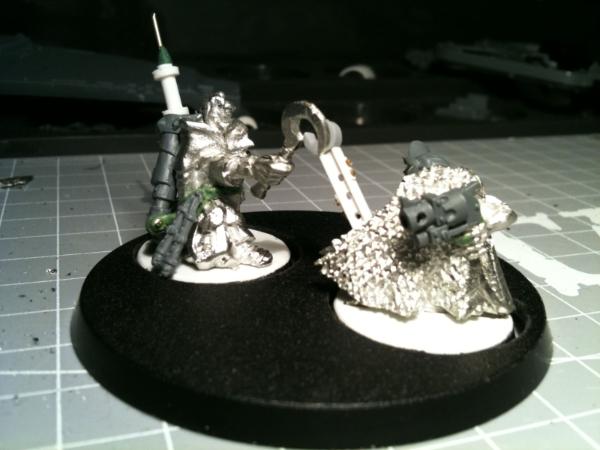
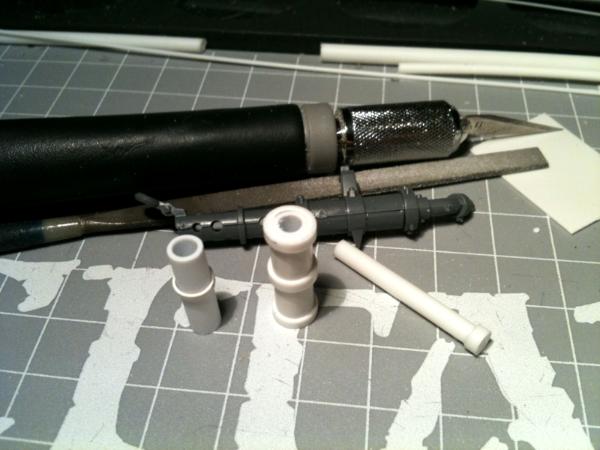
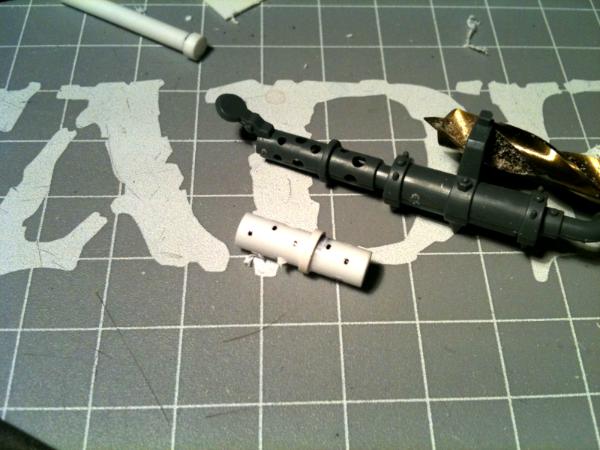
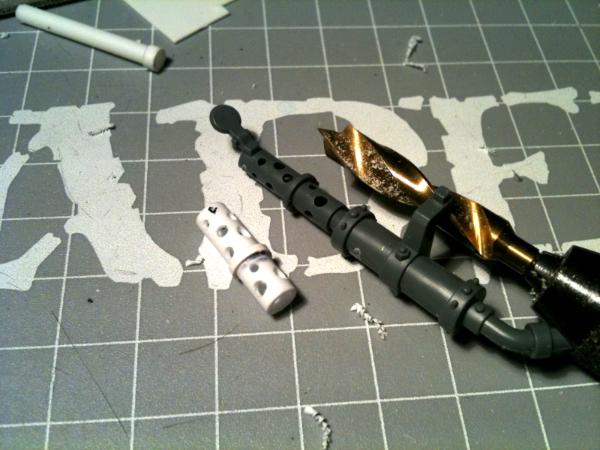
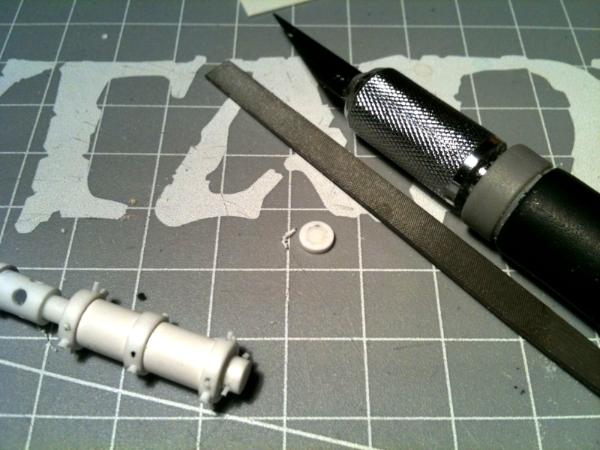
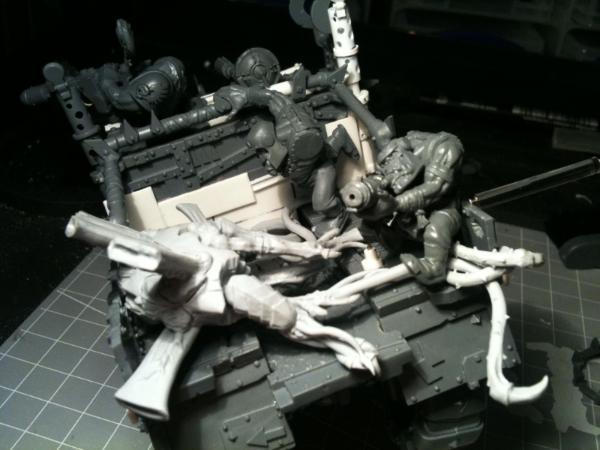
Skulker knife replaced with spanner, Grot head attached, Shaman totem pole thingy removed in readiness for something more 40kish:
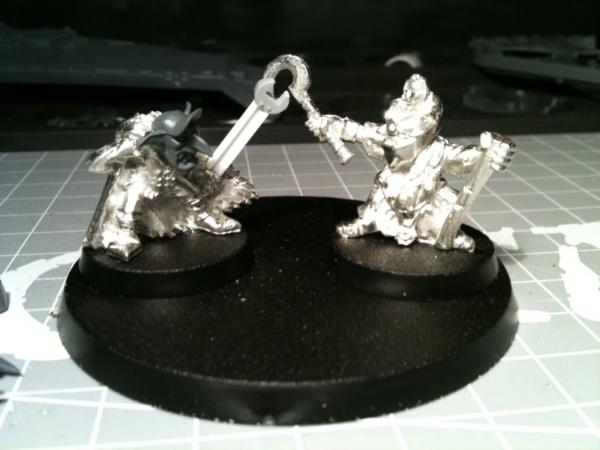
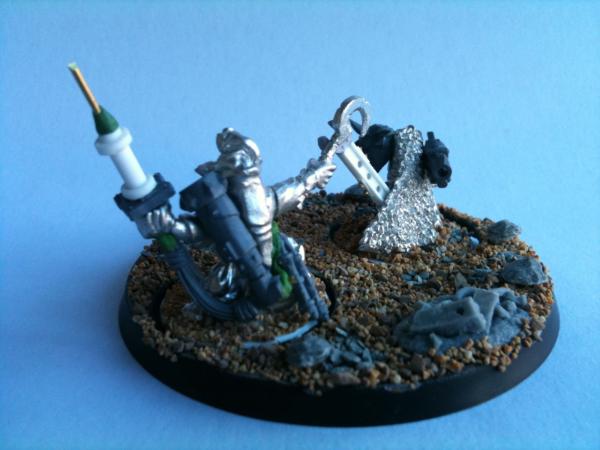
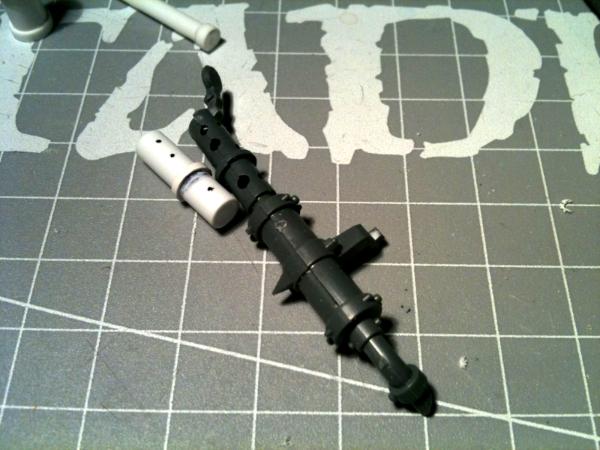
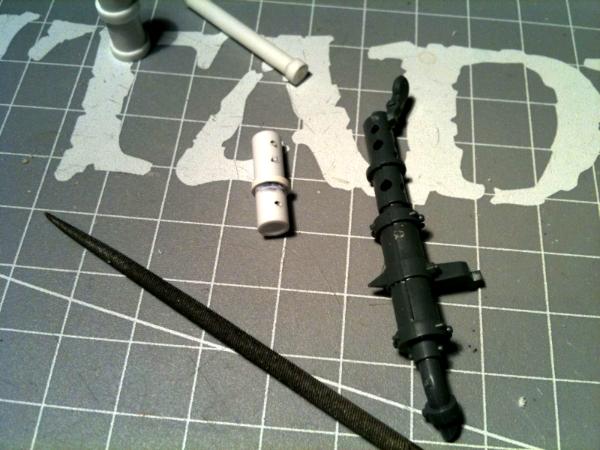
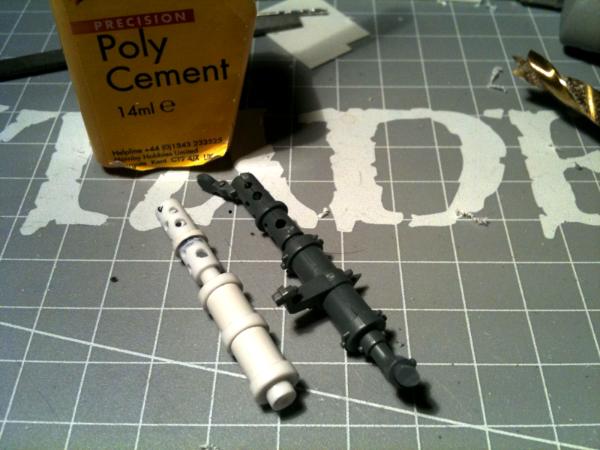
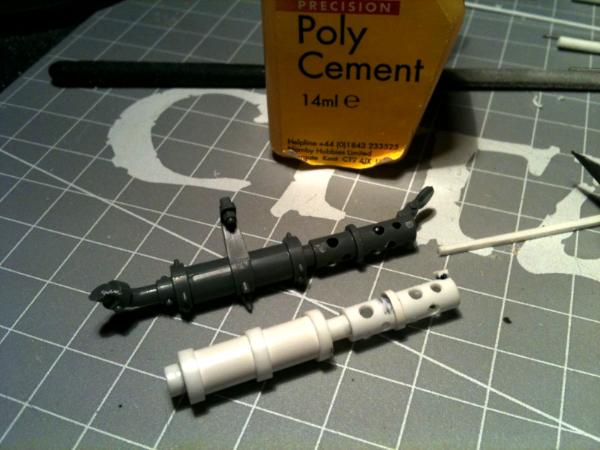
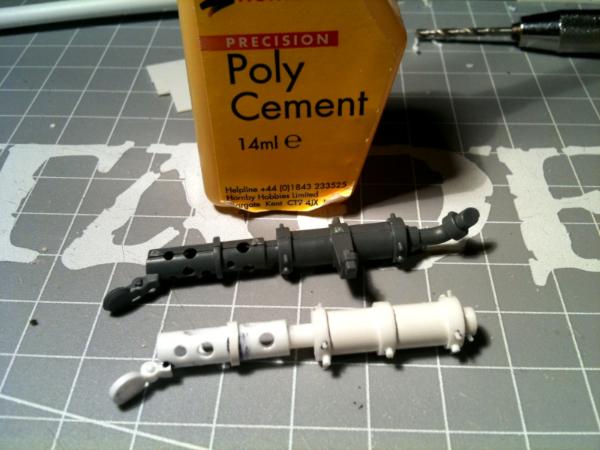
Sneaky Sith/Oiler is cheating with a hidden Grot pistol (replacing the knife):
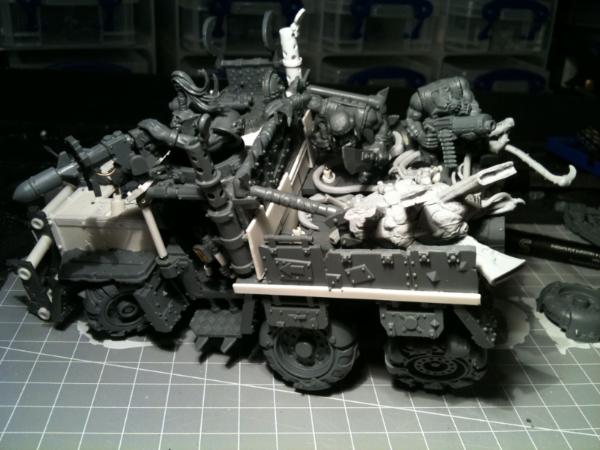
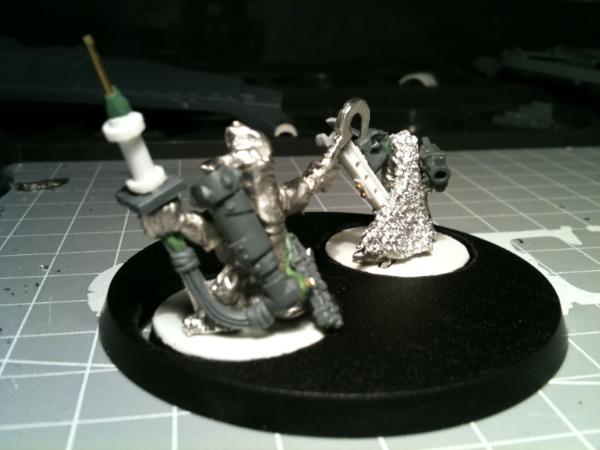
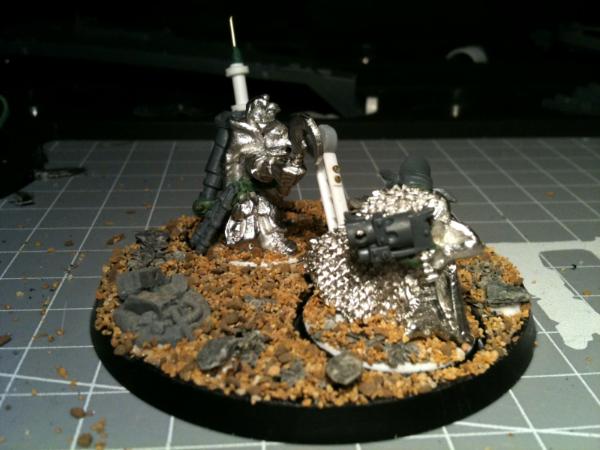
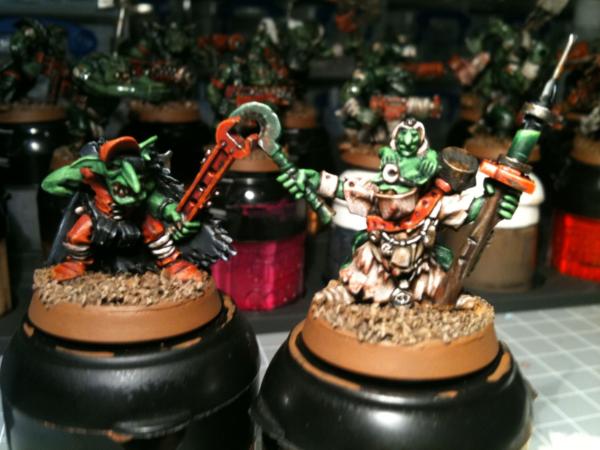
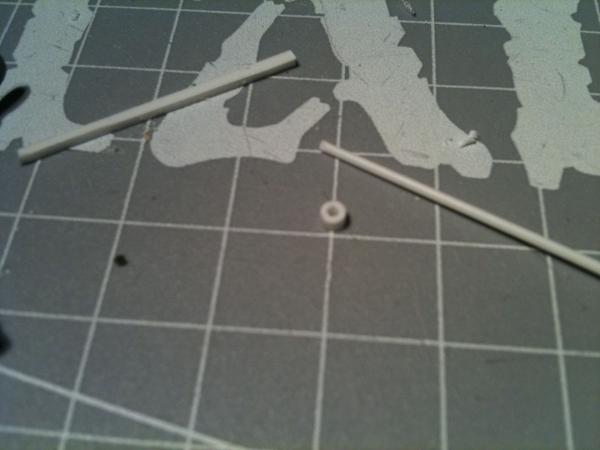
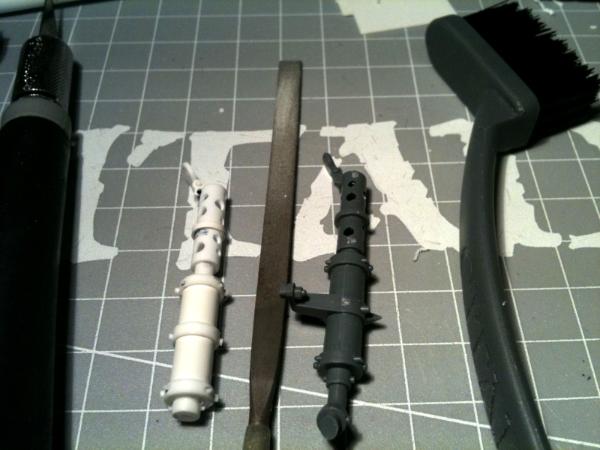
A lot done up to here - the holes in the display base have been cut, the minis raised on their own bases (the 60mm base is higher than the 25mm bases!) and additional
40k accruements have been added to both models:
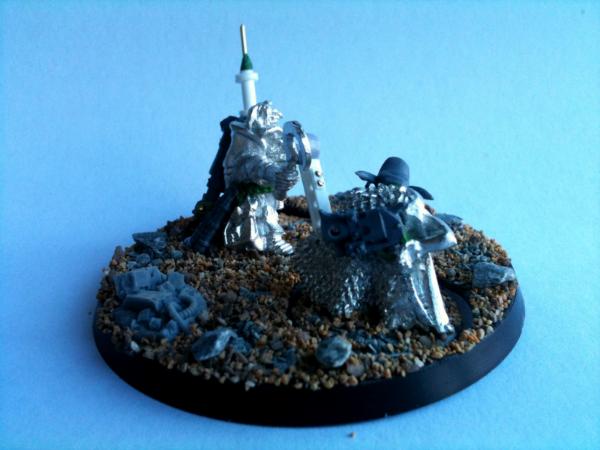
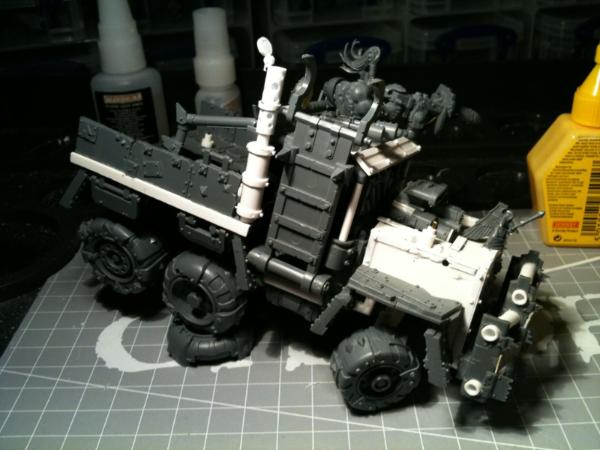
Another angle:
And another angle:
With finished base:

Behind:
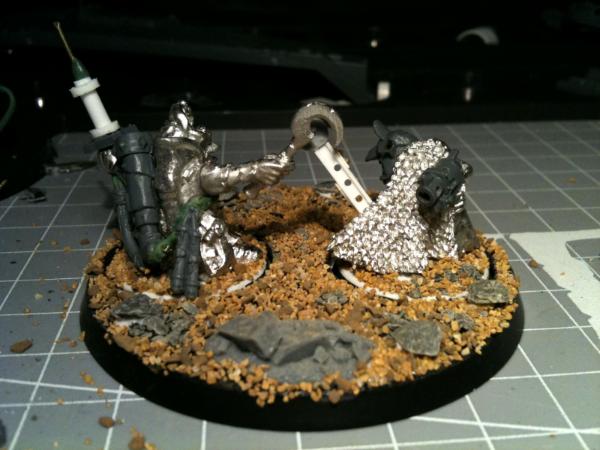
Sneaky pistol:
My
WIP entry for the competition:
Unsubmitted angle:
Another unsubmitted angle (we were to provide only one
WIP picture):
 Painting Begins...
Painting wise, optimisation went out the window - we were going as quickly as possible, and trying to adhere to the "paint inside out" methodology. I didn't write any notes on these (or previous) - so the descriptions are to my best memory based on what I can see
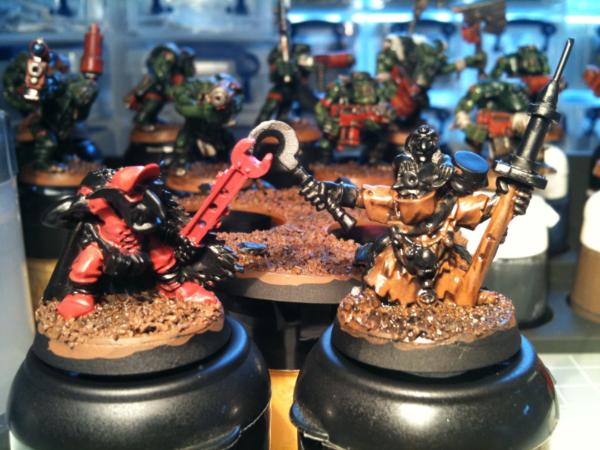
Base coat Mechrite Red and Calthan Brown (may have a Devlan Mud wash on the brown there too):
Orkhide Shade and I think Warlock Purple for the Oiler gums:
Highlighting up the white (brown) - Calthan Brown/Bleached Bone 2:1 then 1:1:
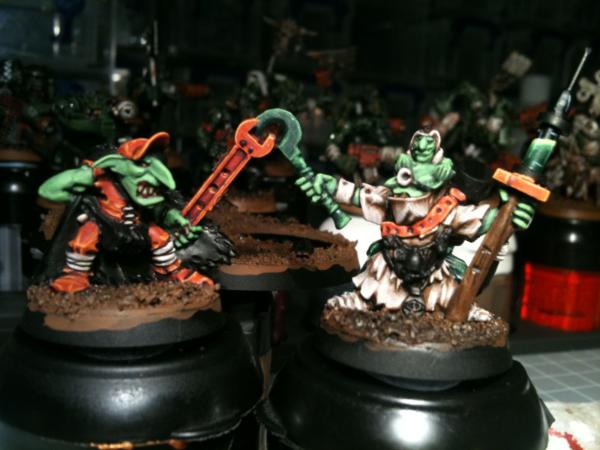
Red highlighted Mechrite Red/Blazing Orange 1:1, Blazing Orange, Blazing Orange/Vomit Brown 1:1, Vomit Brown shaded with Asurmen Blue in crevices. Continued highlighting og the white - Bleached Bone, Bleached Bone/Skull White 1:1, Skull White:
Eyes (red, orange, yellow) and teeth (Scorched Brown, Vermin Brown, Bleached Bone, Skull White from memory...)
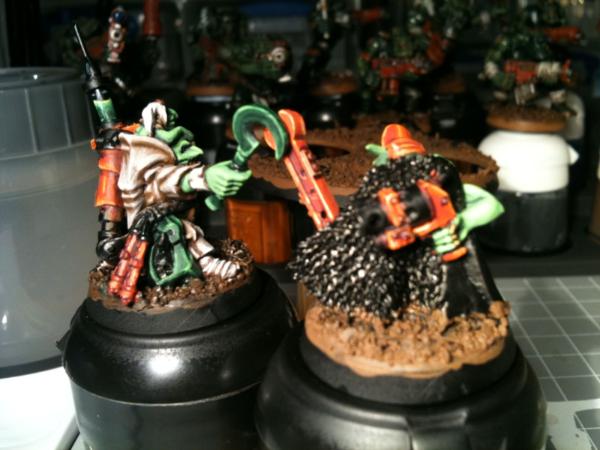
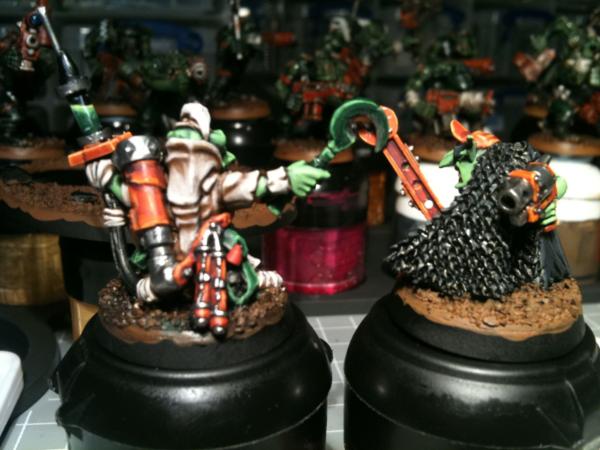
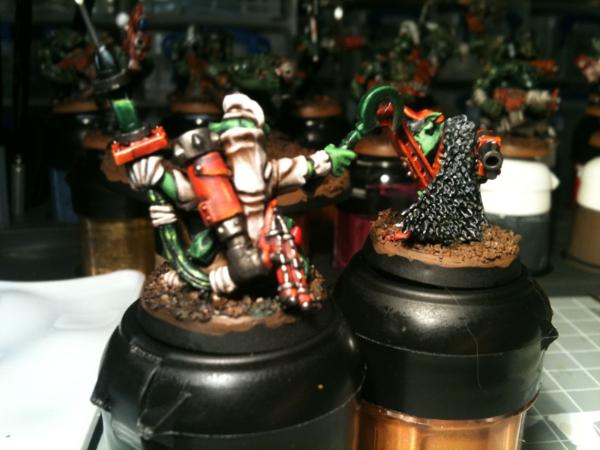
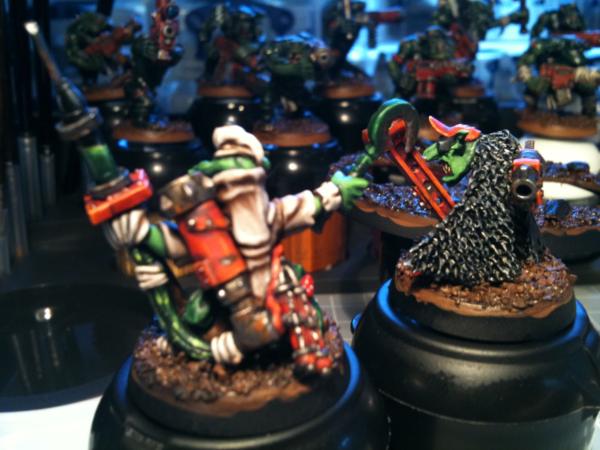
Back - you can see the same red started on the Orderly. I hadn't completely chosen all my colours yet, but although the Oiler is predominantly red/black and the Orderly white/green, I've started putting some red on the Orderly, and later there will be some white on the Oiler, to further link the two:

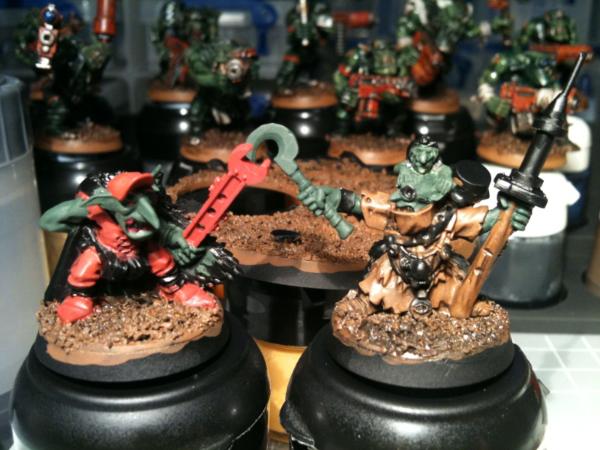
Skin started (can't remember the colours, the sickly green ones
). Also, I have Calthan Brown-ed more areas that will become white:
Rear view again:
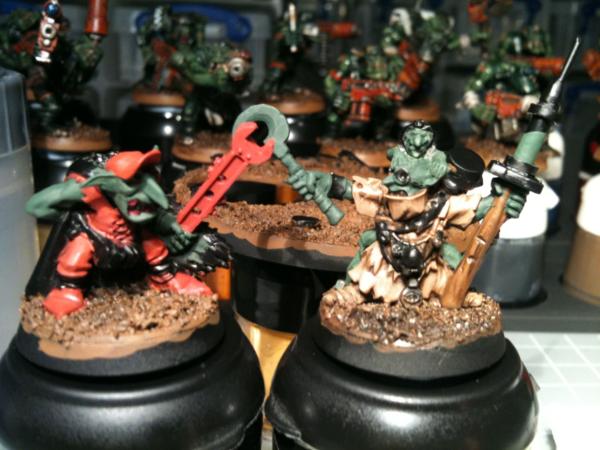
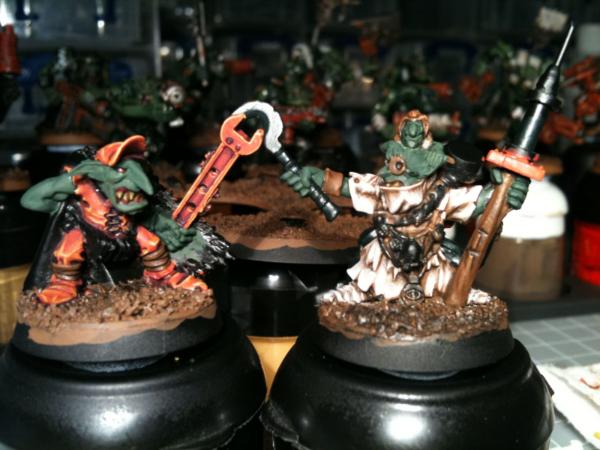
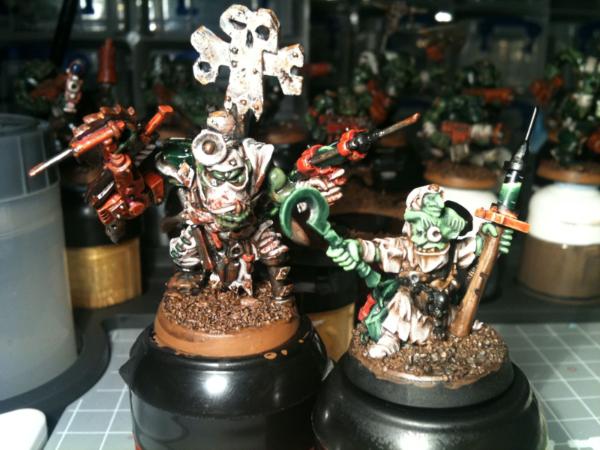
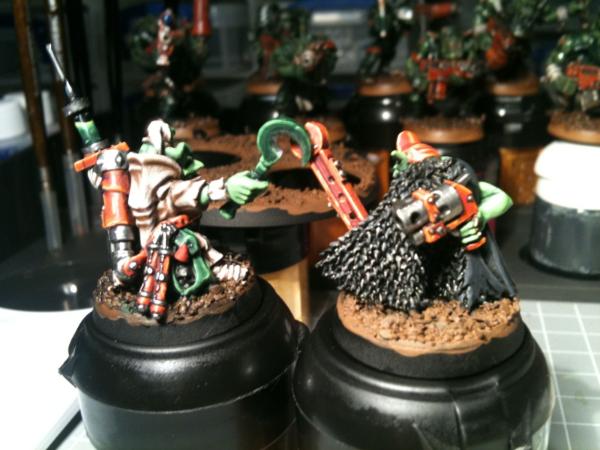
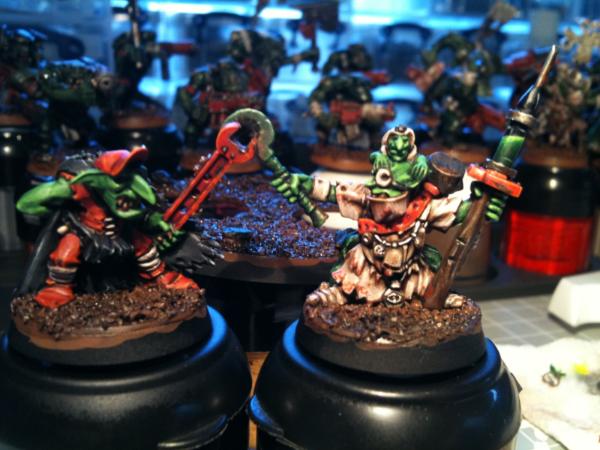
All the white, red and dark green complete/highlighted up:
Rear shot again:

Nup - can't work out what has changed here - unless I forgot to do the Oiler's nails earlier
A red wash would have been added to all of the red at some point too...
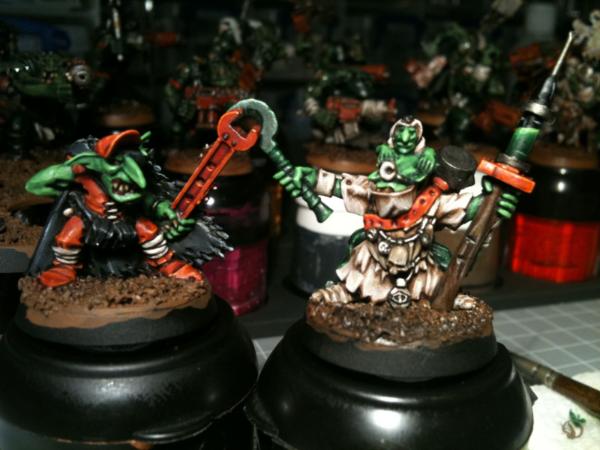
While I was doing this, I was also working on my Orks. As the mini's are supposed to fit in, it dawned on me I should really check that they are! Here is the Painboy
WIP with his soon to be new Orderly. Aren't they great?
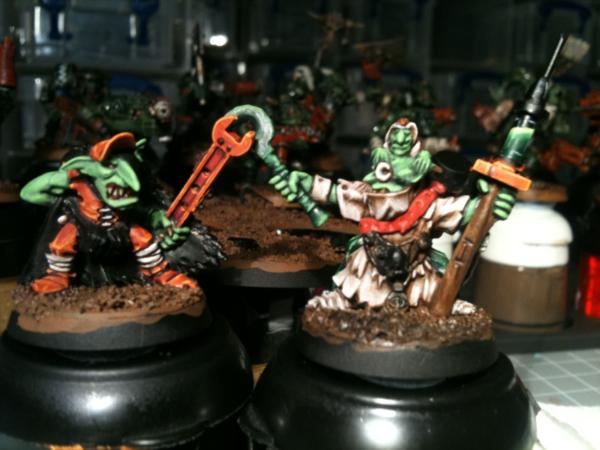
You can see I eventually decided to do the Orderly strap in red. I would have added a Thraka Green wash/glaze to the skin at some point too (it was looking just a bit too flouro for me!
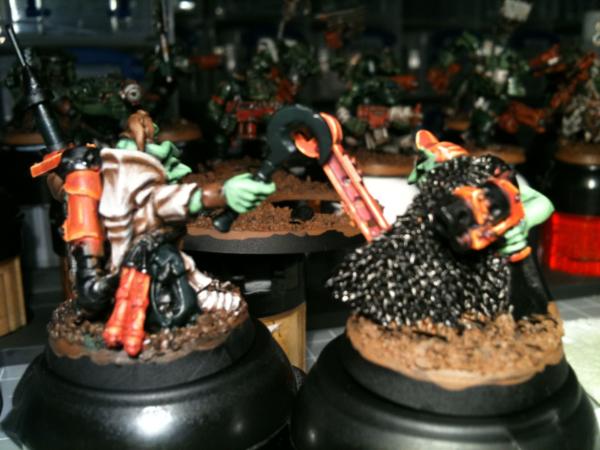
Back:
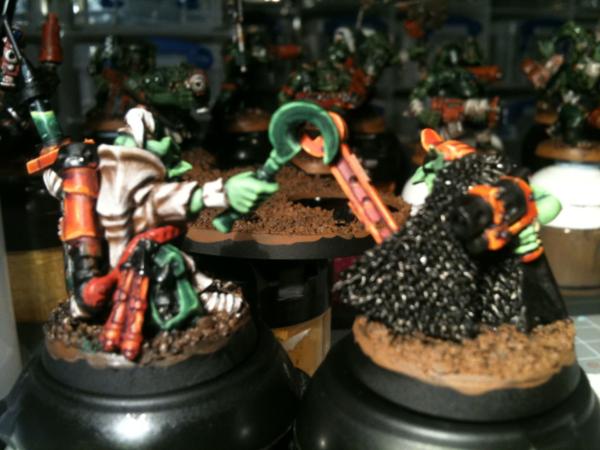
Clean up the black/metallic bits:
And rear:
Not sure, possibly just another view...
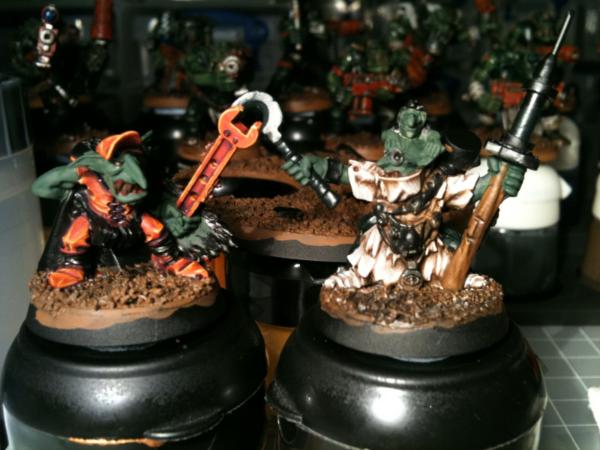
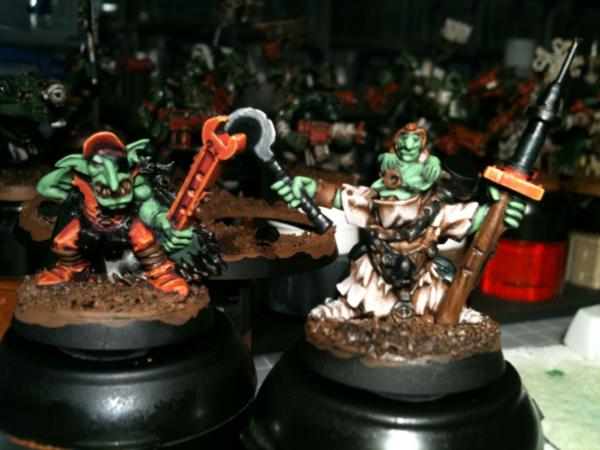
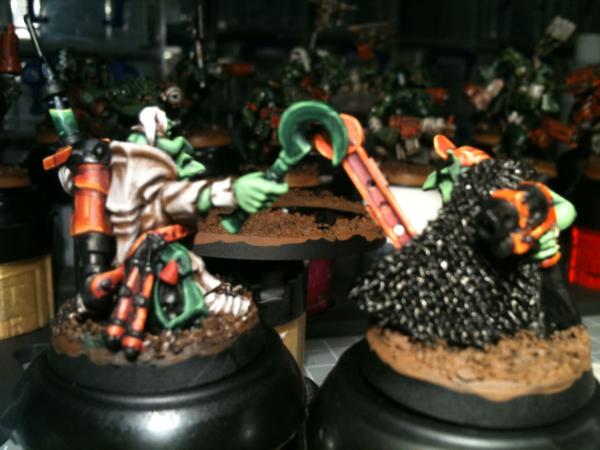
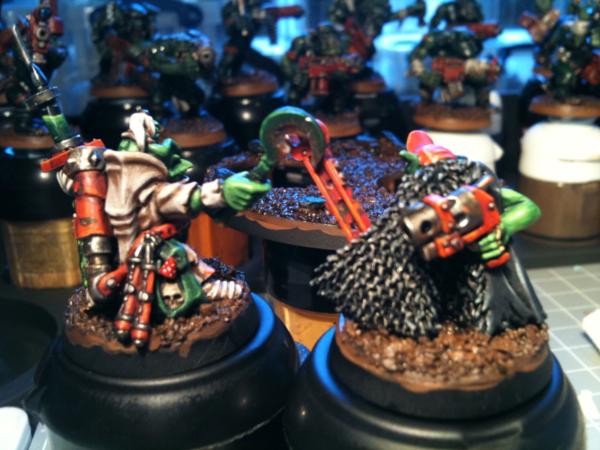
Black highlights started and metallics:
Rear:
Mushroom gets some love:
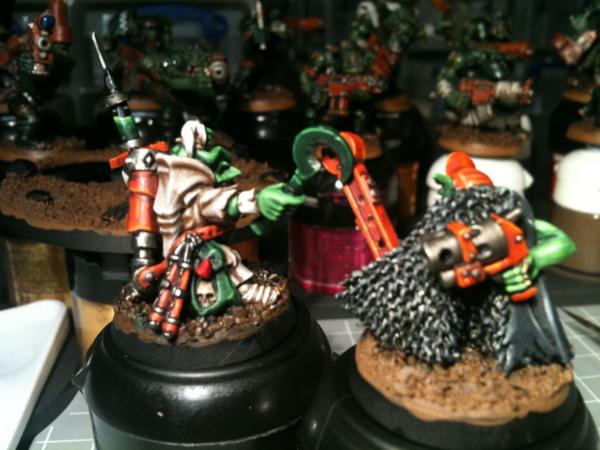
Orderly bones and skull done:
Rear Orderly skull done, black highlighting finished on Oiler:
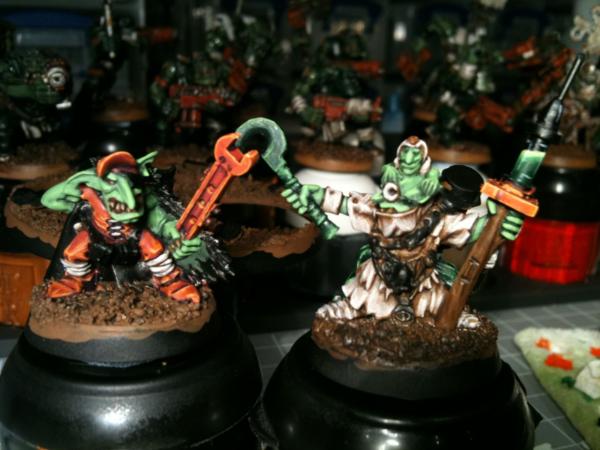
Pulsating poison stream to syringe:
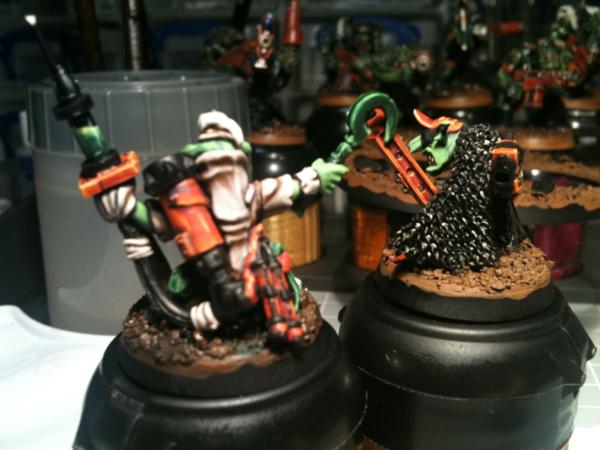
Rust, blood splatter and oil stains:
Rear:
Another angle?
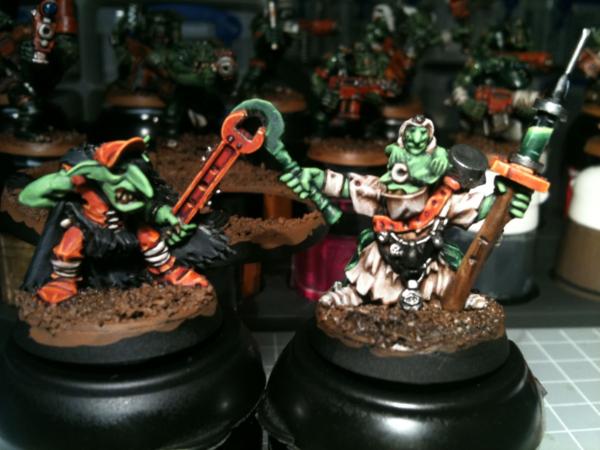
Metal chipping and bases:
Rear:

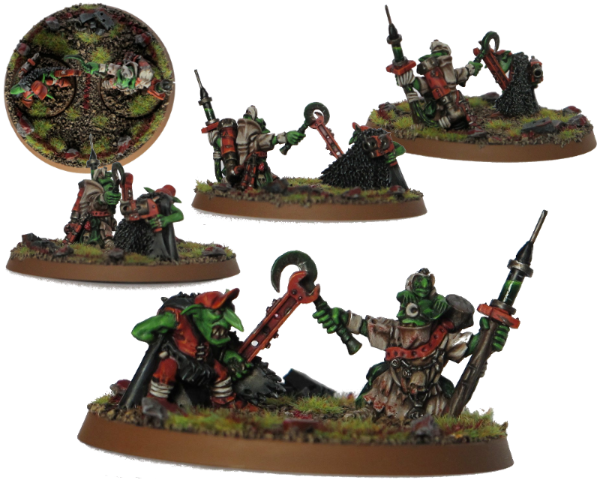
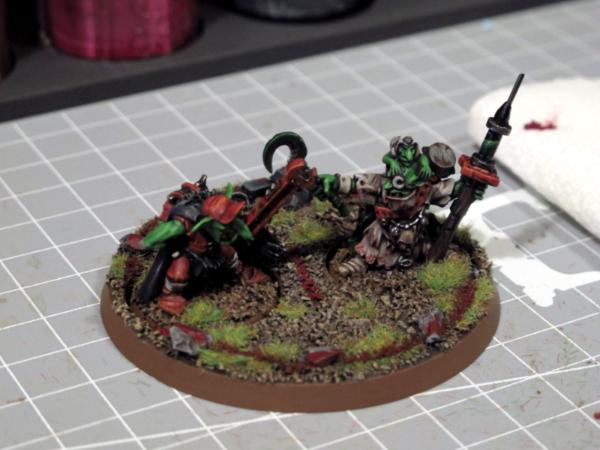
Completed scenic base (it was meant to look like a duelling circle...)
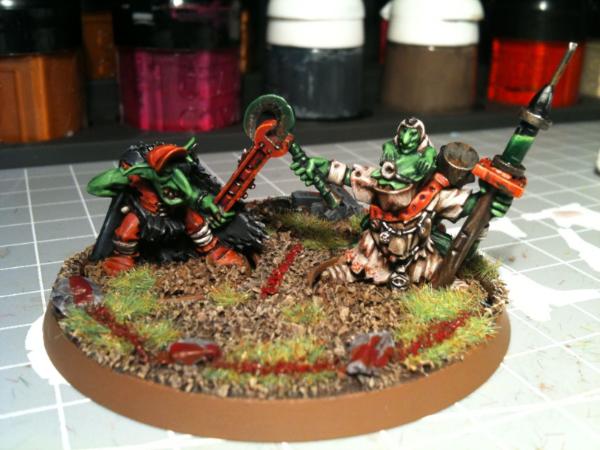
Rear:
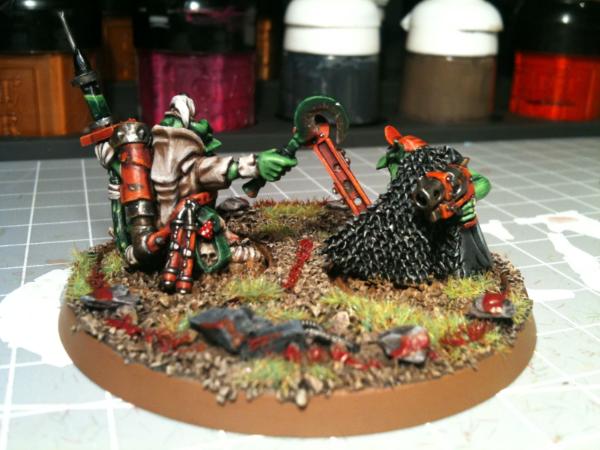
Another angle:
Swap cameras (from iPhone to wife's actual camera):
 Adventures in photography and sunlight - trying to get decent pics...
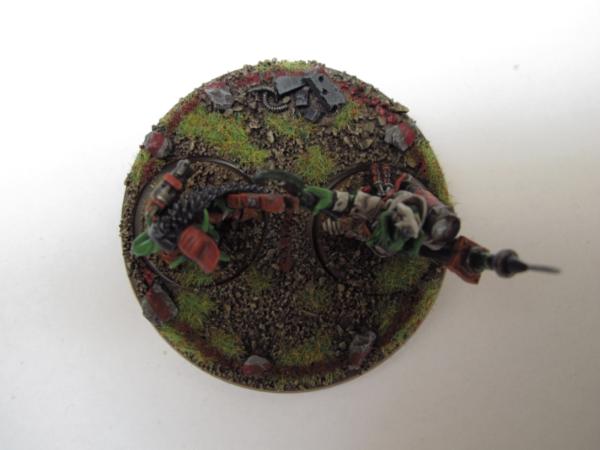
Day 1, top down:
Front view:
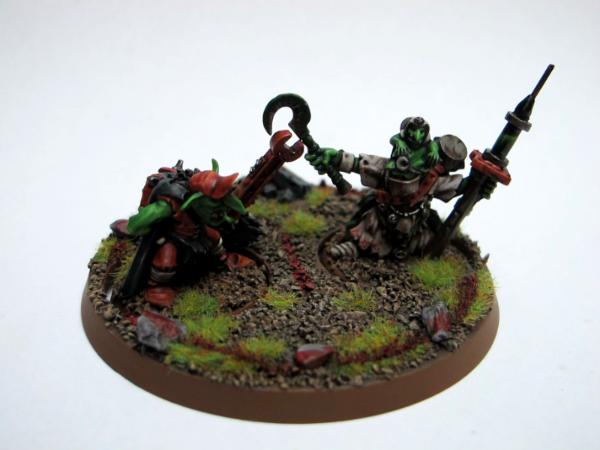
Day 2, front view:
Try 2:

Top down:
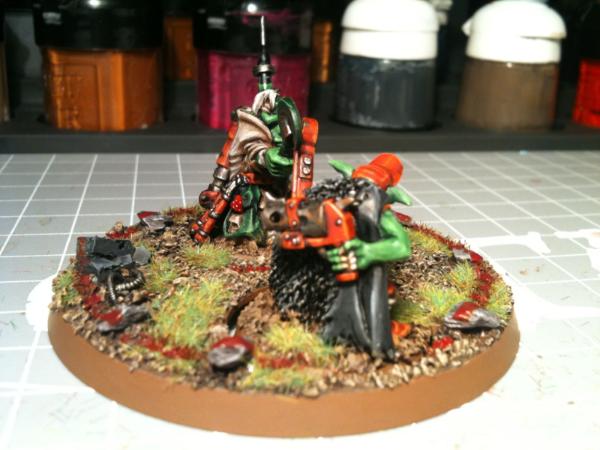
Rear:
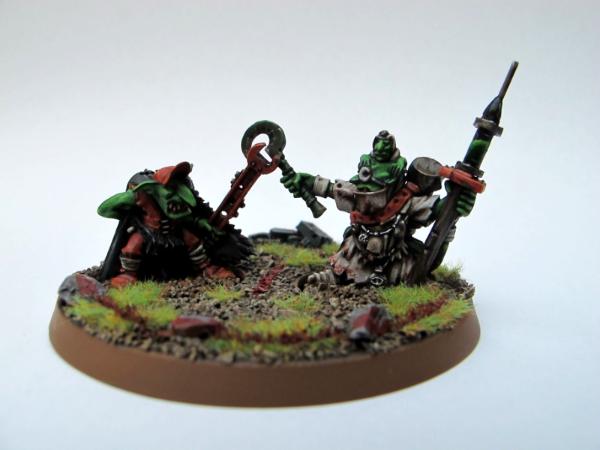
Another angle:
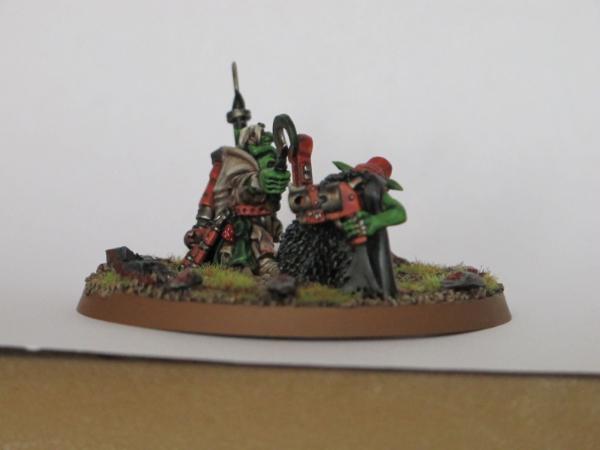
Yet another angle:
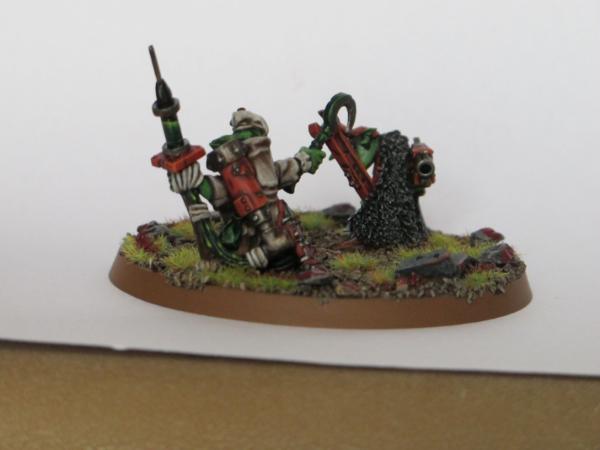
Front view, wrong facing


Better:
Last
 To the Polls!
I actually managed to finish a week early, which means I *can* actually complete stuff in a reasonable span of time (well, if they are small and don't require much conversion!) - 3 weeks for 2 models + scenic base is quite an accomplishment for me
The polls opened. The Grots took second early, and then lingered just behind second for the majority of the polling time before taking second again before the polls closed.
Finale
So - I hope you all enjoyed that trip from start to finish! (and didn't run out of bandwidth!) Roll on the next DakkaDakka Painting Competition I say! Hope to see more of you there...
Oh, and big thanks to DakkaDakka, yakface, inquisitorlewis, miniwargaming.com, heartserenade, Decaius, Ouze, Kavika0311, heavybolter, Vitruvian XVII, SlaveToDorkness, Shado.Raith, MrMerlin, RIChYc, Haranos, Ecstasy in Service and AegisFate - this wouldn't have been possible without you!
Oh - and what did we learn? Photography and montage-fu needs much improvement next time! Portrait orientation seems to work better, as it is not scaled down so much in the polling thread. Still, thankfully there is some discussion on allowing larger pictures or possible two in the next one...
Catchya!


 Imperial Knights: The Avengers Initiative
 Da Dark Angelz
 Arakasi vs Infinity


 ) Congrats on the placing it was well deserved.


 It just didn't click