Forum adverts like this one are shown to any user who is not logged in. Join us by filling out a tiny 3 field form and you will get your own, free, dakka user account which gives a good range of benefits to you:
No adverts like this in the forums anymore.
Times and dates in your local timezone.
Full tracking of what you have read so you can skip to your first unread post, easily see what has changed since you last logged in, and easily see what is new at a glance.
Email notifications for threads you want to watch closely.
Being a part of the oldest wargaming community on the net.
If you are already a member then feel free to login now.
So many layers! I really enjoy your process, each layer makes a delicate but clear difference.
Tried and tested is always good. Go with what works. Plus you can try new things pretty soon with the new Infinity contest. Which I may or may not have had CB's conformation on.
And I have a new question for you. How do you choose your washes? Recessed or otherwise. I'm no artist and I'm not sure how you choose a red wash for green skin or other examples like purple and blue washes on human skin. I think it sometimes has to do with skin being transparent, which most people don't realise, or more often something to do with contrasting shadows being more natural?
@Casey's Law: We've only just begun Haha - I'm no artist either! That skin comes directly out of the Black Orc Big Boss 'Eavy Metal Masterclass in White Dwarf 365 - May 2010 - when White Dwarf had actual painting tutorials by the 'Eavy Metal team, not the useless paint by numbers they have now - which I use (and will use again) for my reds too - which involved shading with Asurmen Blue. It has something to do with colour theory - but you can probably hunt that down as well as I. I do think it makes the skin more organic looking...
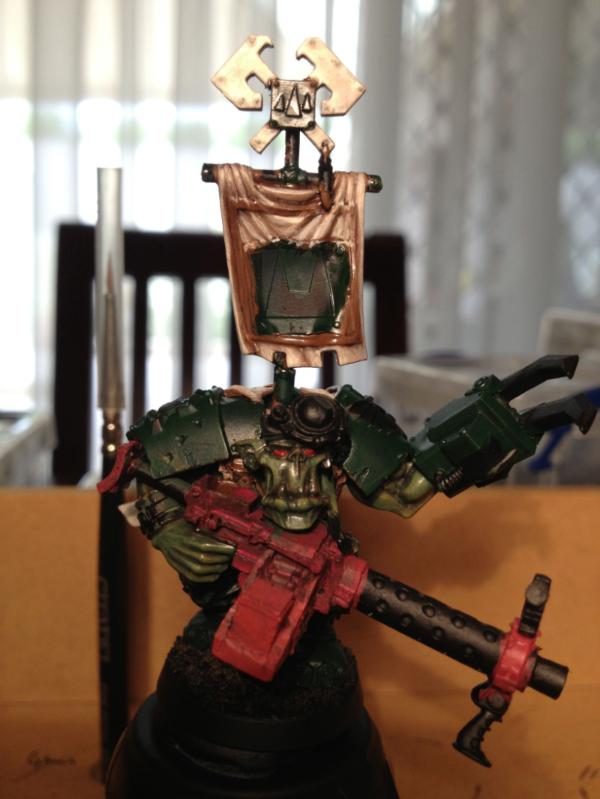
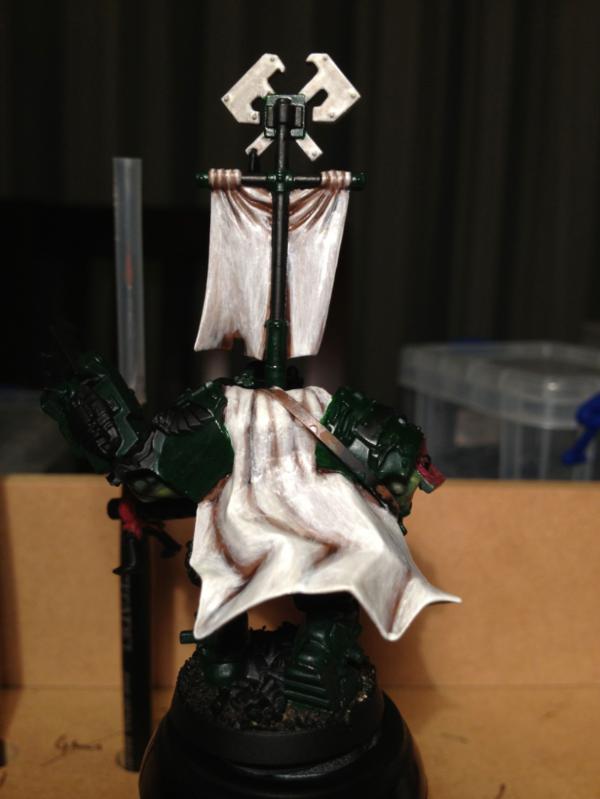
Right, a big pic dump tonight, so spoiler tags to make it more manageable...
First, touch up the Calthan Brown basecoat.
Spoiler:
Front
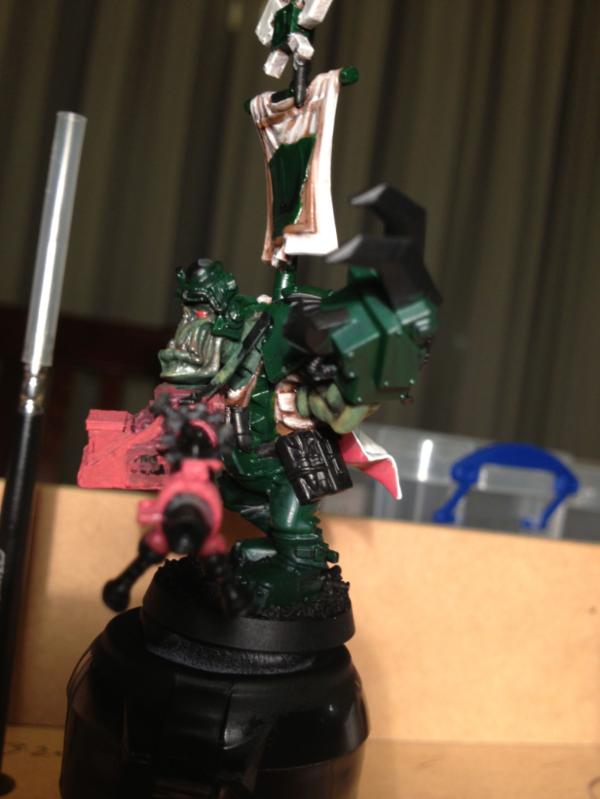
Left
Then Devlan Mud wash followed by 3:1 Calthan Brown/Bleached Bone.
Spoiler:
Front
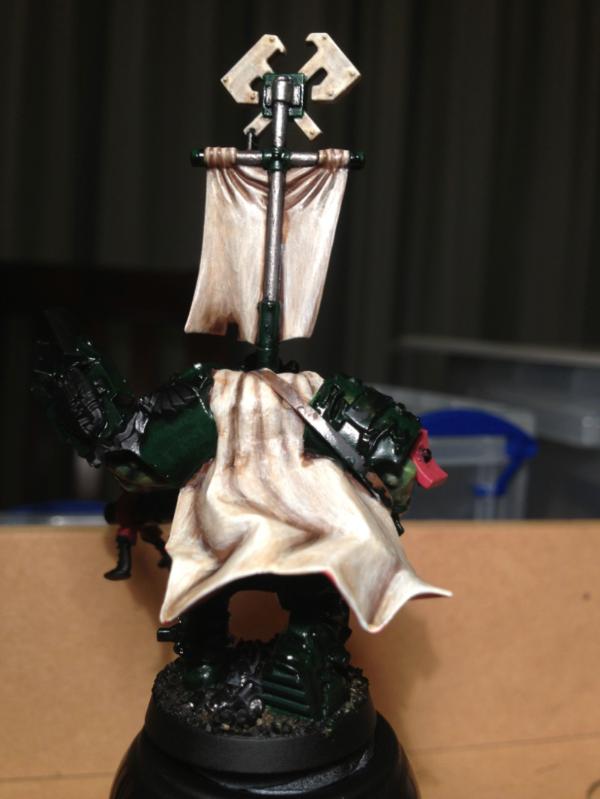
Back
Left
1:1 Calthan Brown/Bleached Bone.
Spoiler:
Front
Back
Left
1:2 Calthan Brown/Bleached Bone.
Spoiler:
Front
Back
Left
1:3 Calthan Brown/Bleached Bone. It's about here I seem to lose the smoothness on the larger areas - doh!
Spoiler:
Front
Back
Left
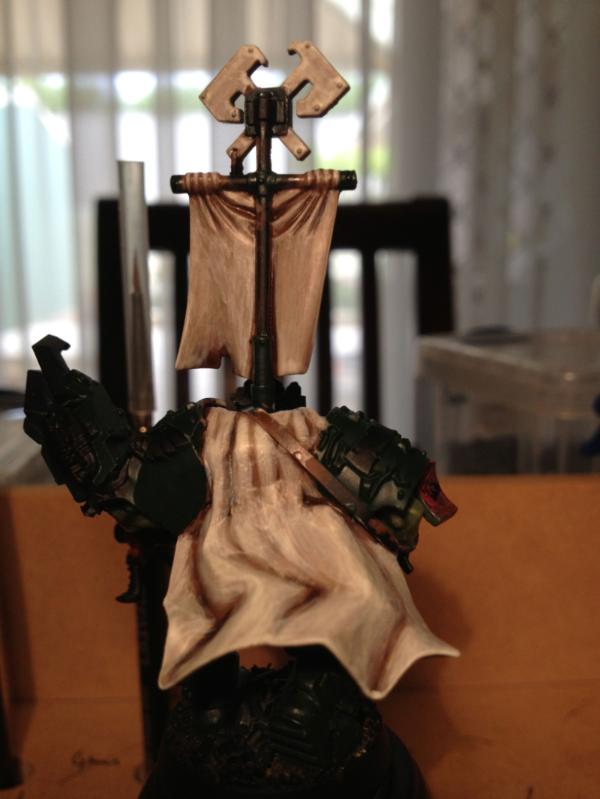
Bleached Bone
Spoiler:
Front
Back
Left
1:1 Skull White/Bleached Bone - and just goes more downhill from here. I'll look to patch up with dirt/grime and chipping later....
Spoiler:
Front
Back
Left
Skull White
Spoiler:
Front
Back
Left
Dark Angels Green touch up.
Spoiler:
Front
Back
Left
Chaos Black - touch up
Spoiler:
Front
Back
Left
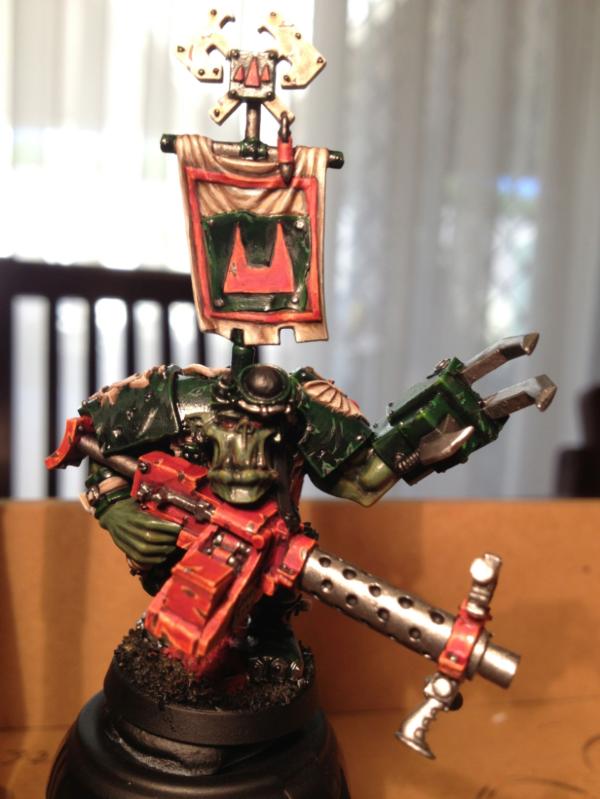
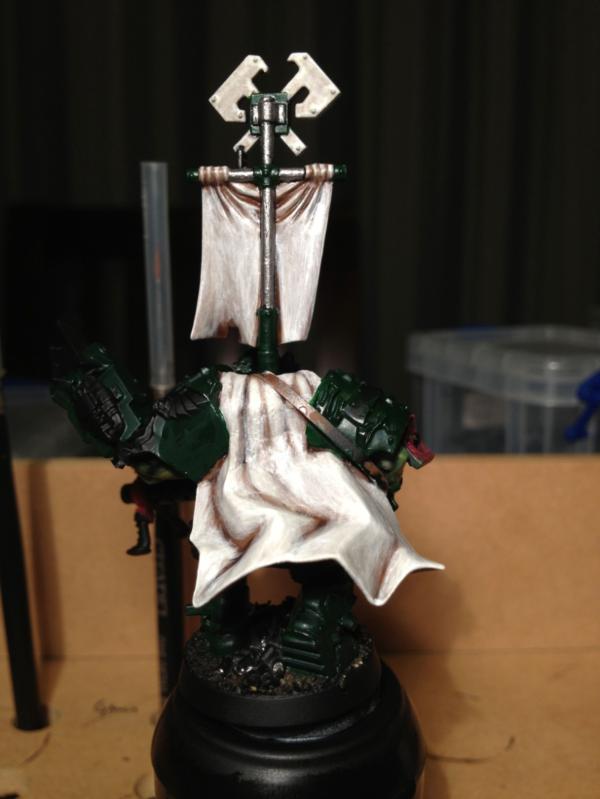
Boltgun Metal.
Spoiler:
Front
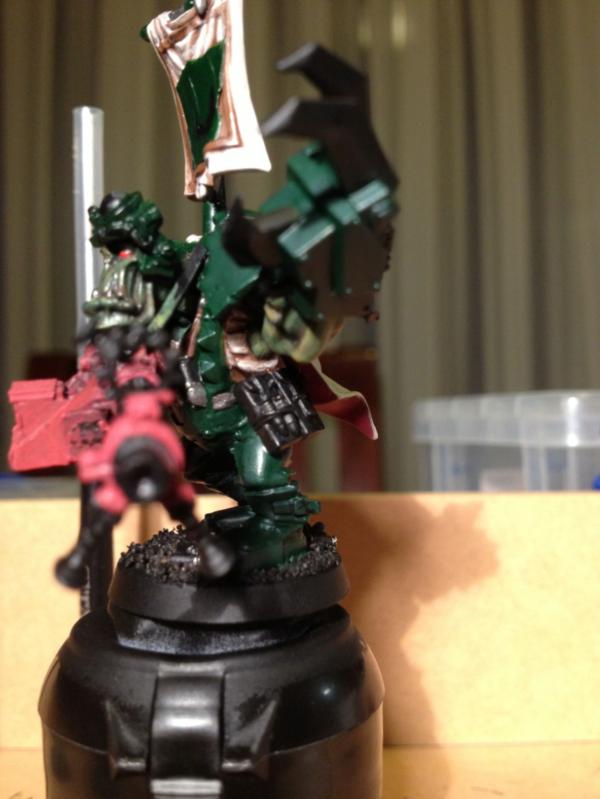
Back
Left
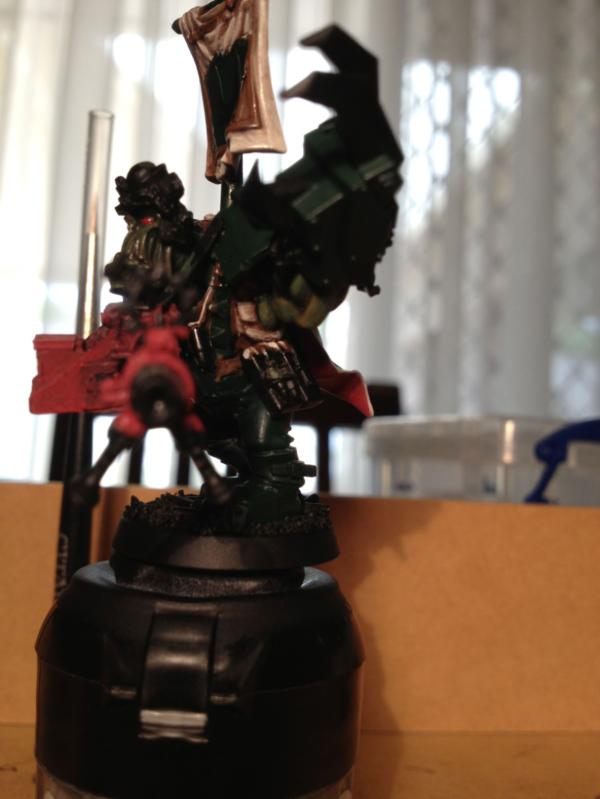
So, next step is a Badab Black wash over the Boltgun Metal and Dark Angels Green, and then highlight both up - should be fun...
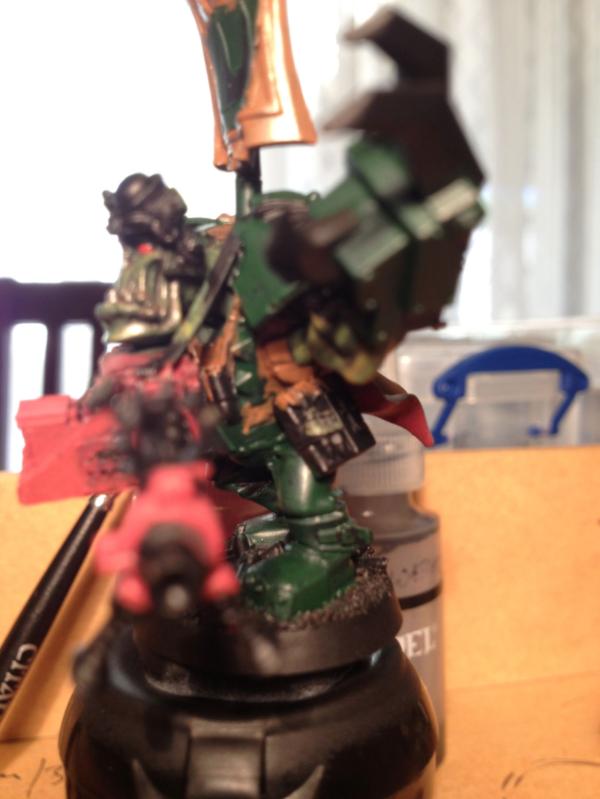
@monkeytroll: No, but that's why I post my painting in progress - for such timely suggestions Hmmm... I missed the "very thinned" part though... see pics 3 & 4 below.
@Camkierhi, Gitsplitta, HAZZER: Thanks.
@Casey's Law: Feel free to post those links to great online articles about colour theory
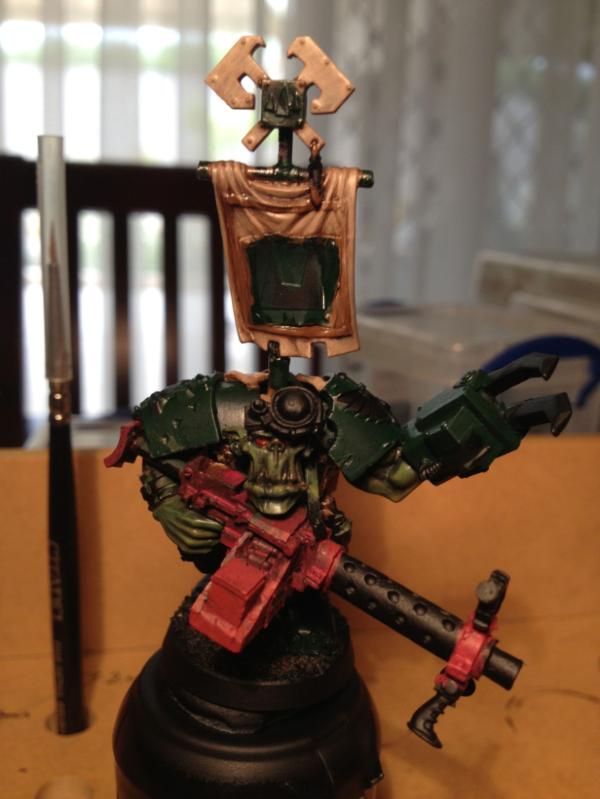
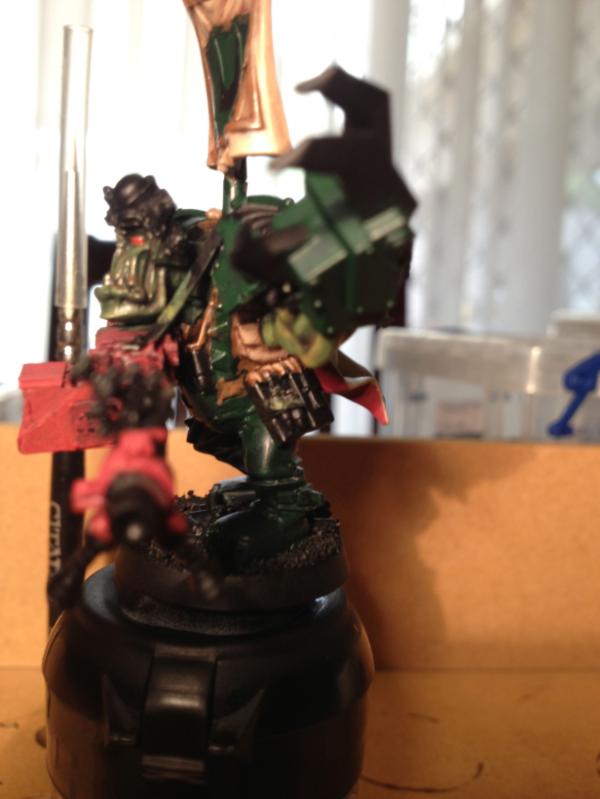
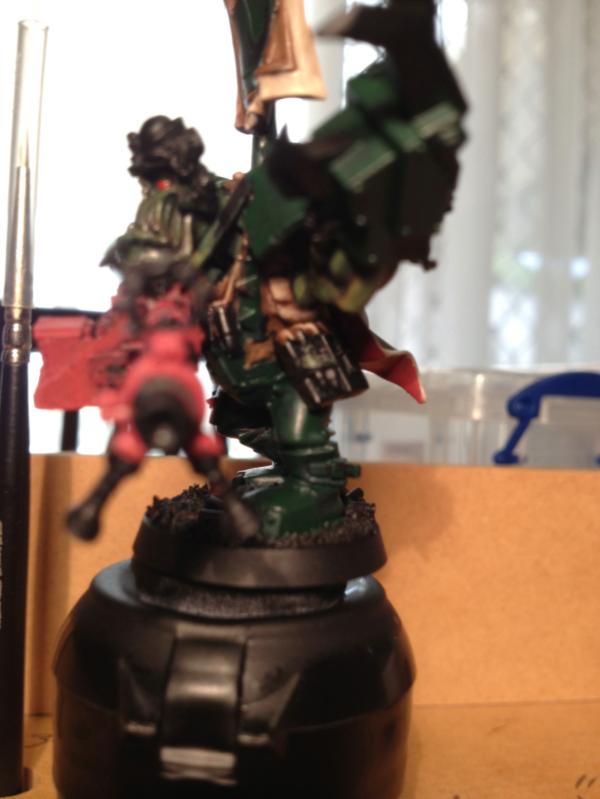
Good thing I went back through my blog (I love the filter function!) - apparently I did a 2:1 Dark Angels Green/Chaos Black wash (copious amounts of Gloss Varnish and Water - 5:4) on the armour first, not Badab Black. So I started with a Badab Black wash on the metal and the above wash on the armour and clothing. Wasn't so much a wash as a complete darkening of everything - but I like it It adds more contrast between the flesh and armour/clothing, as well as giving me plenty of room to highlight up.
Front
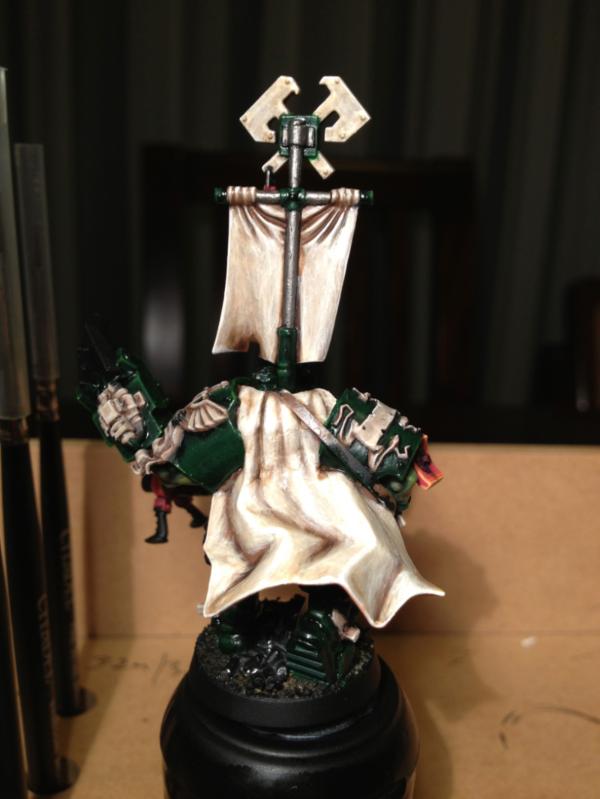
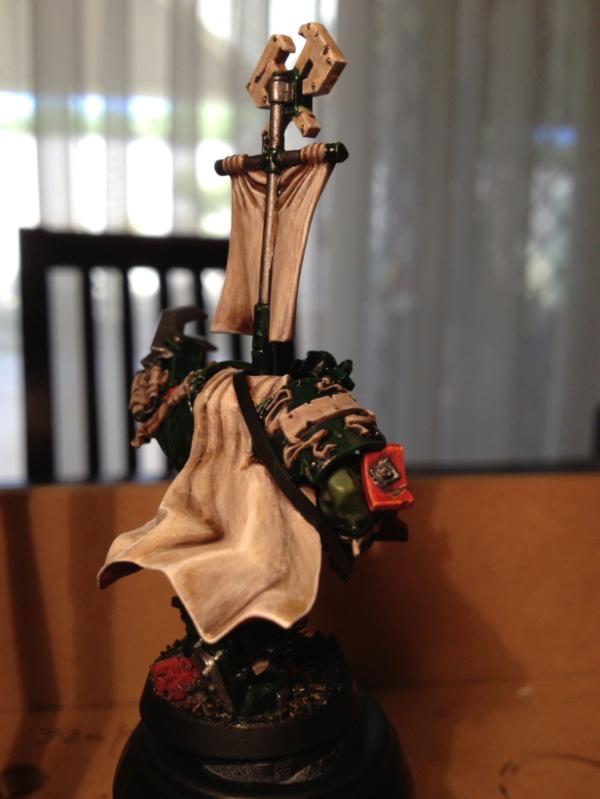
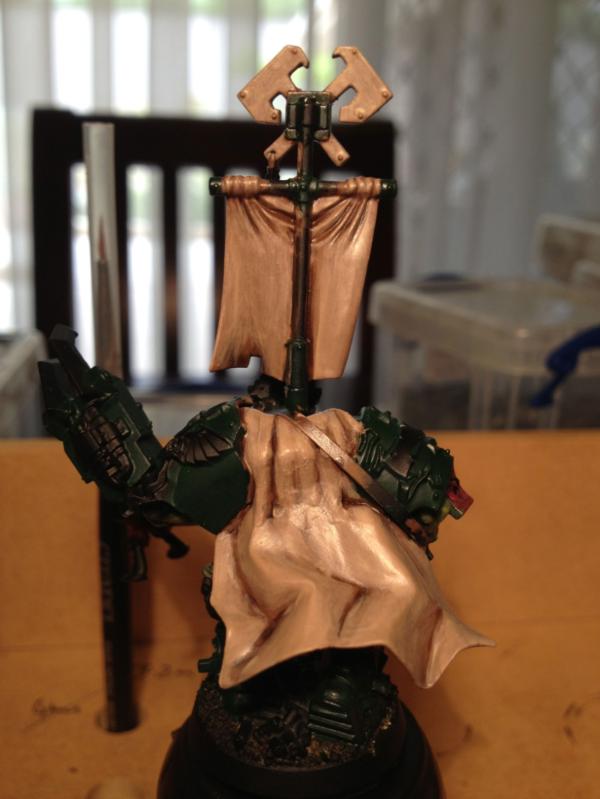
Back
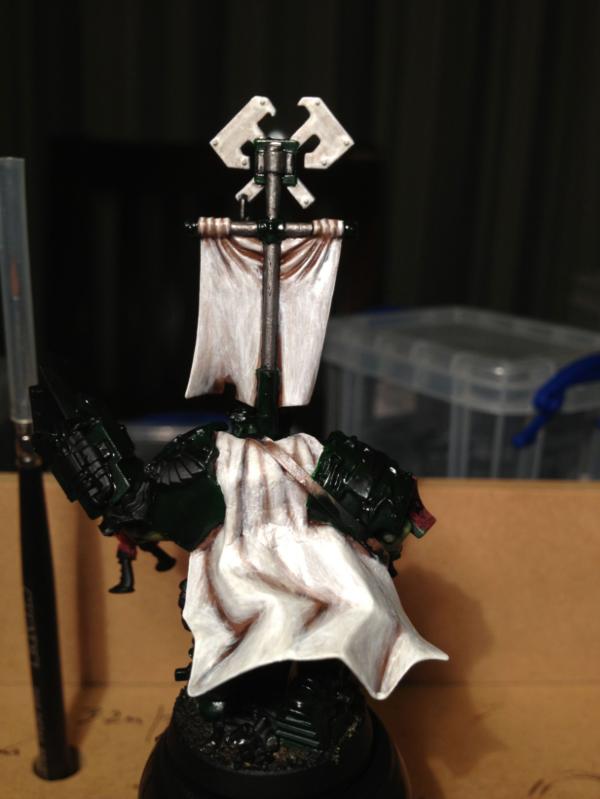
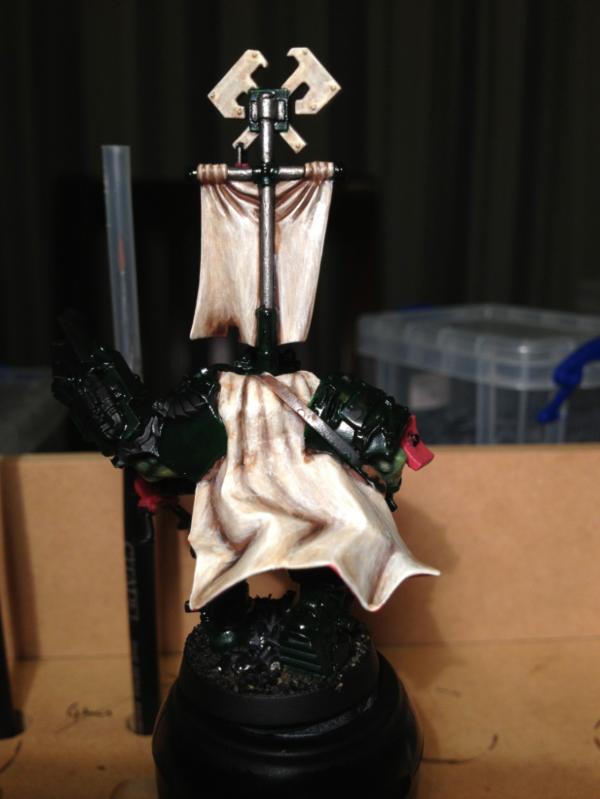
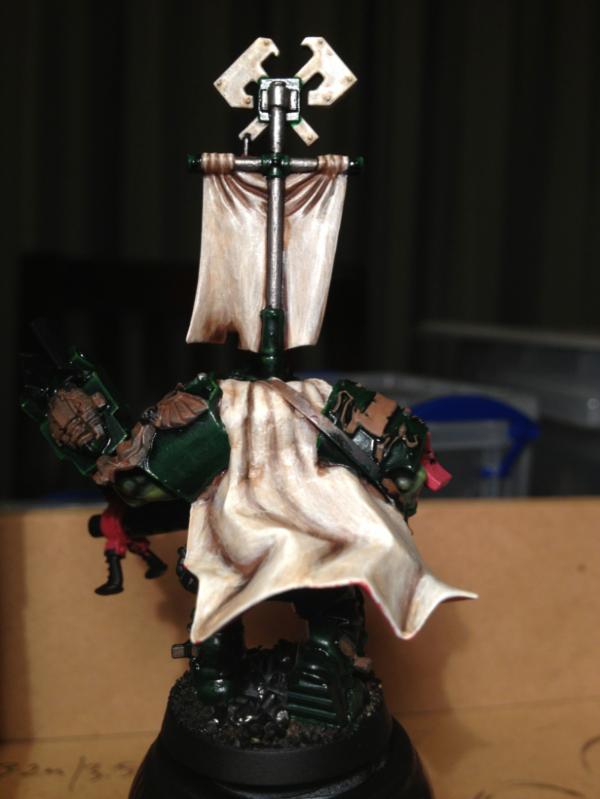
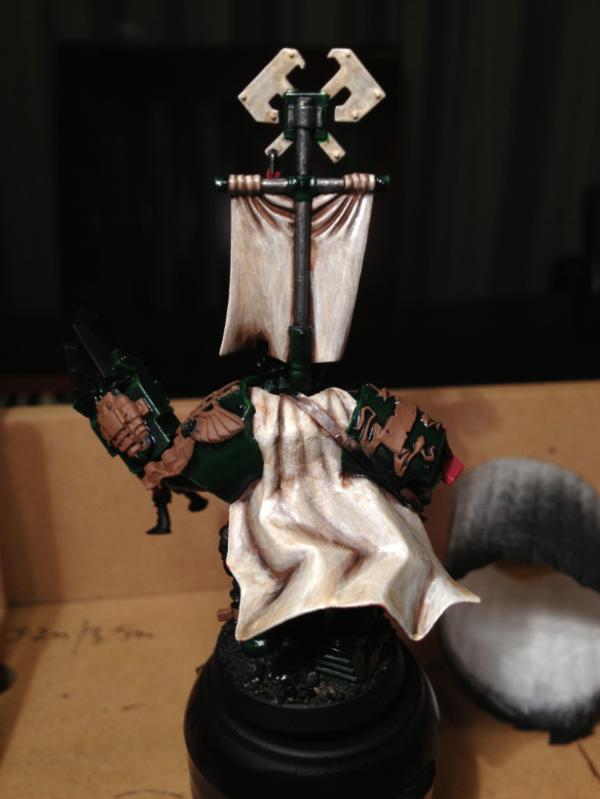
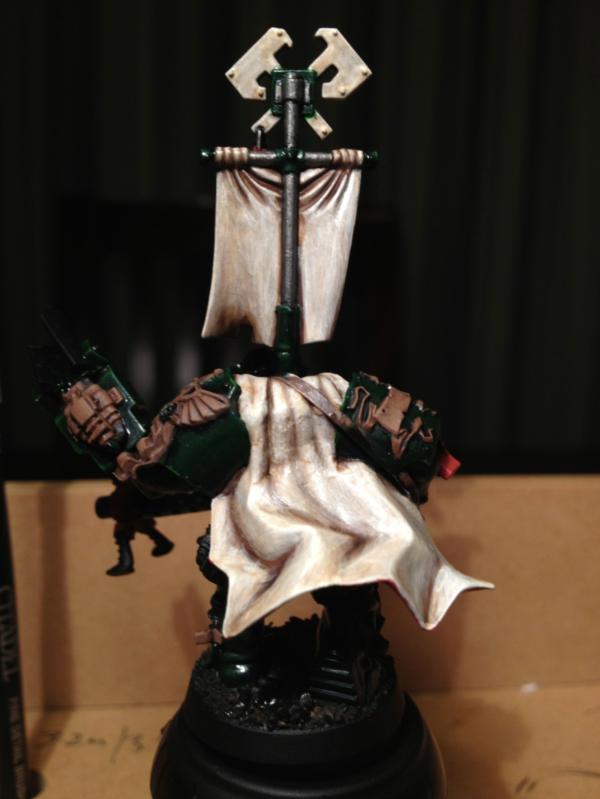
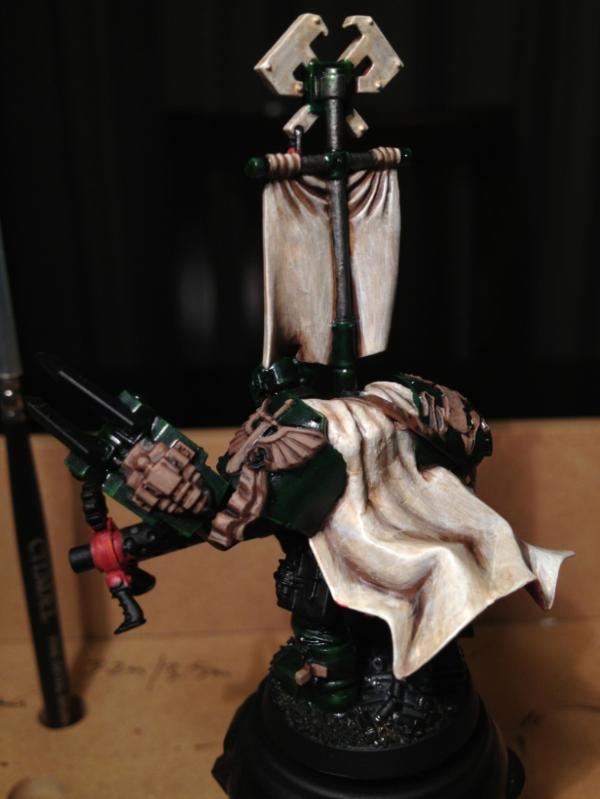
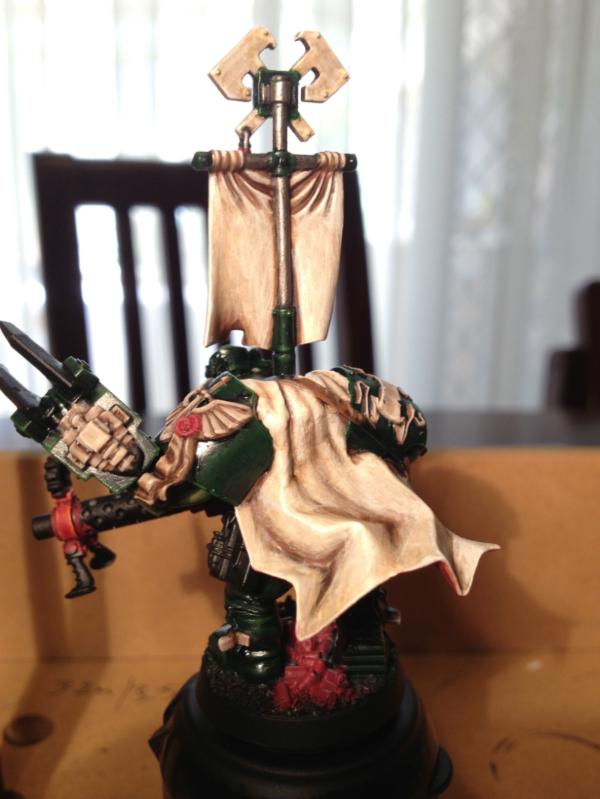
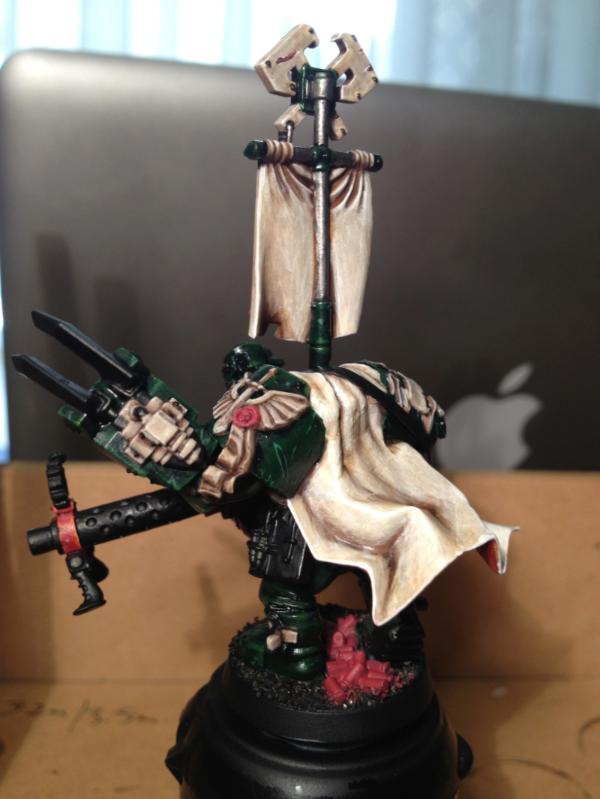
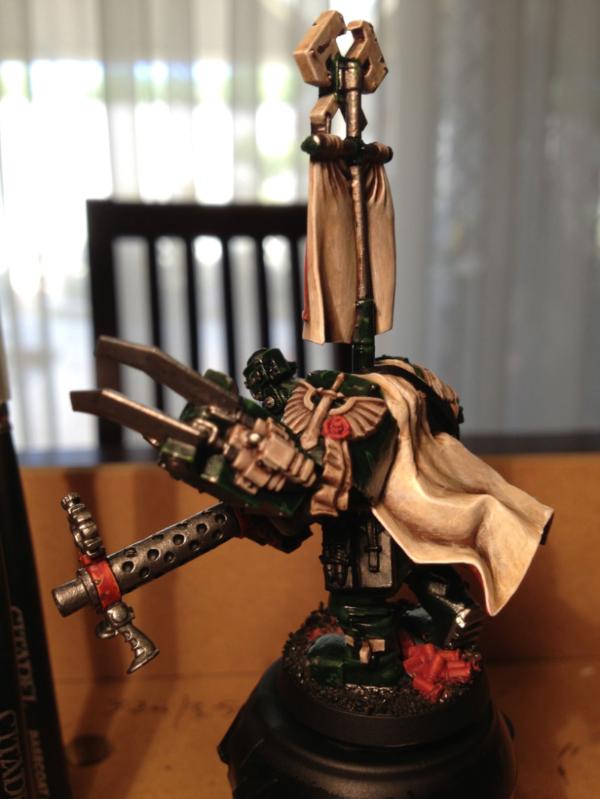
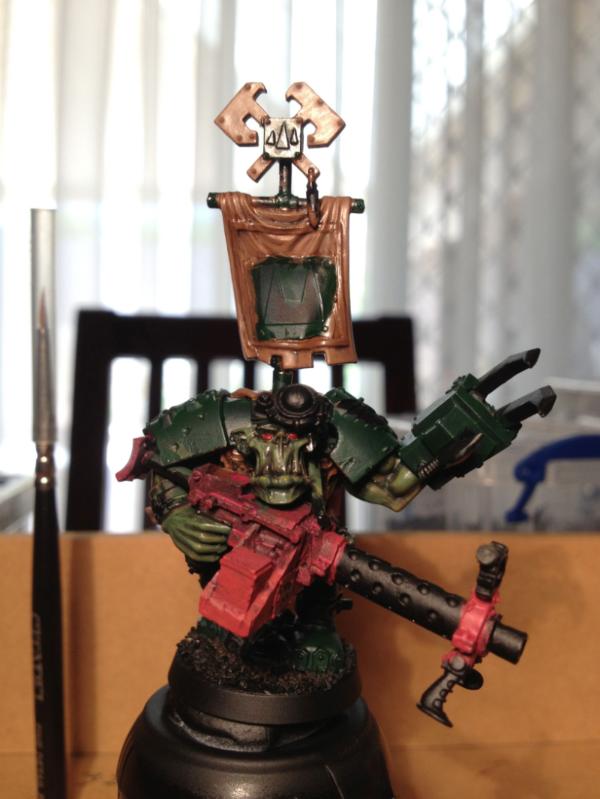
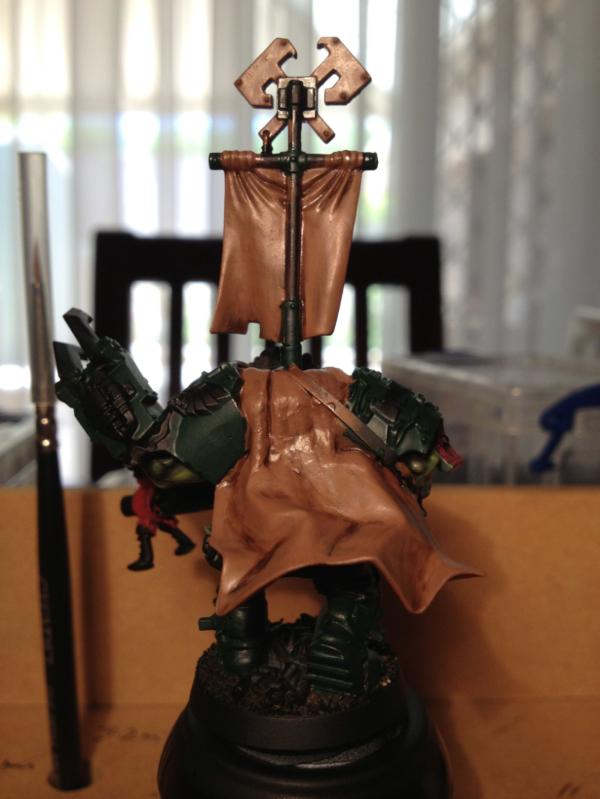
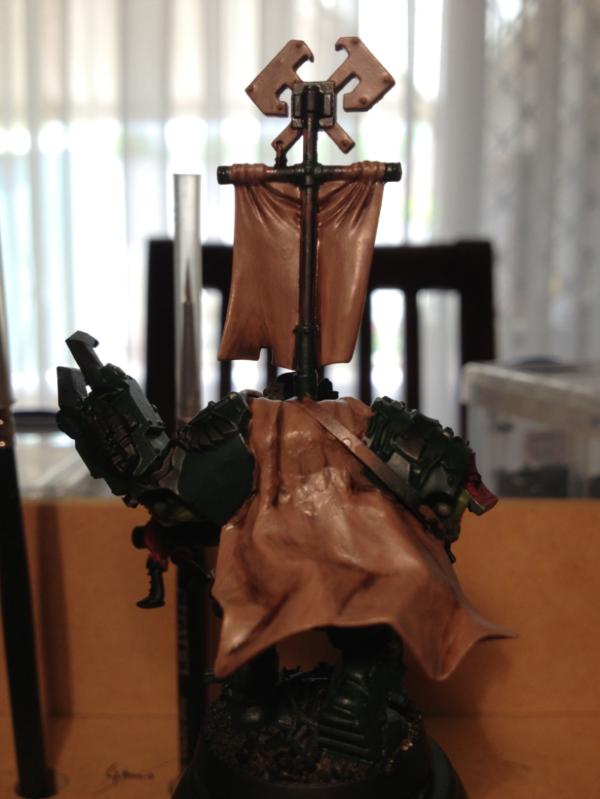
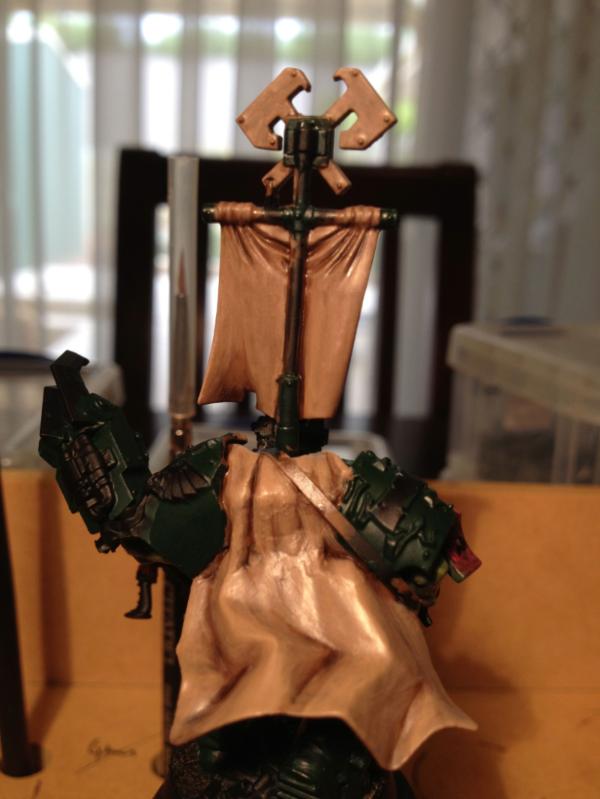
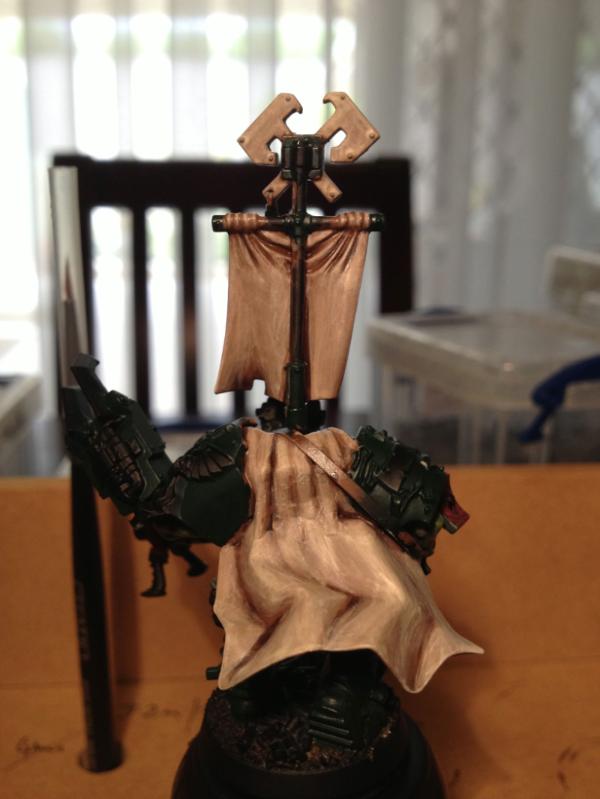
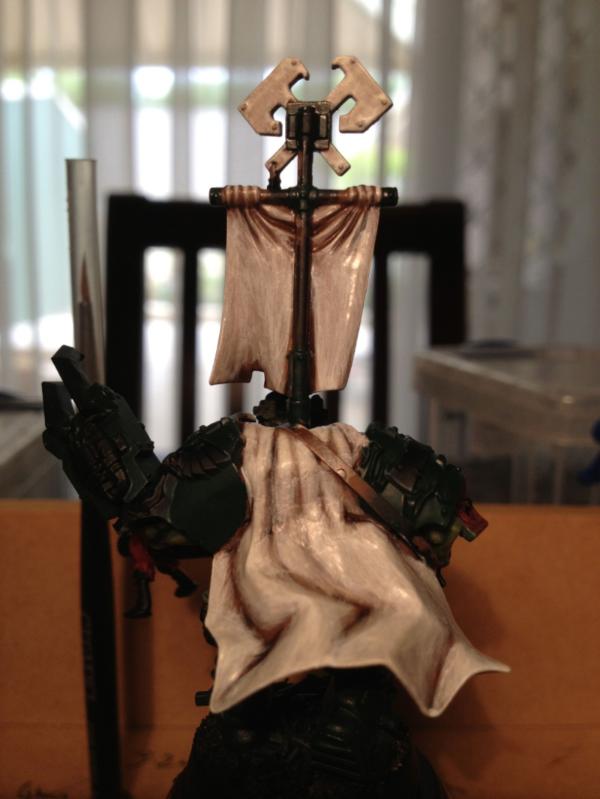
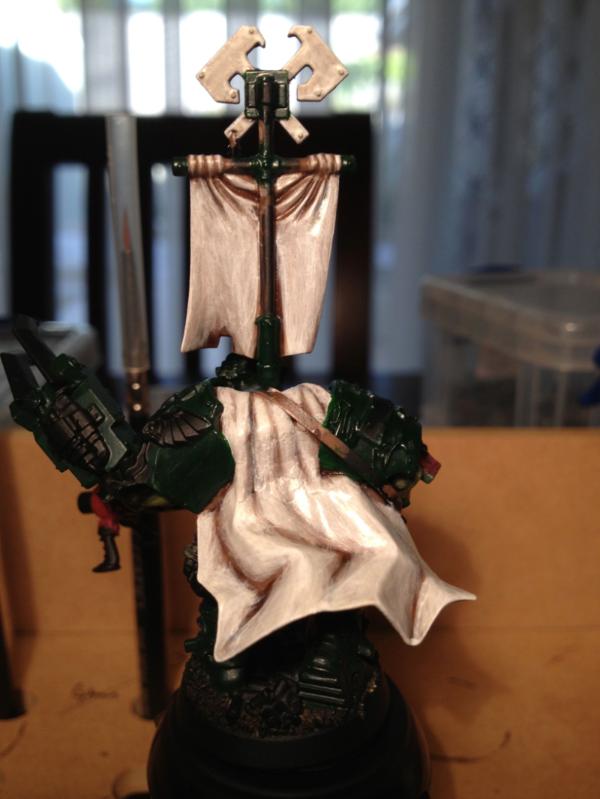
Then, taking monkeytroll's great idea to heart (but forgetting the "very thin" part) -applied a Gryphonne Sepia wash to the cloak, banner and top axes.
Front
Back.
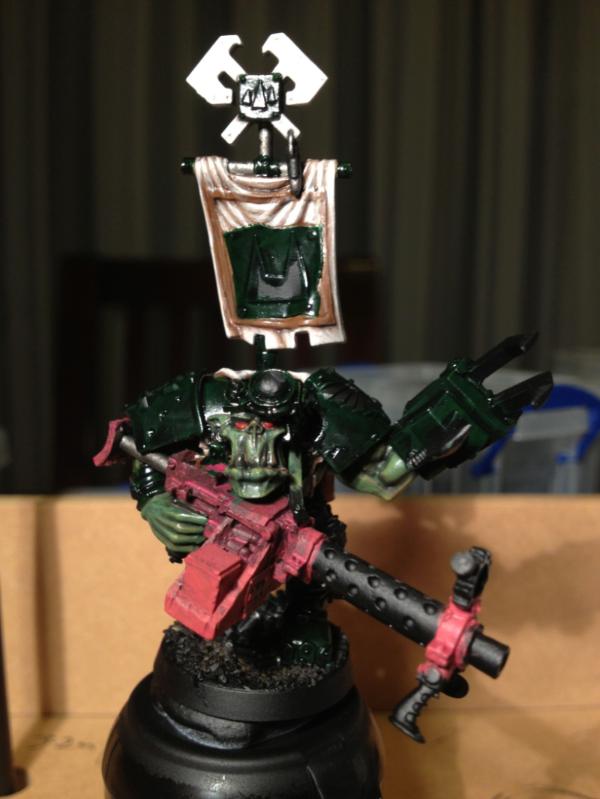
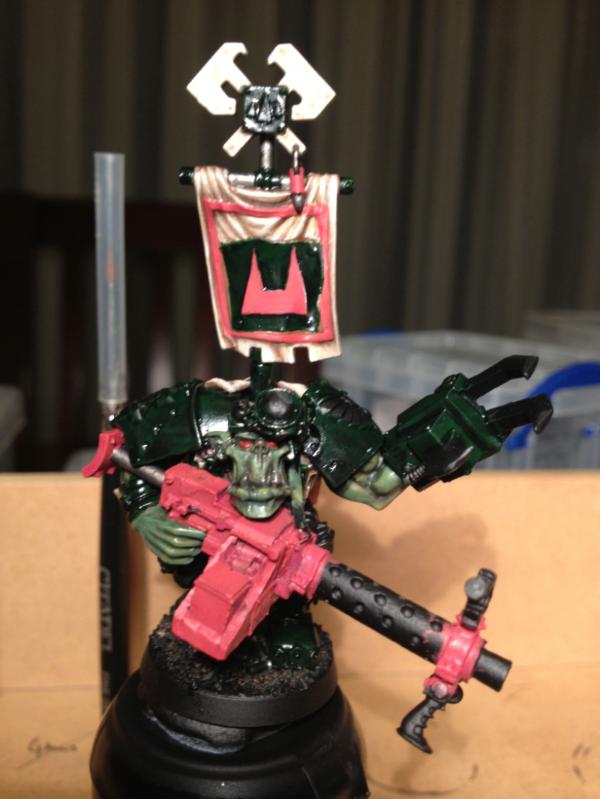
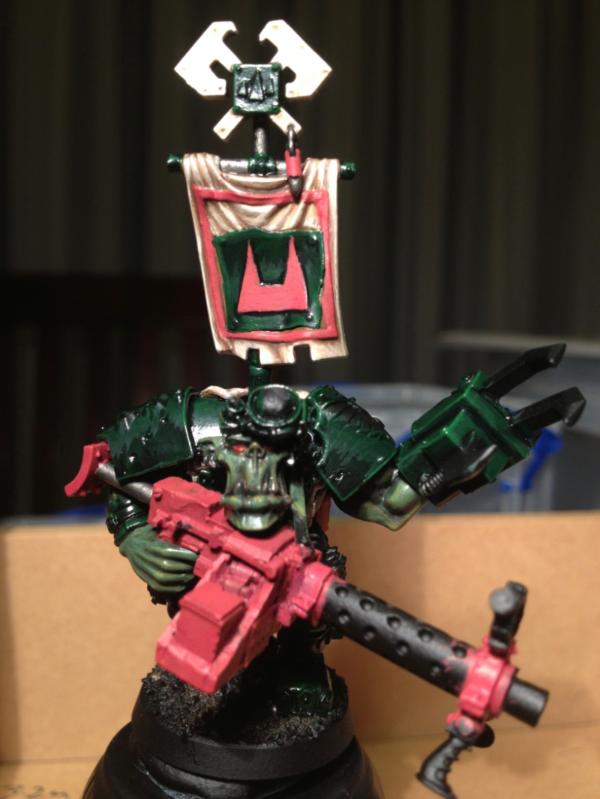
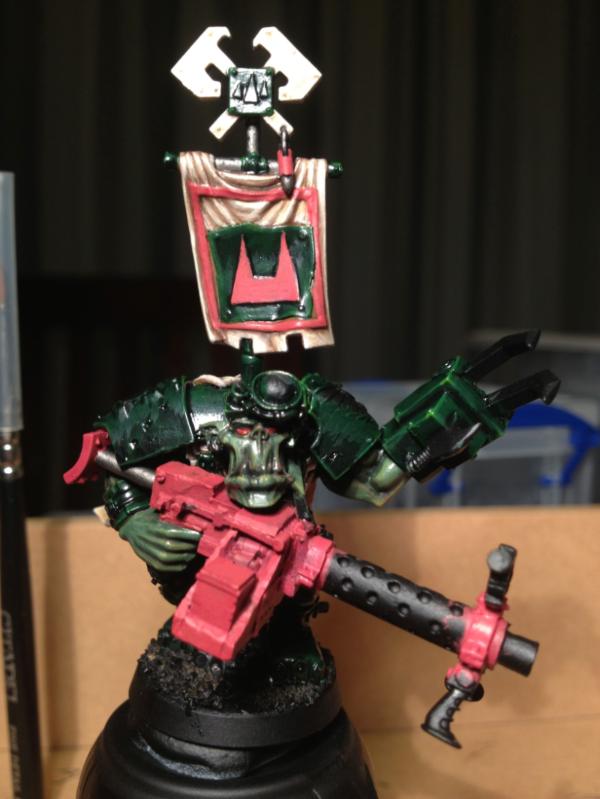
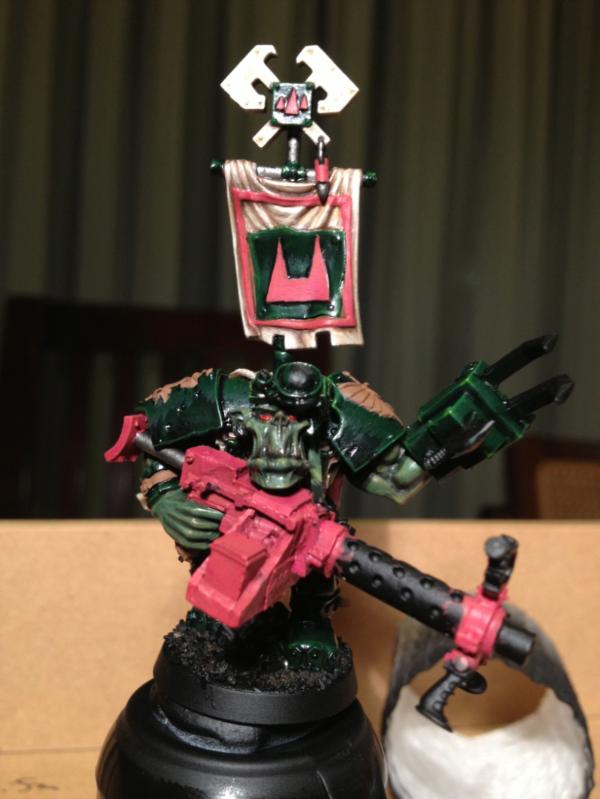
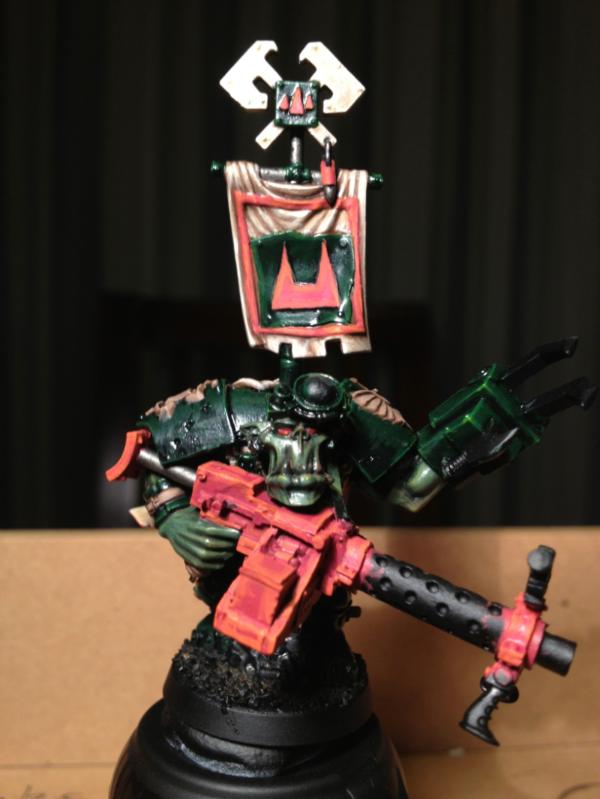
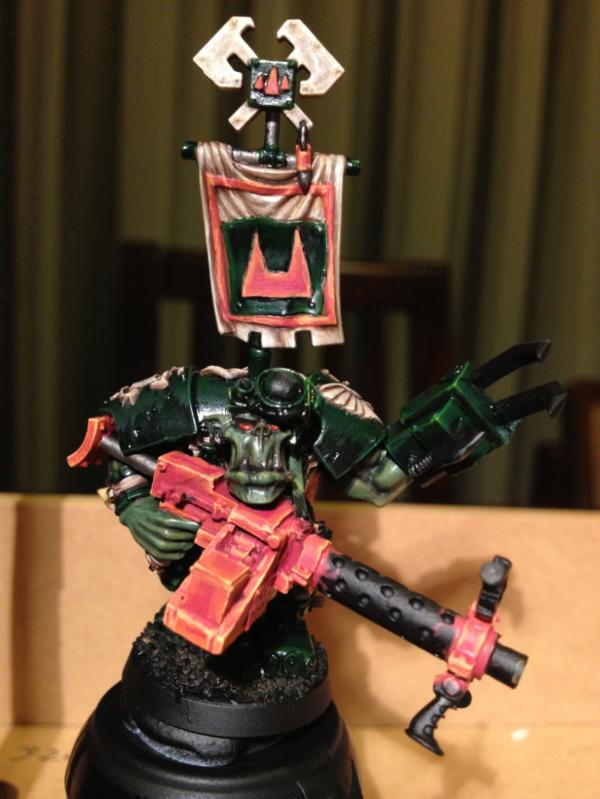
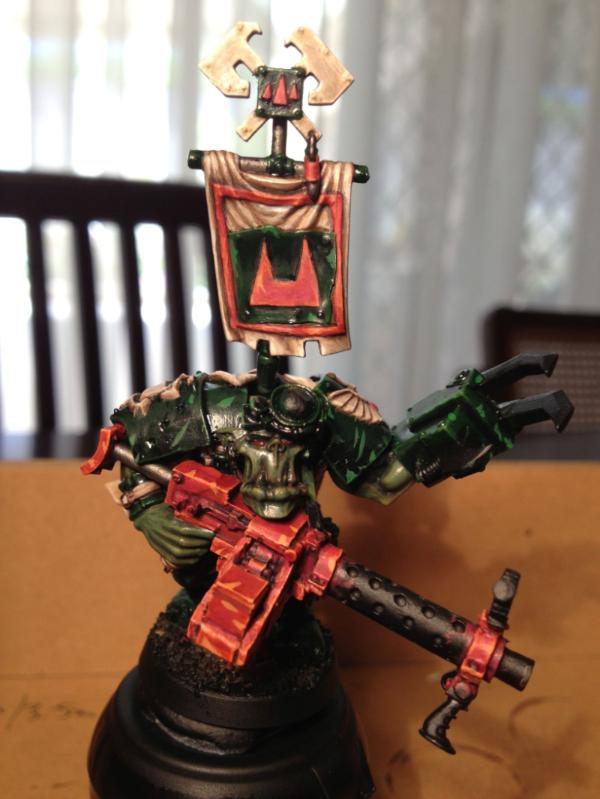
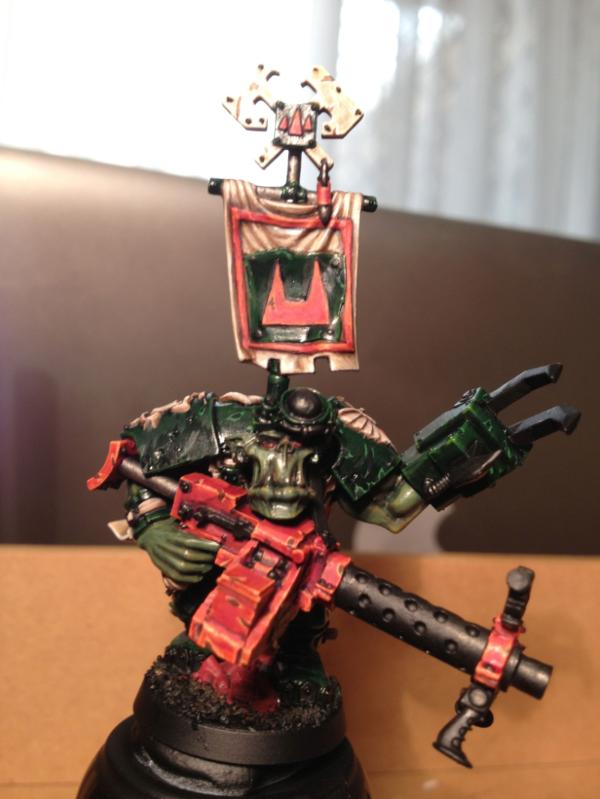
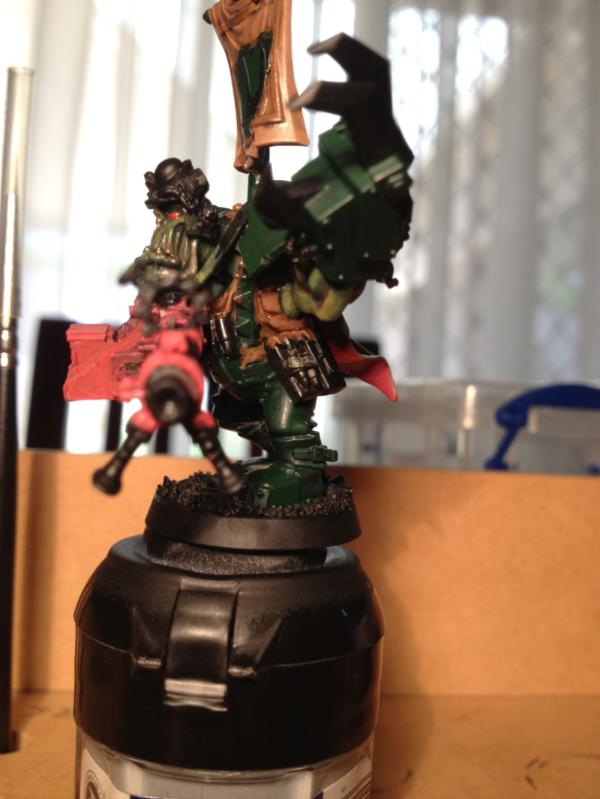
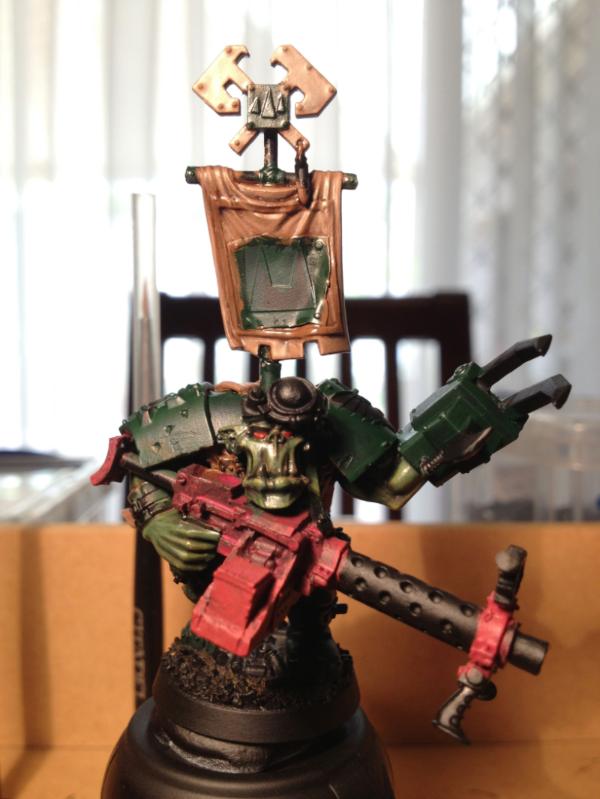
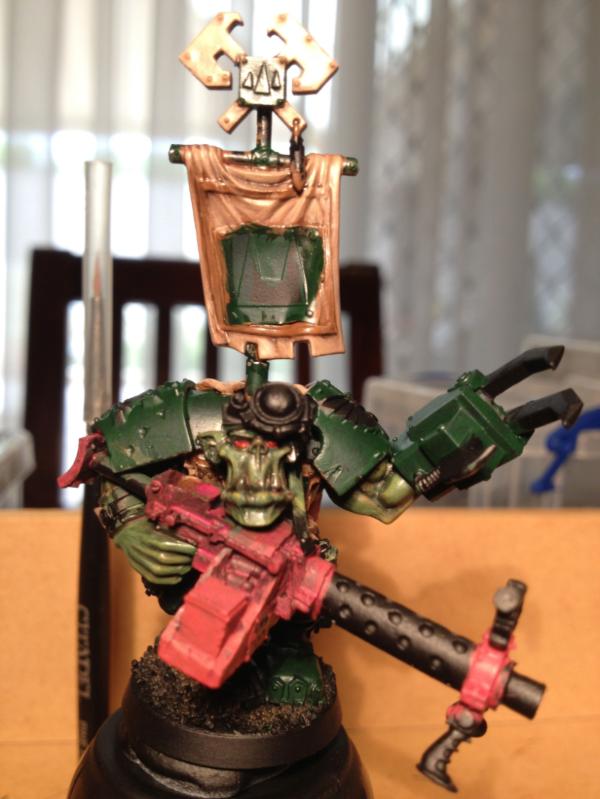
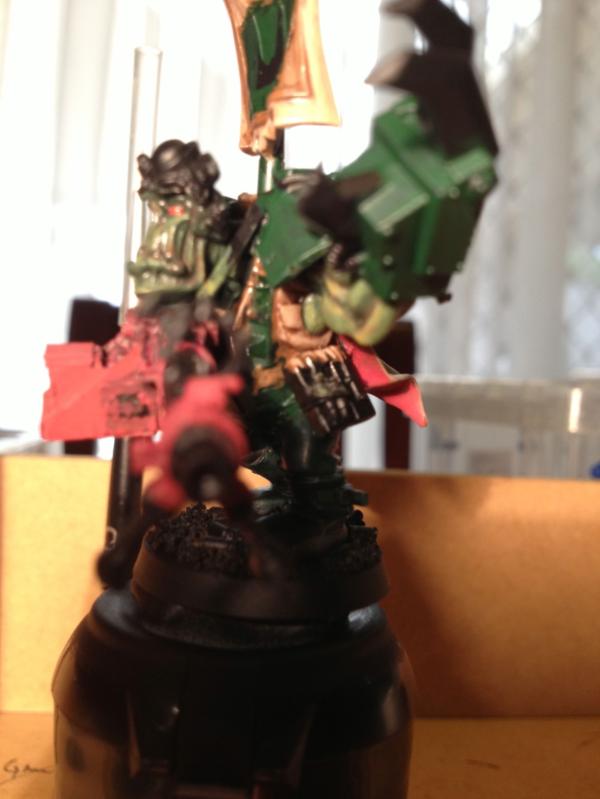
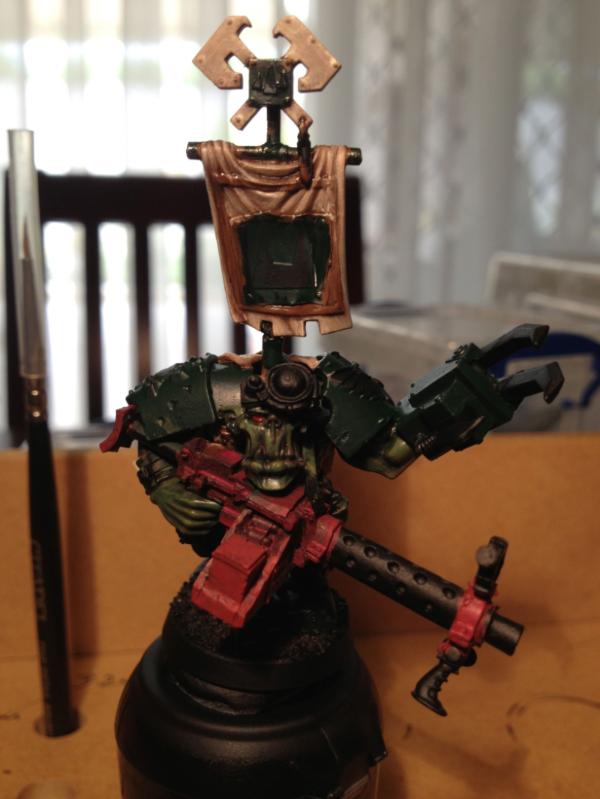
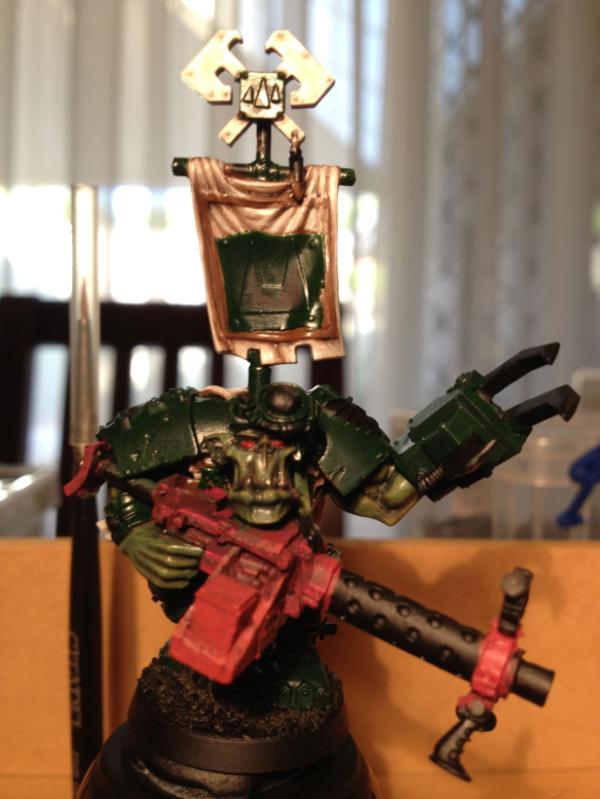
Could probably re-use some sharp Skull White edge highlights now... Finally, because I couldn't help myself, I blocked in the red, including some details...
This stage shows a really big change and it looks great.
And here are those articles:
Colour Theory 101 Miniatures 102 - Shading & highlighting I think i might read them a long time ago as I have read a few Brushthralls pieces in the past. If I had, I clearly hadn't understood them very well.
@cormadepanda: I have a fast approaching deadline to meet!
@HAZZER: Thanks again as always
@Camkierhi: Thanks.
@lone dirty dog: Glad you appreciate the breakdown, though its mostly for me when I go back and try to work out what I did previously (Which is actually happening this time around...)
@monkeytroll: Agreed and agreed.
@Casey's Law: Thanks, and again for the links.
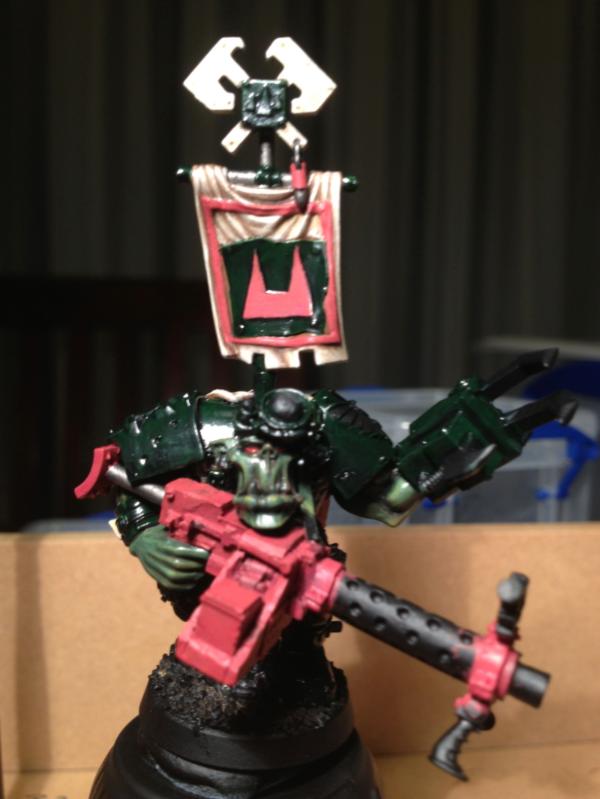
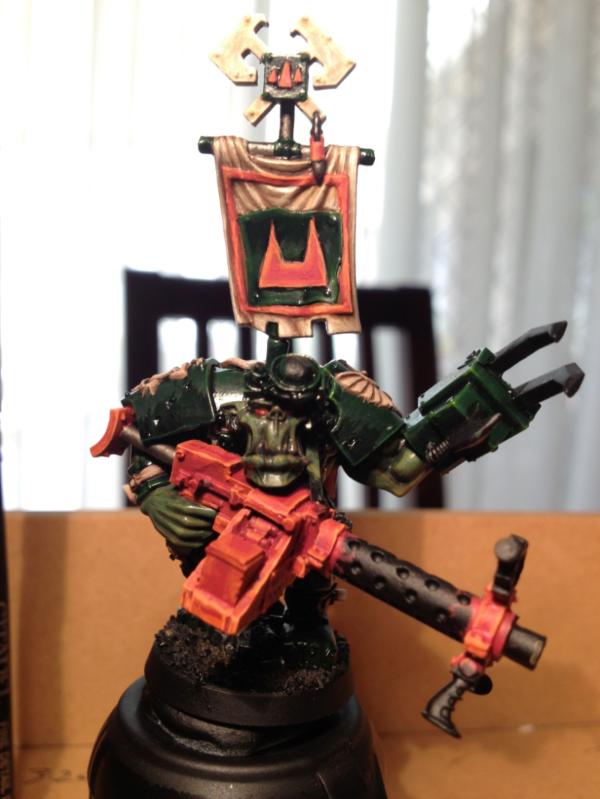
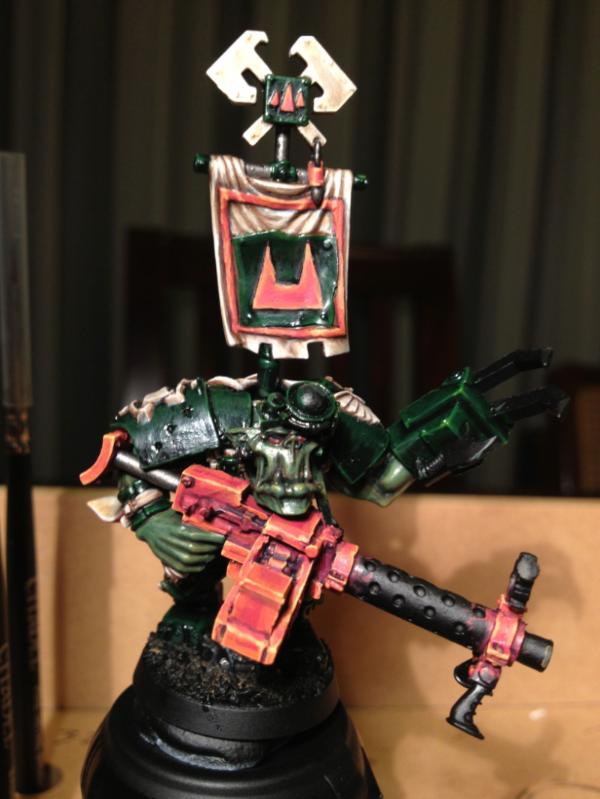
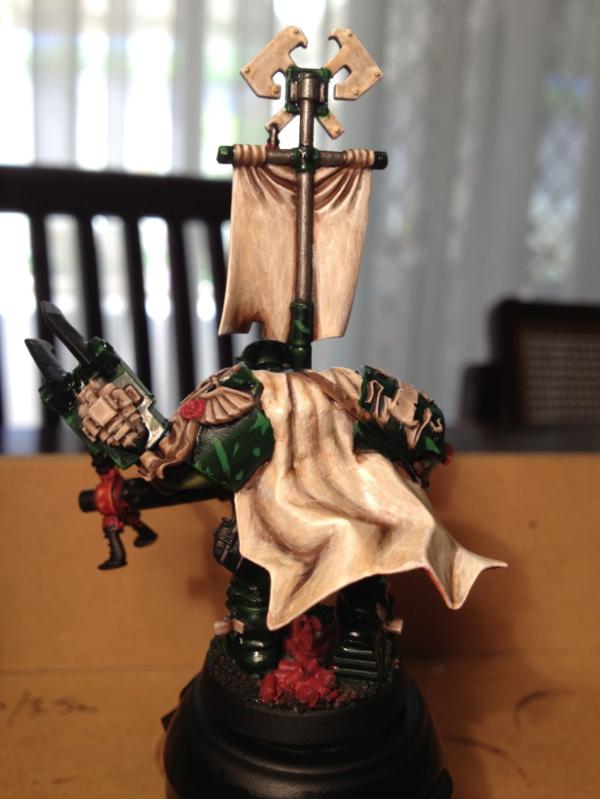
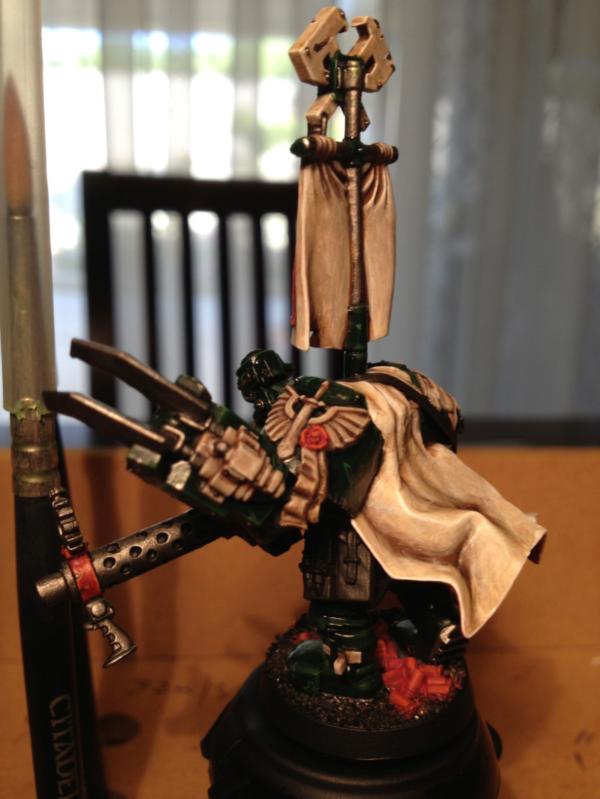
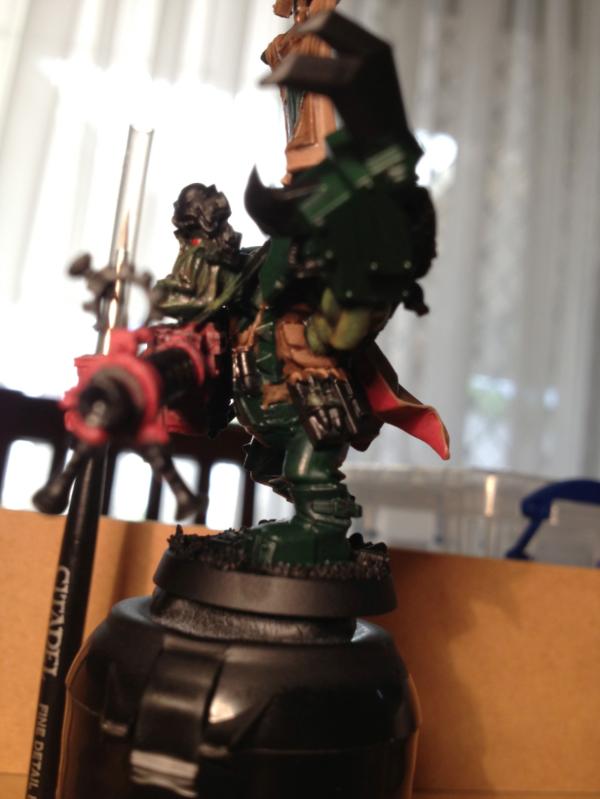
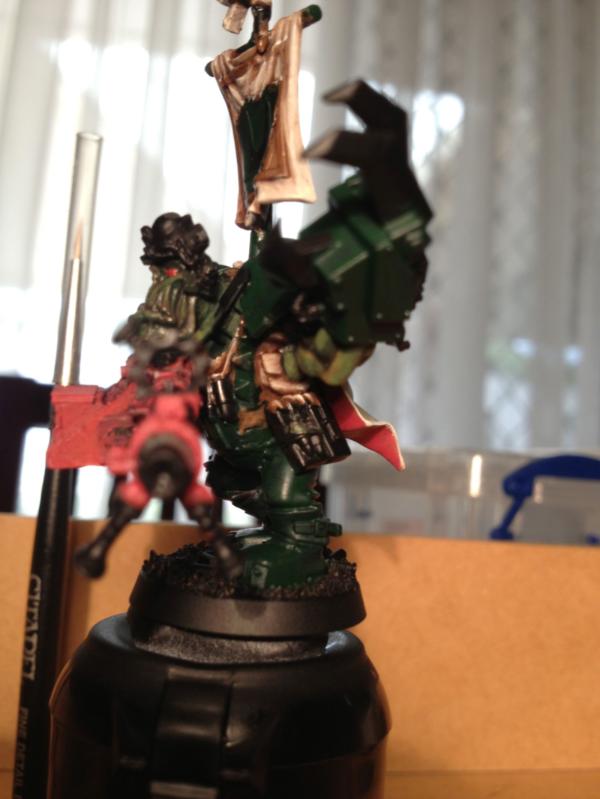
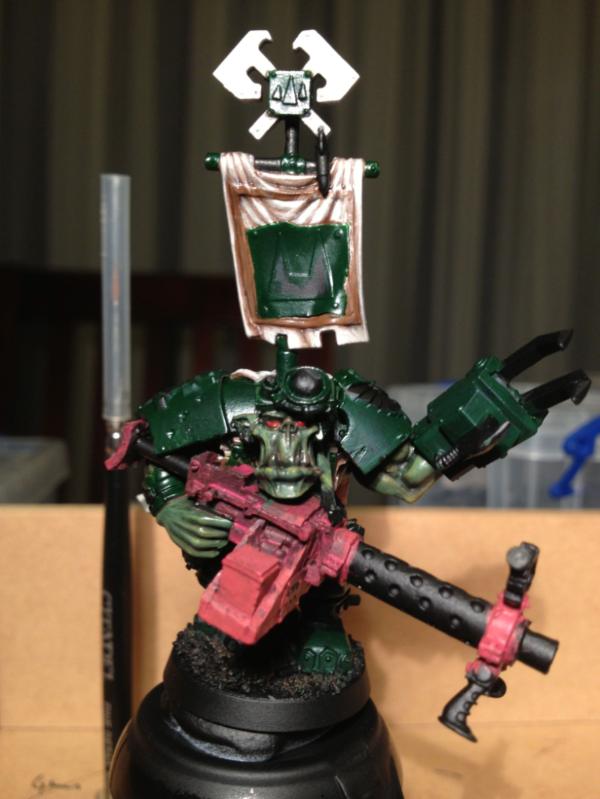
So, worked on the other green tonight...
DA Green layer.
3:1 DA Green/Snot Green layer
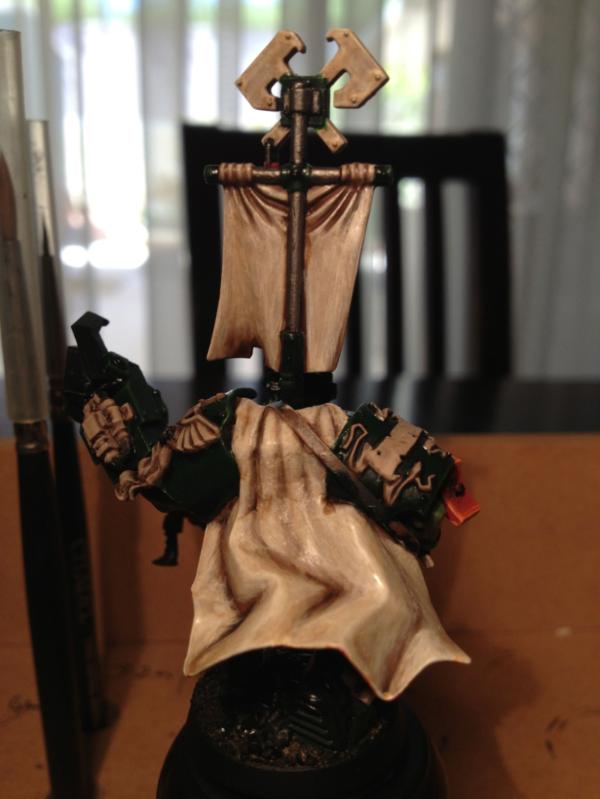
Back
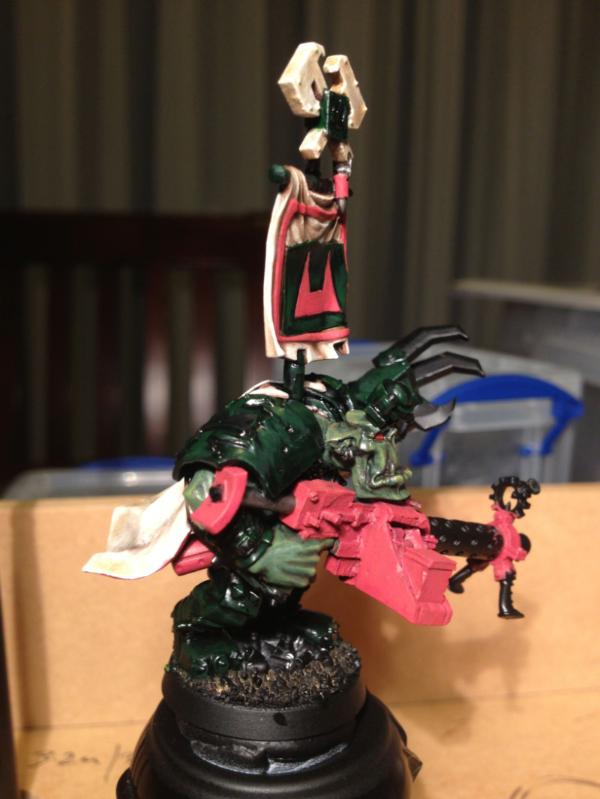
Right
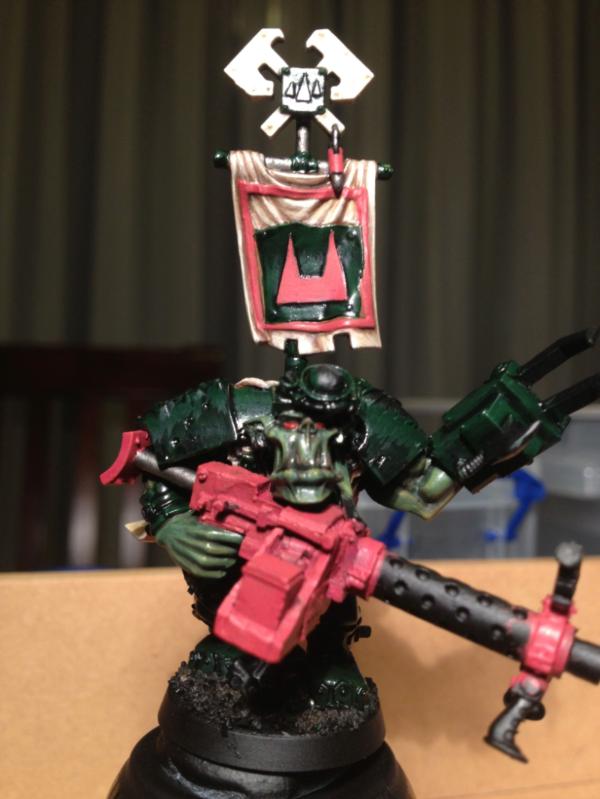
Looks a little messy - but that's more the difference in Gloss Varnish added (the shiny vs matt) - and should smooth out with a wash and/or final varnishing.
Coming on very nicely love how the cream/beige cape works with the Ork skin tone, you really did create an original look with your themed ork army wish I thought of it
And that is why you hear people yelling FOR THE EMPEROR rather than FOR LOGICAL AND QUANTIFIABLE BASED DECISIONS FOR THE BETTERMENT OF THE MAJORITY!
Phototoxin wrote:Kids go in , they waste tonnes of money on marnus calgar and his landraider, the slaneshi-like GW revel at this lust and short term profit margin pleasure. Meanwhile father time and cunning lord tzeentch whisper 'our games are better AND cheaper' and then players leave for mantic and warmahordes.
daveNYC wrote:The Craftworld guys, who are such stick-in-the-muds that they manage to make the Ultramarines look like an Ibiza nightclub that spiked its Red Bull with LSD.
@lone dirty dog: I think GW's Dark Angels proved this a good colour scheme *way* before me (though obviously not with Orks) - still - you are welcome to loot it!
@Squidbot: Yeah, I was bit tentative about it early on, but now I know it works, so, less of an achievement these days...
I've been "distracted" by XCOM: Enemy Unknown, but there has been some small progress. Luckily the competition has been extended a week, I'm not sure I'll make the 28th now...
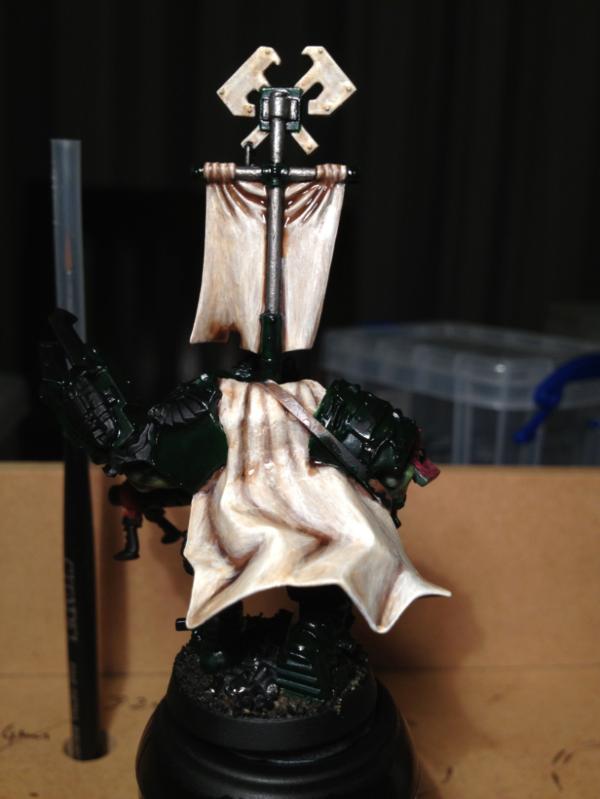
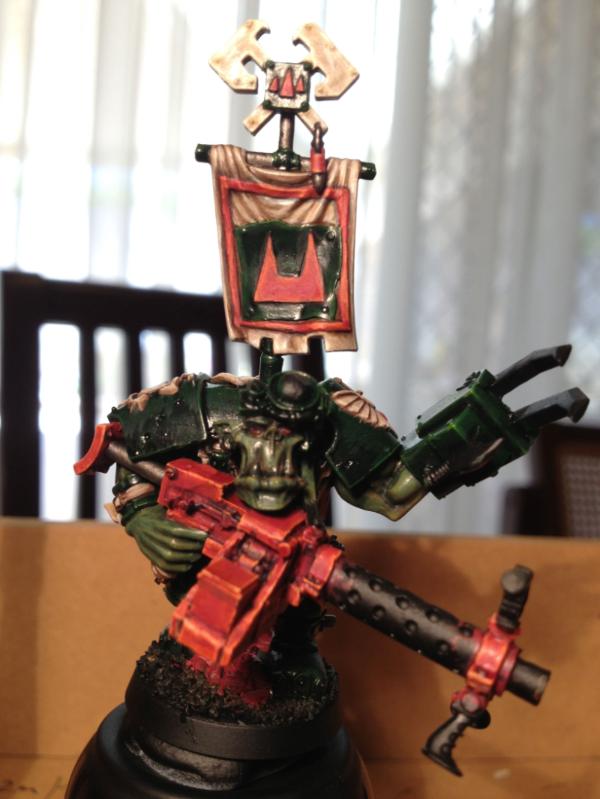
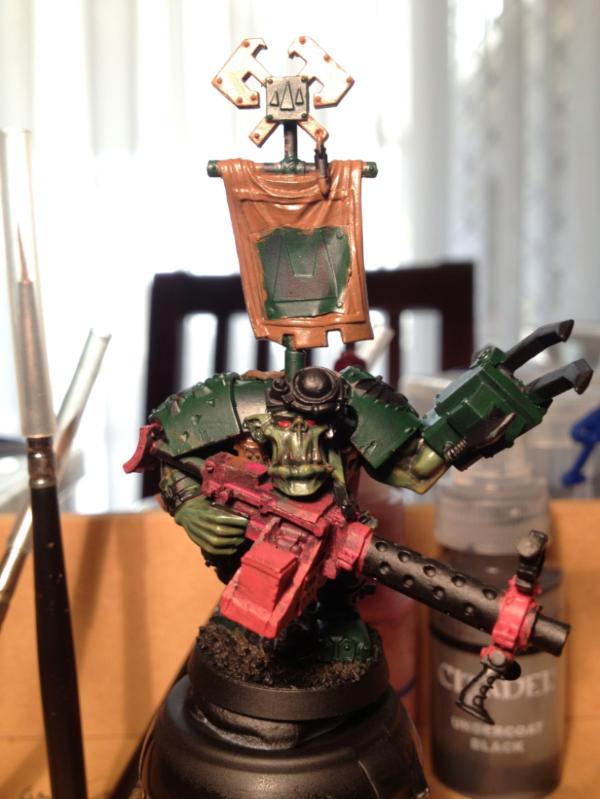
First coat of Calthan Brown on raised detail.
Back.
Second coat of Calthan Brown on raised detail. As always, we are after multiple thin coats, even if it takes longer!
Looking good so far mate! Shame you may get the modle finished on time. As well as paint to such a high standard! I'm so going to lose! For some reason becuase I have not painted since early September my painting is horrable now!!!! :(
@cormadepanda: Me too! Especially tonight's update... (getting close!)
@HAZZER: There can only be one... 1st place - but we will all be winners because we will have a new hero painted! I should still get it done on time - I have tomorrow off (public holiday), so that helps too. Yes, painting takes practise - but I'm starting to find the Da Dark Angelz colour scheme is coming quite naturally now... (I haven't painted since before June last year!)
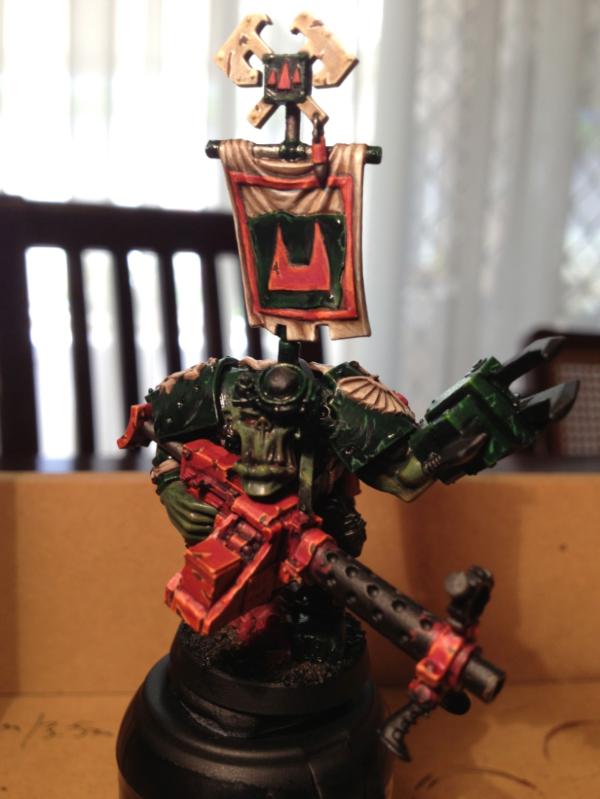
Anyway, I've been storing these up apparently, so image dump!
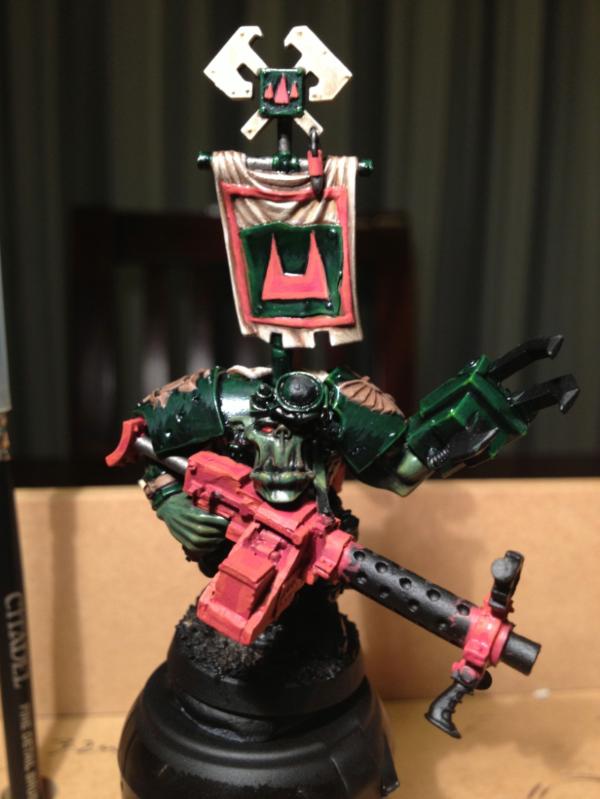
Devlan Mud wash followed by 3:1 Calthan Brown/Bleached Bone on raised details. 1:1 Mechrite Red/Blazing Orange on red.
Back.
1:1 Calthan Brown/Bleached Bone on raised details. Blazing Orange on red.
Back.
1:2 Calthan Brown/Bleached Bone on raised details. 1:2 Blazing Orange/Vomit Brown on red.
Back.
1:3 Calthan Brown/Bleached Bone on raised details. Vomit Brown on red.
Left.
Right.
Bleached Bone on raised details. Asurman Blue wash on red.
Back.
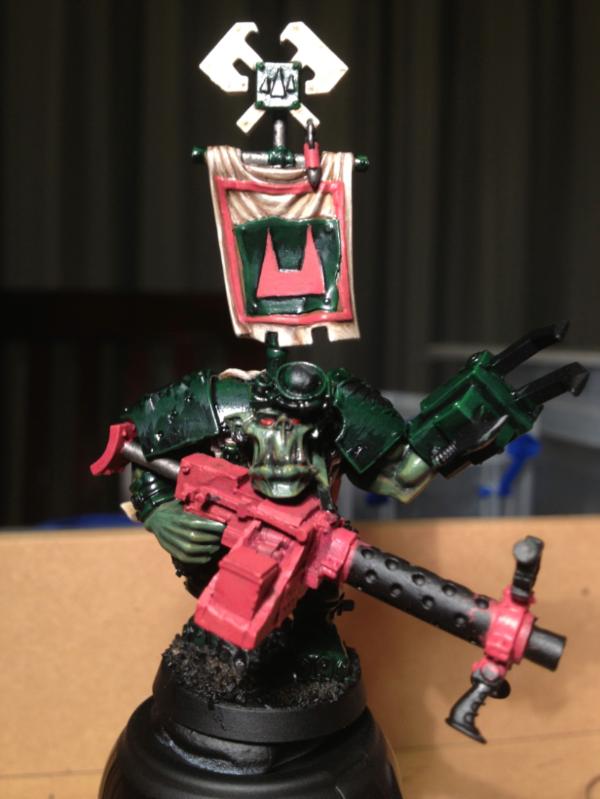
Skull White on raised details. Baal Red Wash on red.
Back.
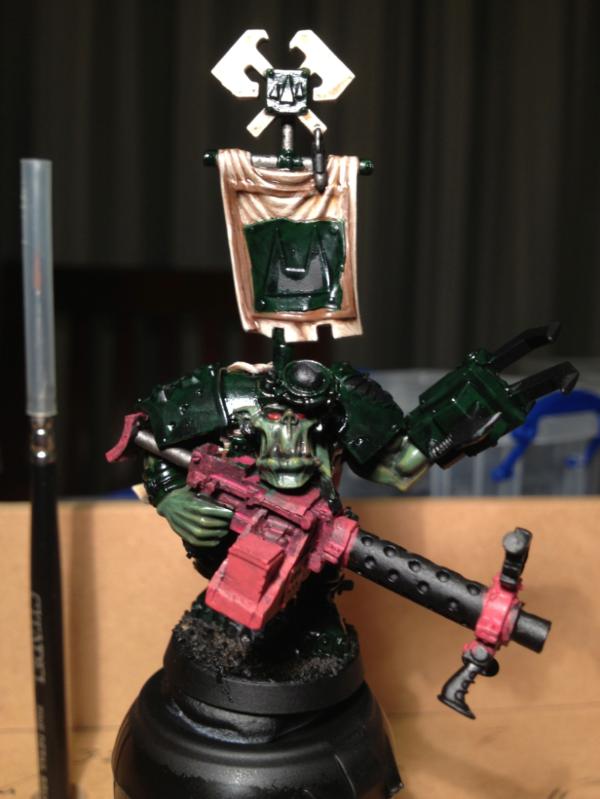
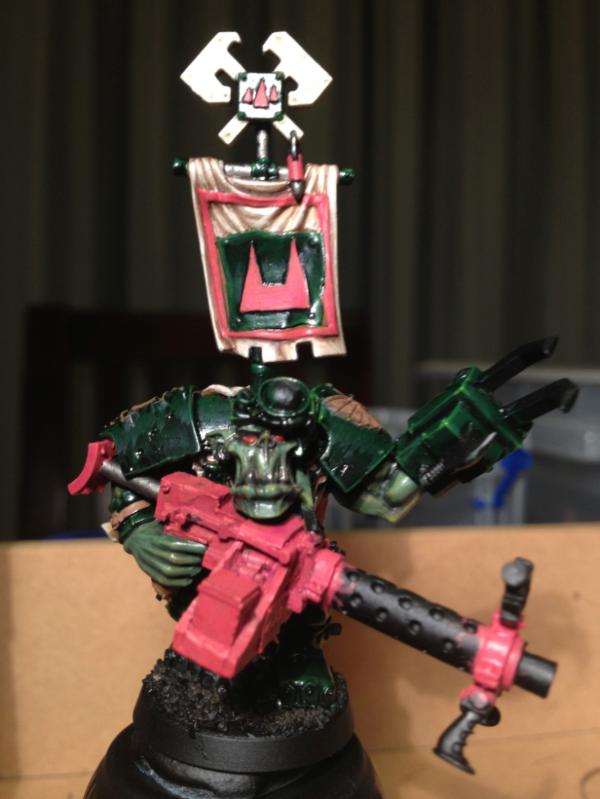
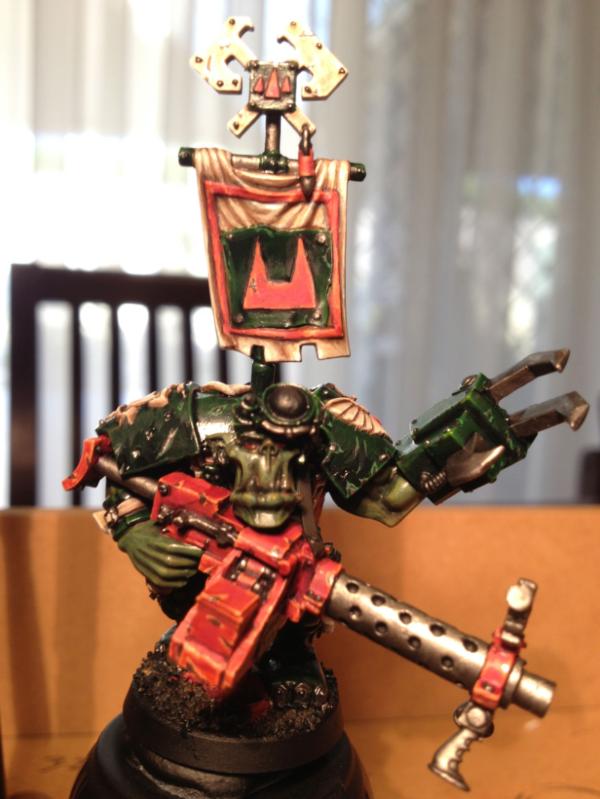
1:3 Blazing Orange/Vomit Brown chipping on red. Snot Green chipping on dark green.
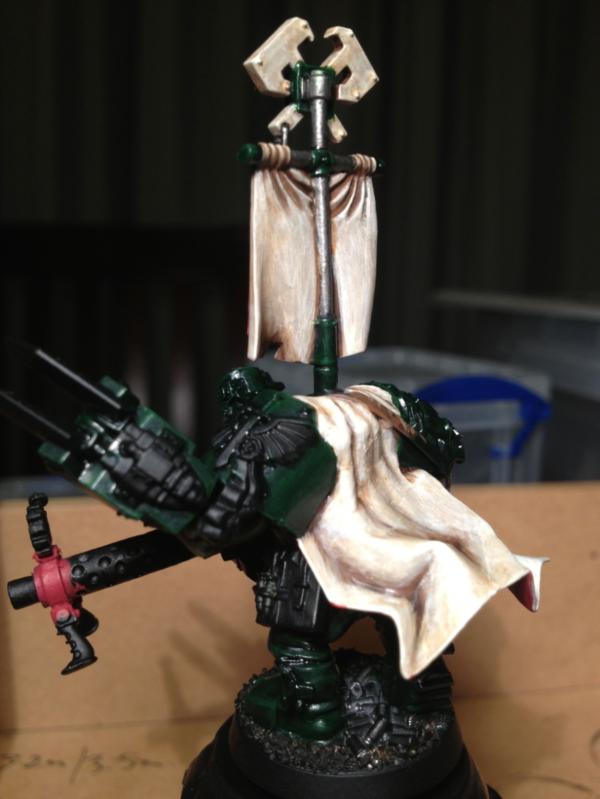
Back.
Scorched Brown chipping on red. 1:1 Dark Angels Green/Chaos Black chipping on dark green.
I saw a thread the other day where a guy painted heat treatment on his barrels. With your abilities and shading skill that would look soooooo beyond awsome.
Wow, Arakasi. That nob is looking fantastic. Also, thanks for the layer by layer photo spread. Are you going to put that together as a tutorial?
I've been working on my chapta again, painting, and I've been drawing from your work a lot, both for inspiration and technique, so the step-by-step is very helpful. Thanks!


 Da Dark Angelz
 Arakasi vs Infinity