Sculpting Masterclass 2012
EndTransmission and I made our last (well, my last) pilgrimage to Warhammer World on Friday for the Sculpting Masterclass on Saturday. Here be a brief account of the day for your enjoyment and my memory. Not quite as detailed as I would like (I have some hand drawn pics in my notes that I haven't included) - so maybe I'll readdress this in the future when it comes to practising the techniques I learnt.
Anyway, our day started with an introduction to our tutors for the day, Games Workshop institutions Aly Morrison and Trish Carden, as well as relative newcomer (to
GW, not sculpting

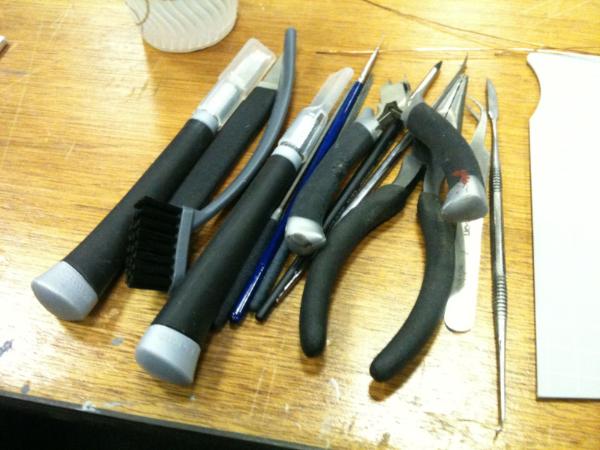
) Aragorn Marks. Our tools for the day:
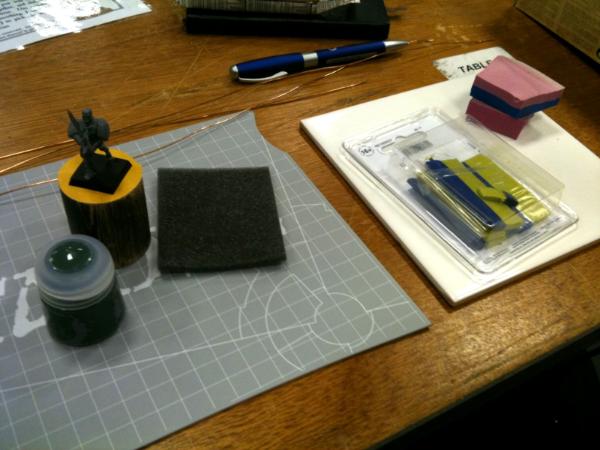
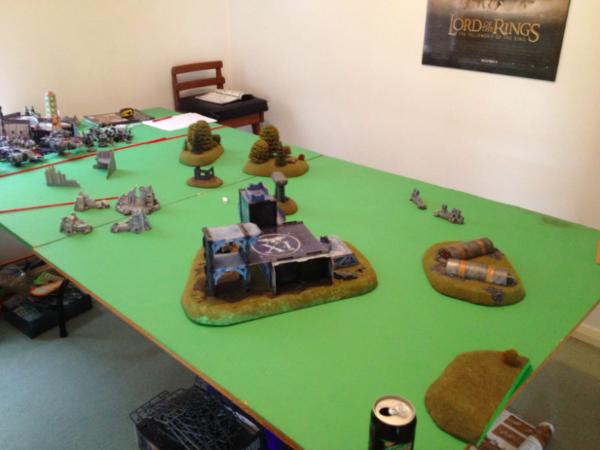
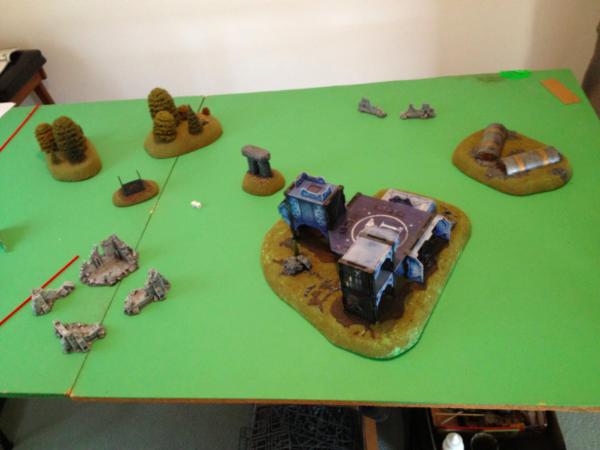
The rest of our workspace:
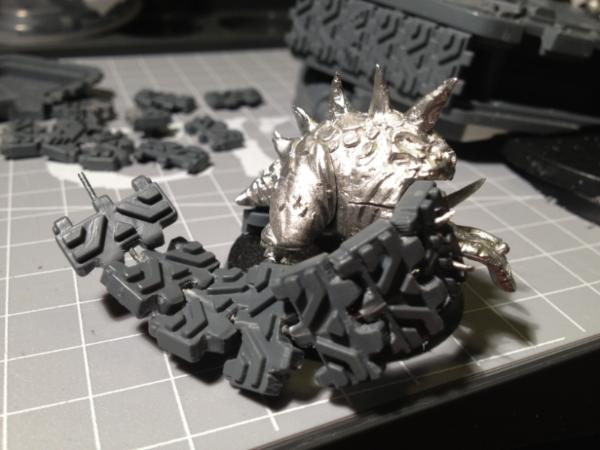
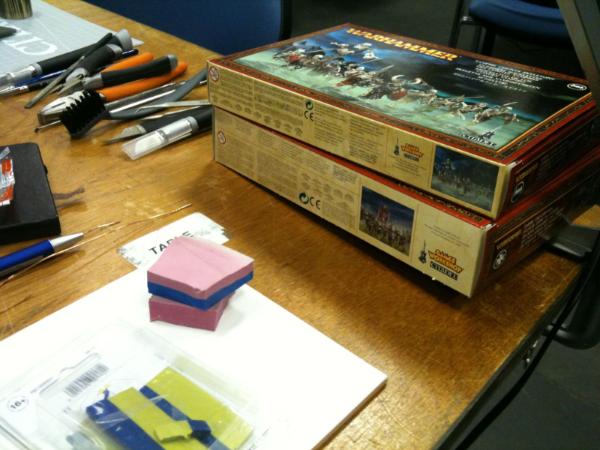
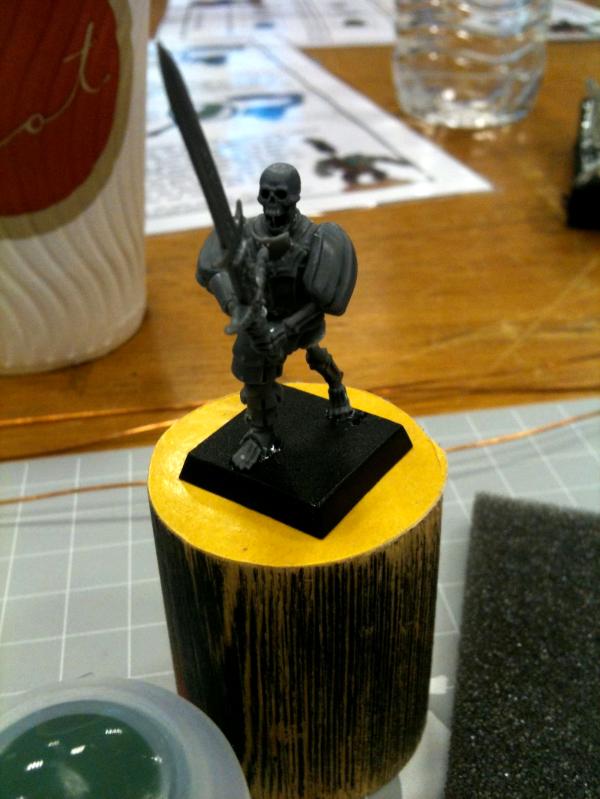
More Greatswords and some Vampire Count Skeleton Warriors - our canvas miniature is prepared from these kits for us prior to the class - but we get to keep the rest:
 Armatures
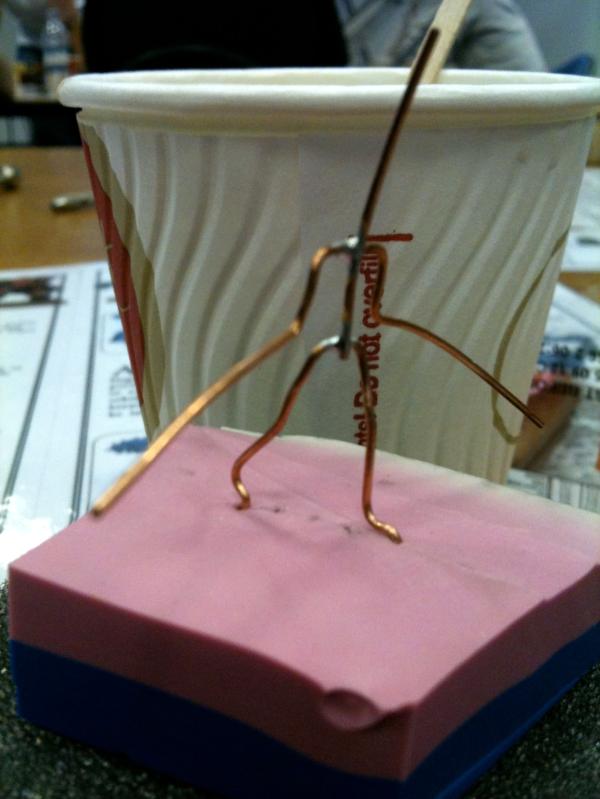
Unexpectedly, we started with two ways to create armatures for sculpting full miniatures! Aragorn started with a single piece of wire method, using pliers. Apologies in advance, my description is going to be hard to follow - I need to practise the steps and photo them for better set of instructions. Basically he bent the wire over in two (the bend being the neck/head), and then bent out at the hips and then down for the legs. He may have also bent out the feet before pushing the wires through balsa wood on top of a wine cork. The wires push right through, trimmed and bent back into the cork so that there are no sharp exposed edges. Arms can be added later, either by tying around the armature or pushing into the cork and angling up.
Some tips included: Using other miniatures for sizing and/or compare against pictures (at length). Trying different types of wire to find one you are comfortable with using. For straightening wire, anchor both ends (with pliers and/or a vice) and tug sharply on one or both ends. Aragorn likes to represent more detail in the armature - the hips, curve of the spine etc, but this isn't necessary.
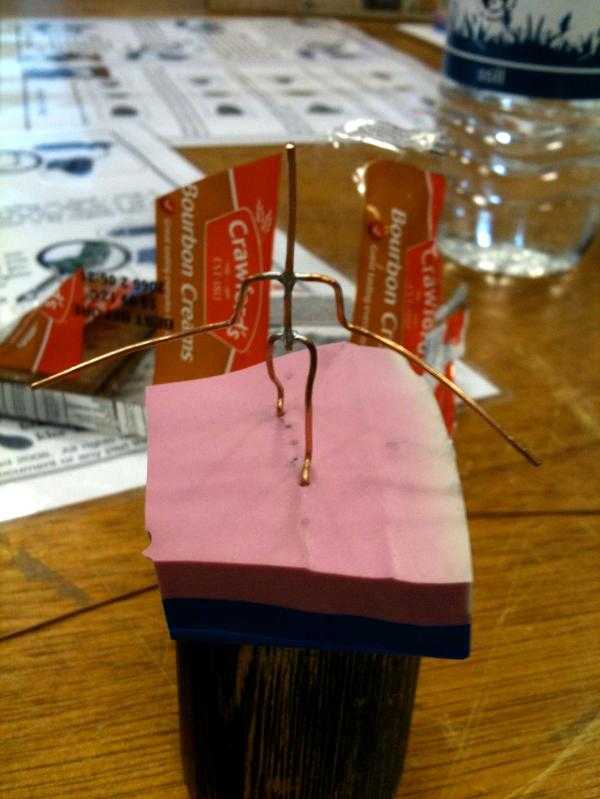
The other method, demonstrated by Aly, is the "solder" method. This involved three pieces of wire and a base - in this case some excess silicon mould - which is great because it is heat resistant, and can therefore be oven baked if required. The first piece of wire was inserted into the centre of the silicon mould base. The other two are bent into square U's, one wider than the other, and inserted into the silicon mould base inline - they are meant to be the shoulders and the hips crossing the head/neck/spine/tail of the first wire. As per the previous method, use another miniature or a picture at length to make sure the hips and shoulders are suitable distance apart. Erring on the too long side is better, as you can drop up to a
mm by curving the spine later.
A soldering iron is clamped in a vice and standard multicore solder (with flux) applied to the end. Hold the crossover point on the iron. (The wires should already be touching, and apply the higher surface area top of the U to the iron). Give it a couple of seconds to heat up and then apply the solder on top of the join. Make sure you only touch the silicon mould base! (The wire will heat up quickly). Clip any pointy solder points once cool.
Pull it out of the base (cork or silicon) and use pliers to narrow the hips. The "extra" wire between the legs can be cut, used as a tail or other appendage, or used as a base for a cloak. Measure against another model or picture at range and bend 90 degrees at the feet, then bend back down leaving a small "foot". This is more for just locating the feet than anything else.
Bring the shoulders down, bend at the elbows and trim quite far off. Similarly trim the "head/neck" wire, but leave more than you need. The feet wires can also be trimmed - should be long enough to support in whatever you are using as a base. End result should be a basic stick man:
Tip: Do a half dozen or more at a time. If the solder breaks when manipulating it, don't bother fixing it - just use another. If you are happy with the armature, trace it to keep a record of the proportions. Coat in a thin layer of super glue - the putty will stick better!
Of course, the simplest form of armatures is just bent over wire with the hips bent out, and literally takes seconds
 Animation
When it comes to posing or "animating" your armature, the biggest mistake made by first timers is trying too hard! Start off with walking figures. Use photographic books - Muybridge, Dynamic Animation. Posable toys can also be helpful (more so than wooden marionettes). Pose you armature, then put it back in its base, then continue to pose.
 Green Stuff
Tip: Take pieces from the side, don't use the middle where the colours touch.
Apply blobs of
GS to the armature - the first phase is just bulk out the wire so you have something to build on. Calves on back, thighs on front. Roll the top and bottom with a round tool, blending it in. Use the flat of a tools to press around the wire.
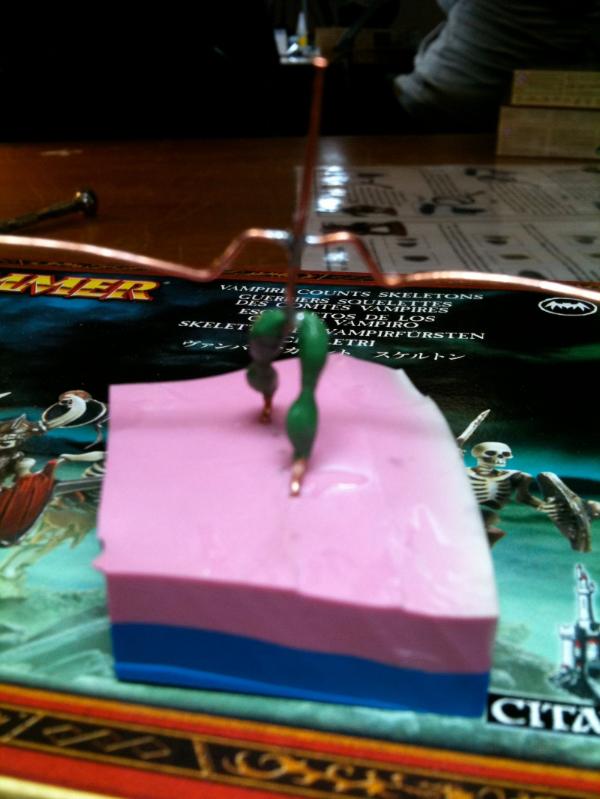
Feet are small. For the torso, use an appropriate sized ball of
GS, tapering in at the waist, pushing back onto the shoulders. Put a lump of
GS on the back for the buttocks and bring towards the waist, curving around. (Buttocks are lower then the crotch!) Maybe, maybe not add the head, just the basic shape for now - ie a simple ball on a crude neck. You should be able to get to here in 15mins or less - go do half a dozen
Tip: Remember you can cut off excess
GS later if you apply too much.
Fimo
Aragorn uses FIMO over a
GS base. Use
GS to cover the armature - thin, leaving the joints free (for posability). Apply a thin layer of FIMO over the
GS, fingers are okay at this stage.
FIMO adheres to
GS, but not to the wire. A thin layer of aceylene will allow you to adhere FIMO to baked FIMO. White Spirits will melt FIMO - apply with a brush.
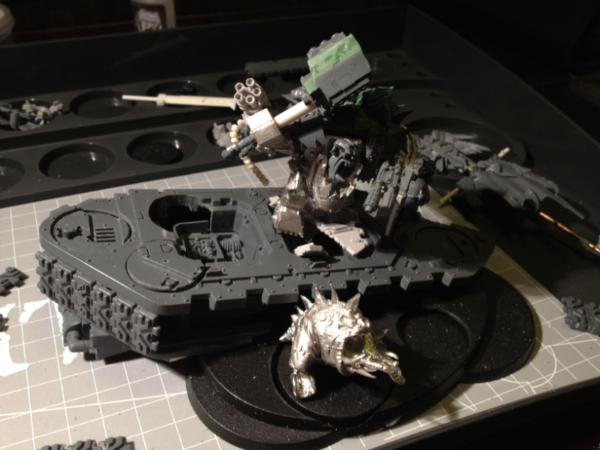
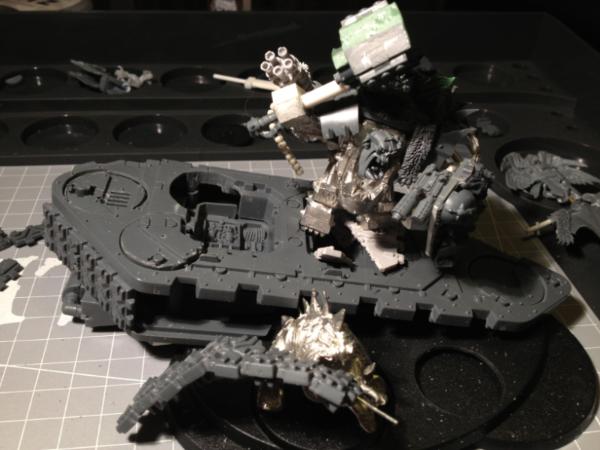
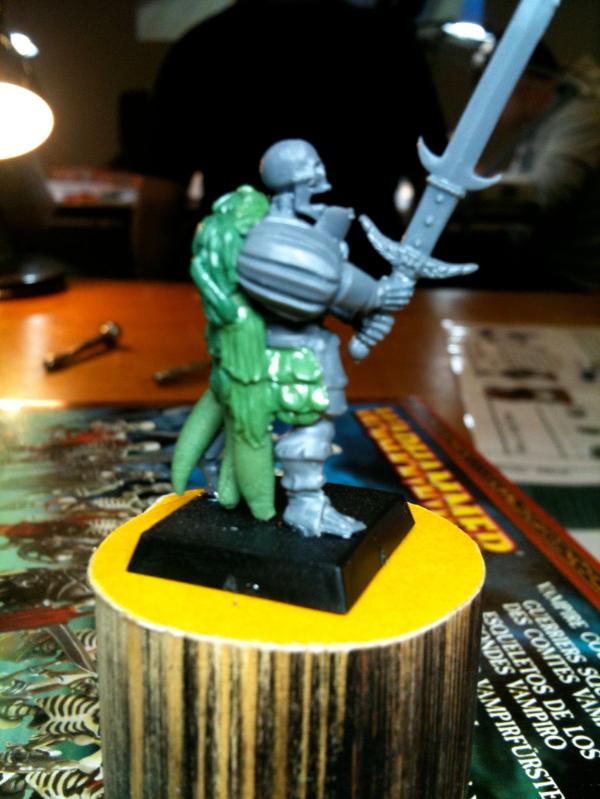
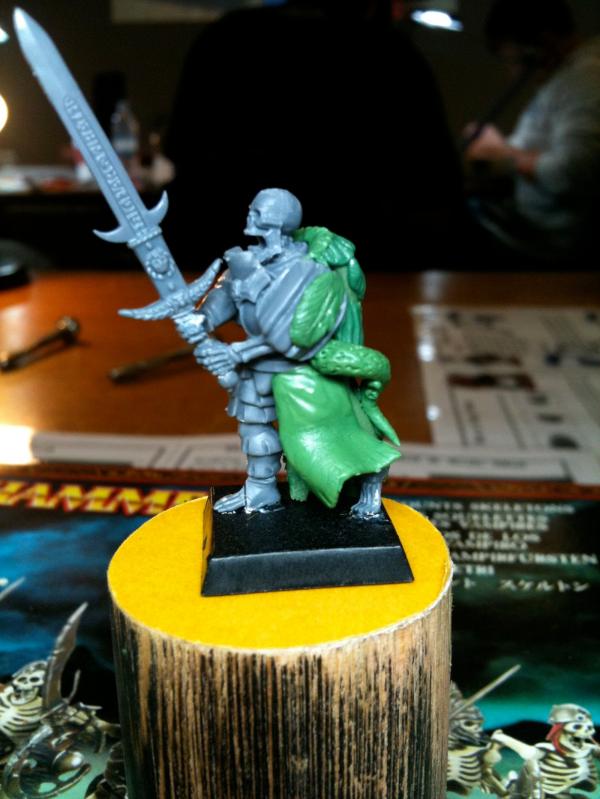
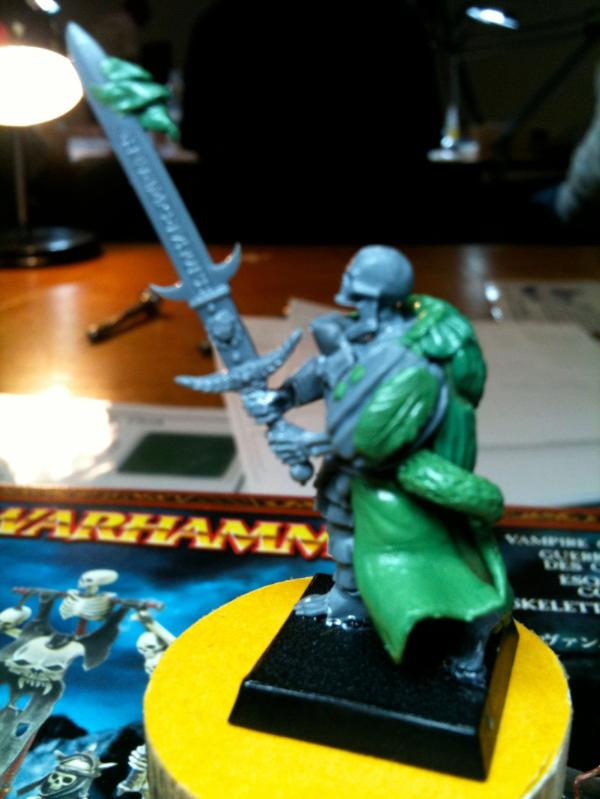
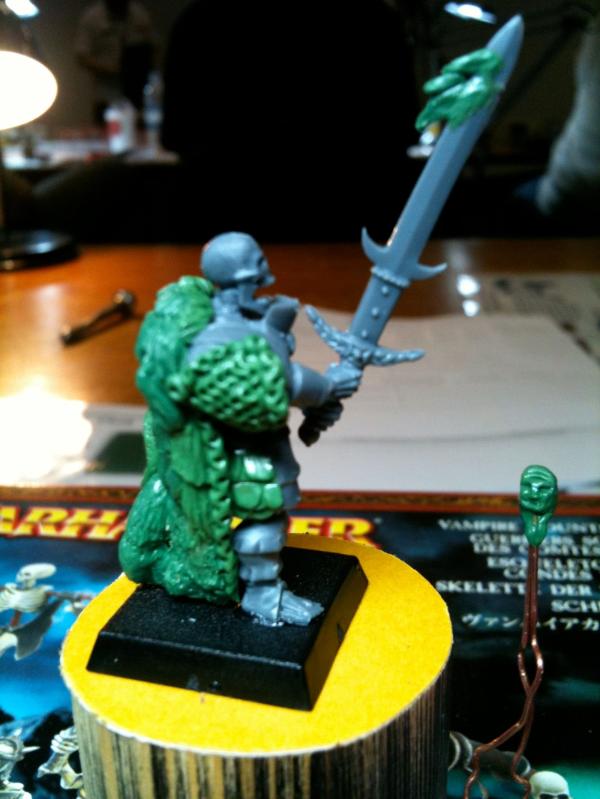
We then left armatures behind us and moved on to detailing our model - our blank canvas:
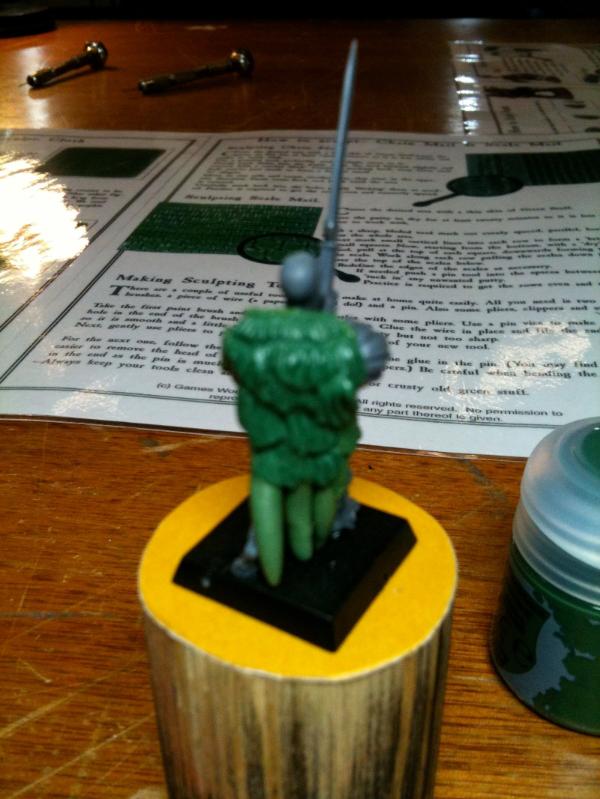
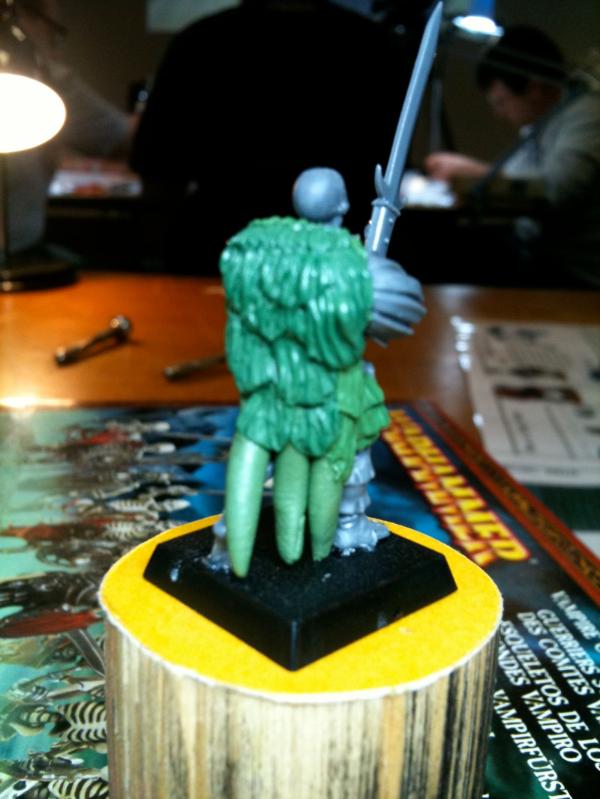
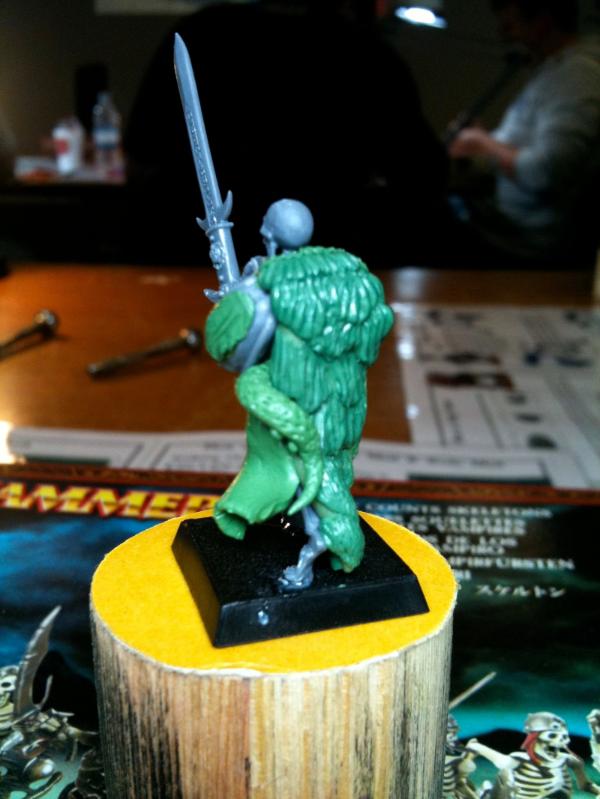
 Cloak
Cloak
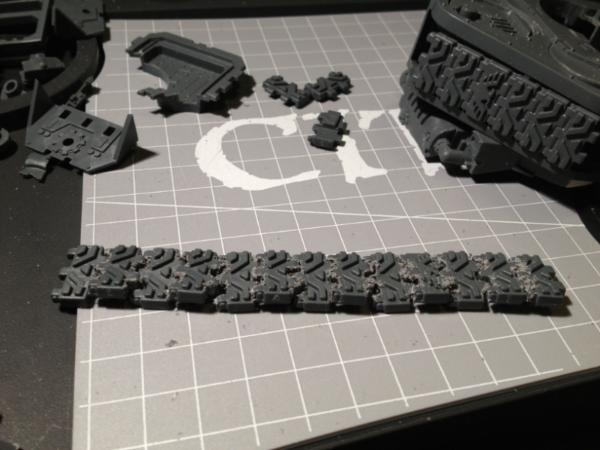
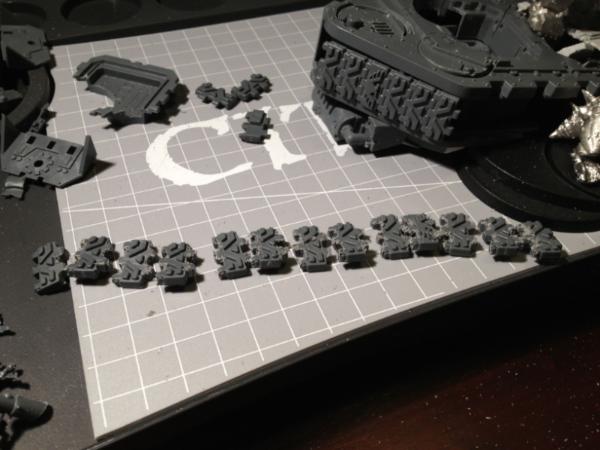
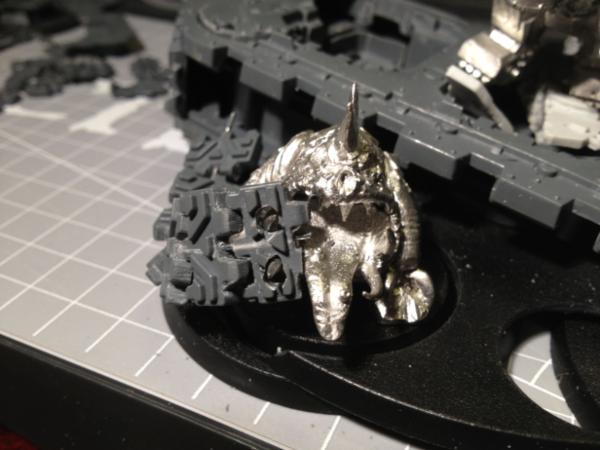
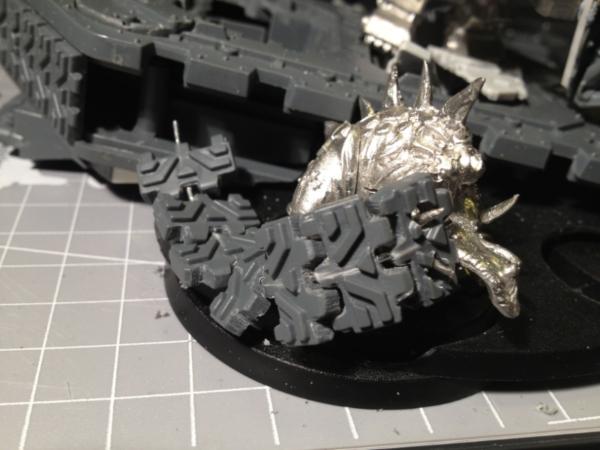
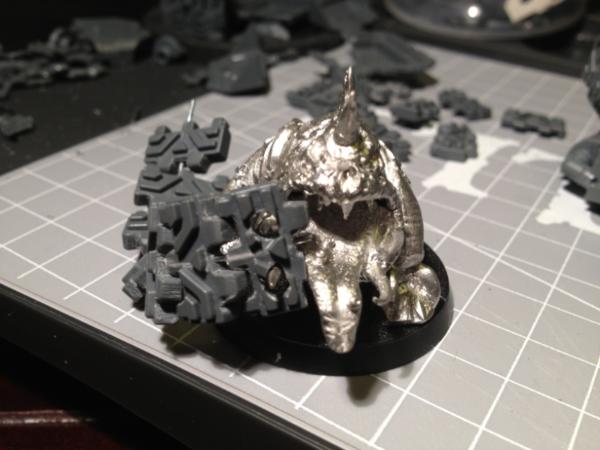
We added three "rolls" of
GS mixed with Wood Putty 1:1 (Wood Putty sets faster, and bulks out the
GS) down the back of the model to act as a base for our cloak:
Putties
Green Stuff - Adheres to almost anything!
FIMO - Workable until baked. Comes in many consistencies, which can be mixed to create more.
Sylmaster Wood Putty - Carves like balsa wood. Quick drying. Sticky.
Milliput - Useful for sharper edges - ie weapons.
Procreate - Like Green Stuff, but grey, and also comes in stick form.
Magic Sculpt - Sticky. Bears its own weight - useful for flags and weapons.
Tools
Tools are specific to the sculptor
"Thin wax 5" wax working tool - main tool.
Pin vices
Files - diamond
Tweezers - get something good quality - £15, straight, hard steel
Fibreglass cleaning brush - dip in water and rub down.
Pins - take an old brush, remove any remaining bristles and drill end. Superglue a pin or wire into the end.
Copper tubing - inset rivets
Small pair of scissors.
Wire - wire, multicore or paperclips.
Paintbrush with end cut off.
Pencil
Cocktail sticks
Sandpaper - attached to a hard, flat surface.
Toothbrush and/or brass wire brush
Clamps
Watchmaker's vice
Pliers
Hair/Cloak
Use overlapping blobs, then separate into hairs. Can also use a push/pull on the ends to define the ends:
 Scales
Use a metal rod, crimped, to stamp in basic shapes
Scale Mail
Start with parallel lines. Angle downwards to achieve overlapping. Divide into equal squares, shifted alternate rows. Round the edges, push a impression into the top middle.
 Wings
Wings
Press onto plastic or some other sheet. Make three large outer feathers, then use a strip of putty across the top, marking parallel lines. Feathers - draw two lines down the centre representing the stem, then angled down light pressure impressions for the individual pieces. Split some edge bits.
 Quilting
Apply crisscrossing parallel lines to a flat piece of
GS resulting in a diamond pattern. Use a syringe needle or metal tube to add indentations at the intersections and/or the centre of the diamonds.
Head
Use a bulb tool to define the eyes, nose. Push in holes on the sides of the eyes to define them. Try putting a face on a skeleton head - it makes a good base for proportion - even if it will end up a bit big!
FIMO - easier than
GS (can keep on working) When finished - 90-120 degrees in an oven for 15-25 minutes. Allowing it to heat up and cool down in the oven will avoid cracks in larger models.
Hmmm.... my written notes end here - it was quite hypnotic watching Aragorn sculpt a head in front of us!
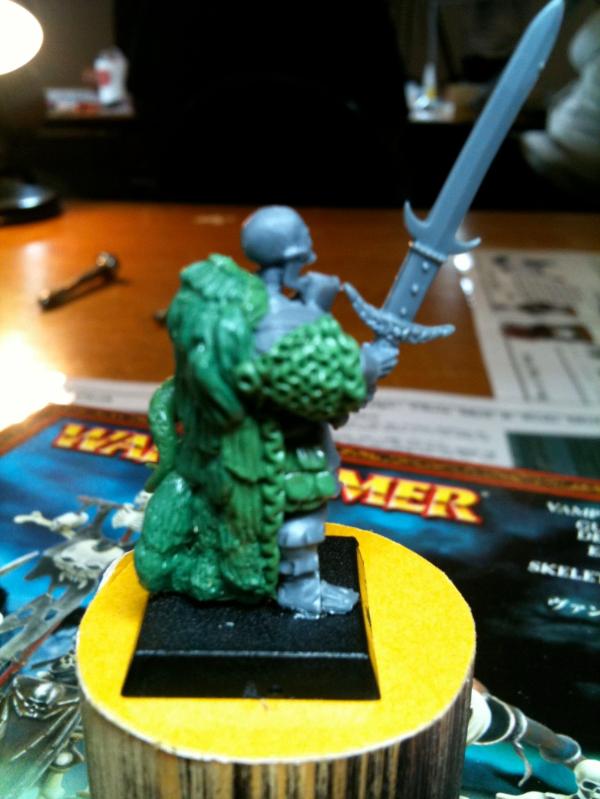
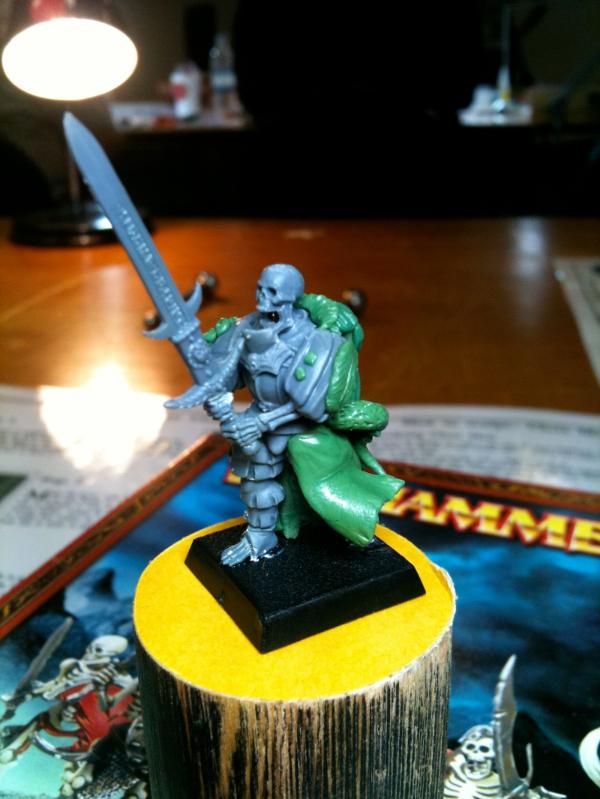
Cloth
We rolled out a flat piece of
GS, tapered in a trapezoid kind of way, added some cuts and detail to the long edge and then applied the short edge on the model, working in folds and curving/billowing the cloak:
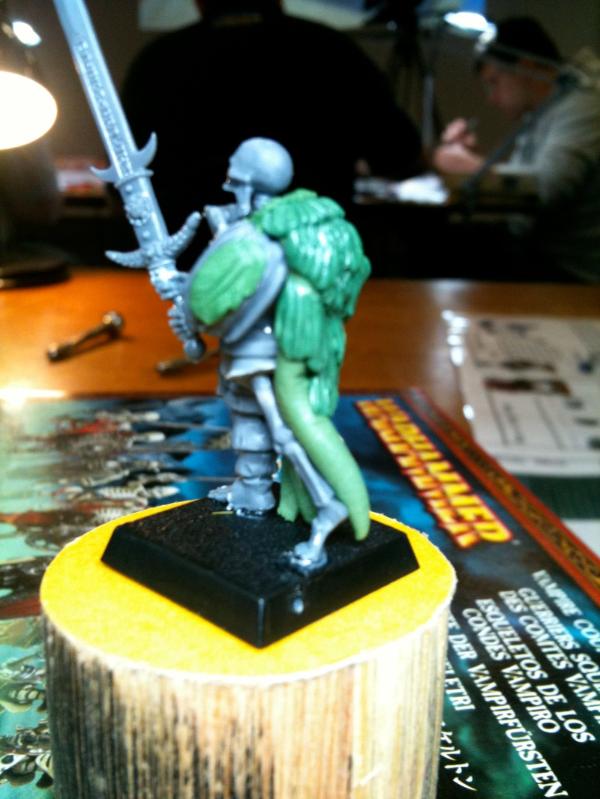
 Tentacle
We rolled out a conical piece of
GS, attacked it with a pin to give it texture on the outside, and then stuck it to the model. For the suckers, roll up small pieces of
GS and apply with a pin or circular ended tool:
 Chainmail
Chain mail is a simple case of pushing a pin in at an angle in succession in a row, and then reversing the direction for the next.
Chains
Take a thin rolled out piece of
GS. Poke a pin into it at regular intervals - this is the "flat" pieces of chain. Then take your tweezers and pinch between each - this is the "upright" pieces of chain:
 Studs
Studs
Leftover
GS can be rolled out and later cut up into studs or rivets - or cut up now and applied:
 Flames
You can't *actually* model flames, so much as add a basis for paint to do the real work. Mostly it seems to be building up multiple layers of flame peaks:
And that's all I can remember! We got to take home a laminated A3 sheet (back and front) with more detailed instructions for sculpting robes, chainmail, hands and arm musculature. As well as some Liquid Greenstuff, the remains of our
GS packet, a brush/needle tool, two silicon pieces for bases, our canvas model and the two boxes of miniatures it was built from. Oh, and EndTransmission and I were sat at Trish's table for lunch
Awesome day, I think possibly the best of the three Masterclasses I've been on (just edging out the Tank Masterclass). I feel the need to attempt more
GS detail in my models from now on (Morgrimm and Meganobz to begin with...), as well as look into some larger sculpting for some of my more ambitious Ork poses. I may spend my six weeks in Oz waiting for my stuff to arrive building armatures and GSing them...
And some housekeeping...
@Vitruvian XVII: Now you will
@Casey's Law: I hope not - or I'll never get another Infinity game!
@schank23: It's a great feeling to have it all complete too!
@Gutsplitta: Thanks!


 Da Dark Angelz
 Arakasi vs Infinity


 But if this your first real crack back at the hobby I'd just go with whatever you feel like to start, maybe even something completely different.