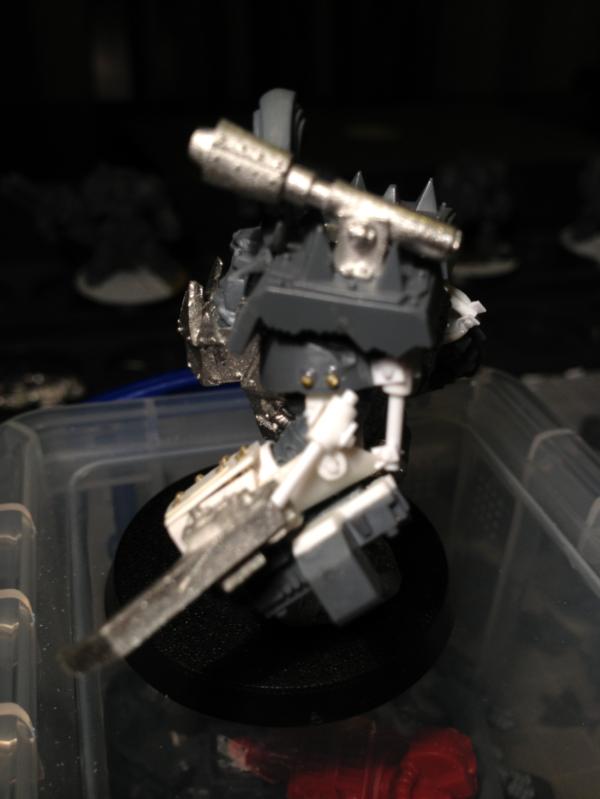
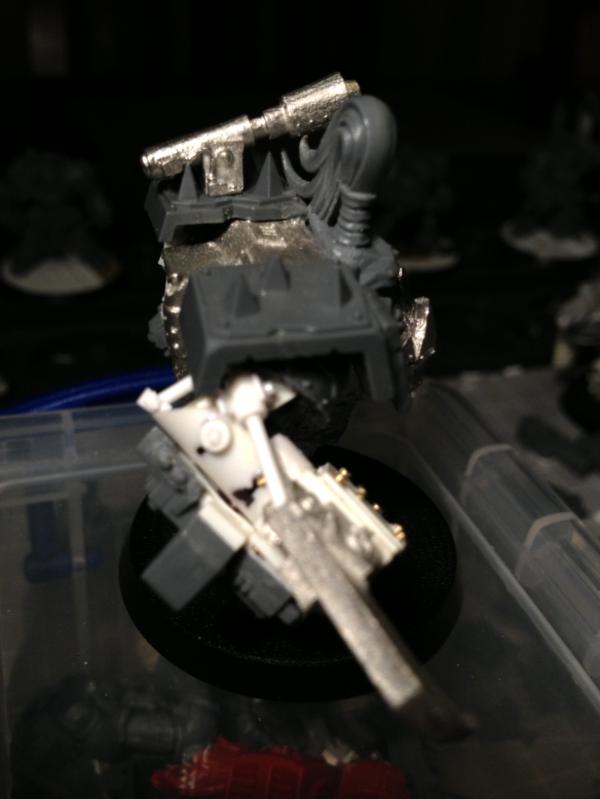
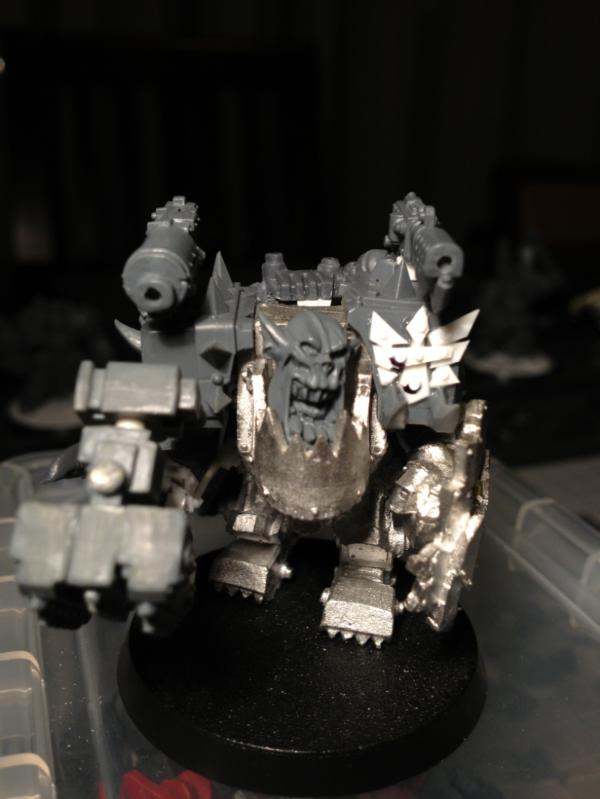
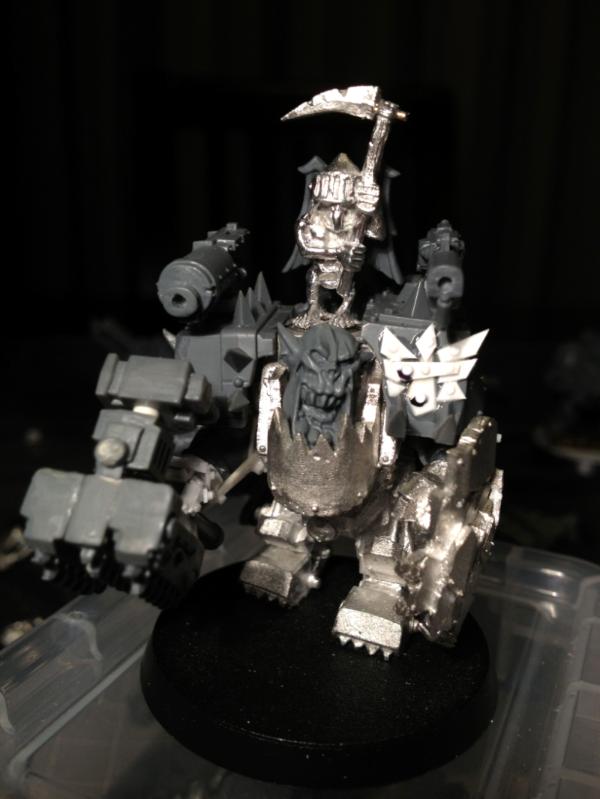
Its nice to see it complete. I can still remember the first time I seen the beginnings of the conversion and how cool I thought it looked then. Great Job.
EndTransmission and I made our last (well, my last) pilgrimage to Warhammer World on Friday for the Sculpting Masterclass on Saturday. Here be a brief account of the day for your enjoyment and my memory. Not quite as detailed as I would like (I have some hand drawn pics in my notes that I haven't included) - so maybe I'll readdress this in the future when it comes to practising the techniques I learnt.
Anyway, our day started with an introduction to our tutors for the day, Games Workshop institutions Aly Morrison and Trish Carden, as well as relative newcomer (to GW, not sculpting ) Aragorn Marks. Our tools for the day:
The rest of our workspace:
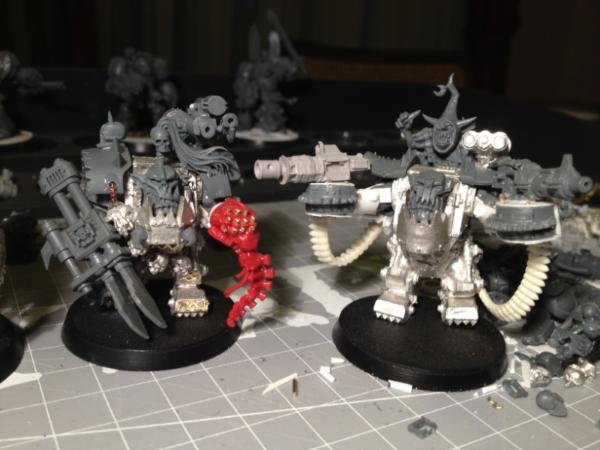
More Greatswords and some Vampire Count Skeleton Warriors - our canvas miniature is prepared from these kits for us prior to the class - but we get to keep the rest:
Armatures Unexpectedly, we started with two ways to create armatures for sculpting full miniatures! Aragorn started with a single piece of wire method, using pliers. Apologies in advance, my description is going to be hard to follow - I need to practise the steps and photo them for better set of instructions. Basically he bent the wire over in two (the bend being the neck/head), and then bent out at the hips and then down for the legs. He may have also bent out the feet before pushing the wires through balsa wood on top of a wine cork. The wires push right through, trimmed and bent back into the cork so that there are no sharp exposed edges. Arms can be added later, either by tying around the armature or pushing into the cork and angling up.
Some tips included: Using other miniatures for sizing and/or compare against pictures (at length). Trying different types of wire to find one you are comfortable with using. For straightening wire, anchor both ends (with pliers and/or a vice) and tug sharply on one or both ends. Aragorn likes to represent more detail in the armature - the hips, curve of the spine etc, but this isn't necessary.
The other method, demonstrated by Aly, is the "solder" method. This involved three pieces of wire and a base - in this case some excess silicon mould - which is great because it is heat resistant, and can therefore be oven baked if required. The first piece of wire was inserted into the centre of the silicon mould base. The other two are bent into square U's, one wider than the other, and inserted into the silicon mould base inline - they are meant to be the shoulders and the hips crossing the head/neck/spine/tail of the first wire. As per the previous method, use another miniature or a picture at length to make sure the hips and shoulders are suitable distance apart. Erring on the too long side is better, as you can drop up to a mm by curving the spine later.
A soldering iron is clamped in a vice and standard multicore solder (with flux) applied to the end. Hold the crossover point on the iron. (The wires should already be touching, and apply the higher surface area top of the U to the iron). Give it a couple of seconds to heat up and then apply the solder on top of the join. Make sure you only touch the silicon mould base! (The wire will heat up quickly). Clip any pointy solder points once cool.
Pull it out of the base (cork or silicon) and use pliers to narrow the hips. The "extra" wire between the legs can be cut, used as a tail or other appendage, or used as a base for a cloak. Measure against another model or picture at range and bend 90 degrees at the feet, then bend back down leaving a small "foot". This is more for just locating the feet than anything else.
Bring the shoulders down, bend at the elbows and trim quite far off. Similarly trim the "head/neck" wire, but leave more than you need. The feet wires can also be trimmed - should be long enough to support in whatever you are using as a base. End result should be a basic stick man:
Tip: Do a half dozen or more at a time. If the solder breaks when manipulating it, don't bother fixing it - just use another. If you are happy with the armature, trace it to keep a record of the proportions. Coat in a thin layer of super glue - the putty will stick better!
Of course, the simplest form of armatures is just bent over wire with the hips bent out, and literally takes seconds
Animation When it comes to posing or "animating" your armature, the biggest mistake made by first timers is trying too hard! Start off with walking figures. Use photographic books - Muybridge, Dynamic Animation. Posable toys can also be helpful (more so than wooden marionettes). Pose you armature, then put it back in its base, then continue to pose.
Green Stuff Tip: Take pieces from the side, don't use the middle where the colours touch.
Apply blobs of GS to the armature - the first phase is just bulk out the wire so you have something to build on. Calves on back, thighs on front. Roll the top and bottom with a round tool, blending it in. Use the flat of a tools to press around the wire.
Feet are small. For the torso, use an appropriate sized ball of GS, tapering in at the waist, pushing back onto the shoulders. Put a lump of GS on the back for the buttocks and bring towards the waist, curving around. (Buttocks are lower then the crotch!) Maybe, maybe not add the head, just the basic shape for now - ie a simple ball on a crude neck. You should be able to get to here in 15mins or less - go do half a dozen
Tip: Remember you can cut off excess GS later if you apply too much.
Fimo Aragorn uses FIMO over a GS base. Use GS to cover the armature - thin, leaving the joints free (for posability). Apply a thin layer of FIMO over the GS, fingers are okay at this stage.
FIMO adheres to GS, but not to the wire. A thin layer of aceylene will allow you to adhere FIMO to baked FIMO. White Spirits will melt FIMO - apply with a brush.
We then left armatures behind us and moved on to detailing our model - our blank canvas:
Cloak We added three "rolls" of GS mixed with Wood Putty 1:1 (Wood Putty sets faster, and bulks out the GS) down the back of the model to act as a base for our cloak:
Putties Green Stuff - Adheres to almost anything!
FIMO - Workable until baked. Comes in many consistencies, which can be mixed to create more.
Sylmaster Wood Putty - Carves like balsa wood. Quick drying. Sticky.
Milliput - Useful for sharper edges - ie weapons.
Procreate - Like Green Stuff, but grey, and also comes in stick form.
Magic Sculpt - Sticky. Bears its own weight - useful for flags and weapons.
Tools Tools are specific to the sculptor "Thin wax 5" wax working tool - main tool.
Pin vices
Files - diamond
Tweezers - get something good quality - £15, straight, hard steel
Fibreglass cleaning brush - dip in water and rub down.
Pins - take an old brush, remove any remaining bristles and drill end. Superglue a pin or wire into the end.
Copper tubing - inset rivets
Small pair of scissors.
Wire - wire, multicore or paperclips.
Paintbrush with end cut off.
Pencil
Cocktail sticks
Sandpaper - attached to a hard, flat surface.
Toothbrush and/or brass wire brush
Clamps
Watchmaker's vice
Pliers
Hair/Cloak Use overlapping blobs, then separate into hairs. Can also use a push/pull on the ends to define the ends:
Scales Use a metal rod, crimped, to stamp in basic shapes
Scale Mail Start with parallel lines. Angle downwards to achieve overlapping. Divide into equal squares, shifted alternate rows. Round the edges, push a impression into the top middle.
Wings Press onto plastic or some other sheet. Make three large outer feathers, then use a strip of putty across the top, marking parallel lines. Feathers - draw two lines down the centre representing the stem, then angled down light pressure impressions for the individual pieces. Split some edge bits.
Quilting Apply crisscrossing parallel lines to a flat piece of GS resulting in a diamond pattern. Use a syringe needle or metal tube to add indentations at the intersections and/or the centre of the diamonds.
Head Use a bulb tool to define the eyes, nose. Push in holes on the sides of the eyes to define them. Try putting a face on a skeleton head - it makes a good base for proportion - even if it will end up a bit big!
FIMO - easier than GS (can keep on working) When finished - 90-120 degrees in an oven for 15-25 minutes. Allowing it to heat up and cool down in the oven will avoid cracks in larger models.
Hmmm.... my written notes end here - it was quite hypnotic watching Aragorn sculpt a head in front of us!
Cloth We rolled out a flat piece of GS, tapered in a trapezoid kind of way, added some cuts and detail to the long edge and then applied the short edge on the model, working in folds and curving/billowing the cloak:
Tentacle We rolled out a conical piece of GS, attacked it with a pin to give it texture on the outside, and then stuck it to the model. For the suckers, roll up small pieces of GS and apply with a pin or circular ended tool:
Chainmail Chain mail is a simple case of pushing a pin in at an angle in succession in a row, and then reversing the direction for the next.
Chains Take a thin rolled out piece of GS. Poke a pin into it at regular intervals - this is the "flat" pieces of chain. Then take your tweezers and pinch between each - this is the "upright" pieces of chain:
Studs Leftover GS can be rolled out and later cut up into studs or rivets - or cut up now and applied:
Flames You can't *actually* model flames, so much as add a basis for paint to do the real work. Mostly it seems to be building up multiple layers of flame peaks:
And that's all I can remember! We got to take home a laminated A3 sheet (back and front) with more detailed instructions for sculpting robes, chainmail, hands and arm musculature. As well as some Liquid Greenstuff, the remains of our GS packet, a brush/needle tool, two silicon pieces for bases, our canvas model and the two boxes of miniatures it was built from. Oh, and EndTransmission and I were sat at Trish's table for lunch
Awesome day, I think possibly the best of the three Masterclasses I've been on (just edging out the Tank Masterclass). I feel the need to attempt more GS detail in my models from now on (Morgrimm and Meganobz to begin with...), as well as look into some larger sculpting for some of my more ambitious Ork poses. I may spend my six weeks in Oz waiting for my stuff to arrive building armatures and GSing them...
And some housekeeping...
@Vitruvian XVII: Now you will
@Casey's Law: I hope not - or I'll never get another Infinity game!
@schank23: It's a great feeling to have it all complete too!
For those of you who didn't know, I've moved back to sunny Oz (Perth) from bonny Scotland (Edinburgh). Da Dark Angelz took a slightly longer route, via sea, but eventually made it all in one piece almost two weeks ago... With most of the unpacking now completed, I'm almost ready to dive back in. Apparently a few things have happened in my "absence", and I was able to have my first 6th ed game last weekend - 1000pts of Da Dark Angelz teamed up with a mutual friend's Tau against slice'n'dice's Nidz...
The game only went two turns due to time considerations, so not enough for a full battle report, hence a good start (I thought) to getting the thread started again...
The battlefield.
The battlefield (again).
Morgrimm, conquerer of cities - yeah - that was completely useless (along with the other two leader abilities...)
Da Dark Angelz gloriously hold the centre surrounded by their Tau "allies".
The Nidz line up.
The face-off. Keep your claws off my Tau playthings!
The Deffkoptas use their scout move to head towards the flank.
I probably have a project list somewhere, but off the top of my head:
Finish modelling Morgrimm and entourage, then paint
Finish modelling Deffwing, then paint
Finish modelling/fixing Trukks, including GMS Trukk, then (complete) paint
Fix up Gitsplitta's GMS Nob for incorporation with Da Dark Angelz
Finish painting my DakkaDakka Waaagh! Nob
Finish painting Da Big Mek (so long I've forgotten his name!)
Finish painting Da Rav'nwing
And that's just the Orks! I also have:
Infinity
Dreadfleet
Space Hulk
Dark Eldar
and hopefully picking up today from the post office - Dark Vengeance!
Busy times ahead - any thoughts on *order*? (or something I've missed you were looking forward too?)
In the meantime, the short battle report continues with Da Dark Angelz and Tau first turn...
Turn 1 - Da Dark Angelz + Tau Da Boyz and Tau head out to get into Shoota range with maximum firepower.
Da Rav'nwing sidle around to get a bead on the Hive Tyrant.
The Tau assault phase shuffle.
Da Dark Angelz do most of the work - culling a large number of the Gargoyle screen and wounding the Hive Tyrant. Oh yeah, the Tau took three wounds off the far most, less colourful Trygon, and probably a few Gargoyle casualties too
The Nidz - closer, but not substantially thinned...
Hmm, I can't seem to see Da Rokk ov Kaliban on the list anywhere. You remember... that giant rokk you were planning with the working lights, doors and noises? You must have forgotten it due to jetlag or summat
Not a clue if you've missed anything, but wasn't the plan to ditch the DE in favour of Infinity? Guess I'm remembering that wrong.
Fairly obviously my votes going to go towards one of the modeling choices, not fussy which But if this your first real crack back at the hobby I'd just go with whatever you feel like to start, maybe even something completely different.
And just what is that cool looking Tau construct being moved in the first pic
Somehow I think I would have remembered Da Rok, jetlag and all, I think that may have been on the long term list
3 megaforces of Dark Eldar says they aren't going anywhere - but - I think I'm still waiting on the the last releases, finecast to rise above lottery status (did that happen while I was gone?) and finances to fill out the rest - so also a long term list item (but closer than Da Rok at this point...) Infinity on the other hand is just waiting on me getting my hands on some more (reasonably priced) superglue
But Dark Eldar and Infinity aren't Da Dark Angelz, so enough of that for now. I got out Morgrimm last night and tried to find all of the pieces to go with him and his entourage. I think I'm starting to remember my mental stumbling blocks there again already, but I'll have to put up some pics again to start getting that DakkaDakka collaborative feedback.
Meanwhile, the battle continues with the Nidz turn 1. That cool looking Tau construct being moved in the first pic is an anti-grav dark matter reservoir, used to sake the energy thirst of some omniscient being or other...
Turn 1 - Nidz The Hive Tyrant zooms out to play with the Deffkoptas and Tau.
The rest of the horde advance.
A Nidz eye view of the killing zone.
Two units of Hive Guard and a Trygon put paid to Morgrimm's and Da Inna Circle's rides. No casualties on Morgrimm's side, but a Nob is torn apart in the other. Boy I hate Hive Guard.
Hive Tyrant cheekily drains a Deffkopta to restore his wound.
The Nidz look on. Mmmmm.... tasty Nobz...
The Ravenors assault the Tau vehicle.
With expected results. What now for Da Dark Angelz and their Tau allies?
Turn 2 - Da Dark Angelz + Tau Ravn'wing Deffkopta decides to try to distract the Hive Tyrant, injuring itself in the process.
Da Boyz move out. I'd like to say we discussed my Orks holding up the Nidz to give the Tau longer to fire, but where else are Orks going to go? I had originally planned to swing the three Trukks back around and fill the sky with lead around the Hive Tyrant, but with two of three Trukks gone it seemed a bit silly. I also had that Burna Big Mek up front and some Nobz (whose only forte is really in hand-to-hand) minus their ride - so all out assault it was!
Besides, the Tau had their own problems to deal with.
Not looking pretty... (well, the battlefield is, the Orks chances, not so much...)
My favourite pic - the calm before the storm... the tension is almost, palpable
The Tau take care of their bit.
The Deffkopta does his bit - pity he failed to knock him out of the sky - not that it would have mattered - the Broadside would still have missed...
Orks (and a few Tau) let rip up close.
Not looking like it made much of a dent though...
Da Boyz get stuck in
Including Skarag Da Big Mek
Morgrimm too.
The battle lines joined!
From da left
And da right
Morgrimm easily deals with his side
Skarag's Boyz are no slouches either
Da Inna Circul survives a hail of slashing claws (7x 4+ saves + 2x 5+ FnP for no wounds!)
And reply in spades - doh - no fearless wounds no more!
Da Dark Angelz hold off the entire Tyranid advance - for now...
Nidz eye view...
Da Inna Circul plays wiv da 'orde - but for how long?
I'm just trying to get back in to the swing of regular posting again at the moment.
Good news - WIP pics from Oz! So Morgrimm arrived safely in Oz:
And even better, my iPhone 4s seems to be letting me upload the pics direct to DakkaDakka again (was having a problem all last year with the old 3s) - Landraider track - unmodified - or is it?
Nope - cut into individual pieces - but why?
So the attack squig can have it trailing behind of course!
Yeah, okay - much more work to do...
Good news - I got my super glue - 30g for $A10 instead of GW 5g for $A12 - yay!
Bad news - it doesn't come with a brush applicator - boo!
I'll have to try a different store...
Meanwhile - back to the end of the battle report...
Turn 2 - Nidz The Nidz move up.
Advancing on the Tau lines.
The Tervigons replace the Termagants the Orks dispatched last turn and encroach.
The remaining Gargoyles fly over behind the Nobz.
Nidz eye view.
Morgrimm's unit is enfeebled, and much close range Nid firepower wipes out most of his Boyz. I'll know next time to leave Morgrimm at the front where his Mega-armour might see some use (instead it eventually deflected 5 shots off the Big Shoota Boy...)
Skarag's unit weathers less firepower, but decide they have better places to be.
Nobz feel... surrounded.
Skarag's taktikal retreat view.
Ymgarl's assault the Broadside.
The rest of the Nidz assault da Boyz.
Nobz feel hammer time.
Ymgarl's dispatch the Broadside (was their any doubt? Well, he almost held up, only losing a single wound and losing by one, but he run away and was run down...)
In a tricksy affair, the Tervigon challenges Morgrimm, who accepts. The Termigants cut down the last boy. The Tervigon has initiative due to a psychic power (+1 initiative, +1 attack?) and sneakily decides to Smash Morgrimm. 1 wound gets through, cybork fails to save and it's instant death for Morgrimm... *sob*
The Nobz can't repeat their previous performance and lose three to the combined attacks of the Hormagants and Gargoyles, only dispatching two Hormagants in return and being run down... *sob* x2
The Trygon kills enough of Skarag's Boyz such that they can't pile into base contact, effectively losing the combat, and again, being cut down... *sob* x3
Only one Ork unit left on the board (Skarag's Trukk)
Not looking good for the Tau.
Game Over (out of time).
The Nidz had a commanding lead, we don't suspect the Tau would have been able to close the gap (assuming they even survived).
New game on the 28th, maybe we'll do better/compete - but I think I will need to revisit my army composition for the new edition
Also - I have a ton of photos from events prior to my leaving the UK. It doesn't seem much use writing up 5th ed battle reports (assuming I can even remember everything that happened). I don't know, would anyone be interested in seeing them? I guess I can just pop them in now and then when things are slow
Well, the aim is to try to make it work for both... looking at it in light of your comment, I wonder if it is just the sheer size of the tracks (they *almost* dwarf the squig) - maybe less would be better. I could also add a few links around the base or under foot (raising the squig height might help to de-emphasise the links as well).
More thought required obviously, though we are early in the design process. Keep those thoughts coming!
why not have only like 3 tracks in his mouth, then pin the rest to the landy so it looks like the squig is in the process of stripping them off, but position it so that when the squig is placed on the display base the tracks line up so it looks like one continious piece going from the landy into the squigs chops?? just a thought
But I actually prefer the idea that he's bitten off more than he can chew and is dragging a huge length of track behind him - let's see what he looks like standing on some links as per your suggestion.
Gitsplitta wrote:Could you magnetize the tracks to the base, so they can be removed for play?
Hmmm... I don't think so (okay, I *could*, but I don't *want* to )
optometris wrote:why not have only like 3 tracks in his mouth, then pin the rest to the landy so it looks like the squig is in the process of stripping them off, but position it so that when the squig is placed on the display base the tracks line up so it looks like one continious piece going from the landy into the squigs chops?? just a thought
Gitsplitta wrote:Oooh... now there's a good idea!
monkeytroll wrote:I like optometris' idea for the 'linked'-links.
What they said
monkeytroll wrote:But I actually prefer the idea that he's bitten off more than he can chew and is dragging a huge length of track behind him - let's see what he looks like standing on some links as per your suggestion.
New images incoming...
cormadepanda wrote:i really enjoy the squig pulling the tracks, but that is just me.
Yeah, I think the idea is sound, it's juts getting the implementation right...
Anyway - pics! (Because I'm a bit behind with my updates apparently...)
So - I wanted to put some tracks under the other foot. Except Gobbla has part of his scenic base embedded in his foot - stone over tracks was not going to look good. So I tried cutting out some of his scenic base to lift the right foot. Here seen with Morgrimm from the front.
With Morgrimm from the side.
Close up front by himself.
Close up left by himself.
That wasn't quite working for me, and I noticed that Gobbla seems to prefer his left foot raised, so next try was to position the track so that it goes *under* his left foot. Here he is again from the front on Morgrimm's scenic base.
From the side on Morgrimm's base - you can see more of the attack squig now.
Of course the left foot had the same issue as the right - Gobbla's scenic base in the form of rock attached. This still wasn't going to do, so I carefully removed it with my jeweller's saw (only breaking one blade - yay - good thing I have *heaps*). I give you, the attack squig pedicure!
Front by himself.
Side by himself.
Pedicure by himself. Oh, somewhere along the way (probably from the start of this post!) I reduced the track length too....
I think I've pinned (but not glued - except the track) him into position here (front)
Side again.
Front back on the scenic base. I swear things actually happened between these pics!
Left back on the scenic base
Foreshadowing the track linkage between the wreck on the scenic base and the attack squig...
Good work, I like the way that's looking now, pulling at it whilst standing on it, classic squig behaviour Looks like the link will work pretty well too
And a timely reminder there, I was just thinking about tracking back through this or Gits' logs to find the saw Gits recommended. Either of you have that info handy? Or shall I risk the nefarious narcissism of nostalgia and trawl back?
I found this by accident and I would just like to say sir you have inspired me. Amazing modelling. I have been slogging away painting 5 different armies over the last 6 months. Always just knocking them out. I read your work and I have come to a grinding halt. Rethinking my work. I am by no means anywhere near your league, but can do better than just throwing paint on to get them on the table. Just in time you have saved me. THANK YOU.
Doh! I missed you starting back up! I like the new squig pose, but you do now have the problem of the blank underside of the tracks showing. The tracks need to have the teeth adding back onto them, otherwise it's going to look a bit odd.
It's nice to see your stuff arrived safely and that the blog has restarted
@Gitsplitta: I think that jeweller's saw has been one of my best non-GW purchases. If only I could remember who recommended it to me
@monkeytroll: Glad you like it. Hadn't thought about it as classic squig behaviour, but I believe it fits. I don't think Gits recommended a *particular* jeweller's saw, but I can try and find the one I got for you if it would help (at least it will be the right side of the pond, even if Gits and I both aren't now )
@Yggdrasil: Long time no see! I've seen you popping up around Dakka again, welcome back to my little corner. It might help more if you could ellaborate a little more on why you like it better by itself one way and as part of the diorama the other - but I'm pretty much set now I think, so don't fuss about it.
@Flinty: One big ugly ferocious puppy, yes...
@Camkierhi: Welcome to Da Dark Angelz and DakkaDakka! Always glad to inspire (it increase the pool of people I can gain inspiration/steal from) - but my approach does have one major drawback - it takes forever to complete anything! I would love to see your work - present or future - as I'm sure others here on DakkaDakka would too - if you're up for it.
@endtransmission: Tsk! Tsk! Anyway - yes - I am aware of the "blank" undersides of the tracks and will be doing something about that eventually, just not this second. I'm working to get the poses and layout sorted at the moment - details will come later. I'm glad to see all my stuff arrived safely too!
So, for tonight's update:
Yeah, doesn't look much different does it? Probably the most obvious is the complete third base (that would be the one in the back to the left of Morgrimm)
Here you can see it all pulled apart. Everything not pulled apart is now glued in place - the tracks (on the Landraider and the Attack Squig), the top of the Landraider and the Grot bases. I'm going to keep the side piece of the Landraider removable for now to make it easier to paint the inside. I still need to widen the circles the two left most Grot bases slot into - currently the side piece only goes over the top, the bases won't slot in over it (the one in the back to the left of Morgrimm is all working fine though).
Next steps - the Grotz - or maybe the underside of the Landraider (I need to fill the hole with the track rollers and other stuff)
Well, first squig "setting" was really "embedded" within the diorama, the track of the vehicle continuing as the track in the Squig's jaw... And it looked better for the diorama that way (IMHO).
BUT on its own, it looked the "floating track" looked a bit out of place...
As for now, it looks natural both on the diorama and by itself, but less "embedded" in the scene...
So I guess your solution is better now, since it looks good both in and out of the diorama !
Looks absolutely amazing so far. Love the idea of wound markers, although if your using that whole base in battle its pretty wide.
I always believed a warboss should be huge, and his retinue equally so. Many moons ago I had a warboss with a bodyguard of nobz who where converted ogryn, the boss was huge so he appeared even bigger than them.
I think the squig looks just about perfect, well in character. Should the links where they have parted from the tank be twisted in some way, to show the brute force the squig exerted mawling its new chew toy away? This is not a criticism more a suggestion.
PS I have put up a couple of shots of my work in the gallery, including a deffkopta, inspired by you. I will be putting out a thread about my armys etc. Only fair for people to give me feed back too.
@Yggdrasil: Didn't I just say that? Yeah, the problem with making things for two purposes is the compromises, but we try our best.
@Camkierhi: Yeah, the whole base doesn't go on the table. Most likely it will get left at home for display. Possibly I could leave it to the side. The wound markers pop out and follow Morgrimm around - a bit like an Ammo Runt - no effect on the game, move them out of the way etc. Your Warboss and retinue sound impressive - I assume you don't have them anymore The links should end up being twisted a little, but I guess how well I pull that off won't be revealed until later. Checked your gallery - the Deffkopta looks good!
@cormadepanda: Thanks! Doing my best...
Right, so last weekend Da Dark Angelz faced off slice'n'dice's Eldar and our mate's Tau (1500pts). The plan is to write that one up, so I won't give it away just yet. Being an actual full game of 6th, and having read the rulebook this time, well I'm considering changing things up a bit...
The next game will be Da Dark Angelz and slice'n'dice's Chaos vs our mate's Tau (or possibly Space Wolves) (2000pts). So I've made a 1000pt list that is a bit different for me, and hopefully won't stress me too much putting together. I give you:
1000 Pts - Codex: Orks Roster
1 Mega-armoured Warboss
. . 1 Mega-armoured Warboss - Mega Armour; Bosspole; Cybork Body; Power Klaw; TL Shoota
1 Big Mek
. . 1 Big Mek - Mek's Tools; 'Eavy Armour; Bosspole; Choppa; Shoota/Skorcha Kombi-weapon
8 Lootas
. . 8 Lootas - Deffguns
3 Meganobz + Trukk
. . 3 Meganobz - Shoota/Skorcha Kombi-weapon; Mega Armour; Power Klaw; TL Shoota
. . Trukk - Boarding Plank; Reinforced Ram; Big Shoota
Morgrimm goes with the Lootas providing 2+ armour saves out front and sharing Slow and Purposeful. Big Mek babysits the Meganobz. The plan is to potentially put the Trukks in reserve. Grotz can hold an objective or add cover to the Lootas or Boyz. Deffkopta can make a nuisance of itself at range. Warbikers can follow the 'Ard Boyz and hopefully draw Overwatch fire. Anyway, I have fill-ins for most of this, but noticeably I'm missing:
8 Lootas - I have 8 Loota guns, which is why I chose the number, but chances are they won't stay stock (well, no more than 4 of them)
10 'Ard Boyz - Just what I need - more practise putting Boyz together and painting them 10 Grotz + Runtherd - again, I know I have the numbers (of models), and I'll be working on Grotz as part of Morgrimm's retinue, so it seems fitting. Runther should be fun (Chaplain take-off)
I have a painted Warbike (da kneecapper) and a couple more in progress from before, though I am seriously considering dropping the Warbikers (they have no Nob) and bulking out the Deffkoptas to three (stock).
Thanks god I already have the 20 Boyz (Yes, that's my Waaagh! Dakka Nob there - he seemed fitting for a Nob with Bosspole, Powerklaw and Big Shoota...)
Anyway, life keeps getting in the way of modelling - I was meant to have sorted out bits yesterday, and no closer today - only got as far as determining I had enough Shootas for the big boyz mob above!
Isn't that kind of along the lines of our last Vassal game?You certainly had bikers, grots and lootas. Not sure I've seen you run a foot mob before though...
I've done the MA Warboss w/ lootas trick before. Makes them much more interesting (though snapfire itself gave them a big boost). Grot artillery is also pretty cool right now... gotta love them T7 grots!
Gitsplitta wrote:I've done the MA Warboss w/ lootas trick before. Makes them much more interesting (though snapfire itself gave them a big boost). Grot artillery is also pretty cool right now... gotta love them T7 grots!
That looks kinda mean indeed... As if Lootaz needed a buff
@endtransmission: I guess so - and how many of those did we play? Need to start a new one... And you've seen me run plenty of foot mobs before - they are caller Trukk-less Trukk boyz
@Gitsplitta: Really? I didn't think those sort of tricksy combinations were your style I'll eventually get to the Grot artillery I suspect as well (for now, I'll just admire yours).
@Yggdrasil: Well, I don't have 15 of them...
No pics today. Spent the evening looking through gun parts for the Lootas. I had bought a Dev squad many moons ago for just such a purpose (if memory serves correctly) - but I don't know - Space Marine heavy weapons just seem like they might be better off for different purposes:
Missile Launcher - Rokkit Launcha
Heavy Plasma Gun - Kustom Mega-Blasta or Snazzgun
Heavy Bolter - Shoota (it's tiny!) or Big Shoota, possibly Snazzgun
Multi-Melta - Kustom Mega-Blasta or Snazzgun
Lascannon - Deffgun or Snazzgun
Seeing a pattern here? I think I'm going to have to go through my tank guns
Arakasi wrote: @Gitsplitta: Really? I didn't think those sort of tricksy combinations were your style I'll eventually get to the Grot artillery I suspect as well (for now, I'll just admire yours).
Style has nothing to do with it... rather a fundamental lack of intelligence.
You guys are getting closer, maybe I'm being too picky
The Assault Cannon base - including the feed and backback - all come from the Wolfguard Terminator Assault Cannon.
The front, however, has been swapped with the Landraider Redeemer/Crusader Autocannon - the Space Marine ones just look too weedy!
The missing kit is the Nobz kit - for the guard on the trigger - though I am seriously considering cutting the whole guard/slugga down to just above the middle spike, below the useless case ejection port.
Casey's Law wrote: That looks amazing. I'm coming back to read it in more detail tomorrow night!
Okay so it's been 5 months, 1 week and some spare change hours but i have actually read it now. And the it in question was your write up on the GW masterclass.
If it makes up for the massive delay i absolutely loved it! I got really engrossed and was a little upset it wasn't longer. I'll definitely loo into doing these masterclasses one day.
Anyway, i'm glad you got back to Oz without a hitch! I think we actually took similar lengths of hobby break, except you had a better reason! Now try not to get eaten by some poisonous devil beast and i'll try to learn Infinity, then we can try out vassal again! (I've got a proper Infinity force arriving today.)
Well i also rather enjoyed the bat rep that greeted us on your return! Your post quality and quantity is something i'd really like to be able to emulate. I think i need a calendar to keep me focused!
The lootas are looking funky but i'm particularly interested in the display base. If the squig is still open for discussion:
I think in the first, 'too big', incarnation a section of track should have been bent/chewed under the top teeth. The tracks didn't look part of the model. For the current look of the model, i like it more but i'd suggest bits of track in the squig's mouth again. Maybe some 'paint pigment' around it's mouth when you come to painting. I just think the two pieces need to be brought together more.
I like the way he is kind of trying to get it off his teeth with his feet and tongue in the most recent version!
In honour of Casey's Law returning, and a lovely, yet exhausting, day spent in Thailand (I'm here all week ), a belated catch up on some comments
@cormadepanda: Thanks.
@KingCracker: You did get fairly close indeed.
@Anvildude: Yeah, it's not actually a shoulder pad, more like a back plate? It fits in the narrow gap between the Nobz shoulderpads...
@Camkierhi: Thanks. Yes, I'm still thinking of losing the top of the slugga on the Assault Cannon Loota - maybe on my return...
@Gitsplitta: I can't even remember how long I've had that Black Orc kit for just this occasion. The two handed poses might cause me more grief though. I'm thinking Nobz with Big Choppas - I'll just have to bulk up the boots to give them Nob height - but that's a project for a far away day... I think they would look great as Bad Moonz (hint hint).
@monkeytroll: Yup - classic Good eye on the hollowed out shoulder and the tank exhaust Deffgun! The former I think was just laziness - I couldn't be bothered trying to work out what angle to cut the arm at to have it work (it will look wrong if you just glue it directly on) - so had the bright idea to drill out the existing piece of arm . Loota combines the rest of the Landraider Assault Cannon from the first with an exhaust from the same Landraider (which incidentally is also the one that makes up Morgrimm's base...)
@Yggdrasil: Thanks. Shoota doesn't look too bad in person... perhaps I need to make some of my own though (there are some good tutorials about after all)
@Casey's Law: I can't remember if its the Masterclass that peters out, or me (due to the end of a long day) I really should look to do something with what I learnt, though the cross globe move did put a bit of a damper on things... I'm glad I made it back to Oz without a hitch too. Don't worry, I survived 30 odd years without being eaten by some poisonous devil beast previously, I don't think the UK has softened me *that* much Yes, we should do Vassal/Infinity again (makes more sense now that we are on opposite sides of the world as opposed to "just down the road" ) - and I should start/continue my Infinity blog too - all in good time. Post quantity and consistency have degraded a bit as I get back into the swing of things, but I'll keep on trying to improve them and provide inspiration.
Wow - long post! Anything not undercoated is still open for discussion (and then it's open for painting discussion) - so knock yourself out. I'll have to see what I can do with more "bits of track" in various states of "chewed" - on my return...
Depending on the arm and the pose you can get away with shaving remarkably little off the arm - PK's seem to be best for this - although we're obviously straying into nob rather than ard'boy territory now. I think I may have one instance of not being trimmed at all - although the pose helped me to be lazy there So, yeah, for your standard shoota arm it requires either choppin' or hollowin'
Haha, yeh i'd like to start a sculpting project but i need to get some of my current stuff finished! I was watching QI recently and the stats for animals causing deaths in Australia are rather amusing. Watch out for the horses! Seriously!
My Bakunin have arrived so i'll get learning the rules so you can massacre me again!
Arakasi wrote: Tip: Take pieces from the side, don't use the middle where the colours touch.
It might seem silly but that little snippet from you masterclass experience has been popping up in my thoughts now and again since i read it. Why? Well i agree and disagree. Maybe it's just how it's written but it sounds like they were advising you cut the pieces out leaving the 'stem' attached.
My advice is always to cut off in horizontal strips including the join. At that point tease out the two colours from the join, it'll be obvious where the material has hardened slightly and the 'clean' stuff will peel away easily. Okay, so it isn't a big deal but i think you'll waste a heck of a lot less green stuff this way.
Sorry, you probably know this already but it was playing on my mind.
KingCracker wrote:Aww I was hoping to see more goodies in here. You let me down Arakasi, you let me down
Obviously I can't post without goodies anymore for fear of letting you down! Never fear though - more goodies incoming...
monkeytroll wrote:Depending on the arm and the pose you can get away with shaving remarkably little off the arm - PK's seem to be best for this - although we're obviously straying into nob rather than ard'boy territory now. I think I may have one instance of not being trimmed at all - although the pose helped me to be lazy there So, yeah, for your standard shoota arm it requires either choppin' or hollowin'
Good to know.
Casey's Law wrote:Haha, yeh i'd like to start a sculpting project but i need to get some of my current stuff finished! I was watching QI recently and the stats for animals causing deaths in Australia are rather amusing. Watch out for the horses! Seriously! My Bakunin have arrived so i'll get learning the rules so you can massacre me again!
I have a whole lot to finish (or even start...). Luckily, no horses in my vicinity. Thankfully the dog is too slow for the roos. All my Vassal stuff seems on hold recently...
cormadepanda wrote:dem lootas is interesting, bit wibbly wobbly but koo.
Thanks. More work to do, but postponed for now...
Casey's Law wrote:
Arakasi wrote: Tip: Take pieces from the side, don't use the middle where the colours touch.
It might seem silly but that little snippet from you masterclass experience has been popping up in my thoughts now and again since i read it. Why? Well i agree and disagree. Maybe it's just how it's written but it sounds like they were advising you cut the pieces out leaving the 'stem' attached.
My advice is always to cut off in horizontal strips including the join. At that point tease out the two colours from the join, it'll be obvious where the material has hardened slightly and the 'clean' stuff will peel away easily. Okay, so it isn't a big deal but i think you'll waste a heck of a lot less green stuff this way.
Sorry, you probably know this already but it was playing on my mind.
I think they were describing it how you thought. Maybe they have a financial incentive to see more GS? I find I cut across the entire strip, then slice either side of the middle (rather than tease apart) - but each their own
Camkierhi wrote:HELLOOOOOOOOOOOOooooooooo,
All gone quiet here.I need my inspiration please.
Terrible isn't it? So a belated update, just for you (and KingCracker).
So, where was I? Holiday was great, but that isn't hobby related, so moving on... Ran out of time to finish the new list (you all guessed that was coming right?), didn't end up playing the combined game anyway (one of the guy's couldn't make it) so it ended up just slice'n'dice and me - Chaos vs Orks - 1000pts - our own variation of Da Dark Vengeance Weird battle, but I'll save that for a write up...
In the meantime, I have returned to the Warboss. Some slow progress on wheels throughout the week ended in reasonable progress today, so I present to you said progress for your discerning appreciation, inspiration, constructive criticism etc I may even have some notes...
So here is the base level. As you can see, some wheels have been added, as well as the broken track. Gaps have begun to be filled with GS or plasticard.
Here with the Attack Squig.
And with the top on.
From the top, showing the exposed insides without the bases filled in on top.
@Casey's Law: Well, it wasn't entirely random, it was sparked from the blog. Feel free to rant on anything in the blog
@Camkierhi: Thanks and cool.
@The Good Green: Thanks. Everything is pretty much settled, just need to get my hobby back on track...
@Gitsplitta: Thanks again - if I count the number of times you have said that for this project, what would we be up to now?
Meanwhile, some more progress (yeah, shocking I know!)
I think we are just about done on the inside left...
And with the top on...
Angled better to see the mass of piping above the door...
Some additional detailing on the other side - the track cover, the light and the hatch. I'll probably still add some more here (maybe the smoke launchers and antenna...)
Oh - you may have noticed previously the tracks all now have little teeth for added detail (and as a bonus, one of them on the squig sits neatly under his toe) - is this enough or do I need to add to the sides as well? (I figure the answer is yes - add to the sides, given I've been putting it off expecting it to be quite fiddly...)
@Casey's Law: Awesome - looking forward to seeing the results. (BTW, will get back to your PM soon - but I think the answer is going to include lots and lots of plasticard...)
@Gitsplitta: I'll help by posting more updates
Okay, so work has been progressing consistently, even if updating the blog hasn't. On the upside - you get a bigger update! (Assuming I can remember what I did in the pictures...)
"Finished" left side of Warboss hole.
From the underside.
Matching for the Warboss base.
And some work on the side of the Warboss base.
Slotted together.
And again for some reason (can anyone see anything different apart from a slight angle change?)
Coming together...
Coming together again - this time with Attack Squig.
Start on top and right of Warboss hole, plus some more details on the left.
With the lid on
Bottom and right of Warboss hole.
Bottom and right of Warboss hole - now with more detail!
"Finished" top of Warboss hole.
"Finished" right of Warboss hole.
Now, for those of you who saw my previous question regarding the tank tracks, and were thinking, no, I don't need to improve them further - but you didn't speak up - well, now it's too late. I finally bit the bullet...
This way lies madness!
But it looks a lot better I think. I've also added some bits to the attack squig mouth to try to tie it in better...
Elevated view.
"Finished" Warboss base - front.
Right.
Back.
Left.
He still fits! Yay!
I think I might finally progress back to the Grotz next!
Amazing update! Do you research machinery or something for adding in those details or is it just a natural process? The answer will come up in your pm reply no doubt so feel free to consider that rhetorical.
Arakasi wrote: Casey's Law: Awesome - looking forward to seeing the results. (BTW, will get back to your PM soon - but I think the answer is going to include lots and lots of plasticard...)
The results weren't as fruitful as I hoped, it turned into a session of sorting out my various projects. The good thing is, it's given me quite a bit of clarity as to what needs done. Since then I've been casting up some custom bits I need to finish my 'Nids while I've gone through many different 'sketches' of the project which led me to pm you.
More plasticard?! And there was me hoping there was a secret trick to it!
Great work, fantastic job with fitting the bases in and the 'unbased' LR...details are beautiful, you've added a whole other layer to the stuff.
Excellent choice with the tread teeth..I'd have encouraged that if I'd been on sooner...but no need, you did it yourself. You'd have regretted missing those with all the other detailing you've done.
Absolutely impressed with the detailing...can't say that enough
Huge amount of kudos heading your way, looking forward immensely to progress on the little guys....
I think you need to do something extra with the hammer's handle. Right now it's kinda plain- either see about extending the 'leather wrap' all the way up, or maybe some bits and bobs slapped on to make it look more mechanical or drive-shaft-y?
@Casey's Law: Not much in the way of Landraider internals to research, and it's a bit of artistic license anyway given how much of the existing model I'm using and leaving holes for plugin bases - so mostly just a natural process. However, I did go google image searching for tracks and links to do the tracks. Generally I'm of the opinion if it looks like it will work, it probably will look good, but never rule out the rule of cool
I find organisation helpful towards being productive - so no loss in my eyes there!
@Ramos Asura: Insane, or InSaNe
@monkeytroll: I knew you would have encouraged the tread teeth. Little guys incoming....
@Anvildude: Noted, agreed, and well, he isn't close to finished and that is one of the more glaringly obvious areas in need of attention - so never fear, but thanks for pointing it out (as you never know when I might miss something...) Certainly I'll consider your ideas when I get there (soon, I hope...)
Right, so *more* progress (shocking, I know) - and things seems to be stepping up a gear, which is nice! So here we go!
Do you remember this guy? The bearer of the Banna ov awesomeness - all cleaned up and slotted in. Some GS work still to do to connect the two parts of the hanging cloth.
Panned out.
Sans diorama base.
Helmet bearer joins the crowd.
Extreme close up.
Panned out again.
Another close up (honestly, sometimes I wonder what I was thinking when I take these...)
Ammo Runt and Sword Bearer join the group, sans diorama base.
Ammo Runt close up, front.
Ammor runt close up, back, sporting a hurricane bolter from the Landraider.
Sword Bearer close up.
From the left.
From the right.
Diorama base. (Boring, I know )
Plus stage one.
Plus stage two.
Plus entourage - just one grot missing (Book ov Sekrits bearer)
Close up of Sword Bearer on the diorama base.
Close up of Ammor Runt on the diorama base - and another Hurricane Bolter from the Landraider lying around.
Wow! Just wow! This has honestly made me think I need to make a diorama for my boss as well. AND you also just solved my question of where to put his shootas on him, as currently I dont like ANY place Ive put it. Ill just build a grot to hold it! BRILLIANT!
I completely agree with Gits, your halfway to a Golden Daemon there bud. Mind blowingly good, a lot better than most of the GD conversions I've seen.
But, as they say, the proof is in the puddin'! Your painting is already beautiful but, from what I hear, getting your grubby green mitts on one of those trophies requires something a little more than a fancy red paint job.
So I pose you to questions...
a) Are you going to enter this at the next Aussie Games Day?
and b) If you do, what kind of exciting painting techniques are you going to bring to the party, if any?
P.S. Thanks for the reply! You knocked it out of my mind with those pics. Working on the project now and musing on your thoughts.
Hi
Loving your work so far cat wait to see more love the diroram that you are doing love that the bases will be part of the diroma too!!!! possabily fisrt time back on dakka for months!!! Btw blog has had update….
http://www.dakkadakka.com/dakkaforum/posts/list/810/357188.page
That is really impressive detail work you've done there... it's a perfect execution of the original idea
The one (very tiny) niggle I've got is the sword bearer. Currently it doesn't look like he's got a grip on the sword at all as the brain sees that there's not guard going up and assumes there's nothing going down as well. If you added some sort of guard extension on the top it will make it look more like he has something underneath to grab hold of?
Now that is when hard work pays off. Well done lad! very well done. Painting will be something to really see, and if your interested i will help ya out with it! nice to see you really stuck with the project.
So, I've been busy, but obviously not updating the blog - though modelling, so... anyway, I seem to have got a lot of responses from the last update - better sort that first...
@Artsoldier35: Thanks, and long time no see. I still haven't forgotten that Trukk...
@Gitsplitta: GD worthy build huh? I wasn't setting my sights quite that high....
@KingCracker: Every Boss appreciates a diorama. Glad to help (even found your Boss thread!)
@monkeytroll: Thanks as always.
@Casey's Law: GD mention number 2. A third time and I'll have to worry . I hadn't "planned" on entering GD, and I'm not sure of the chances of completing for Aussie Games Day 2013 (2014 might be more realistic) - but it's now on my mind... Haven't even thought about painting yet, well, other than finishing the Deffwing and putting together my Dark Vengeance Deathwing as "practise". I'll have to get back to you on potential exciting painting techniques... Though it does need to fit in with the rest of my army... open to suggestion as always!
Hope my more detailed PM wasn't too depressing
@Camkierhi: Thanks. It's not stealing, it's looting! (and it's very Orky). Looking forward to seeing your project.
@HAZZER: Welcome back! Saw your update. Didn't feel I had anything to add that others haven't so far. Keep working on that lighting/photography.
@Moltar: Thanks again. Not sure if it's the best, but I reckon I have a shot at the longest... Will do!
@The Good Green: Everyone's popping in this week. And there is the 3rd GD mention, I guess I'll have to take it seriously now...
@endtransmission: Trust you to mention a niggle! (That's okay, Slice'n'dice mentioned it in person too). I think I can see the problem, but I'm not sure extending the top of the guard is going to be enough - going to have to give that one some more thought. Don't want to break the immersion if I can help it!
@cormadepanda: Someone was bound to mention the P word. What did you have in mind "I will help ya out with it!"?
Anyway, I know you all want to see more progress, so here you go!
Book 'o sekritz bearer out front.
Up close.
Da trappin'z ov office.
So, not enough detail before - lets add some more!
And the same for the Book ov Sekritz bearer.
The diorama marches on...
First Dark Vengeance Deathwing Terminator. I forgot to do the base before attaching the model, so had to work "around" him...
Trimmed.
Second DVDW Terminator. This time I remembered to start the based before attaching him.
Yeah, I'm almost done with my time in the sand. So, I guess I need to get some paint on the two bikes also. Anyway, happy new Year and keep up the inspiring work.
@Gitsplitta: You know, you don't have to keep coming up with new original praises (unless you want to) - I will keep posting!
@Zwan1One: Yes - but not before the modelling is complete! Of course, the real question should be (based on past experience) - which takes longer? The modelling or the painting?
@HAZZER: Will do!
@Artsoldier35: No rush - I wouldn't even worry about starting until I start paint on yours (or like Gits, you will complete so far ahead of me...)
@Camkierhi: Happy new year, to you and everyone else!
@monkeytroll: DV is a nice set - and I'm sure you would love the Chaos (including cultists!). Like the "Crusade of Fire" though, there is a disturbing lack of greenskins...
So, the problem with the Sword Bearer, it turns out, is that I had simply sliced off the bomb he was carrying, and attached the sword on top. I removed the sword (yay brittle superglue), dug out most of the bomb, shaved down the underside hilt, and re-attached. Looks a lot better to me - what say you Dakka?
Left...
Right...
Front...
Back...
Left on scenic base...
Morgrimm has been broken down into his constituent parts ready for more detailing:
A before photo, without an after yet - what is going to go here?
The second Deathwing base. It has since been trimmed and had it's Terminator attached - but apparently I didn't take a photo of that yet...
Can you see what was added? That hose was *very* fiddly. Basically, because the arms have been repositioned, the two connecting cables, well, no longer connect. This hose (guitar wire) now fills the gap.
Not content with the fiddliness of the front, I decided I could do the same for the Shoota as well... My other option here is more of a servo arm arrangement, I don't know
The fist looks a bit odd being one piece and holding a Thundahamma, so here is the start of detailing some digits...
Continued...
Another angle...
Completed. Well, I may need to GS some of the gaps. Plastic glue is very forgiving, superglue less so - especially with such small pieces of plasticard! Oh, and I still need to add rivets, so not completed at all...
Another angle...
Remember the number one complaint with the shield?
Previously I was playing around with the idea to make a new Nob to lead da Boyz - one in 'Eavy Armour and kitted out with a Boss Pole, Power Klaw and Big Shoota (for that 50% precision shot chance) - and this seemed like as good a reason as any That and I am always interested in how fast I can turn around a single model...
So I give you the beginnings of said Nob!
Front
Front right
Back
Front top.
Catchya!
Automatically Appended Next Post: Hero Nob continues...
Don't comment much on p&m's, but first I'm going to commend you on the excellent work in this thread, love your 'MorGrimm' and retinue.
I don't know what it is, maybe it's just the angle of the pictures but the pose on the new nob looks a little, 'off', some parts give him a dynamic movement, some very static. I think it's the PK arm that throws it off (to be honest, I hate the AoBR nob arm poses anyway, they are all doing the 'im a little teapot'), with the other arm holding the gun as if running. Perhaps if he was holding the gun with both hands ?
But meh, what can I say, don't think I could ever produce output as excellent as this anyway.
Arakasi wrote: @Casey's Law: I assume you like? If so, you really haven't left yourself anywhere to go now... Was my PM helpful - or scary?
Well the Nob's great but that wasn't what I was referring too...
You completely blew me away by adding yet further layers of detail to the Warboss diorama not to mention the added detailing to the Warboss himself. I don't want to praise you to the point where it just seems fake but it really left me speechless, my comment was an honest attempt to convey how I felt at that moment. You have reminded me what I love most about the hobby and what's possible within it.
Anyway I'll leave it there. I'm still struggling to put it into words and the more I write the more it'll sound fake and a little silly.
P.S. The pm was great thank you, I've had a good think and I'll try and get a response back to you in the next few hours.
These orks are so amazing, Arakasi. I think I'm finally going to get those world eater shoulder pads for my mareenz... and it's because of you. So awesome!
@Leigen_Zero: Thanks! Welcome aboard! I imagine the Powerklaw arm waving on da boyz, rather than being by his die or in a strike. Anytime I can't see the normal Nobz body working better I like to take the opportunity to convert one of the many AOBR Nobz. Still, I'm sure to need another one (or two) eventually, so all ideas are most welcome (and I don't like doing duplicates anyway, which naturally means I'm unlikely to do this exact pose again ) Holding it in both hand might be challenging (unless I use a Kombi Shoota as the base...) - but then, I'm always up for a challenge - eventually...
@Gitsplitta: Thanks!
@Camkierhi: No problem, I figured as much.
@Casey's Law: In my defense, what you were referring to in two letters and three full stops was anything but obvious But - my comment still stands - the Warboss has further to go too (some more in just a sec). Anyway, always happy to inspire (and be inspired). Re the PM, that it was helpful was all I was after, so no problems there. I often save stuff in a ntoepad equivalent or copy it before sending to avoid "losing" stuff...
@The Good Green: Hey! It's been awhile! Do it!
Anyway - a little bit from the weekend. Morgrim doing his Chaos/Hellraiser impression (mid riveting)
Some more progress... first, the shield:
Added chain.
Side on (actually, you can see more work on the edging too - just needs rivets! This was where I discovered I was out of the appropriate plasticard rod...)
Hobby store was out of the correct size too, but they did have some brass rod of the correct size - so, rivets!
Angled, front on view.
View of the side. Eventually there wil be three rivets attaching it to his arm here, but I'll paint both first before attaching those and finishing up. You can see the holes drilled for them here though.
Still avoiding the hammer, I decided to add some more detail to the cloak. Anyone recognise the symbol? (Whalemusic360?)
sir william the bold: No forgetting! Otherwise you will miss updates like this Will endeavour to keep up the good work though...
Gitsplitta: Datz da plan!
Right. I didn't think this moment would come, but... I think... Morgrimm... is finished? Final detailing of Da 'Amma is done. There is a bit more weathering to the shield. Um.... Jobz a gud 'un?
Front
Right
Back Right
Back
Left
Front Left.
I have some GS to do on Da Banna Beara, and PVA glue sand to the diorama base, as well as the Attack Squig and Book ov Sekritz Beara - nothing too scary - and I'll probably want to run some liquid GS over everything - but the end is definitely in sight!
As I approach the (modelling) finishing line, I'd just like to say a big THANK YOU to everyone who has contributed to this project, however small, from simply following along in silence through to great ideas and constructive criticism. I hope you are pleased with the end result as I am!
I haven't painted anything from, well, this time last year, so as I think I mentioned before, the plan is to lay the groundwork (practice) with the Deathwing from Dark Vengeance and my Meganobz before attempting Morgrimm and retinue. While I contemplate finishing the Meganobz, I finished the Deathwing. For speed, they are in their stock pose - but only four of them as I hate duplicates and the fifth will need more love than I care to give him at the moment. Instead, I decided to try my hand at space corridor bases - as I'd like to eventually use them as stand-in replacements to my unopened Space Hulk terminators... Anyway, so these involved minimal clean up and assembly, but with a lot more time spent on the bases It's all good practice though...
Bases - WIP on left, finished on right.
Base finished on left, model (Assault Cannon) finished on right.
Gang of four.
Anyway - should be the Meganobz up again in my next post - stay tuned!
@sir william the bold: A picture of the entire army together is long overdue. Hmmm... I have a long weekend this weekend, and a board and scenery I've "acquired" from a mate. Might see what I can do... (before it all gets returned...)
So, Meganobz.
Codename: Predator. It's been so long... I *think* I made this twin linked shoota originally for Morgrim - but it suits him just fine...
Codename: Thunda'amma (was that his codename before?). Added twin linked shootas. Supposed to be cyclone missile launcher like in implementation...
Front.
Right.
Back.
Left.
Switched out for Kombi-Skorcha.
I need to finish the Skorcha part of the Kombi-Skorcha, as well as make a Rokkit Launcha piece too. Also, Kombi-Skorcha and Kommbi-Rokkit replacements for Codename: Predator above. Not to mention the missing Codename: Lightning Klaws... (Codename... doh I can't remember them all now - anyway, he has twin linked shootas only, so no Combi-Rokkits or Kombi Skorchas for him...)
And for a bit of fun, just to prove Ork Warbosses will take on *anything*:
Morgrim vs our Pyranean Mountain dog (Einstein).
man i cannont say anything... ive ran out of complements... seriouly..now it either going to me saying good each time lol, or mass cirisiem!!!!! btw blog had an update...
They look just as good as ever (although I miss seeing them in person on occasion). I would say, however, that if you are going for a cyclone missile look you would be better to have it central and spreading from the same branch (so to speak) so it looks much more like a SM cyclone - just now it looks like two separate shoulder mounted weapons.
@HAZZER: It gets like that Left a comment for you (not very helpful I'm afraid...)
@Gitsplitta: The great thing about returning to already started projects is that some of the work has already been done!
@Imperial Monkey: Thanks - and you never know when you might see them in person again (though I'd wait until they are finished...) Yeah, the inspiration was the cyclone missile look, but the interpretation appears to have veered somewhat. I thought it was the weapons not being large enough, but I could see how having it branch from the centre would help too. The real question is, not whether it faithfully represents a cyclone missile launcher, but is it okay/worth changing... Hopefully, yes/not. I can always try again if GW ever releases new Meganobz. Meanwhie, I had already planned something for the space in the middle...
Didn't get a chance to setup for an army photo shoot (was a bit windy outside where I would need to set up the table and terrain), but, after some lack of inspiration managed to get back in the saddle and progress some more. All elbow join rivets done. Codename: War Machine is almost finished - just needs his arm pistons (they all do) and *maybe* some cables running from the guns (still considering that) - and his base of course (again, all do). Also I am partially through riveting Codename: Light'ning Klaws. But enough rambling - on to the pics!
If it was'nt enough that they all look awesome it is definatly made even better by the fact they all have interchangable weapons. simply stunning. cannot wait to see them painted up
I have been lurking not saying anything then I saw this latest update now I just cant speak that twin gunned war machine is a fantastic idea and conversion
@bigfish: Thanks! Well, three of them have interchangeable weapons. The original I painted up doesn't, and neither does Codename: War Machine (but I can live with that).
@Gitsplitta: He is. He *was* my favourite - but I think it has just as much to do with how close to finished they are. Codename: Light'ning is now edging him out as he is nearly complete now too (see below).
@lone dirty dog: Always nice to lure out a lurker! I must be doing something right
@stinkyfive: Re ammo belts - see below...
@HAZZER: Thanks again HAZZER.
Right - so there have been a couple of requests about the ammo belts again. This is where you need to go: Zinge Industries operated by our very own Zinge. Here is his News & Rumours thread [url=http://www.dakkadakka.com/dakkaforum/posts/list/349840.page]
Zinge Industries - Bits Site - Flexible, Chainsaw Teeth, Dags & Checks Released 24/08/12[/url] and his Dakka P&M Blog Zinge's Plog - Playing with my bits rather than just selling them!. Because I am nice, here is a link straight to his Flexible Ammo Belts - but there a lots of other cool stuff on there too!
Back to the Meganobz! Getting into the final detailing aspects now...
Codename: Thunda'amma - front right - now with cape!
Codename: Thunda'amma - back.
Codename: Thunda'amma - left.
Codename: Predator - back - now with more skullz. He will have a lot more before I am done with him!
Codename: Light'ning - front - complete with addition of Stikkbomb chukka, "shield" plate and robe - well, except for the arm pistons and base...
Codename: War Machine - front - now with additional Stikkbomb chukka.
Found a place for the Stikkbombz on Codename: Predator... it's supposed to be a reference to the triangular, three dotted targeter on his shoulder cannon...
@monkeytroll: You would think you would have learnt by now - no absences from DakkaDakka!
@HAZZER: Thanks as always!
@cormadepanda: You would I was hoping to get everything finished (Morgrim, Meganobz) before starting painting my entry for your competition, but I think I may need to start that this week - otherwise I won't have it finished on time!
Have been working if not posting... Codename: Predator:
Here you can see the addition of some grill to his armour plates to sort of mimic the webbing of the Predator.
Then I got a lot more done - he is really starting to come together now!
Front - gob horns (to mimic the Predator lower teef), skulls, hair squig.
@Camkierhi: Unfortunately? Do you have a pic of the "skull" to strap to his back?? Bit like the alien skulls on display in movie? I assume the original movie - I can always get it out and flip through it to find it...
Started on the arm pistons, starting with Codename: War Machine. These things are *really* fiddly...
Codename: War Machine (front)
@Camkierhi: Yeah, I like him too. Ah, Predator 2, it never really did anything for me... Anyway, I thought you were referring to a skull being worn by the Predator, not a trophy on a wall - which I would never have worked out without the pics... Believe it or not, it is actually possible to put *too* much detail on a mini, and there is always an issue with scale too. For example - two things that have been dismissed so far - the plastic Ork skull on the boyz frame - it's just too large for Codename: Predator - and the Chaos Space Marine Lord kit has some shoulder trophy racks with various skulls and helmets on it - best I can describe is they broke the silhouette of the model and just didn't look right. Oh - a third thing- I was going to put more skulls on the left shoulder pad, but again it wasn't working for me. Actually, I could keep this up all day. I tried up to seven skulls on the chest strap, and also using skulls on spikes for the gob horns. Anyway, the point is, too large a skull will unbalance the model. I suspect a Zoanthrope or other large Nid head or skull will fall into this category. I may be able to work the Nid skull from the Chaos Space Marine Lord kit trophy rack onto the back - I'll give it a try and see where it goes...
In the meantime, more pistons, this time for Codename: Light'ning Klaws
Not really visible from the front (or sides for that matter...)
Better from the back. The attachment points are more "accurate" this time around too, attaching to and extending out from the forearm plate edge...
Seriously though, you've firmly secured a position in my list of hobbyists that I strive to be able to match up to. And it's not that big a list. I love it when the bar gets raised, makes me work harder to up my game too.
Also, I was meaning to ask, although you were the first I saw of this, the whole, 'Orks trying to emulate the Imperium' thing is something I'm seeing more and more. I thought it was your own invention but I'm starting to think it's in the fluff somewhere. I don't have an ork codex, not a new one anyway, probably a really old one in the huge eBay batch I bought. So is this new fluff, old fluff or am I going mad and it is in fact your own idea? If it is in the fluff, where can I read about it? I'd love to put together a single warboss trying to copy my Marine force, which also needs to be built. So many toys to play with.
@Camkierhi: Steal away! My brother left me some Nid skulls - all way too big - and even the one on the Chaos Lord trophy rack is really too big - a bit like the plastic Ork skull. Never fear though - a long standing idea I am yet to implement is to do up Grotz as wound markers for my Nobz and Meganobz. Part of the idea was to have the (Mega)Nob and his Grot easily identified as a pair, so I'll remember to add a Nid skull to his wound Grot sometime in the far distant future He can carry it, drag it, have it on a trophy rack or pole - I'm sure I can work out something...
@HAZZER, monkeytroll, wib: Thanks!
@Casey's Law: For as long as I can remember, Orks have been split into 6 clans. Two of the clans are particularly suited to emulating the Imperium - the Deathskulls, as they are "plunderers without equal" - and are likely to scavenge and make use of imperial weapons, armour, vehicles etc - and the Blood Axes (the clan Da Dark Angelz claim to be a part of) who "trade openly with the Imperium, parley with the foe and will even consider retreating from battle if faced with insurmountable odds." They have "made the most contact with the forces of the Imperium, occasionally fighting as mercenaries and making extensive use of Imperial war material, but then every Ork can see the funny side of extorting weapons from human planets only to use them against their former owners." All of the quoted text is from the current Ork Codex. The rest is IMHO
Most of the fluff tends to be between the Imperial Guard and the Orks, rather than Space Marines, so that is a small difference in my take on it - but I most definitely won't be the first to come up with that idea. I like to think that the exact nature of Da Dark Angelz (as covered in the fluff in my thread) is unique though - the harvesting of "gin seed" and "progoid lands" from "fallen" (in battle) Dark Angels Space Marines to inject themselves with, resulting in interesting effects on their particular approach to organisation, taktiks and warfare.
I only have the current Ork Codex. The clans existed when I started with 2nd edition though - so any Ork Codex would be a good start. Maybe someone else can point you towards any further sources of fluff...
Enough text - more progress pics!
Codename: Predator, now sporting rivets on his (blurry) left fist.
From the right we can see the addition of the arm piston. Gee, my focus was way out this time around (sorry).
From the back we can see both arm pistons.
And from the left, some cabling as well (now fixed in place).
I also did some liquid GSing to the Nob ready for undercoating (which has been done now, but no pic - seriously, it's the same as above, but black). He needs to be finished painting by the end of the month for Panda and Papa's Hero competition...
Well, I don't *usually* post without a pic update, but I thought I should address this faster than my usual pace...
@cormadepanda: It will be finished. Experience says, if I concentrate, I can get a single mini painted in 2 weeks I had wanted to start after finishing the Meganobz, but I don't want to cut it *that* close. Hefty competition indeed - I have my painting work cut out for me...
I did say for a *single* model. When I do a squad of ten, and you suddenly realise that is 5 months - does that sound more comprehendible? Anyway, timescales are taken from the last two DakkaDakka painting competitions - pretty much the only time I've concentrated on a single model to the exclusion of all else...
I really like how 'Predator' is looking most of all. The use of the Space Hulk Power Fist is particularly inspired.
I won't quote your reply to me about fluff because it's much longer than my reply but thank you for explaining it. I had a root around and found an old codex, Armageddon and an old collectors' guide. Funnily enough the front of the guide had explanations almost identical to yours about the 6 clans. Bad Moons were the only ones I knew about, I really love the Nazdreg fluff which ties in well to the Imperial imitation idea.
I particularly enjoy the fluff that you adapted for your own army but the canon stuff is a good foundation. I think I'll do more reading before I consider building a one off warboss.
Keep up the great work mate. I'm watching in anticipation.
Starting blocking in colours, getting a feel for the layers (will be painting "inside out"). Oh, apparently my paints survived the trip to Oz - cool!
More progress - front.
Right.
Back.
Left.
Very early stages this - the base coats still need more layers and tidy up - as I said, getting a feel for the layers (of the model) and the colour scheme.
lone dirty dog wrote: Is this a technique you always use ? I mean blocking in all the mane colours to start with.
I only ask as I was wondering if you find it an effective process ?
Either way love the layout and the shooter especially nice job
just to do a small hijack here. I find LDD that it is easier to block in the primary colors, for the main parts, ignoring details and things, for things like flesh and armor. Then to build up around that with other colors, and doing detail work.
Yay! I love to see some painting going down in here.
Could you explain a little about the 'layers' of the model? I understand the concept but I'm not sure how to apply it to my process. I'm about to start a small project to get my painting up to scratch before my main projects so it'd be good to hear how you assess a model to paint.
lone dirty dog wrote: Is this a technique you always use ? I mean blocking in all the mane colours to start with.
I only ask as I was wondering if you find it an effective process ?
Either way love the layout and the shooter especially nice job
just to do a small hijack here. I find LDD that it is easier to block in the primary colors, for the main parts, ignoring details and things, for things like flesh and armor. Then to build up around that with other colors, and doing detail work.
I have considered doing this way before my self, but I have always worked on building up one area at a time adding shading and highlights, I am thinking this might be a better way using block techniques as you get more a general feel for the overall look.
@cormadepanda: Aye aye! (and thanks for adding to the painting conversation with lone dirty dog)
@lone dirty dog: Previously, I haven't blocked in all of the main colours to start with, so this is a first time - so I'll only know if it is effective at the end The three issues I am trying to solve are: 1) Getting an earlier idea of the overall scheme and how it will work before too much effort is applied 2) Discovering details that the black undercoat hides, so I can take them into account now rather than later 3) Giving me a feel for how easy it is to reach the various tricky spots, and therefore which colour should be worked on first.
Previously I have worked up one layer at a time before, with the above issues. It's not an efficiency issue - you can block out each area across a batch of models - though catching the hidden detail may lead to efficiencies - batch painting really slows down when you have to deal with different small details across different models
I could also try using the new DakkaDakka army painter to try to establish the overall colour scheme before painting, but I don't have time for that this time around
@Casey's Law: For layers, the easiest I can think of to describe it is to think about a IG guardsman. Usually, the skin will be the lowest layer - there is nothing beneath it (well, unless you are painting an IG zombie or skeleton), clothing will be the next layer, equipment will be the next. For painting, we aren't so much interested in these general categories as much as the actual physical layering of detail over the top of each other. It makes sense to paint the stuff at the lowest level (headed in towards the skeleton of the model, not height) and work out to the extremities of the model - as these are easier to paint without affecting the previous work. Well, that's the theory!
So on the Ork above, the skin is naturally a low element - but it's not the lowest - a particular problem area is - the eyes - which is why they had been painted in first (also, a first for me). It was much easier (as you will see in today's pics) to paint the skin around the eyes over any over painting of the eyes. The reverse is usually as infuriating as all hell. There are areas under the back of the cloak which are the lowest layer, but not skin (as you can't see any skin). Actually, the top of his back is rather complicated - the layers are - skin (green), cloth (white), plates and boss pole (green), cloak (white), strap (brown?). To approach that in a different order risks ruining the work of a higher layer.
@HAZZER: Thanks.
Anyway, updates! Blocked out the skin in Orkhide Shade fully, cleaning up around the eyes:
And added a layer of 1:1 Orkhide Shade/Knarloc Green (yes, I'm still using my old paints!)
That was the advantage to using this process I could see, I thought I might give this a try myself as I spend so much time wondering what might work that it gets left
Even still looking at your block painting it still seems quite a muted pallet, but that will lift once you add the shading and highlights.
I have to say I love these Orks of yours the combination of marine wares and the Dark Angel vibe is a great thing indeed
Especially as the Dark Angels were about the only marines I have ever considered starting, but Orks prevail
Thanks for that explanation, Arakasi. I think I can apply that now, it's always something I forget to consider. I'll get the minis out now and work on the theory.
You ork is looking sharp! Will there be anything new this time or are you sticking with the tried and tested?
@lone dirty dog: It's only in trying new things that we expand our experience (and occasionally, our ability ). The muted pallet is expected at this stage - the old foundation paints are all muted, and I like the less cartoony effect in the end. Still, if you want brighter colours (with the old paints anyway) - you can always basecoat with a mix of a foundation paint and a brighter colour to begin with. It's one of the tricks to basecoating gold - you mix in one of the foundation browns for your base coat. Glad you love these Orks - I'm always happy to inspire (and know to inspire )
@cormadepanda: Really? The goggles are your favourite bit? Oh well, each to their own. I like the silhouette compared to a Dark Angels sergeant/master with banner (and then the gun )
@Casey's Law: I haven't painted anything since the DakkaDakka/Infinity painting competition, and I'm under time pressure - so I'm not expecting anything new this time around, tried and tested all of the way. Well, the goggles might lead to something different... who knows?
I did not mean it as a criticism the muted pallet remark, I was just saying getting a feel for the model by block colouring is still with its draw back even then.
I to love the goggles they really bring the character out, plus draws you to the centre of the model good trick to be learnt there.
Also I prefer muted pallets with just a small amount of one bright colour to lift a model, seen this technique a lot lately and brings a more realistic feel to miniatures.
@lone dirty dog: That's okay, I didn't take it as one. Yes, it is still a drawback, but it isn't as bad as the black undercoat. Hopefully I can paint the googles to a standard befitting their prominence.
@HAZZER: That may be a little premature...
Okay, so more steps in the Ork skin process...
1:3 Orkhide Shade and Knarloc Green
Knarloc Green
1:1:1 Knarloc Green, Golden Yellow and Rotting Flesh
So many layers! I really enjoy your process, each layer makes a delicate but clear difference.
Tried and tested is always good. Go with what works. Plus you can try new things pretty soon with the new Infinity contest. Which I may or may not have had CB's conformation on.
And I have a new question for you. How do you choose your washes? Recessed or otherwise. I'm no artist and I'm not sure how you choose a red wash for green skin or other examples like purple and blue washes on human skin. I think it sometimes has to do with skin being transparent, which most people don't realise, or more often something to do with contrasting shadows being more natural?
@Casey's Law: We've only just begun Haha - I'm no artist either! That skin comes directly out of the Black Orc Big Boss 'Eavy Metal Masterclass in White Dwarf 365 - May 2010 - when White Dwarf had actual painting tutorials by the 'Eavy Metal team, not the useless paint by numbers they have now - which I use (and will use again) for my reds too - which involved shading with Asurmen Blue. It has something to do with colour theory - but you can probably hunt that down as well as I. I do think it makes the skin more organic looking...
Right, a big pic dump tonight, so spoiler tags to make it more manageable...
First, touch up the Calthan Brown basecoat.
Spoiler:
Front
Left
Then Devlan Mud wash followed by 3:1 Calthan Brown/Bleached Bone.
Spoiler:
Front
Back
Left
1:1 Calthan Brown/Bleached Bone.
Spoiler:
Front
Back
Left
1:2 Calthan Brown/Bleached Bone.
Spoiler:
Front
Back
Left
1:3 Calthan Brown/Bleached Bone. It's about here I seem to lose the smoothness on the larger areas - doh!
Spoiler:
Front
Back
Left
Bleached Bone
Spoiler:
Front
Back
Left
1:1 Skull White/Bleached Bone - and just goes more downhill from here. I'll look to patch up with dirt/grime and chipping later....
Spoiler:
Front
Back
Left
Skull White
Spoiler:
Front
Back
Left
Dark Angels Green touch up.
Spoiler:
Front
Back
Left
Chaos Black - touch up
Spoiler:
Front
Back
Left
Boltgun Metal.
Spoiler:
Front
Back
Left
So, next step is a Badab Black wash over the Boltgun Metal and Dark Angels Green, and then highlight both up - should be fun...
@monkeytroll: No, but that's why I post my painting in progress - for such timely suggestions Hmmm... I missed the "very thinned" part though... see pics 3 & 4 below.
@Camkierhi, Gitsplitta, HAZZER: Thanks.
@Casey's Law: Feel free to post those links to great online articles about colour theory
Good thing I went back through my blog (I love the filter function!) - apparently I did a 2:1 Dark Angels Green/Chaos Black wash (copious amounts of Gloss Varnish and Water - 5:4) on the armour first, not Badab Black. So I started with a Badab Black wash on the metal and the above wash on the armour and clothing. Wasn't so much a wash as a complete darkening of everything - but I like it It adds more contrast between the flesh and armour/clothing, as well as giving me plenty of room to highlight up.
Front
Back
Then, taking monkeytroll's great idea to heart (but forgetting the "very thin" part) -applied a Gryphonne Sepia wash to the cloak, banner and top axes.
Front
Back.
Could probably re-use some sharp Skull White edge highlights now... Finally, because I couldn't help myself, I blocked in the red, including some details...
This stage shows a really big change and it looks great.
And here are those articles:
Colour Theory 101 Miniatures 102 - Shading & highlighting I think i might read them a long time ago as I have read a few Brushthralls pieces in the past. If I had, I clearly hadn't understood them very well.
@cormadepanda: I have a fast approaching deadline to meet!
@HAZZER: Thanks again as always
@Camkierhi: Thanks.
@lone dirty dog: Glad you appreciate the breakdown, though its mostly for me when I go back and try to work out what I did previously (Which is actually happening this time around...)
@monkeytroll: Agreed and agreed.
@Casey's Law: Thanks, and again for the links.
So, worked on the other green tonight...
DA Green layer.
3:1 DA Green/Snot Green layer
Back
Right
Looks a little messy - but that's more the difference in Gloss Varnish added (the shiny vs matt) - and should smooth out with a wash and/or final varnishing.
Coming on very nicely love how the cream/beige cape works with the Ork skin tone, you really did create an original look with your themed ork army wish I thought of it
@lone dirty dog: I think GW's Dark Angels proved this a good colour scheme *way* before me (though obviously not with Orks) - still - you are welcome to loot it!
@Squidbot: Yeah, I was bit tentative about it early on, but now I know it works, so, less of an achievement these days...
I've been "distracted" by XCOM: Enemy Unknown, but there has been some small progress. Luckily the competition has been extended a week, I'm not sure I'll make the 28th now...
First coat of Calthan Brown on raised detail.
Back.
Second coat of Calthan Brown on raised detail. As always, we are after multiple thin coats, even if it takes longer!
Looking good so far mate! Shame you may get the modle finished on time. As well as paint to such a high standard! I'm so going to lose! For some reason becuase I have not painted since early September my painting is horrable now!!!! :(
@cormadepanda: Me too! Especially tonight's update... (getting close!)
@HAZZER: There can only be one... 1st place - but we will all be winners because we will have a new hero painted! I should still get it done on time - I have tomorrow off (public holiday), so that helps too. Yes, painting takes practise - but I'm starting to find the Da Dark Angelz colour scheme is coming quite naturally now... (I haven't painted since before June last year!)
Anyway, I've been storing these up apparently, so image dump!
Devlan Mud wash followed by 3:1 Calthan Brown/Bleached Bone on raised details. 1:1 Mechrite Red/Blazing Orange on red.
Back.
1:1 Calthan Brown/Bleached Bone on raised details. Blazing Orange on red.
Back.
1:2 Calthan Brown/Bleached Bone on raised details. 1:2 Blazing Orange/Vomit Brown on red.
Back.
1:3 Calthan Brown/Bleached Bone on raised details. Vomit Brown on red.
Left.
Right.
Bleached Bone on raised details. Asurman Blue wash on red.
Back.
Skull White on raised details. Baal Red Wash on red.
Back.
1:3 Blazing Orange/Vomit Brown chipping on red. Snot Green chipping on dark green.
Back.
Scorched Brown chipping on red. 1:1 Dark Angels Green/Chaos Black chipping on dark green.
I saw a thread the other day where a guy painted heat treatment on his barrels. With your abilities and shading skill that would look soooooo beyond awsome.
Wow, Arakasi. That nob is looking fantastic. Also, thanks for the layer by layer photo spread. Are you going to put that together as a tutorial?
I've been working on my chapta again, painting, and I've been drawing from your work a lot, both for inspiration and technique, so the step-by-step is very helpful. Thanks!
@The Good Green: Maybe a tutorial eventually - if only so I can have all my painting notes in one place!
So, I'm just about there. Besides any further suggestions, still have some powders to add and possibly some rust. Grass goes on after the protective gloss layer. Need to get myself some Satin Varnish spray to finish up after that. With that in mind, I give you the nearly finished product!
Now that looks fantastic. Smoother than a cashmere codpiece. Thats the tut. I saw. Nice work applying it. Knew you could master it. Whole thing is sweet.
@Anvildude: Weathering and/or chipping is a delicate thing - it is all too easy to do too much. I'm happy where it is at the moment, but thanks for your suggestion.
@endtransmission: Wait no longer!
@Camkierhi: Cool.
@monkeytroll: Well done - you *are* a true Ork. Bit o rust below.
@HAZZER: Thanks again!
Right - so the final PIPs - some very light rust and muddiness.
Front right.
Back.
Left.
Gloss Varnished the whole thing. Applied static grass. Matt varnished the whole thing. Gloss varnished the eyes and head gear glass. Job's done! Would you believe GW Oz doesn't sell Satin Spray any more? (apparently for six years!) They actually recommended I get Testor's Dullcote from the local hobby shop! Anyway, I ended up with Tamiya Flat Clear. Seams to have done the job.
Pics incoming!
Front
Back
Right
Back Left
Left
Top Right
Top front
Top front right
My "Herork" entry.
I guess I'll be back to Meganobz and Morgrimm now - until the Infinity painting competition launches...
He's good, I especially like the green on the shoulderpads; very nice transitions. I know you've got a lot of chipping on the red, but it's still looking very... clean
You could possibly do with a bit of dirt encrusted in the crevasses of the gun body, or some leaky oil?
In addition, the gloss is harder and more durable than flat coat, so by layering them you get the durability of gloss with the finish of matte spray. Thats why i use it anyway...
Nob looks damn amazing Arakasi. I love the little name banner with ork glyphs on his shoulder.
For washes and transfers a gloss coat is better as the surface is completely smooth. Satin, like matt, still has tiny pits in that will catch powders and washes, causing slight staining wherever the wash/powders touch; so for complete control you're best off with gloss.
And as has been mentioned, it also creates a nice hard seal for gaming and transportation.
I thought you wanted pits for powders? Most of the instructional vids I've seen for weathering powders specifically say to do a matt varnish first so the powders have something to cling to.
@endtransmission: Yeah, I was quite proud of how the shoulder pads turned out - it's easier to see with a consistent finish. Possibly my photos aren't helping the "clean" look of the red - I'll have to try a pic with some of my other models for a direct comparison... I did put some 1:1 Badab Black Wash/Gryphonne Sepia on some of the moving parts, but I may have dulled that down with the matt finish - doh! Actually, I picked up some Tamiya Flat Base X-21 thinking it might be brush on matt varnish, but research suggests it is a "flattening" agent. I'm thinking of trying mixing it with the gloss at various ratios to get different levels of gloss - for the metal, skin etc - but not right away...
@Gitsplitta: I always finish my models in gloss to protect the finish, and then dull coat to remove the gloss effect (just leaving the gloss protection) - pretty much as per Ramos Asura stated. I'm obviously not a true artist - who apparently don't varnish matt or gloss due to it affecting the colour. I'm not that picky about my colours (and they all end up the same anyway) - but a lot pickier about potential chipping! As mentioned by endtransmission though - there are a myriad of reasons to use both at various stages.
Nutshell of my understanding of matt and gloss: Gloss = smooth, protecting - anything that will benefit from a smooth surface will benefit from a gloss layer ie washes and transfers. Matt = not smooth, dull - anything that will benefit from a not smooth layer will benefit from a matt layer ie paint, finish - if you've heard powders then powders too Like most things in the hobby - there are no rules or right and wrong, just different effects - you can apply washes to matt and powders to gloss - you just may end up with non standard effects (which might be exactly what you were looking for...) - and you can use various ratios between them as well. As it was, I mixed my powders in with gloss varnish and painted on - they weren't going anywhere!
Gitsplitta wrote: I thought you wanted pits for powders? Most of the instructional vids I've seen for weathering powders specifically say to do a matt varnish first so the powders have something to cling to.
It depends entirely on the effect you want I guess A matt layer under the powders will allow it to stick with less fixative, a gloss undercoat will need much more fixative, but will allow easier (IMO) control when using something like white spirit to temporarily fix it to the model. The FW guys suggested a gloss coat between each layer of weathering so you can use white spirit to wipe off your powders and start an area again if it goes wrong.
As Arakais said, there's no right or wrong answer and whatever works for you is good
Automatically Appended Next Post:
Arakasi wrote: @endtransmission: Yeah, I was quite proud of how the shoulder pads turned out - it's easier to see with a consistent finish. Possibly my photos aren't helping the "clean" look of the red - I'll have to try a pic with some of my other models for a direct comparison... I did put some 1:1 Badab Black Wash/Gryphonne Sepia on some of the moving parts, but I may have dulled that down with the matt finish - doh! Actually, I picked up some Tamiya Flat Base X-21 thinking it might be brush on matt varnish, but research suggests it is a "flattening" agent. I'm thinking of trying mixing it with the gloss at various ratios to get different levels of gloss - for the metal, skin etc - but not right away...
I've seen that, but wasn't sure what it did... it's good to know!
If you can get hold of it in Oz, have a look for the Modelmates rust and Mig's oil. Both of these are brilliant, quick ways to add great results. I'm also intrigued by the new(ish) Mig Absolute Chipping filter.
Ooh...not seen that mig filter before, looks promising...have to put that on my next shopping list. Modelmates rust is useful stuff, been playing a bit with that...
monkeytroll wrote: Ooh...not seen that mig filter before, looks promising...have to put that on my next shopping list. Modelmates rust is useful stuff, been playing a bit with that...
Where did you get it from Monkey if you don't mind sharing
monkeytroll wrote: The modelmates? Picked it up at a model railway shop....
Well that was helpful LOL thanks any way
There is a list of stockists on the Modelmates website, or they will be attending Salute in London this year. Salute is always a great, cheap, day out for finding things like this; plus it'll give you an opportunity to pickup the FW show models
I have considered going to Salute but the cost of getting there puts me of, as for FW models I go to the open day at Nottingham every year any way although they are charging £7.50 to get in this year
Thanks for the link though that will come in very handy
Dude this thread is MONUMENTAL! I need to put some serious time into this I think. From what I have seen your work is great! I think I can certainly pick up some tips in here... nice work
Automatically Appended Next Post:
Arakasi wrote: @Camkierhi: Unfortunately? Do you have a pic of the "skull" to strap to his back?? Bit like the alien skulls on display in movie? I assume the original movie - I can always get it out and flip through it to find it...
Started on the arm pistons, starting with Codename: War Machine. These things are *really* fiddly...
Codename: War Machine (front)
Oh man. I came here expecting to be overwhelmed with a back log of joy and a lot of guilt for not visiting or doing much to my own projects. I think the temperature dropped in hell.
Hope everything is okay and we'll see you back soon.
Whoops! Appears I disappeared for a bit... I've been around Dakka - just not on my plog
@HAZZER: No need to disqualify me, I didn't place in the end anyway. Must not have been cool enough (surely wasn't the paint job?)
@endtransmission: I still need to check out those links... (stuff arrived - thanks!)
@monkeytroll, lone dirty dog: Cool - have a conversation on my blog without me
@Novelist47, Stonie: Thanks and welcome!
@lone dirty dog: Try getting to Salute from Oz...
@cormadepanda: He was a Nob, not a Mek (no wonder I didn't place...). Modelling before paint! I've got to finish modelling the rest before I can paint the rest!
@HAZZER: Always a pleasure to have you pop by.
@Deunstephe: Cool! Post a link to your blog (if you have one, and if not, why not?) or at the very least some spoilered pics here! Love to see some Crimson Fists Orks! (Crimson Forks?)
@Camkierhi: Around. Still suffering from XCOM affliction, but work has started up again (see below).
@Casey's Law: What, you weren't? Yeah, everything is fine - it would take a lot to stop me
Right, now that that is out fo the way... So, the Nob, while managing to place in the top 13 of Round 3! Papa and Panda's Competition: The Hero Round, didn't make the top 3. There was some awesome work and competition there though, and my congratulations to the very worthy winners. I wouldn't have wanted to be a judge in that! Comrade and Papa's Round 4 :The Brotherhood round has already started, and competition is already heating up. If you think you can make the new May 30th deadline, I heartily recommend giving it a shot.
So, the beginning of my "absence" was actually thinking about an entry into round 4. The deadline was originally mistakenly set as August (it was meant to be April) - which gave me plenty of scope to come up with an awesome idea. Until the deadline was "corrected", I was going to do a Nobz mob in the guise of the Predator cast - Dutch, Blain, Mac, Dillon, Hawkins, Poncho, Billy and even a Grot as Anna - but alas there is no way I can complete that in time now.
So, my new target is to finish (and perhaps enter) those Meganobz...
Case in point - I actually did some work on Codename: Thunda...
Yeah, okay, nothing new to be seen from the front...
From the left you can see the newly fitted arm piston...
...and from the right the other newly fitted arm piston and the fist all armoured up (quite pleased with how that turned out - and really simple too!)
Great to have you back! There's that guilty feeling I loath and crave! Nah I'm actually busy rather than lazy these days so it's all good. Btw, do you have any intentions to visit Scotland again?
Those pistons and details are solid. Are your models as sturdy in person as they come across on camera?
Automatically Appended Next Post: Also you have a broken link but I'm not sure what's wrong with it.
@Casey's Law: Apart from you are asking the wrong person (Da Boss controls all "intentions") - we have no intentions of visiting Scotland in the near future. In 2+ years? Who can say?
Models are reasonably sturdy. The main factor stopping them from being 100% sturdy is a lot of detail is pinned but not glued to assist with painting - so it wil become a lot sturdier after that. The meganob above can have both guns removed (well, that's a feature that isn't going away), but also the gob and cape are removable for now for painting. Those pistons a probably a bit flaky - the plastic weld surface area is very small... Just needs some care
Link fixed - thanks. Apparently you can't start a new line after opening the URL tag (which was just a typo on my part).
Haha, well fair enough, i thought that might be the case. If you do come back at some point, and you have some spare time, give me a shout. It'd be fun to get a game in with yah.
Your models look extremely sturdy despite their delicate nature. I don't imagine they'd require more care than you'd give another model which is great. It seems to come down to the principals you explained to me about scratchbuilding and precision. Plan thrice, measure twice, cut once.
See how useful that pm was? One day many ages from now you will receive a reply. Nah, seriously, I've thought about what you said a lot. When I come back to that model I'll give you a shout and tell you how your advice worked out. Spoiler: It'll go well.
Excellent progress! I hope you don't mind but I went in and saved a few of your pictures for reference while I work on this Ork of mine. Already found it useful for putting on a piston.
Have you got any tips for bulking out a bionic elbow joint? The one I ended up with is tiny and although the model is tight it looks a little small I think, mainly because the fist and it's accompanying gun is giant.
Actually would it be okay if I pm you a pic for feedback?
Predatork is really great, one of my favourites so far. Keep up the great work!
Of course I don't mind - it's sort of some of the point of putting them up in the first place
Yeah - I'll probably be more help with a pic - pm it, or put it in spoilers here (just so less people mistake it for my work ) if you want a bit more varied critique/exposure. You don't need to ask - it's always okay (so long as it's always okay if I don't get around to it straight away... I'll try my best though)
They each have their own merits (but I think Predatork might be my favourite too...)
Automatically Appended Next Post: That reminds me - almost forgot one last thing - the purity seal!
Orky version of course - left.
@Gitsplitta: Especially since I think it was your original idea huh?
@Casey's Law: See above
Right - so everything ready for the final GS work...
At which point, I remember I meant to do the Predator hair too...
Front
Back
For some reason I had it in my mind they were dreadlocks, but on further referral to Internet pics, they almost look like tentacles (which, given my dreadlocks suck, might not be such a bad thing...). However, it did raise two additional issues - I don't think four is enough, and the Predator "hair" has metal bands on it too - so I think this will require GS MkII....
I did manage to work the cabling in a bit better though:
Numerous gaps and stuff have been added across the range of minis above. I think this is the first time I have ever come close to using all of the GS I prepared (and even then, it was timing thing as to why I didn't quite make it through all of it) - so, a round two still to go, then liquid GS, then paint *gasp*. Oh no - basing - then paint *gasp*.
Casey's Law wrote:That impurity seal is great and suitable orky!
Arakasi wrote:@Gitsplitta: Especially since I think it was your original idea huh?
Just referring back to it being originally Gitsplitta's idea - way back when with our GMS Ork swap.
Squiglocks - awesome (name, not current implementation). I think I know how you feel - hence the need to have another go at them... it may end up being better to leave them off though...
Lookig, good as usual! I love the cabling, must've taken some time... For the pred hair, try to have it hanging a bit more maybe? His hair looks a tad alive right now
@Matt.Kingsley: I didn't ruin your chances last time It will be good to get them (finally ) finished indeed (and Morgrim)
@Casey's Law: Yeah. Gave up on them though, he'll have to suffice with the top knot. Still need to reply to your PM...
@HAZZER: Thanks HAZZER.
@Camkierhi: Thanks, although the squiglocks have been removed - I just couldn't do them justice to my satisfaction in the space I had given myself. I'll keep it as an idea to try again another time...
@CommissarKhaine: Cabling was a bit fiddly from memory, but got there in the end. Most of the difficulty is not getting unnatural kinks in the wire when bending it... I took your pred hair advice into consideration before I gave up on it
@cormadepanda: Impatient aren't we? This is an exacting process! Any way -

 I would never have had that thought!
 ) Aragorn Marks. Our tools for the day:
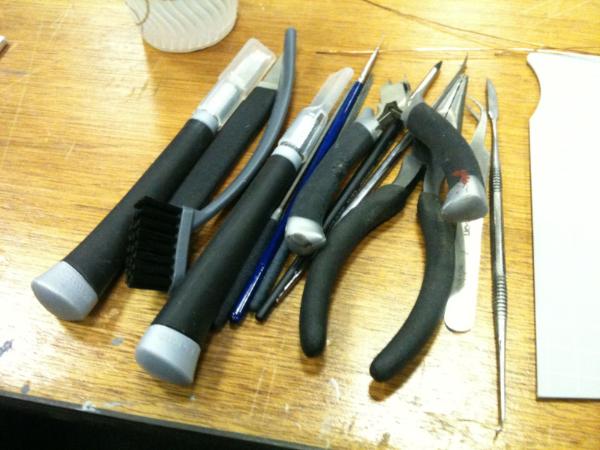
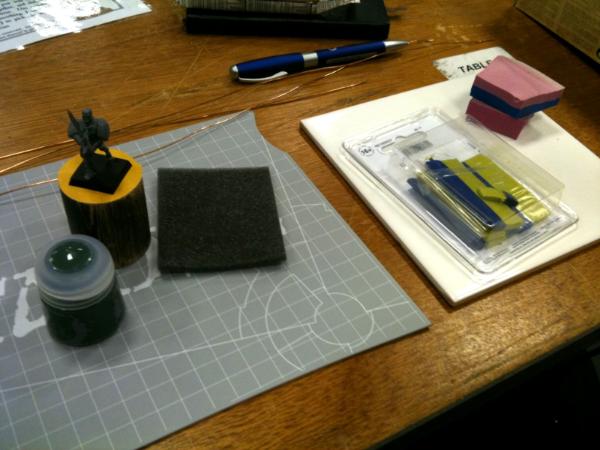
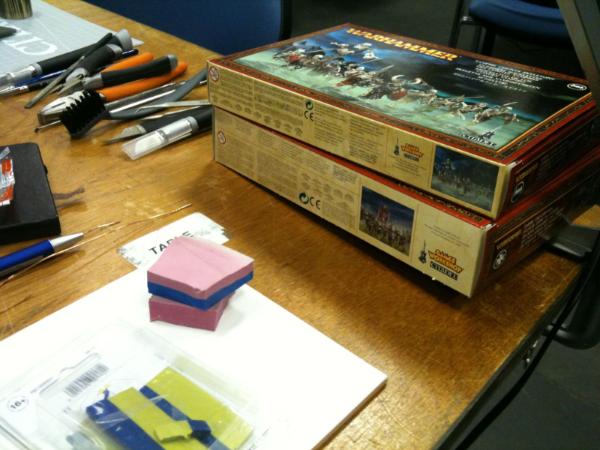
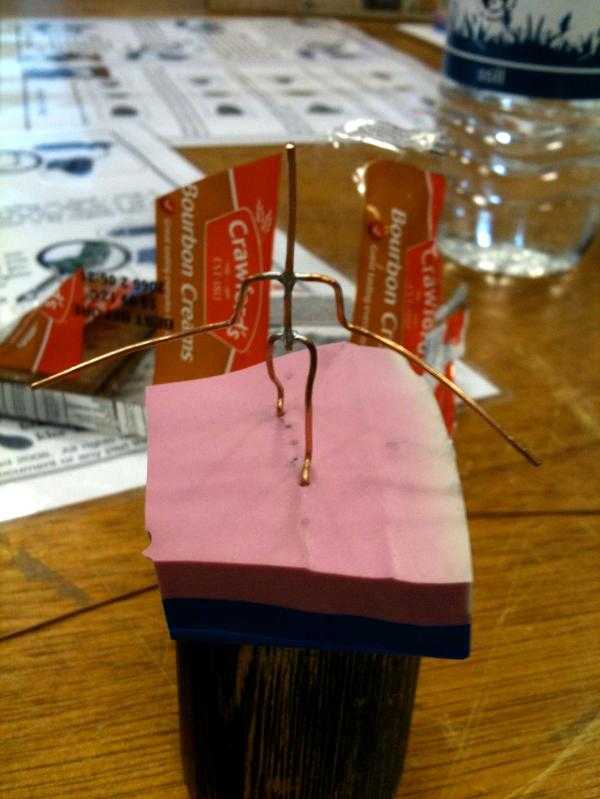
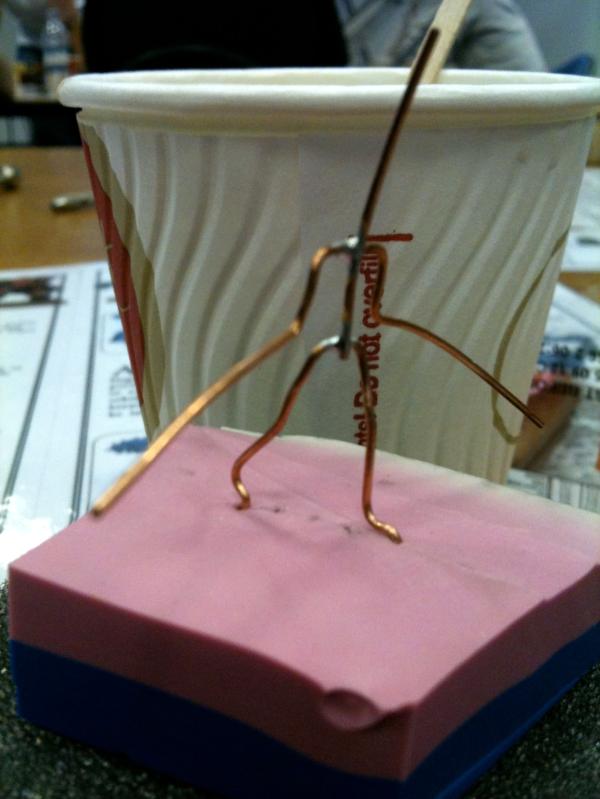
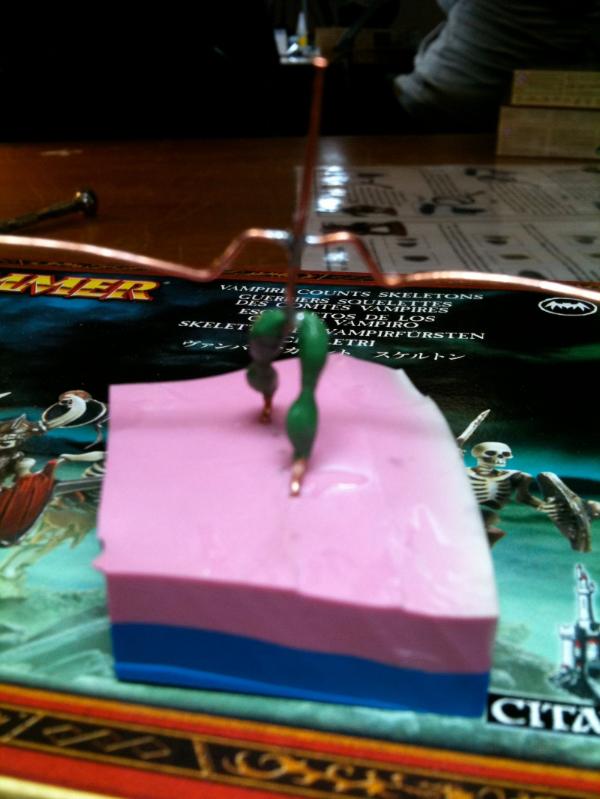
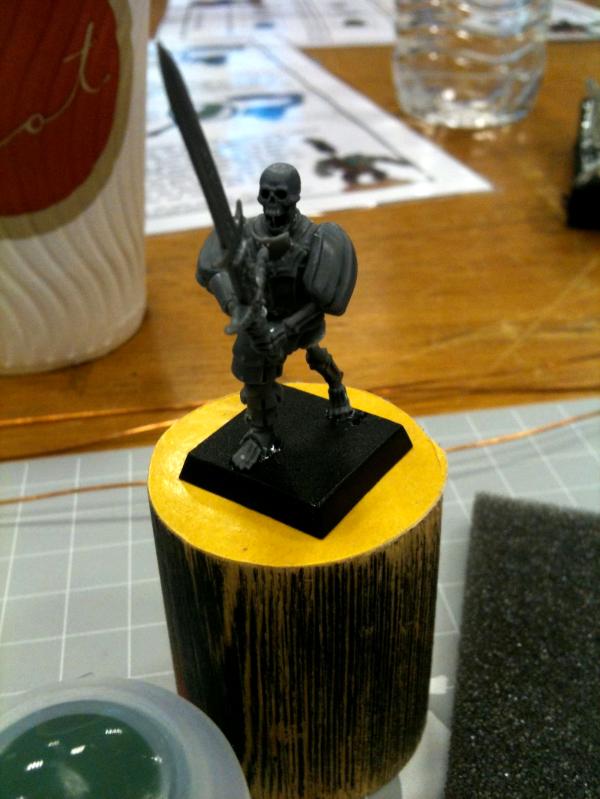
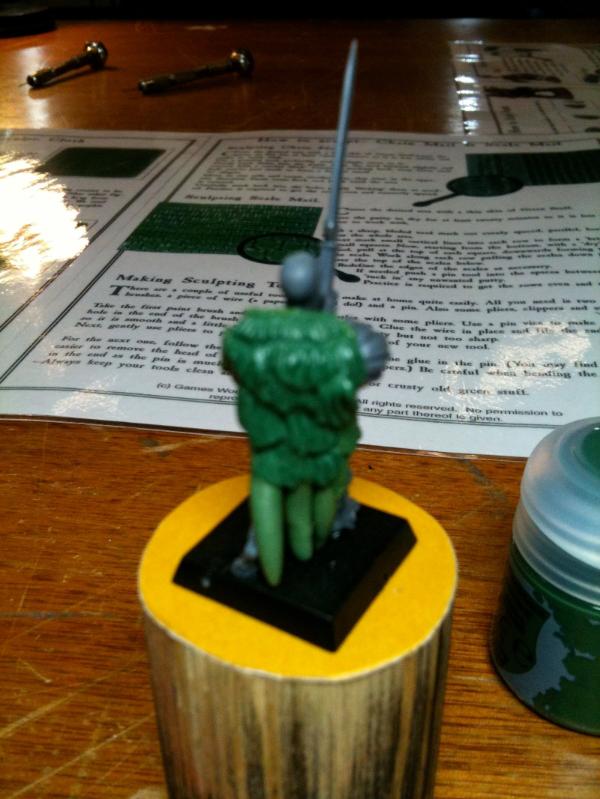
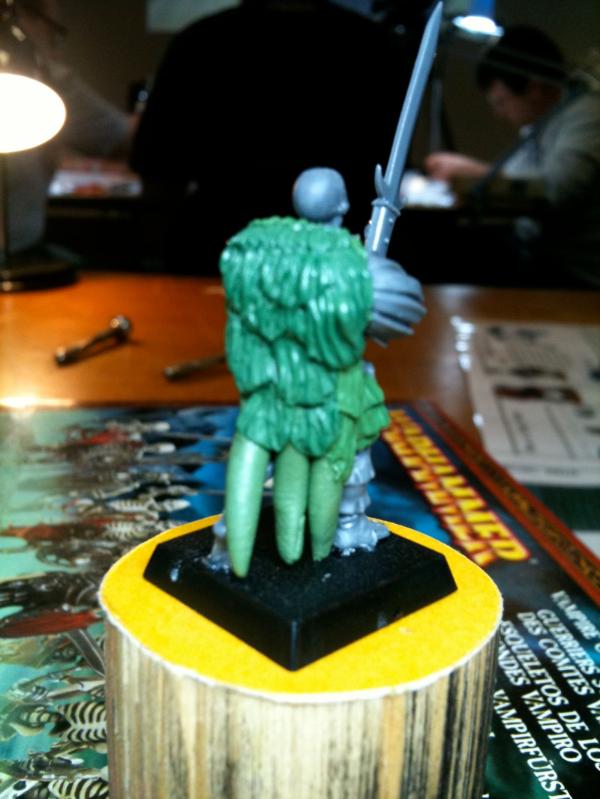
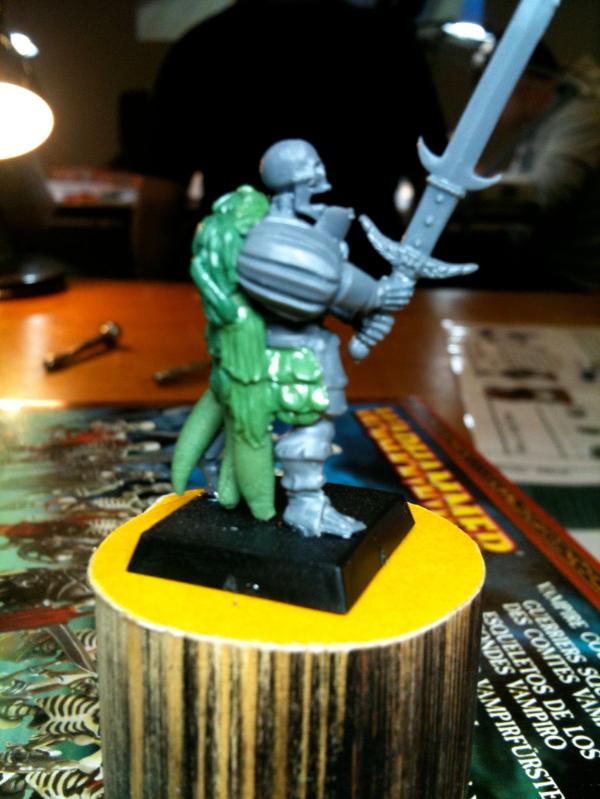
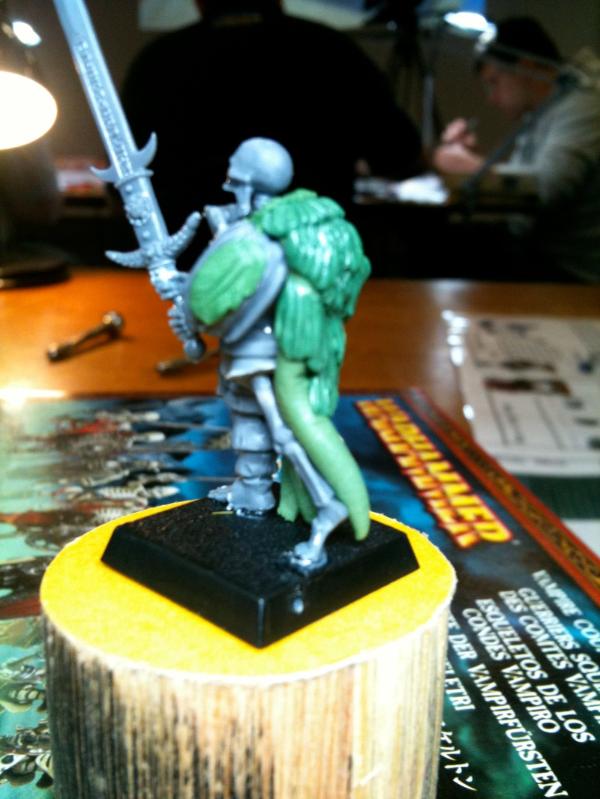
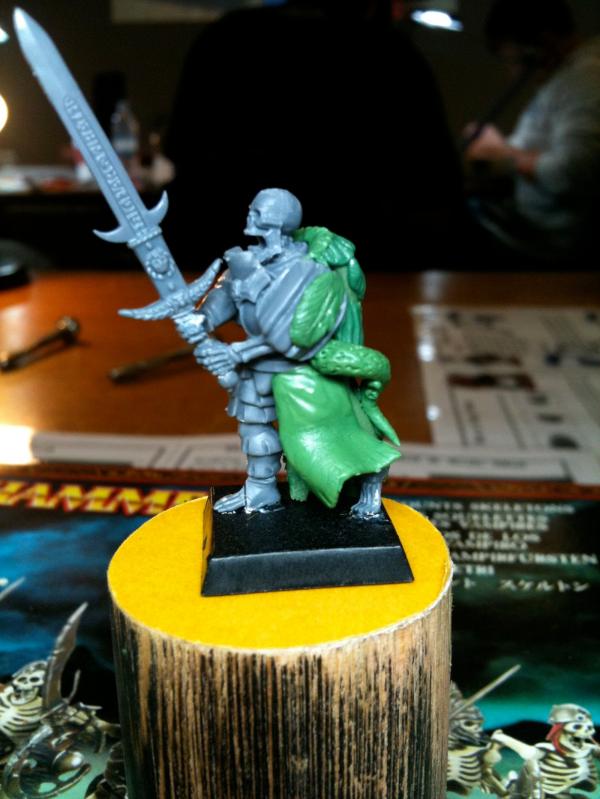
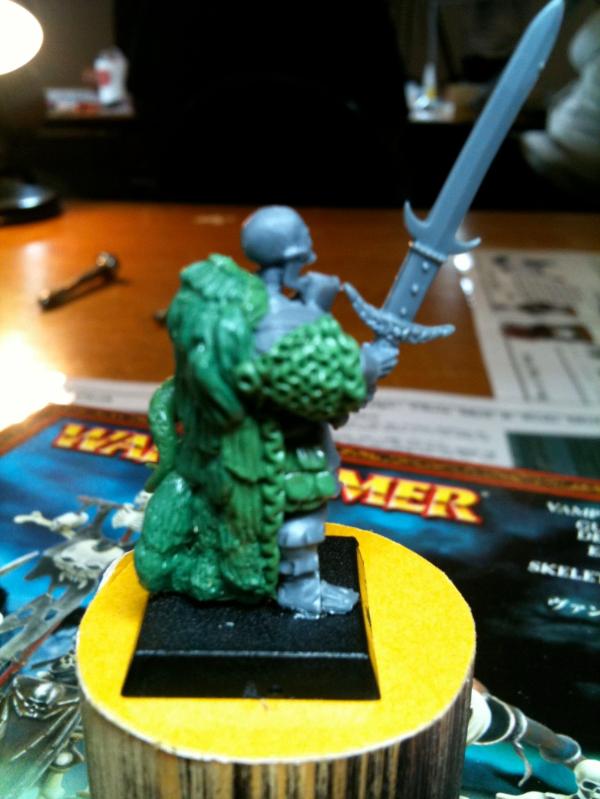
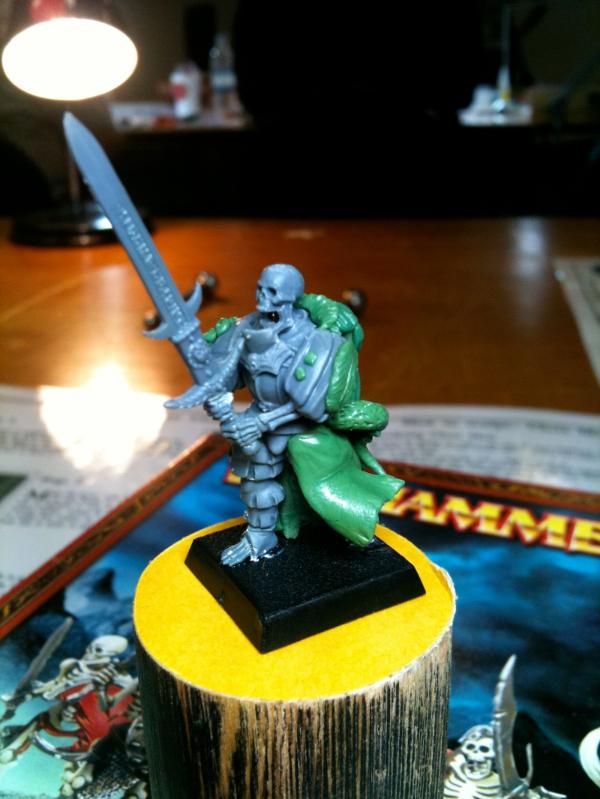
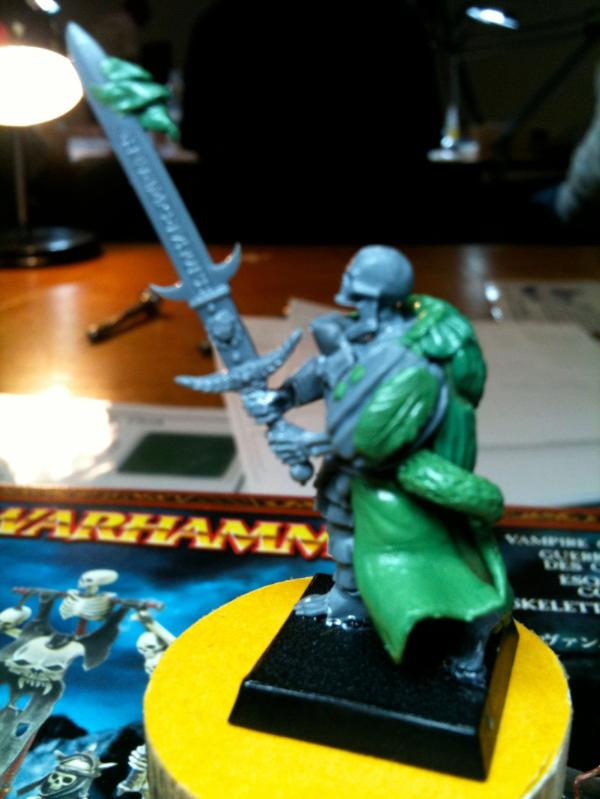
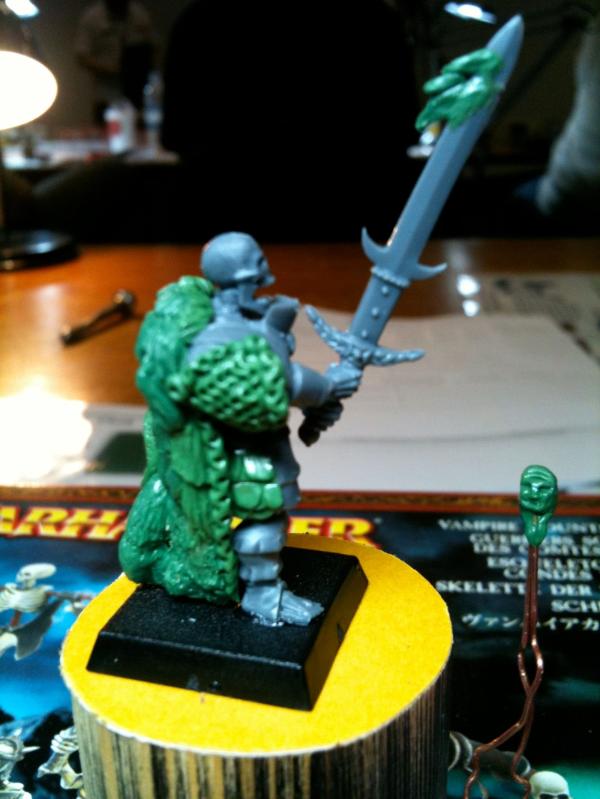


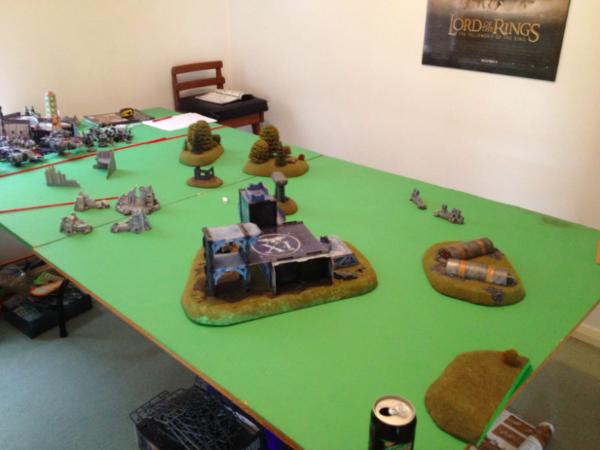
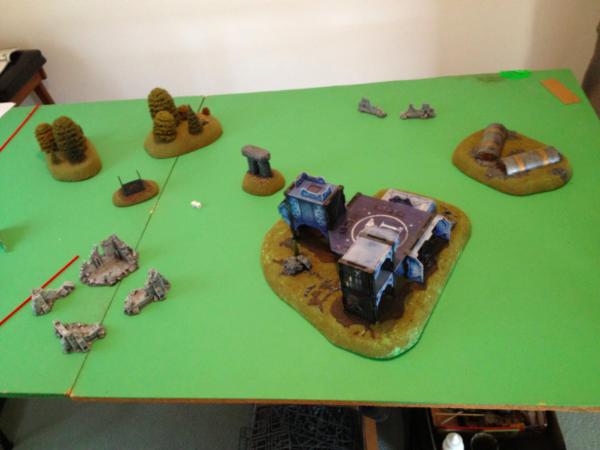
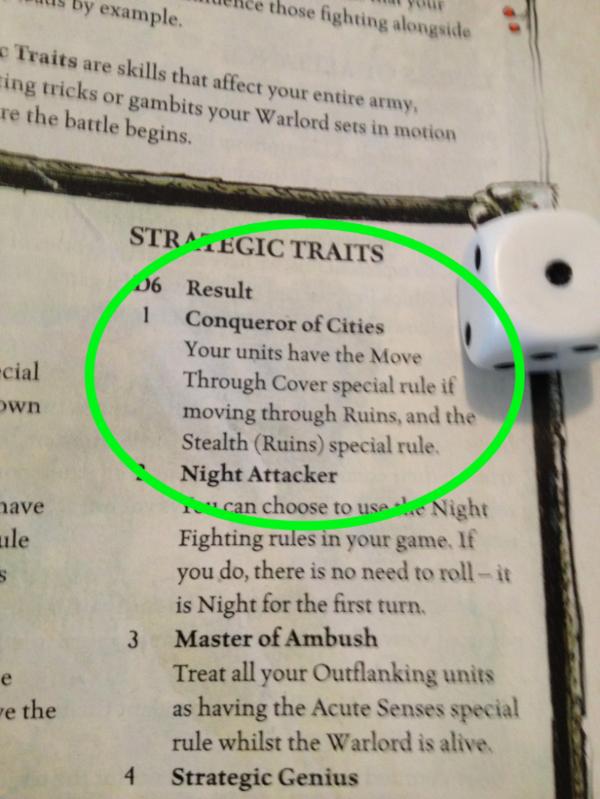
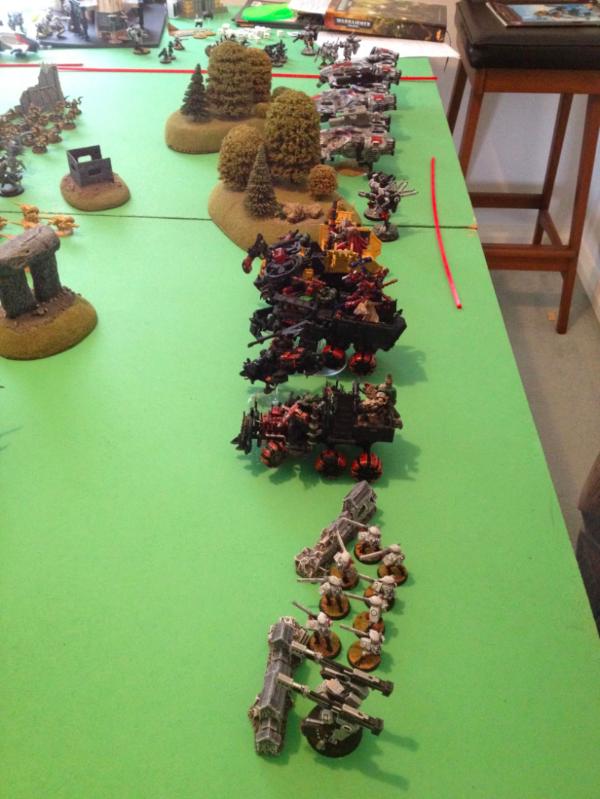
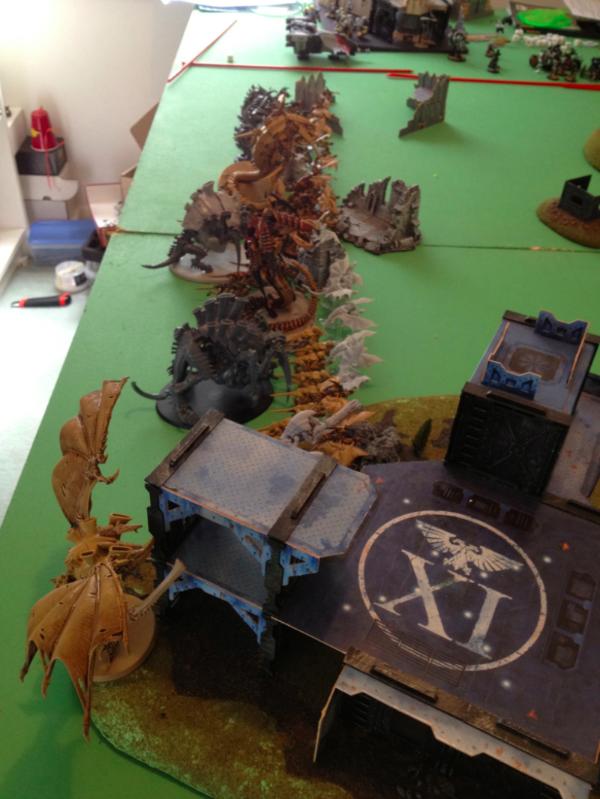

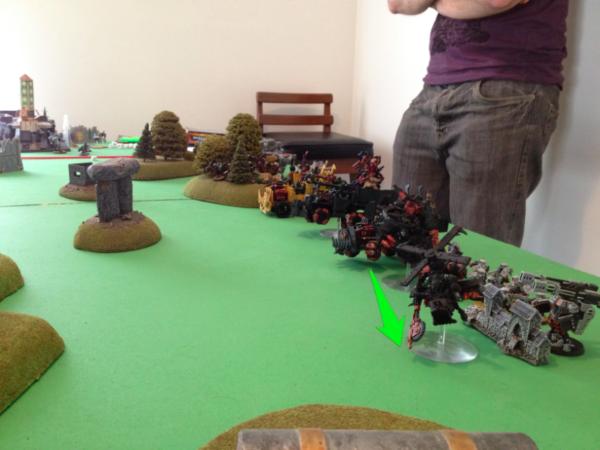
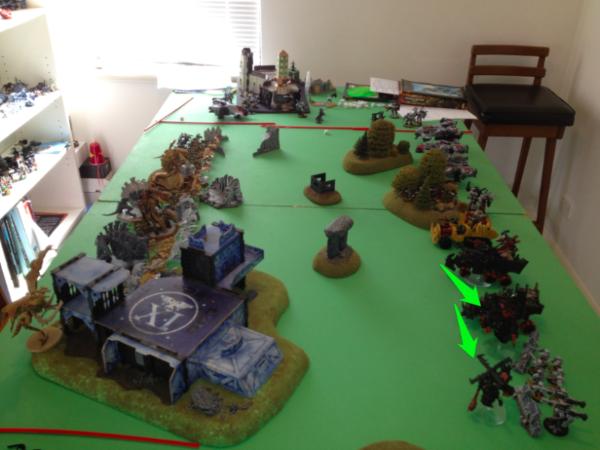
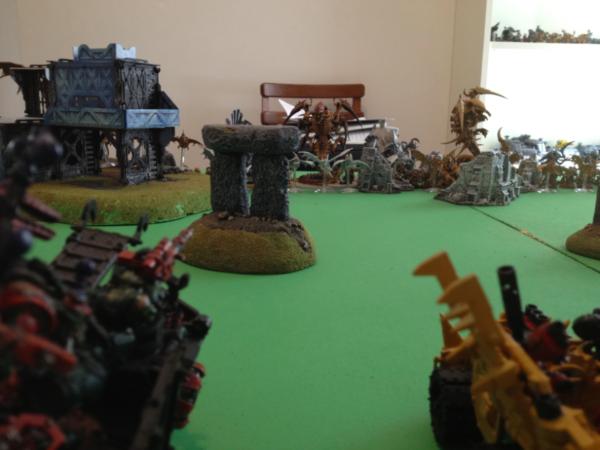
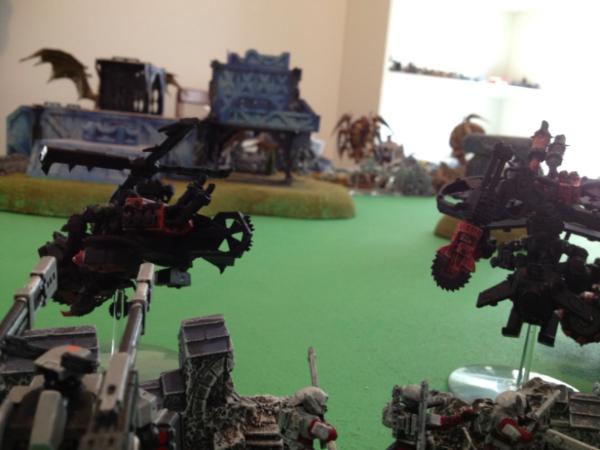

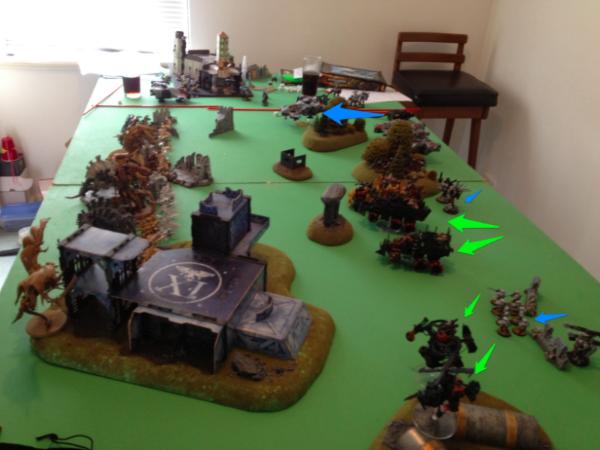
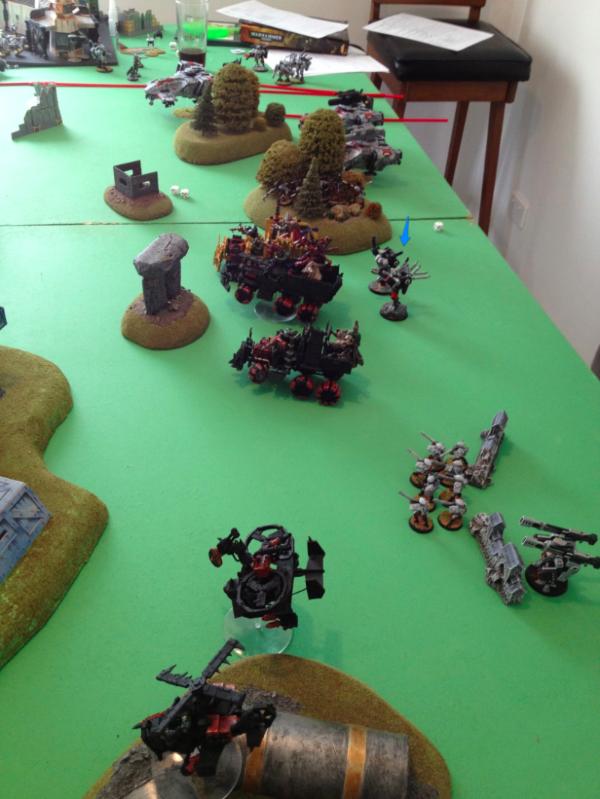

 But if this your first real crack back at the hobby I'd just go with whatever you feel like to start, maybe even something completely different.

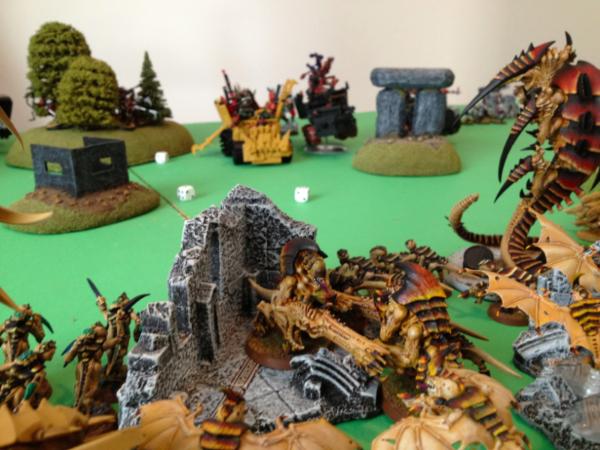
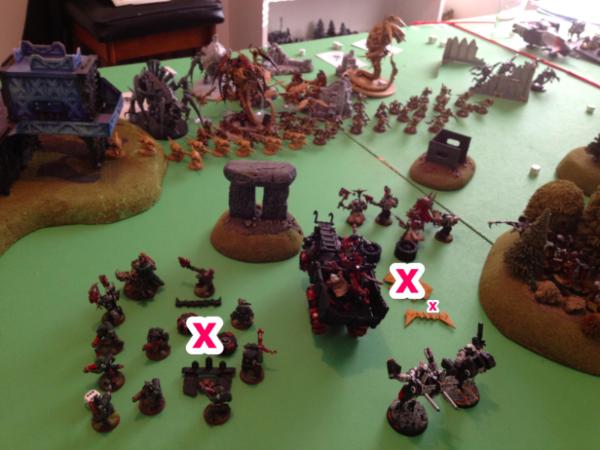
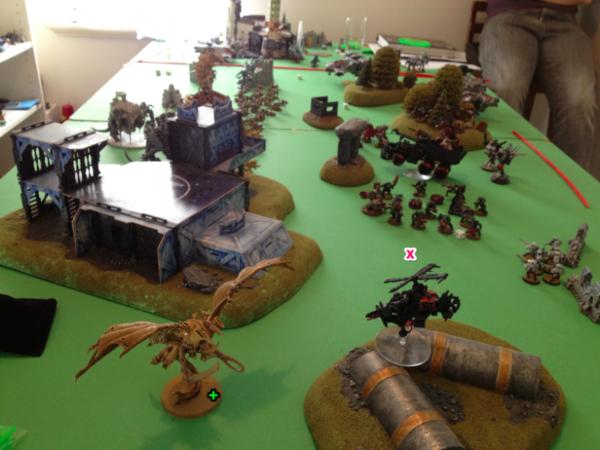
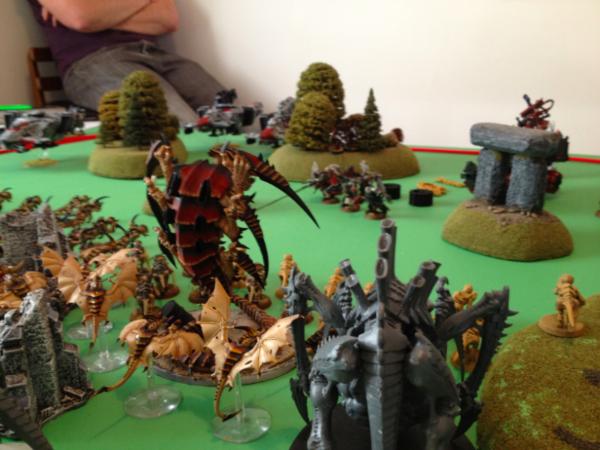
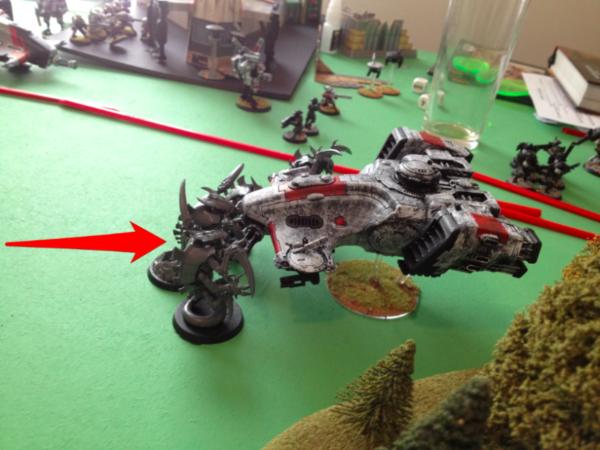
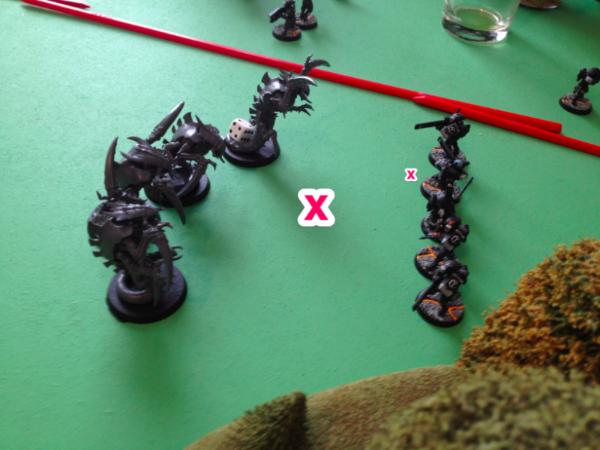
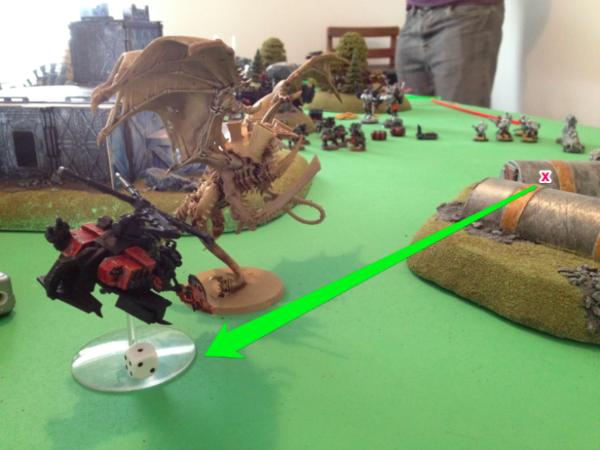

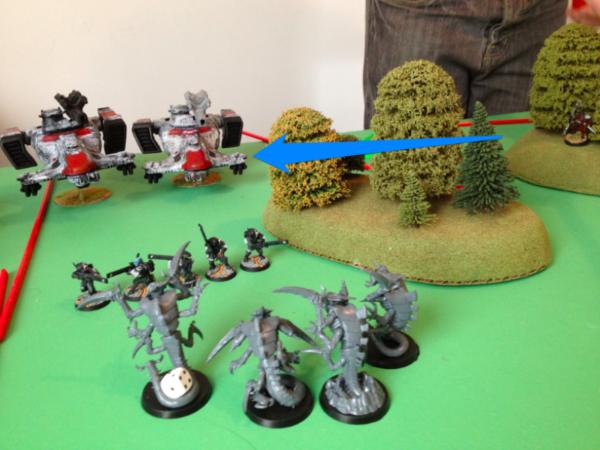
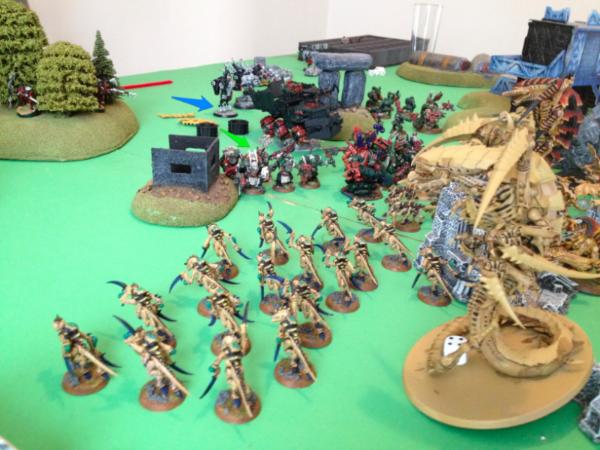

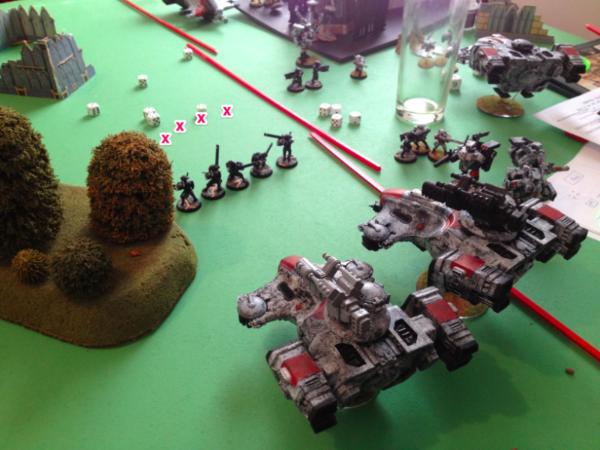
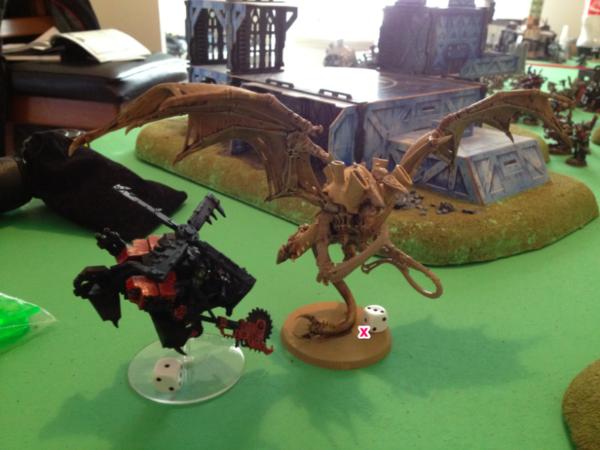
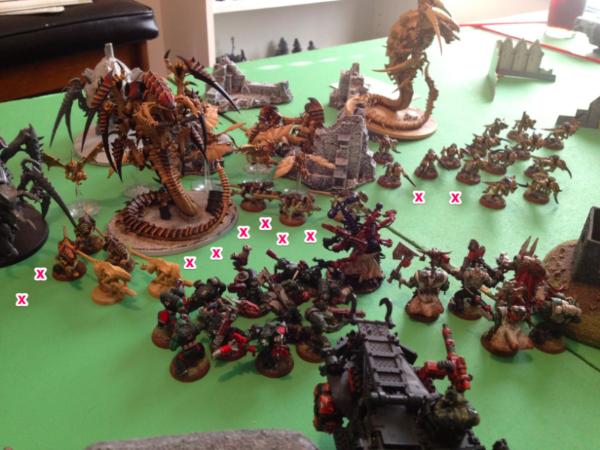
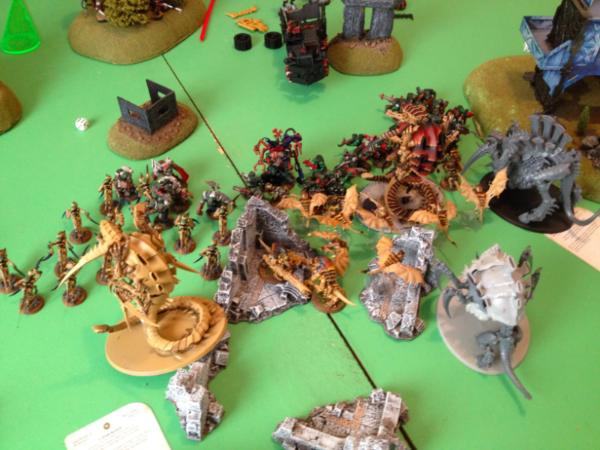
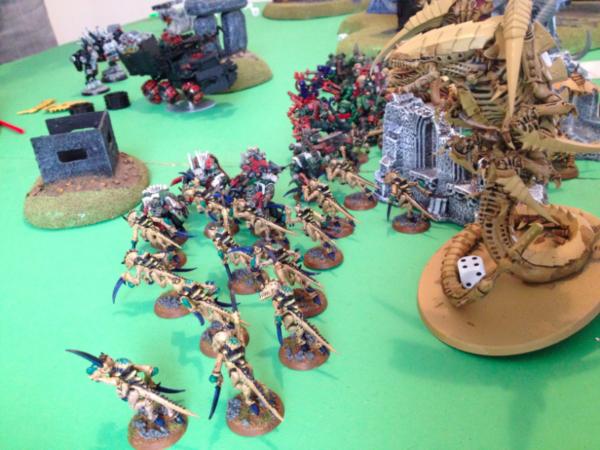
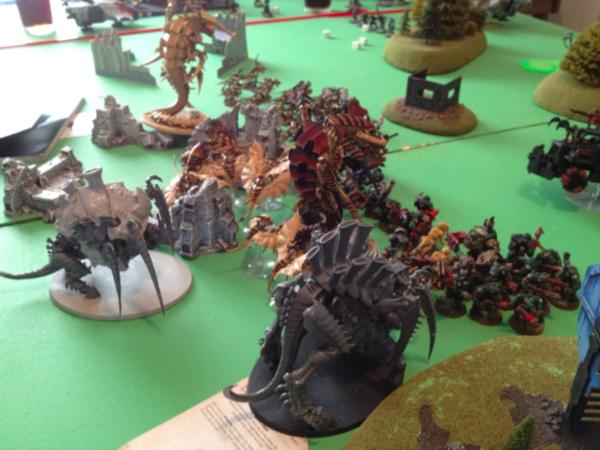
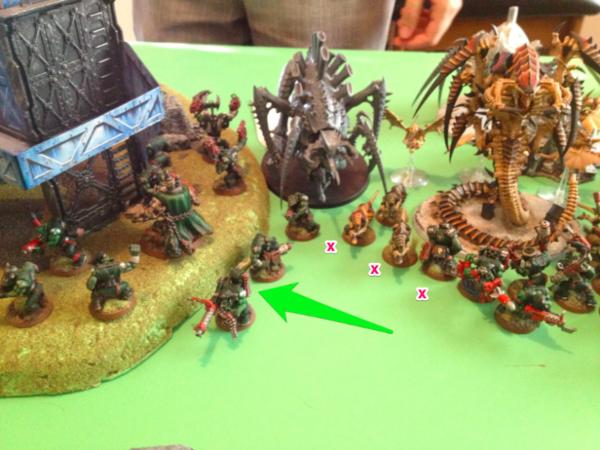
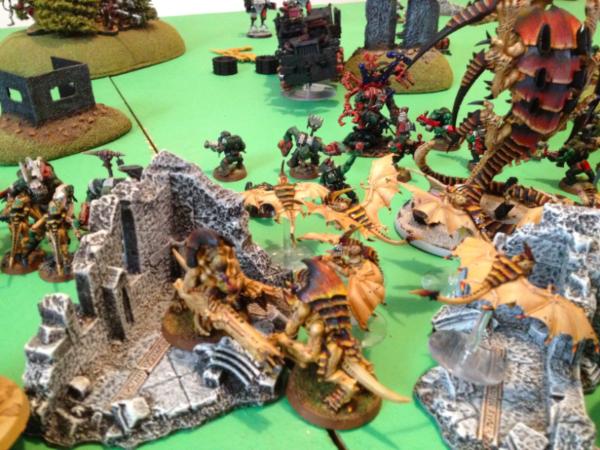
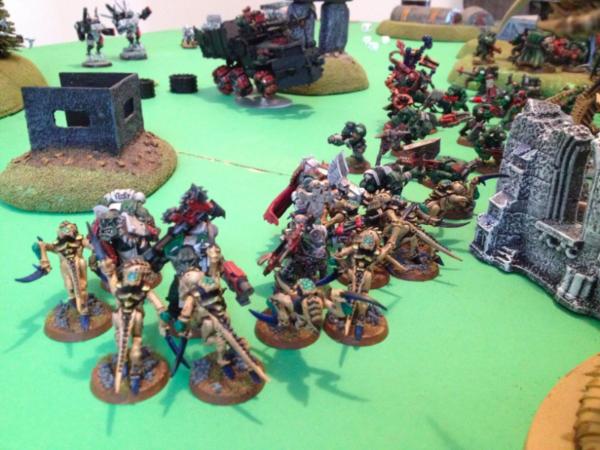
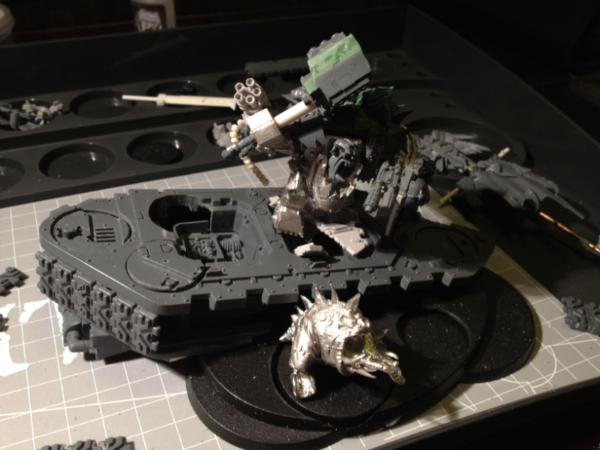
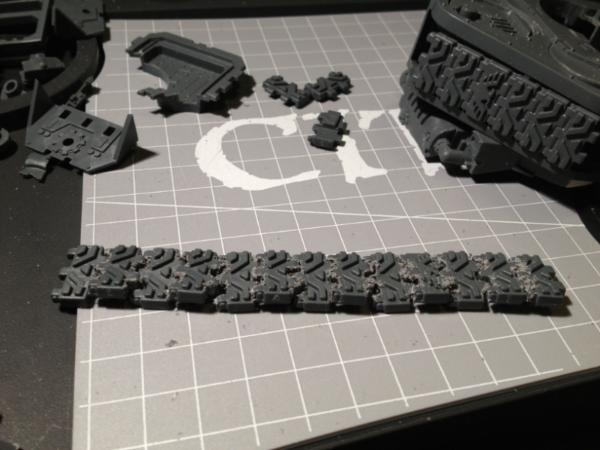
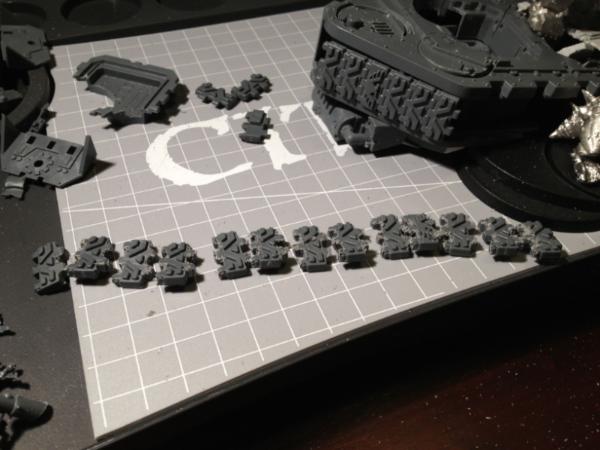
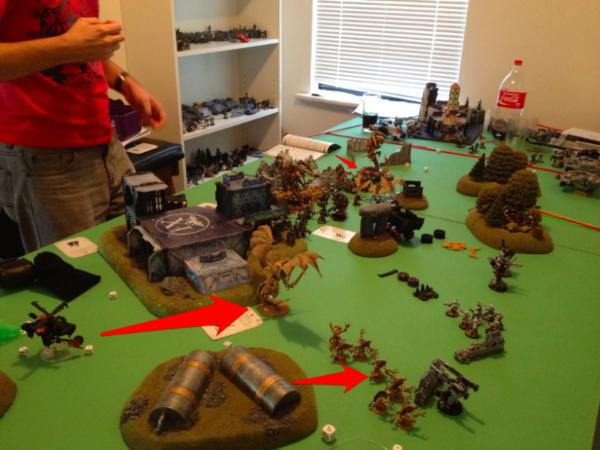
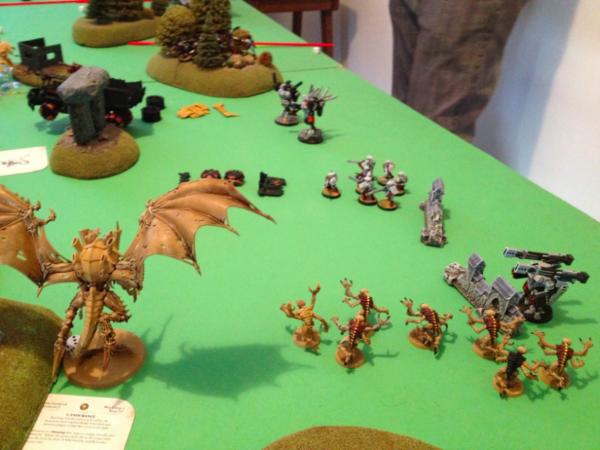
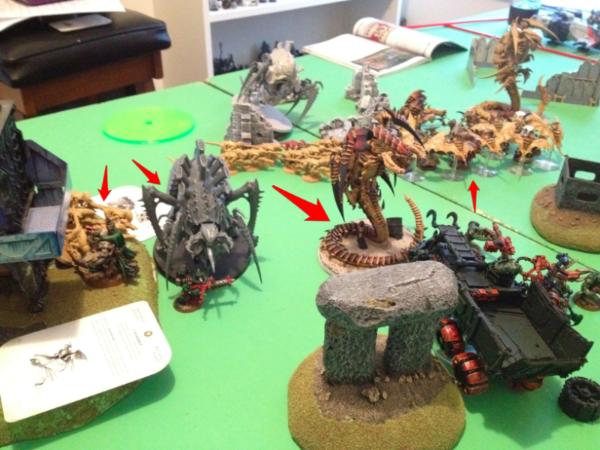
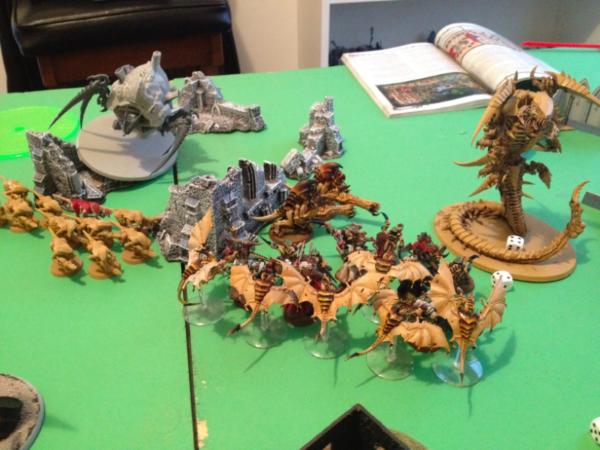
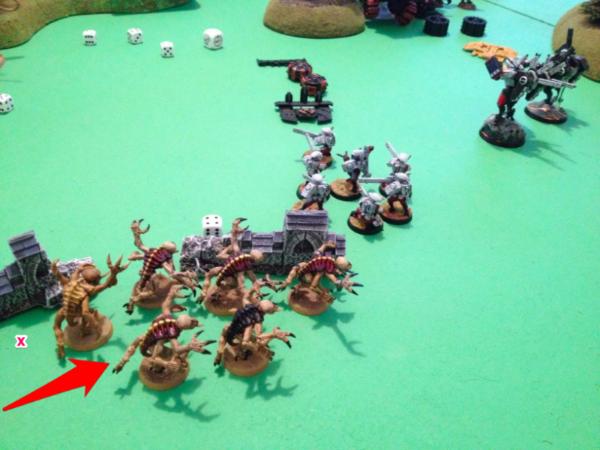
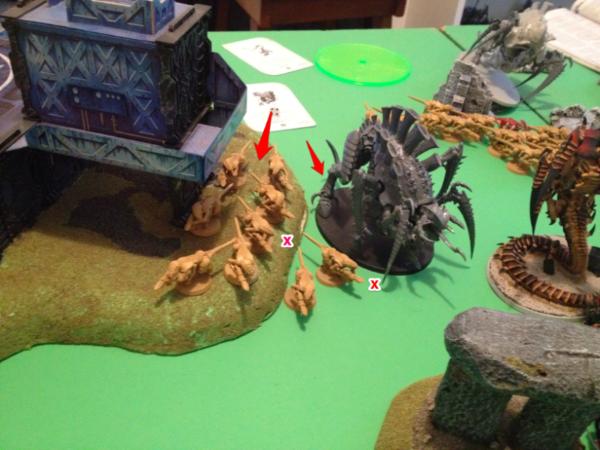

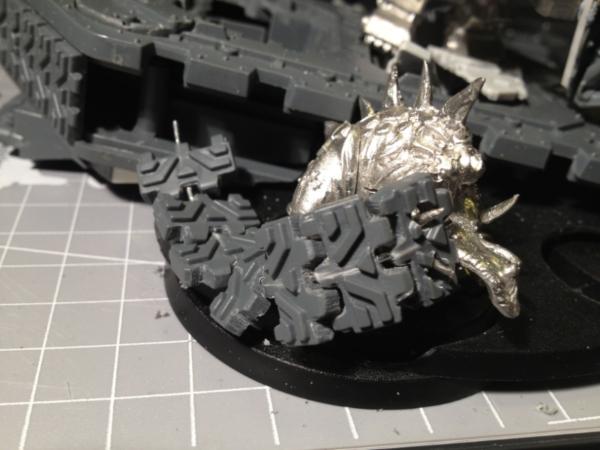
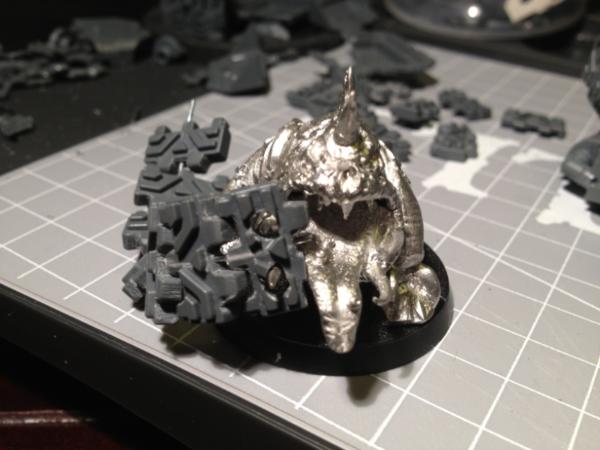
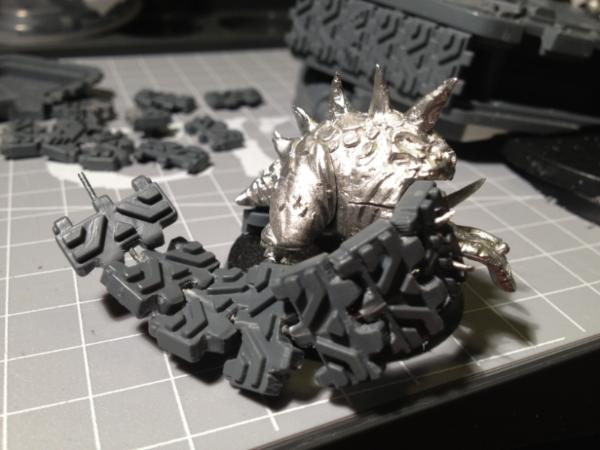
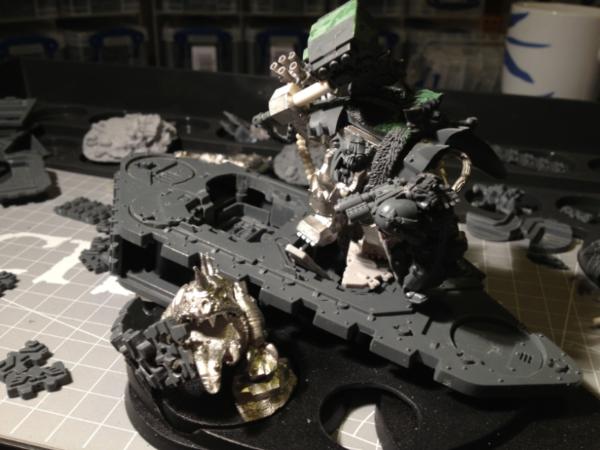
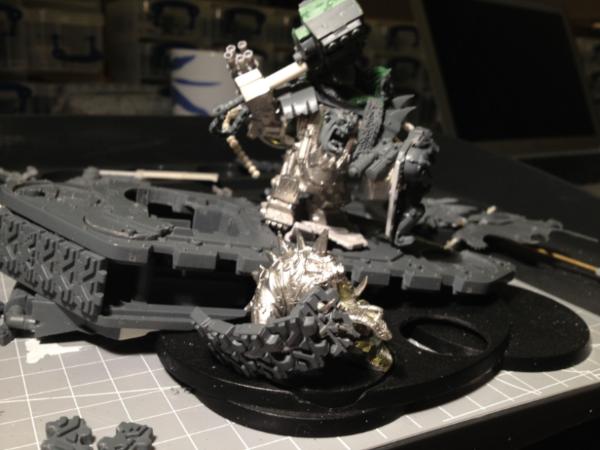
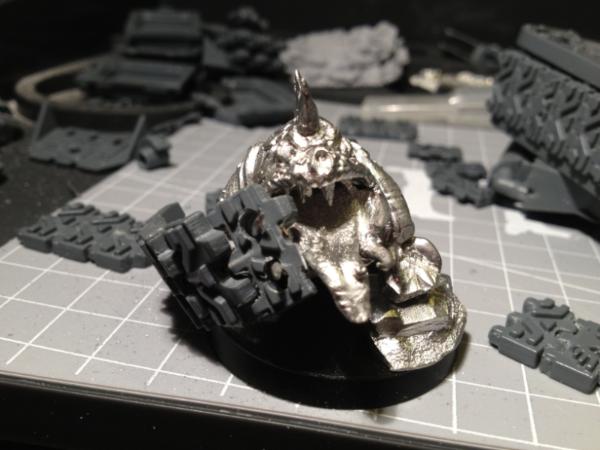
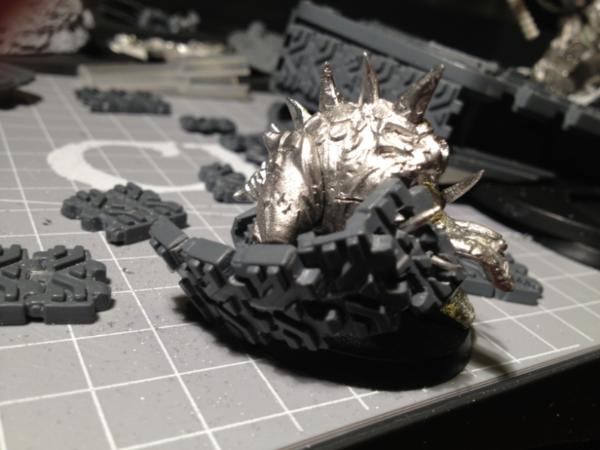
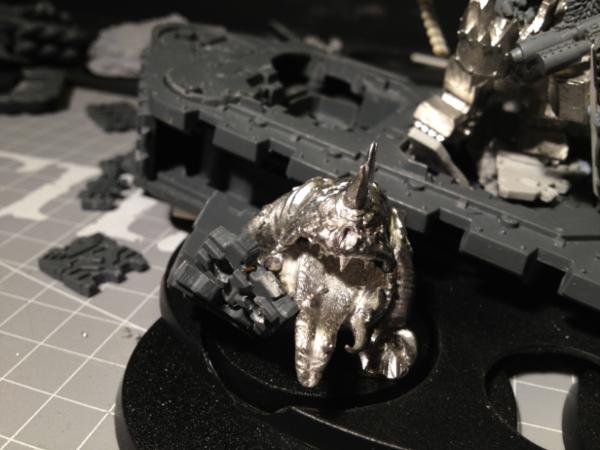
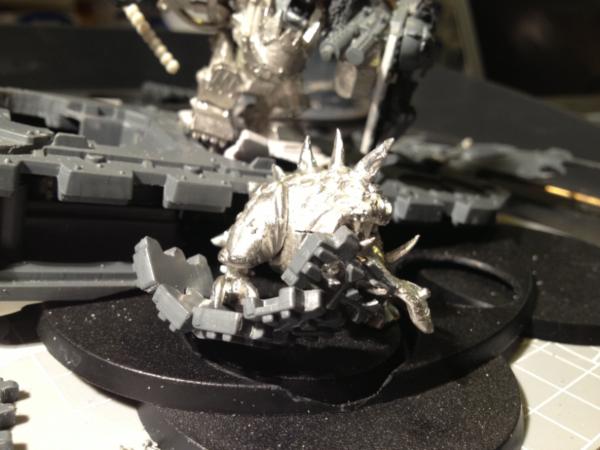
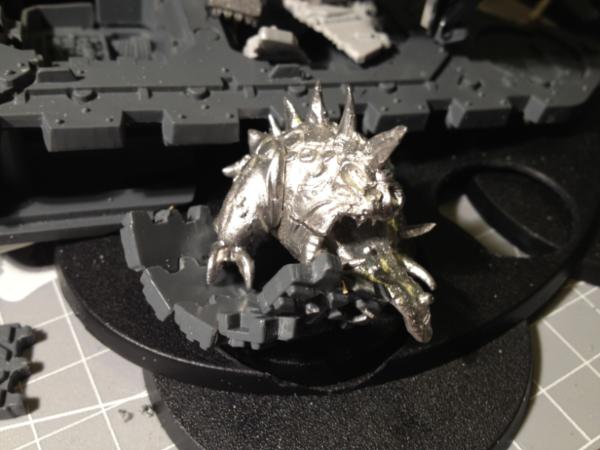
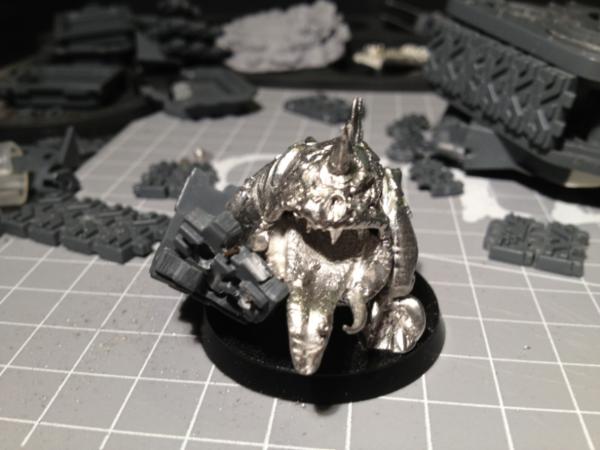
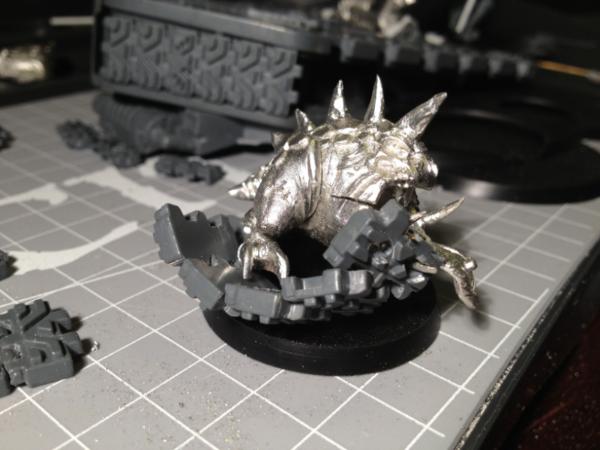
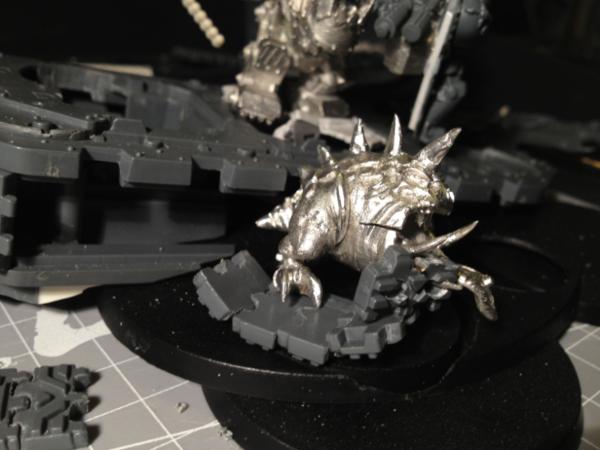
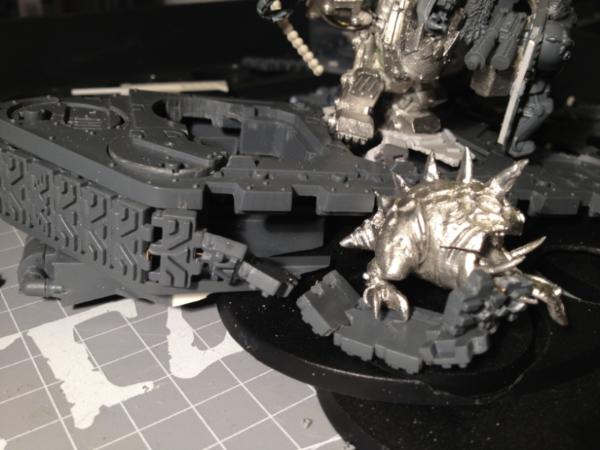
 Tsk! Tsk! Anyway - yes - I am aware of the "blank" undersides of the tracks and will be doing something about that eventually, just not this second. I'm working to get the poses and layout sorted at the moment - details will come later. I'm glad to see all my stuff arrived safely too!
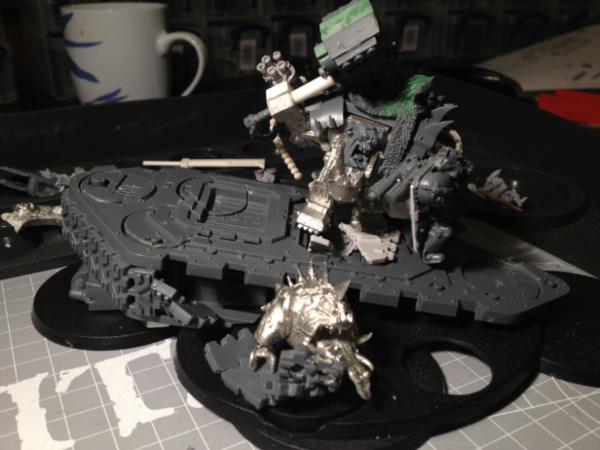
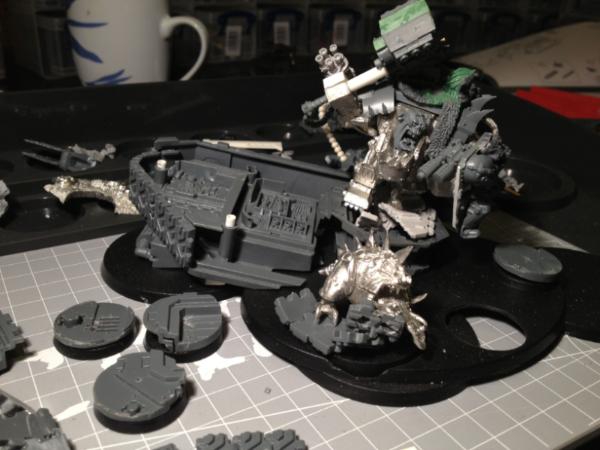
 The links should end up being twisted a little, but I guess how well I pull that off won't be revealed until later. Checked your gallery - the Deffkopta looks good!
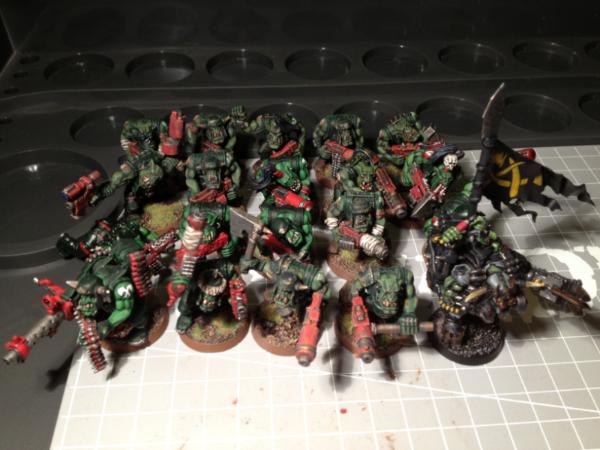

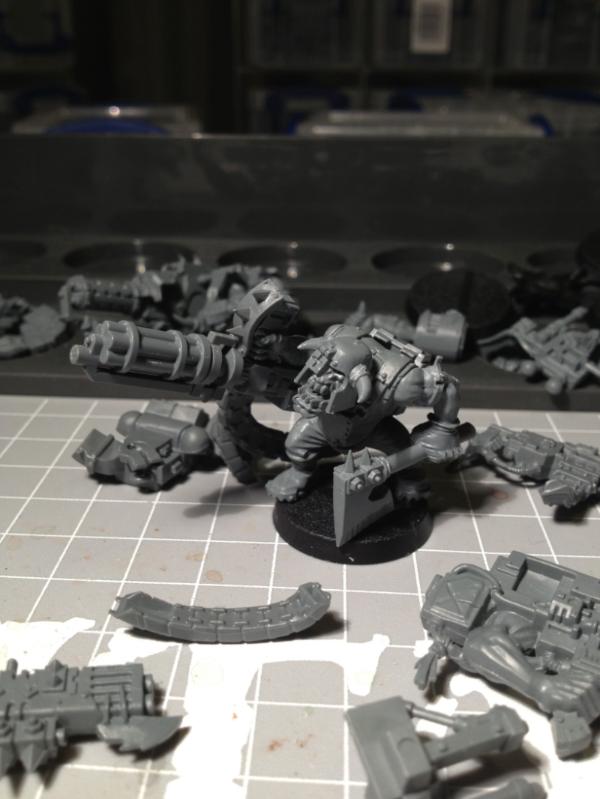
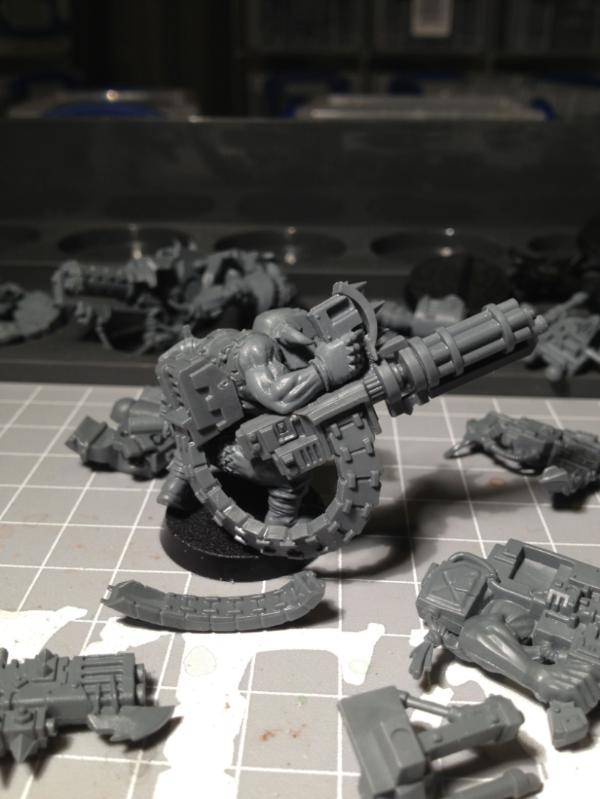
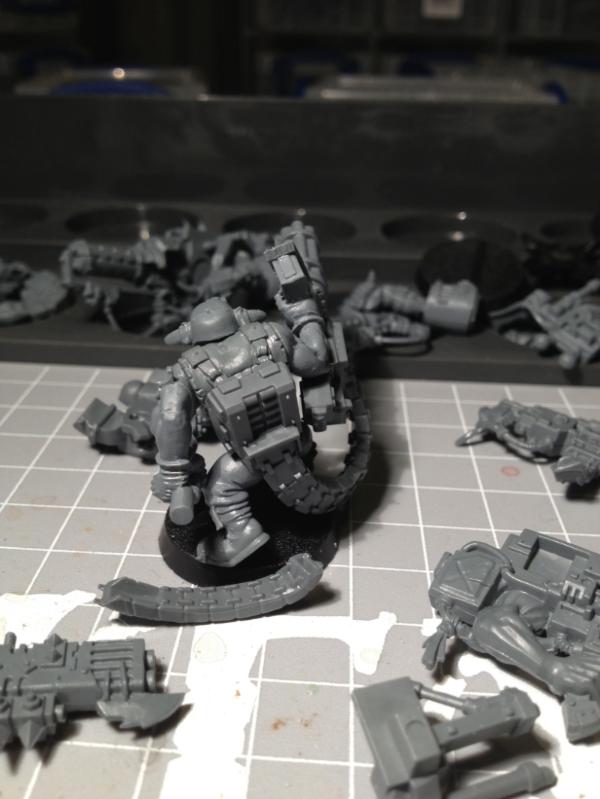
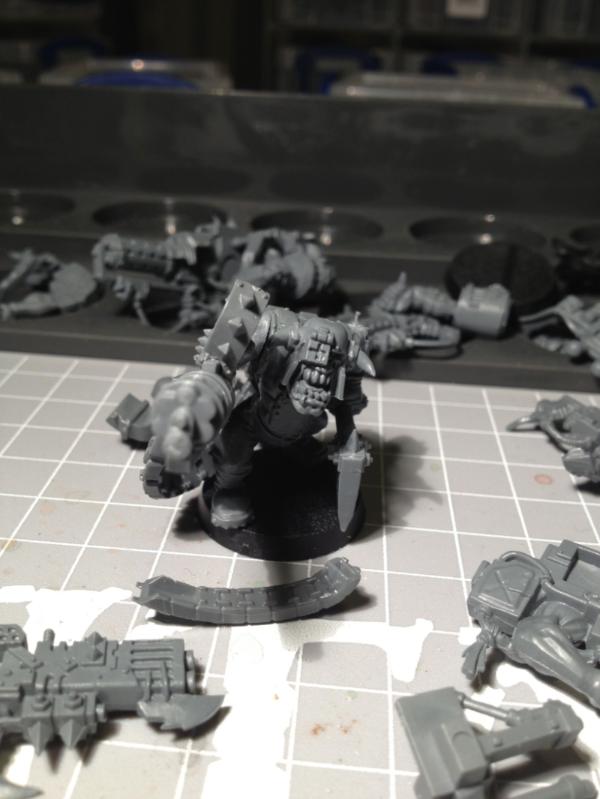
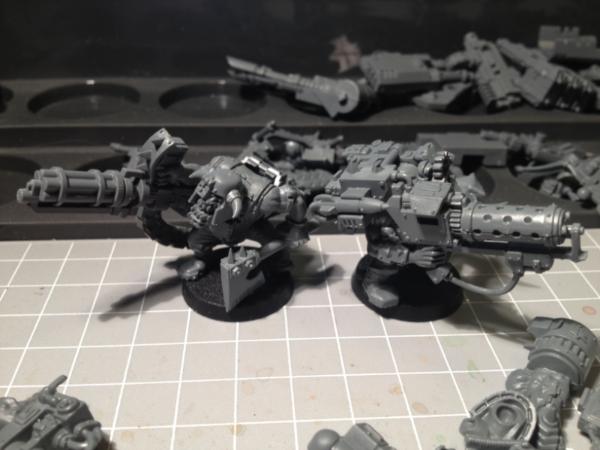
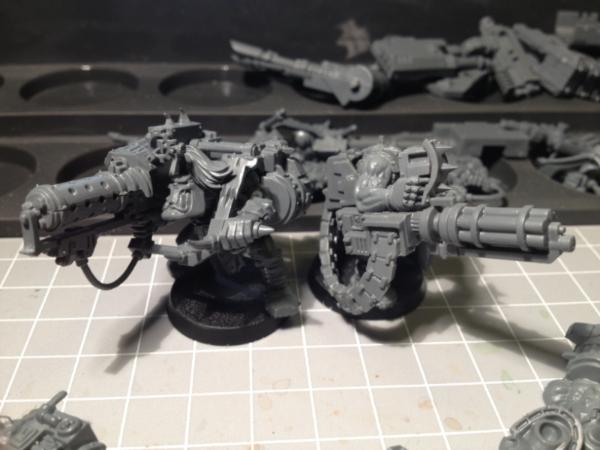

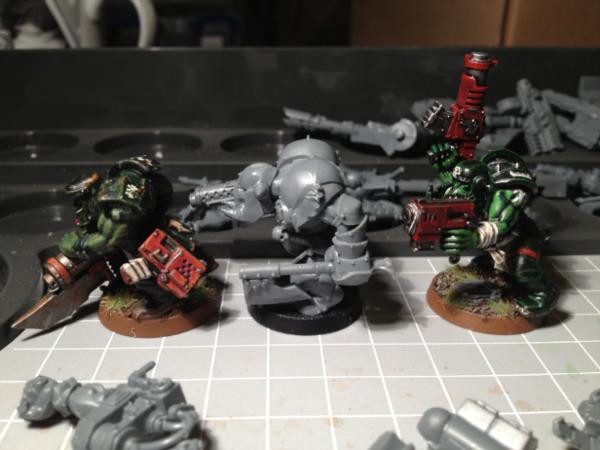
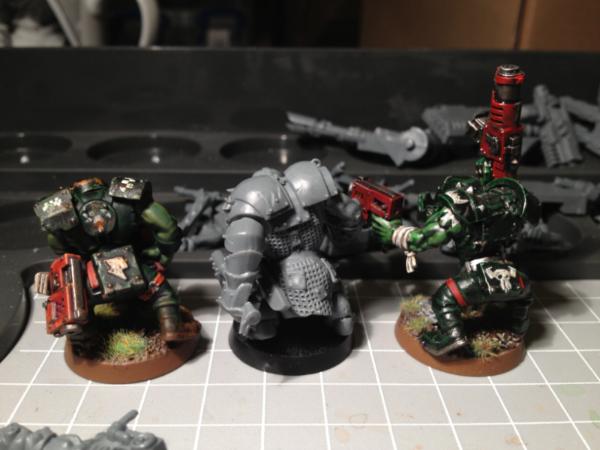
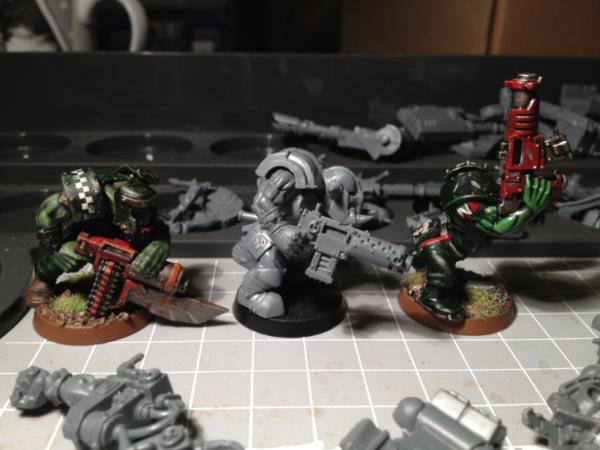
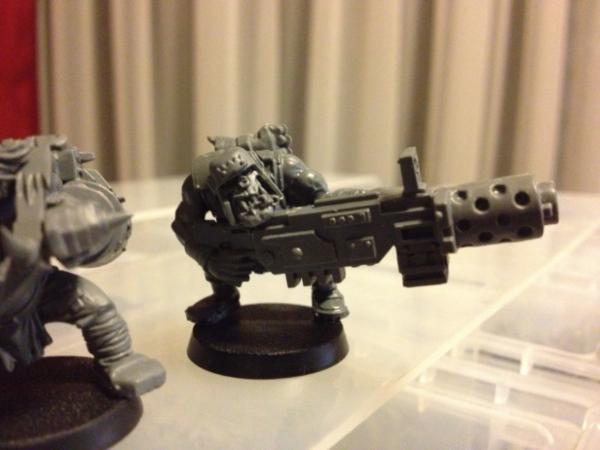
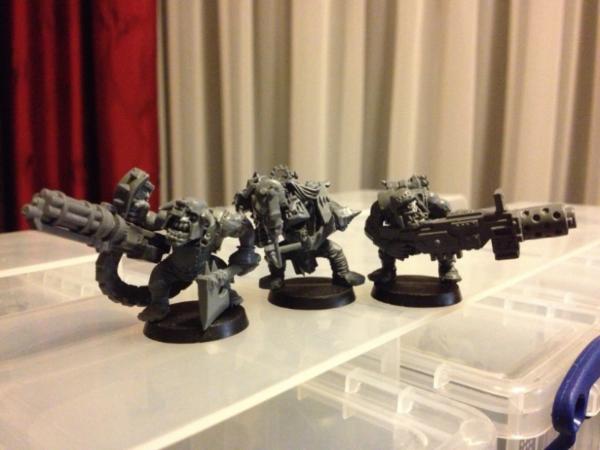
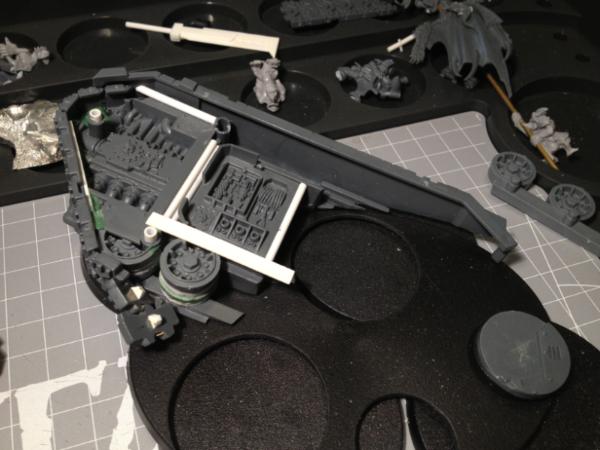
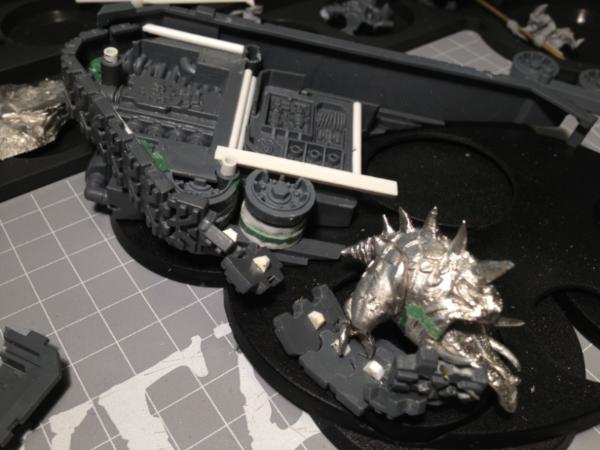
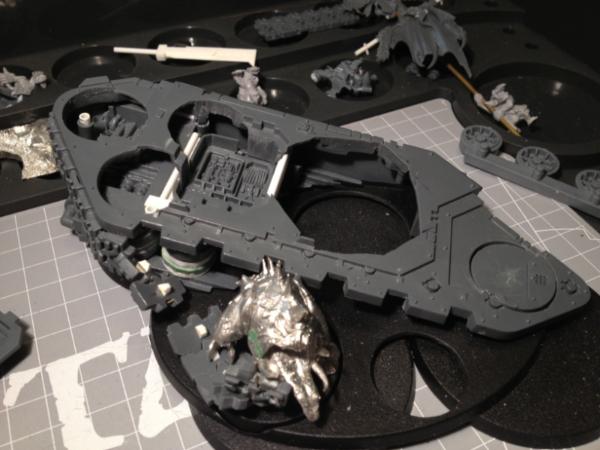
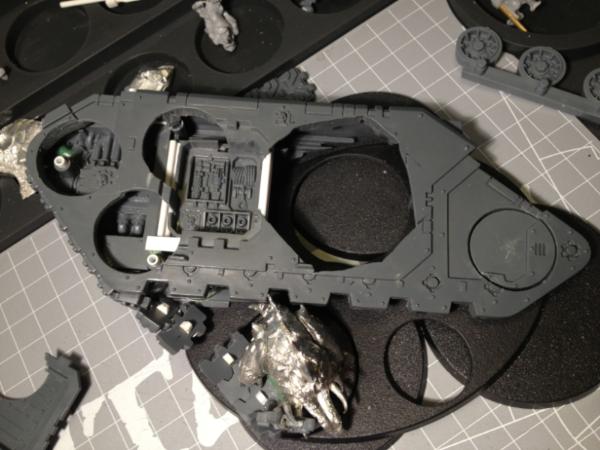
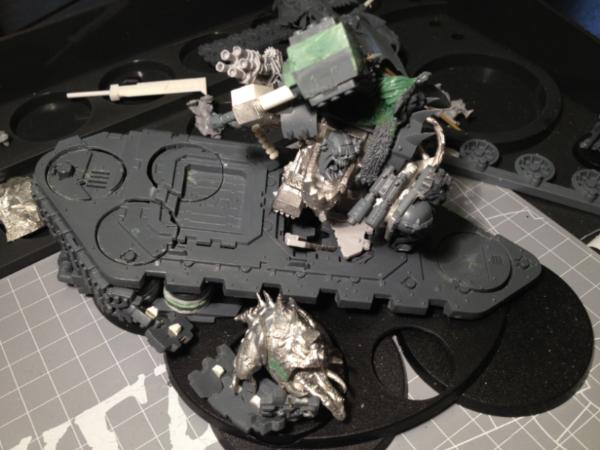

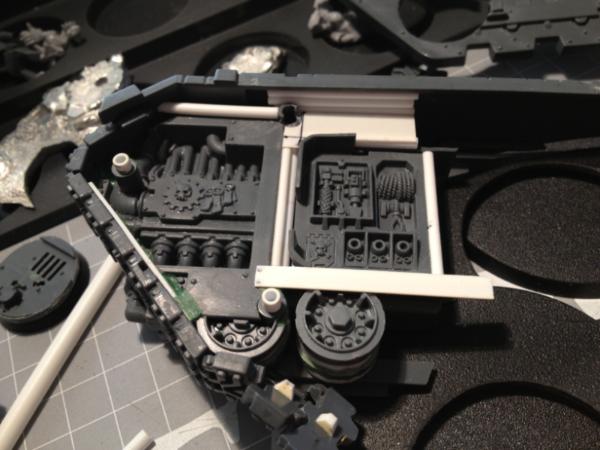
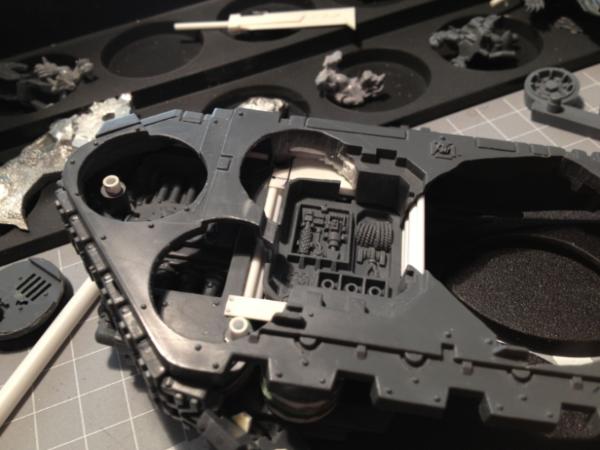
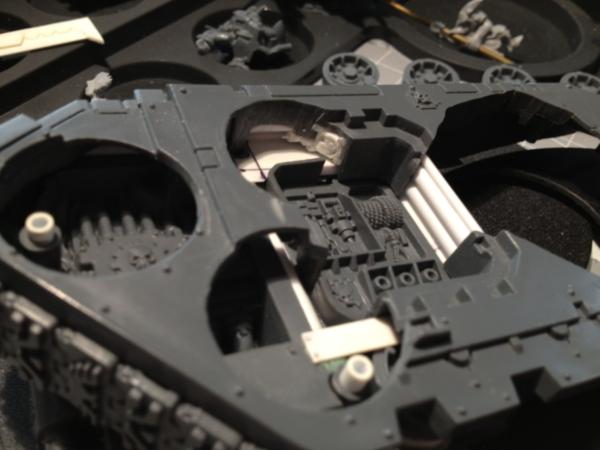
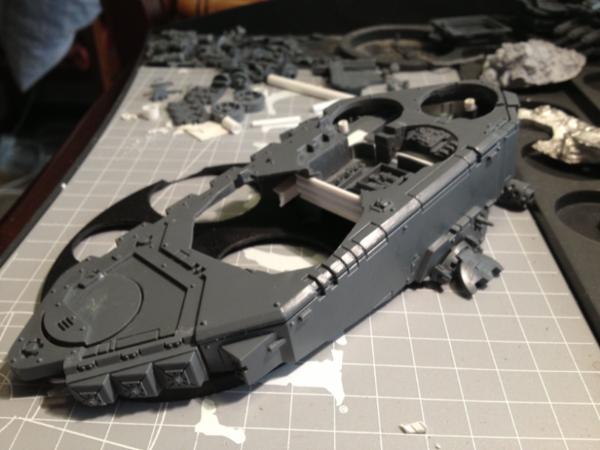
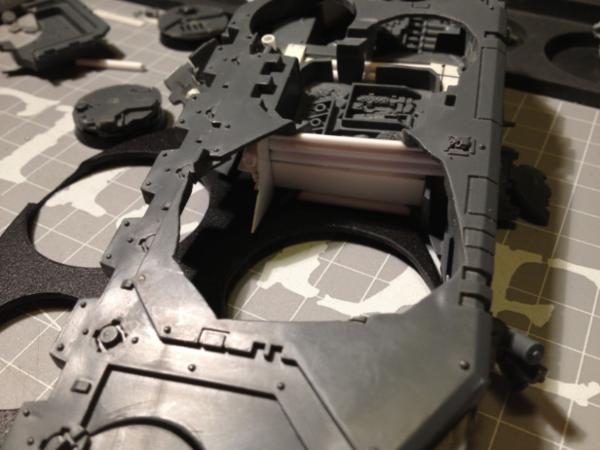
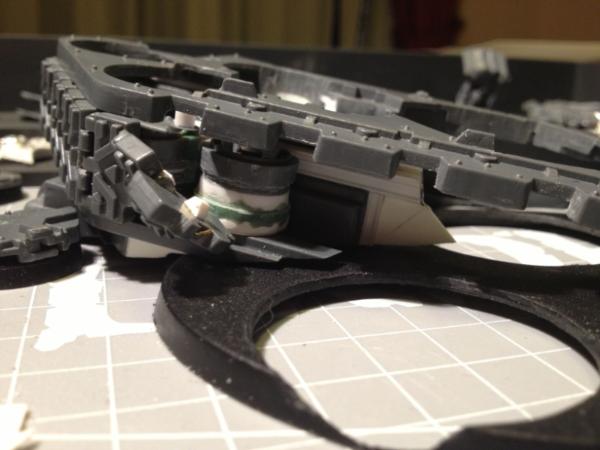
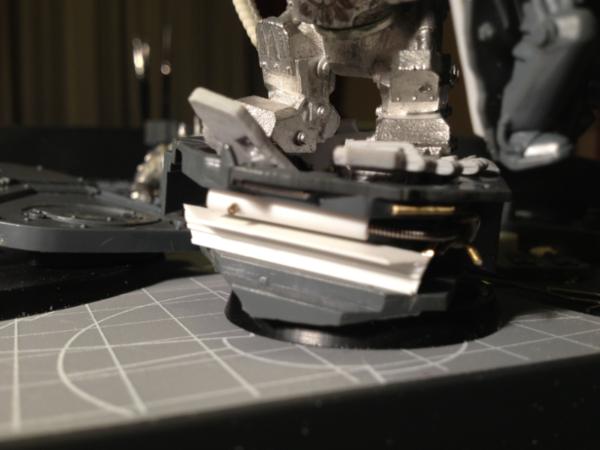
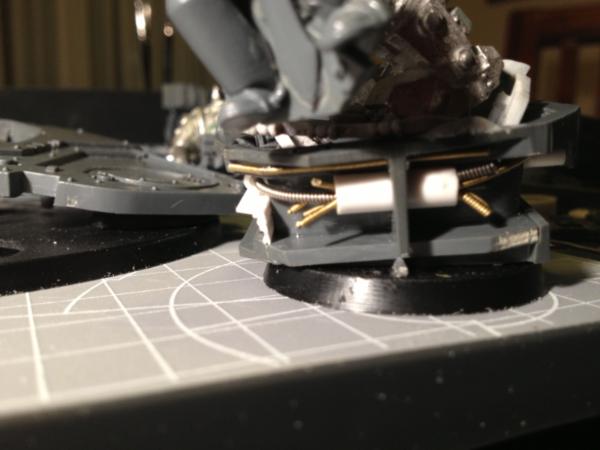
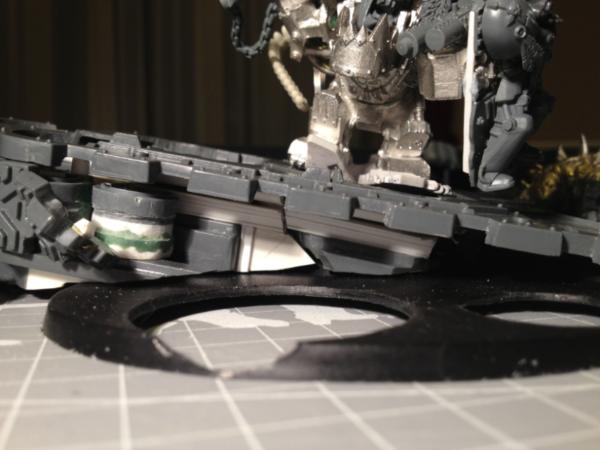
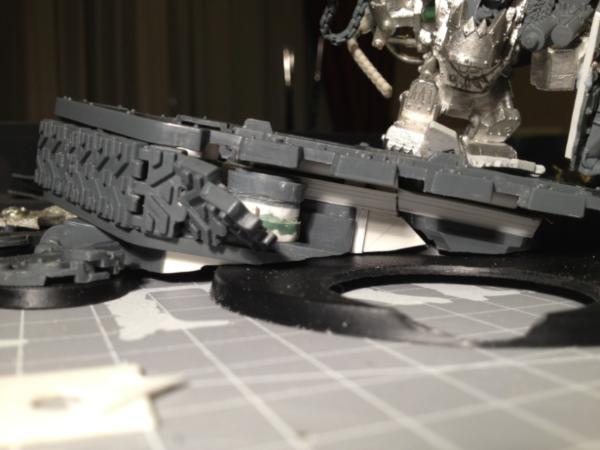
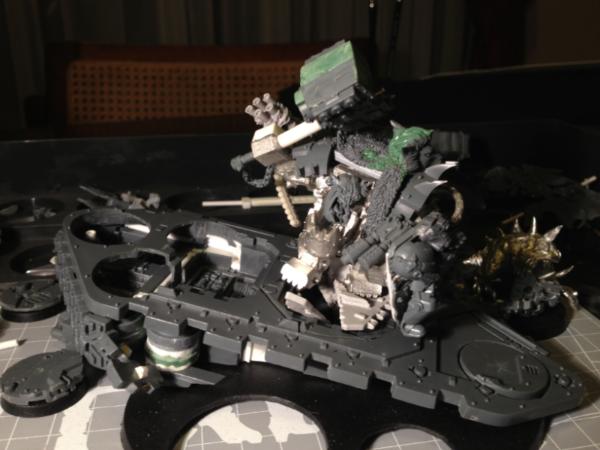
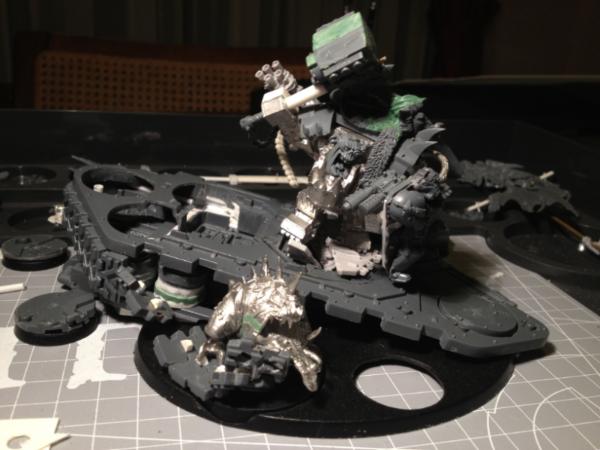
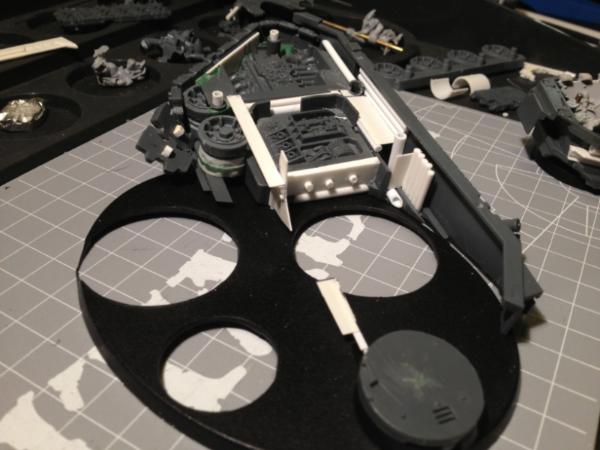
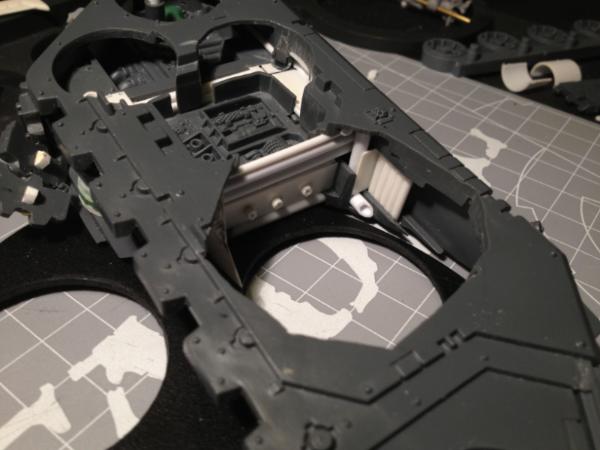
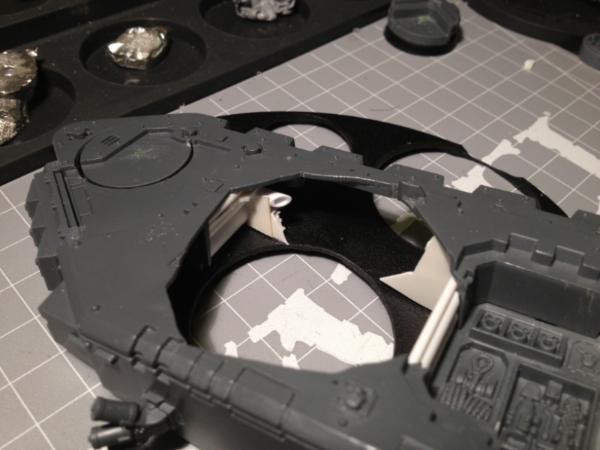
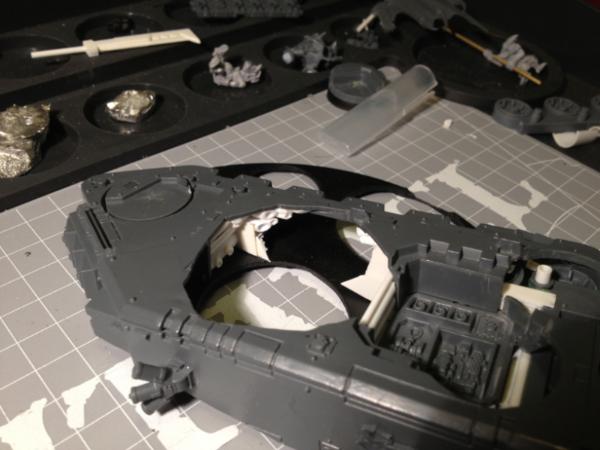

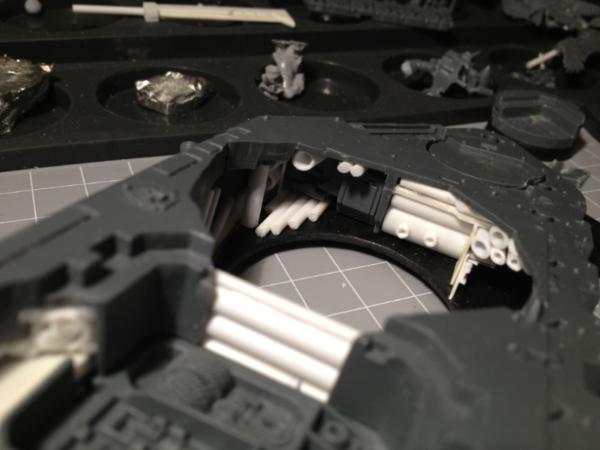
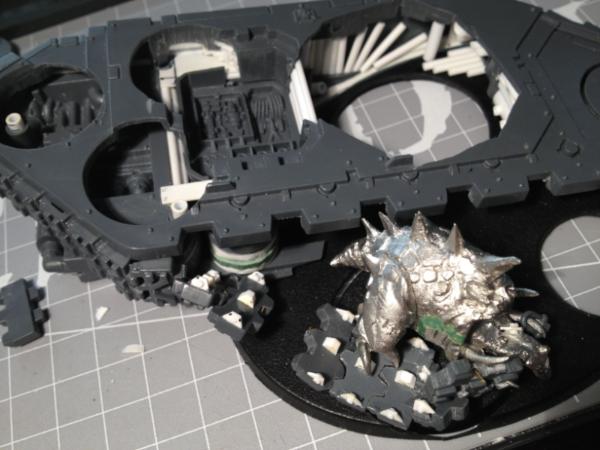
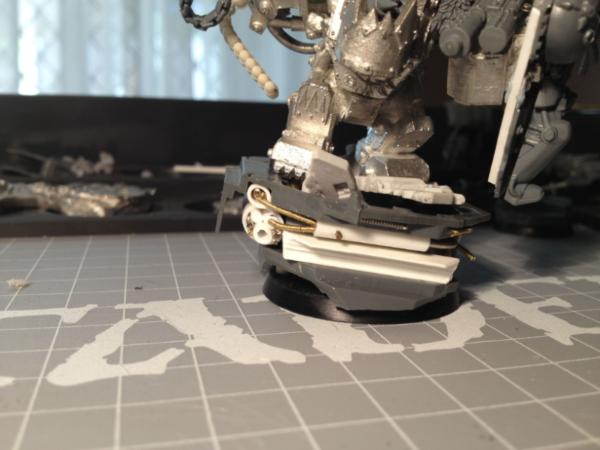
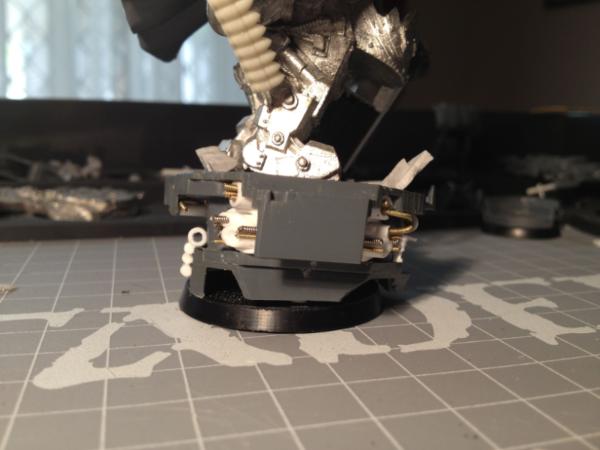
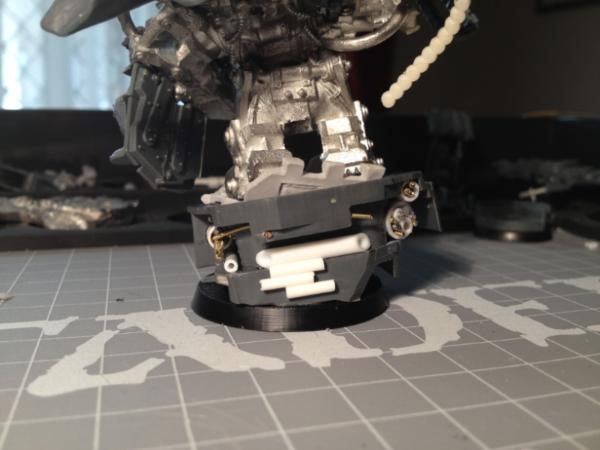

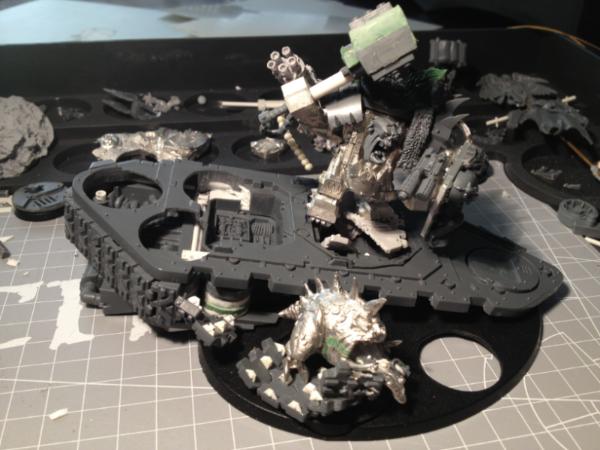


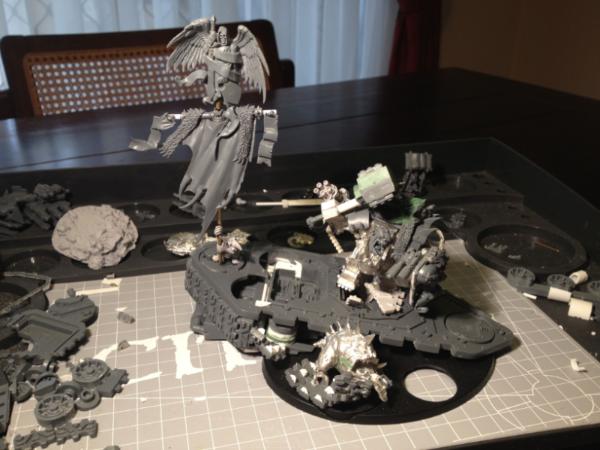
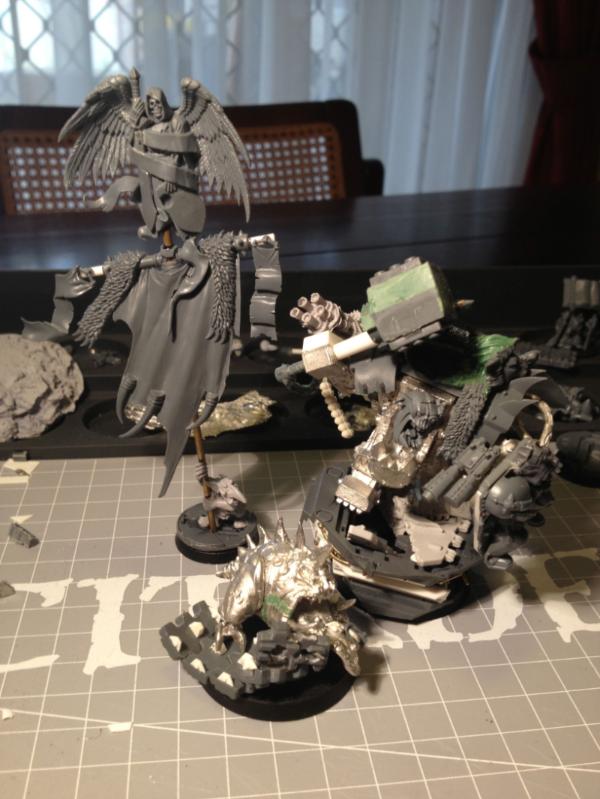
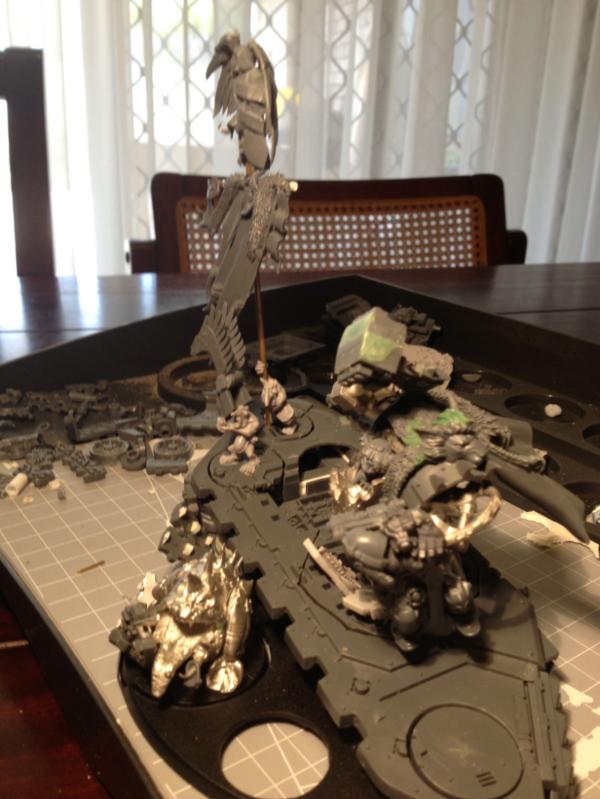
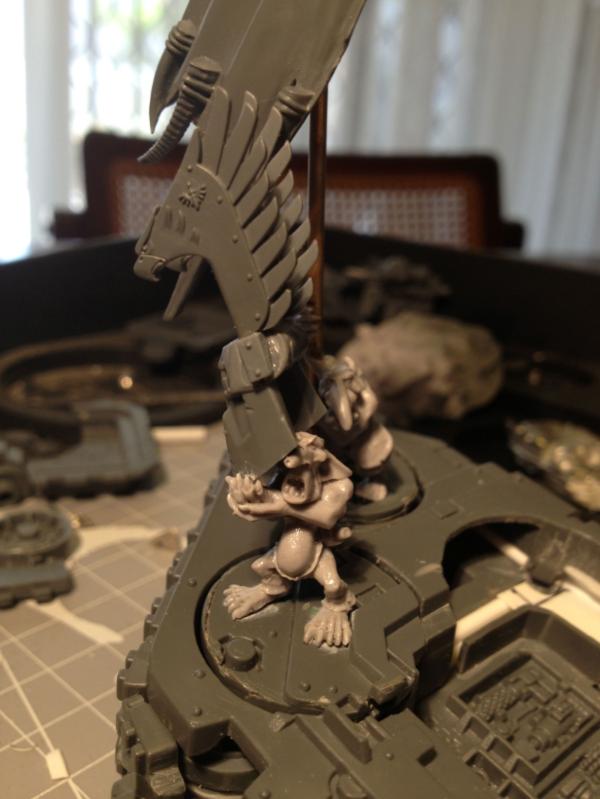

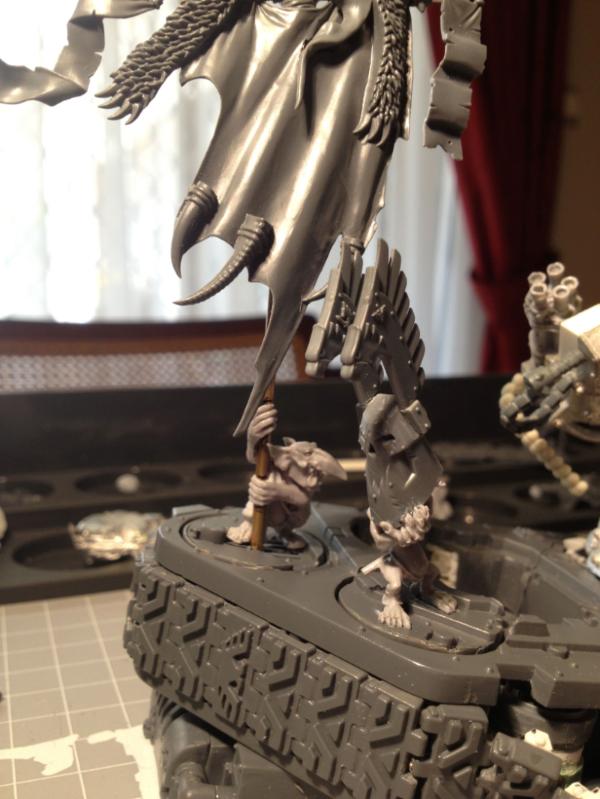
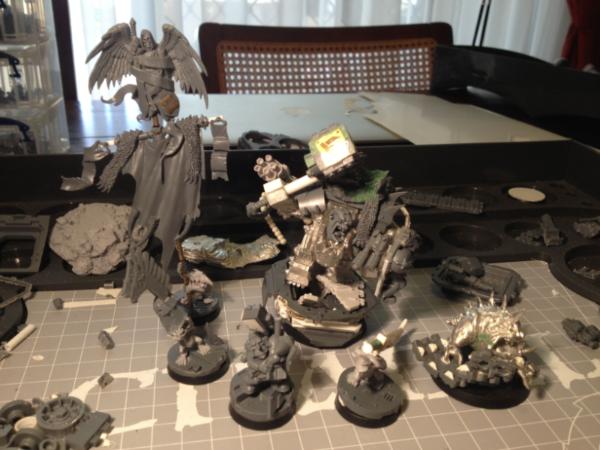
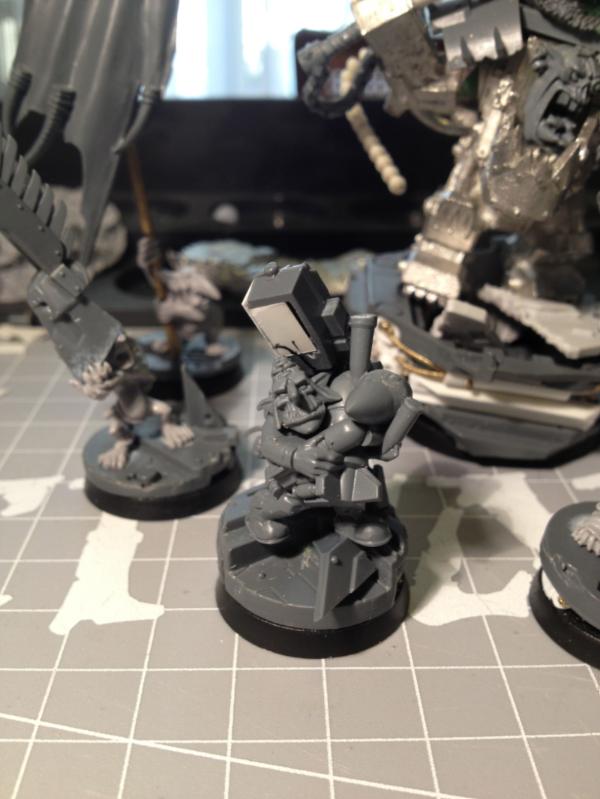

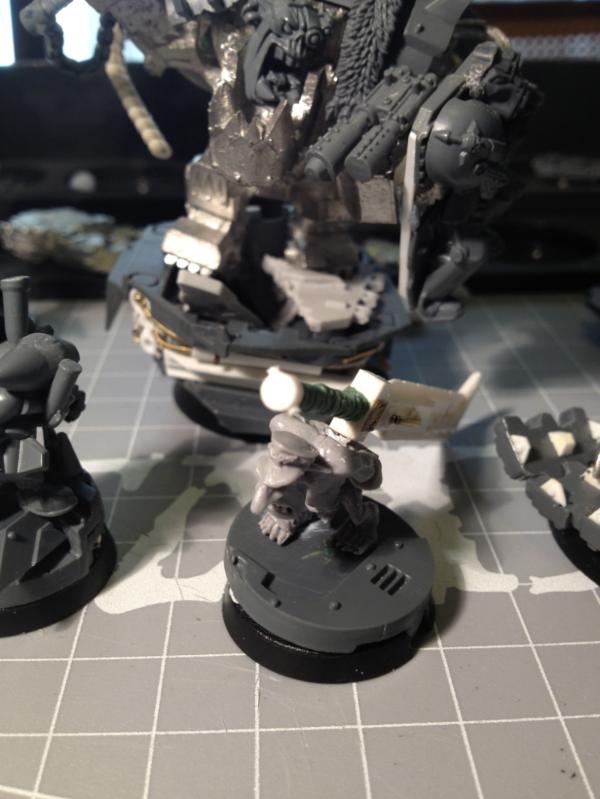
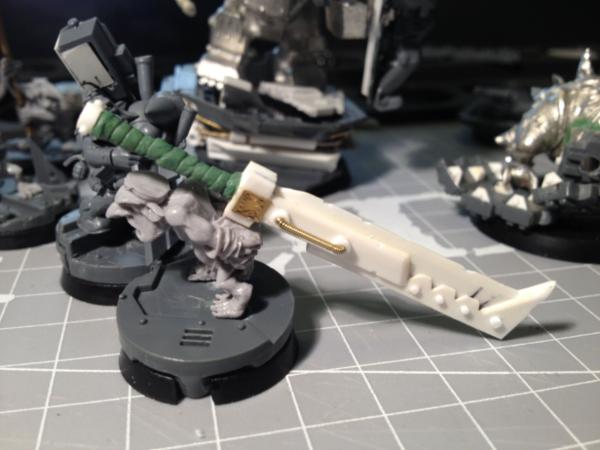
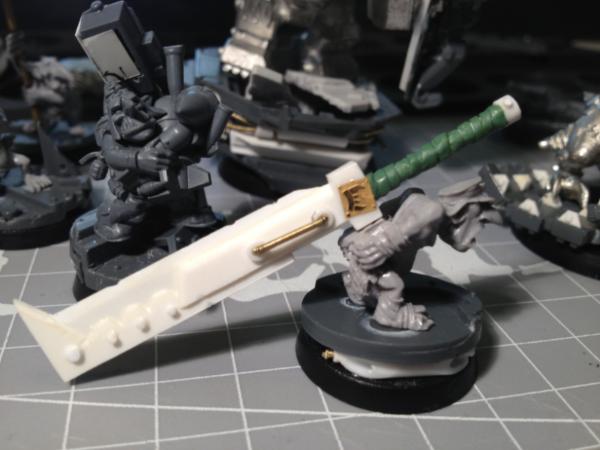
 )
)
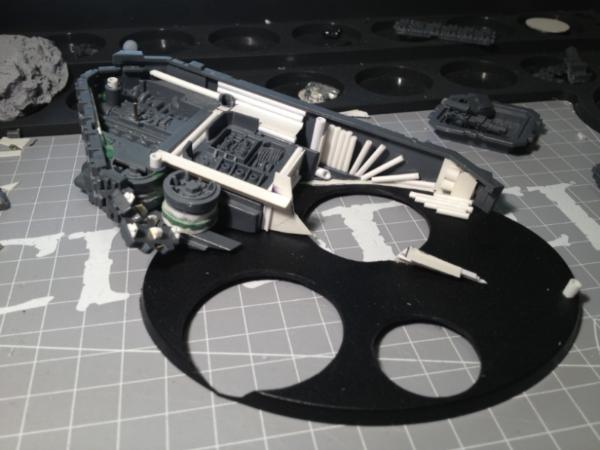
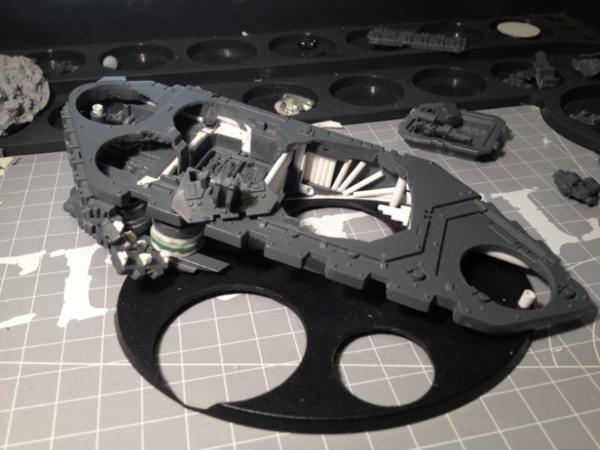

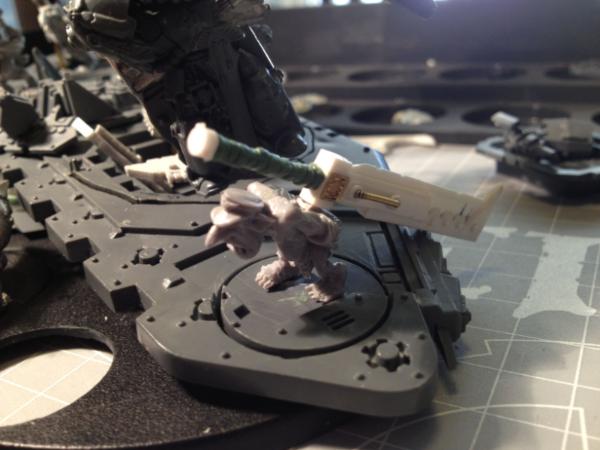
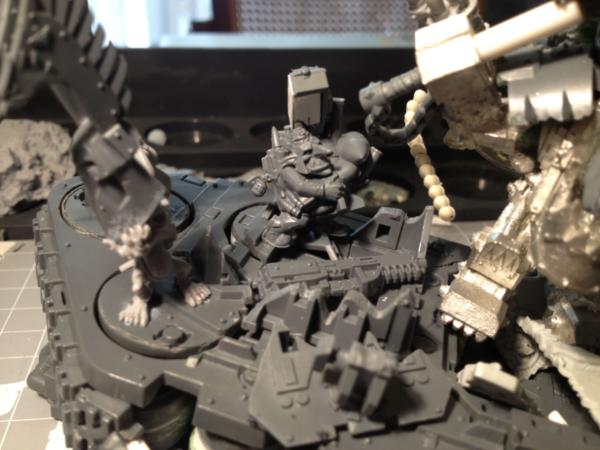

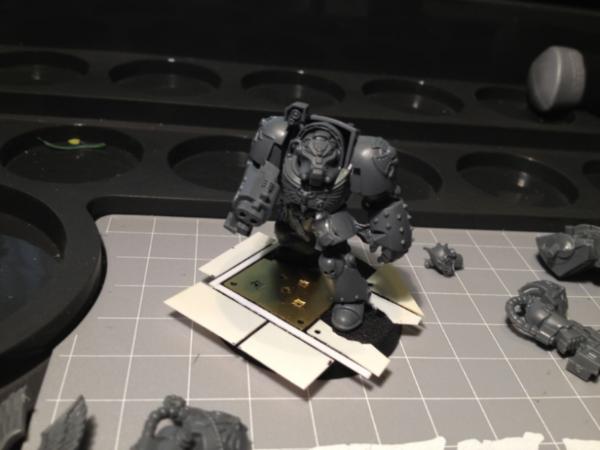
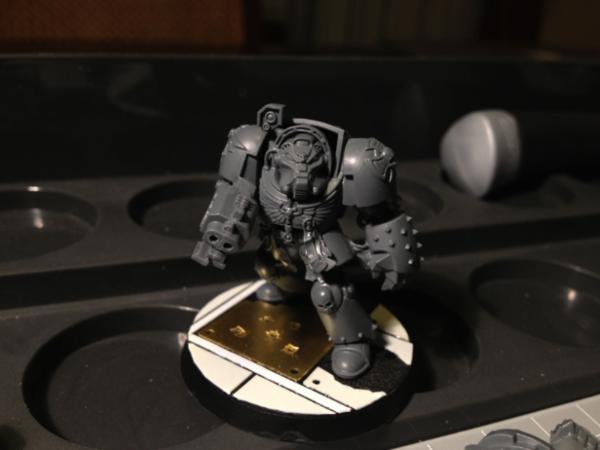
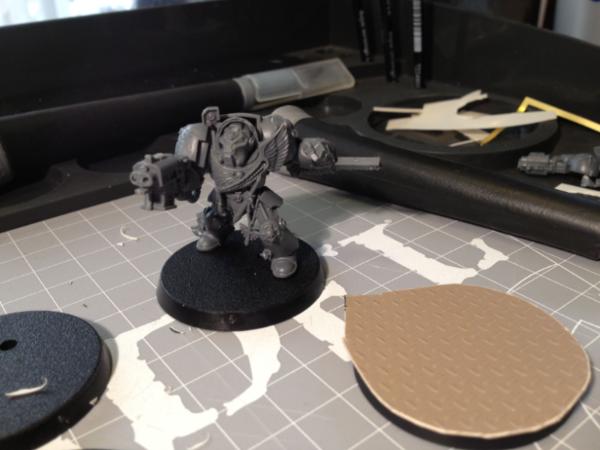
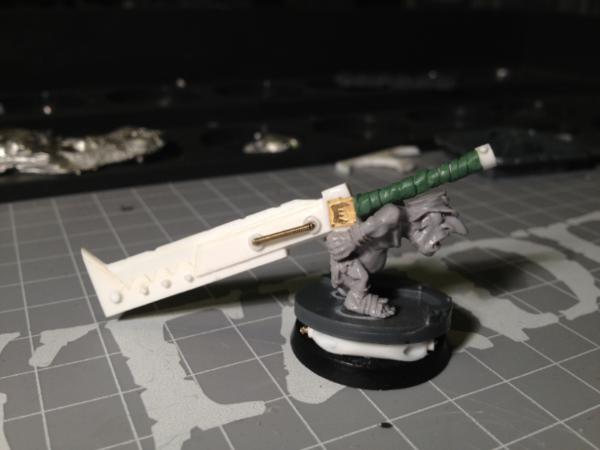


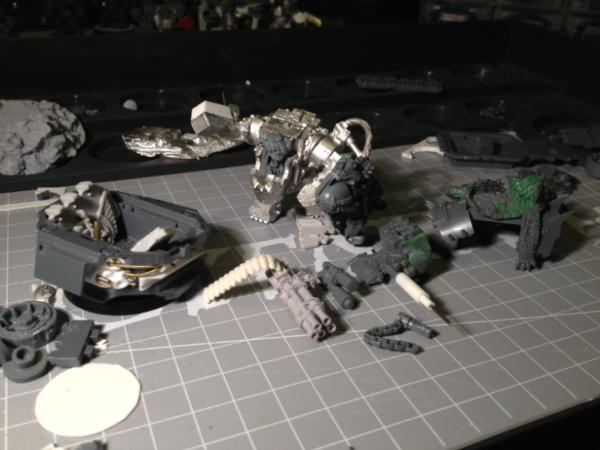
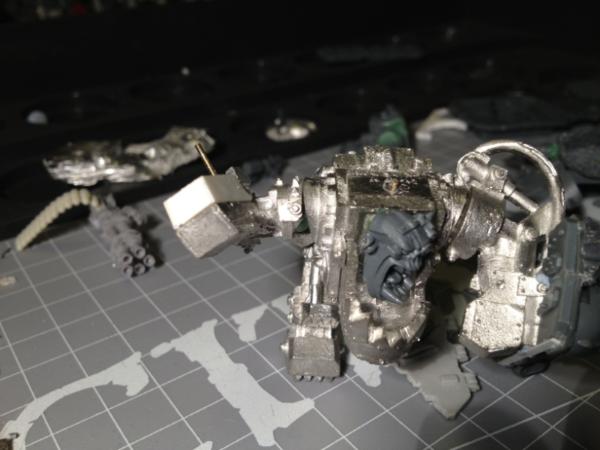

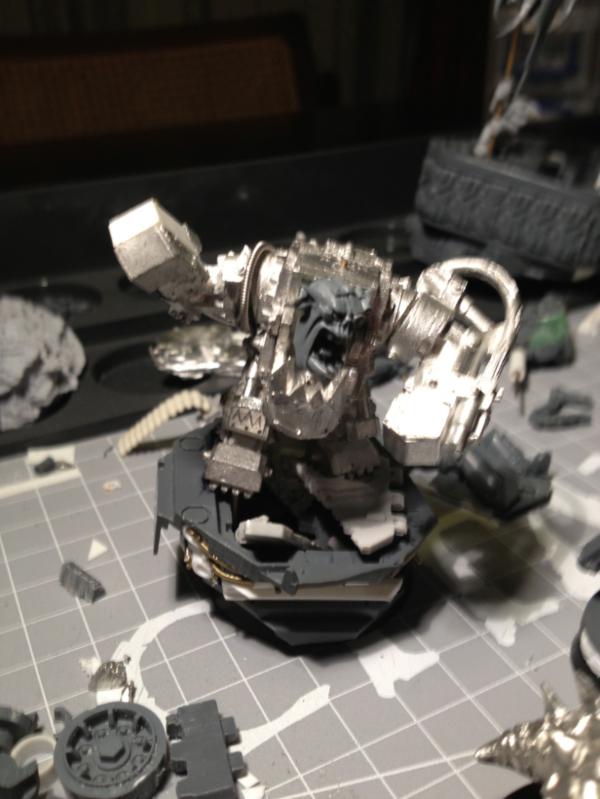
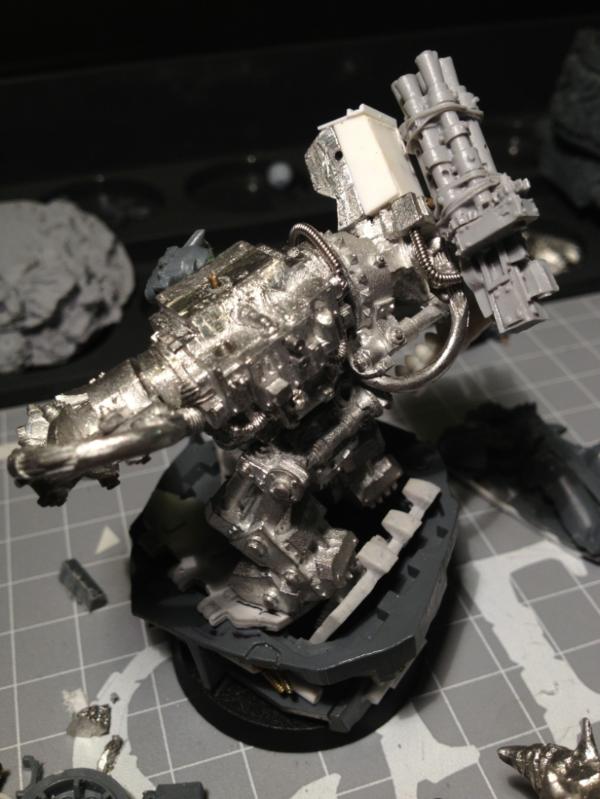
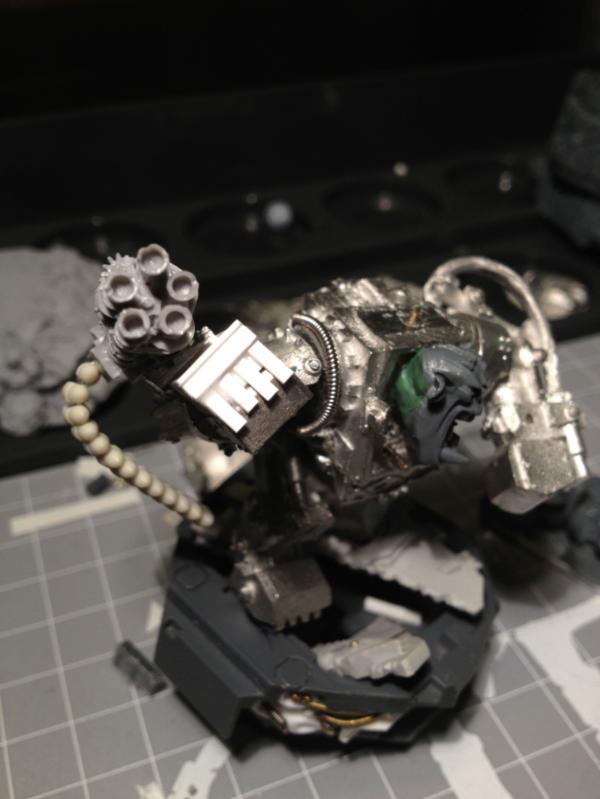
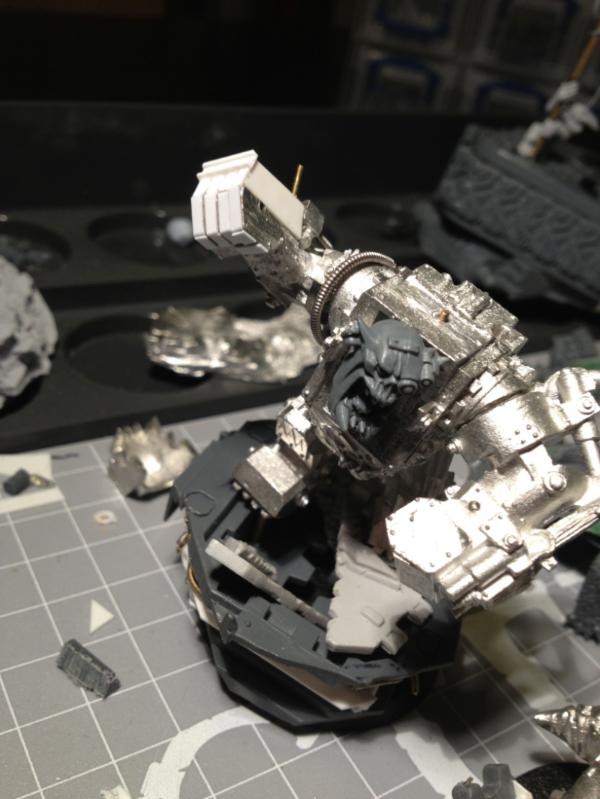
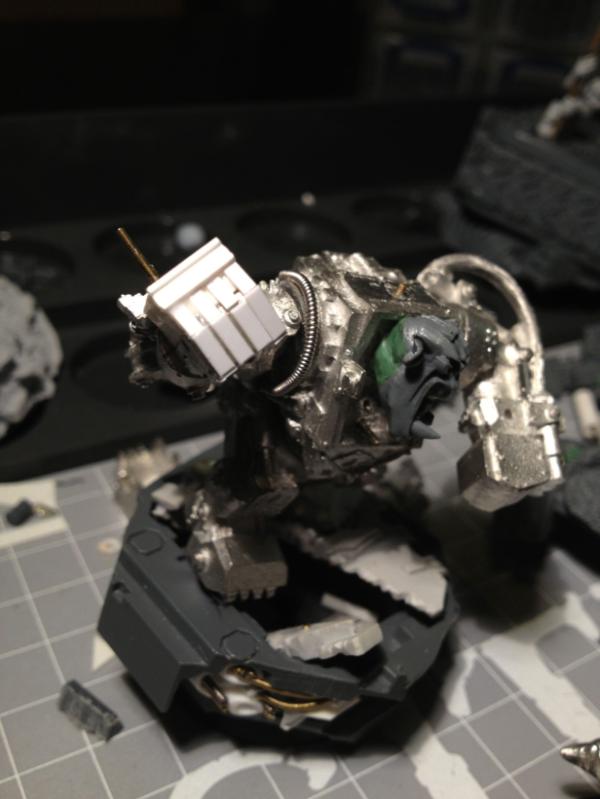
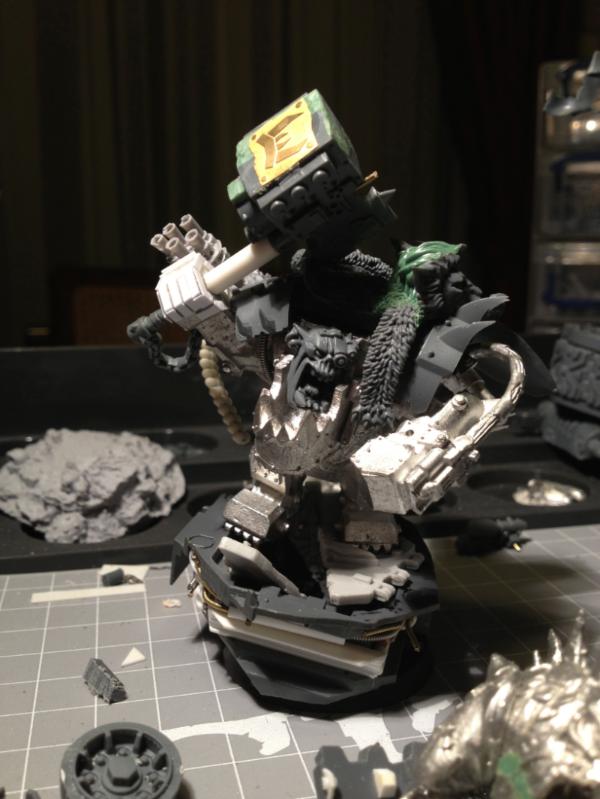
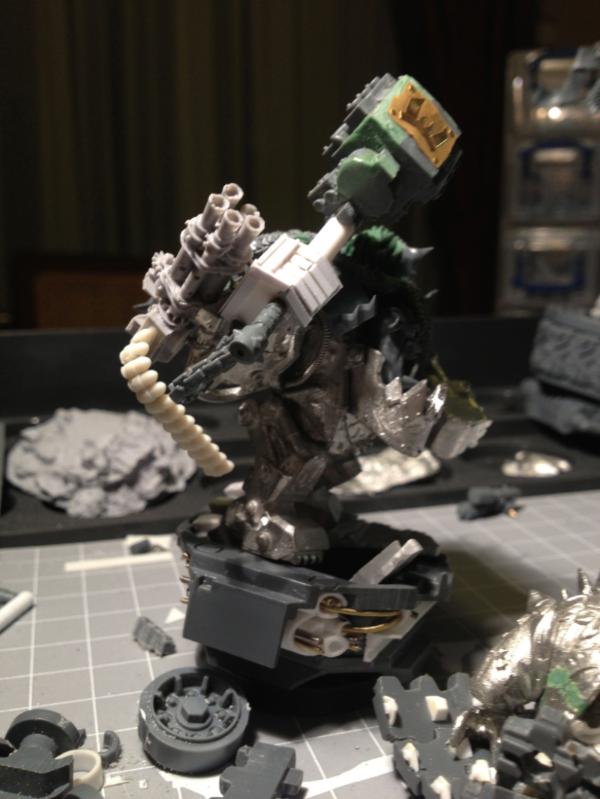
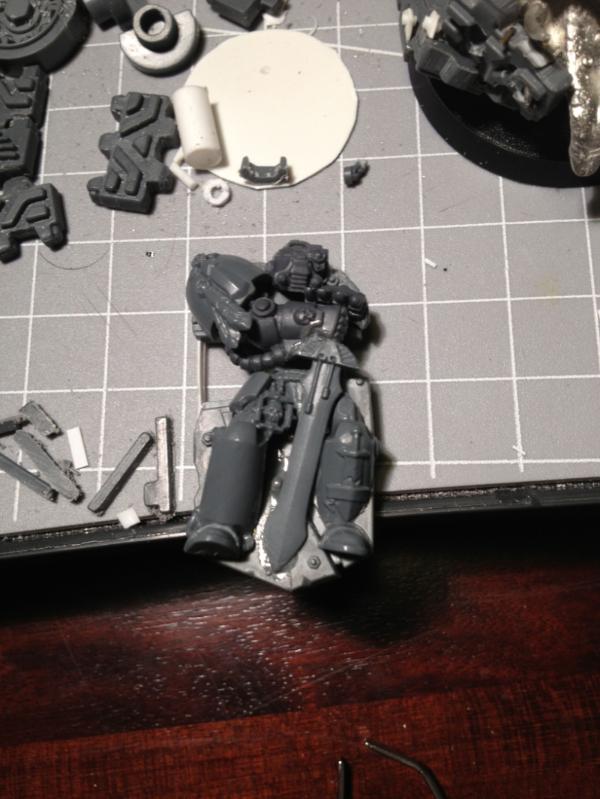
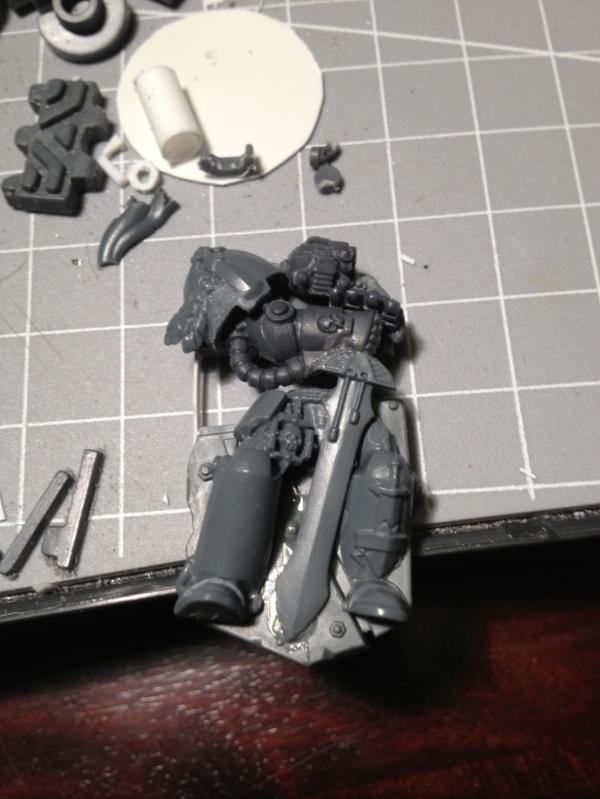
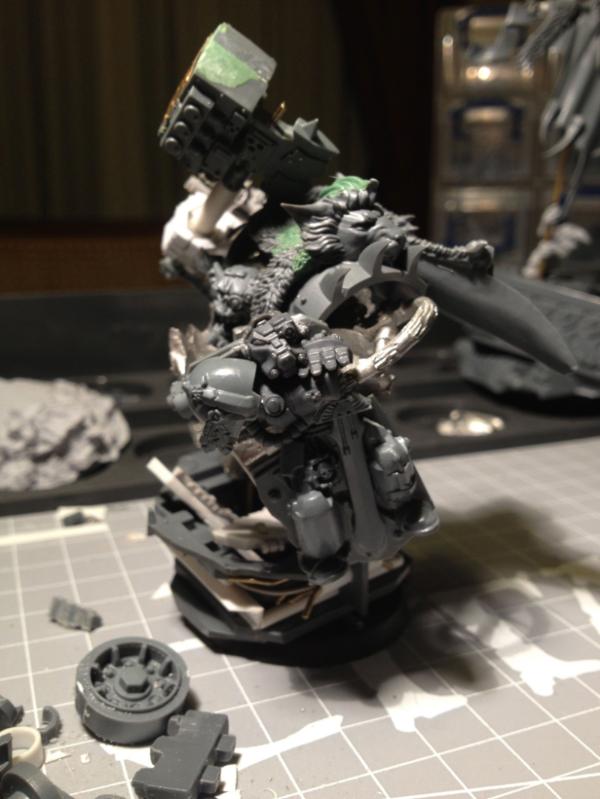
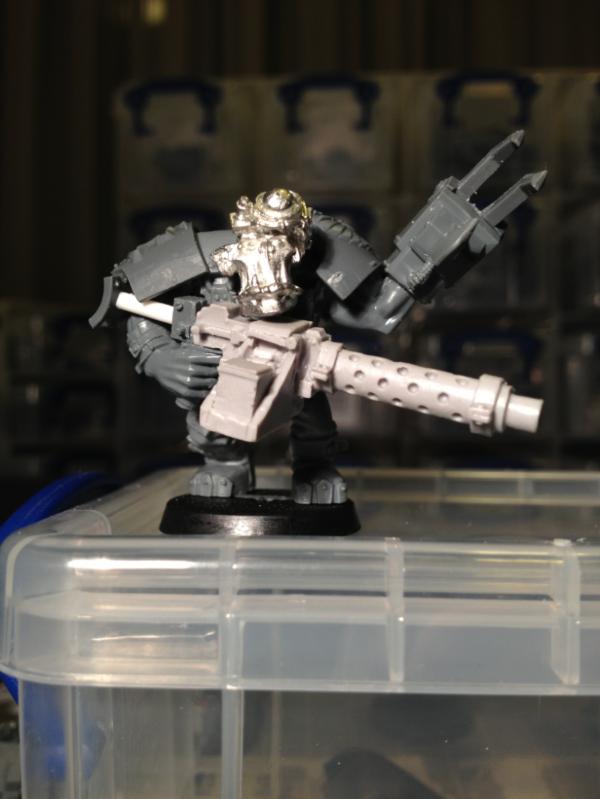
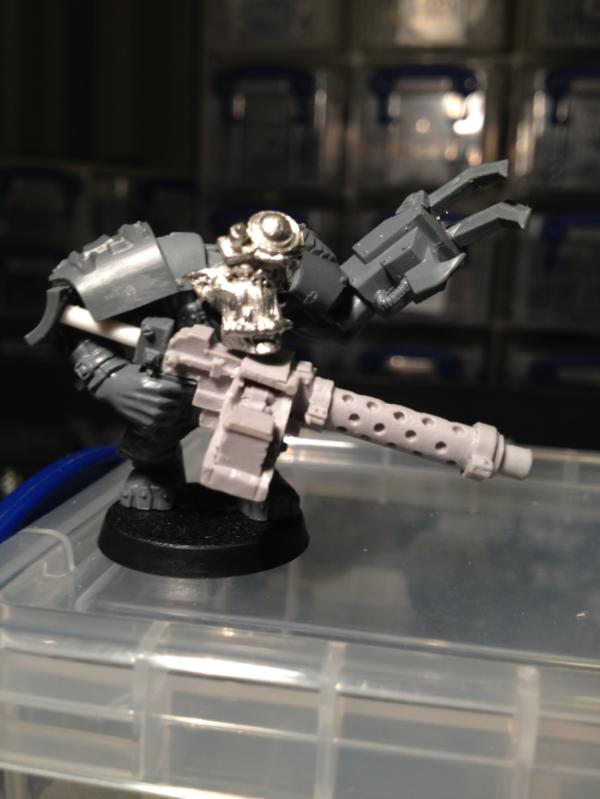
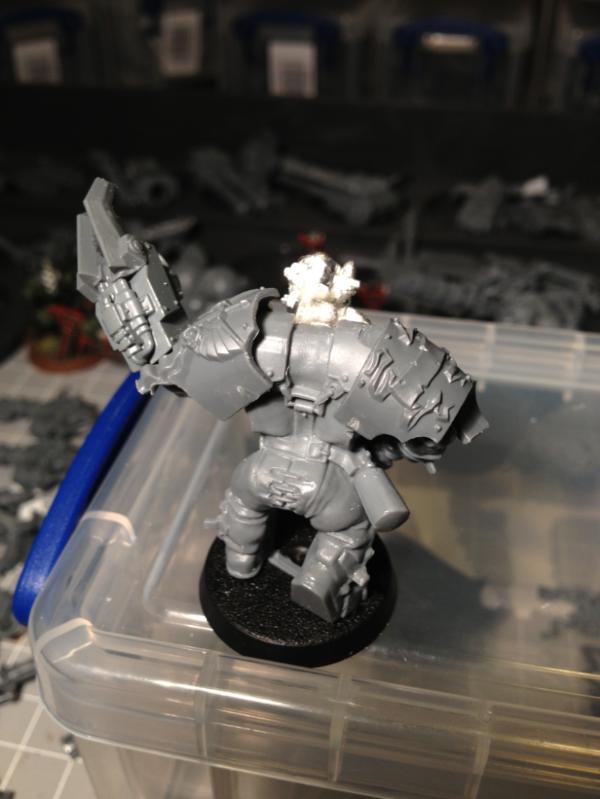
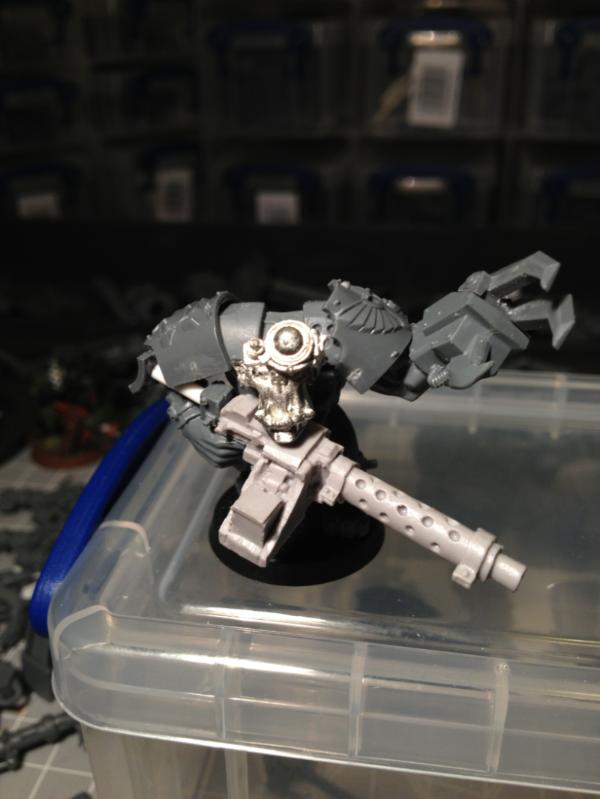
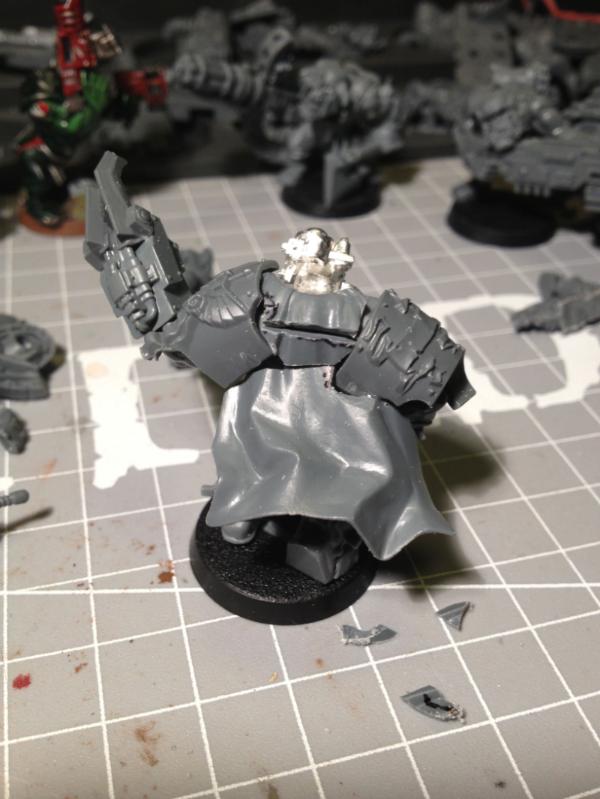
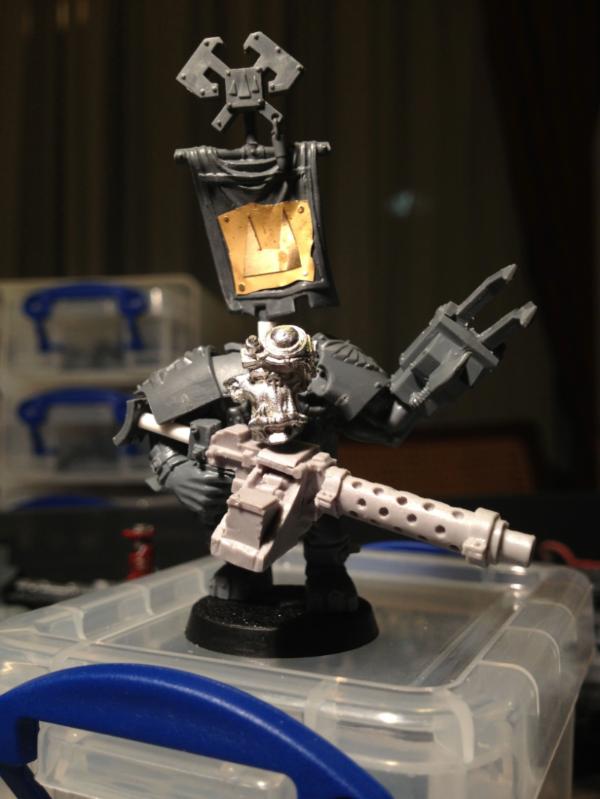
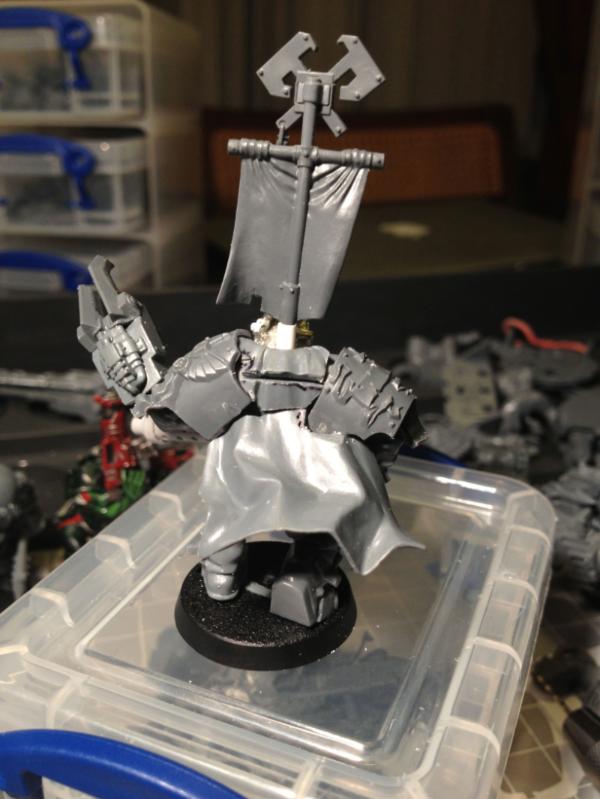
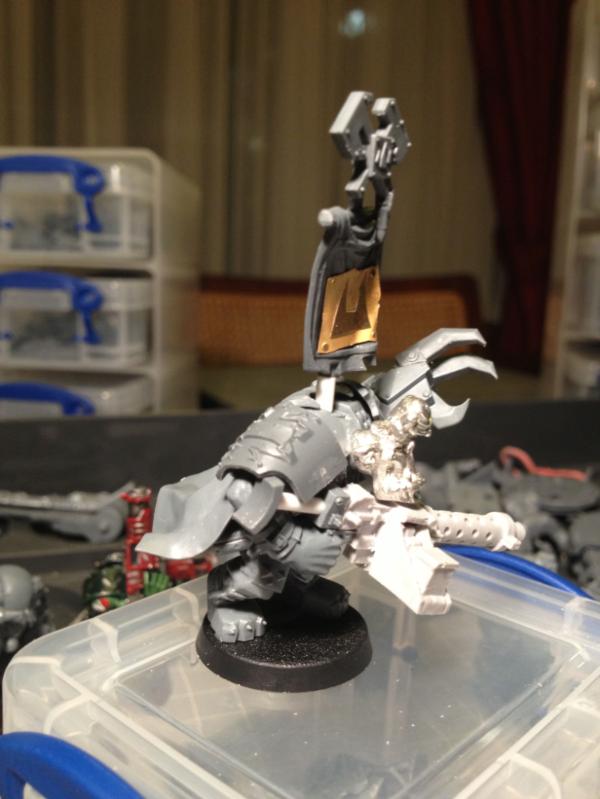
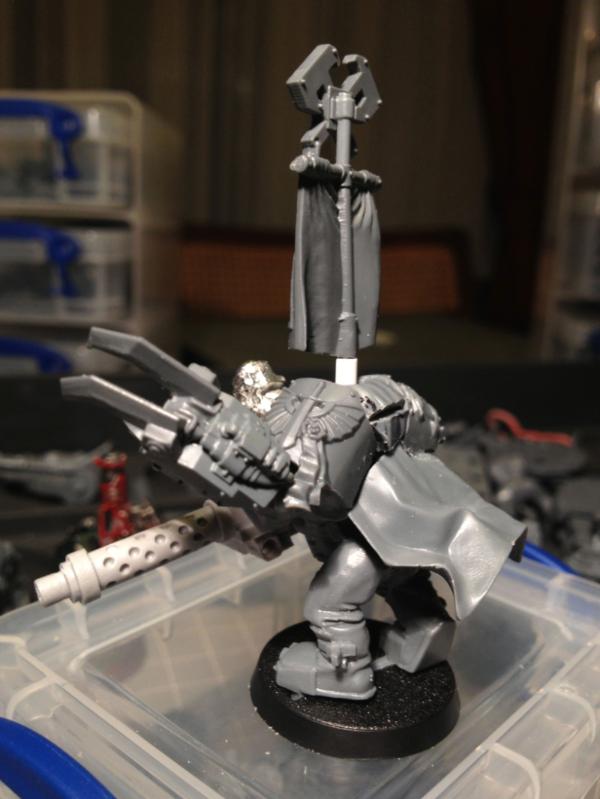
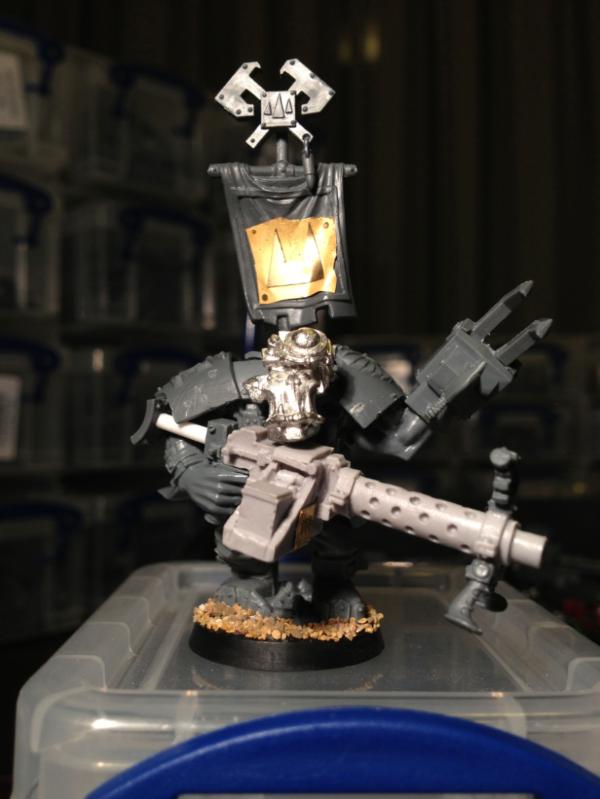
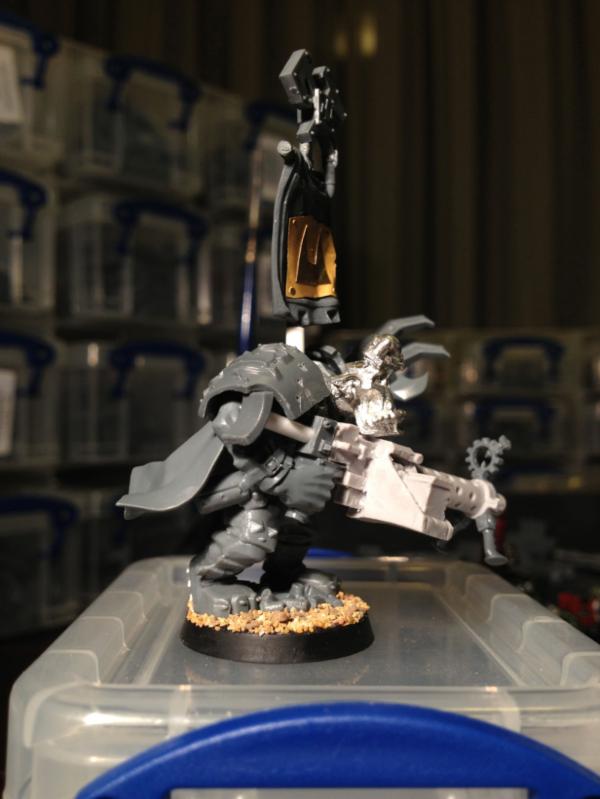
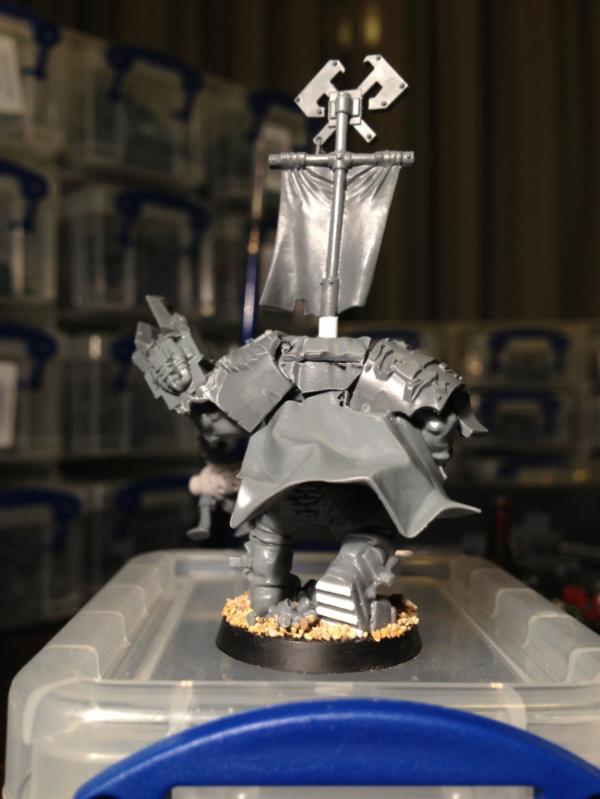
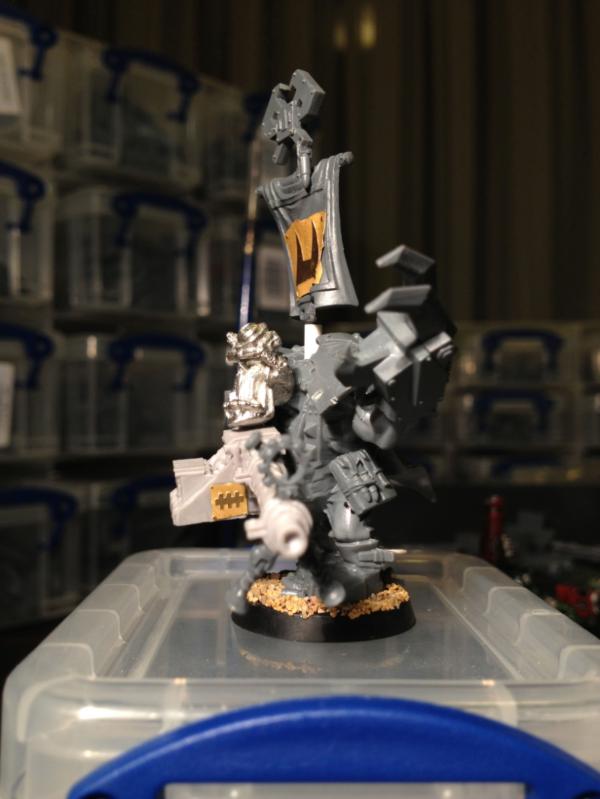
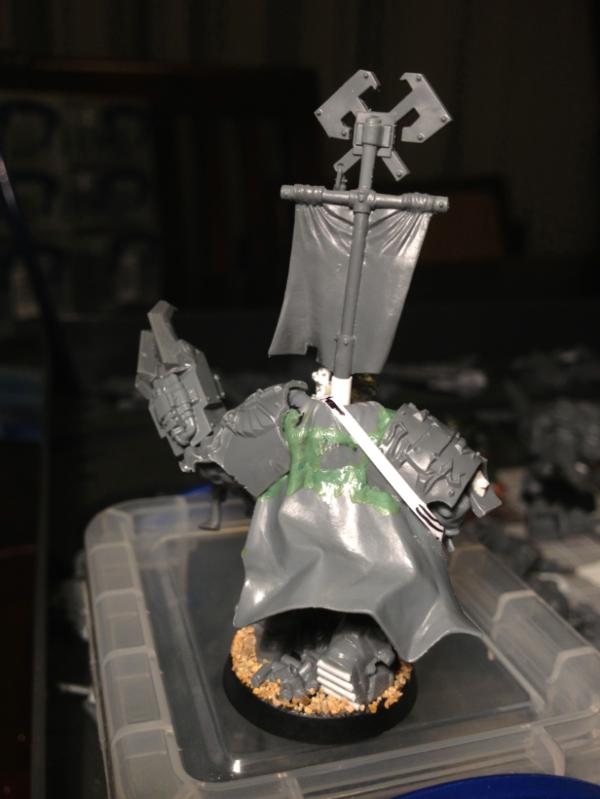
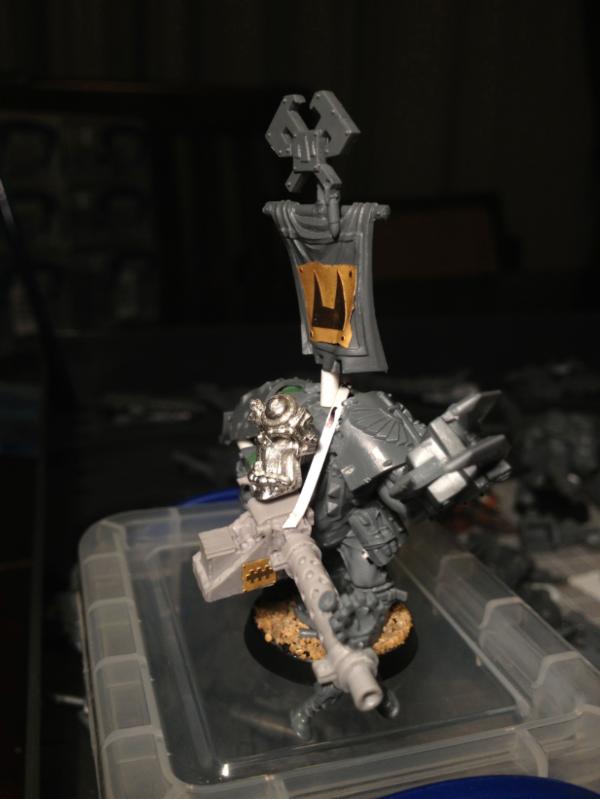
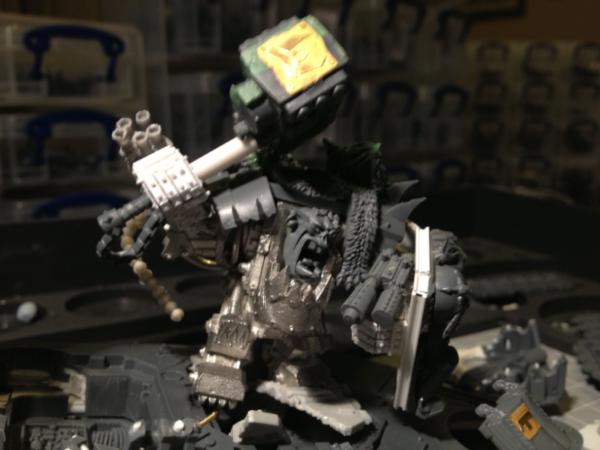
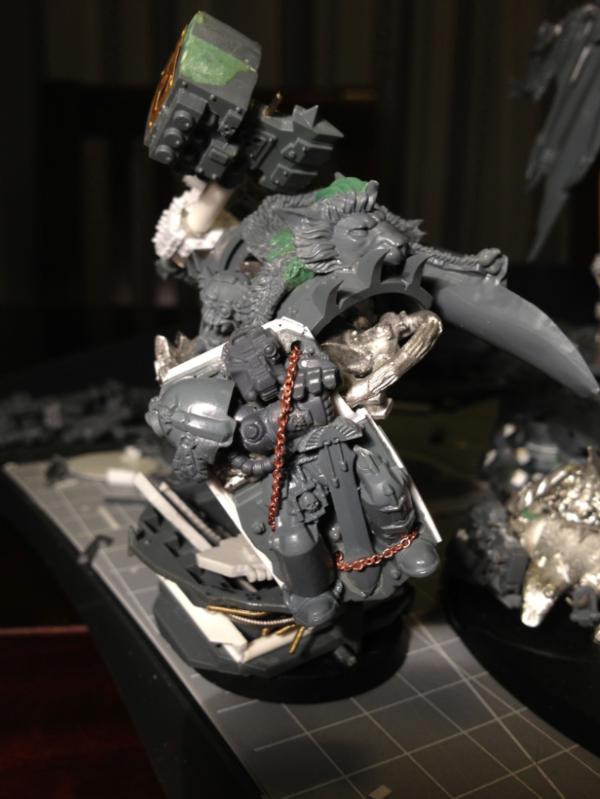

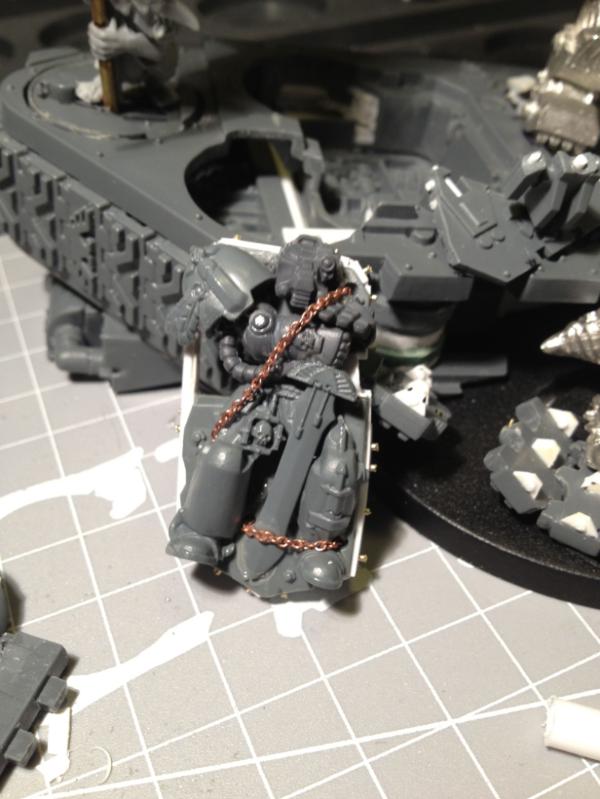
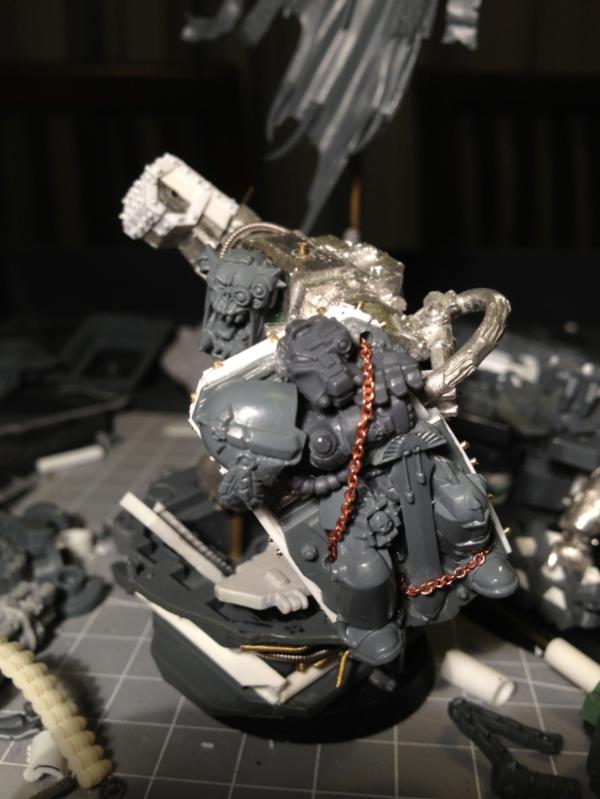
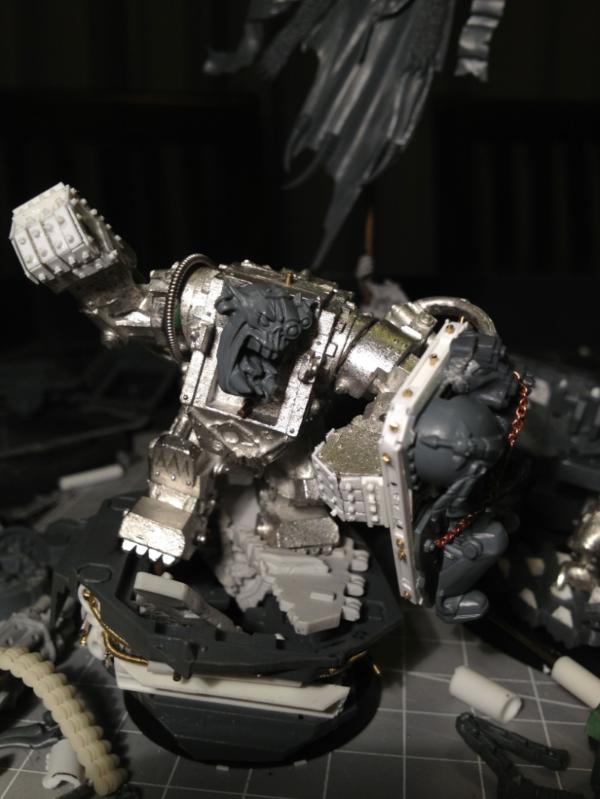
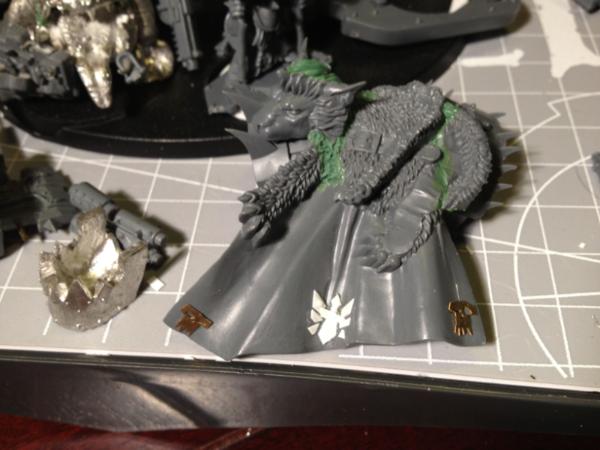
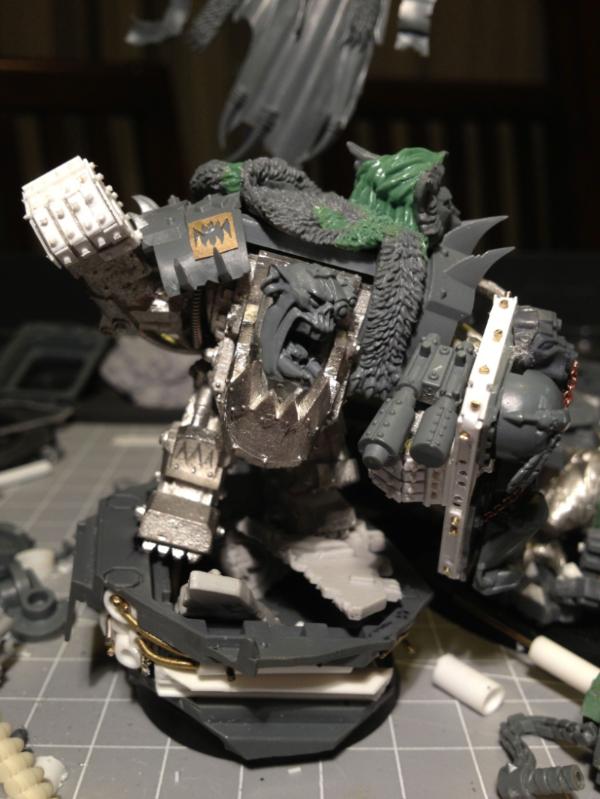
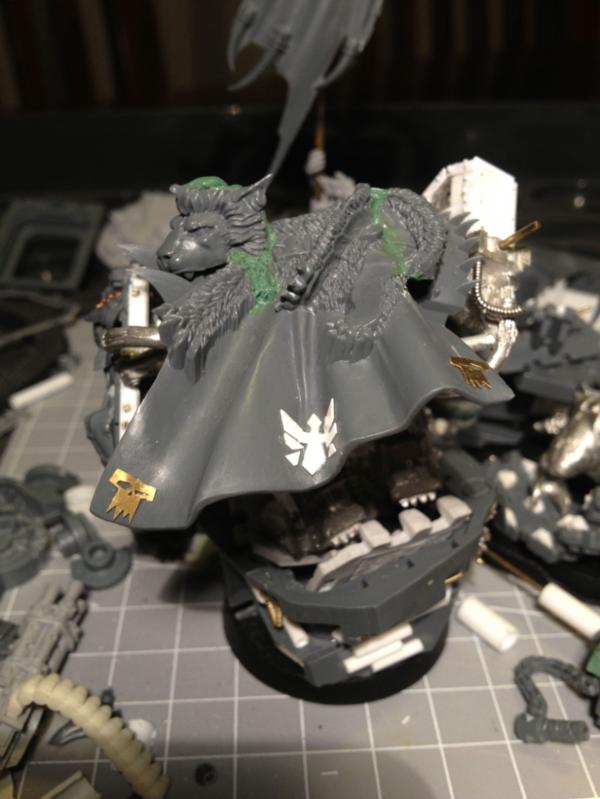
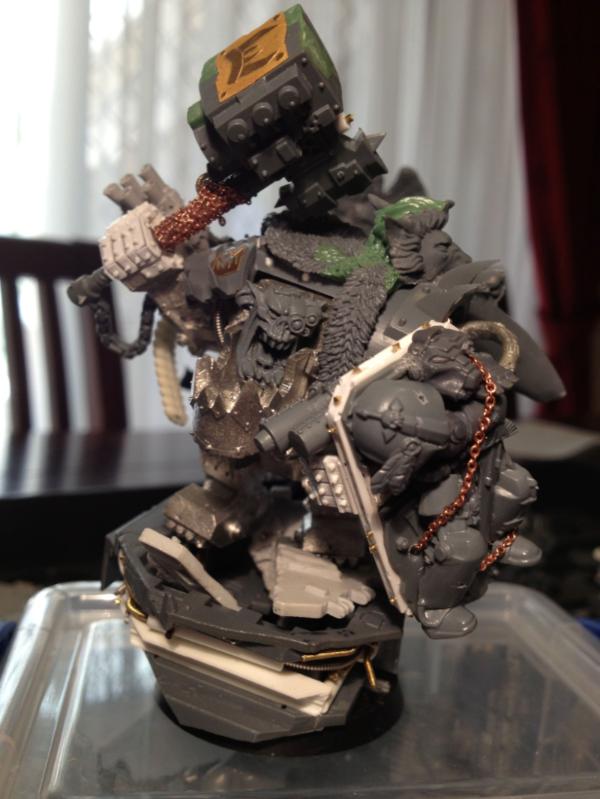
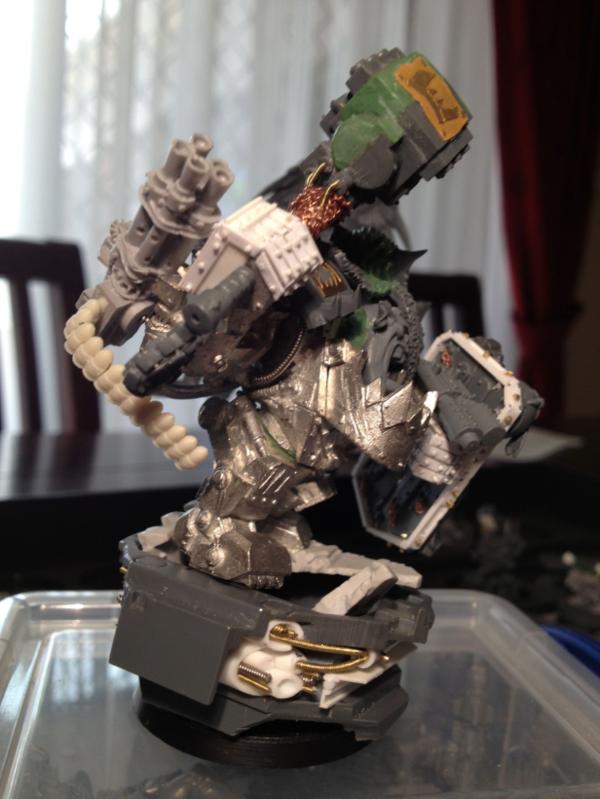
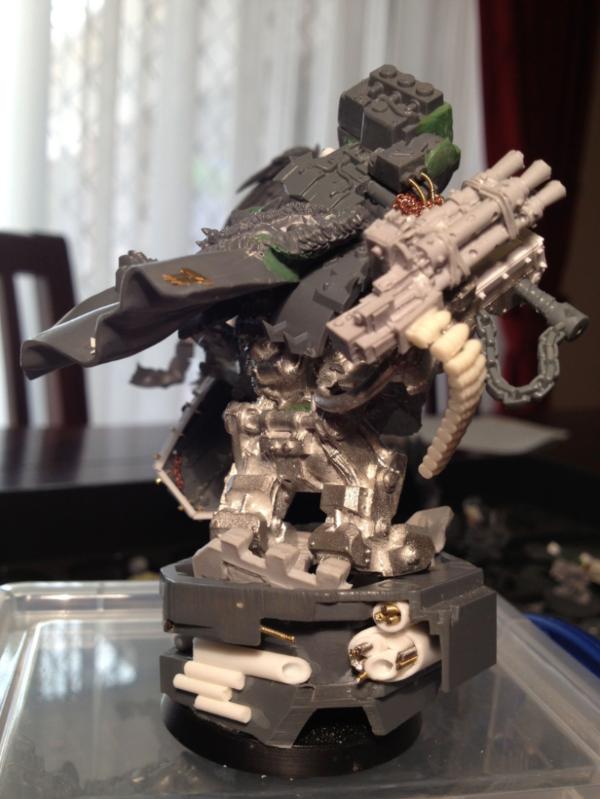
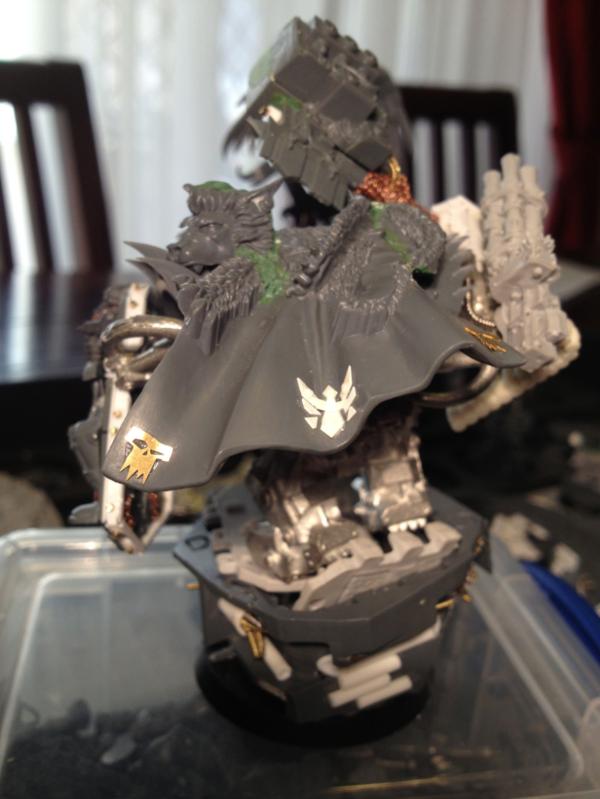
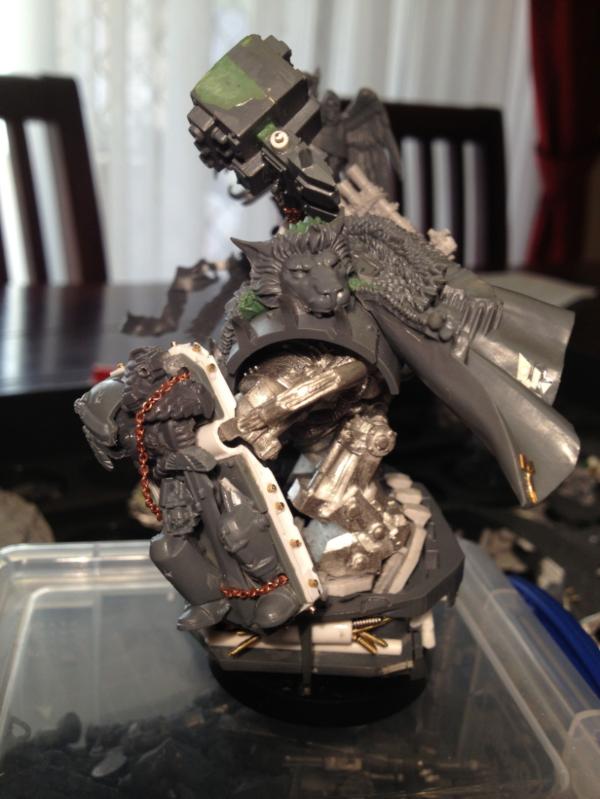
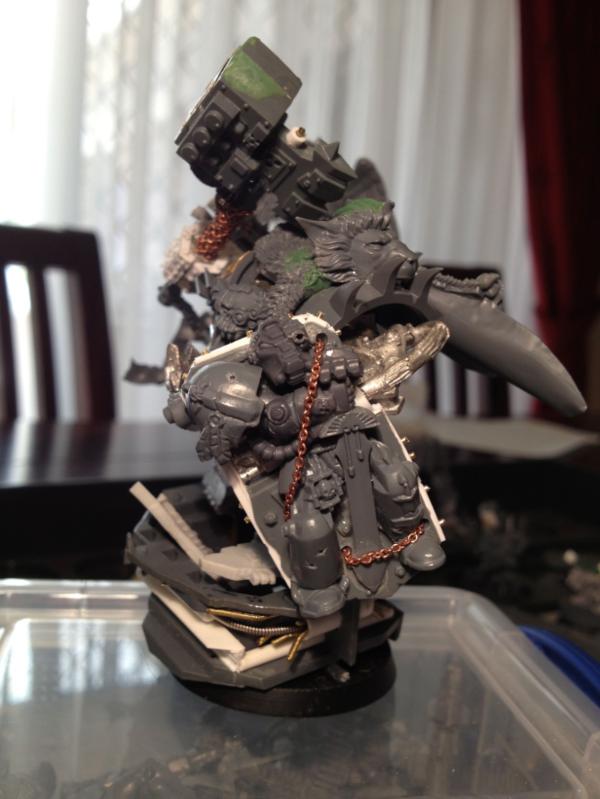
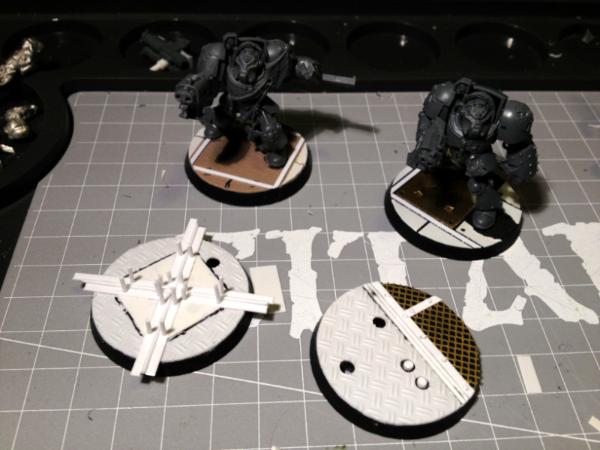
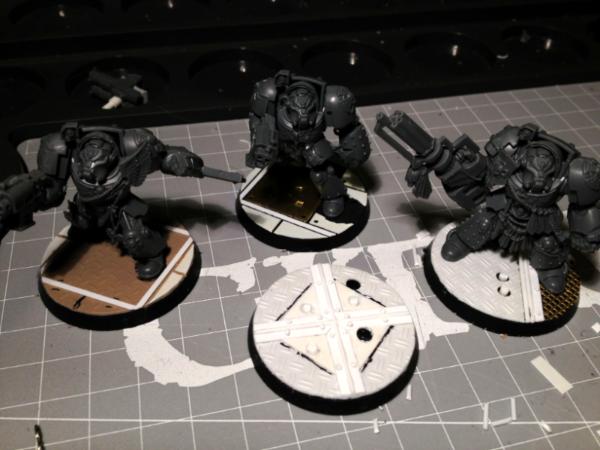
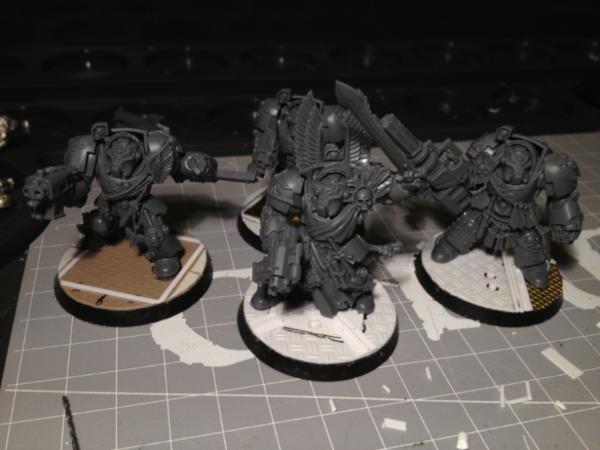
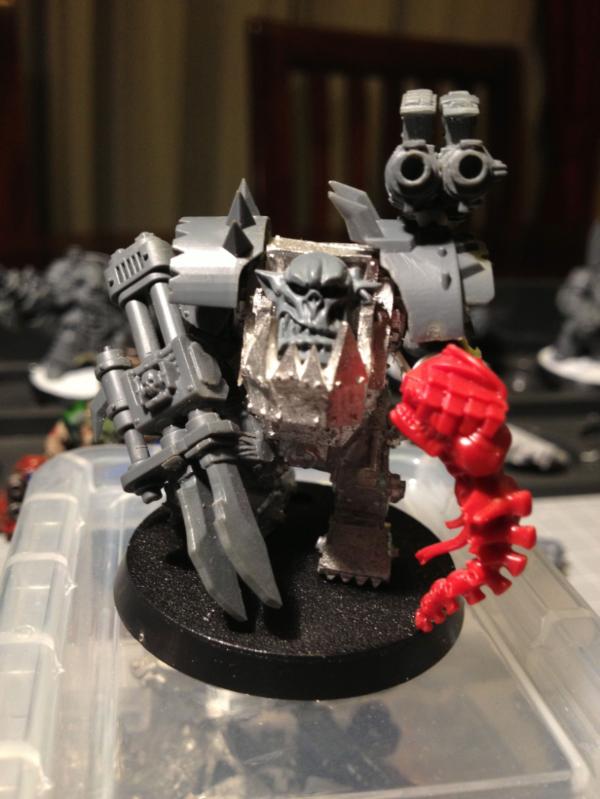

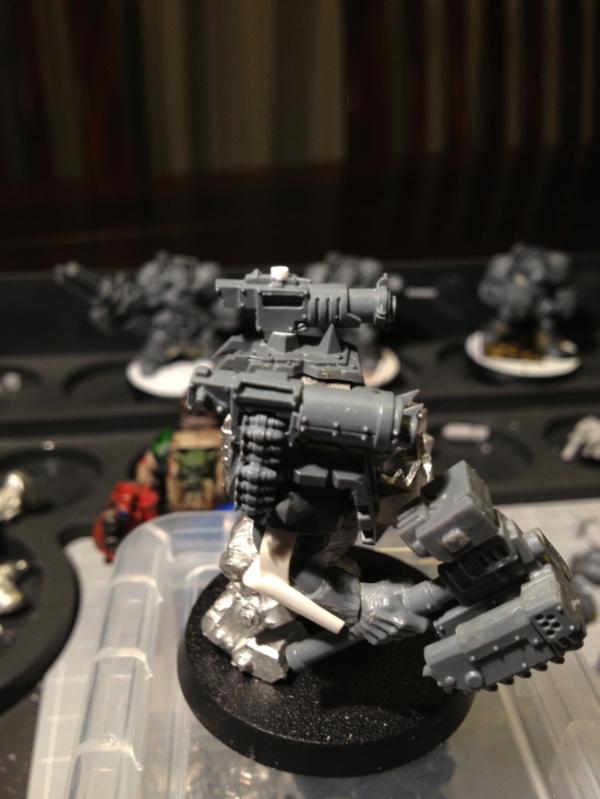
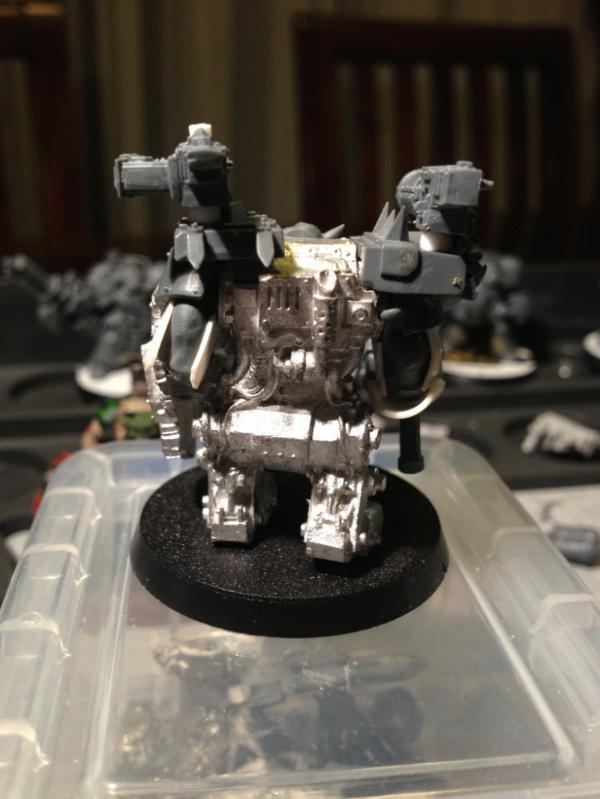
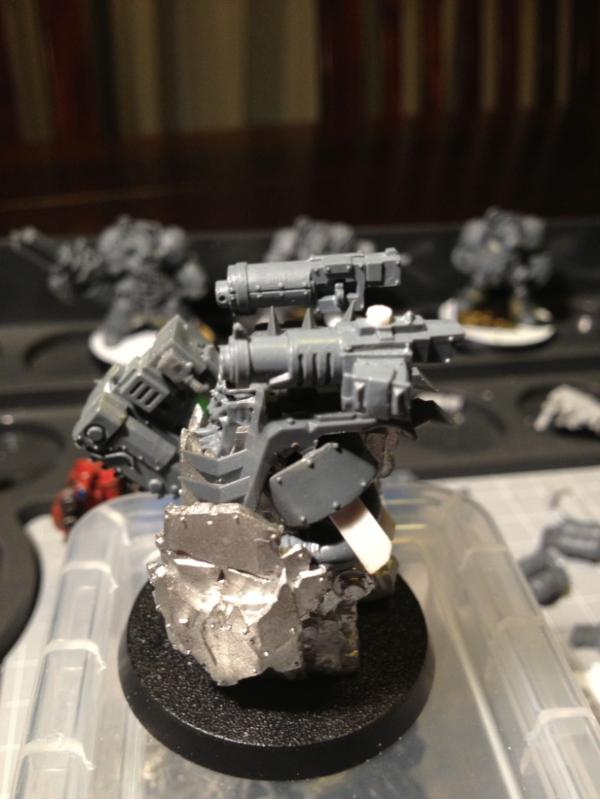
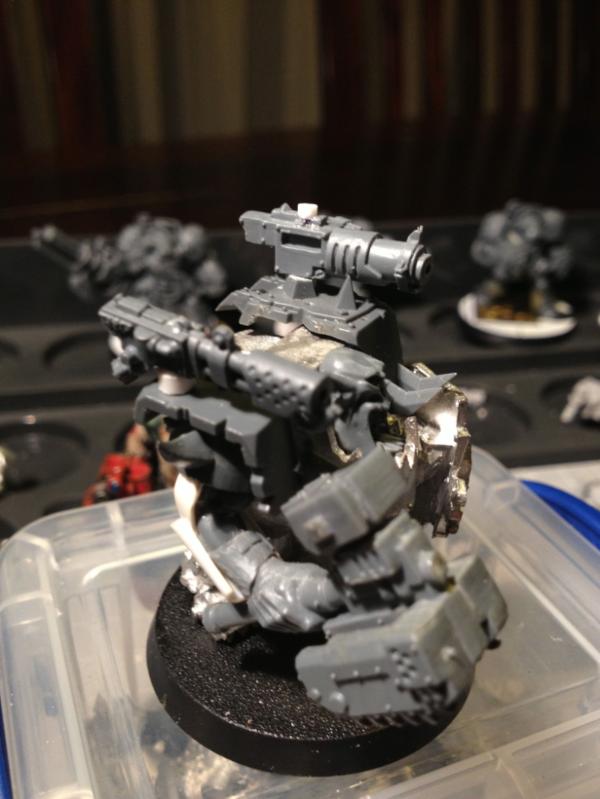
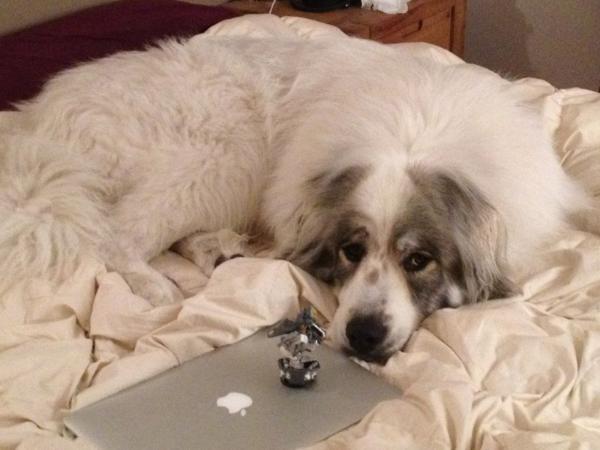

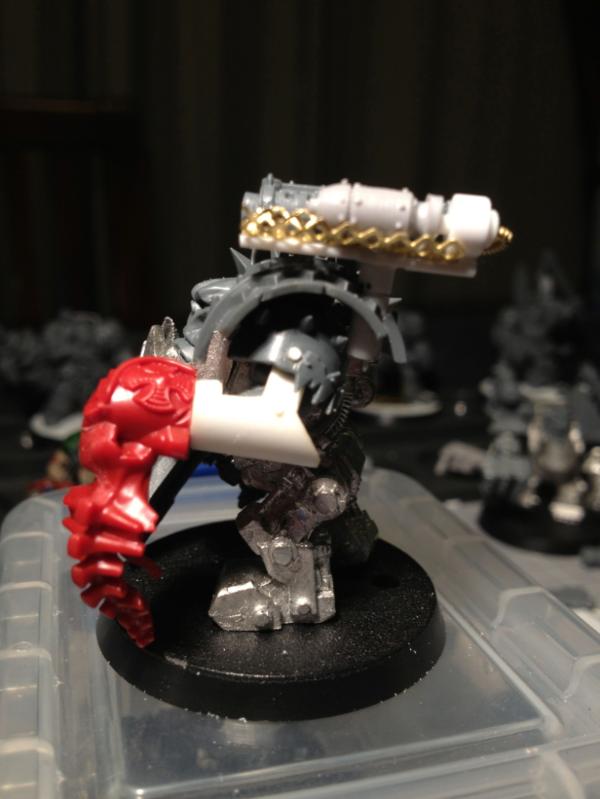
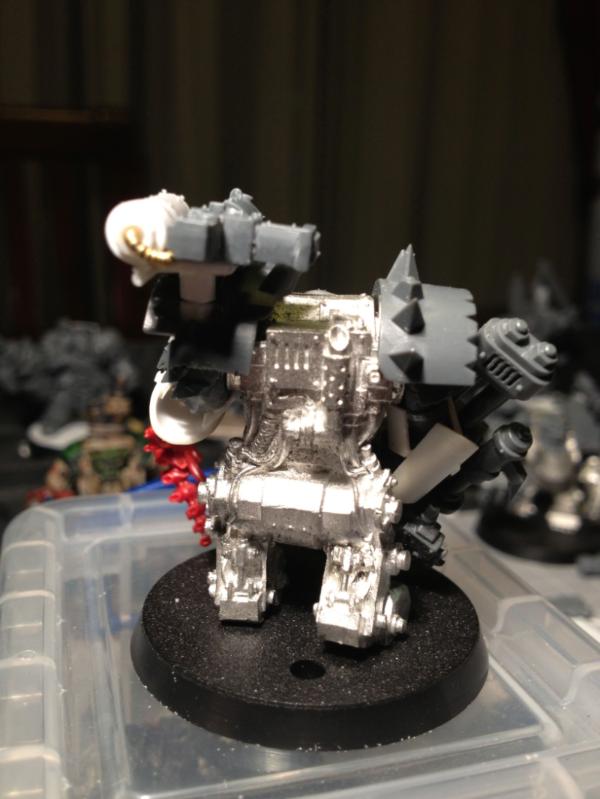
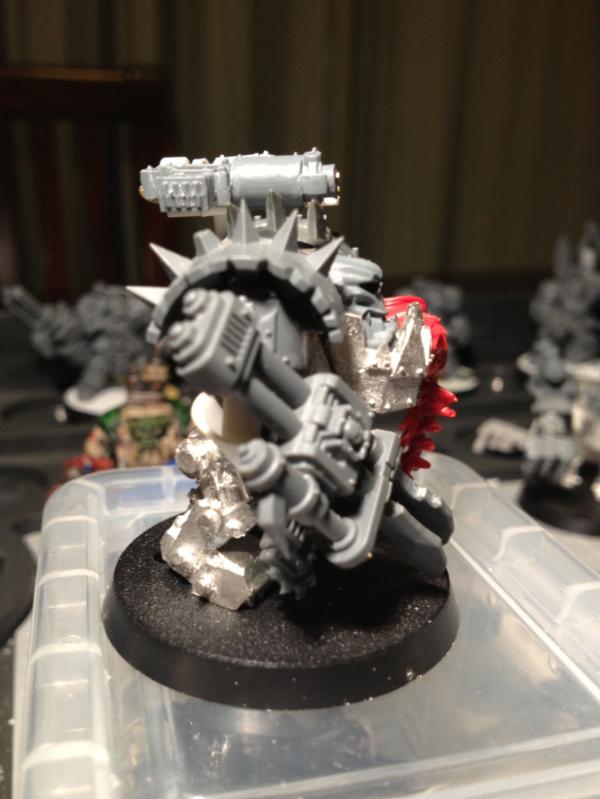
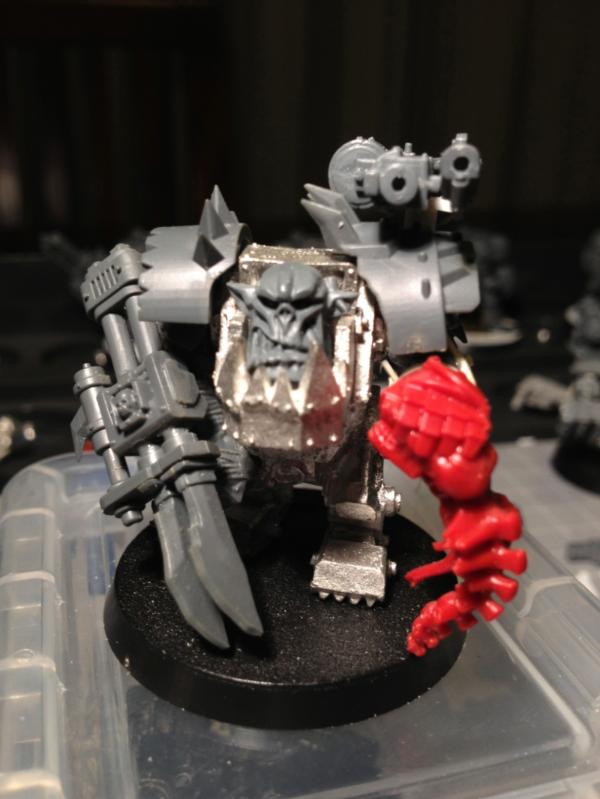
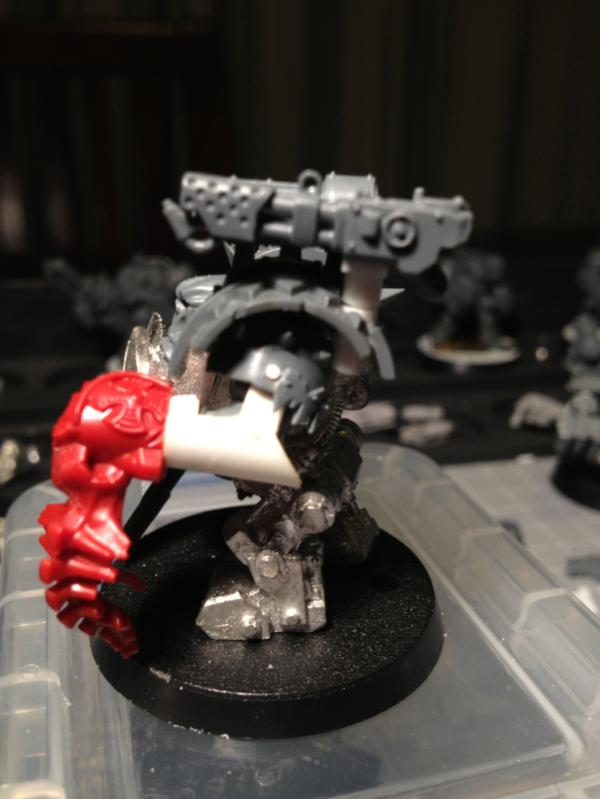
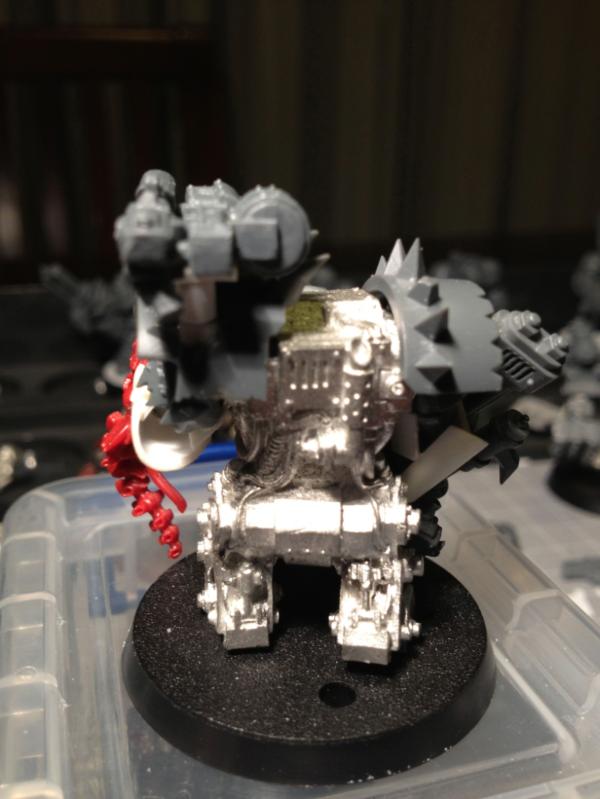
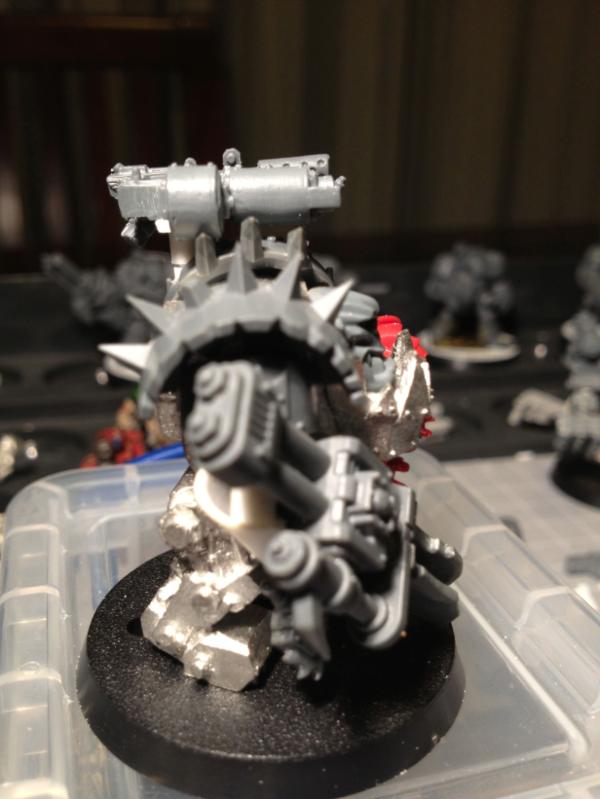
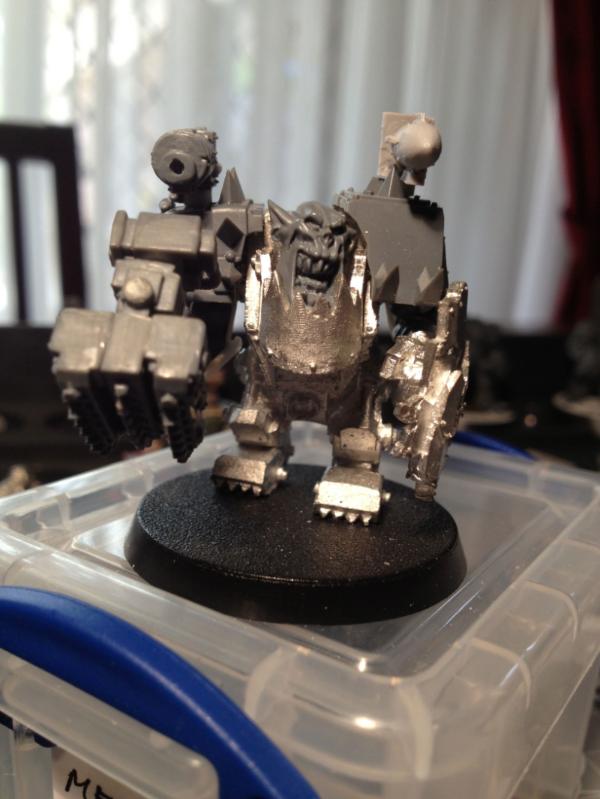
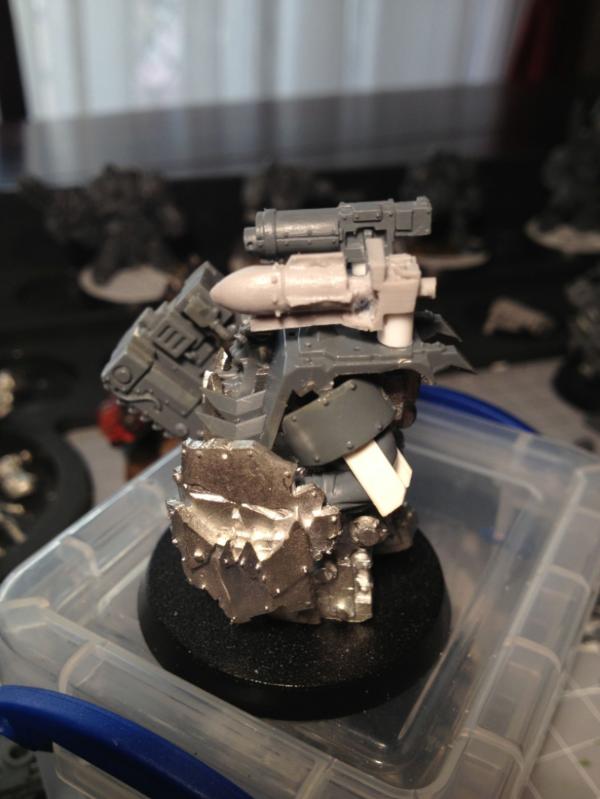
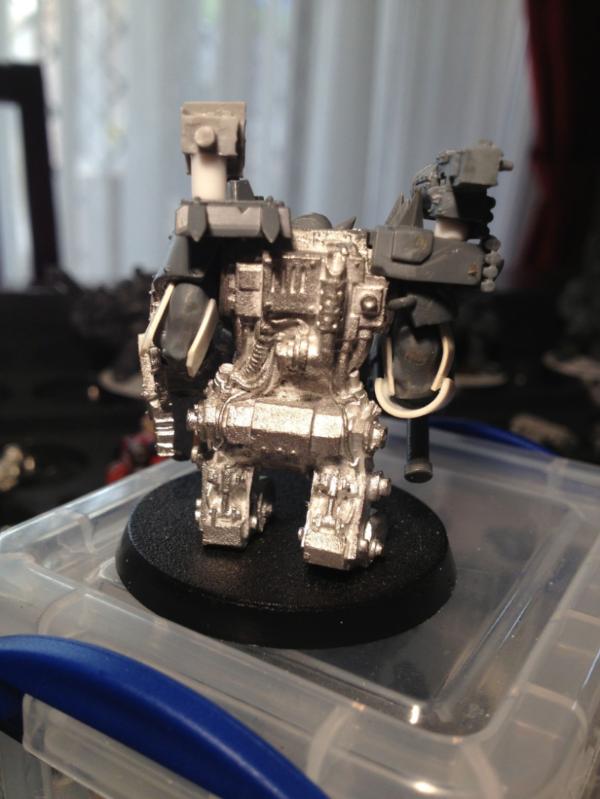
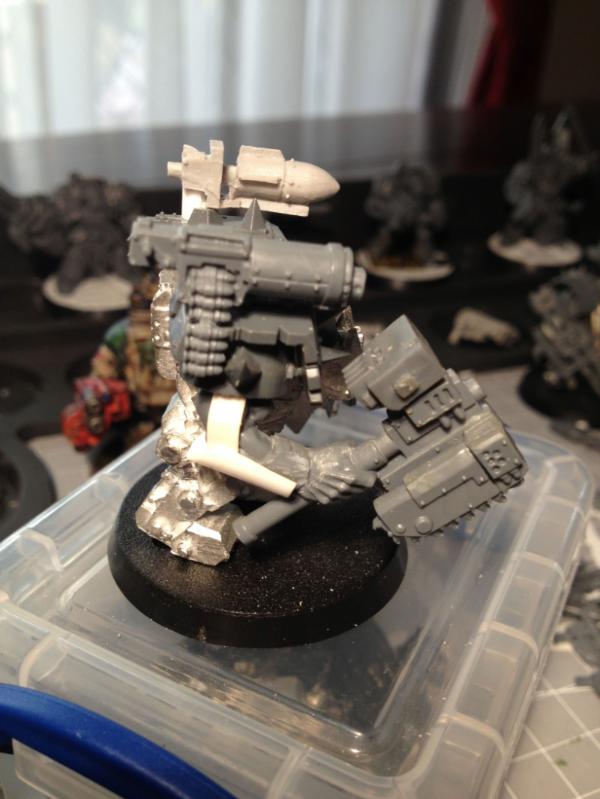
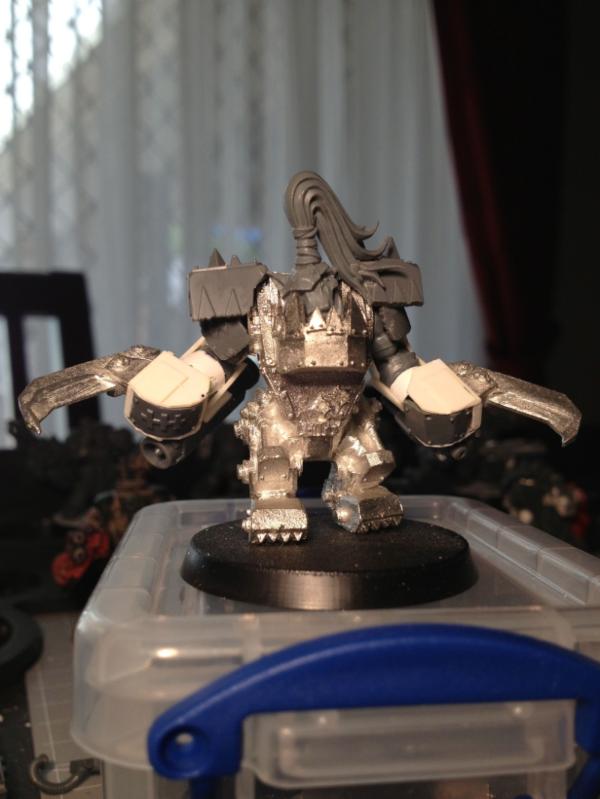
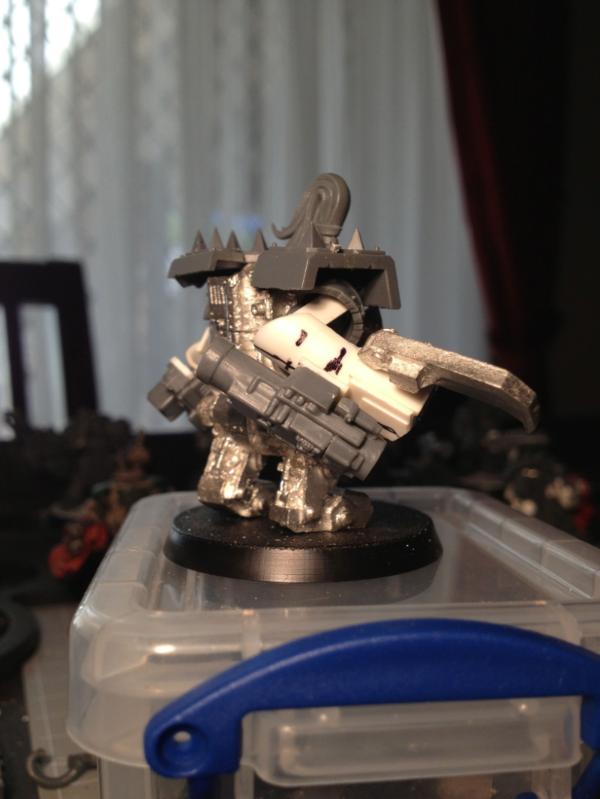
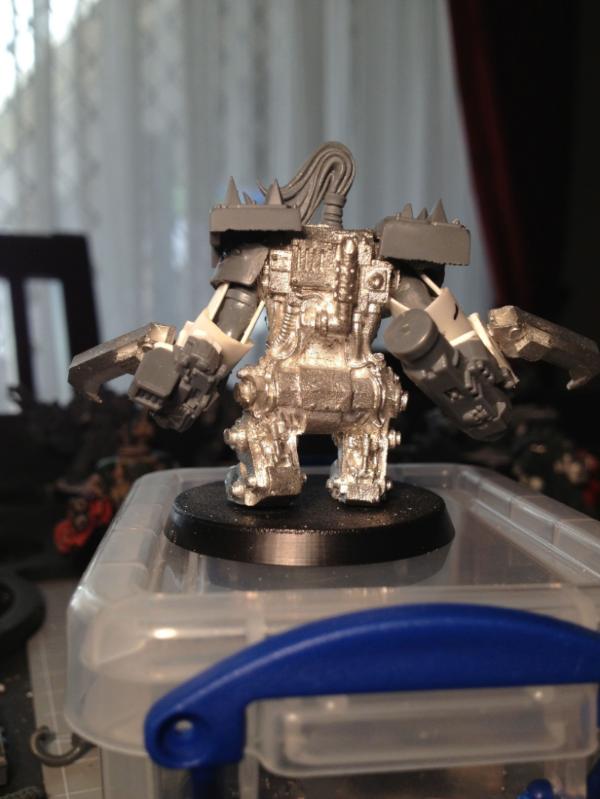
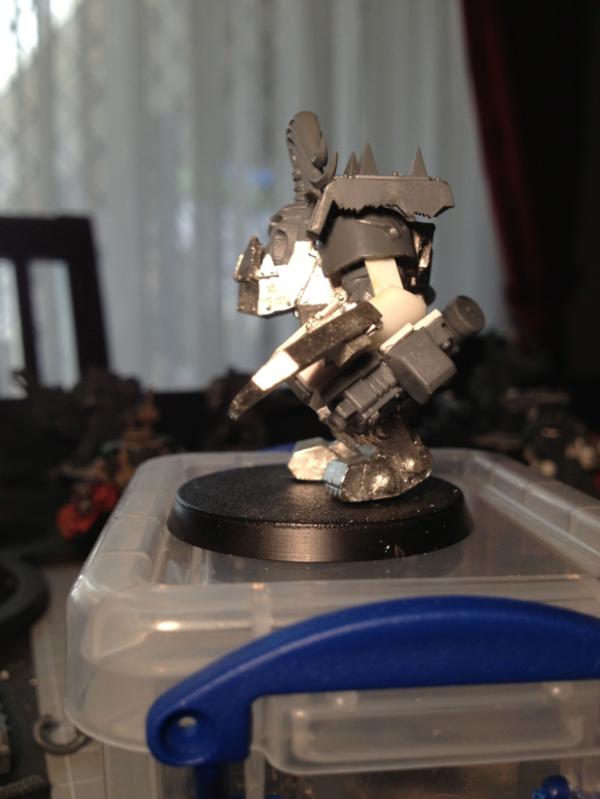
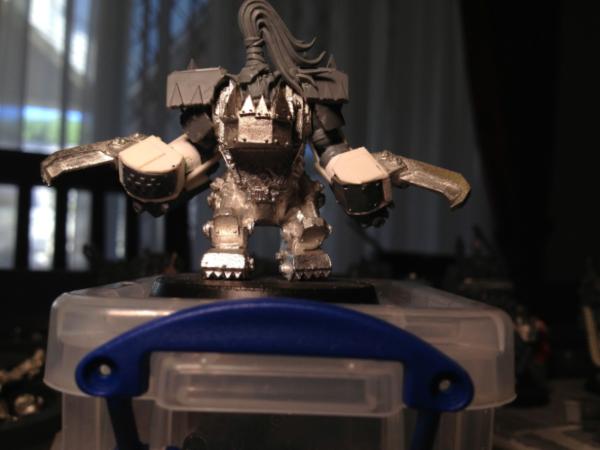
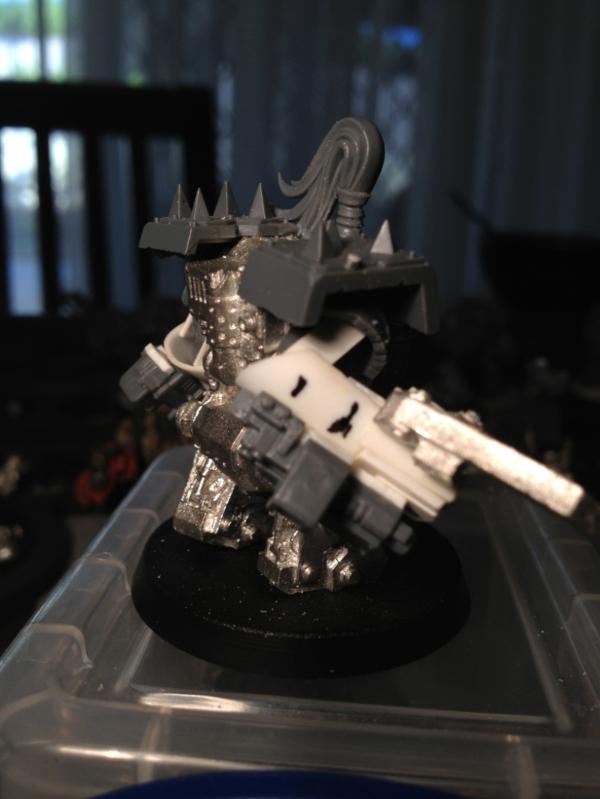
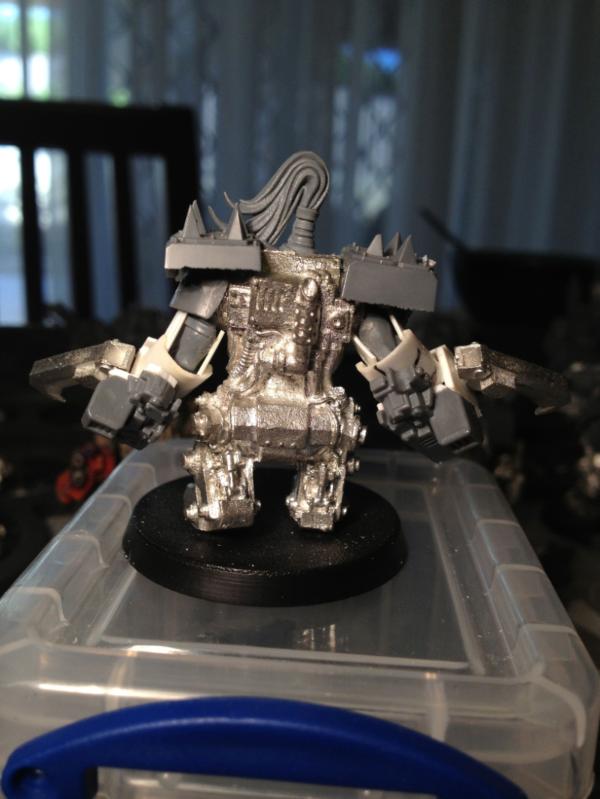
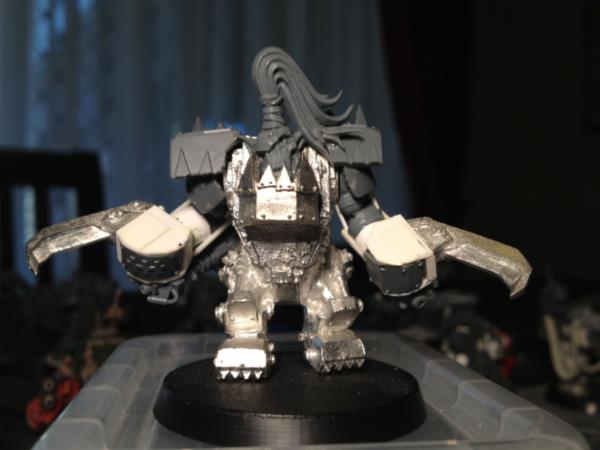
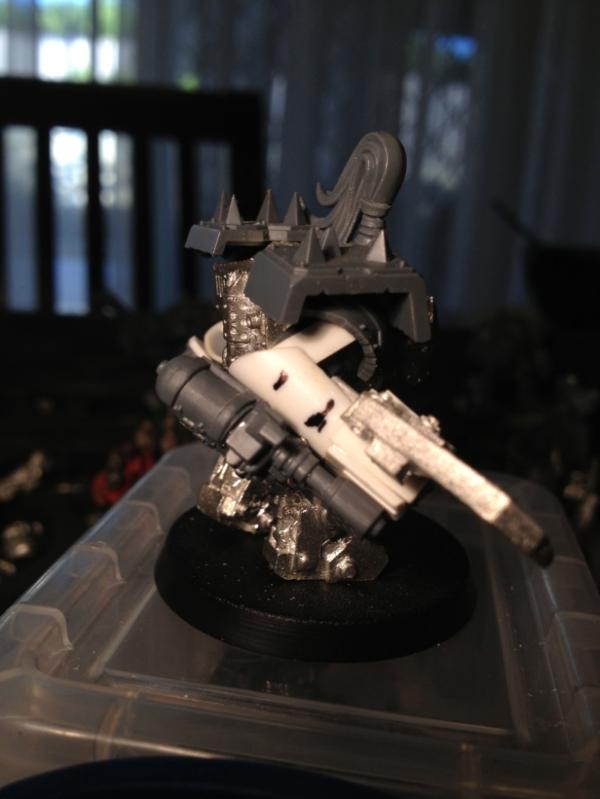
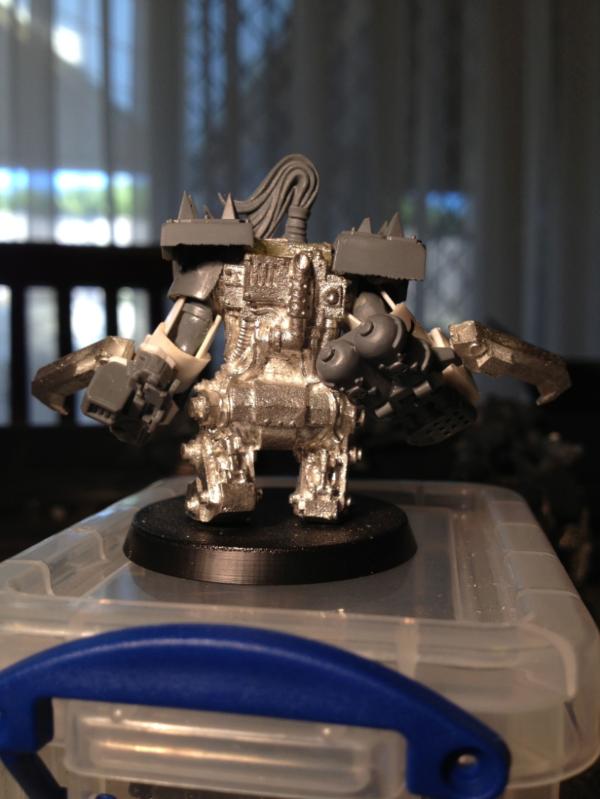
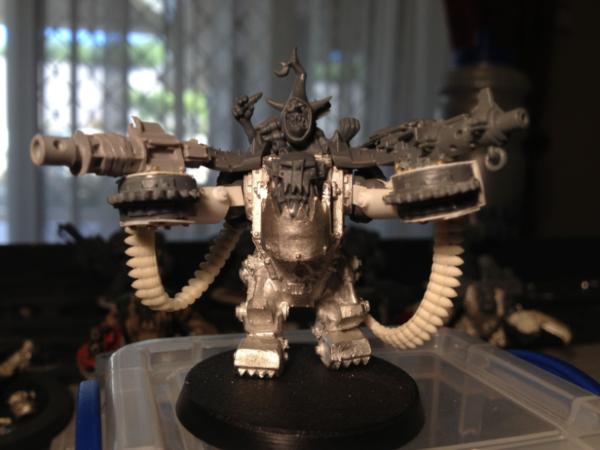
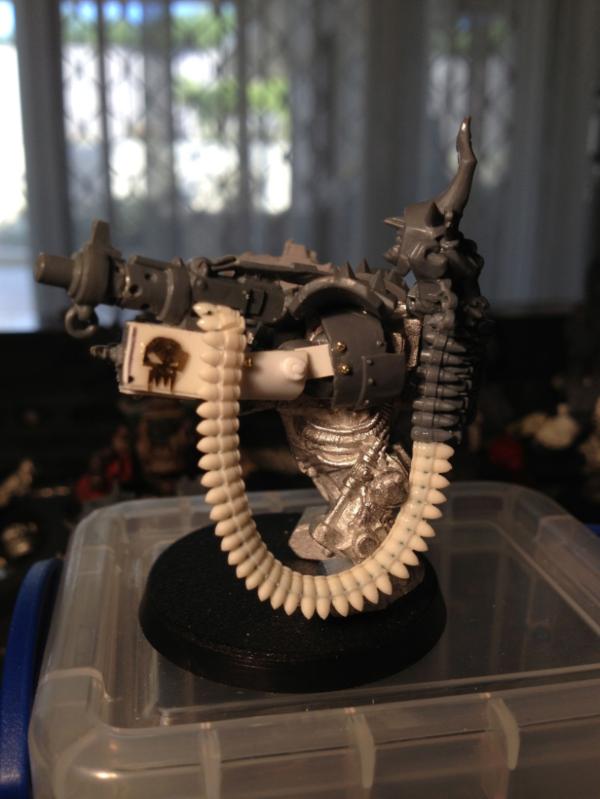
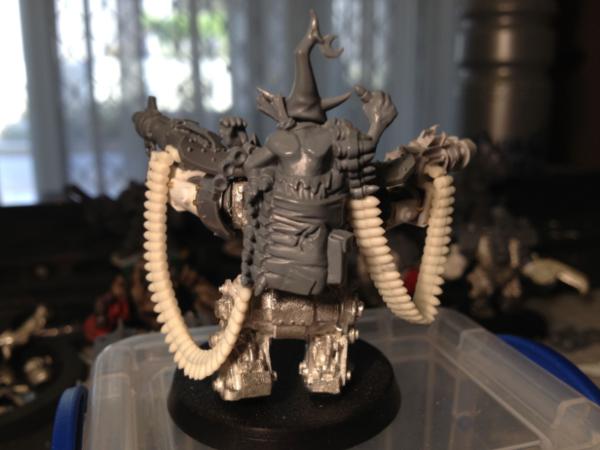
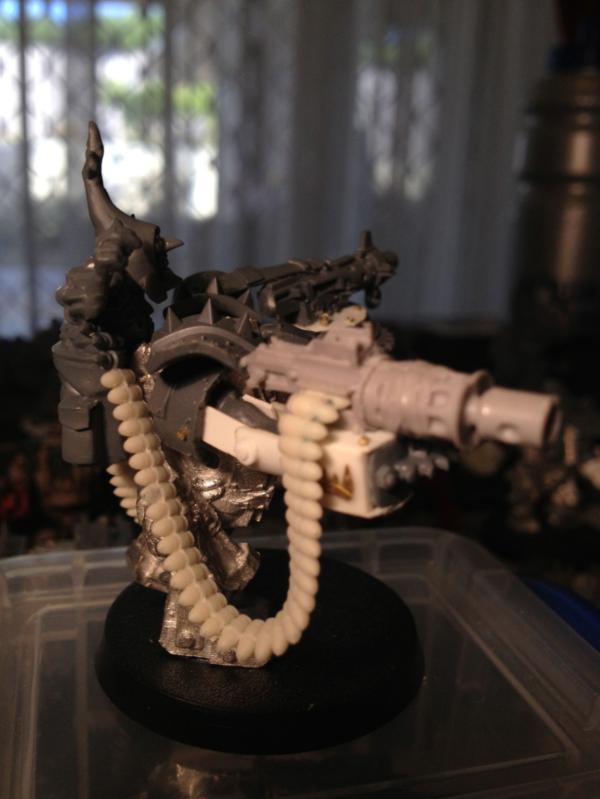

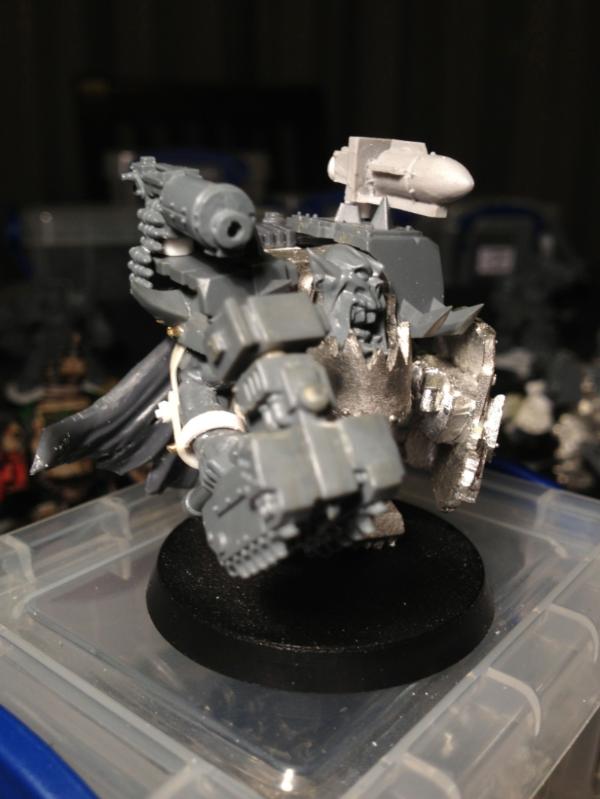
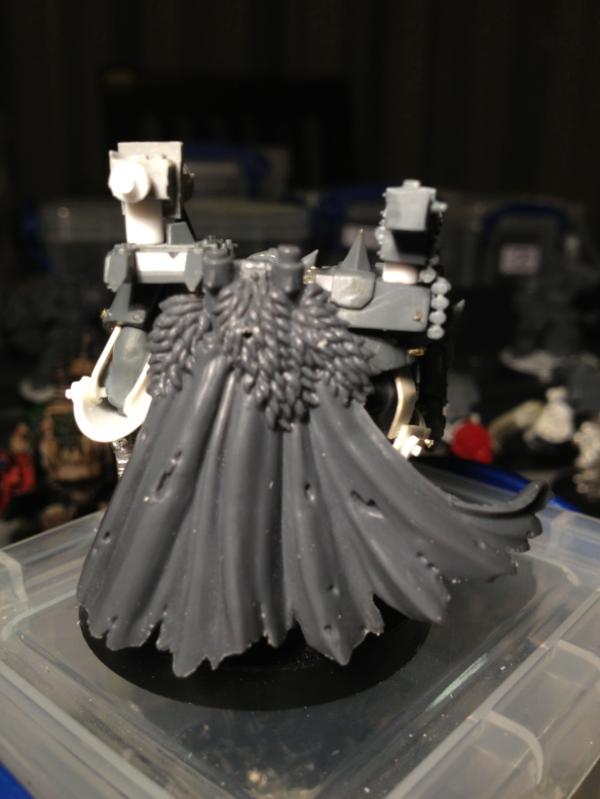
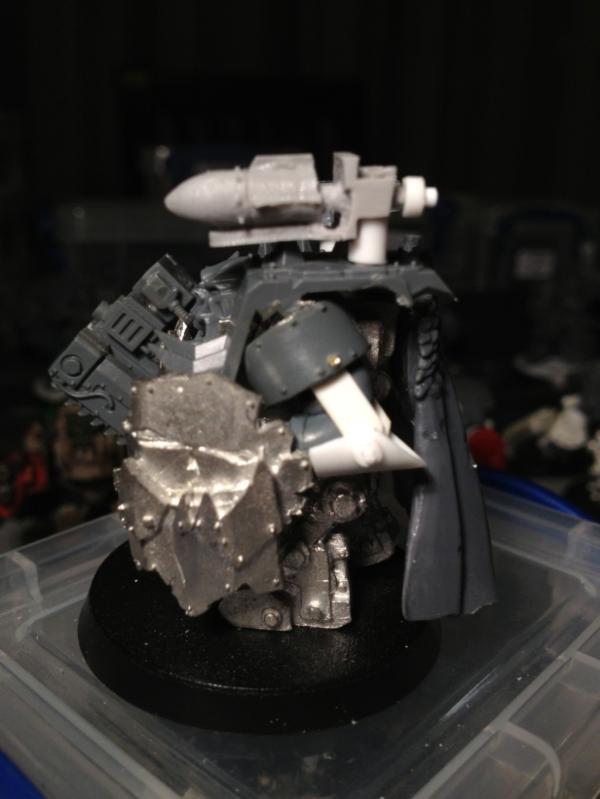
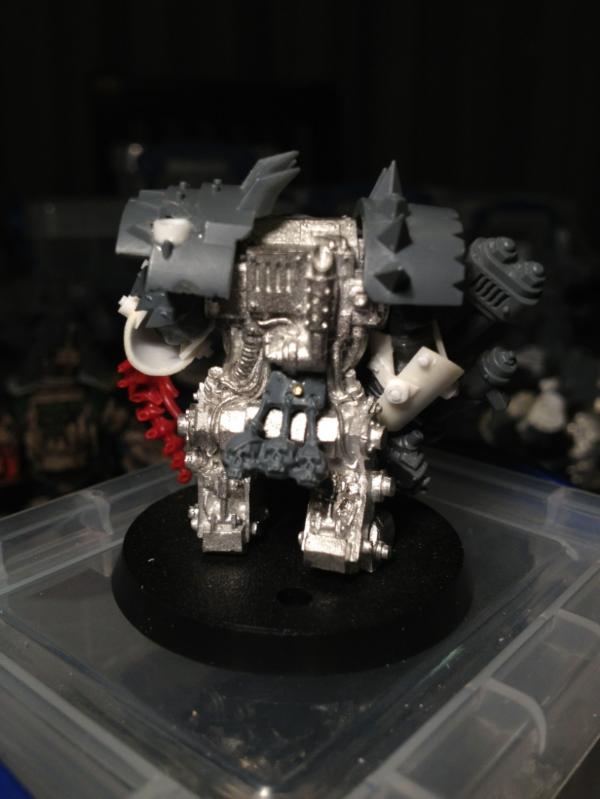
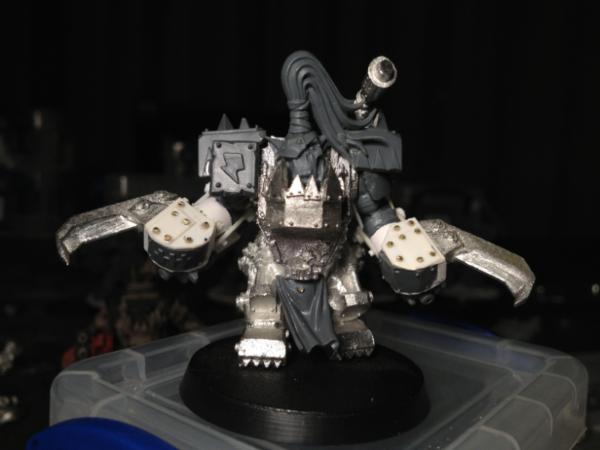
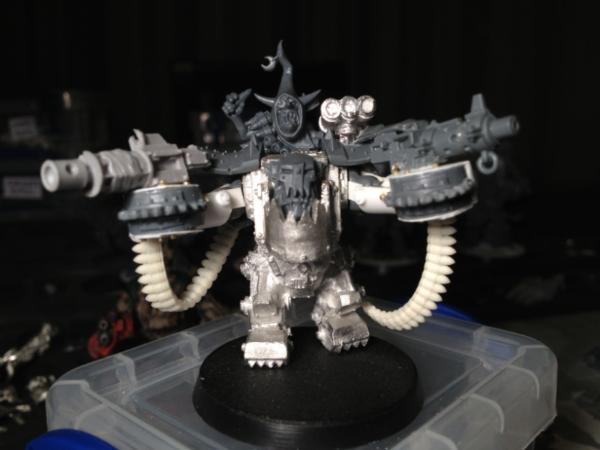
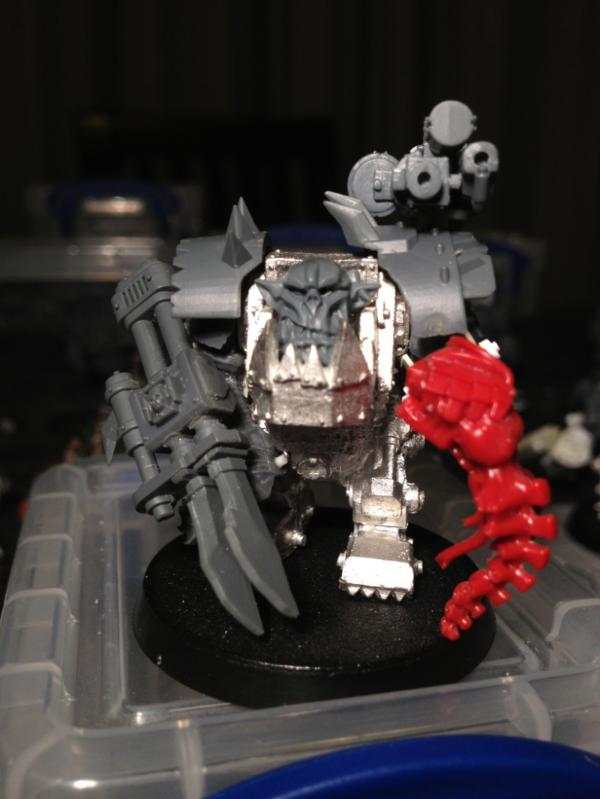

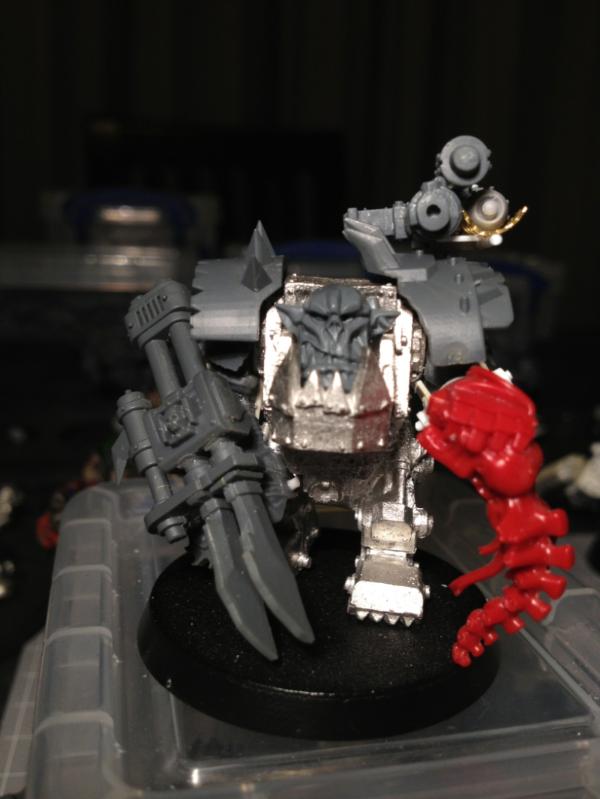
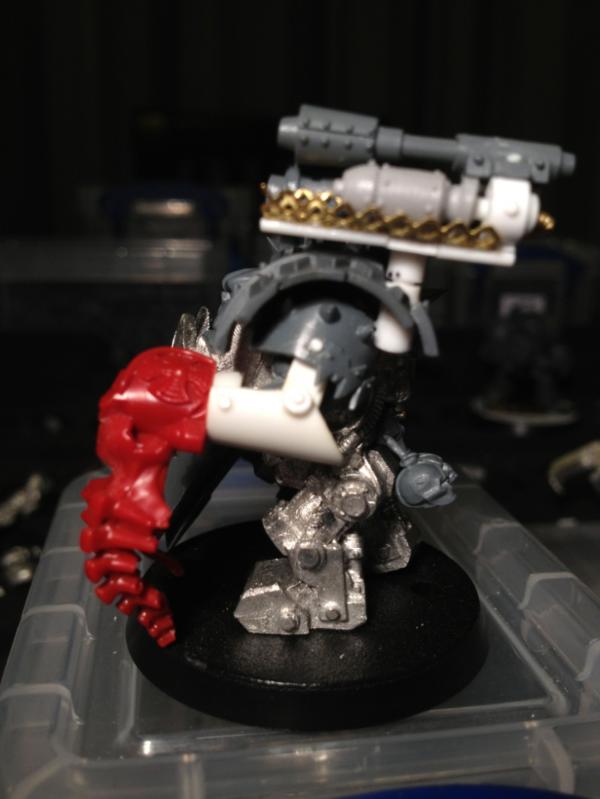
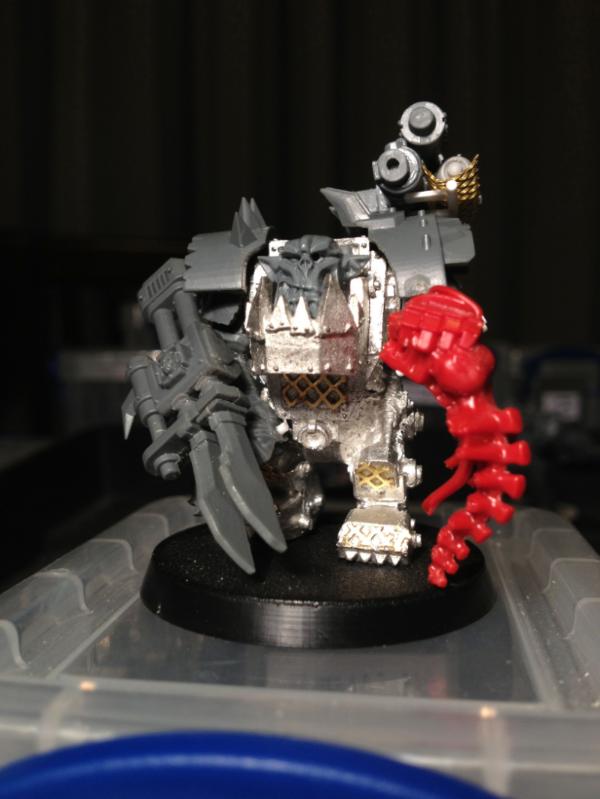
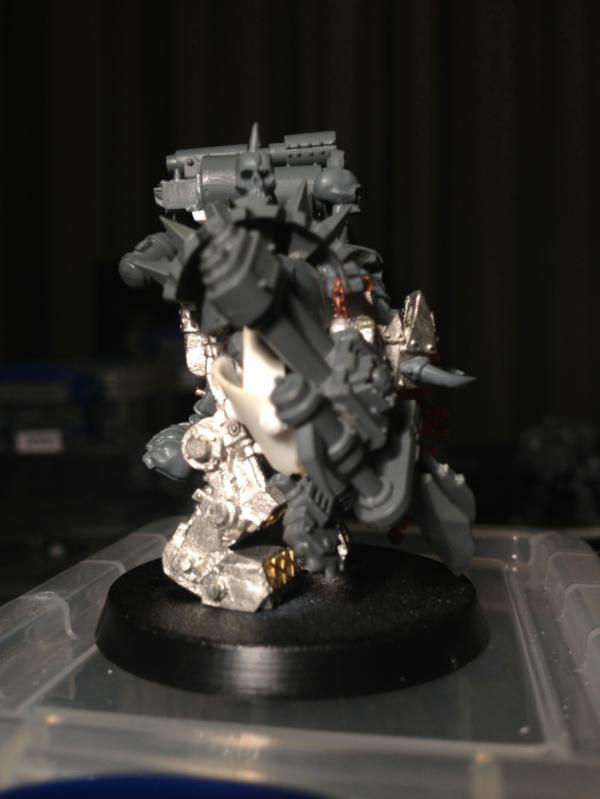
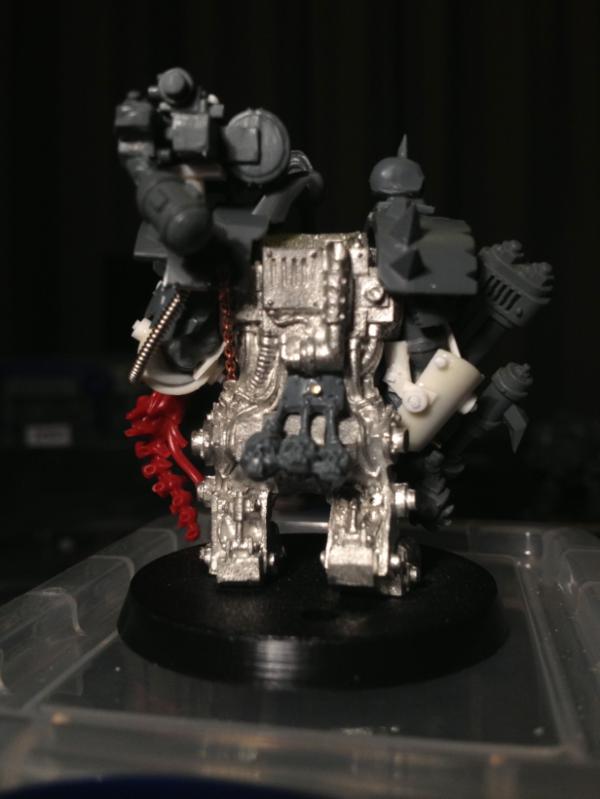

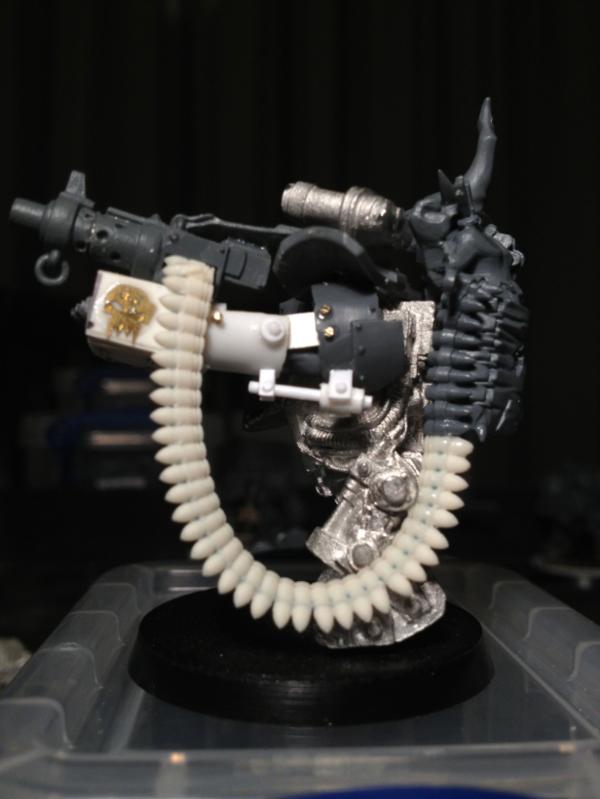
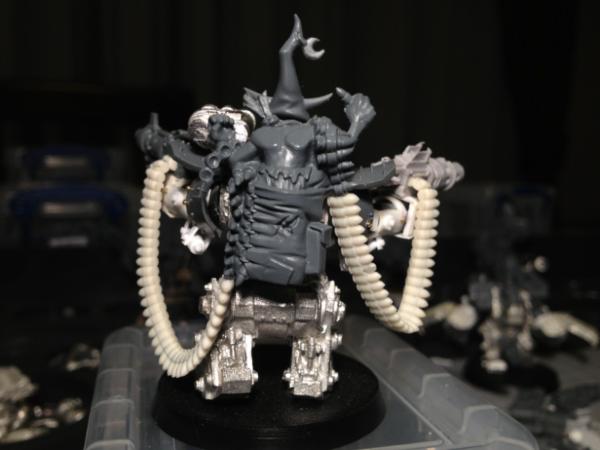
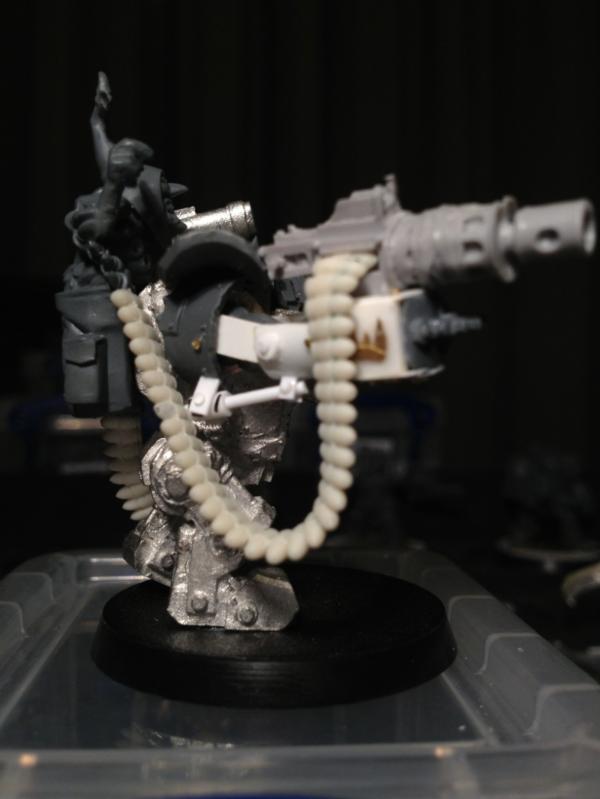

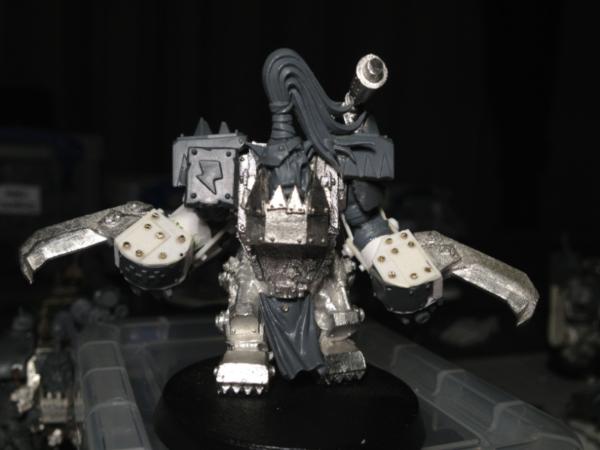
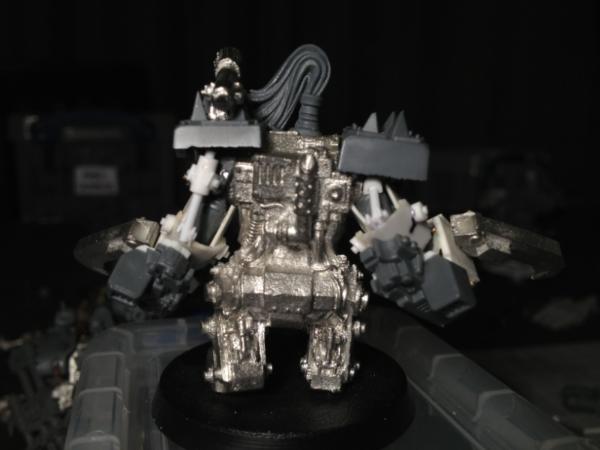
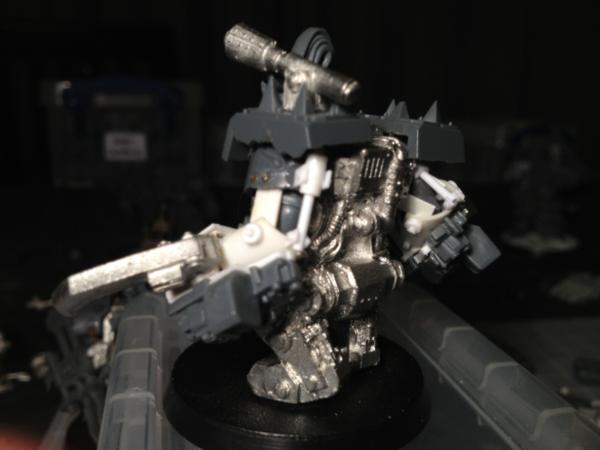

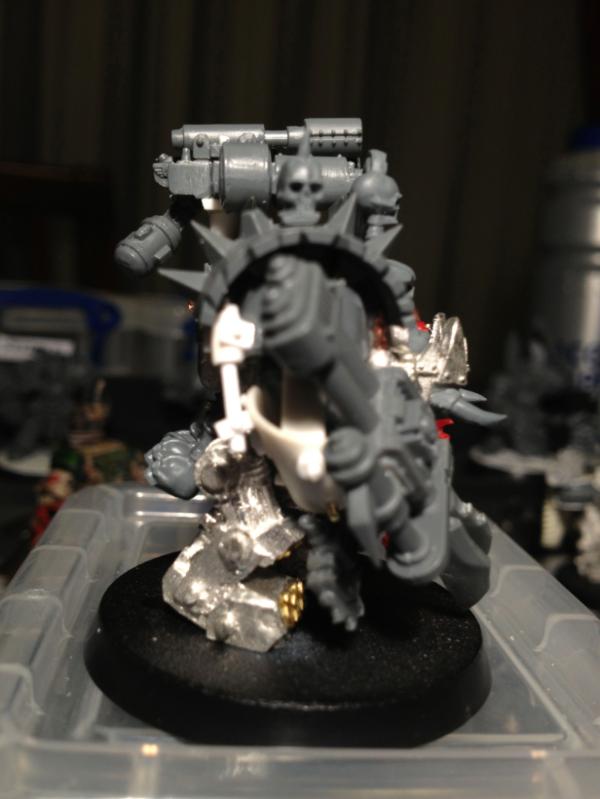
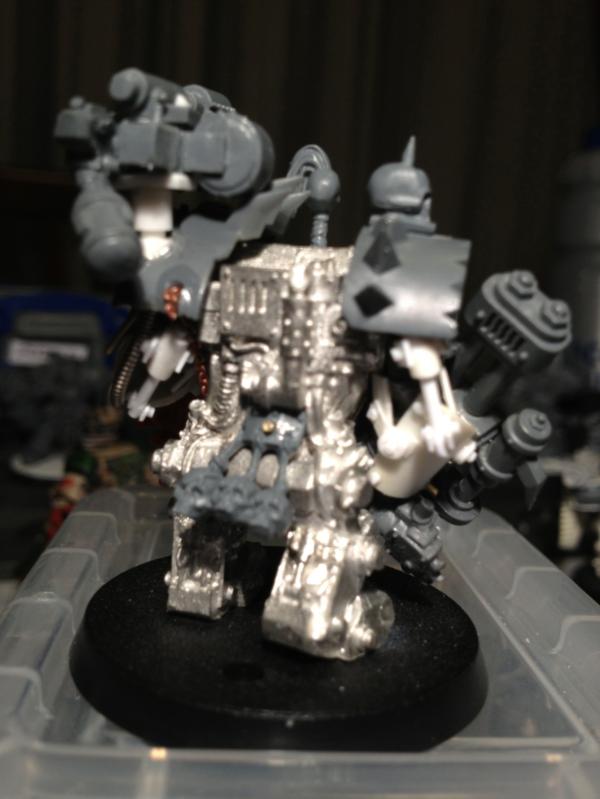
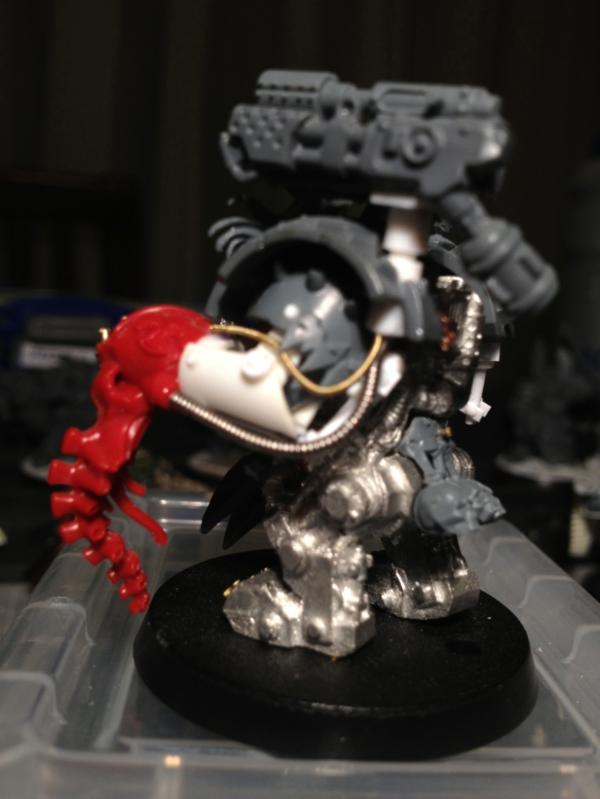
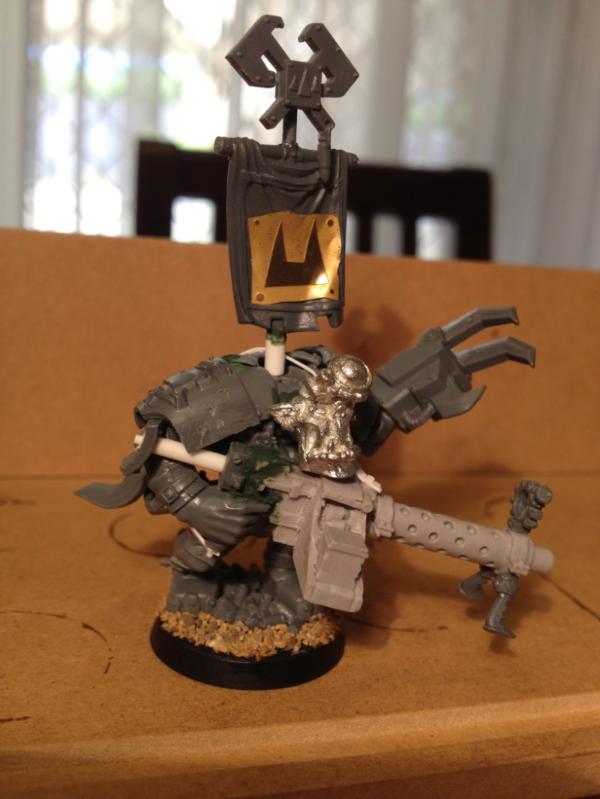
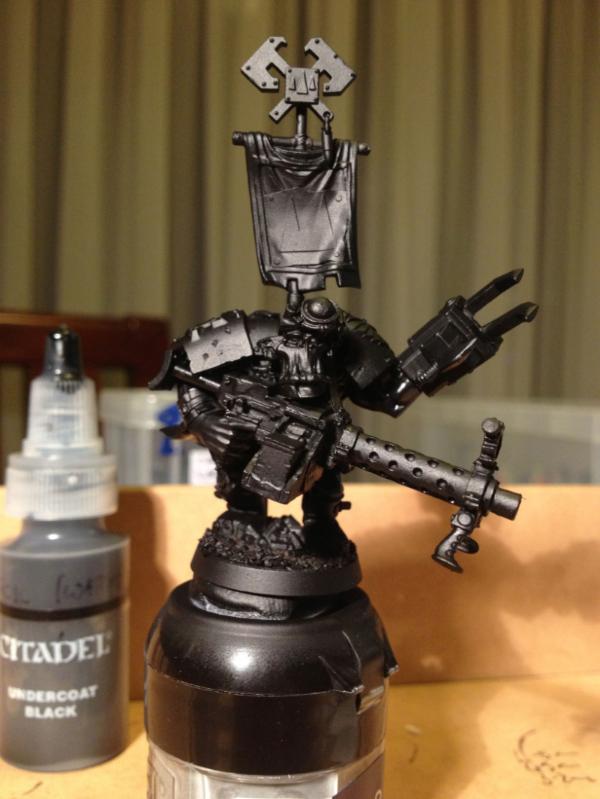
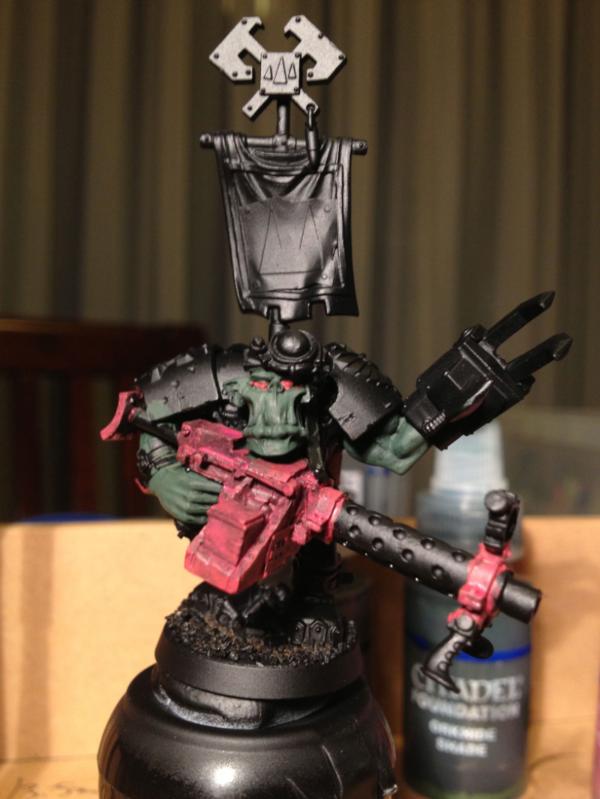
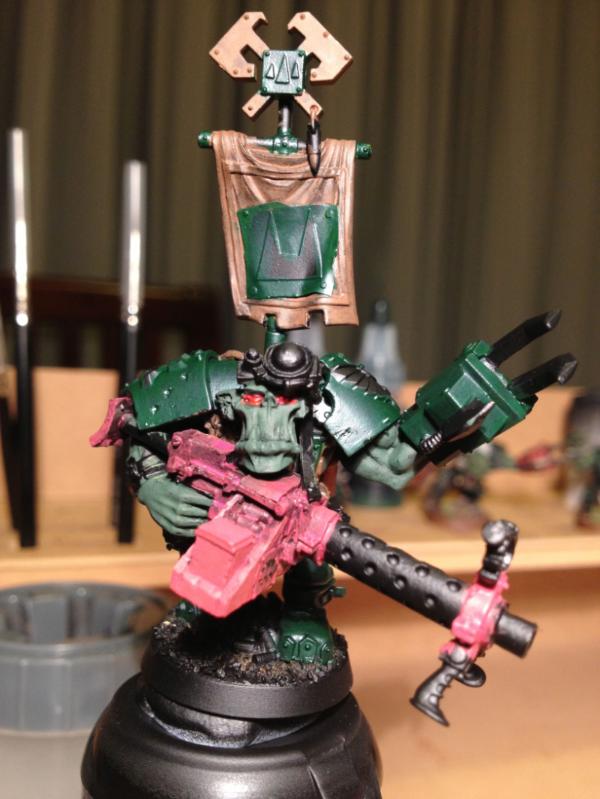
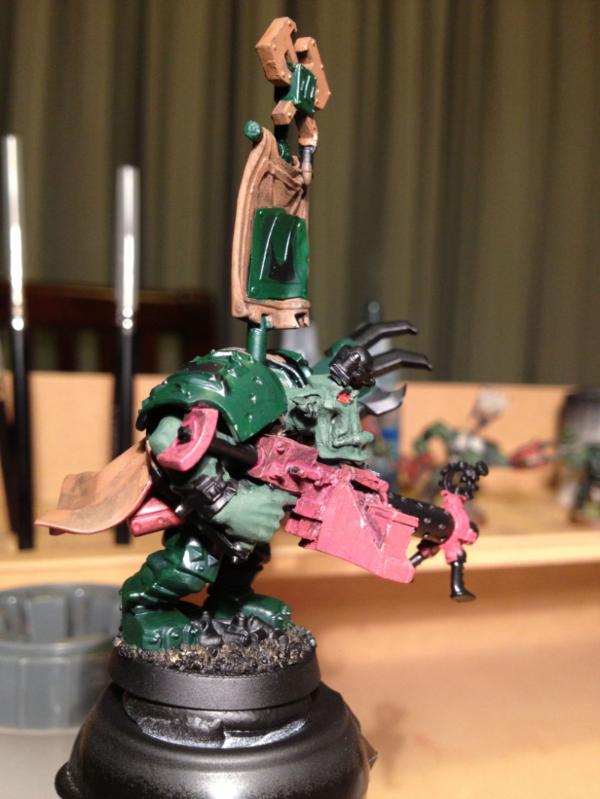
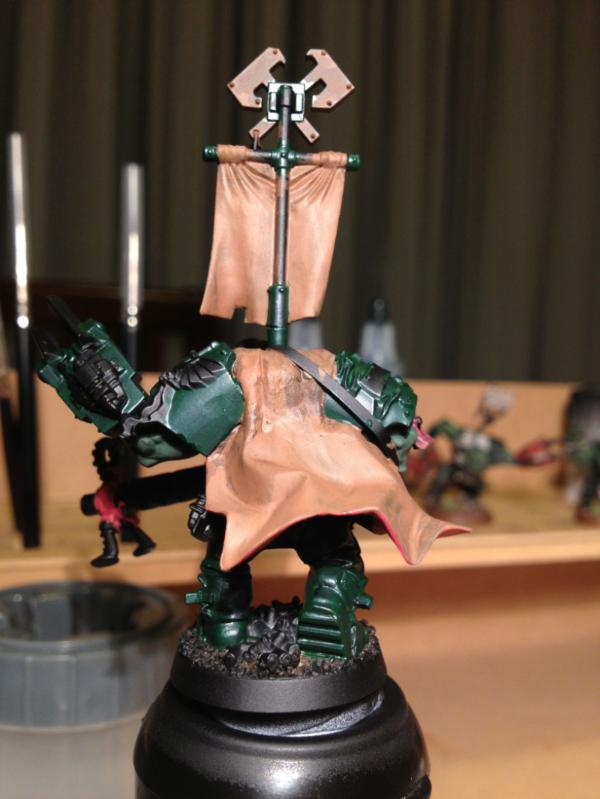
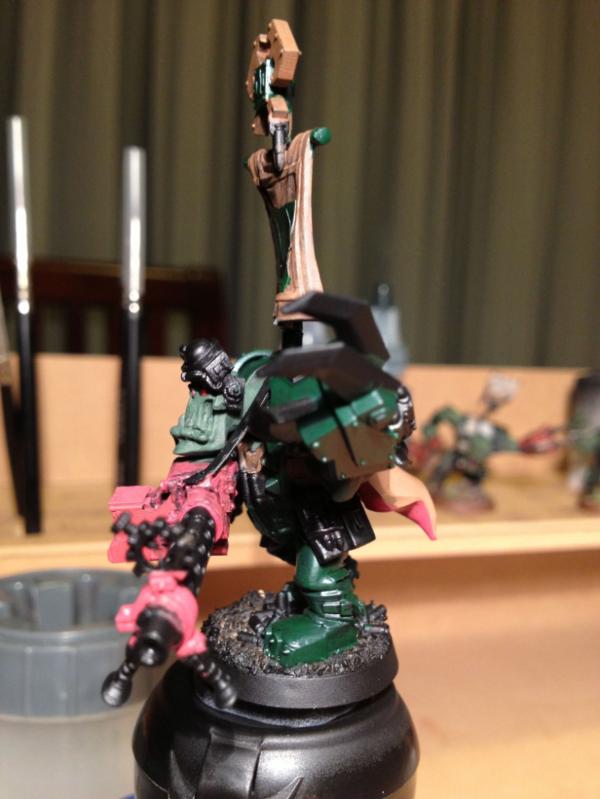
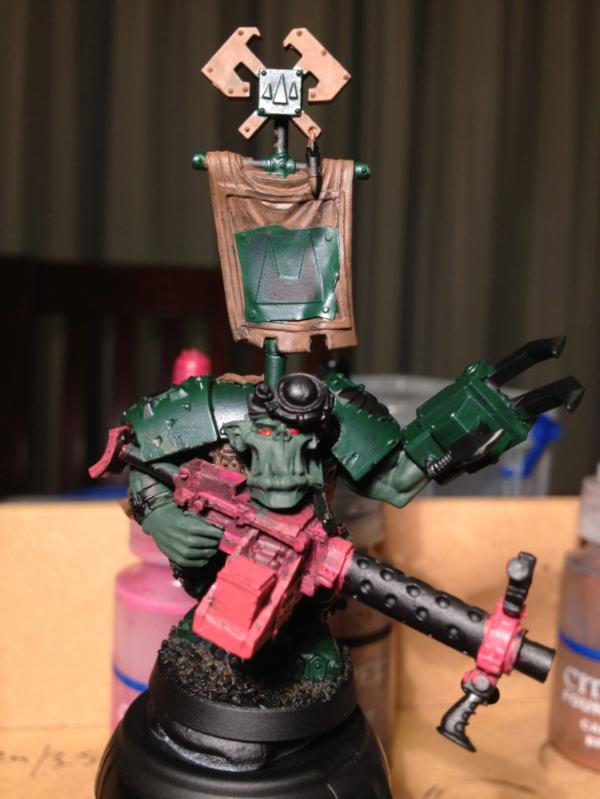
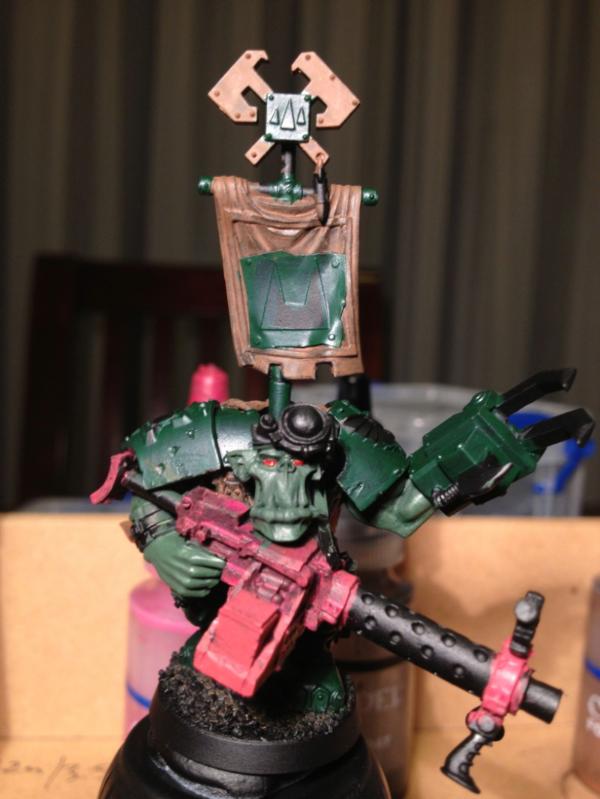
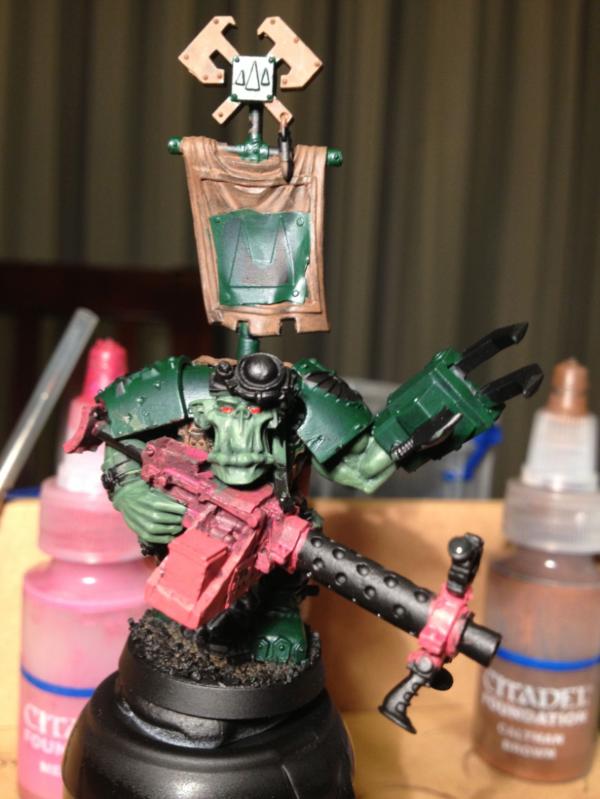
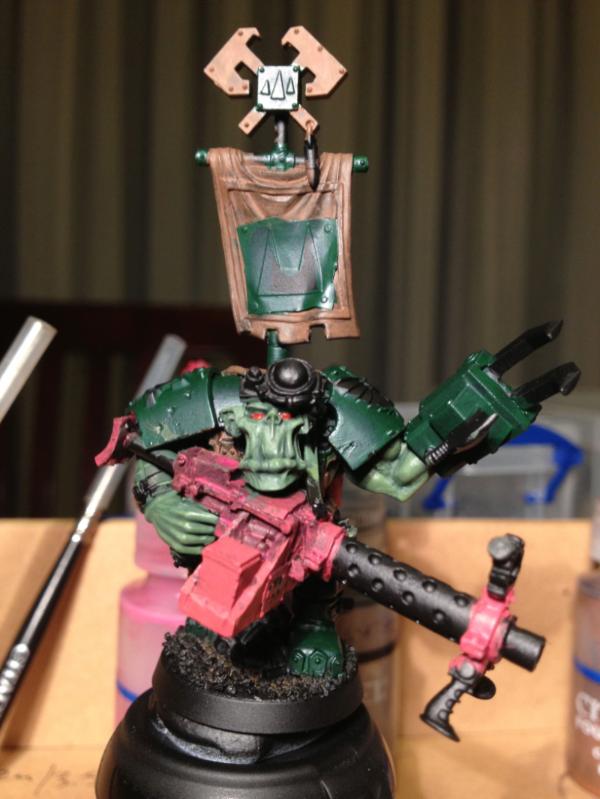
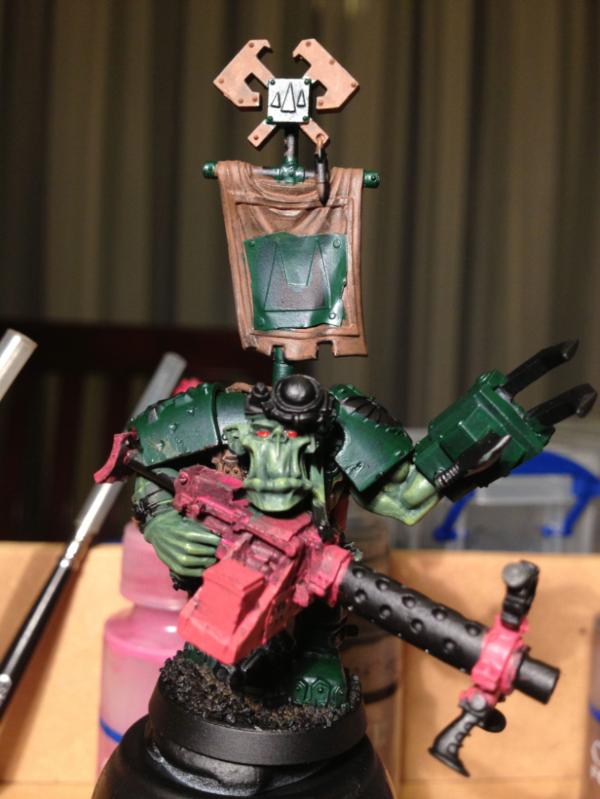
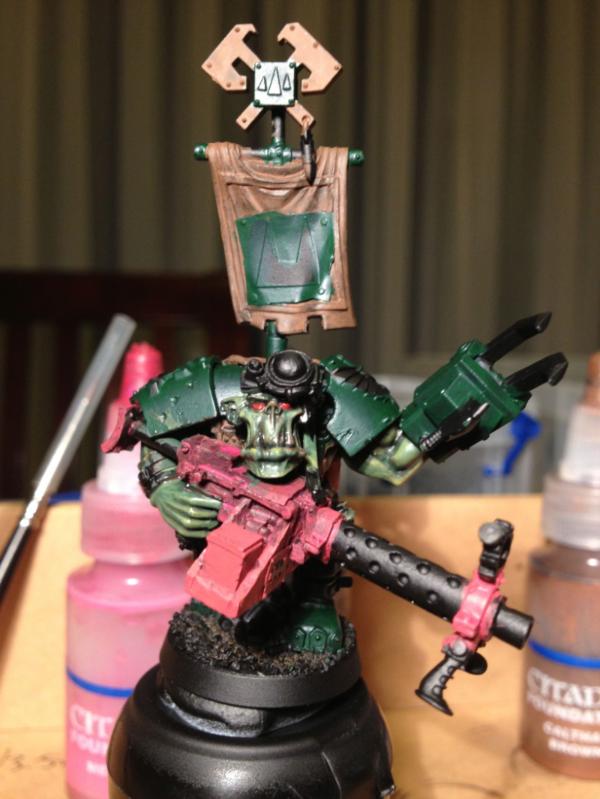
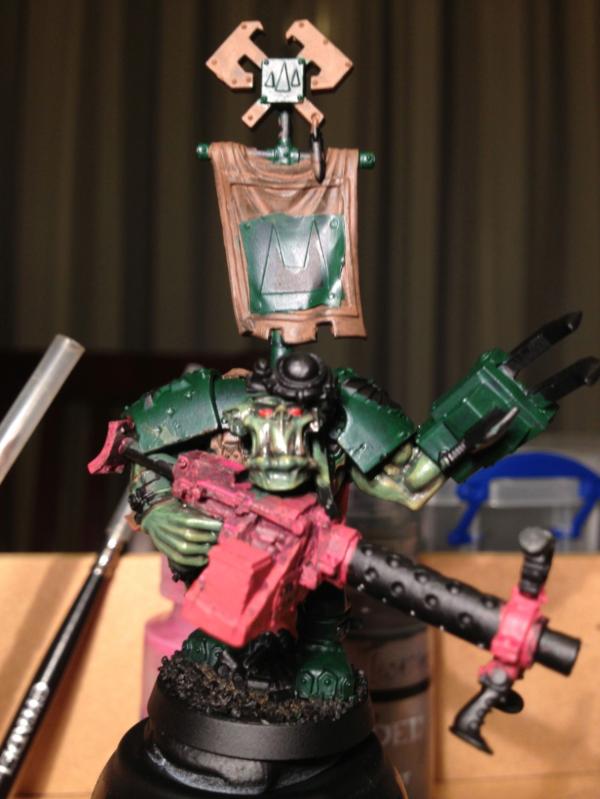
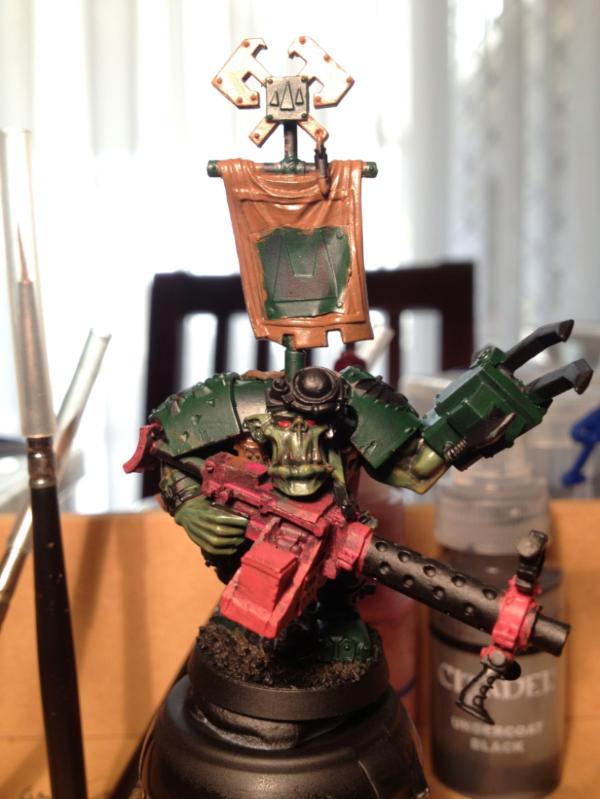
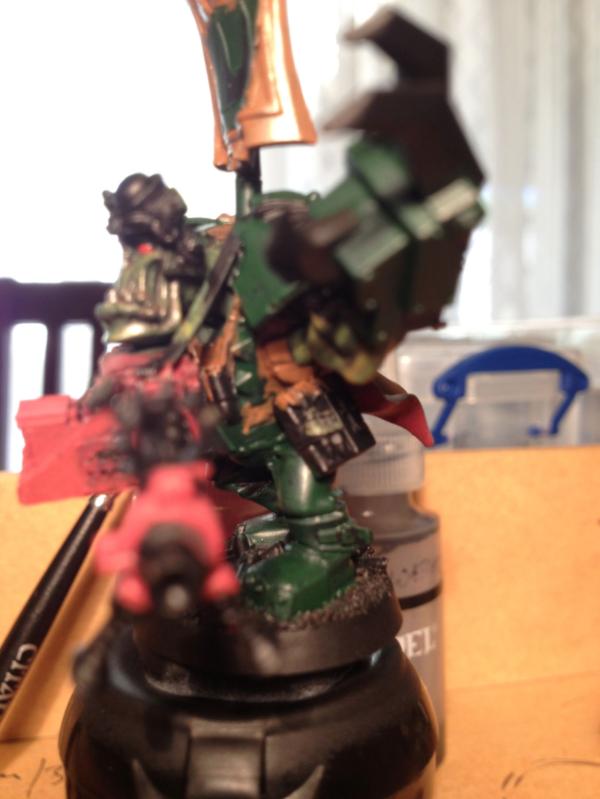
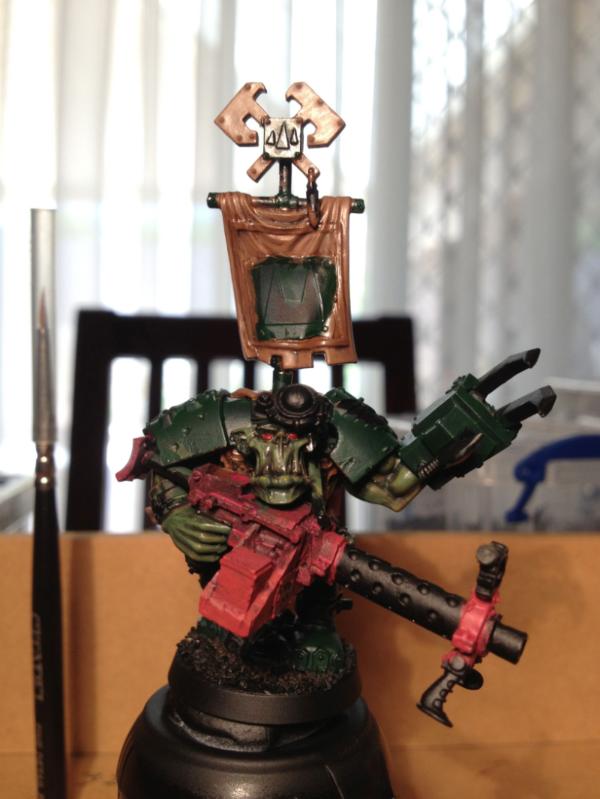
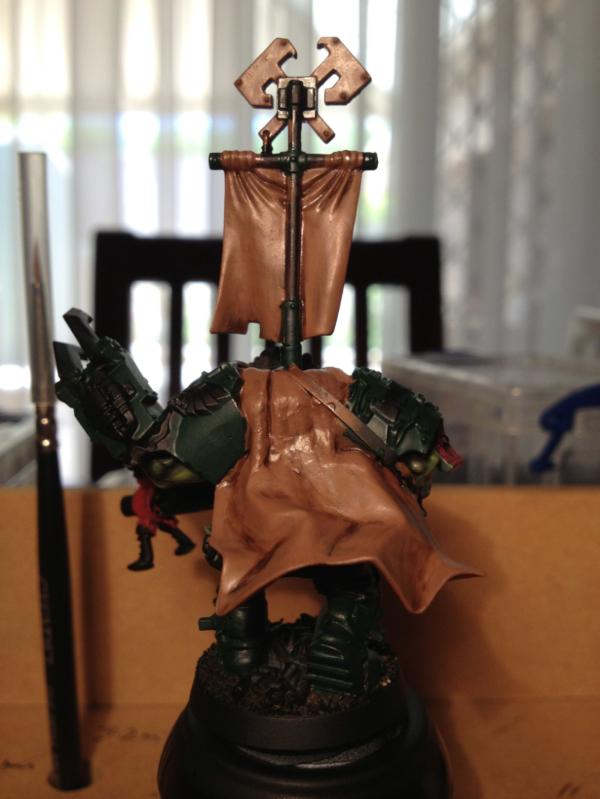
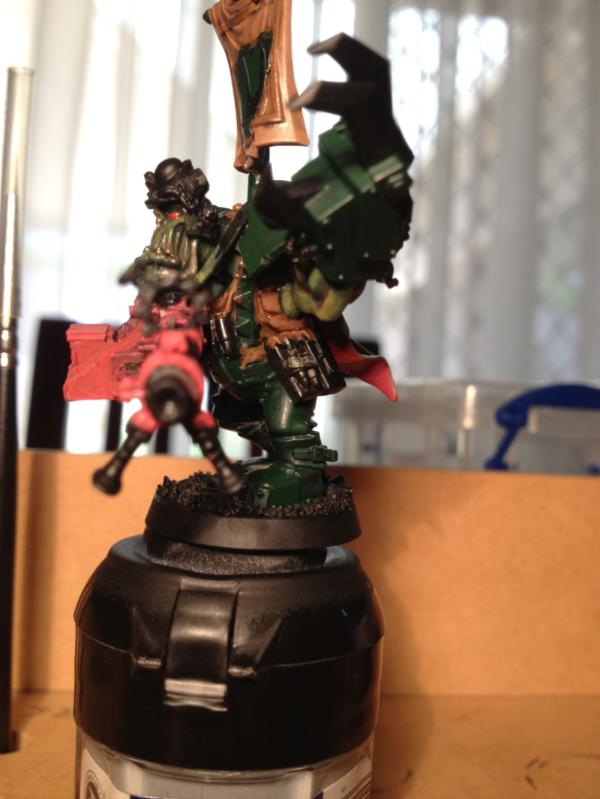
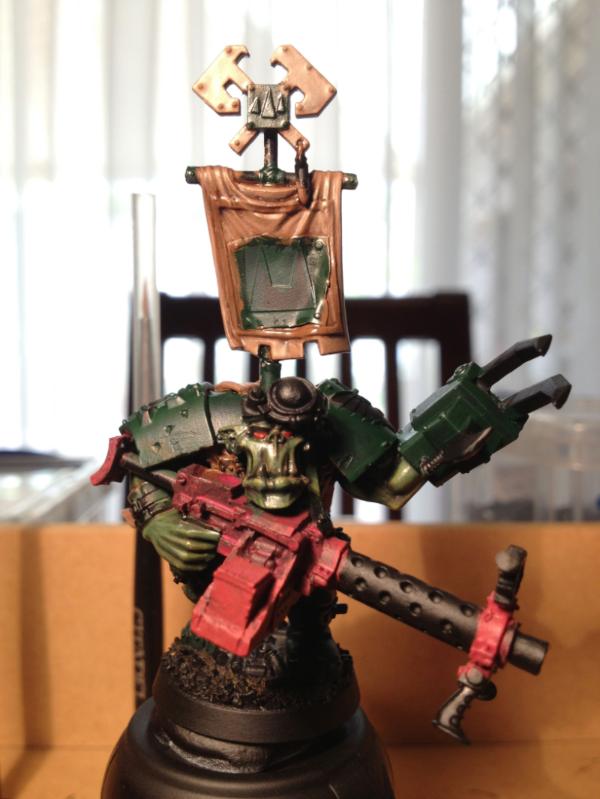
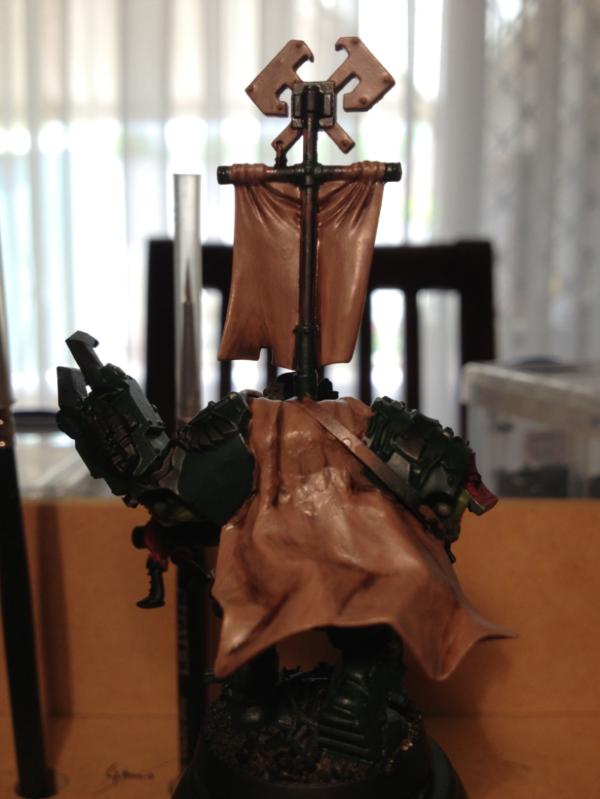
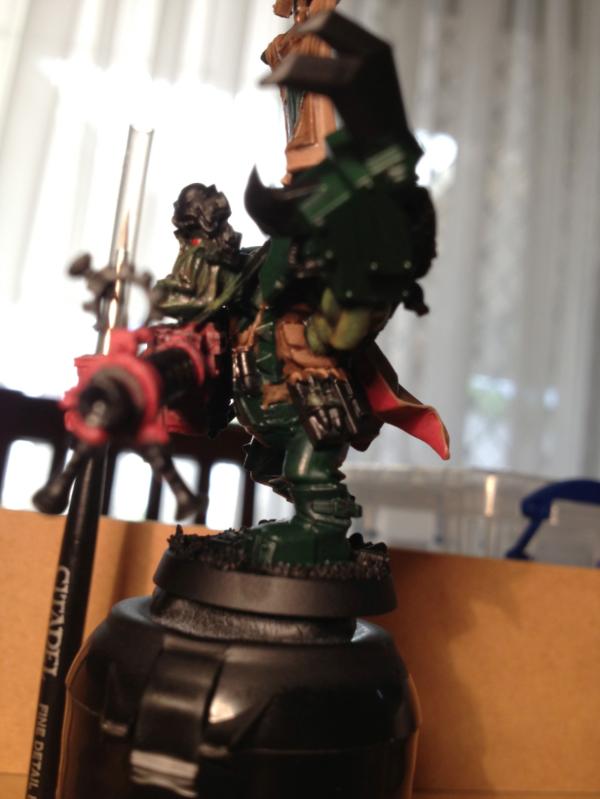
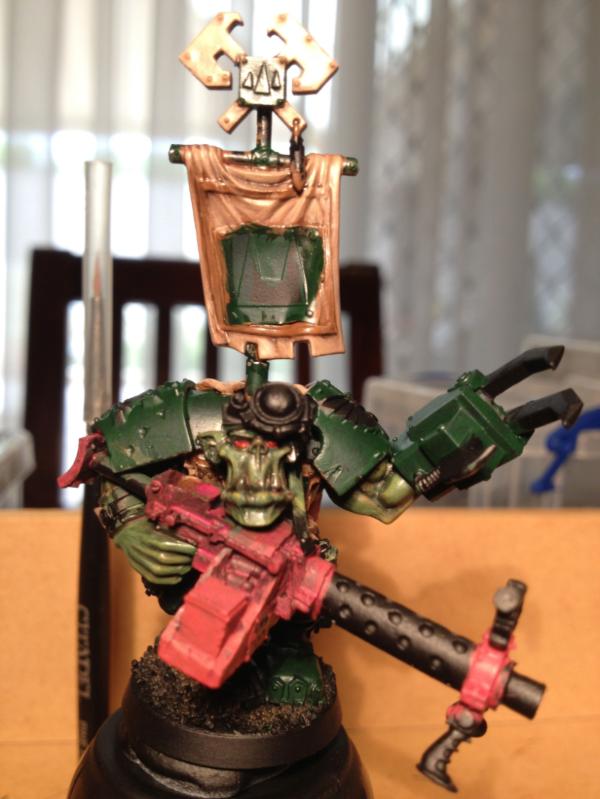
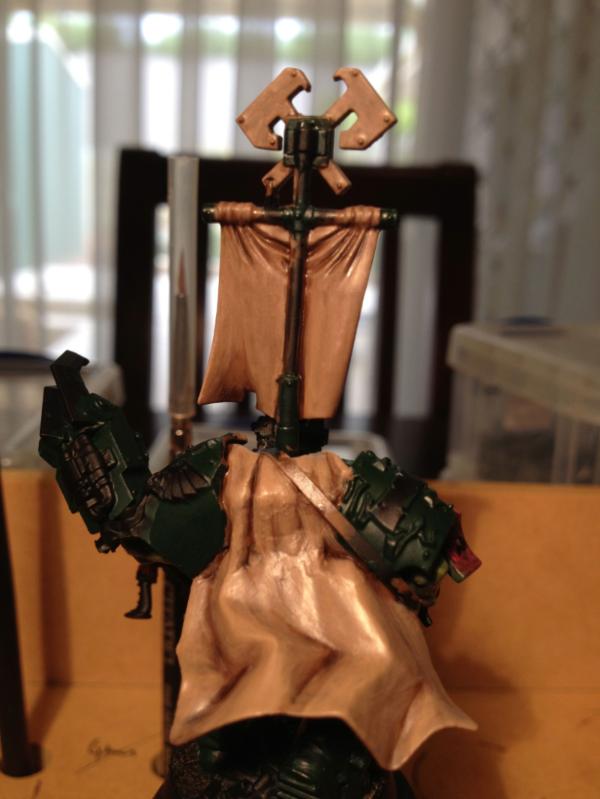
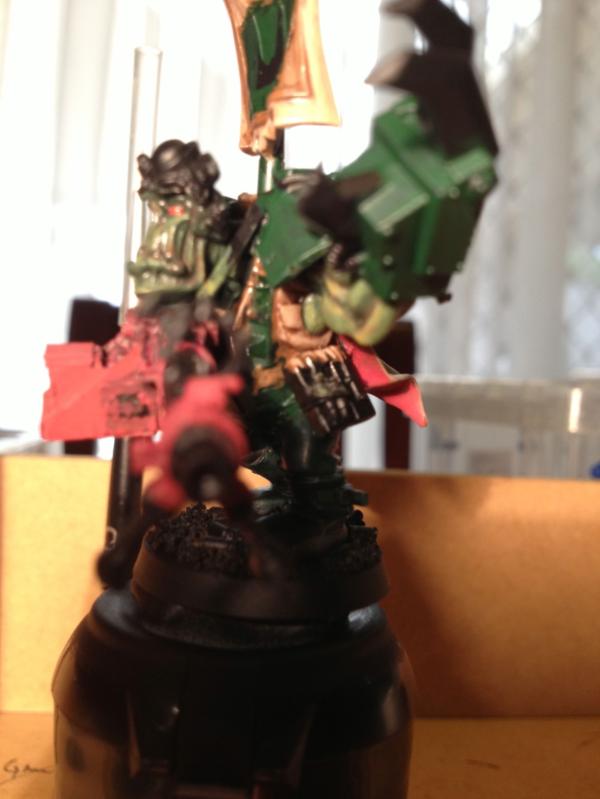
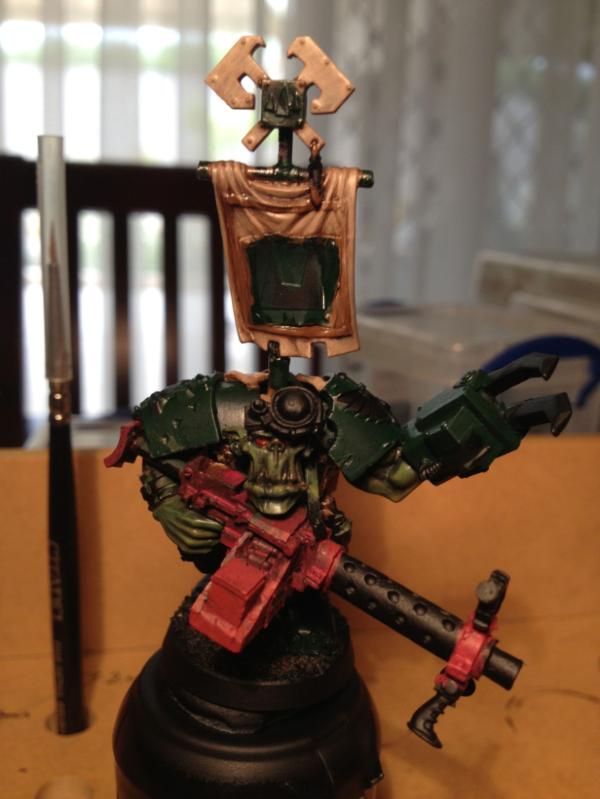
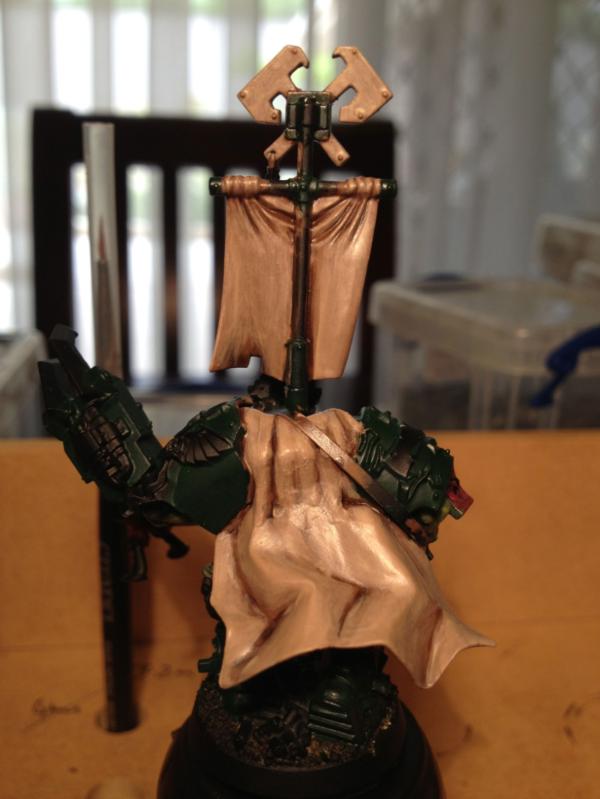
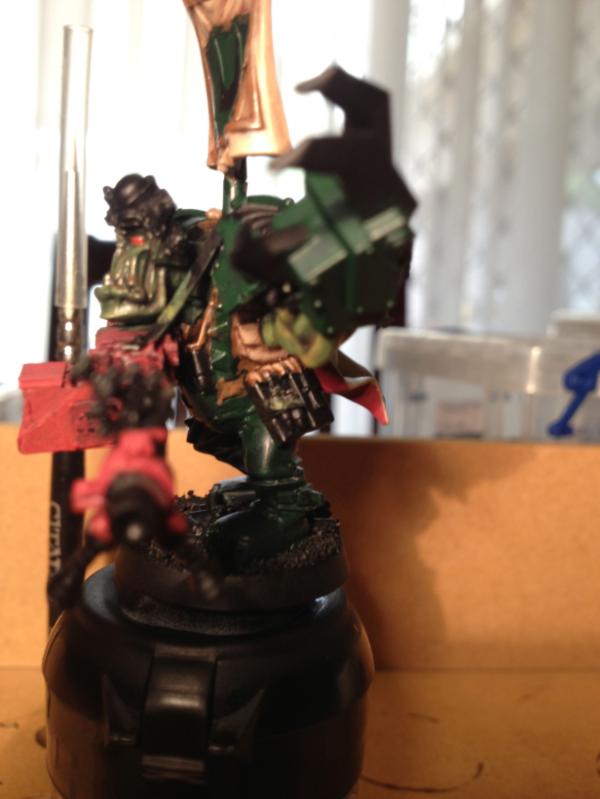
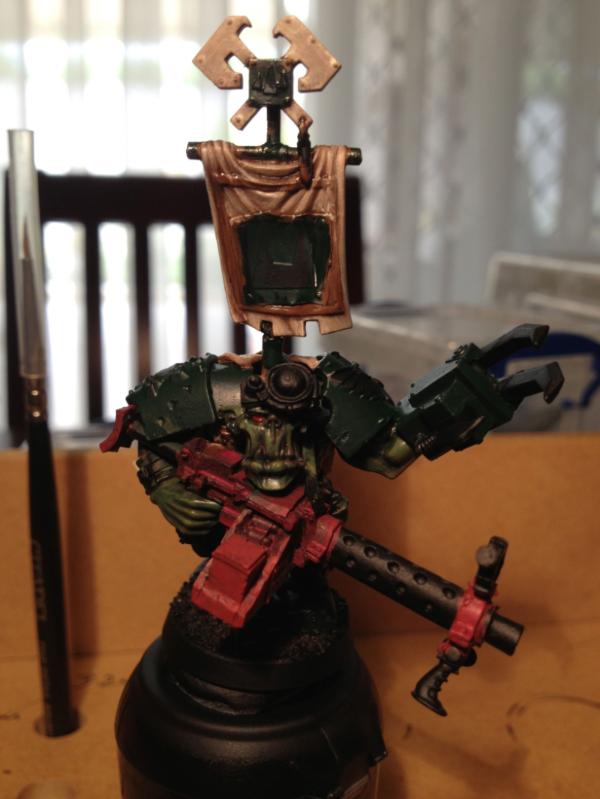
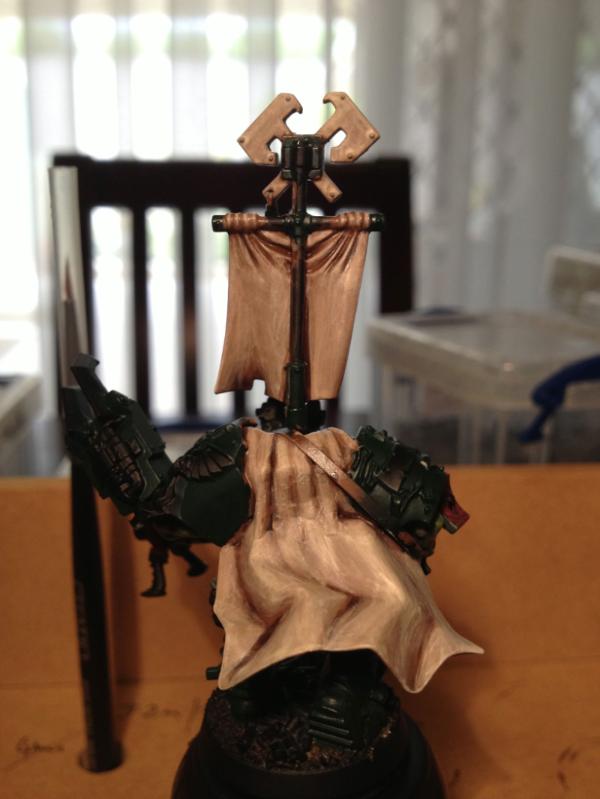
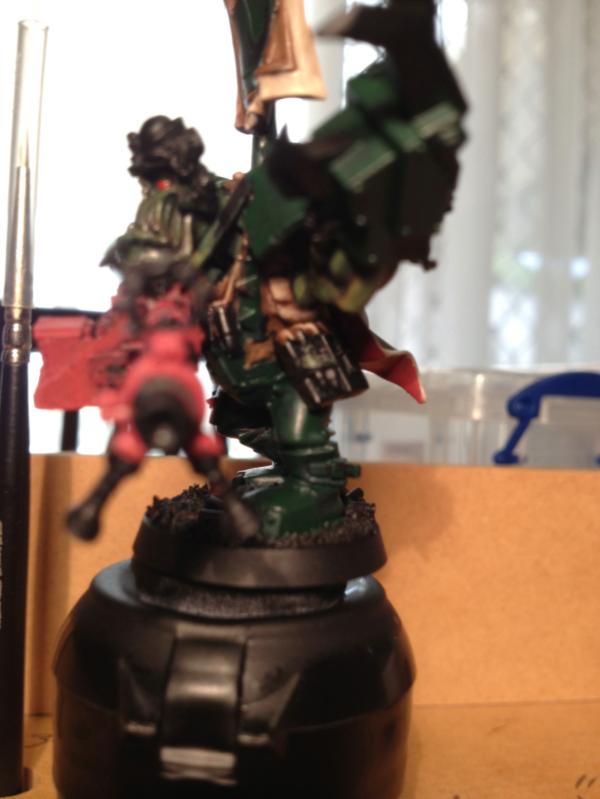
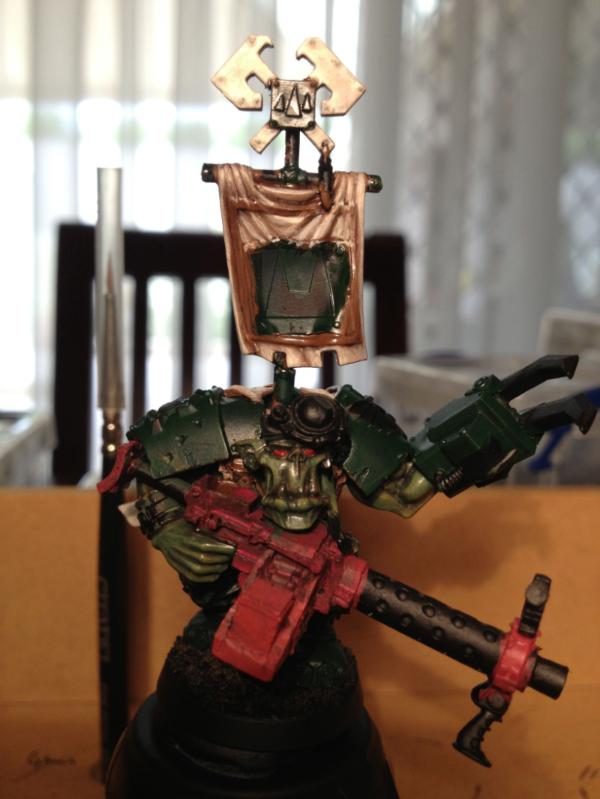
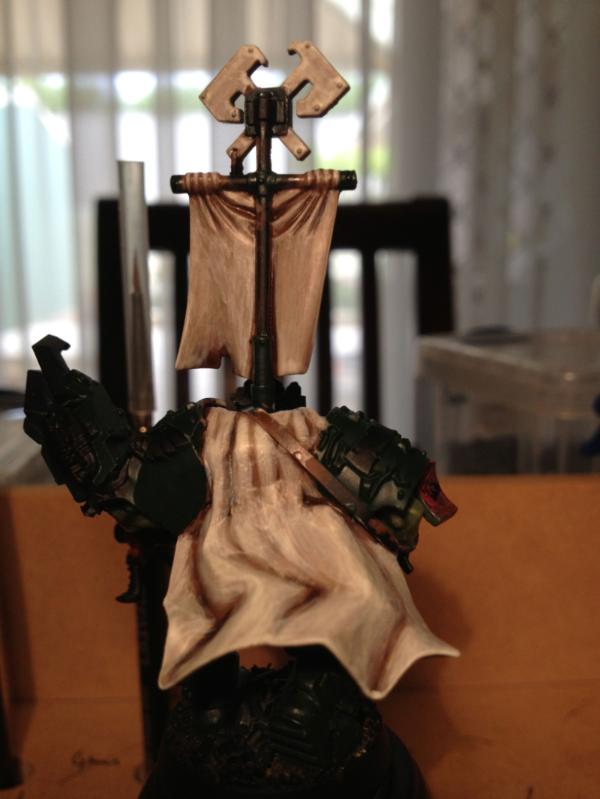
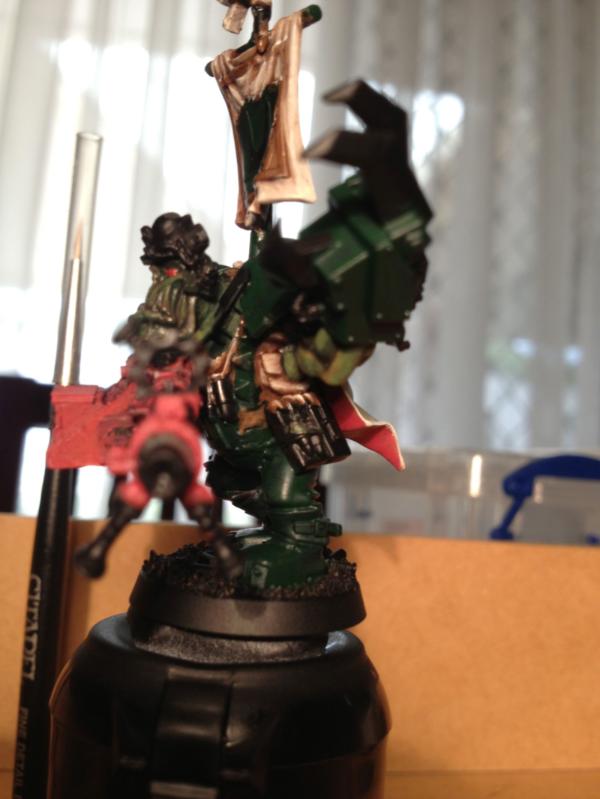

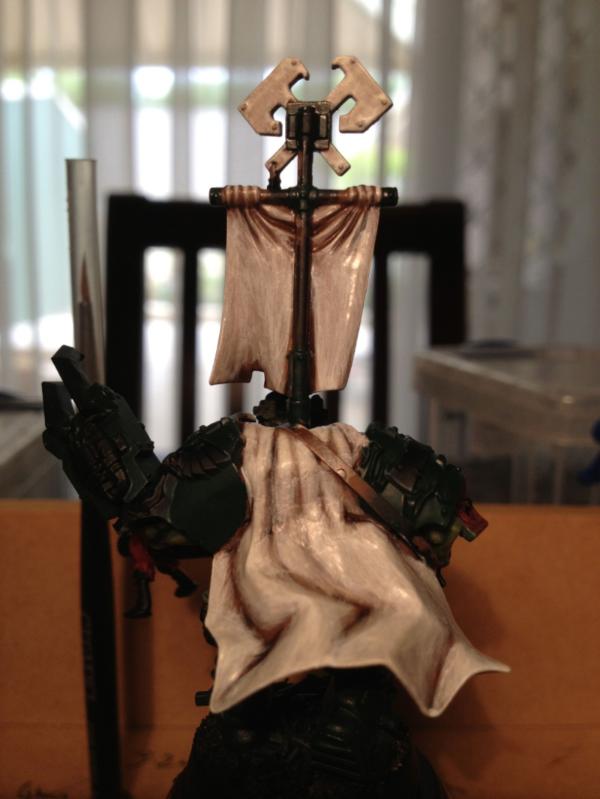
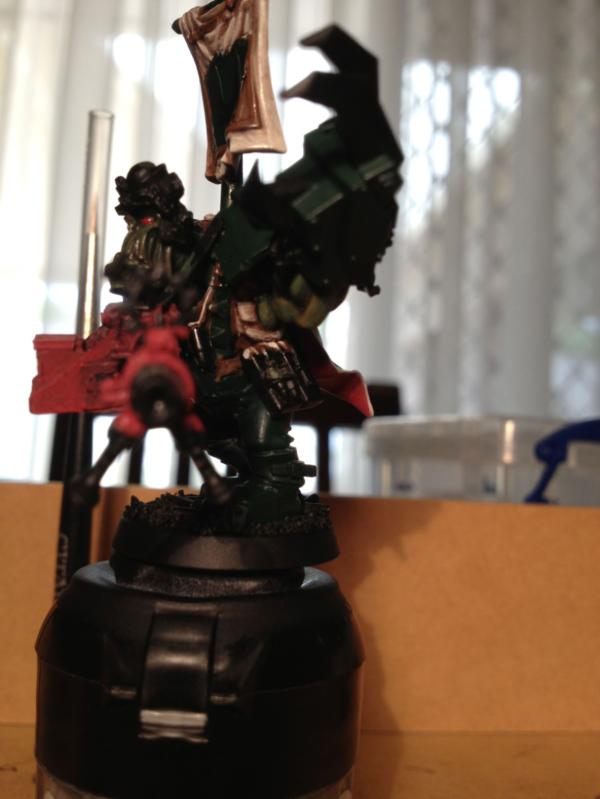
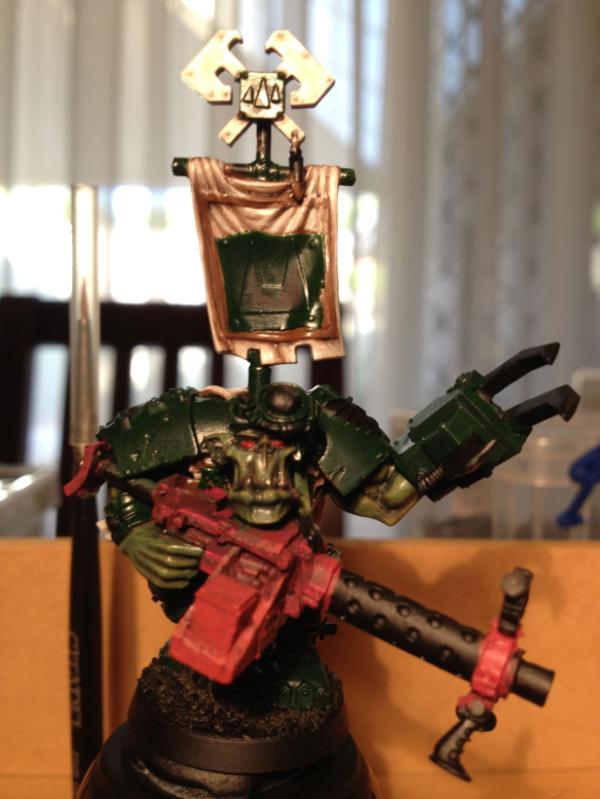
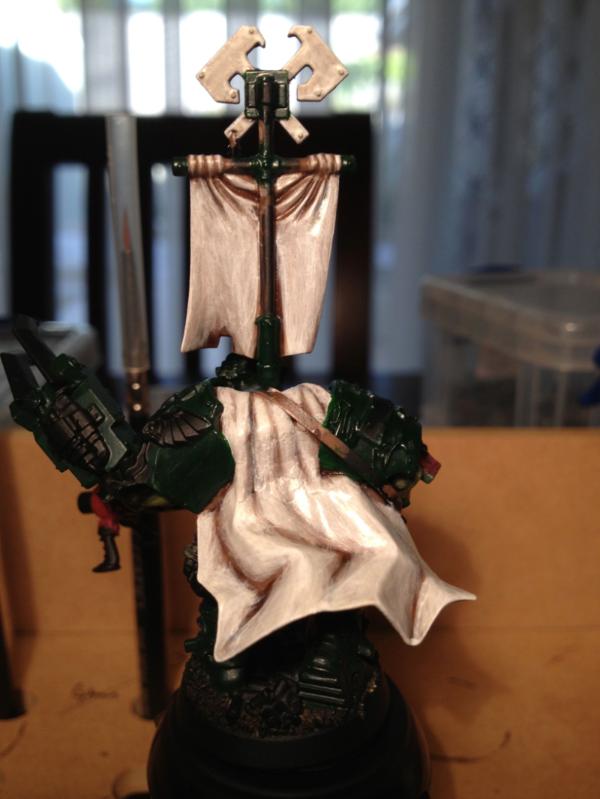

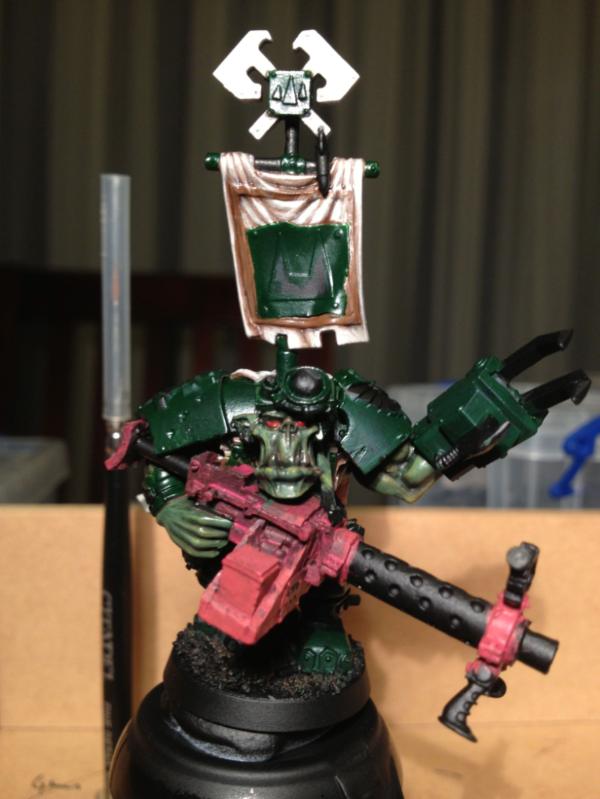
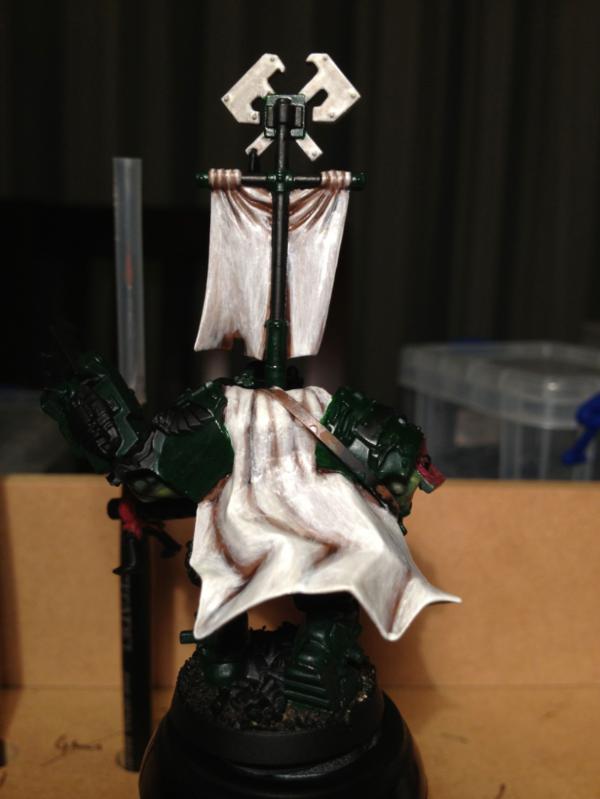
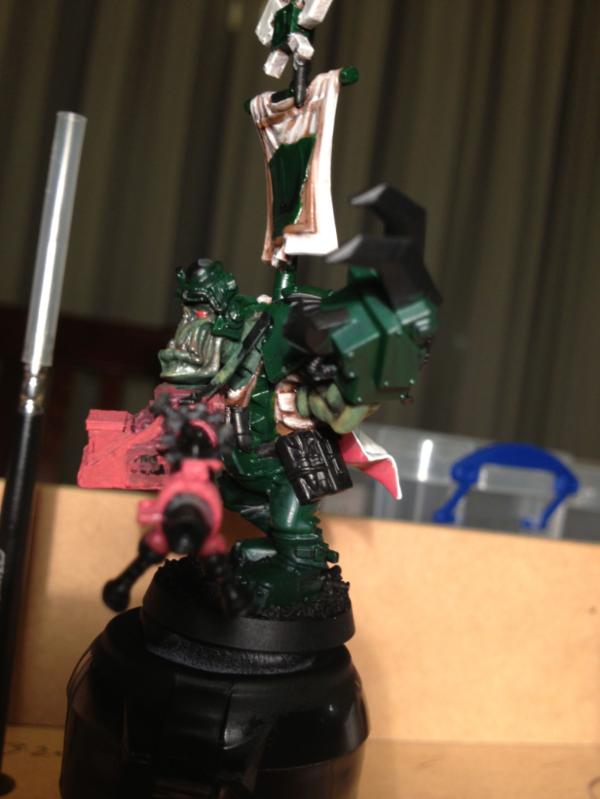

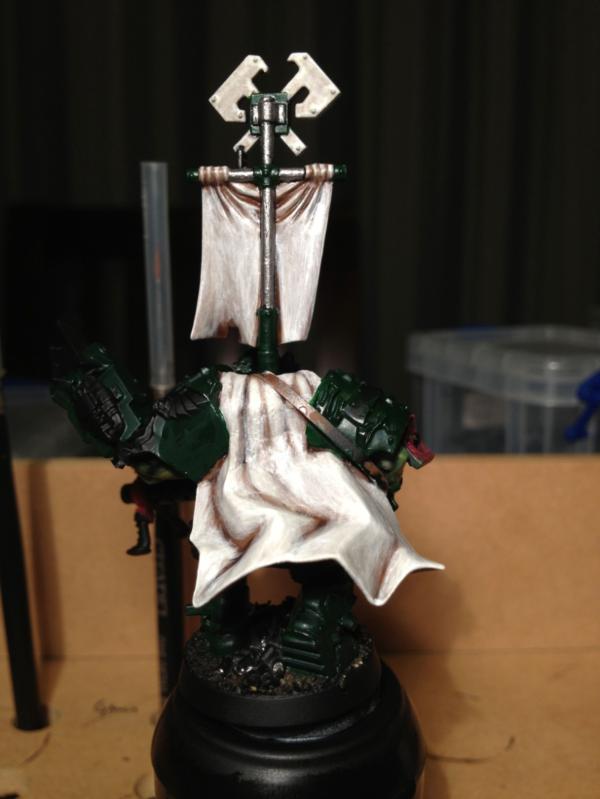
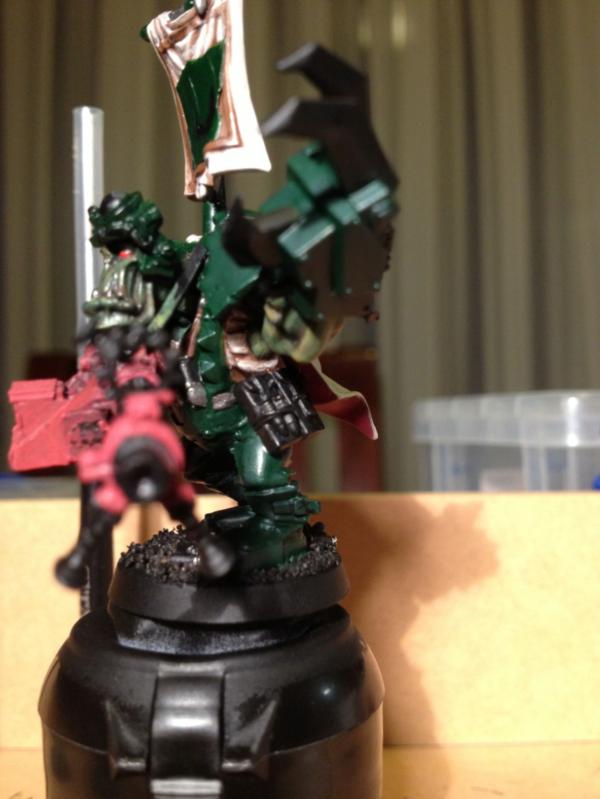
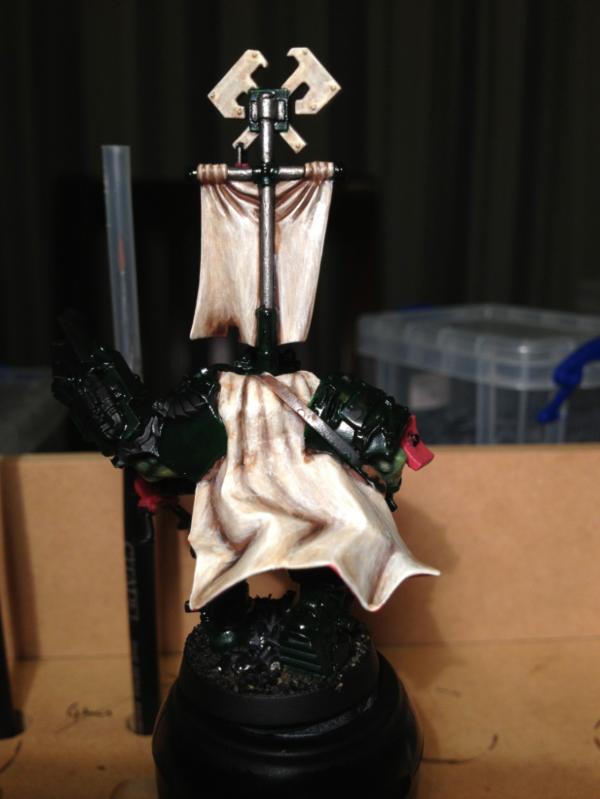
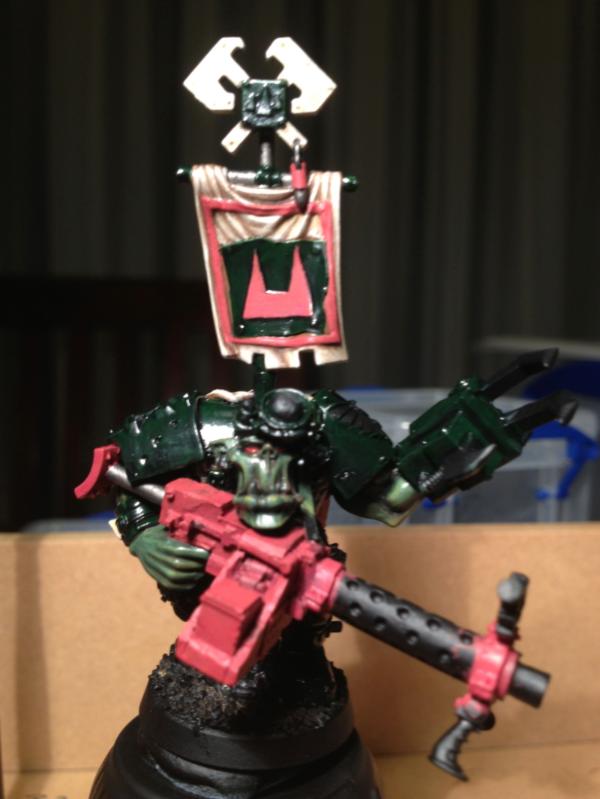
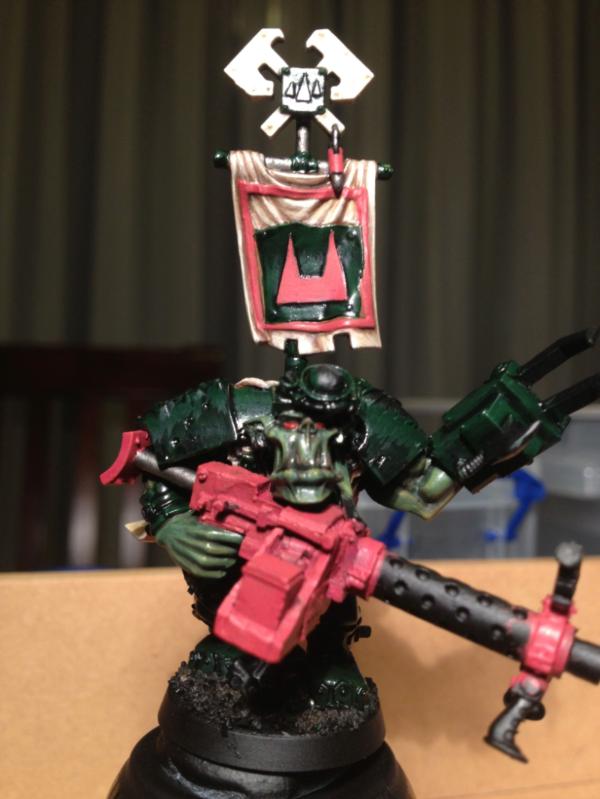
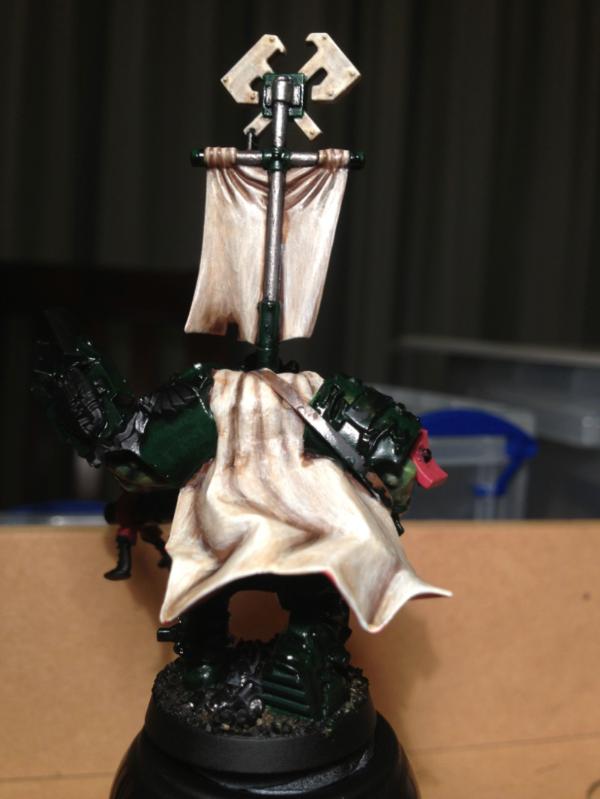
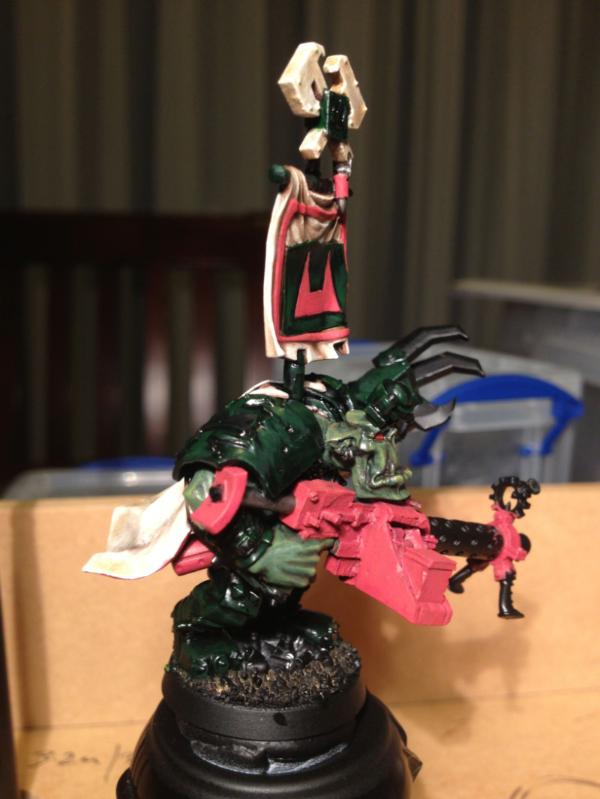
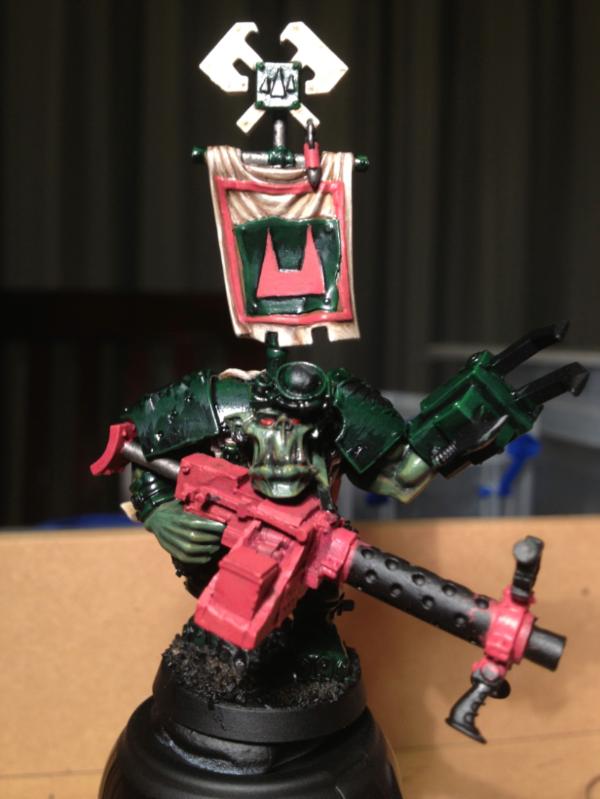
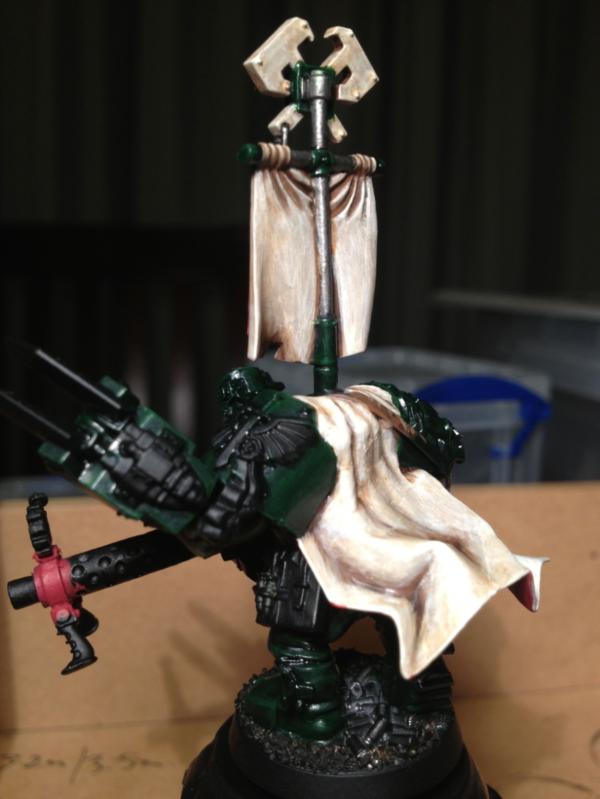
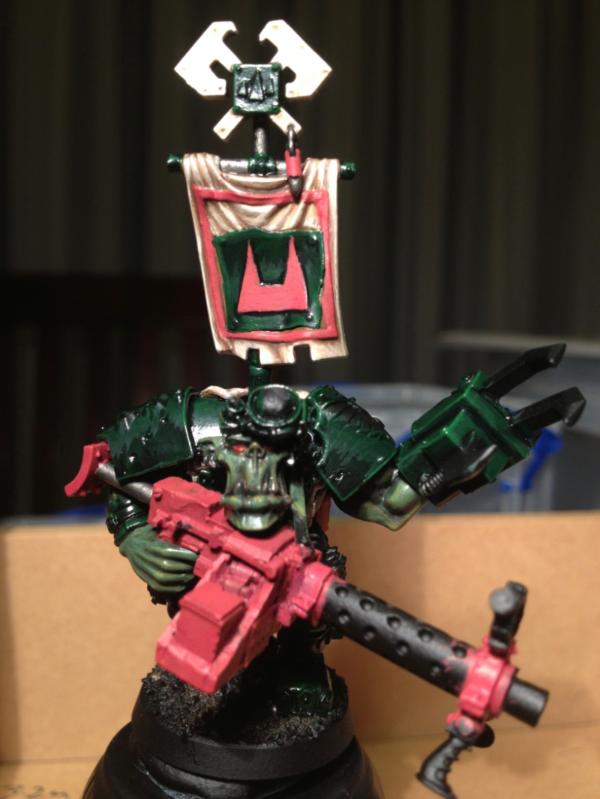
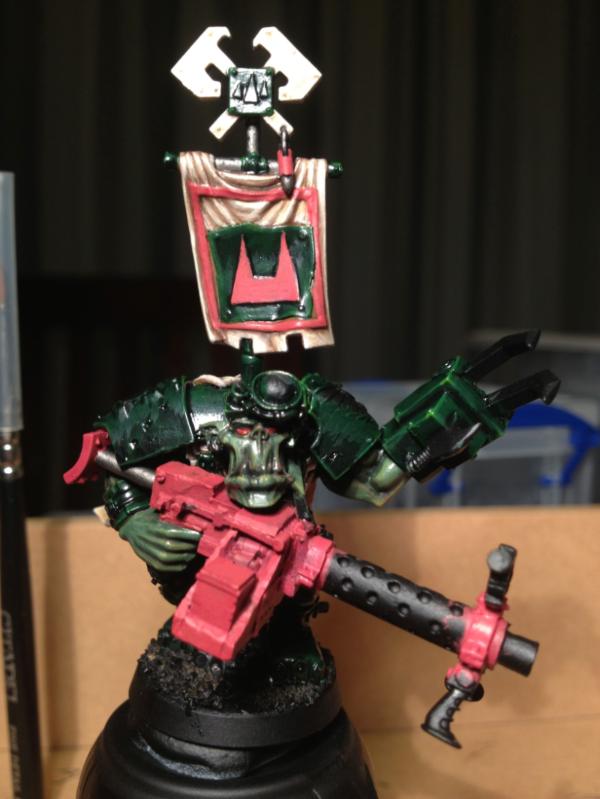

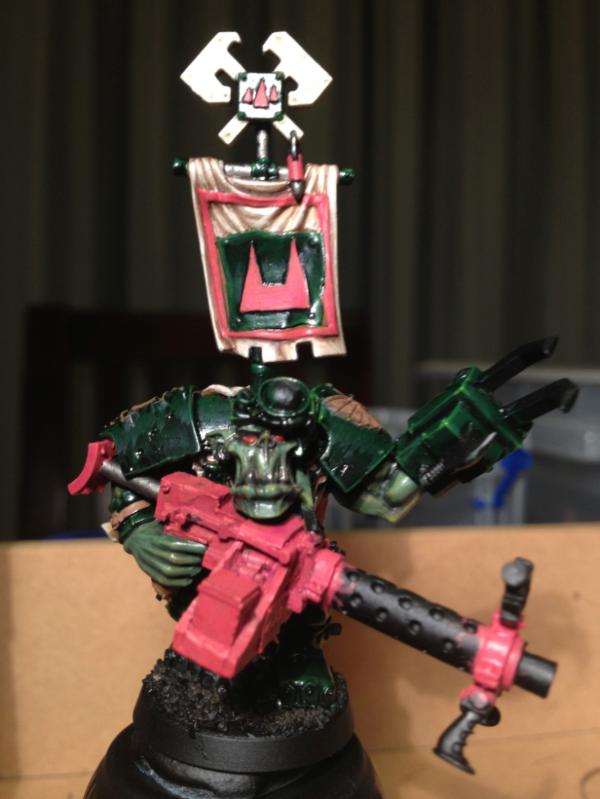
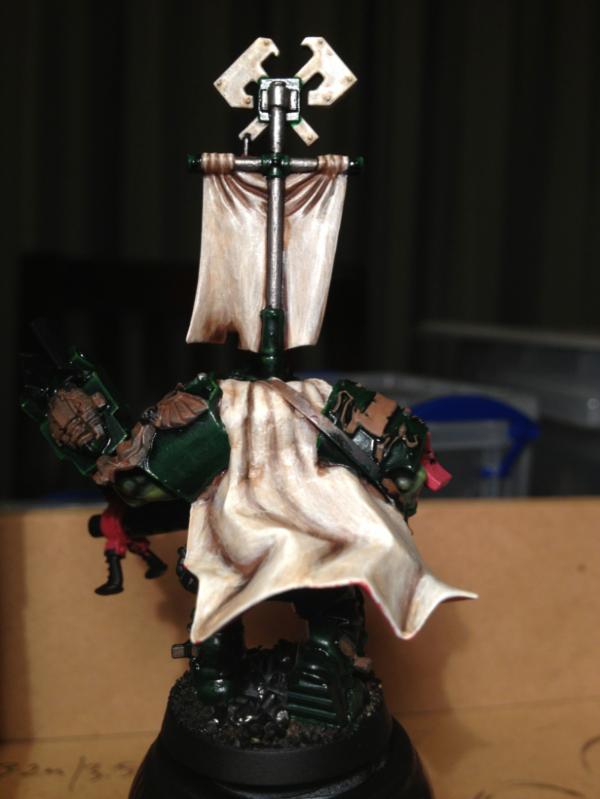
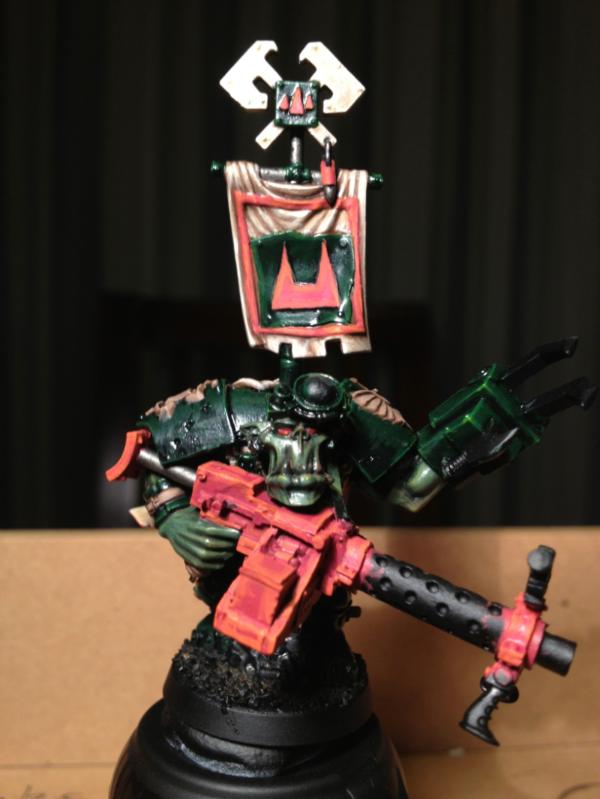
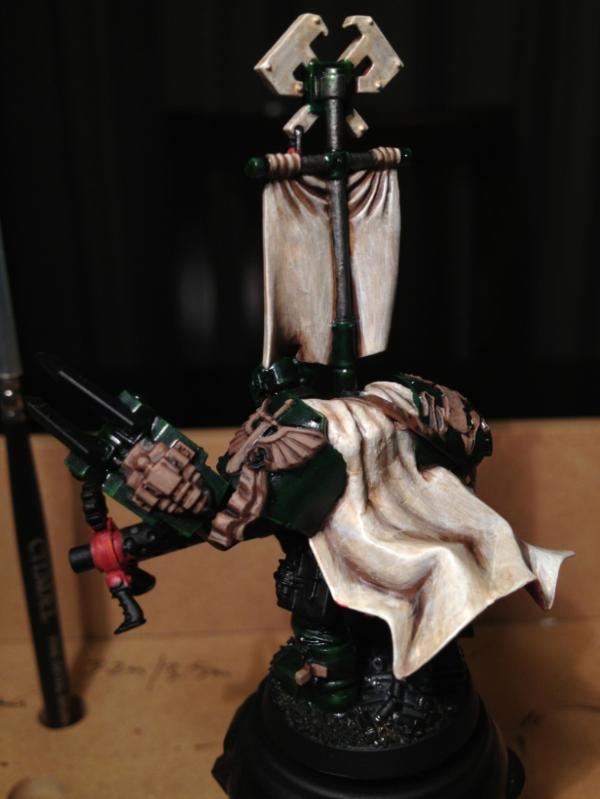
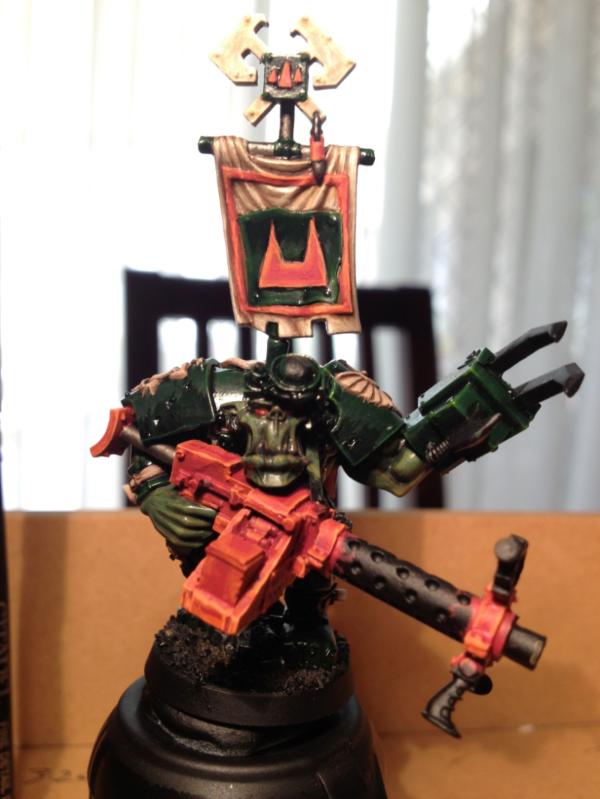
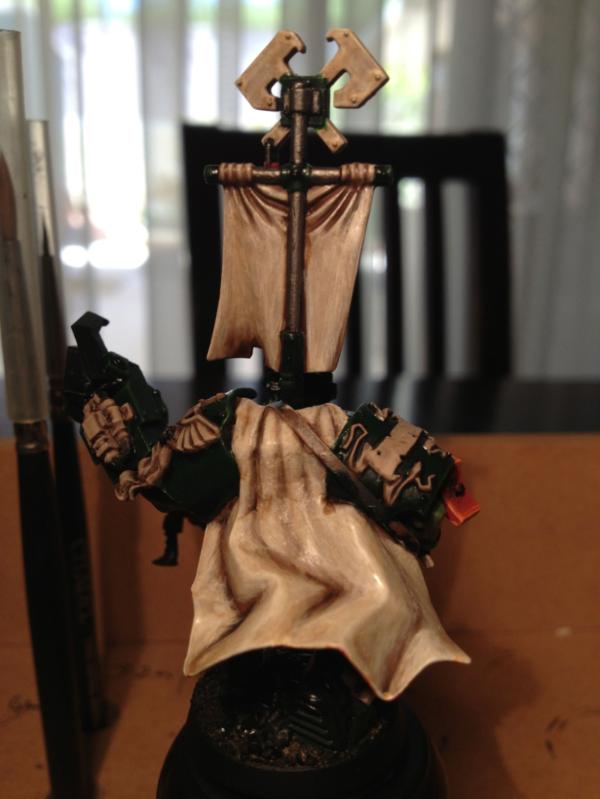
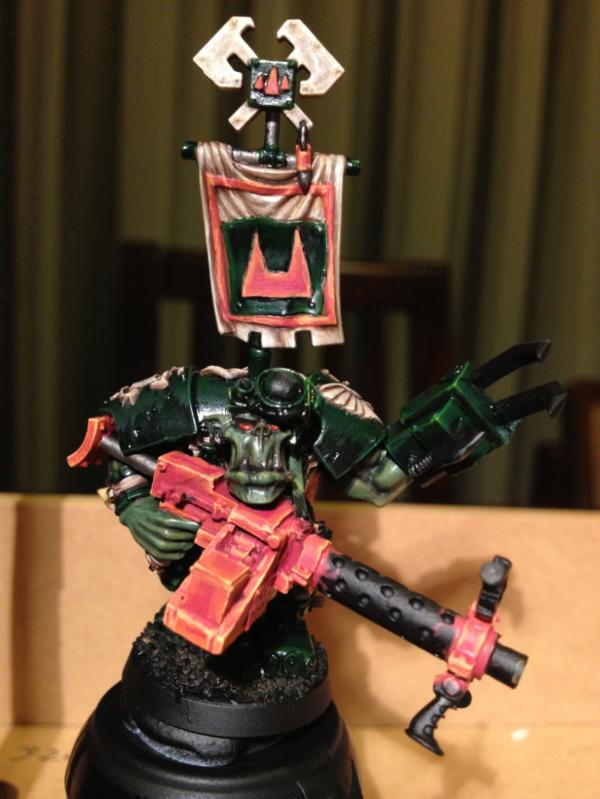


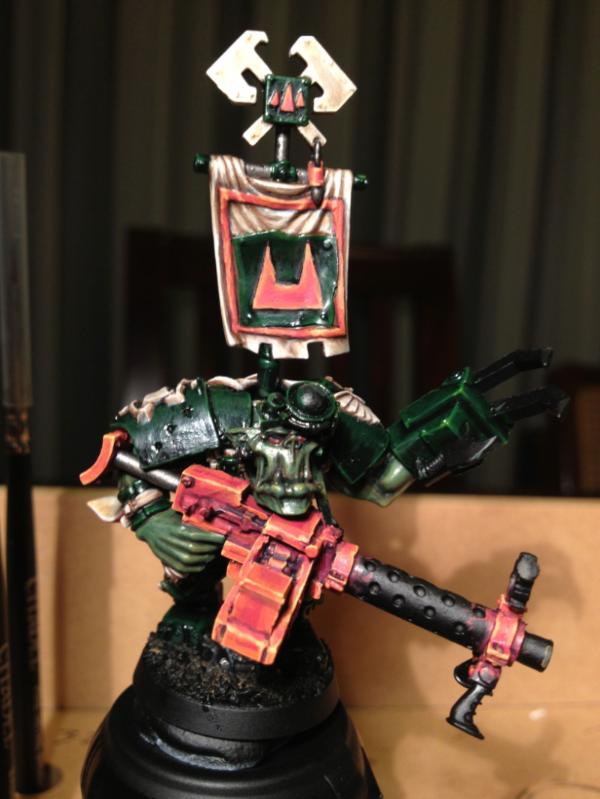
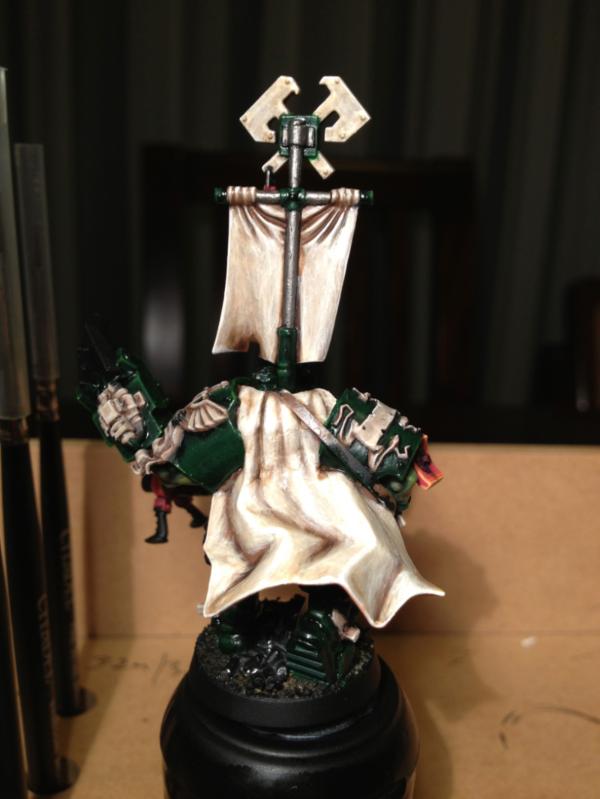
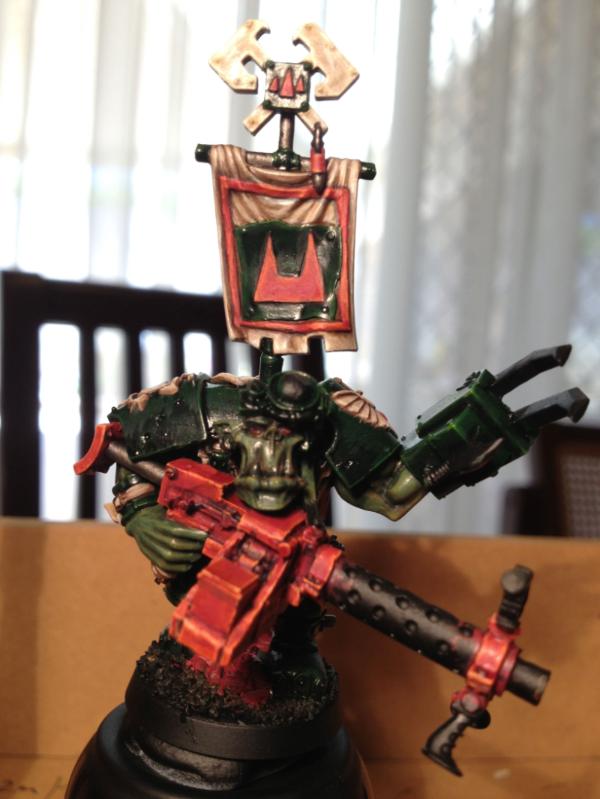
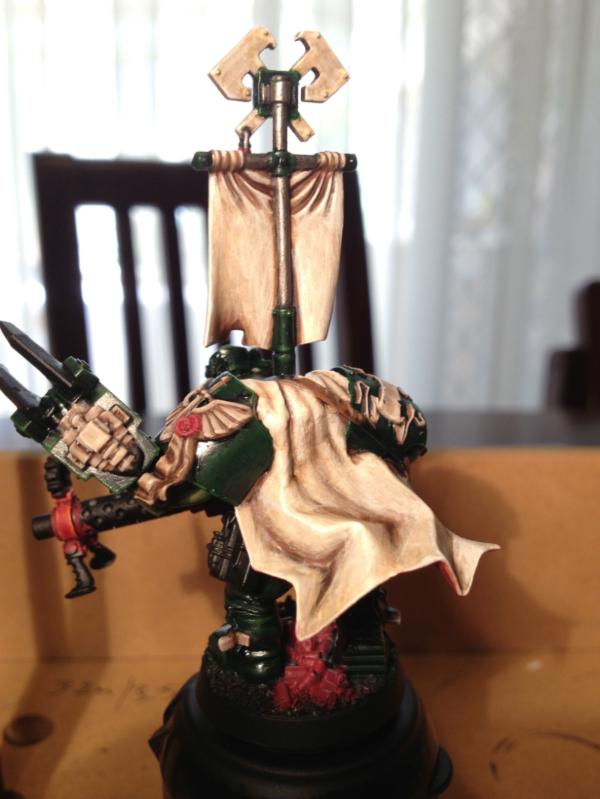
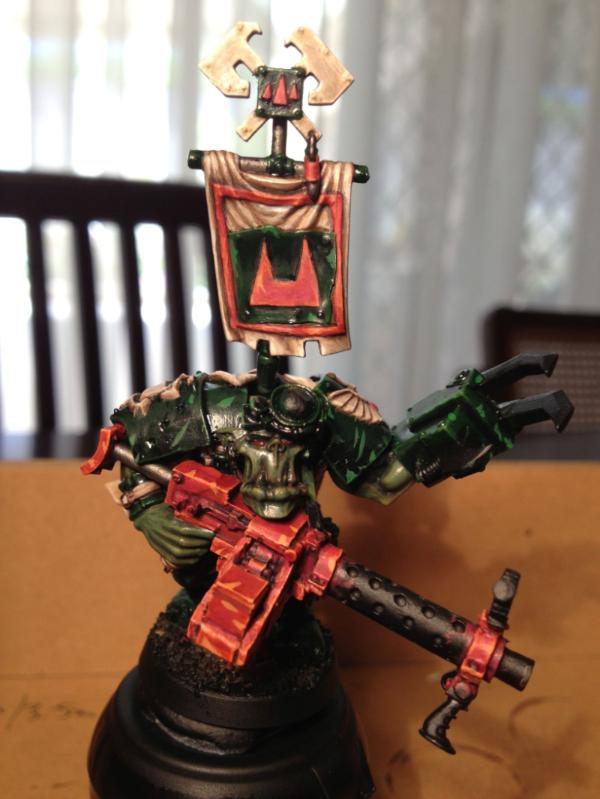
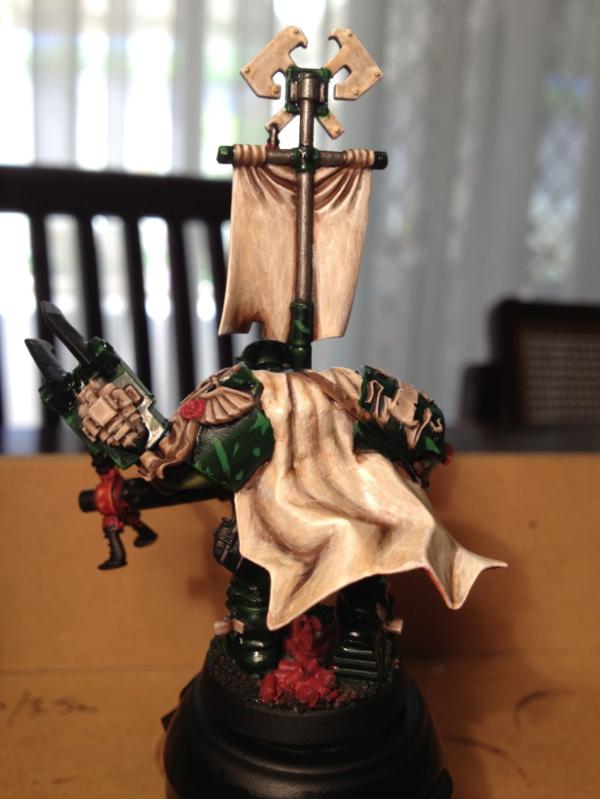
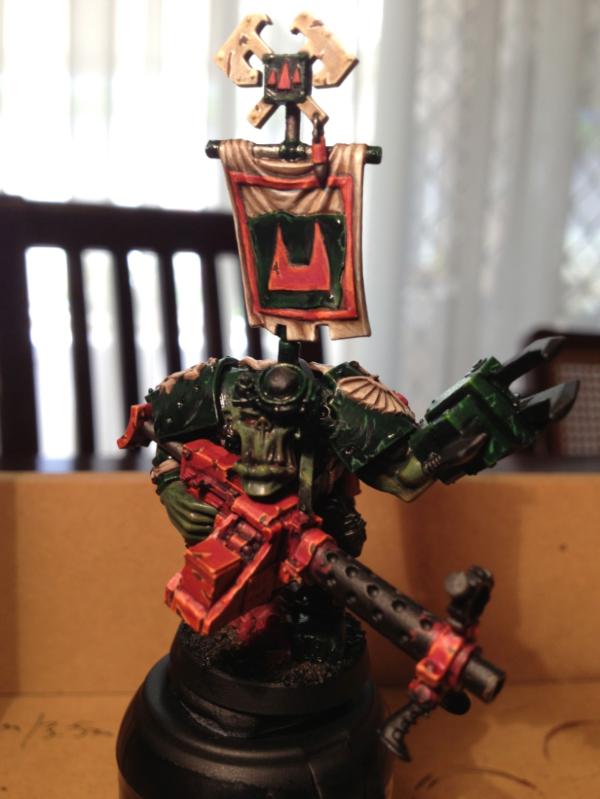

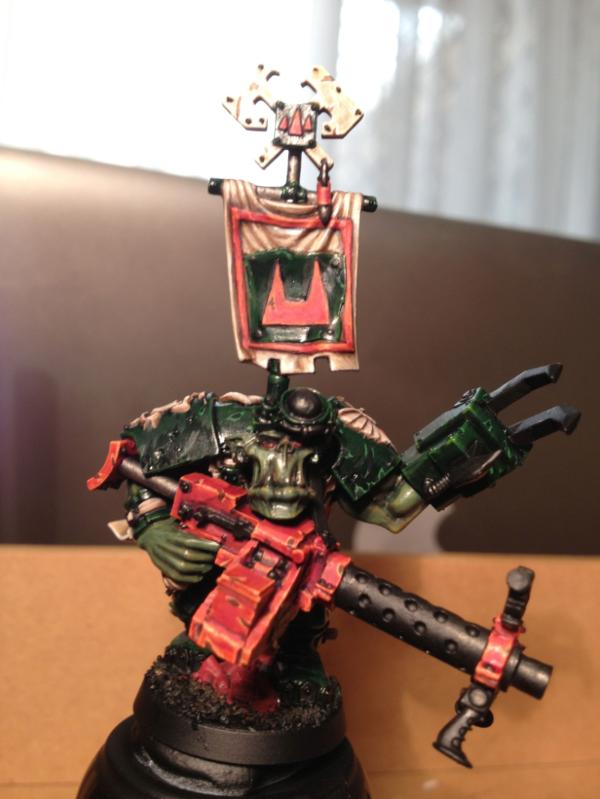
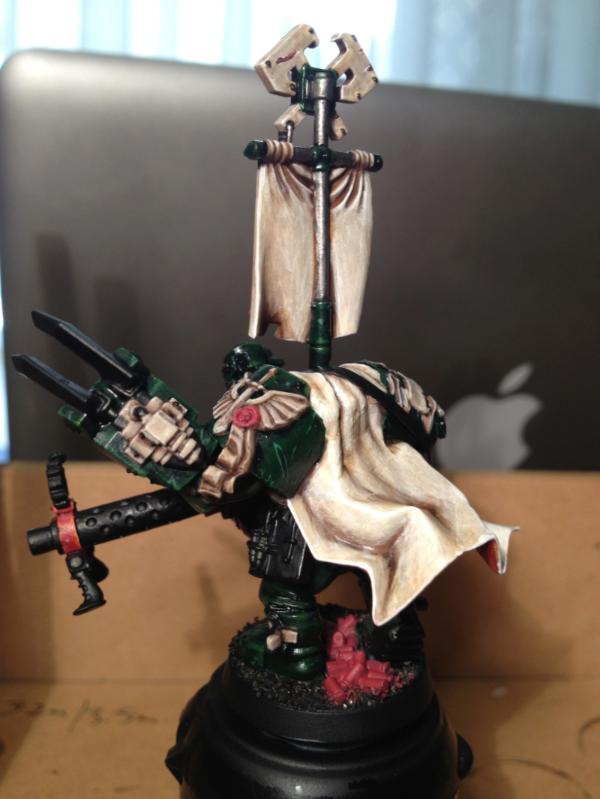
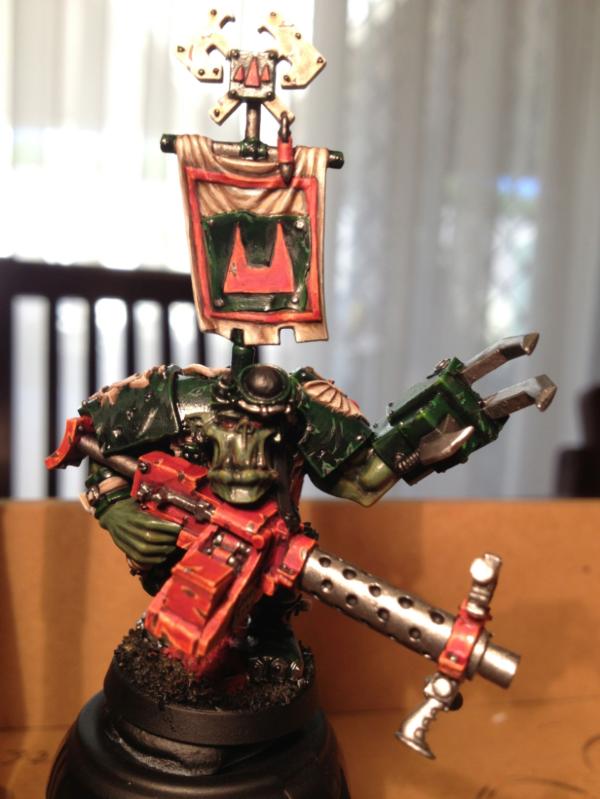
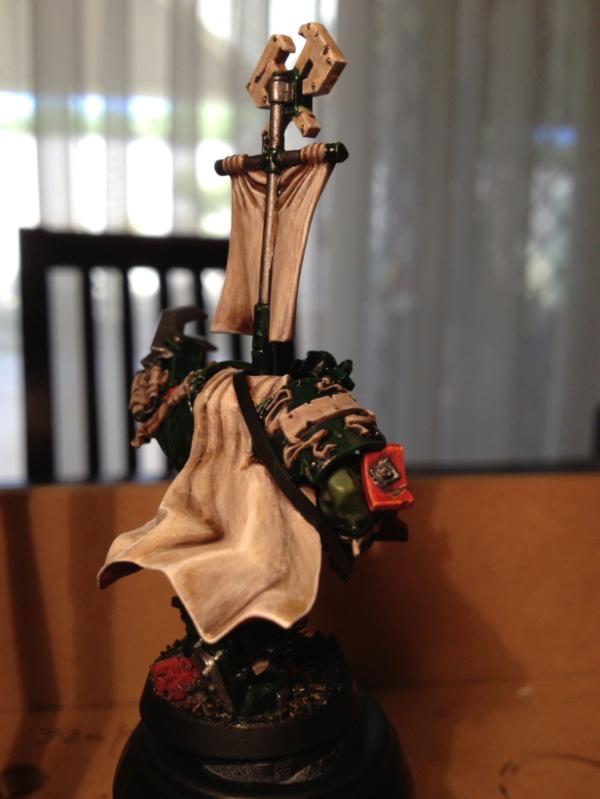
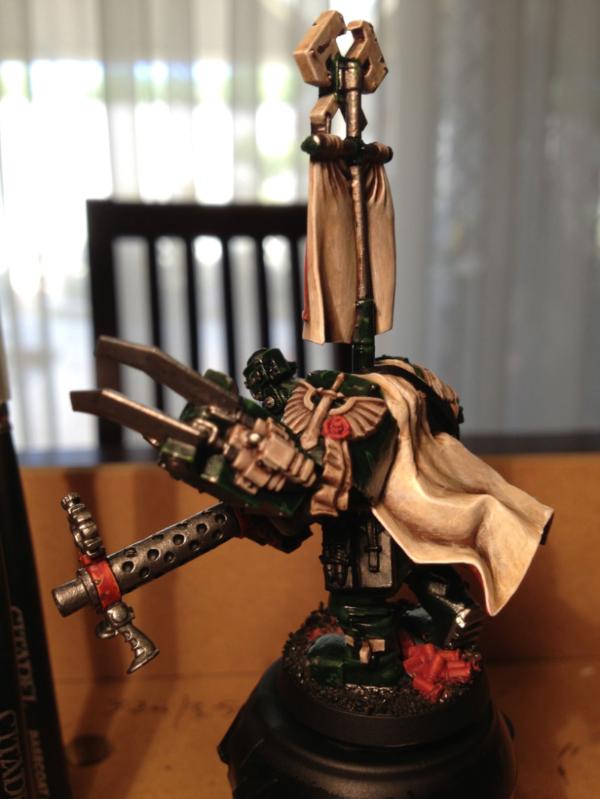
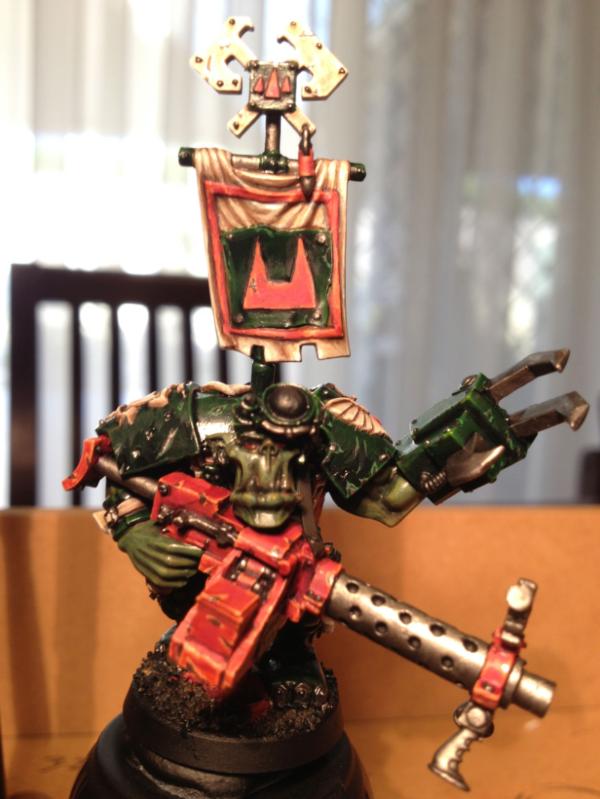
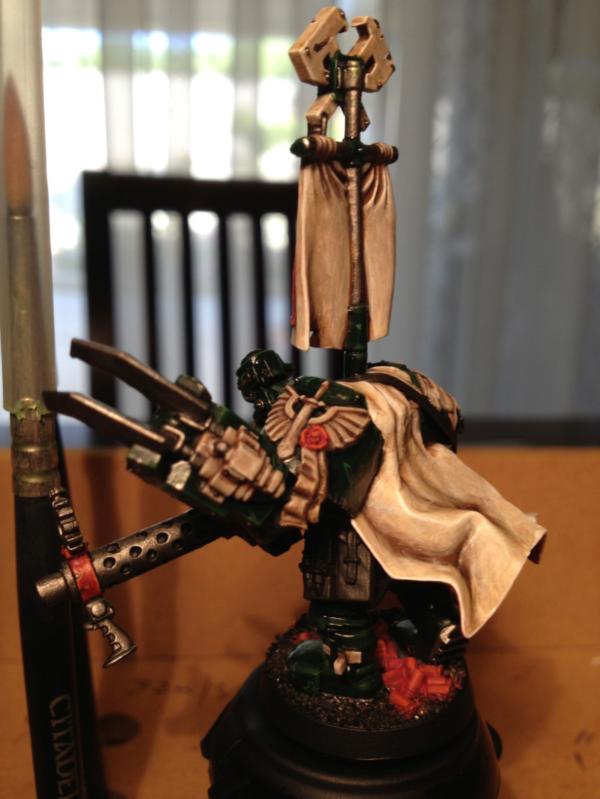

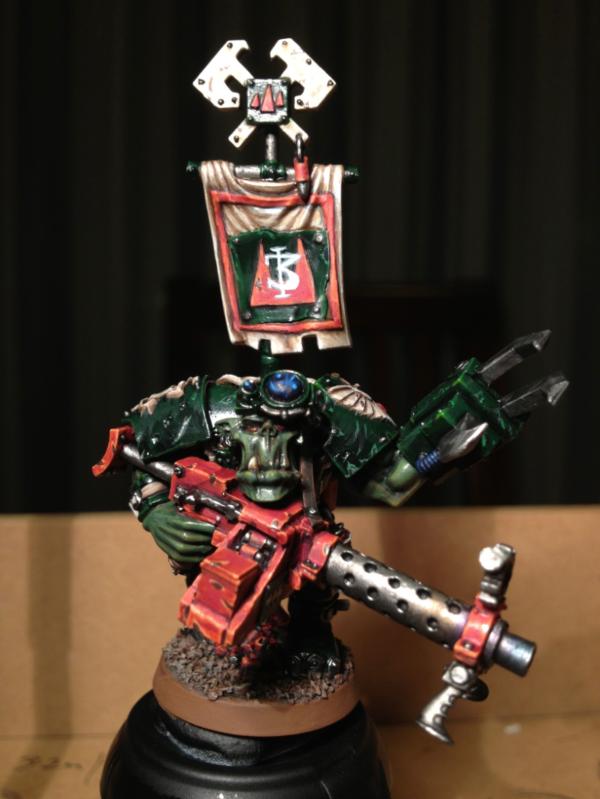
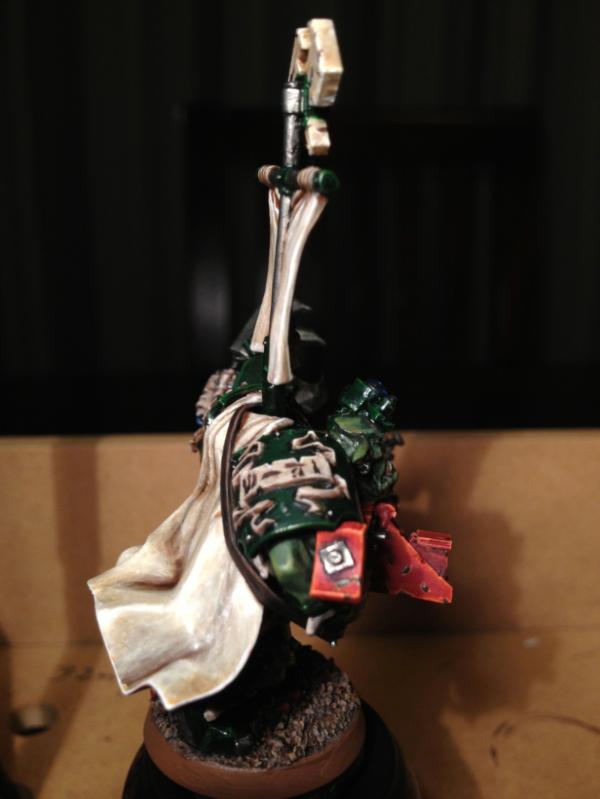
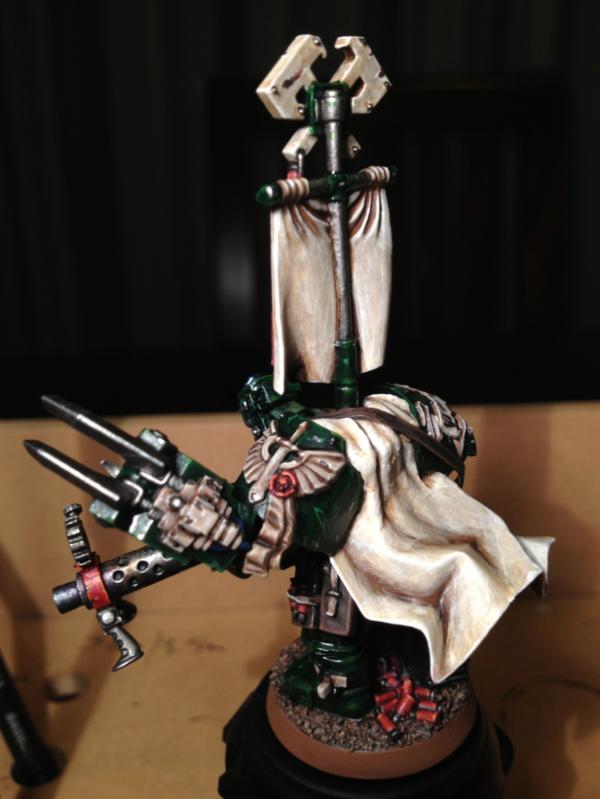
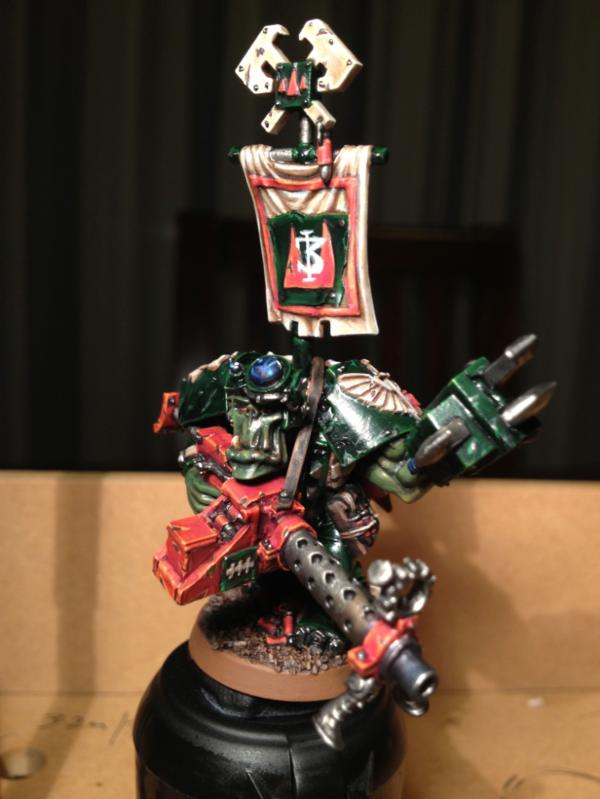
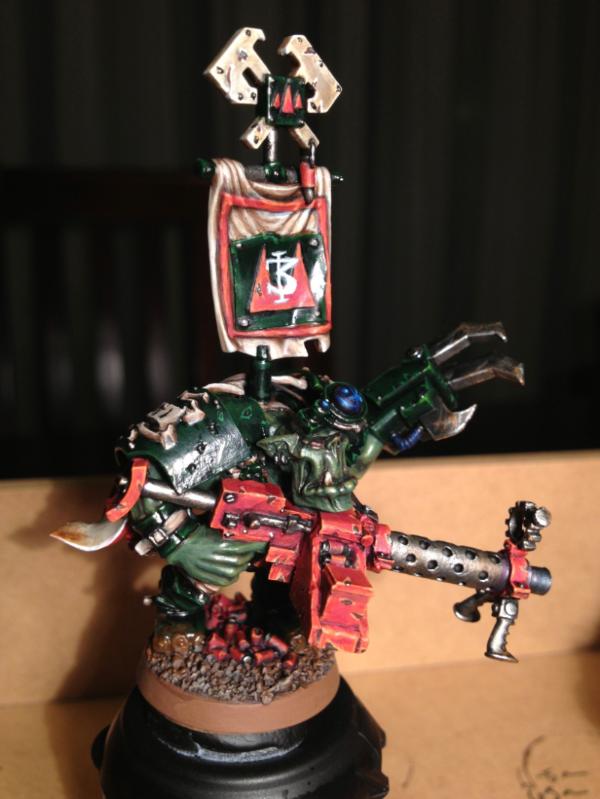
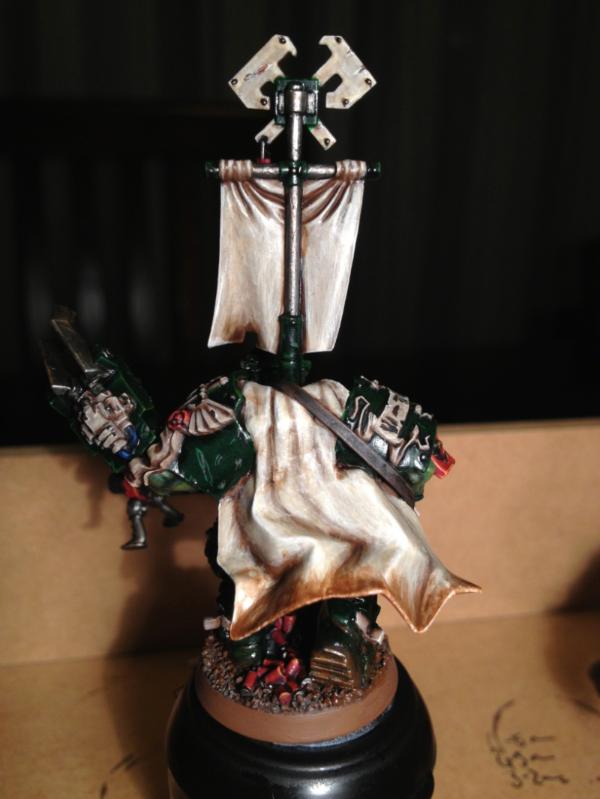
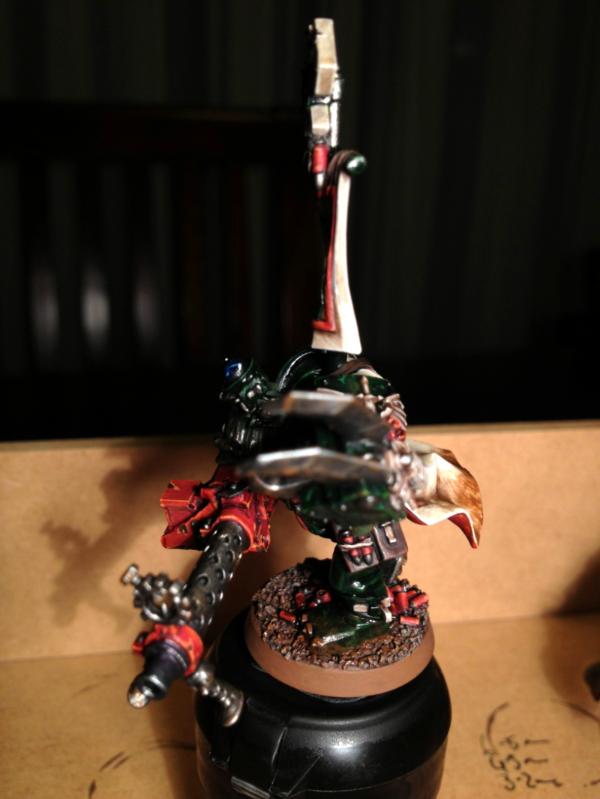
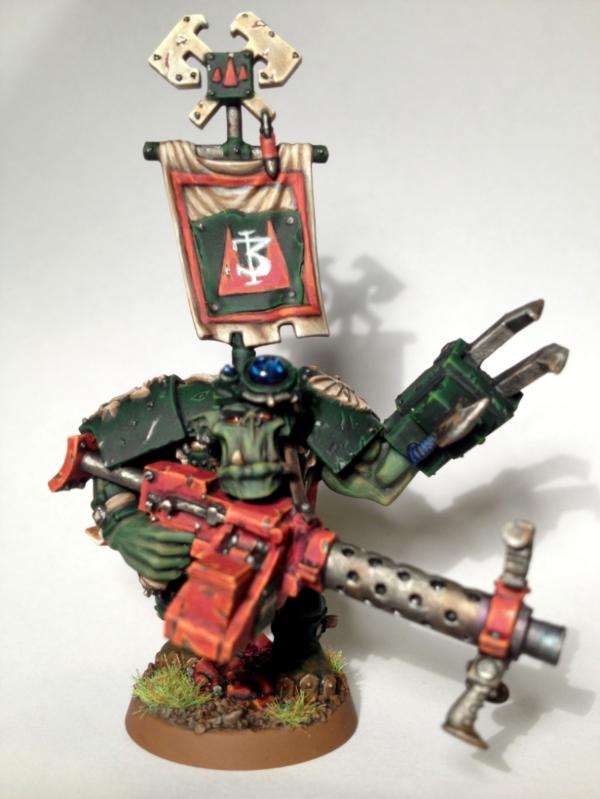
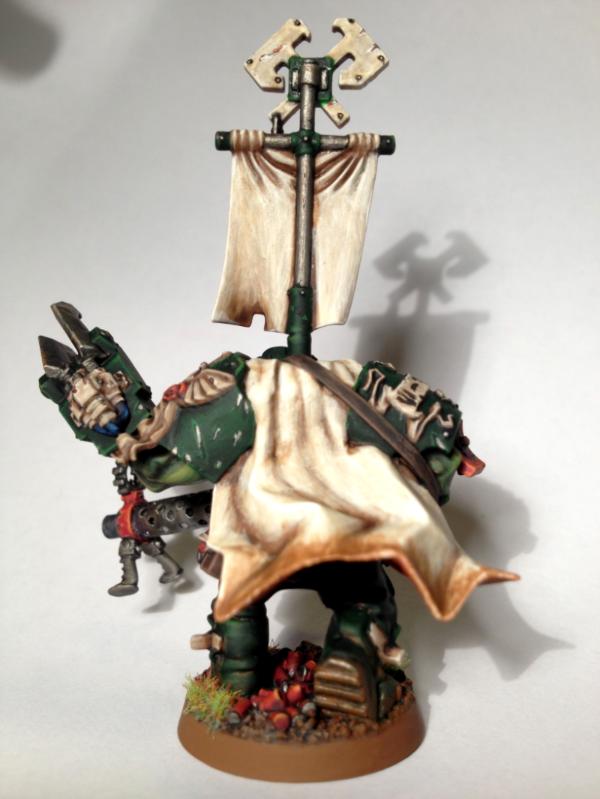
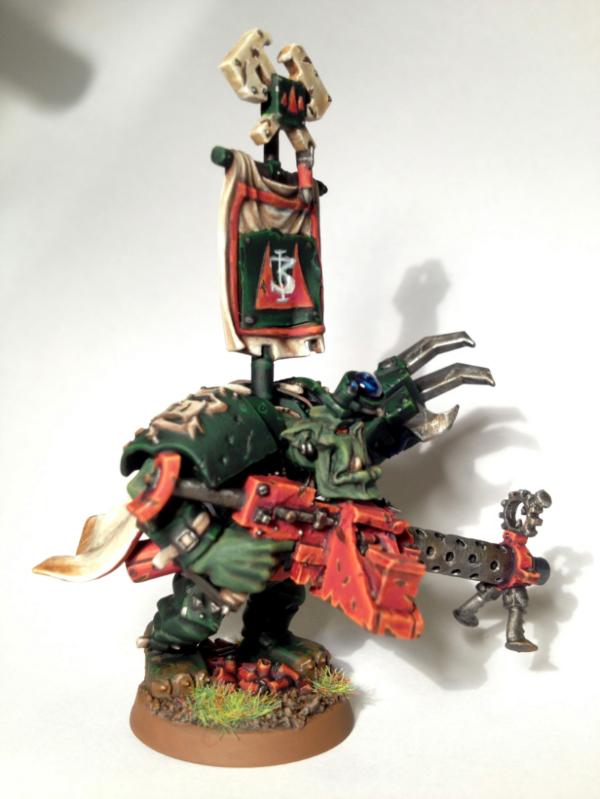
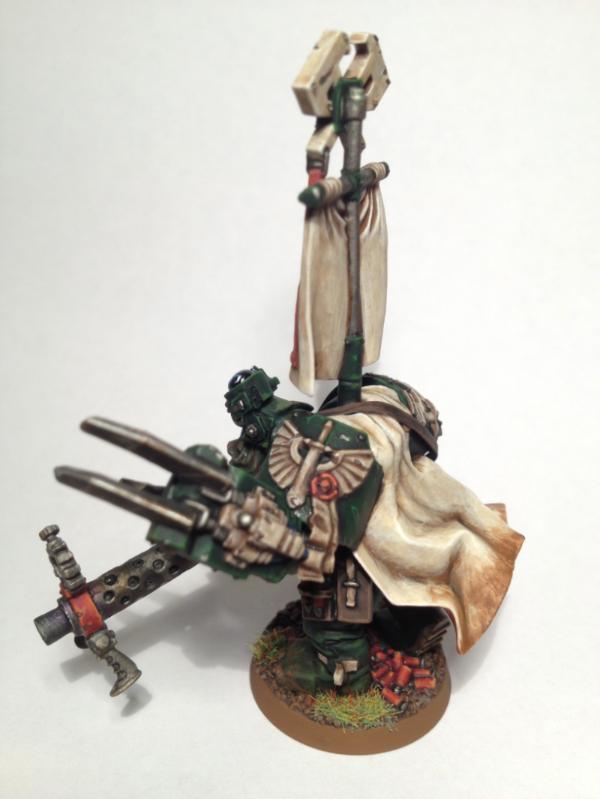
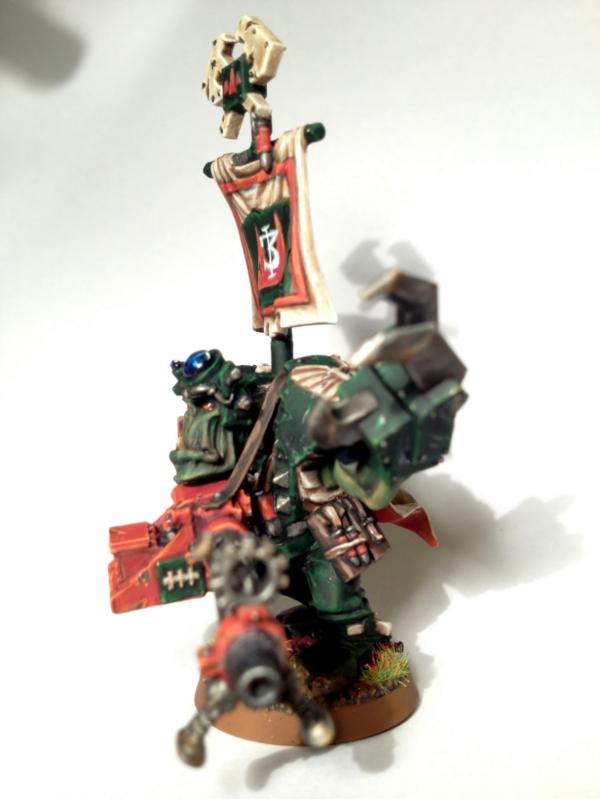
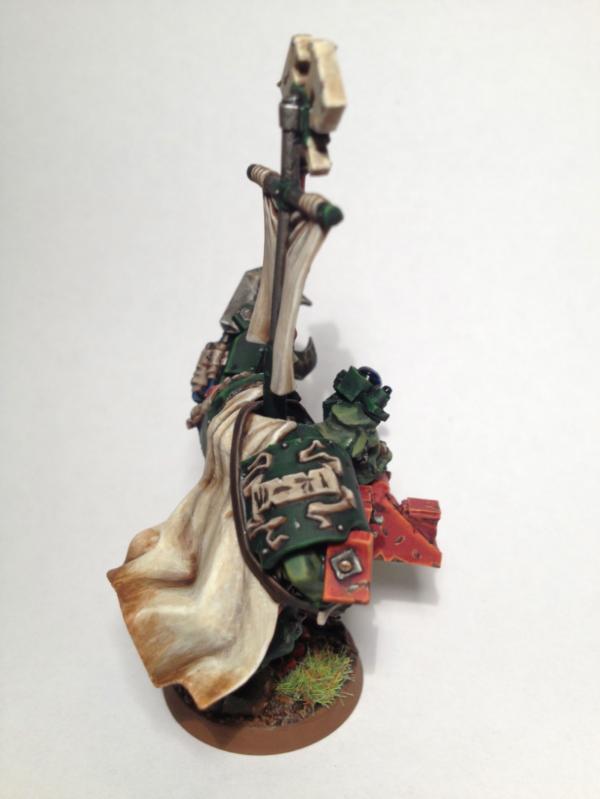
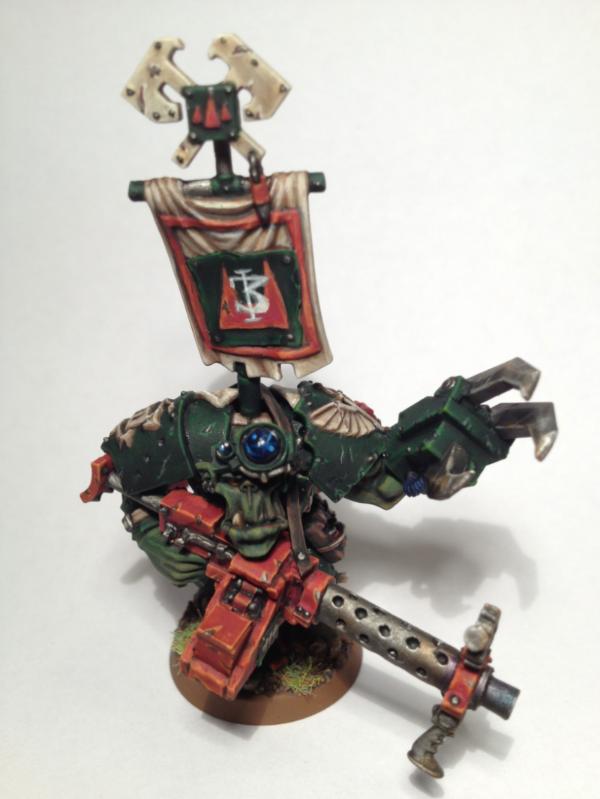
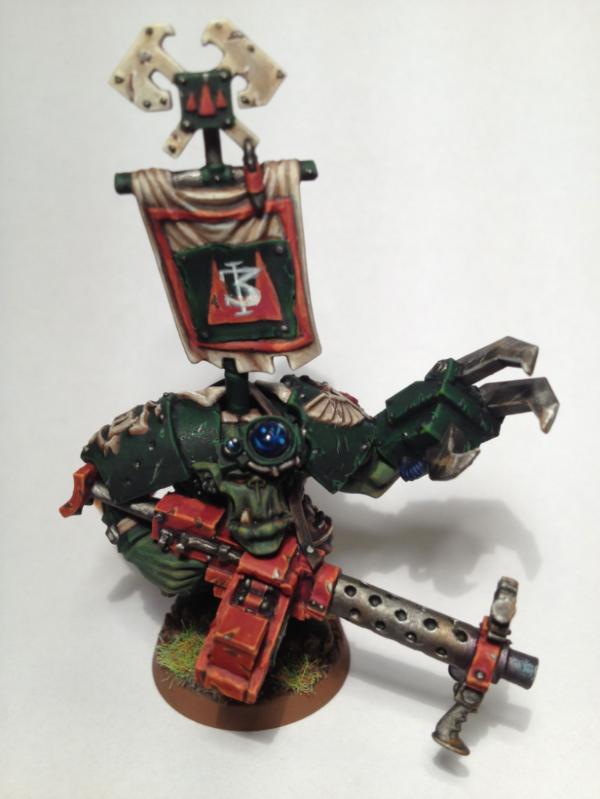

 the glossed eyes and glass looks spot on